How far will you travel? How will you know when you have arrived? Do you wish you could know when you are halfway there? Applied to weaving, I like to have the answers to these questions before I begin the “journey.” A pre-measured tape gives me consistency, especially important for multiple pieces in a set. The tape also acts as my “trip odometer.” I can see how far I’ve gone, and exactly how much is left to weave. It satisfies my insatiable need to know how close I am to the end. Are you like that, too?
How to Make and Use a Pre-Measured Tape
Supplies
- Roll of 3/4″ or wider twill tape (or any cloth tape or ribbon that does not stretch, and that pins easily)
- Tape measure with inches and/or centimeters
- Fine tip permanent marker
- Flat head pins
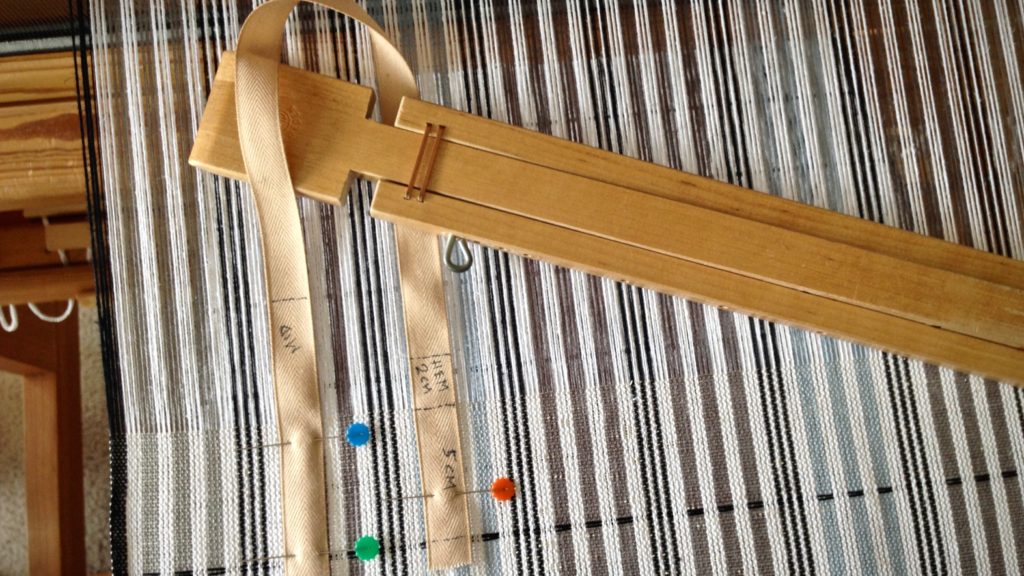
- Use the permanent marker to place markings on the twill tape, as measured with the tape measure. Mark the start line 1/2″ from the end of the twill tape, so that the tape can be pinned in front of the mark.
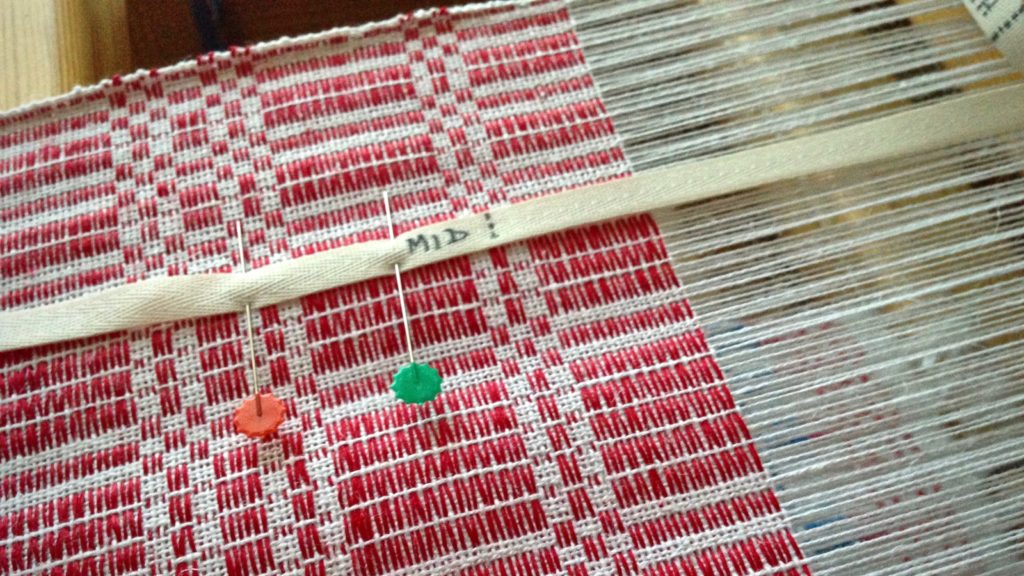
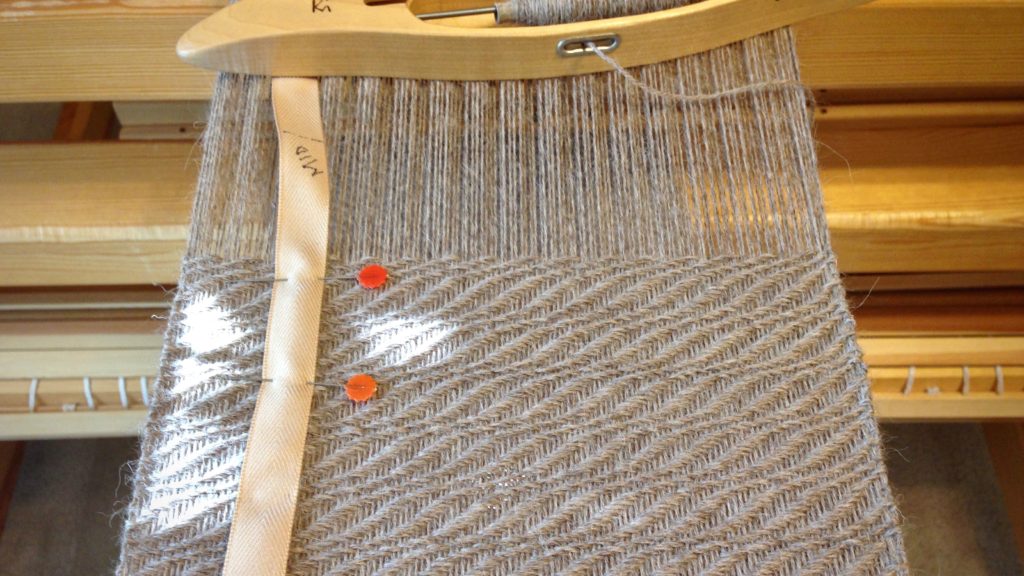
- After drawing a line for the starting point and ending point, draw a line at the midway point, labeled MID.
- Include dotted lines for hem measurements, if applicable. Write the hem measurement on the twill tape; i.,e., 3/4″ or 2 cm.
- Write the weaving length measurement on the twill tape. Include calculation for takeup, if desired; i.,e., 25″ + 3″.
- Write the project or item description on the twill tape, if desired, for ease of repeat use; i.e., handtowel.
- Add other lines or marks, as needed, for borders, placement of weft colors, or other design elements.
- 1/2″ after the final marking, cut pre-measured twill tape from the roll of tape.
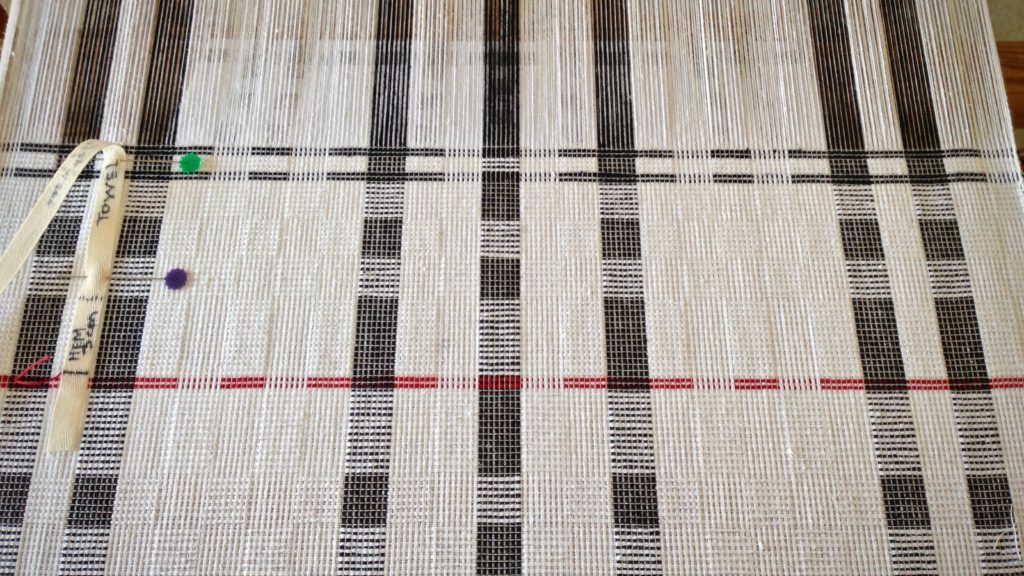
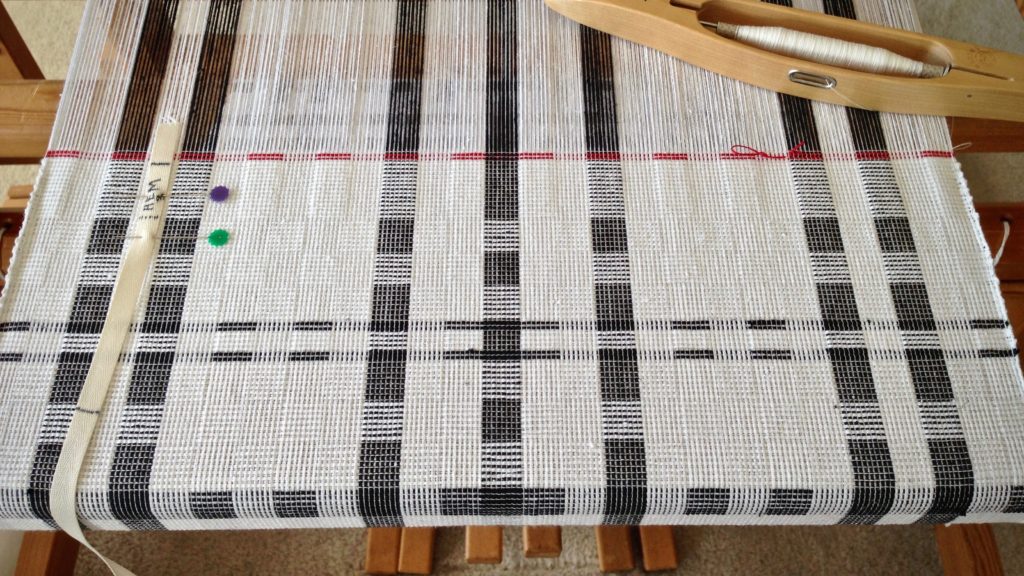
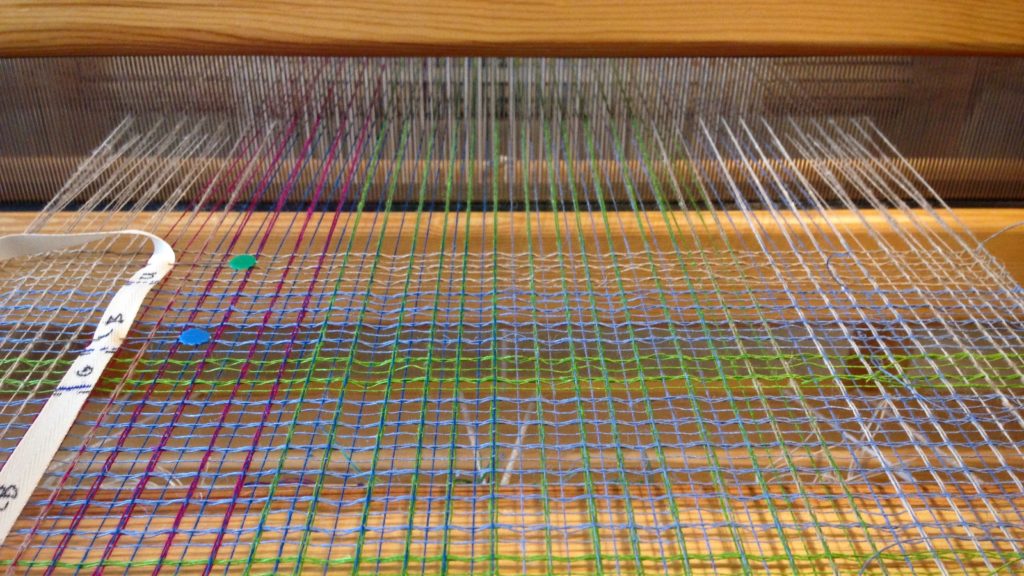
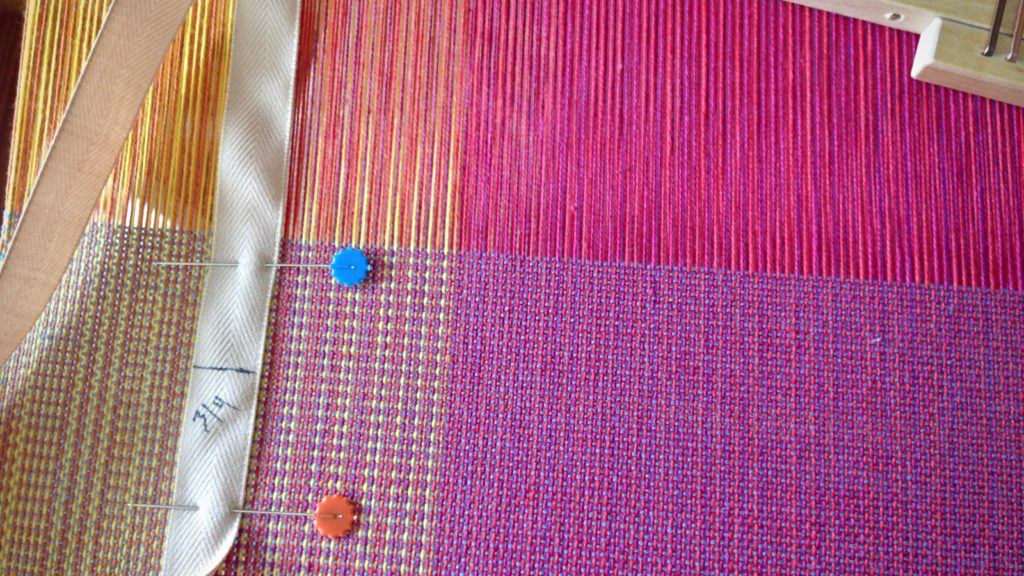
With the warp under tension, pin the pre-measured twill tape near the right or left selvedge with two flat-head pins. Match the start line of the tape with the beginning of the weaving.
Before each advancement of the warp, move the pin closest to the breast beam to a point near the fell line. In this way, have the pins leapfrog each other, moving only one pin each time. Always keep the warp under tension when moving the pins.
May you accurately measure your ways.
Truly yours,
Karen

Love this idea for repeatable, standard sized projects like towels and scarves. Labeling it towels (4) or some such, makes so much sense. Thanks!
Hi Cate, Labeling the pre-measured tape with the name of the project is something I learned at Vavstuga. It does make sense.
Karen
Excellent, thanks for sharing.
Your comments are so useful. I use a tape, but don’t mark it as you do and I don’t leapfrog pins. Such good ideas……I think a trip out to the fabric store is in order! Thank you.
Hi Karen, I’m glad you find this useful! I look for sales. When the roles of ribbon are 50% off at Hobby Lobby, I buy several rolls of twill tape!
Happy weaving,
Karen
Many thanks for all the detail. I will save all this for a warp that I’ve really planned out…wish that described MORE of mine! Nanette
Hi Nanette, I had you in mind when I wrote this post. Thanks to your great question!
Karen
Thanks for the details on how you use the tape. I used it on my handtowels. (I’m going to Vavstuga in June!) I am interesetd that you measure under tension. I measure when the warp is loose. Do you add length to your project because it is under tension?
Hi Debbie, I hope you enjoy your Vavstuga experience as much as I did! You will learn a treasure trove of new things.
Measuring under tension may be the most consistent way of measuring, and is considered the standard way to measure. For Handwoven magazine, for instance, their projects give the “Woven length (measured under tension on the loom).” I do add a % amount to the length to account for take-up and shrinkage.
Thanks for asking!
Karen
A very interesting post on measuring your weaving, and one that has the merit of being well photographed and detailed. I shall definitely print this out and keep it in my weaving file.
Thank you!
Hi Jane, You make me feel useful. I’m glad the measuring instruction serves your purposes!
Karen