Tools Day: Measure Once

It occurs to me that I am unnecessarily doing something the hard way. Repeatedly. For every new project, I pull out my tape measure to find the right set of lease sticks. The tape measure also helps me select the temple needed for the current weaving width. No more! I do like my tape measure, but why am I measuring these things every time? Why not measure them once and label them?

Solution

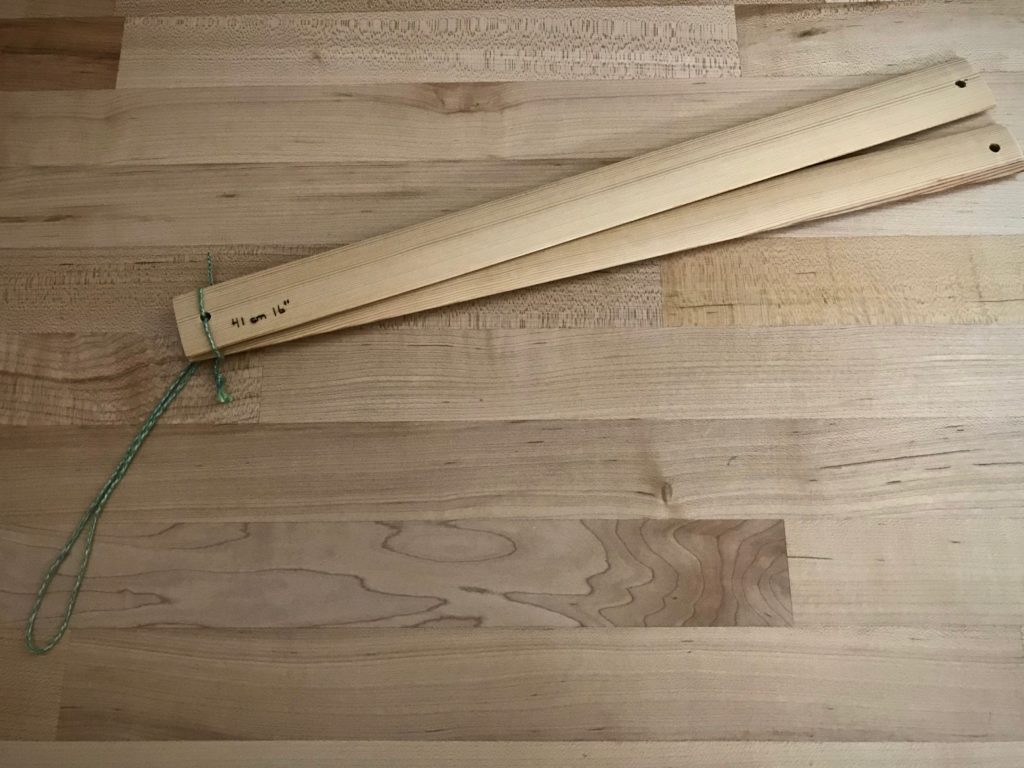
  • Measure the lease sticks and write the length in centimeters and in inches on one stick of each pair, in pencil.
  • Use a wood burner to trace the pencil markings. (My husband Steve does this part for me.)
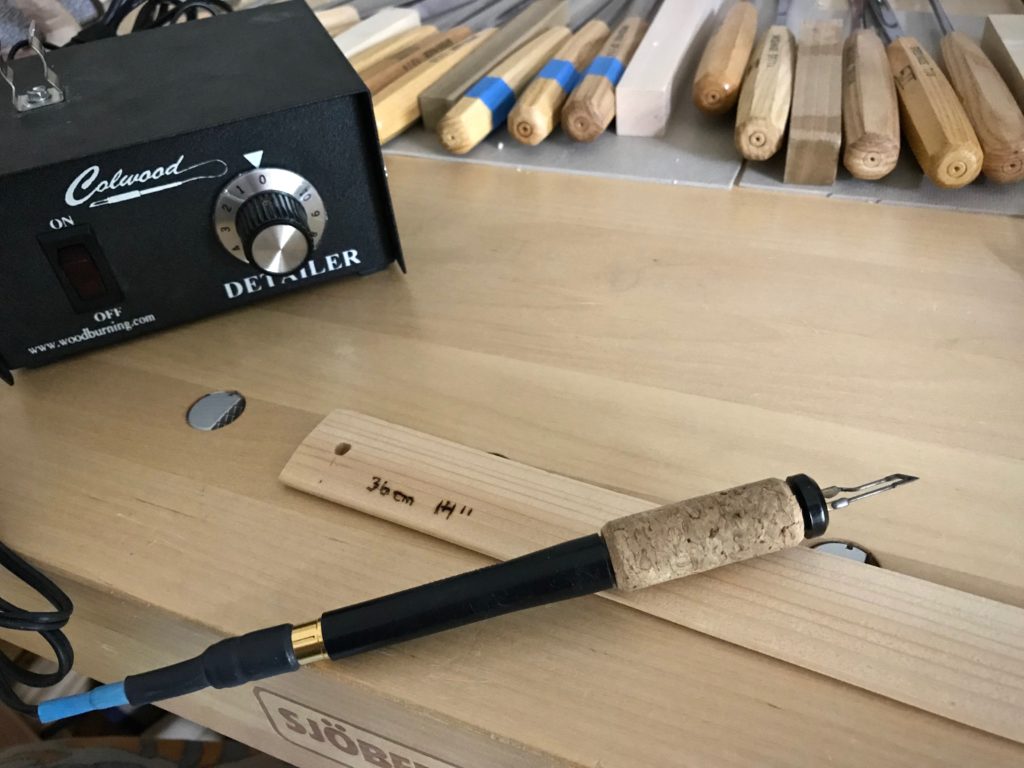
Weaving tip: Measurements on lease sticks.
Wood burner is used to write the length measurement on the end of a lease stick. Centimeters and inches are indicated because I use metric or imperial units, depending on the project.
  • Thread a cord through one end of each pair of lease sticks, to keep pairs together. Hang the lease stick pairs with the measurements clearly visible.
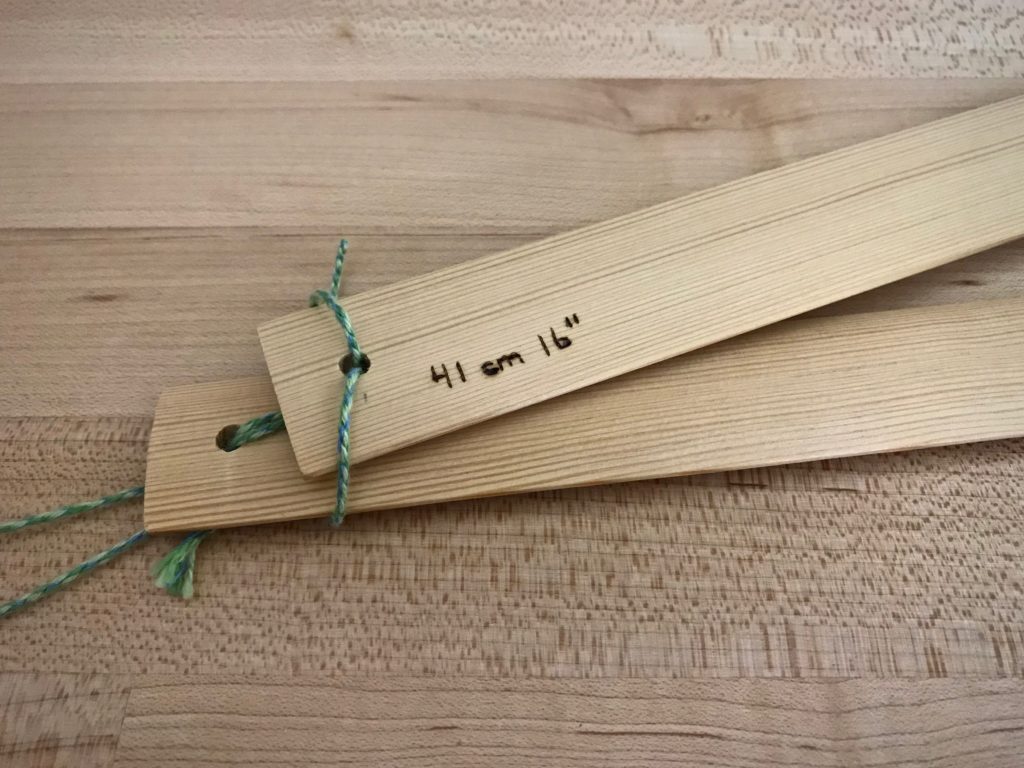
Weaving tip: Measured lease sticks paired together for hanging.
Looped cord is threaded through the lease stick holes to provide an easy way to hang pairs together.
Paired lease sticks, ready for hanging.
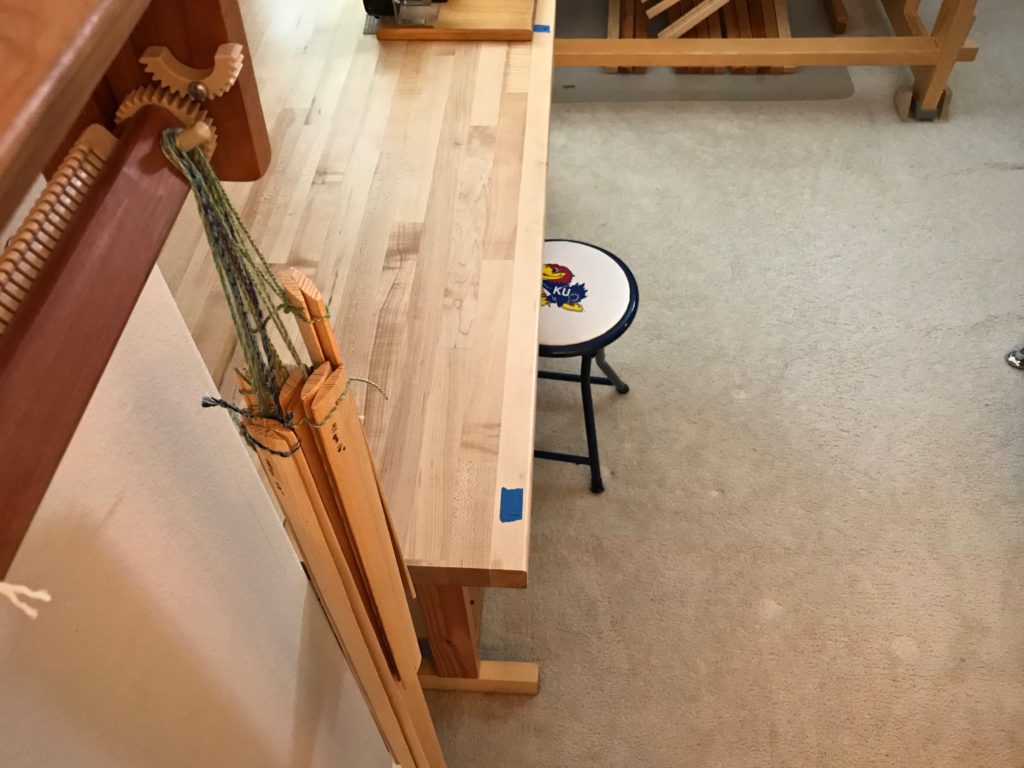
Lease sticks hanging in the weaving studio.
Pairs of lease sticks hang beside my worktable in my weaving room. My ol’ Beka rigid heddle loom on the wall happens to provide just the right little hanging post for the measured lease sticks.
  • Look up the temple sizes on a website that sells them, and write the size range in centimeters and in inches on each temple, in pencil.
  • Use a wood burner to trace the pencil markings. (Steve, again.)
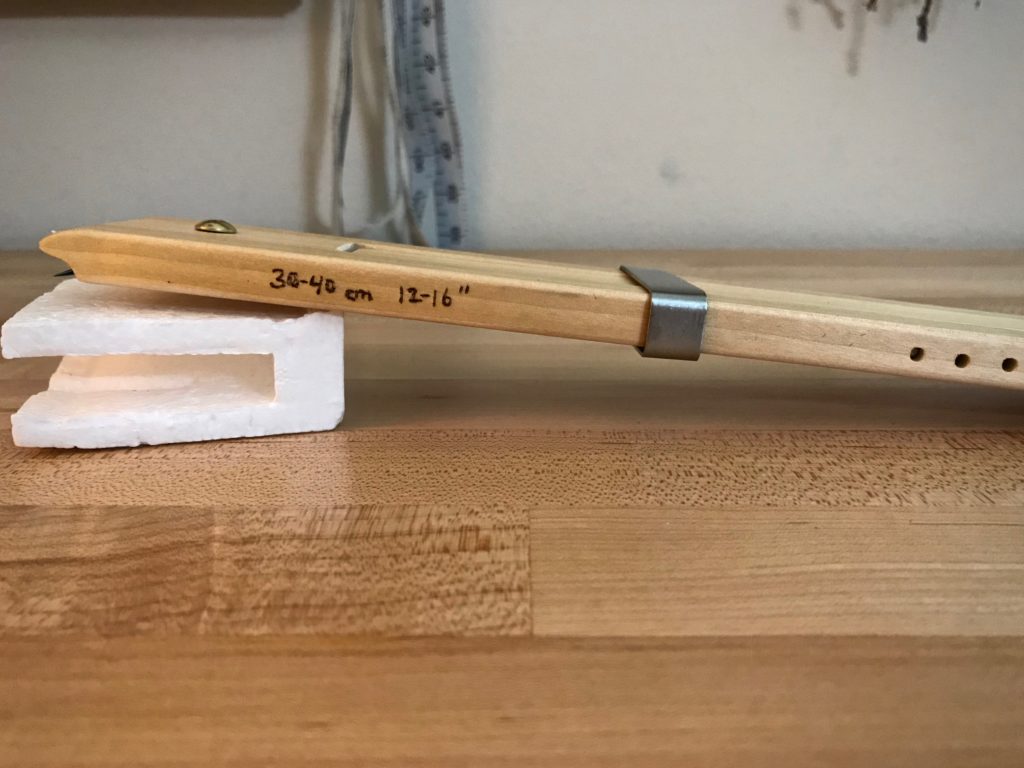
Weaving tip: Measure the temples.
Range of temple widths is important information when I’m choosing a temple. Weaving width of a project must fit in that range.
  • Store the temples in a manner in which the marked measurements are easily seen.
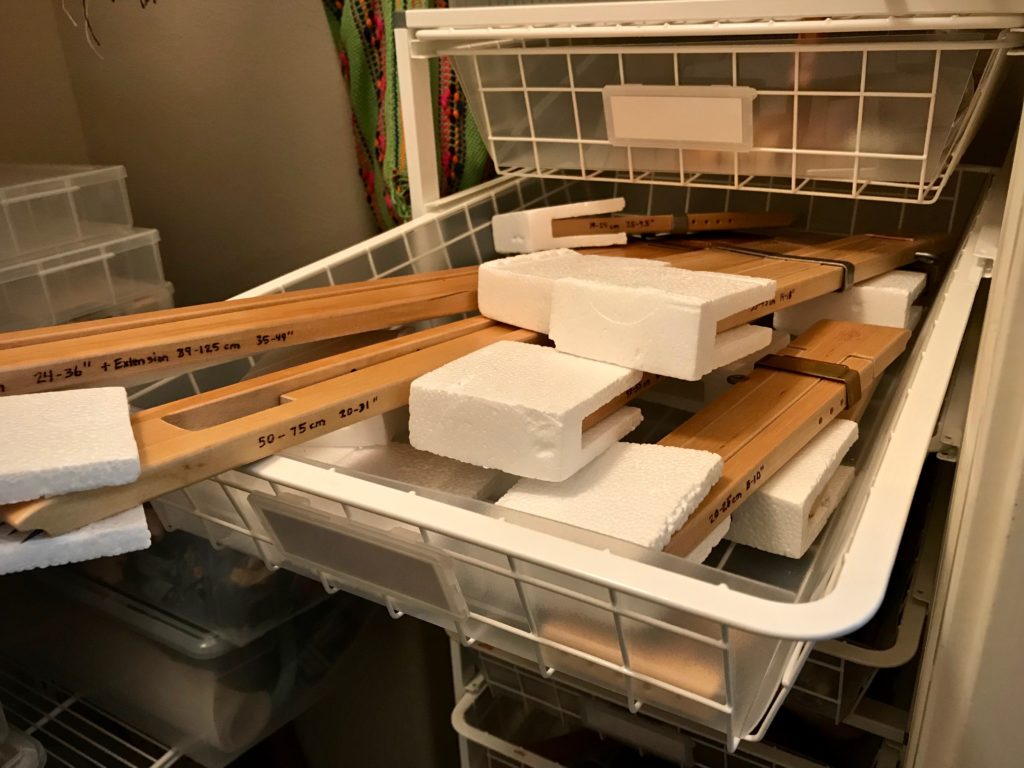
Weaving tip: Find the right temple size the first try!
No more trying different temples to find one that fits. Now I can look at the markings and select the correct temple the first time.

Now I have permanent at-a-glance measurements for each of these frequently-used tools!

May you find something to simplify.

Happy weaving,
Karen

Thousands of Threads

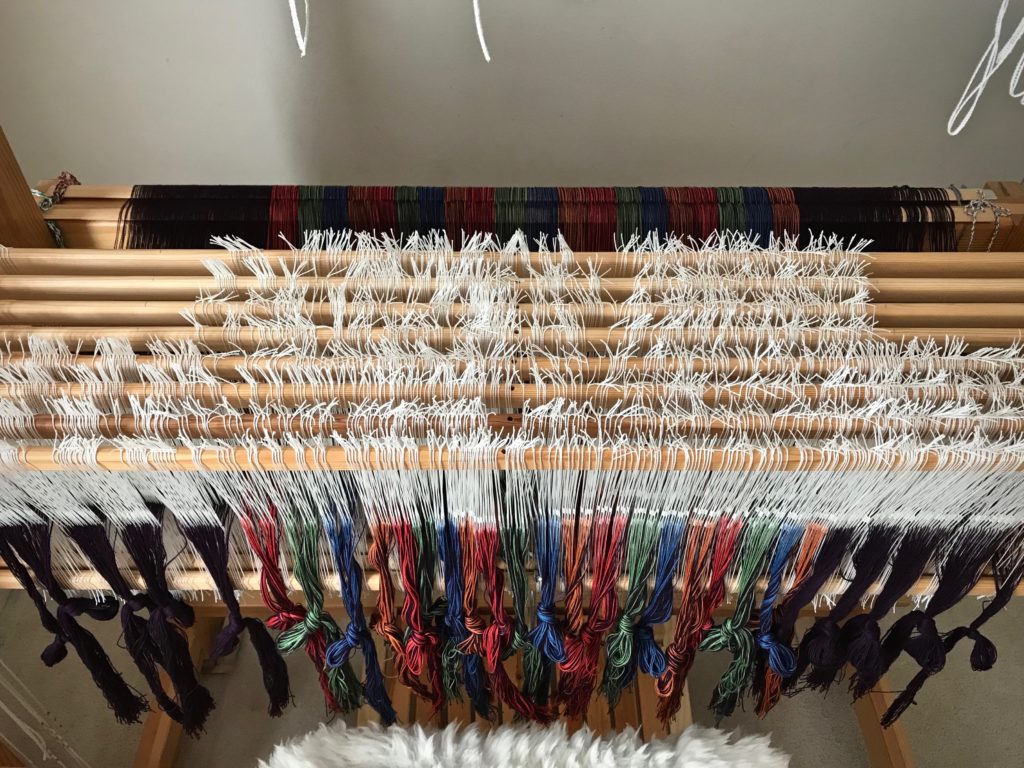
Finally! Every warp end is in a heddle, where it needs to be for double-weave cloth to happen. I don’t mind the time it takes. The process of dressing the loom is fascinating. And I hope I will always see it that way. I’m thankful that I get to weave.

Threading complete! 2,064 ends for a double weave throw.
Threading complete! 2,064 ends in that many heddles, at about 3 ends per minute. But who’s counting?

And now, onward to sleying the reed!

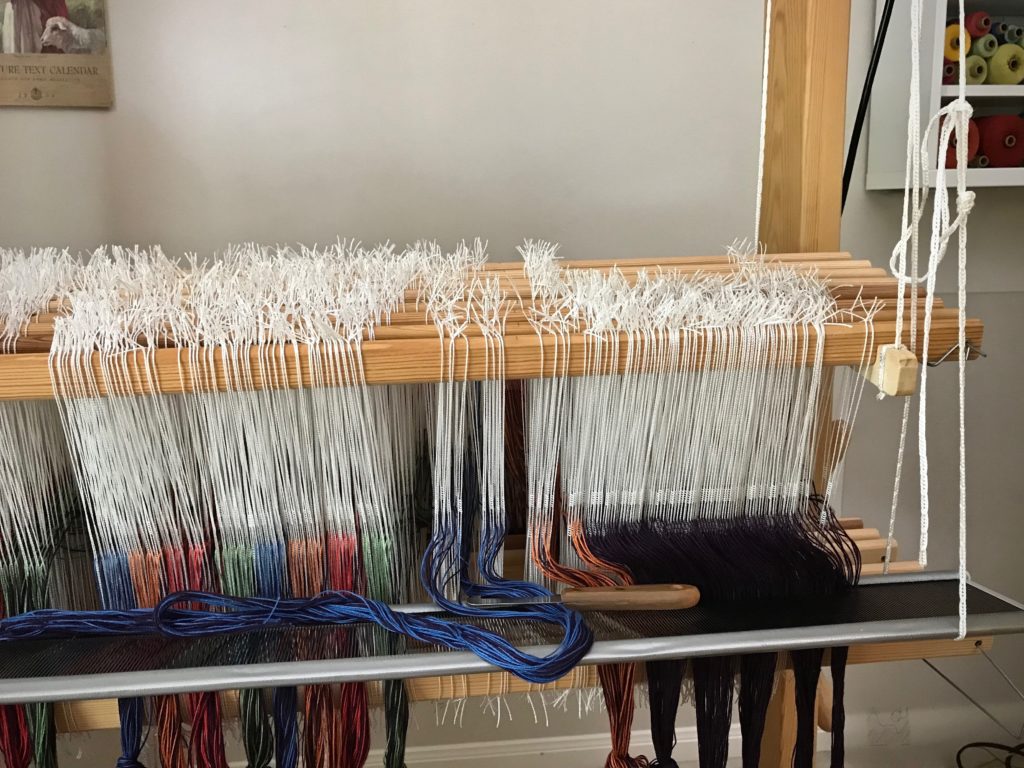
Sleying the reed. 4 ends per dent.
Reed is sleyed at 4 ends per dent in a 50/10 metric reed (equivalent to a 12-dent reed, imperial), at about 12 ends per minute, which feels pretty fast at the moment.

Thanks. It’s something we give. Heartfelt thanks is a ready gift that costs us nothing to give. Gratitude leads us to see blessings in the ordinary, and opportunities in the routines of life. When we abound in giving thanks, letting it spring up from a satisfied soul, we bring life to our family and our community. An abundance of thanks to God lifts our eyes to a view from above. It’s there that we see all those threads, thousands of them, working together to become a glorious cloth for our good. That’s reason to give thanks.

Thankful for friends like you,
Karen

Not the Easiest Way to Weave

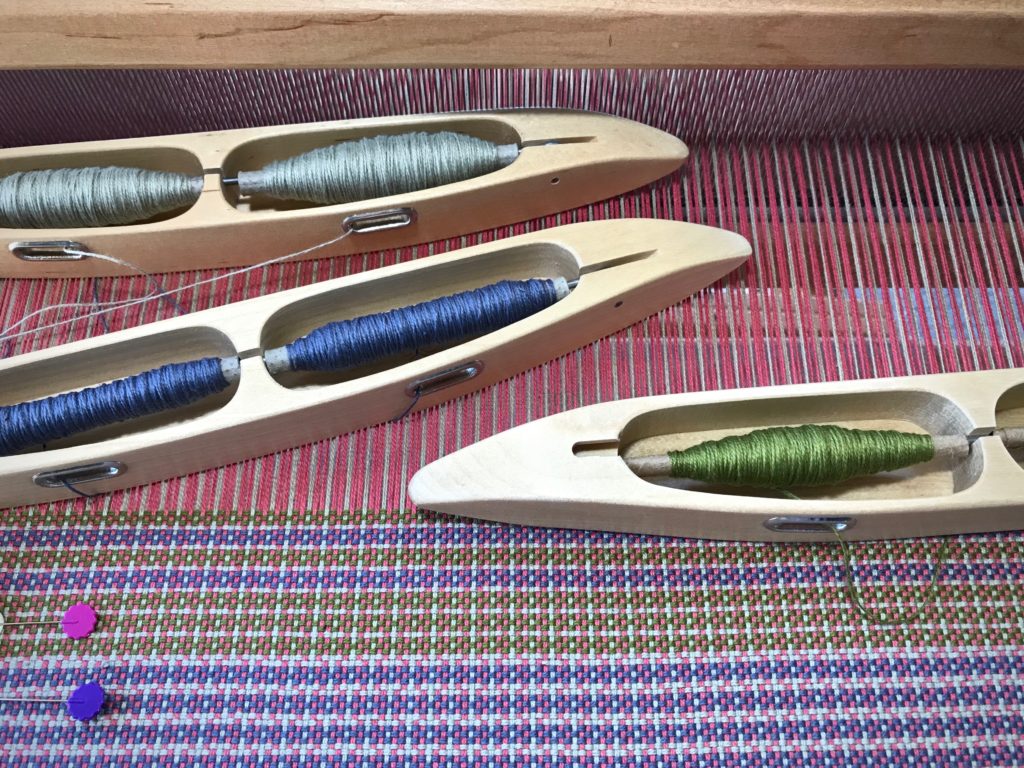
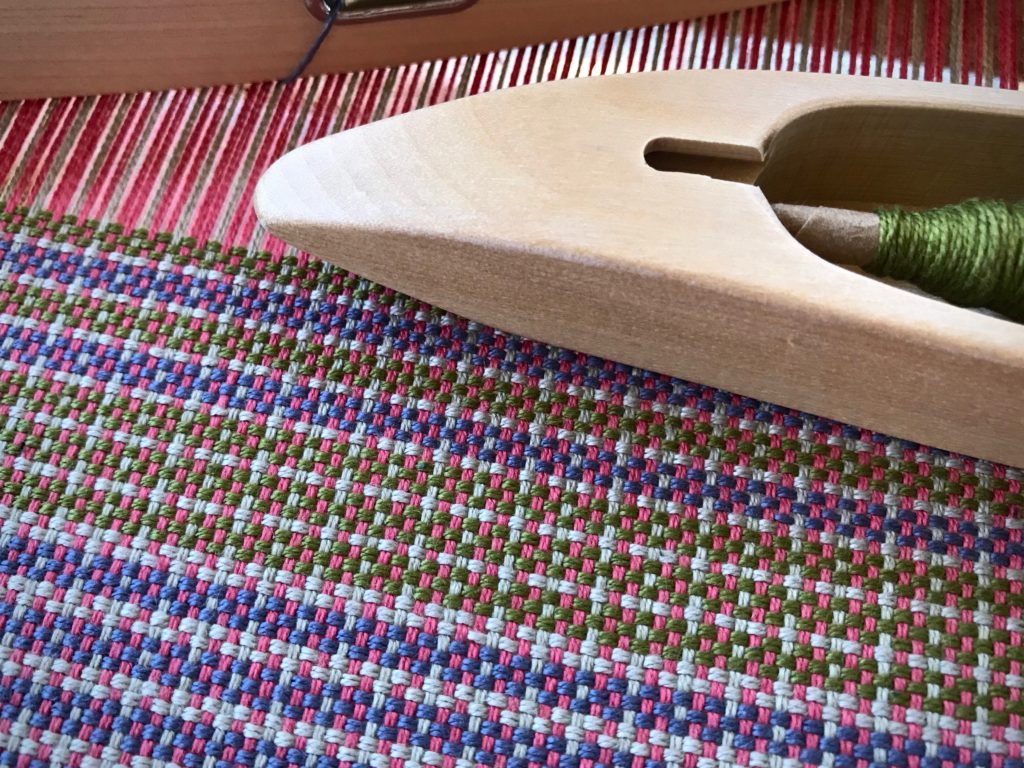
I considered making a matching set, but at the loom I get an inclination to explore. Hence, no two placemats are alike. A change in the weft changes everything. New colors emerge! Slate and apple green on a coral warp become periwinkle and avocado. If you look closely, though, you can still see the underlying coral and camel stripes of the warp.

Cotton placemats on the loom with color and weave effects.
Second placemat uses red and orange in the weft. These colors work with the coral in the warp to bring out a distinctive color-and-weave effect in the design.

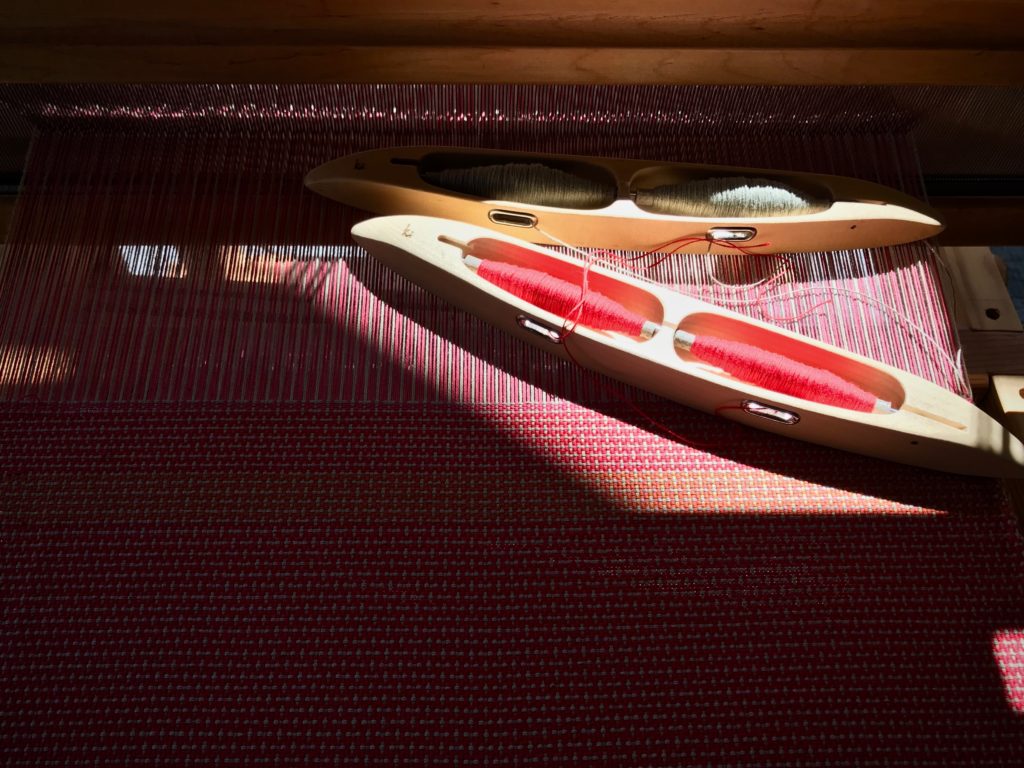
Three double-bobbin shuttles—this is not the easiest way to weave. I am carrying the colors up the selvedge, so it gets tricky when all three shuttles end up on the same side. Nevertheless, this is the joy of weaving a challenge. How and where to set the shuttles down, and which hand picks them up—ever aiming for efficiency. Newly-formed colors and technical pursuits—this is a handweaver’s thrill of discovery!

Three double bobbin shuttles for this color and weave placemat.
Beginning of the third placemat shows variation in pattern and color choices. Three double bobbin shuttles put my manual dexterity to the test.
Color and weave variations.
Coral and camel warp stripes form the base of the design. Pattern variations are produced by varying the number of picks per weft color.

Imagine the thrill of discovery that awaits us in heaven! Love permeates heaven. Like a narrow-striped warp, love is written into the fabric. The environment there is love, where pride and selfishness don’t exist. Blending of colorful personalities will be such as we’ve never seen. All to the glory of our Grand Weaver. And how marvelous that through Christ we’ve been given everything needed to practice that kind of love here and now. Double bobbin shuttles, and all.

May you rise to the challenge.

Love,
Karen