Tools Day: Click Test

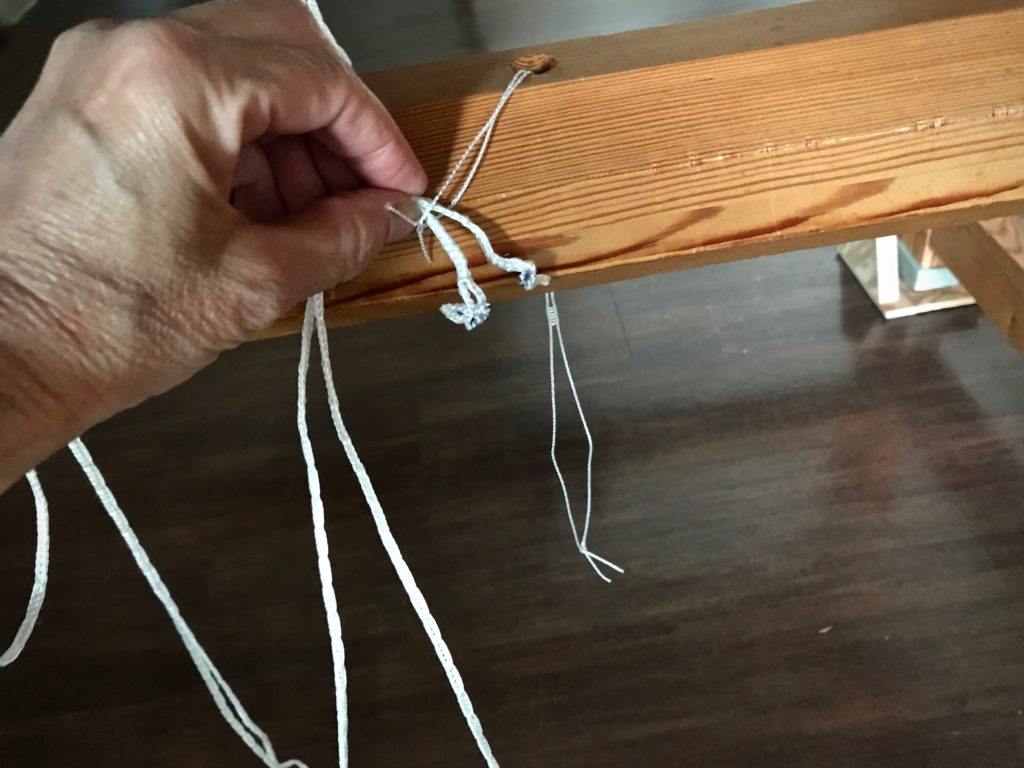
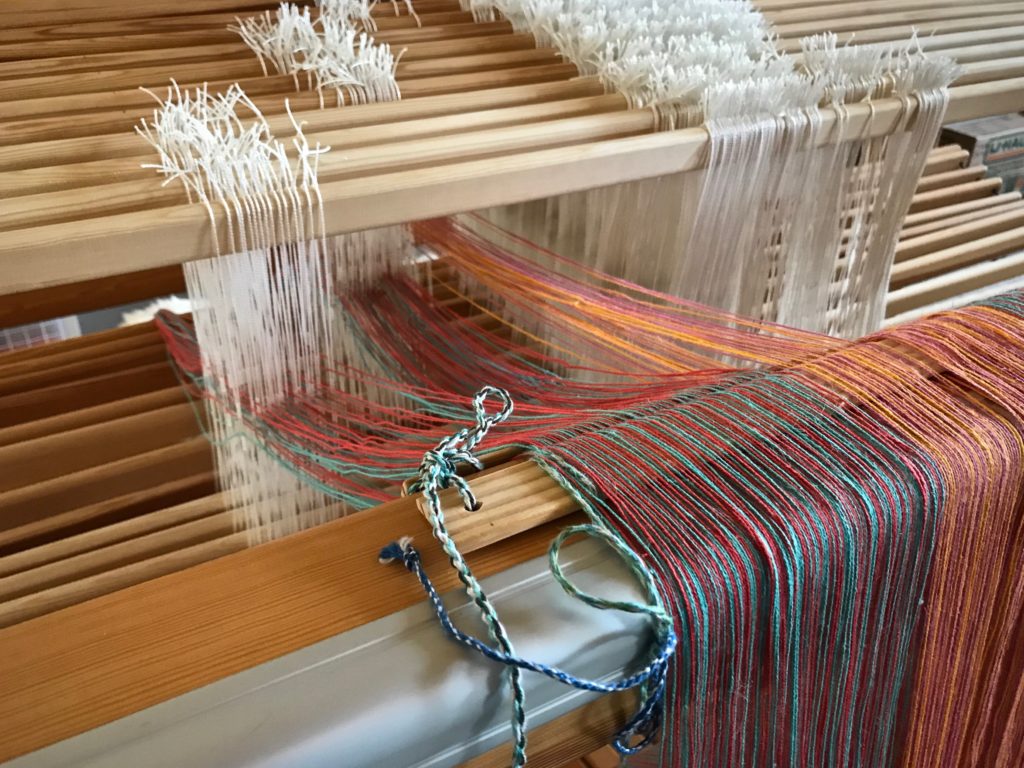
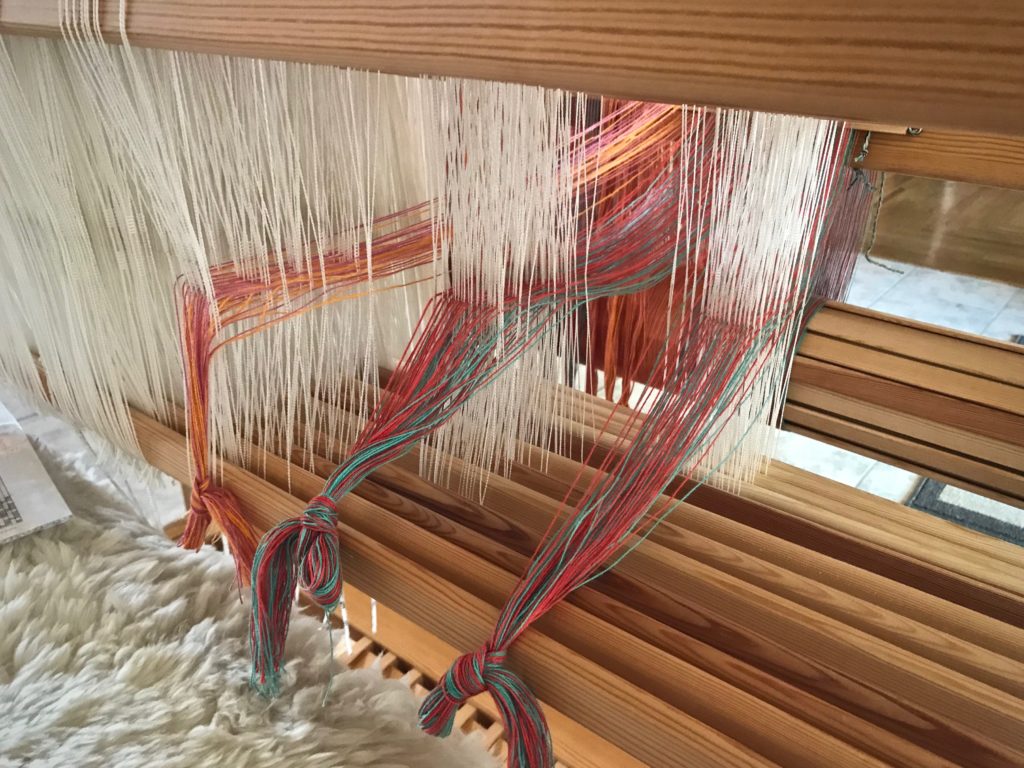
It is not easy to see sleying errors in this fine-dent reed. I unknowingly quadrupled the ends in four of the dents, instead of the specified two ends per dent. When I check as I go, I find the errors while they are still easy to fix.

How to check and double-check for sleying errors:

  • Tie ends into threading groups, using a loose slip knot. (I do this before threading the heddles.)
  • Sley one threading group. (I sley right to left.)
  • Visually check the sleyed group of ends for skipped dents and crowded dents.
  • Do a Click Test. Use the hook end of the reed hook to count the dents by running the hook along the reed…click, click, click… Make sure the number of clicks matches the number of dents needed for that group of ends.
    —This is how I caught my errors. When the dents came up short in the Click Test, I knew I had some crowded dents that I had failed to catch in the visual check.
  • Move ends and re-sley as needed.
  • Sley each remaining group of ends, checking as you go, visually and with the reed-hook Click Test.
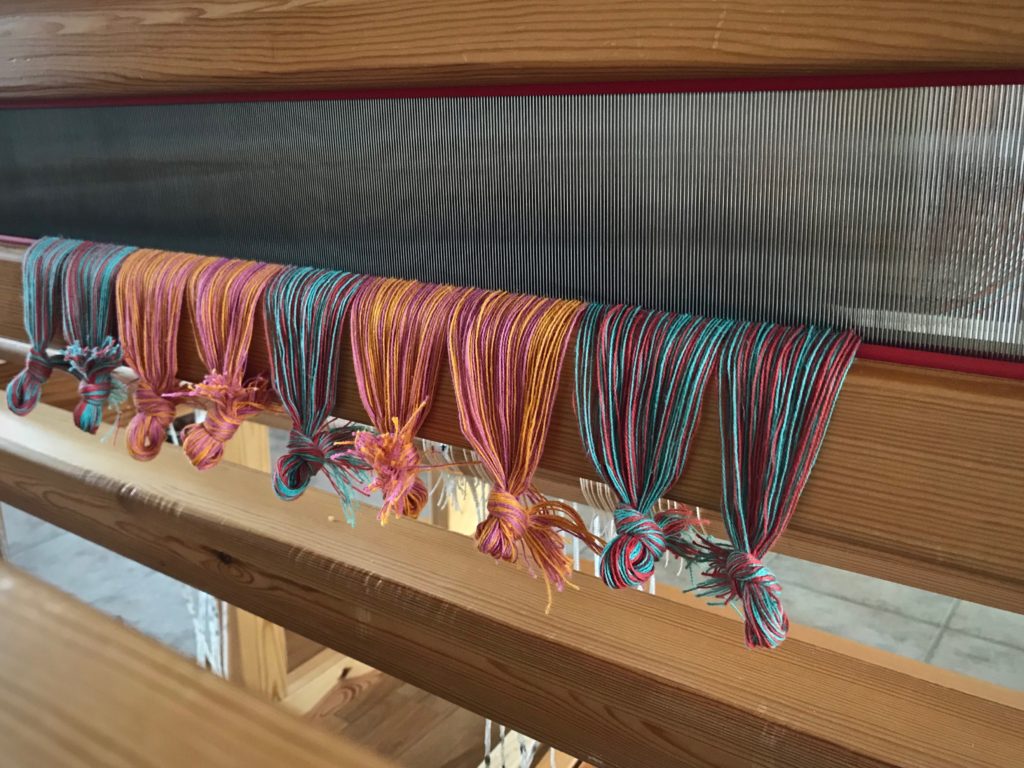
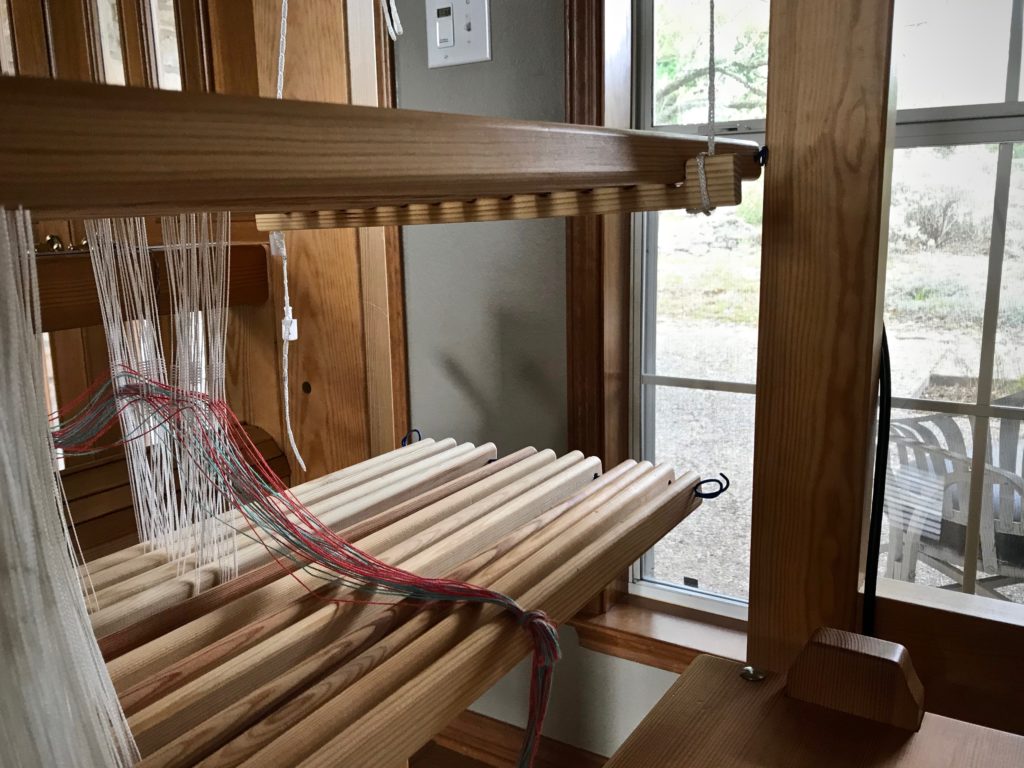
Reed is sleyed. Dressing the loom for double-weave towels.
Two ends per dent in this 70/10 metric (equivalent to an 18-dent imperial) reed.

May your errors be few and fixable.

Happy sleying,
Karen

Forty-Four New Butterflies

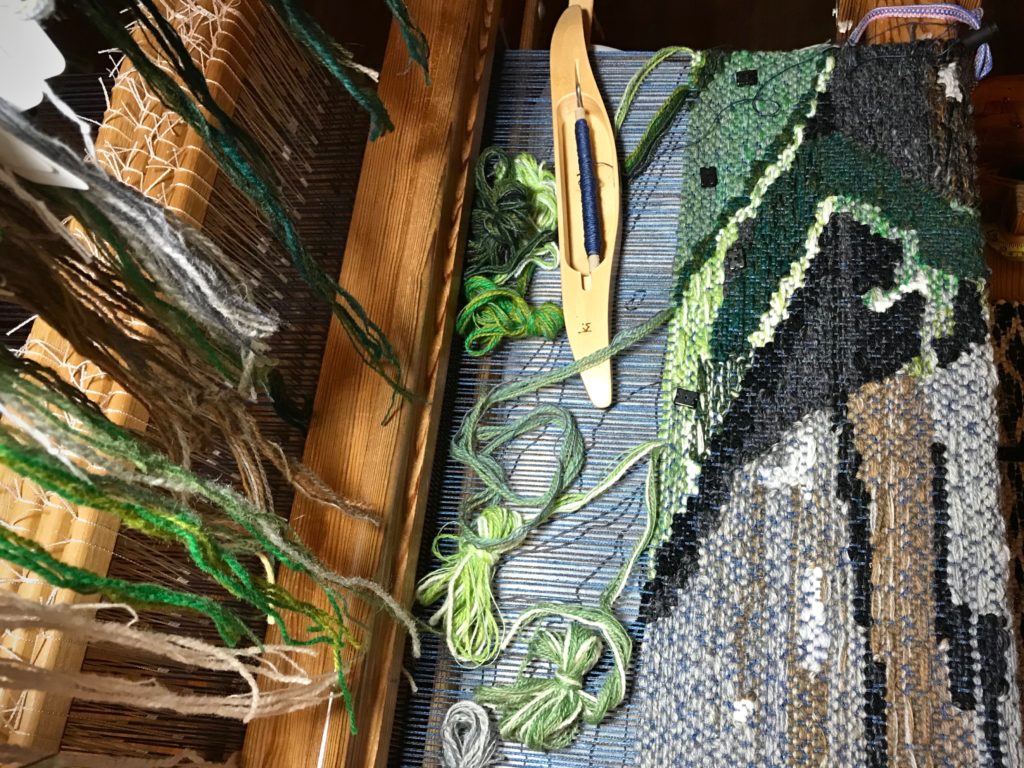
The tapestry is now at forty centimeters, and the lizard is slowly crawling his way around the breast beam. I treat every ten centimeters as a milestone. It’s a good time to examine the work and make additional butterflies. I see that I need forty-four new butterflies to make it through the next ten centimeters! No two butterflies are identical. I vary the combination of yarns for each color set. These subtle color and textural variations add interest and depth to the piece.

Making butterflies for tapestry.
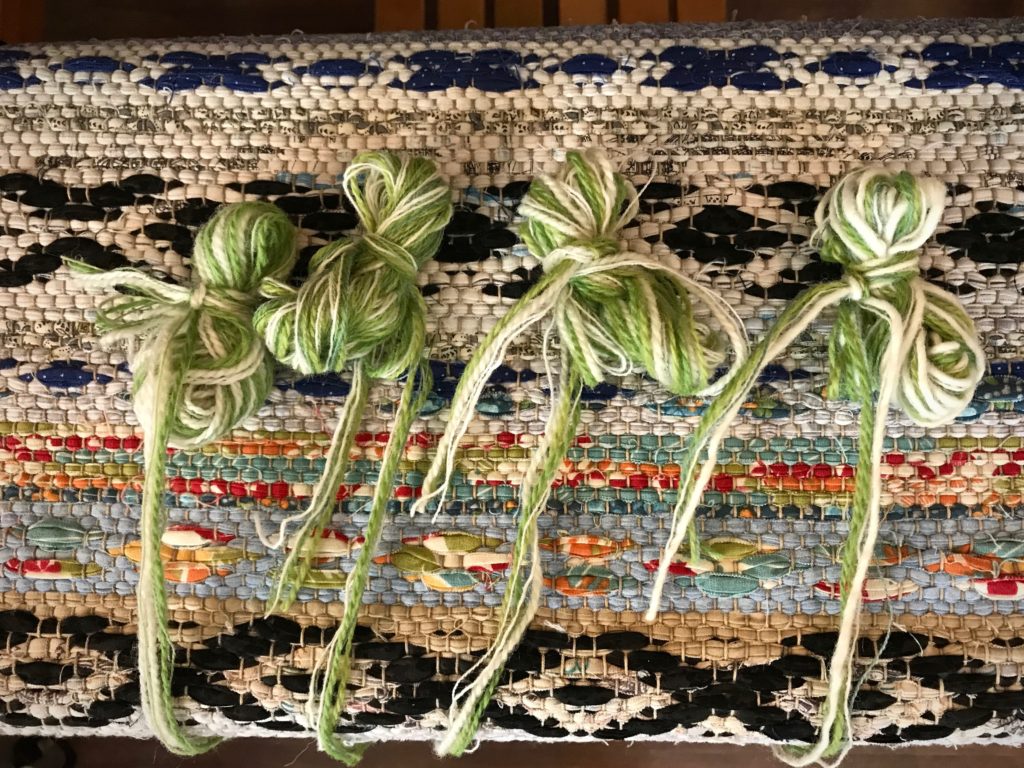
Various wool yarns, light green and white. I combine strands to make a bundle that is approximately equivalent in size to four strands of 6/2 Tuna wool.
Wool butterflies for tapestry of a lizard.
Green and white wool butterflies are each a little bit different.
Butterflies for weaving a tapestry.
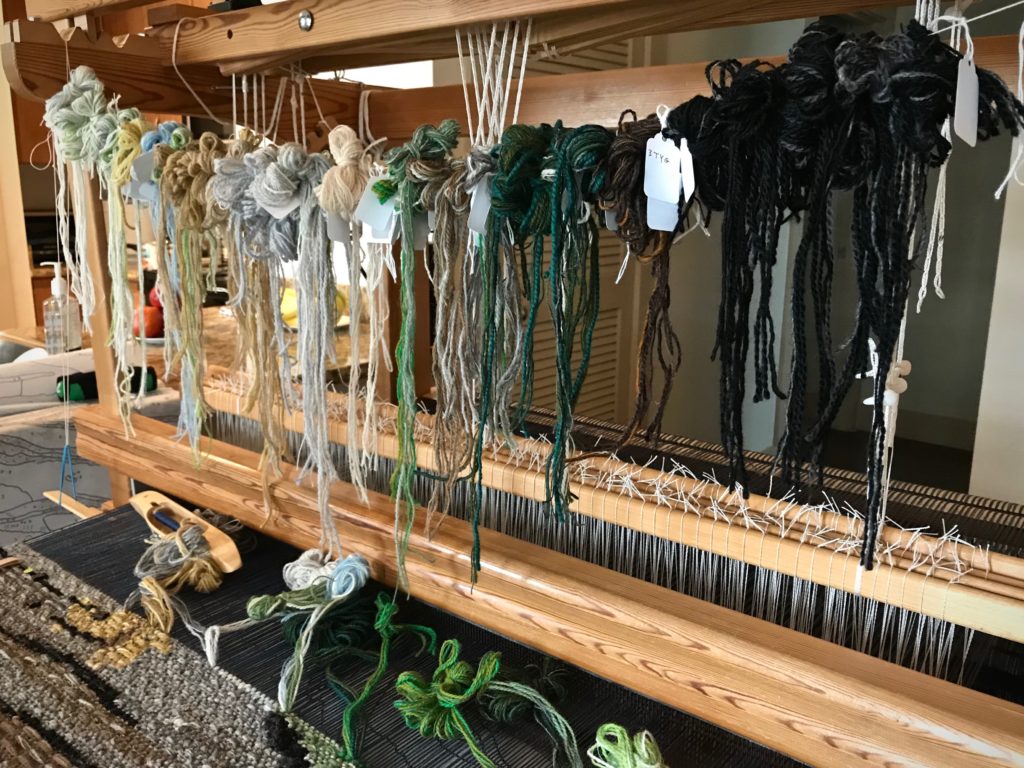
Butterflies hang in order on a length of seine twine within easy reach of weaving.
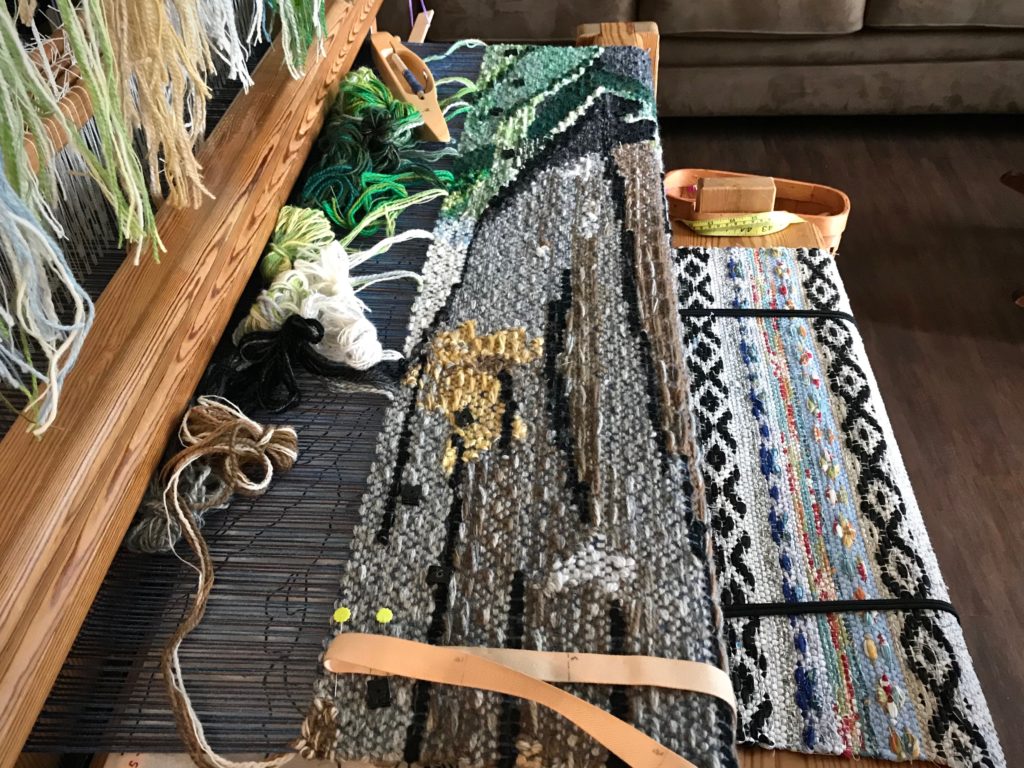
Lizard tapestry in progress.
Color blending and color gradation is possible through the careful selection of prepared butterflies for each section.

Me. It’s all about me. That’s exactly what the tempter wants me to think. Everything should revolve around me. Wait a minute. There’s a tapestry being woven that is much bigger than me. I may be a single wool butterfly. I’m unique. And my colors and textures contribute to the tapestry in important ways. But I mustn’t forget the Grand Weaver. He carefully and deliberately wound these strands of yarn over his loving fingers to create the color he wanted to see in his tapestry. It’s not about me. It’s about the One who holds me in his hands.

May your unique colors contribute to the tapestry.

Happy Weaving,
Karen

Lizard Tapestry Disruption

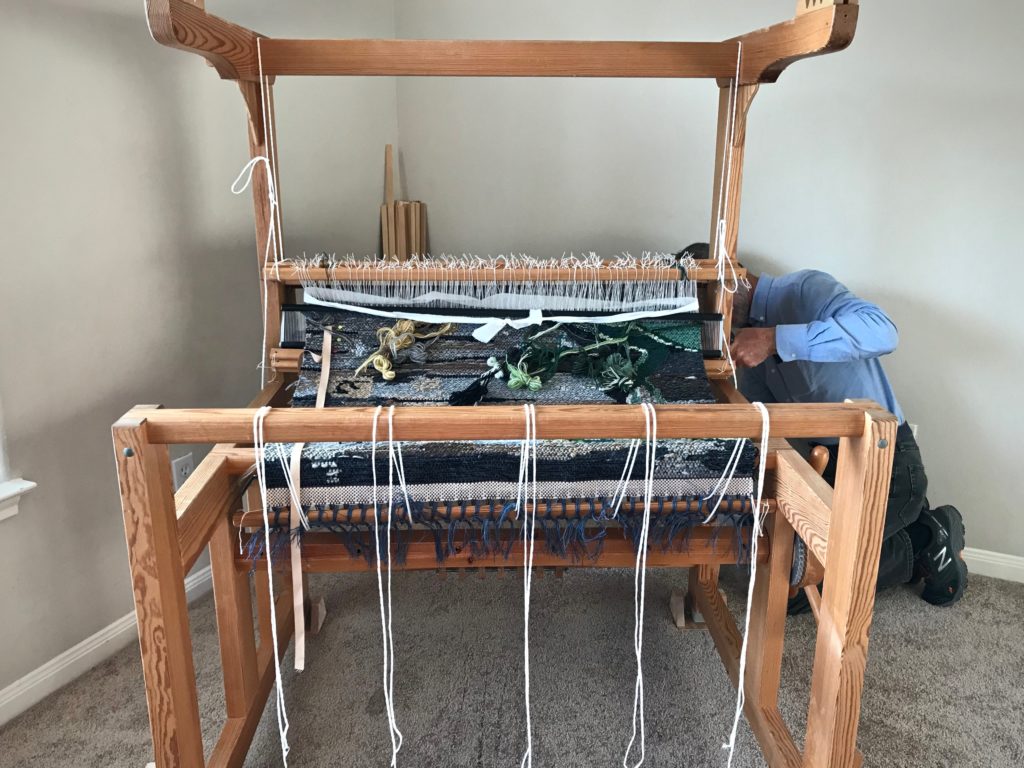
I started the Lizard tapestry right before our big disruption. Selling your house means that every in-process project instantly becomes vulnerable. Yikes! After a sleepless night, I contacted my friend Joanne Hall. Can this weaving be saved? Yes!, she assured me, as she gave me instructions for dismantling the loom.

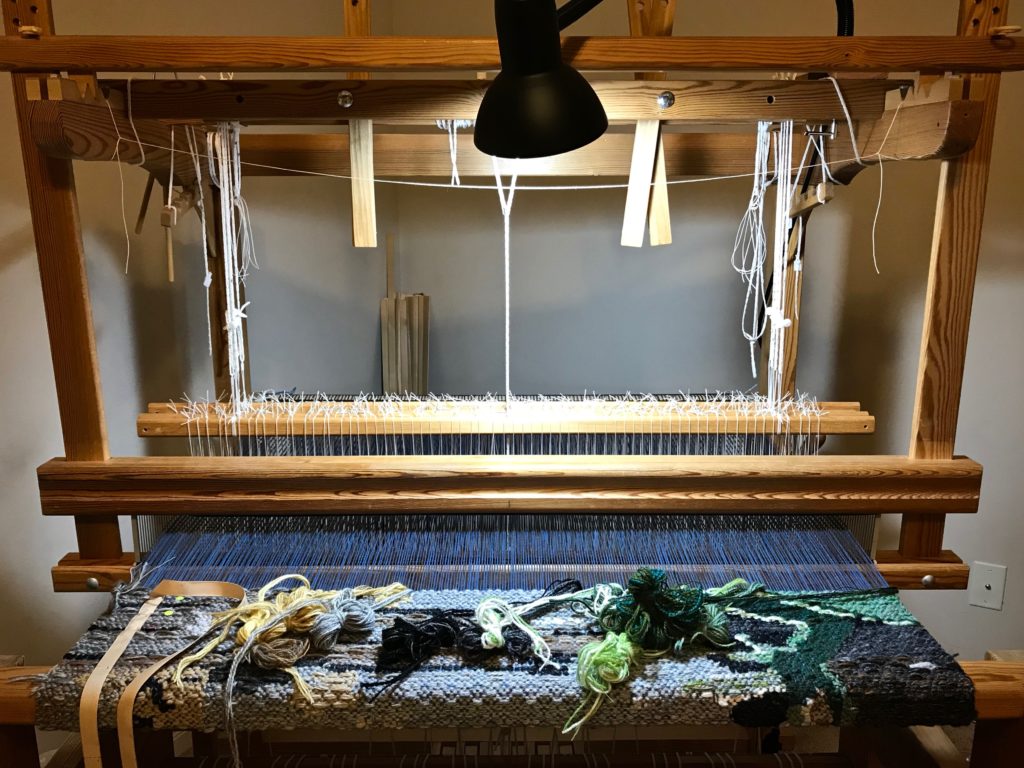
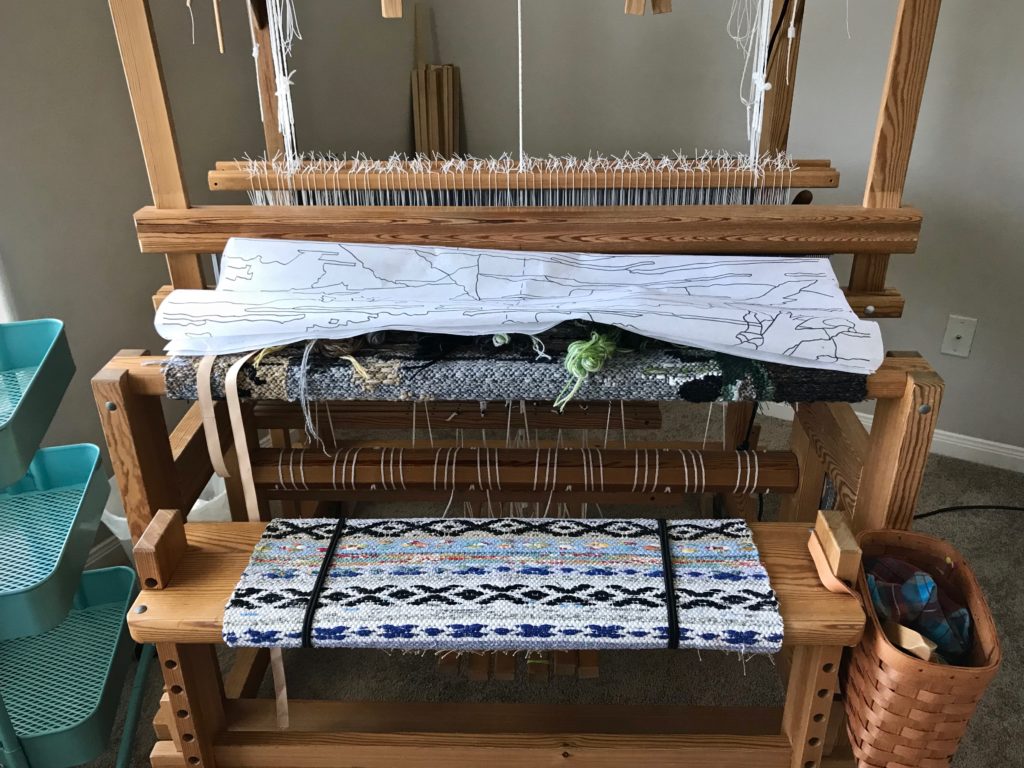
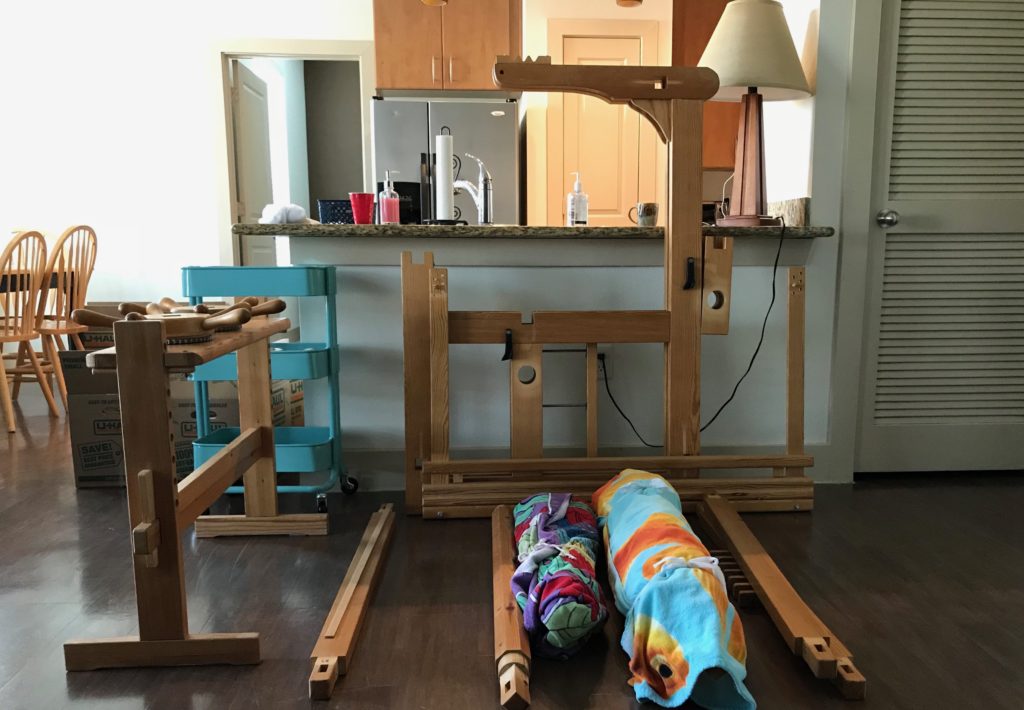
Getting ready to dismantle loom for relocation.
Yarn supply is packed up, including all the wool butterflies.
Getting ready to dismantle loom for moving.
Cartoon is removed.

Everything is logical about the process. Undo things, tie parts together, take things apart. And I don’t have to cut off the weaving? No. Remove the beam cords from the cloth beam. It’s that simple.

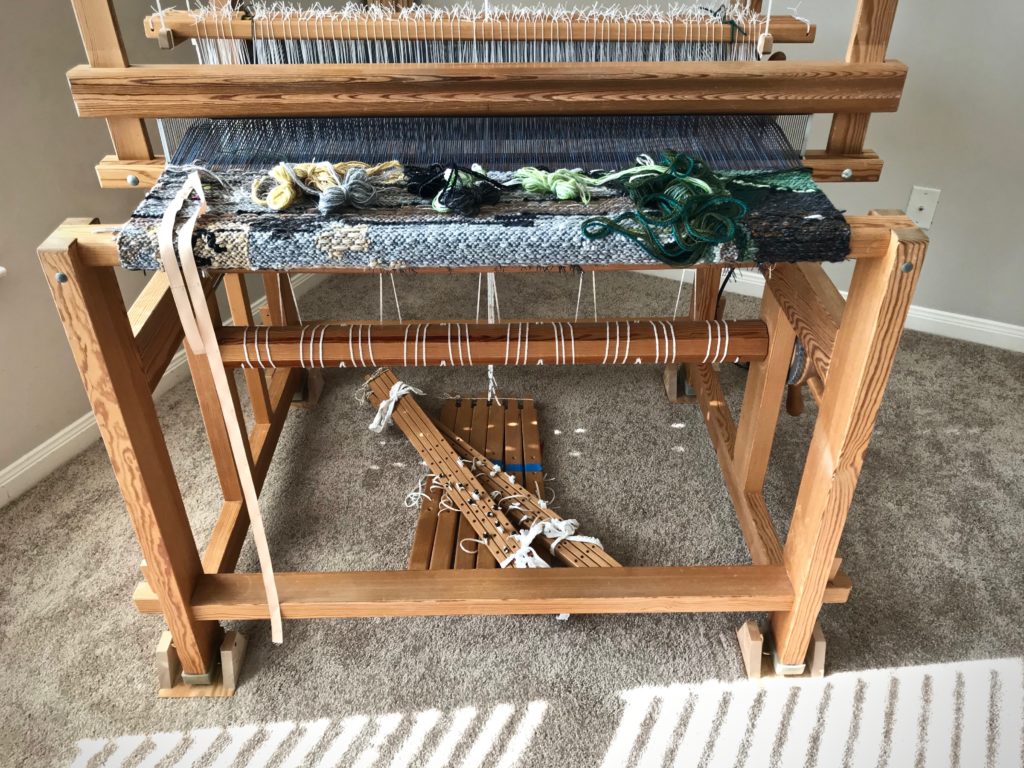
Lamms and treadles removed for moving the loom.
Lamms and treadles have been taken off.
Moving a loom without ruining a tapestry in progress!
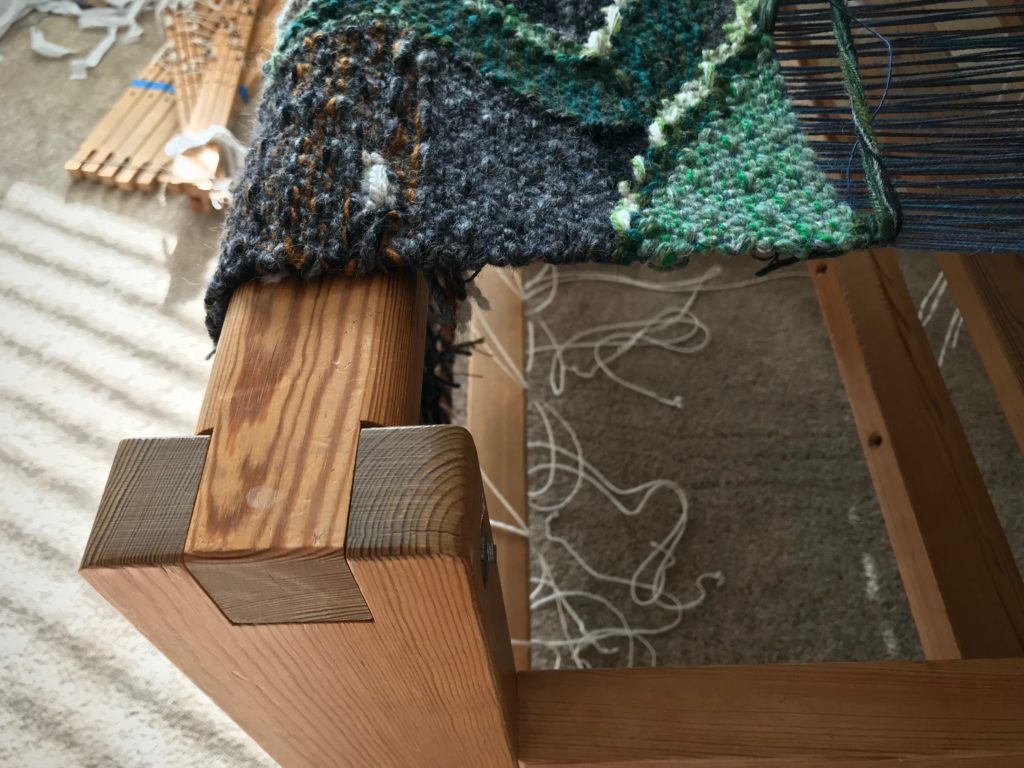
Beam cords are removed from the cloth beam.
Removing the warp beam. Relocating the loom.
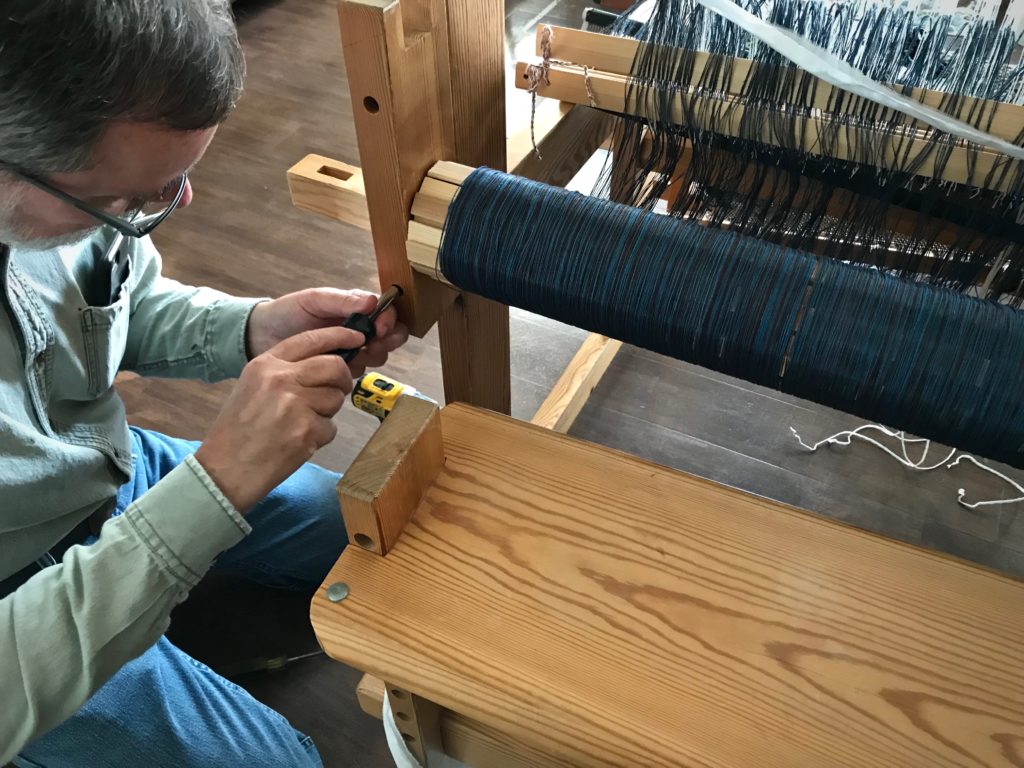
Steve unscrews a bolster that holds one side of the warp beam so I can remove the warp beam.
Warp beam removed! Hope to put this back together.
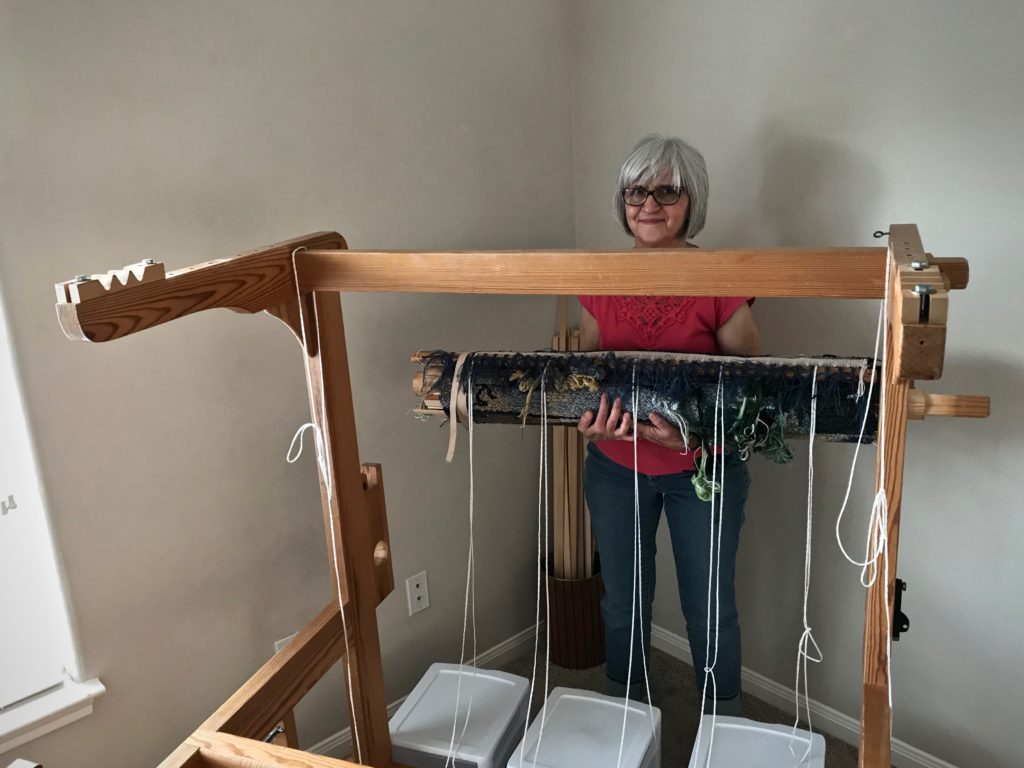
Holding the precious bundle!
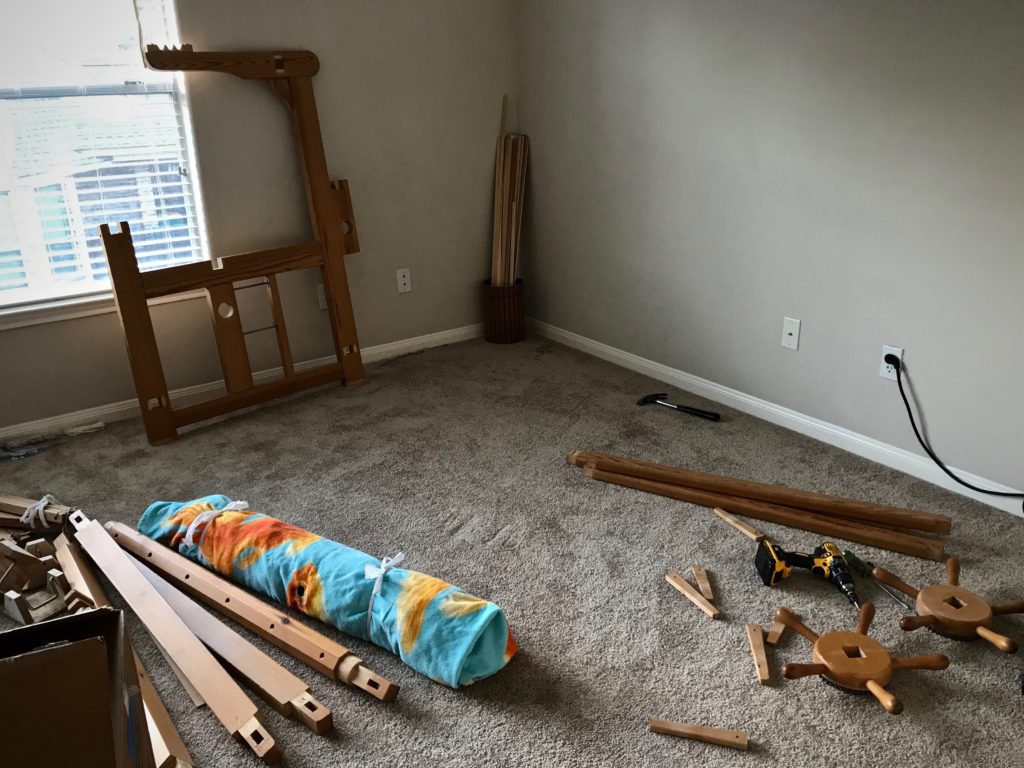
Taking the loom apart.
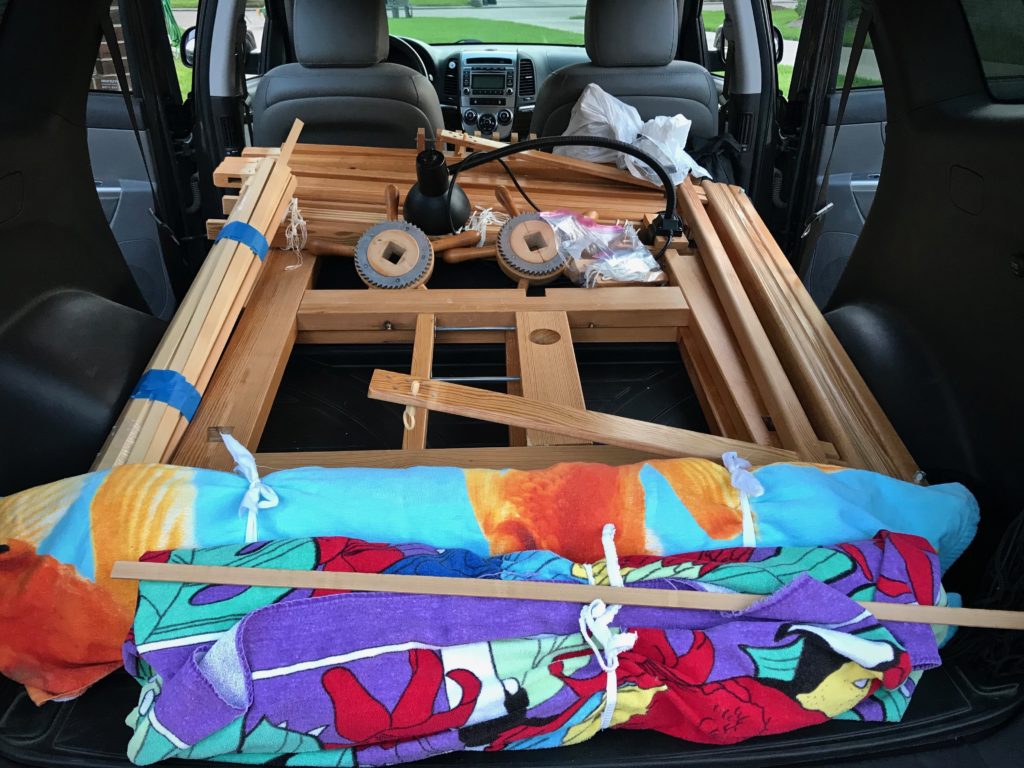
Taken apart. Tapestry, reed, and shafts are rolled and bundled up in the fish beach towel.

Now all I have to do is wait

Relocating my loom.
Everything fits in the car, ready for transport.

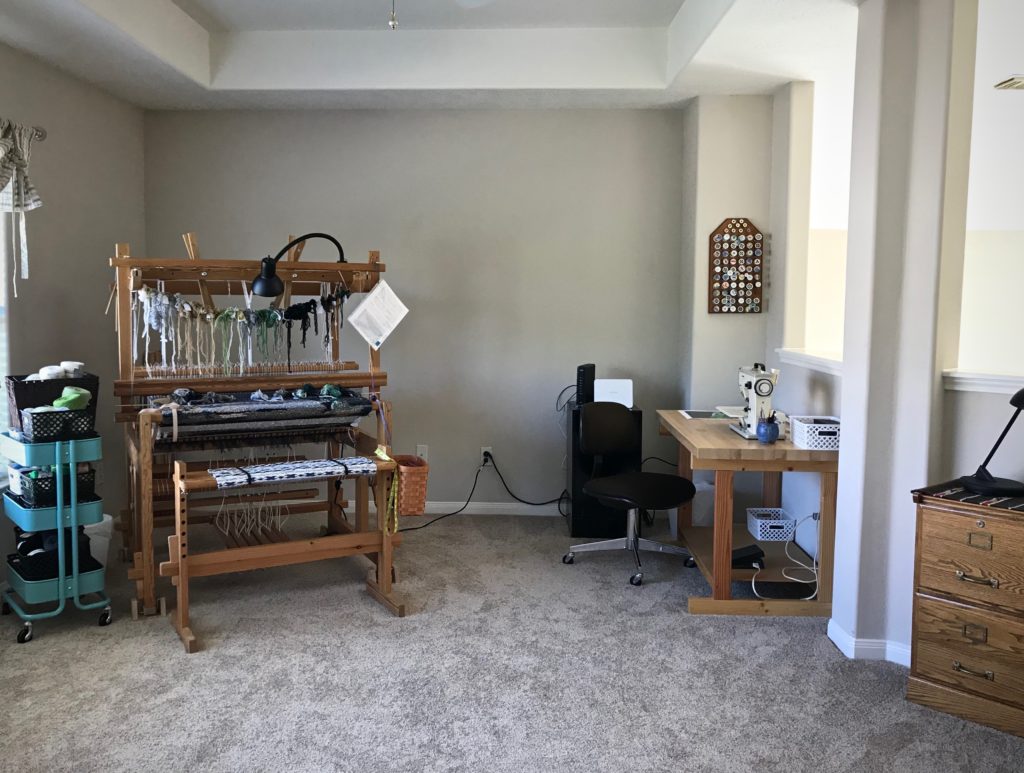
All the dust has settled, the house transaction is done, and the loom has been re-located and put back together. It’s the first thing you see when you enter our ground-floor apartment.

Getting ready to re-assemble loom.
New location for the loom is in the living room of our apartment.
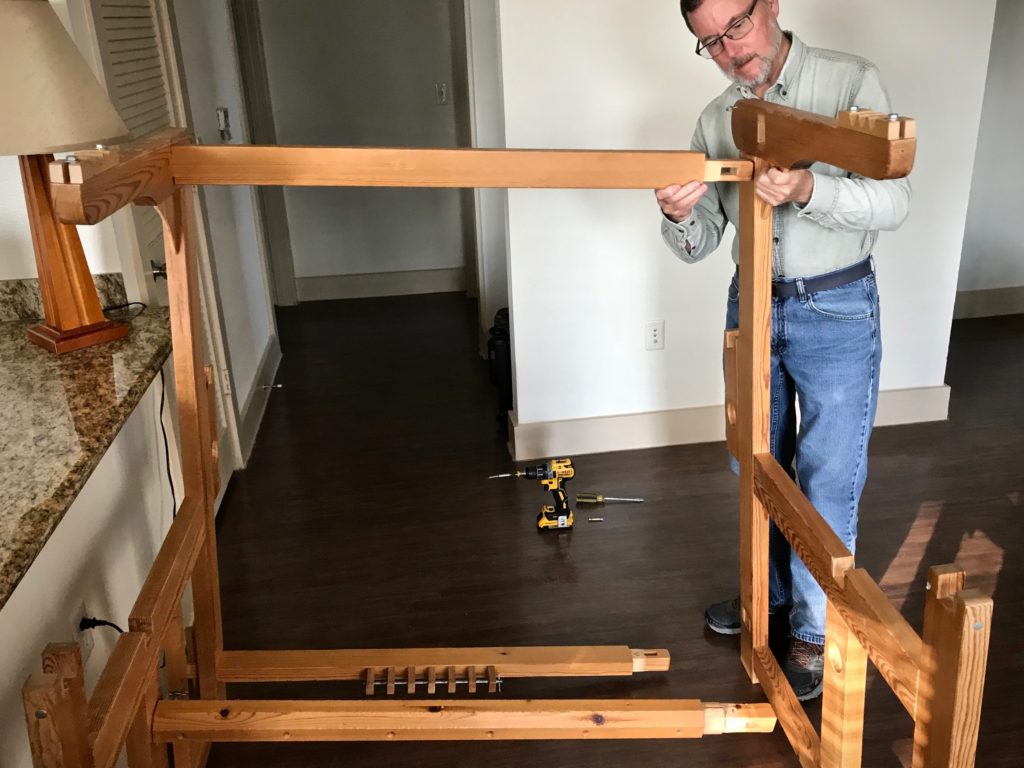
Simple Swedish loom assembling.
Re-assembling my loom after relocating.
Re-attaching the bolster to hold the warp beam.
Re-assembling loom after relocating.
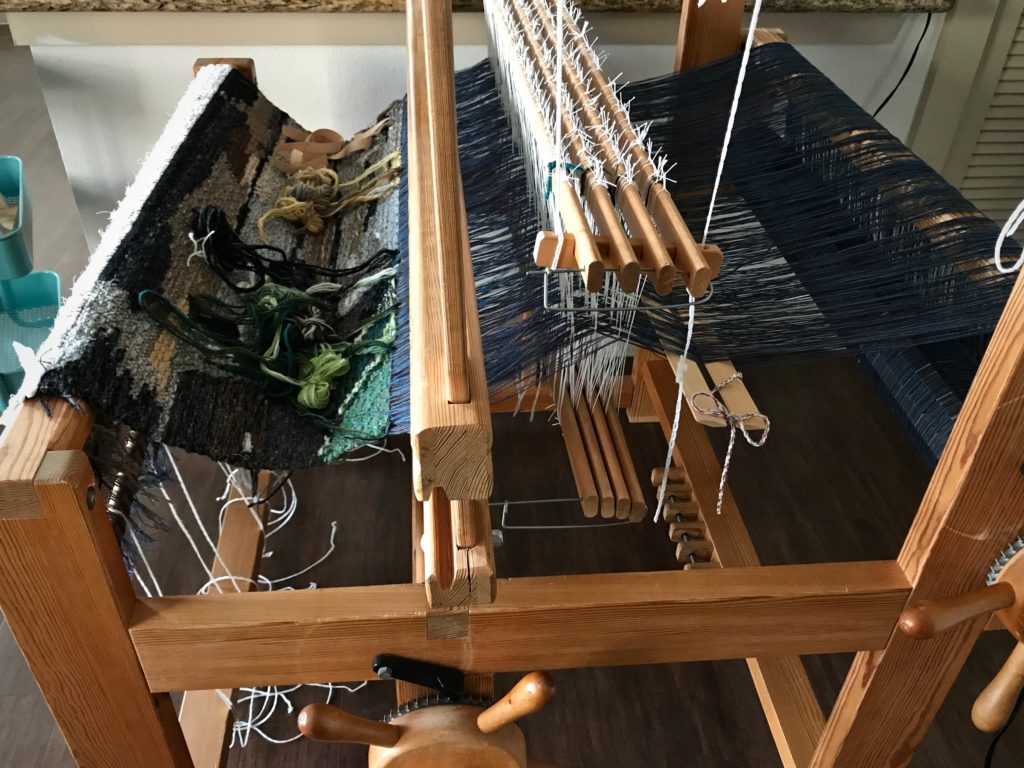
Tapestry in view.
Using a spare heddle as a cord threader.
Spare Texsolv heddle works as a cord threader (I forgot to pack the “real” cord threader) to re-attach the cords on the cloth beam.

What about the Lizard? Can I resume where I left off? Good news: IT WORKED!

Ready to weave after relocating the loom!
Everything is put back together. Beam cords are re-attached. Yarn is unpacked. Warp is tensioned.
Lizard four-shaft tapestry.
Lizard foot grips the breast beam as weaving resumes!

When have you had to wait? Something you dearly long for is unreachable for a while. Waiting for the Lord is always waiting with hope. I trusted my friend’s advice. So, my hope was strong while I waited to see this lizard take shape again. In a similar way, I can trust the Lord when there is a disruption. Wait with strong hope. Wait for the grace to begin again.

May you wait patiently.

Happy Weaving,
Karen

Looms in Transition

July was a roller coaster that took off before I had a chance to buckle my seatbelt! As you may recall, I had just disassembled my Glimåkra Standard loom at the end of June. Happily, that loom is now set up in our Texas hill country home, with a few heddles already threaded. Next, we sold our Houston house. I had prayed that the house would sell quickly. But I was as surprised as anyone when the house sold in one day! Now, a few short weeks later, the house stands empty, ready for a new family to call it home. And, Steve and I are enjoying apartment life in this transition season.

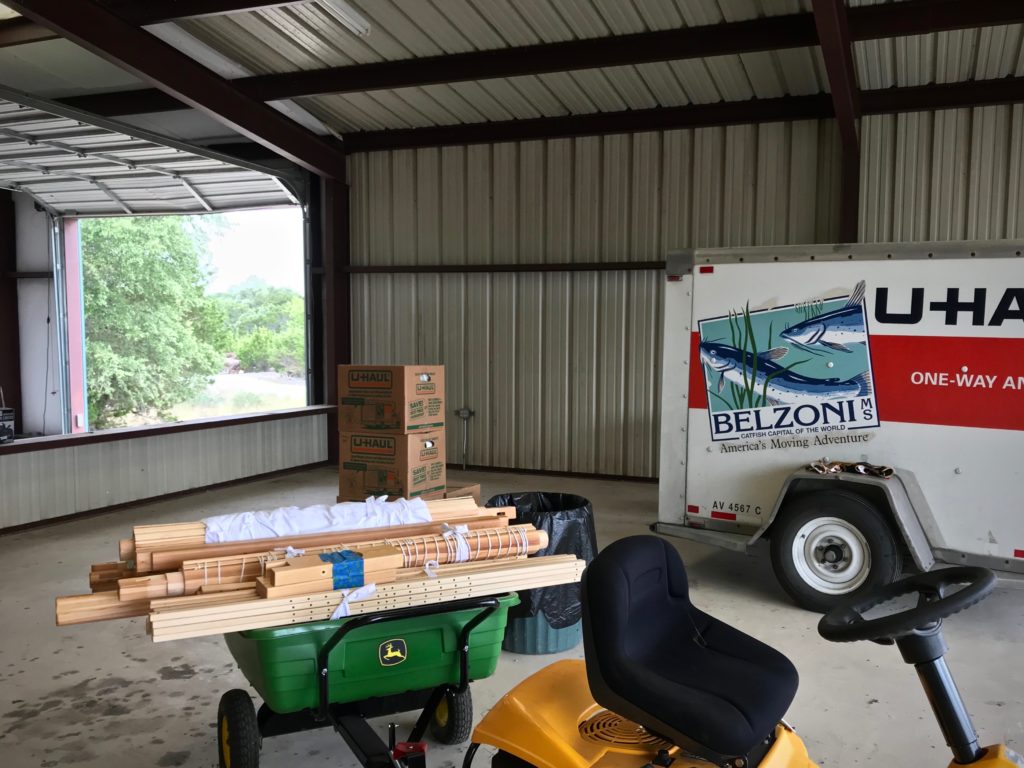
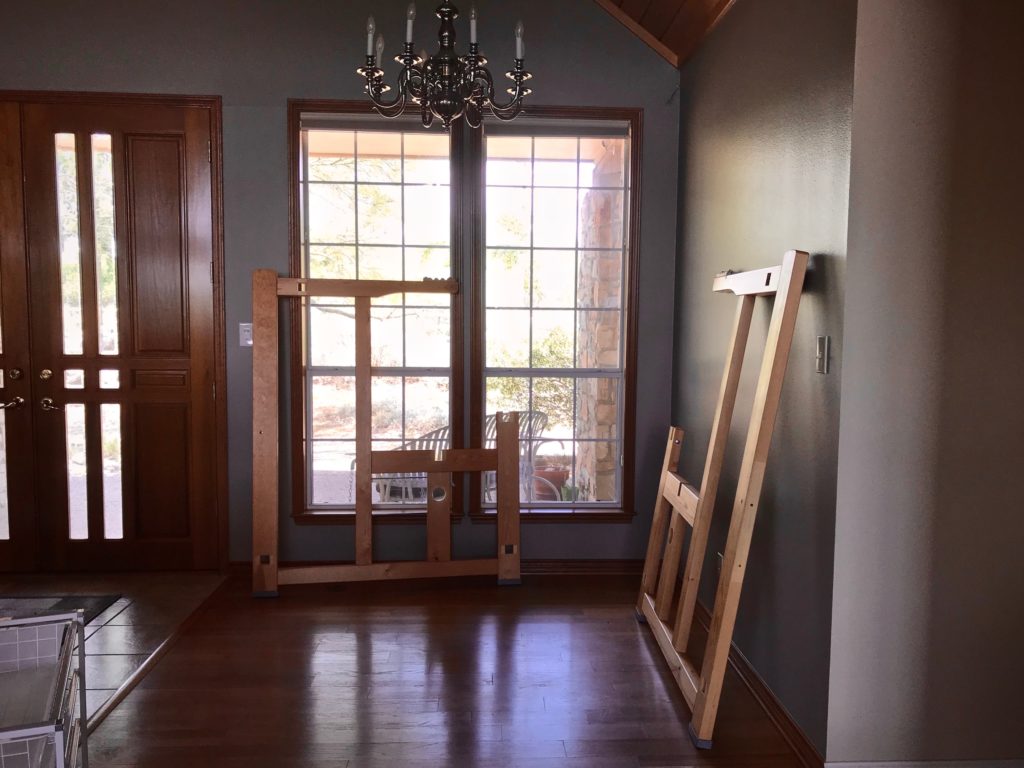
Swedish looms are basically portable.
After all the boxes are unloaded, the loom parts are put back in the trailer to take to the house.
Loom is placed where grand piano used to be.
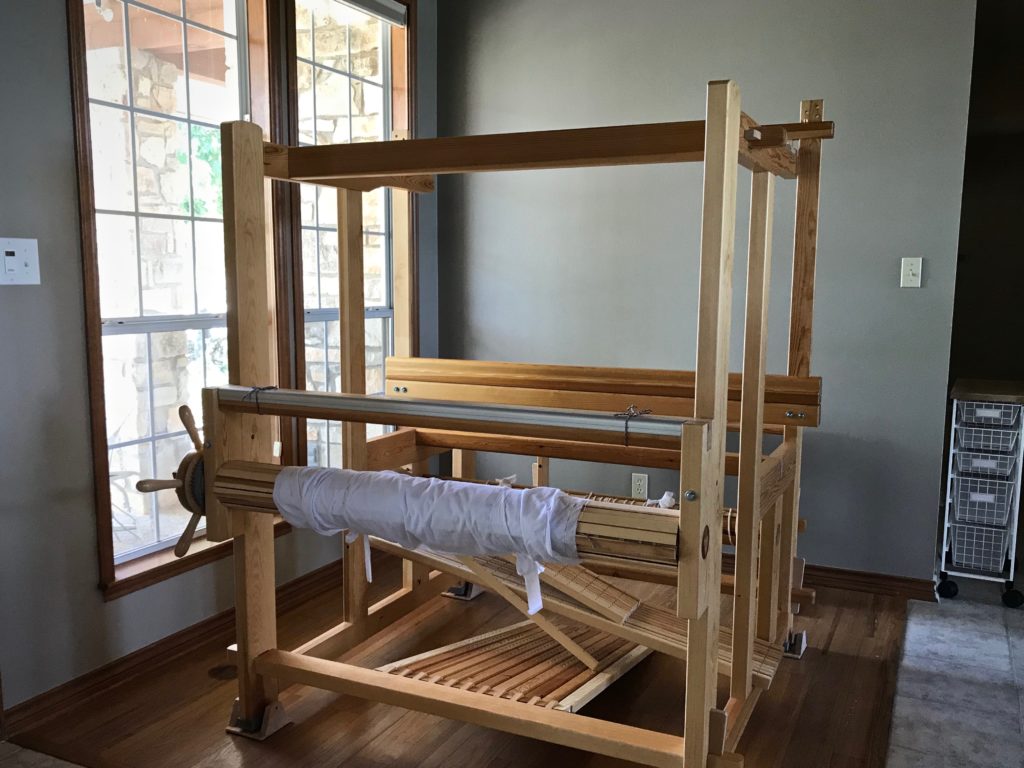
Loom is reassembled and positioned in the area where previous home owners placed their grand piano.
Reassembling the Glimakra Standard loom.
Little by little, the loom is put back together. Warp beam has a cottolin warp on it, wrapped in a sheet for the move.
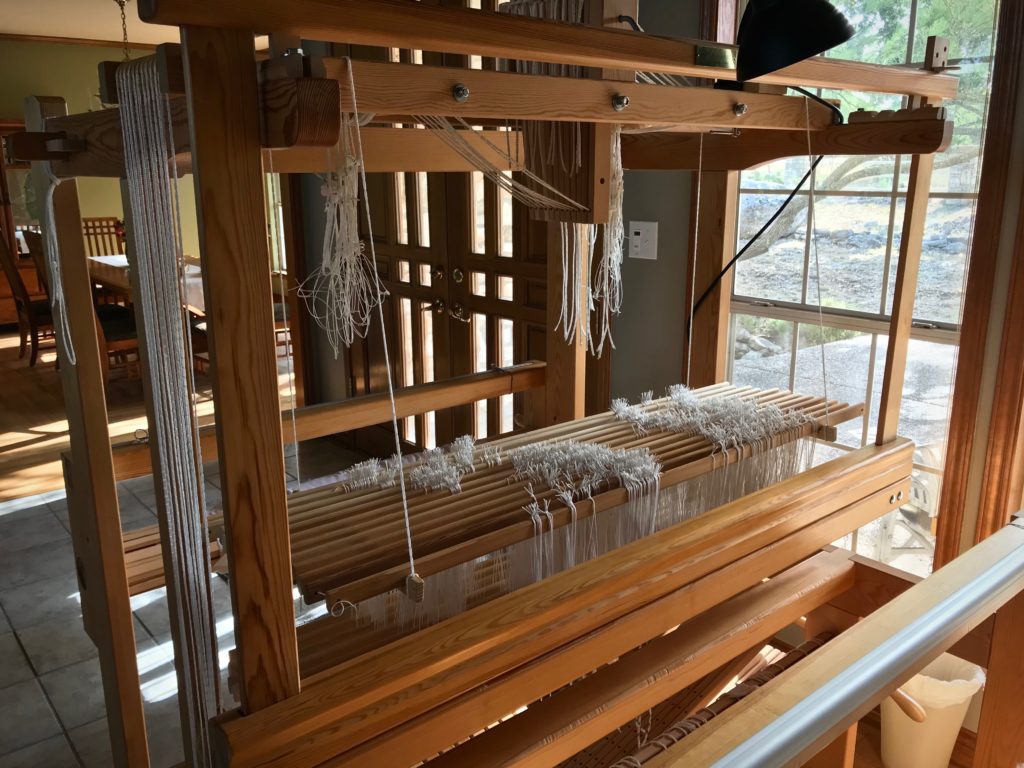
Twelve shafts for this double-weave project.
Threading twelve shafts.
Threading.
Threading 12 shafts. View from the back beam.
View from the back beam.
Threading 12 shafts for double weave.
Twelve shafts–much like threading three four-shaft looms right next to each other.

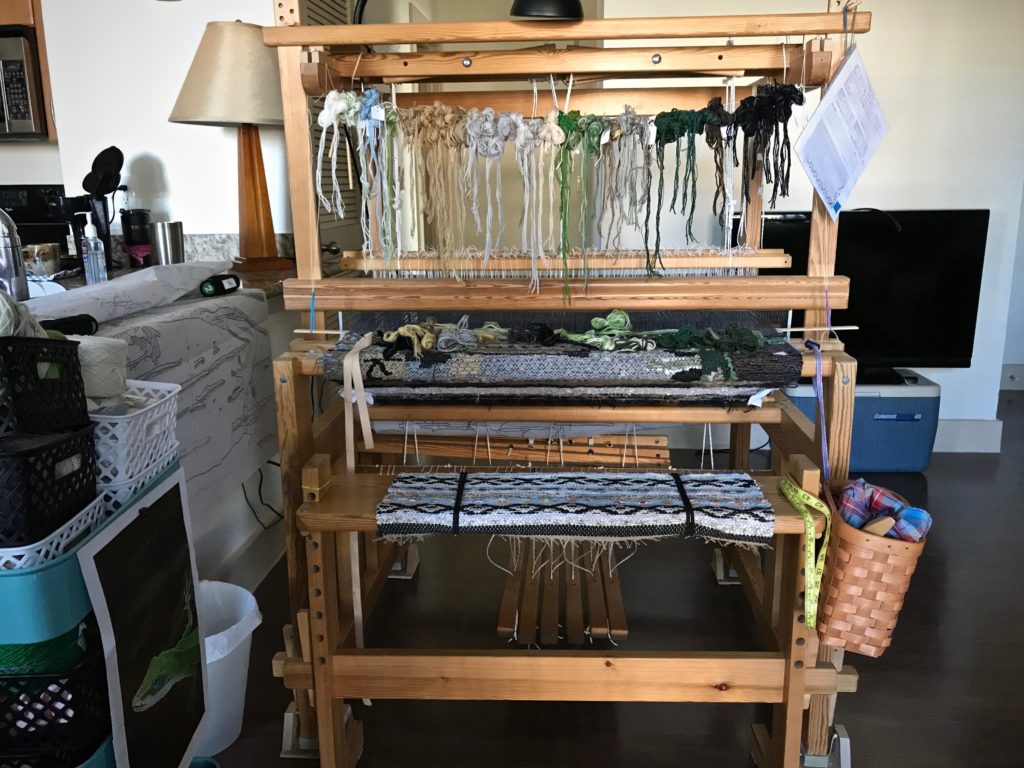
The Ideal loom with the Lizard tapestry had to be dismantled for moving… (more on that in future posts).

Getting ready to dismantle this loom...with the tapestry on it!
Ideal loom with the Lizard tapestry, before dismantling…

Pray. Abiding prayer is that ongoing conversation we have with God as we face the roller coasters that show up at our doorstep. He invites us to bring everything—big and little. Selling the house quickly is a little thing. Saving people is a big thing. Maybe sometimes God answers the little things to remind us that He is here for the big things, too.

May you pray big things.

In Christ,
Karen