Tools Day: Band Loom Warping Board

It is almost effortless to make a short warp for the band loom. All you need is a peg at the beginning and a peg at the end. You can use a spoke of the warp beam wheel, for instance, at one end, and the leg of an upside-down stool at the other. I normally use my warping reel, though, for even a simple warp, because the reel is so handy. However, I don’t have my warping reel here at the apartment, so I am turning my band loom into a handy warping board for this band loom project.
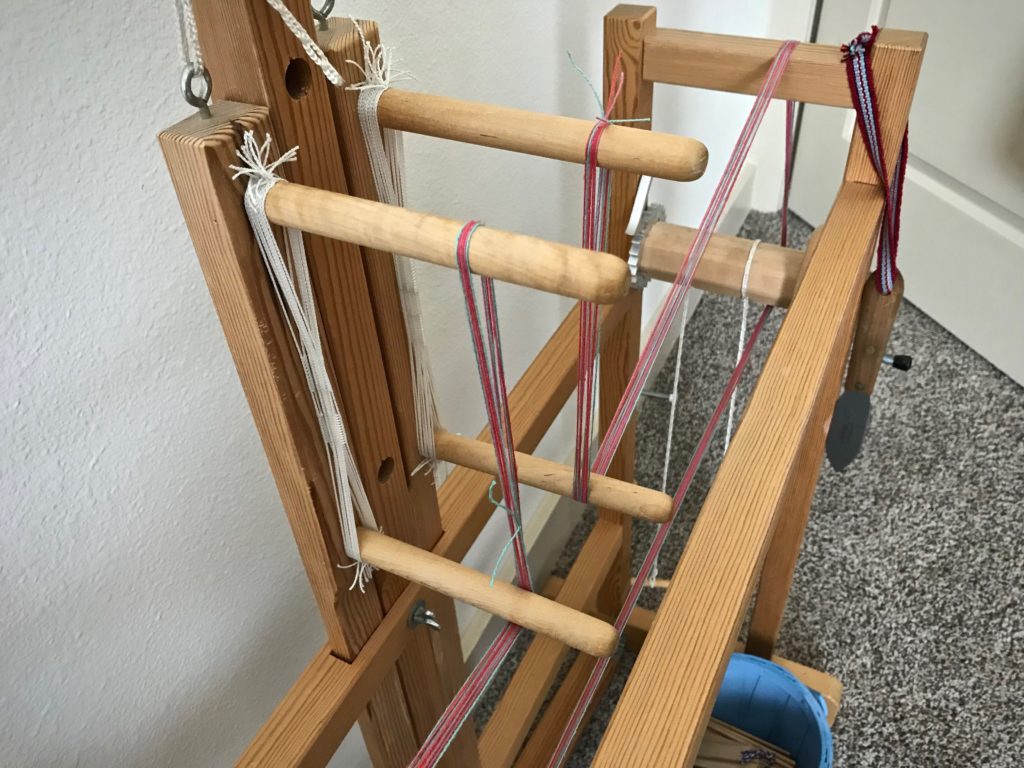
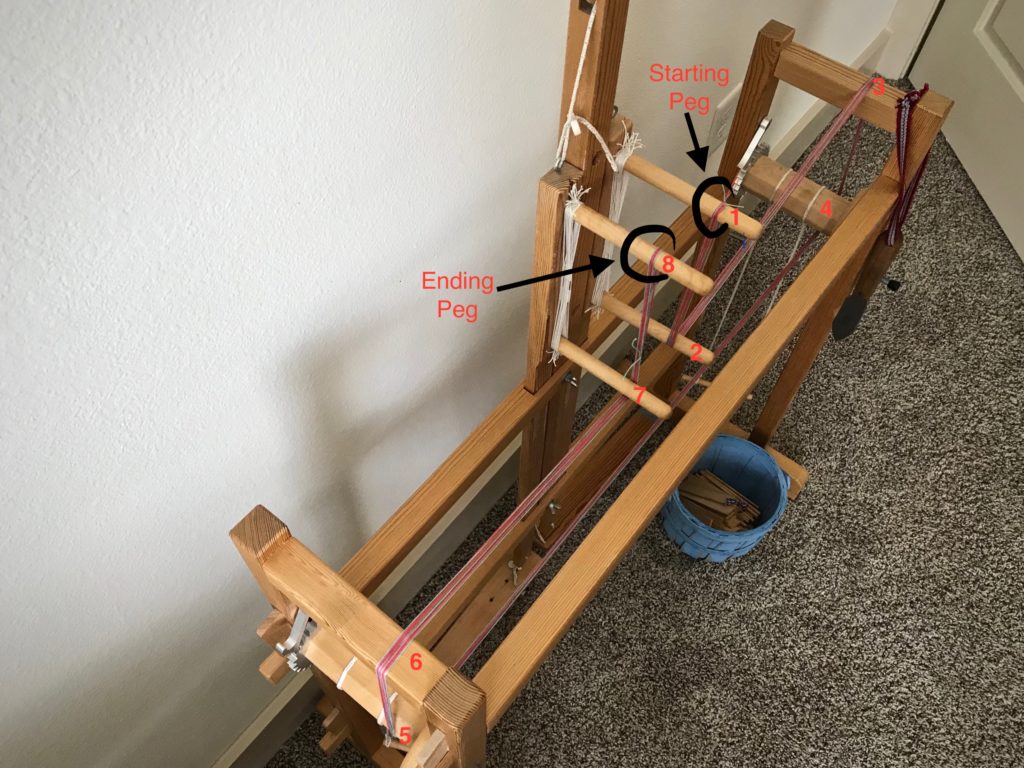
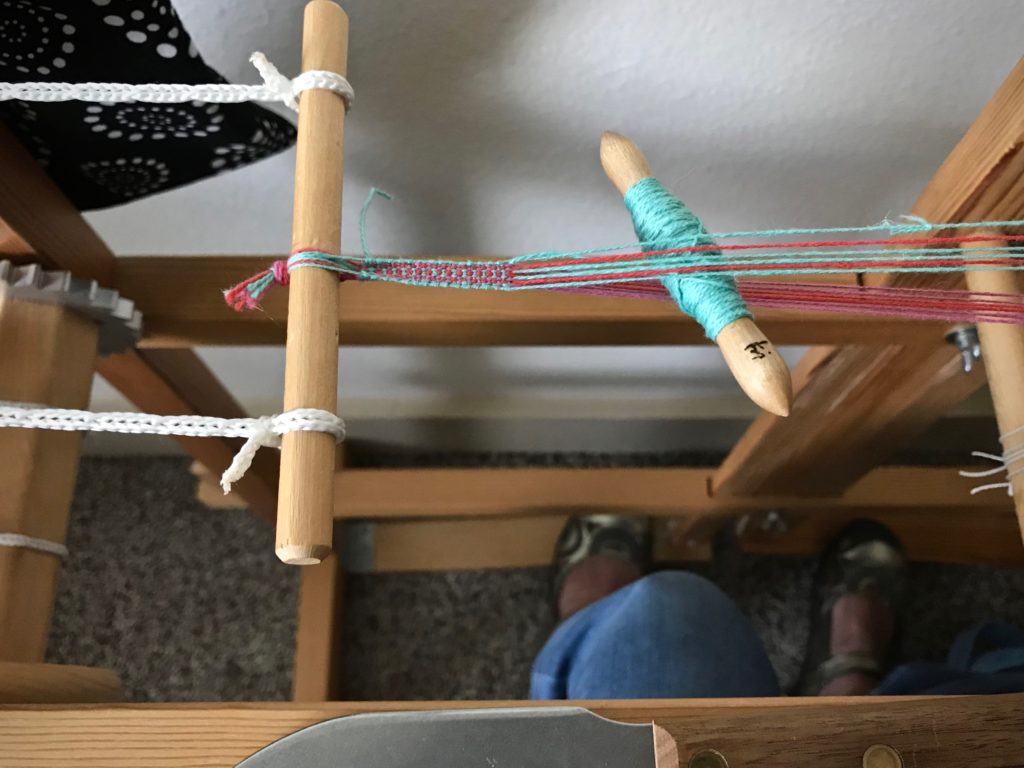
Using the Glimakra band loom as a warping board.
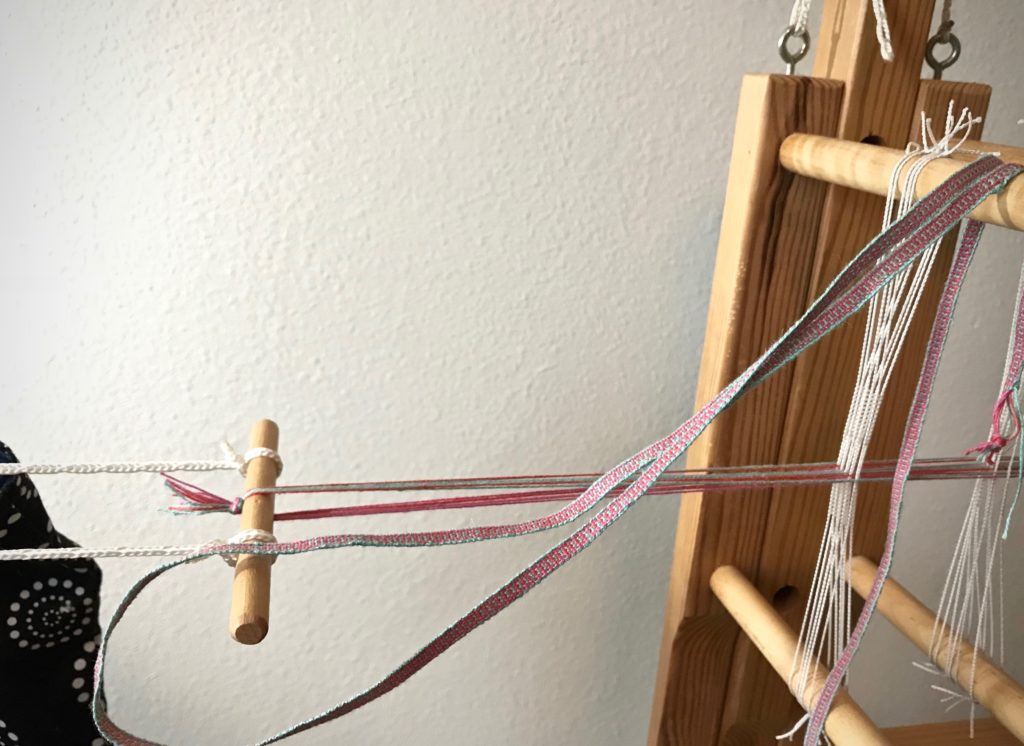
Using the Glimåkra band loom to measure a narrow cottolin warp.

How to Use the Band Loom as a Warping Board

Tools and supplies:

  • Glimåkra band loom
  • Thread for weaving a narrow band
  • Basket and/or spool holder(s)
  • Scissors
How to use the band loom as a warping board.
Starting at one peg and ending at another. The band loom becomes a simple tool for winding a short warp.

For a warp of approximately two meters:

  • Put the warp thread on the floor below—quills in a basket, and/or thread tubes on spool holders.
  • Using two or more ends, tie the ends together with an overhand knot. (I used three ends together for this warp.)
  • Bring the warp ends up around the warp beam and over the back beam.
  • Loop the knot on the starting peg.
  • Draw the ends from the starting peg to the ending peg, around the band loom, following this path:
  1. Starting peg–upper heddle peg nearest back beam
  2. Lower heddle peg nearest back beam
  3. Back beam
  4. Warp beam
  5. Cloth beam
  6. Front beam
  7. Lower heddle peg nearest front beam
  8. Ending peg–upper heddle peg nearest front beam
  • Follow the winding path in reverse order back to the starting peg.
  • Continue winding until you have reached the desired number of ends.
  • Cut the ends and tie off at the starting peg or the ending peg.
  • Tie one or two choke ties, if needed. (I didn’t need them for this short warp.)
  • Carefully remove the warp and dress the band loom as usual. (For a tutorial on dressing the band loom, click here: Quiet Friday: Band Loom Warping and Weaving.)
  • Weave to your heart’s content.
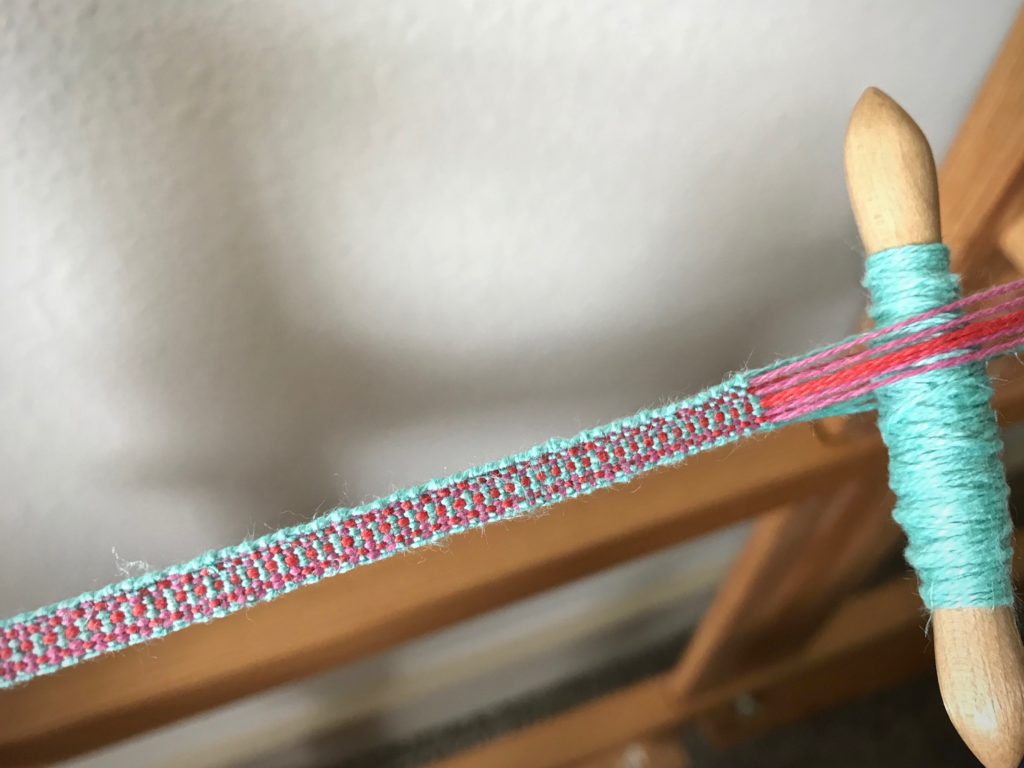
Weaving hanging tabs for towels on my Glimakra band loom.
One meter of woven band is cut off. The remaining band warp is tied back on. Weaving can resume at any time.
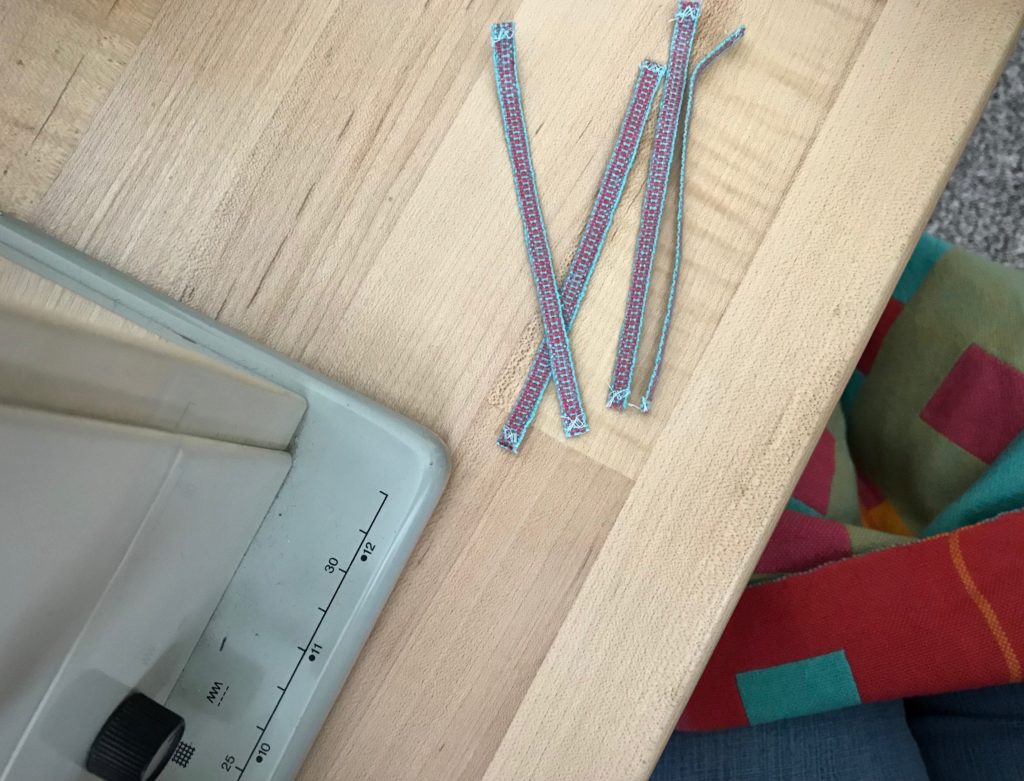
Preparing to sew handwoven ribbons onto handwoven towels for hanging.
Ends secured, and cut in 10.5 cm lengths, the tabs are ready to be sewn onto the double weave towels.

May you find tools you didn’t know you had.

Happy band weaving,
Karen

Band Loom Time!

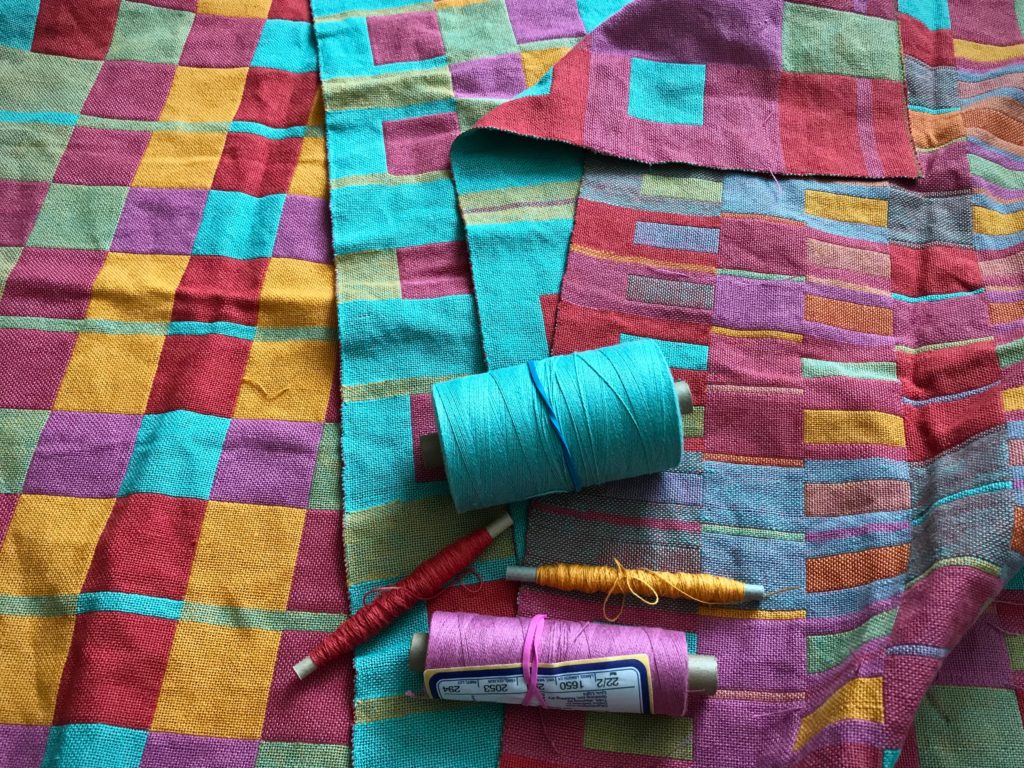
Before I can hem these new towels, I need to make some hanging tabs. Band loom time! Making a warp for the band loom is one way to use up some of the weft on quills that didn’t quite get emptied when weaving the towels. Of the four colors in the towels, I am using aqua, poppy, and orchid for the hanging tabs. The bright marigold, my favorite of the four colors, may bring too much attention to itself, so I’m leaving it out. A hanging tab must be a stable and firm loop that becomes a pleasing part of the towel.

Planning to weave hanging tabs for handwoven towels. Karen Isenhower
Towels, before wet finishing, are spread out with the thread colors on top. I am trying to determine which colors will work together in woven hanging tabs for all four towels.
Glimakra band loom. Hanging tabs for handwoven towels.
Eleven ends are just enough for weaving a narrow band. (The two ends in the center are doubled in the heddle and counted as one.)
Glimakra band loom, making hanging tabs for handwoven towels.
Simple symmetrical design with aqua, poppy, and orchid colors. To use as hanging tabs for towels, the band is cut into short pieces, about ten centimeters (four inches) each. Each cut tab is then sewn into the hem of a towel.

Established. Stable (root word of e-stabl-ish) and firm. That’s how important our faith is as we walk through life. Everything hangs from it. So it must be woven carefully and stitched in securely, a pleasing part of who we are. Stable and firm in faith as we live for the Lord—that’s a beautiful way to live.

May your finishing details be pleasing.

With you,
Karen

Weaving Deadline

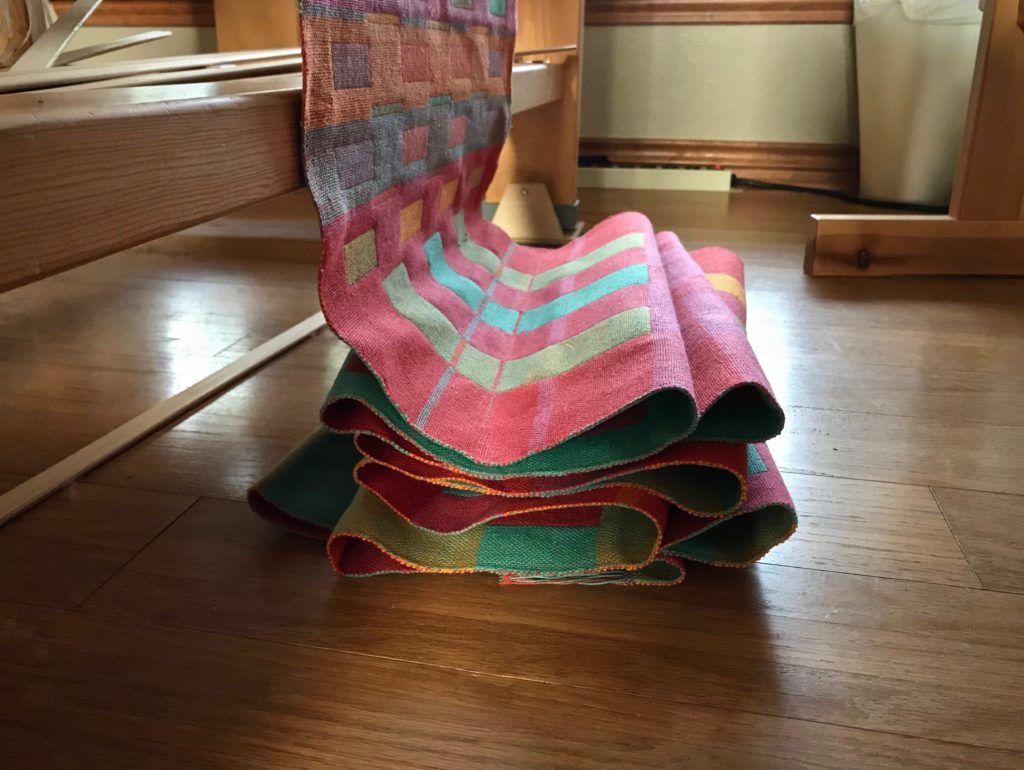
I had a deadline for weaving these towels. Eight days. I finished dressing the loom at our Texas hill country home on Monday afternoon, and wove in long and short increments throughout the week. Mostly short increments. After all, I had little grandchildren to enjoy at the same time. And sweet interactions with my daughter and her husband. I finished weaving the four towels on Saturday evening, and cut them off on Sunday morning, just in time to bring them back with me to Houston to do the finishing work.

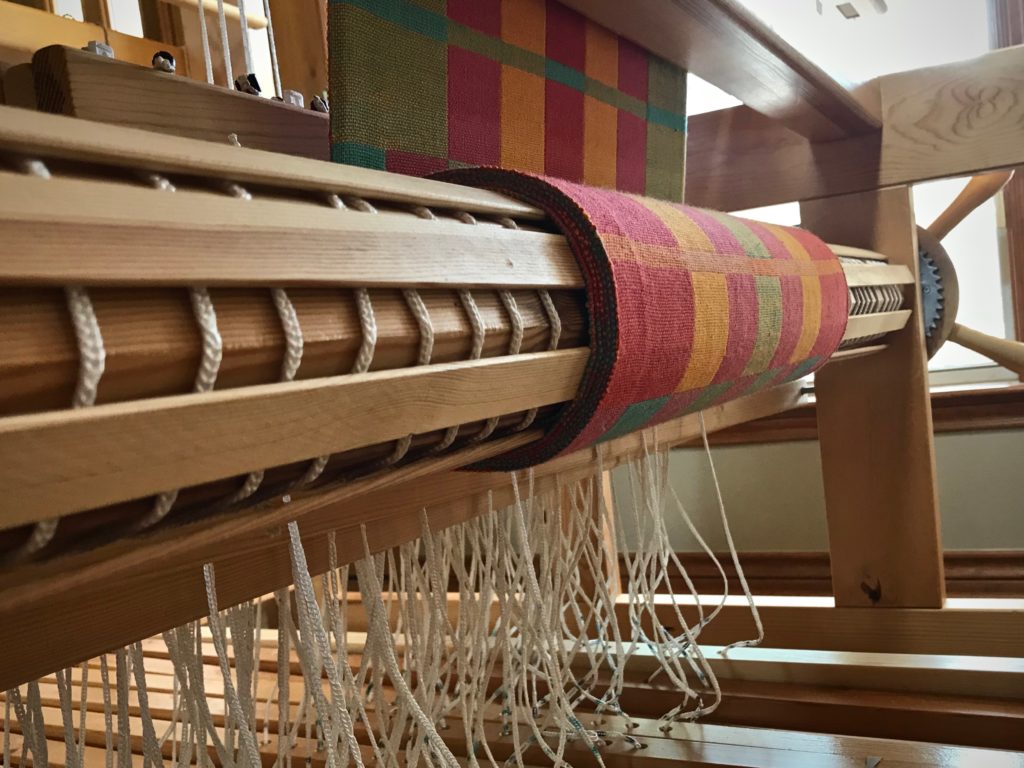
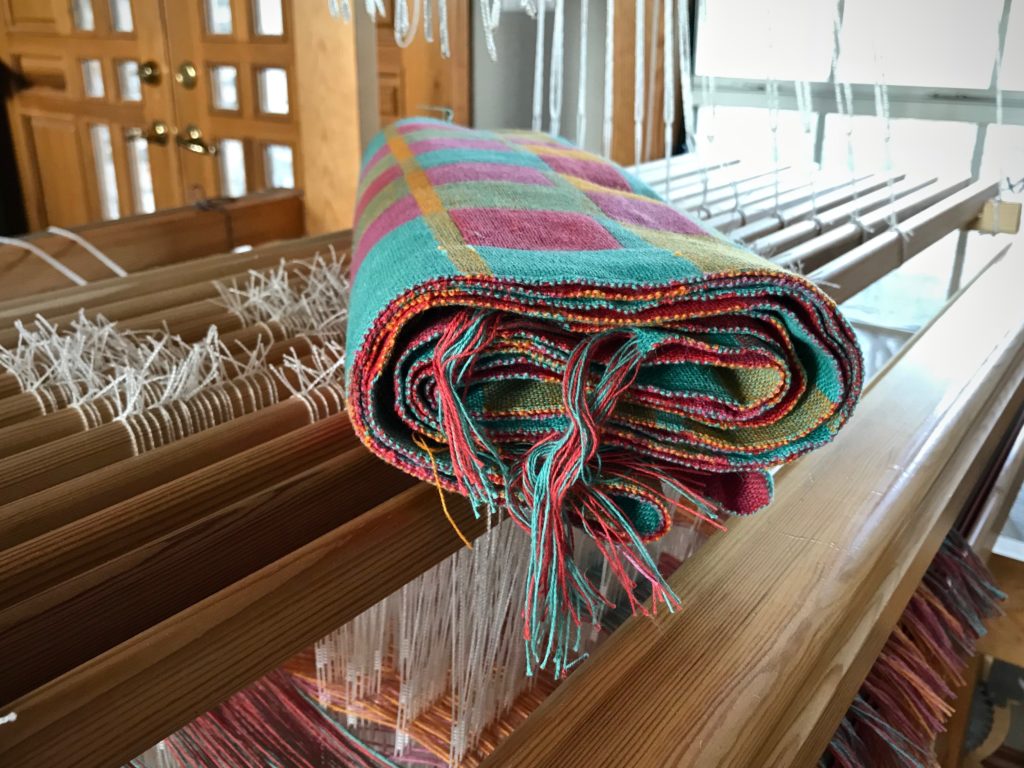
Cloth beam fills up with double weave towels.
Four double weave towels. Time for cutting off!
Four towels woven. Time for cutting off!
Cloth puddle of double weave towels. Cutting off!
Cloth puddle.
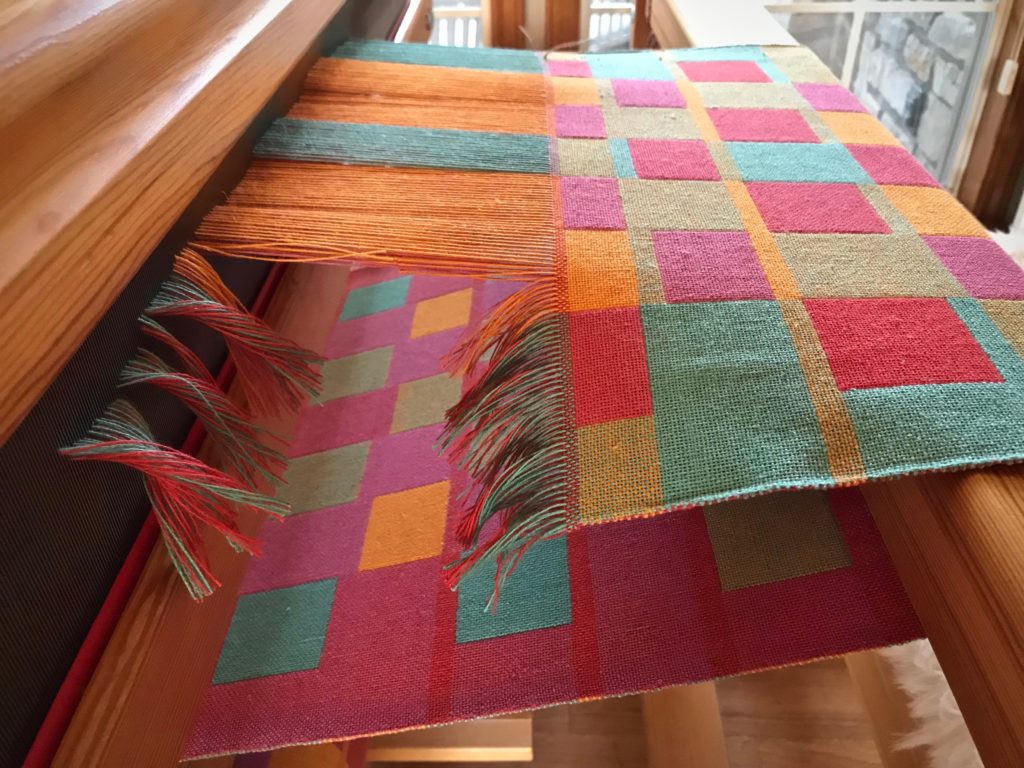
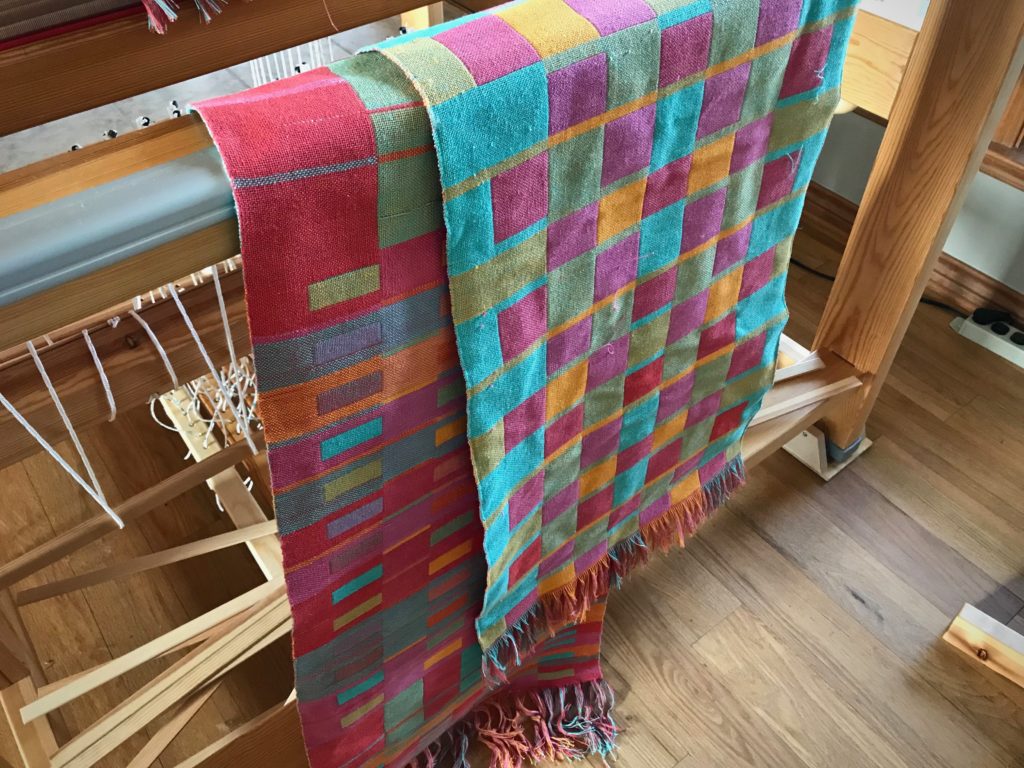
Double weave towels just off the loom.
Aqua is the main color on the front of the towels. The reverse side has Poppy as the main color.
Freshly woven towels, ready for finishing work.
Ready for finishing. This week I will be mending errors, wet finishing, hemming, and sewing on labels.

I was highly motivated. I knew this may be my only chance to finish these towels for Melody before she and her precious family move to Chile in the near future. Now, she will be able to take a woven piece of my love with her. Know your roots. Where are you rooted? When your life takes root in good soil it will grow. Rooted in love, your life will blossom to bless others. And those are roots you can plant anywhere in the world.

May you bloom where you are planted.

With love,
Karen