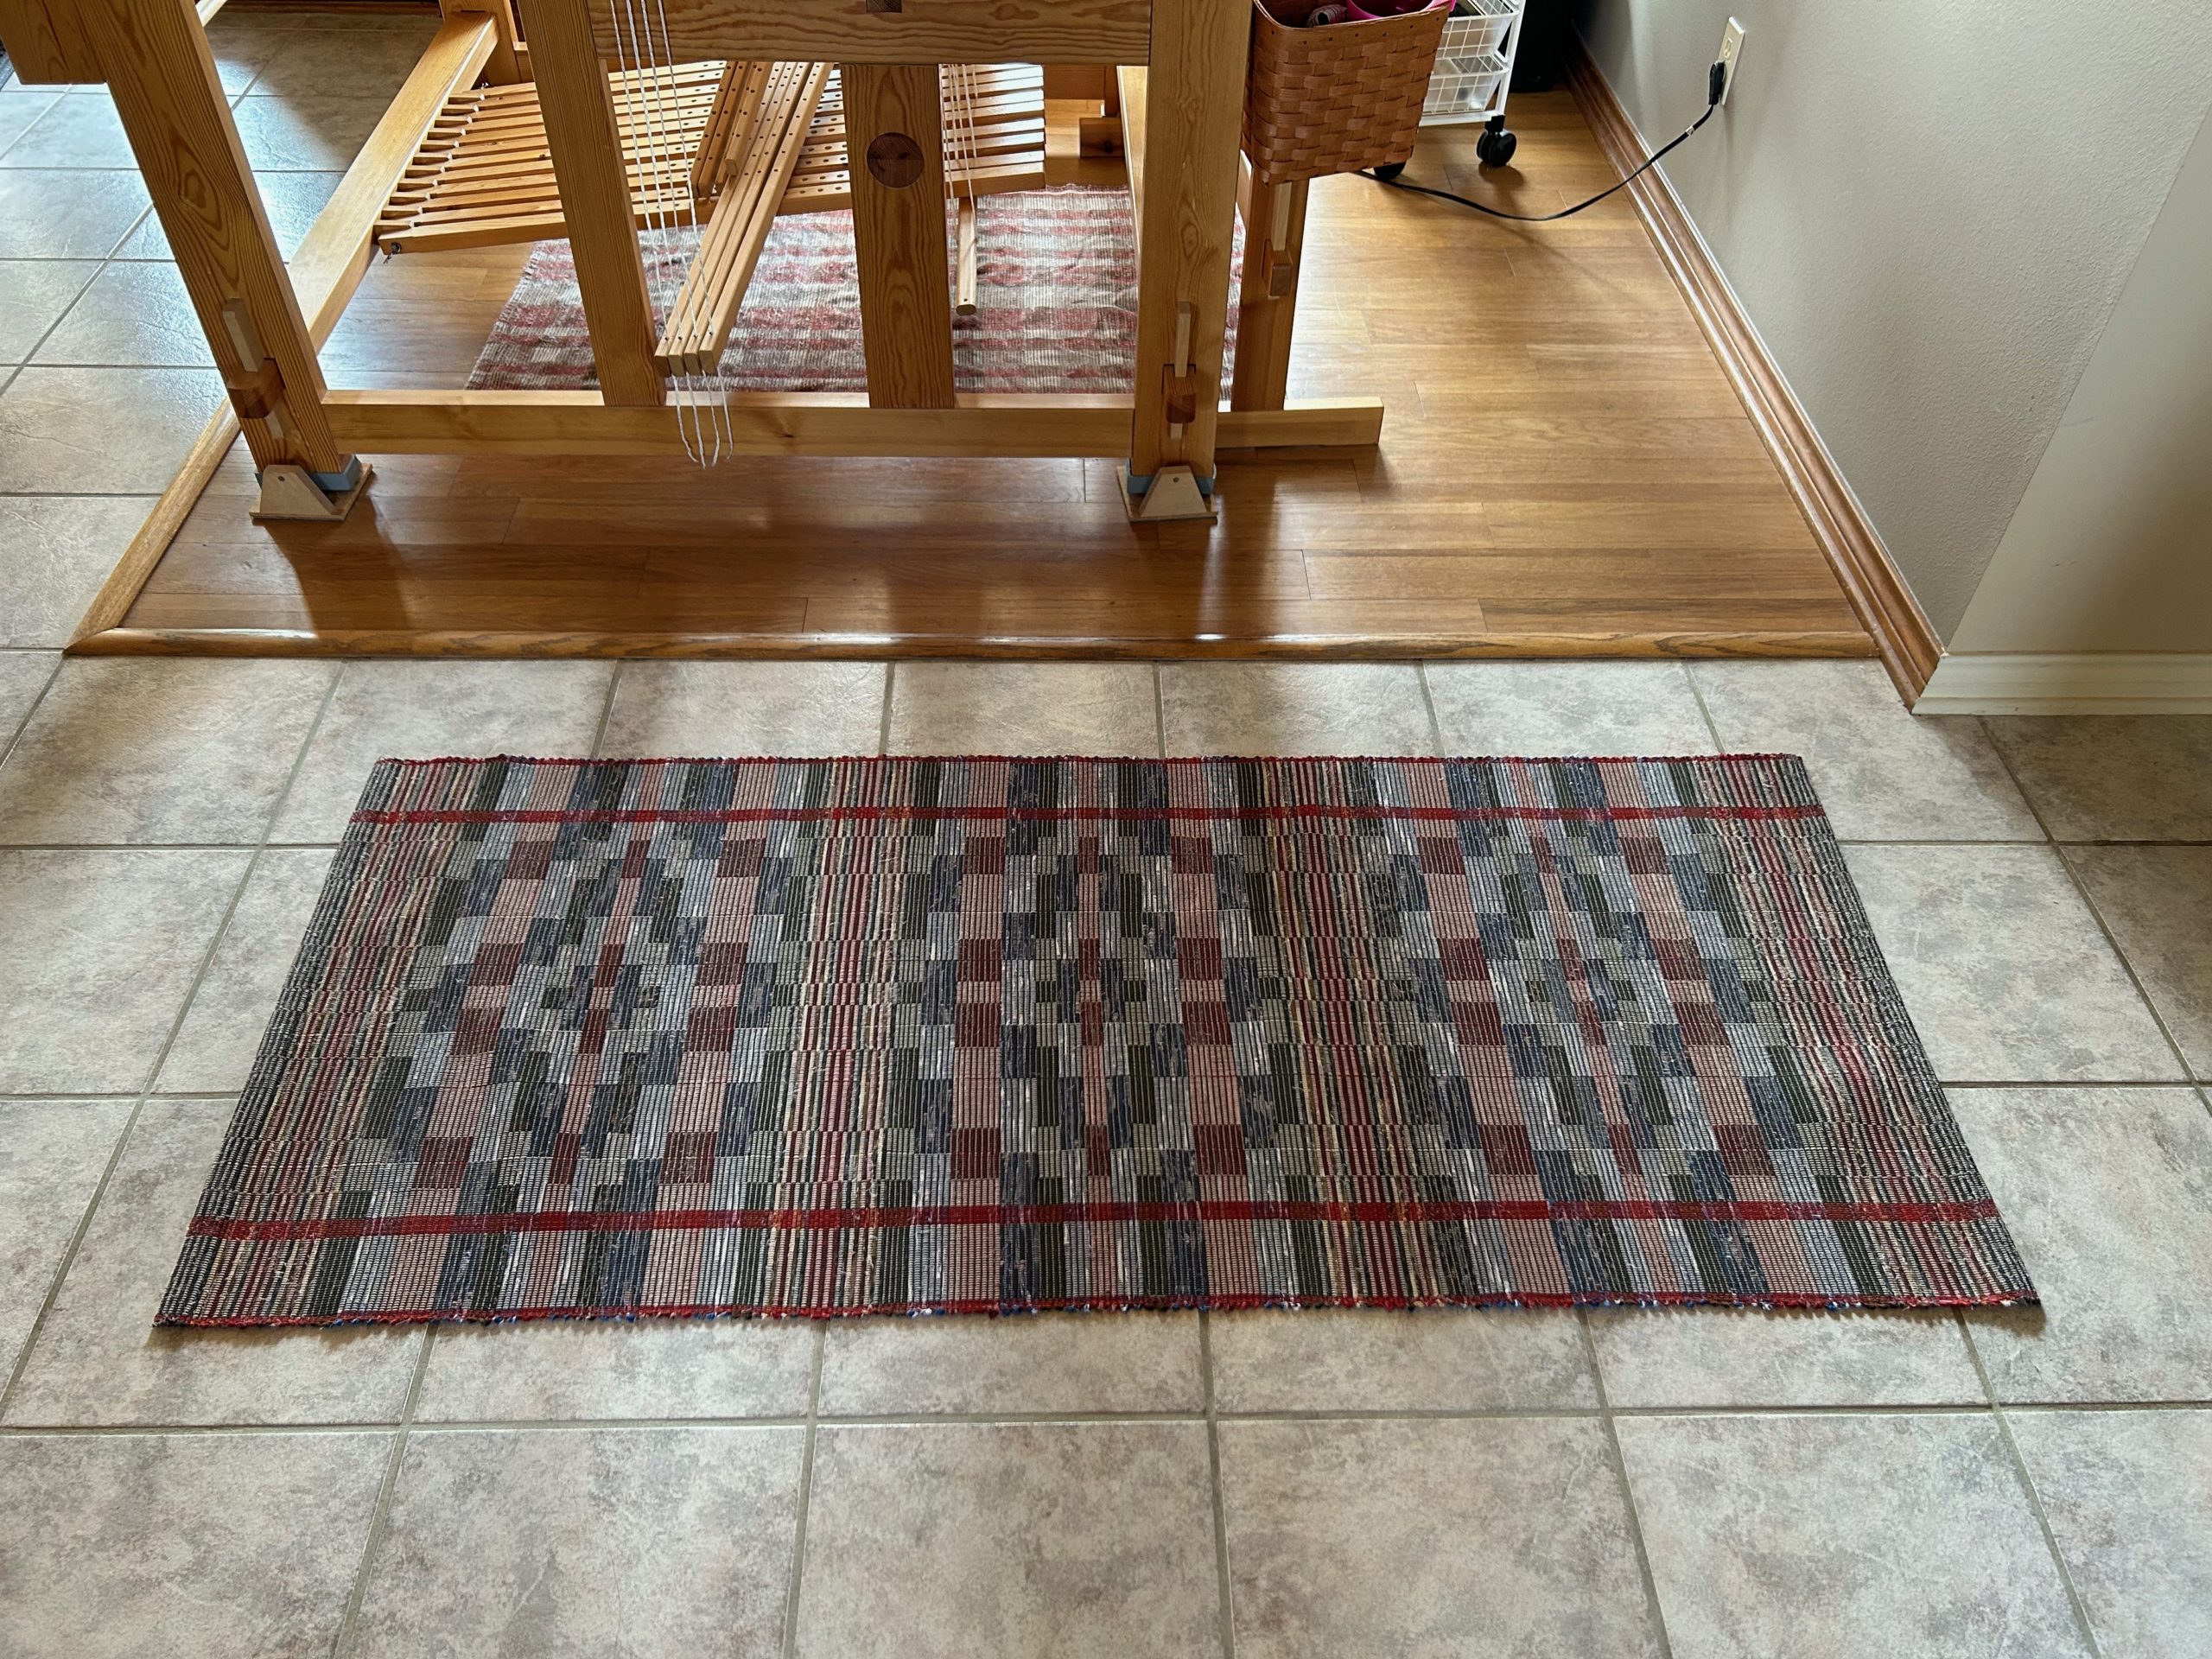
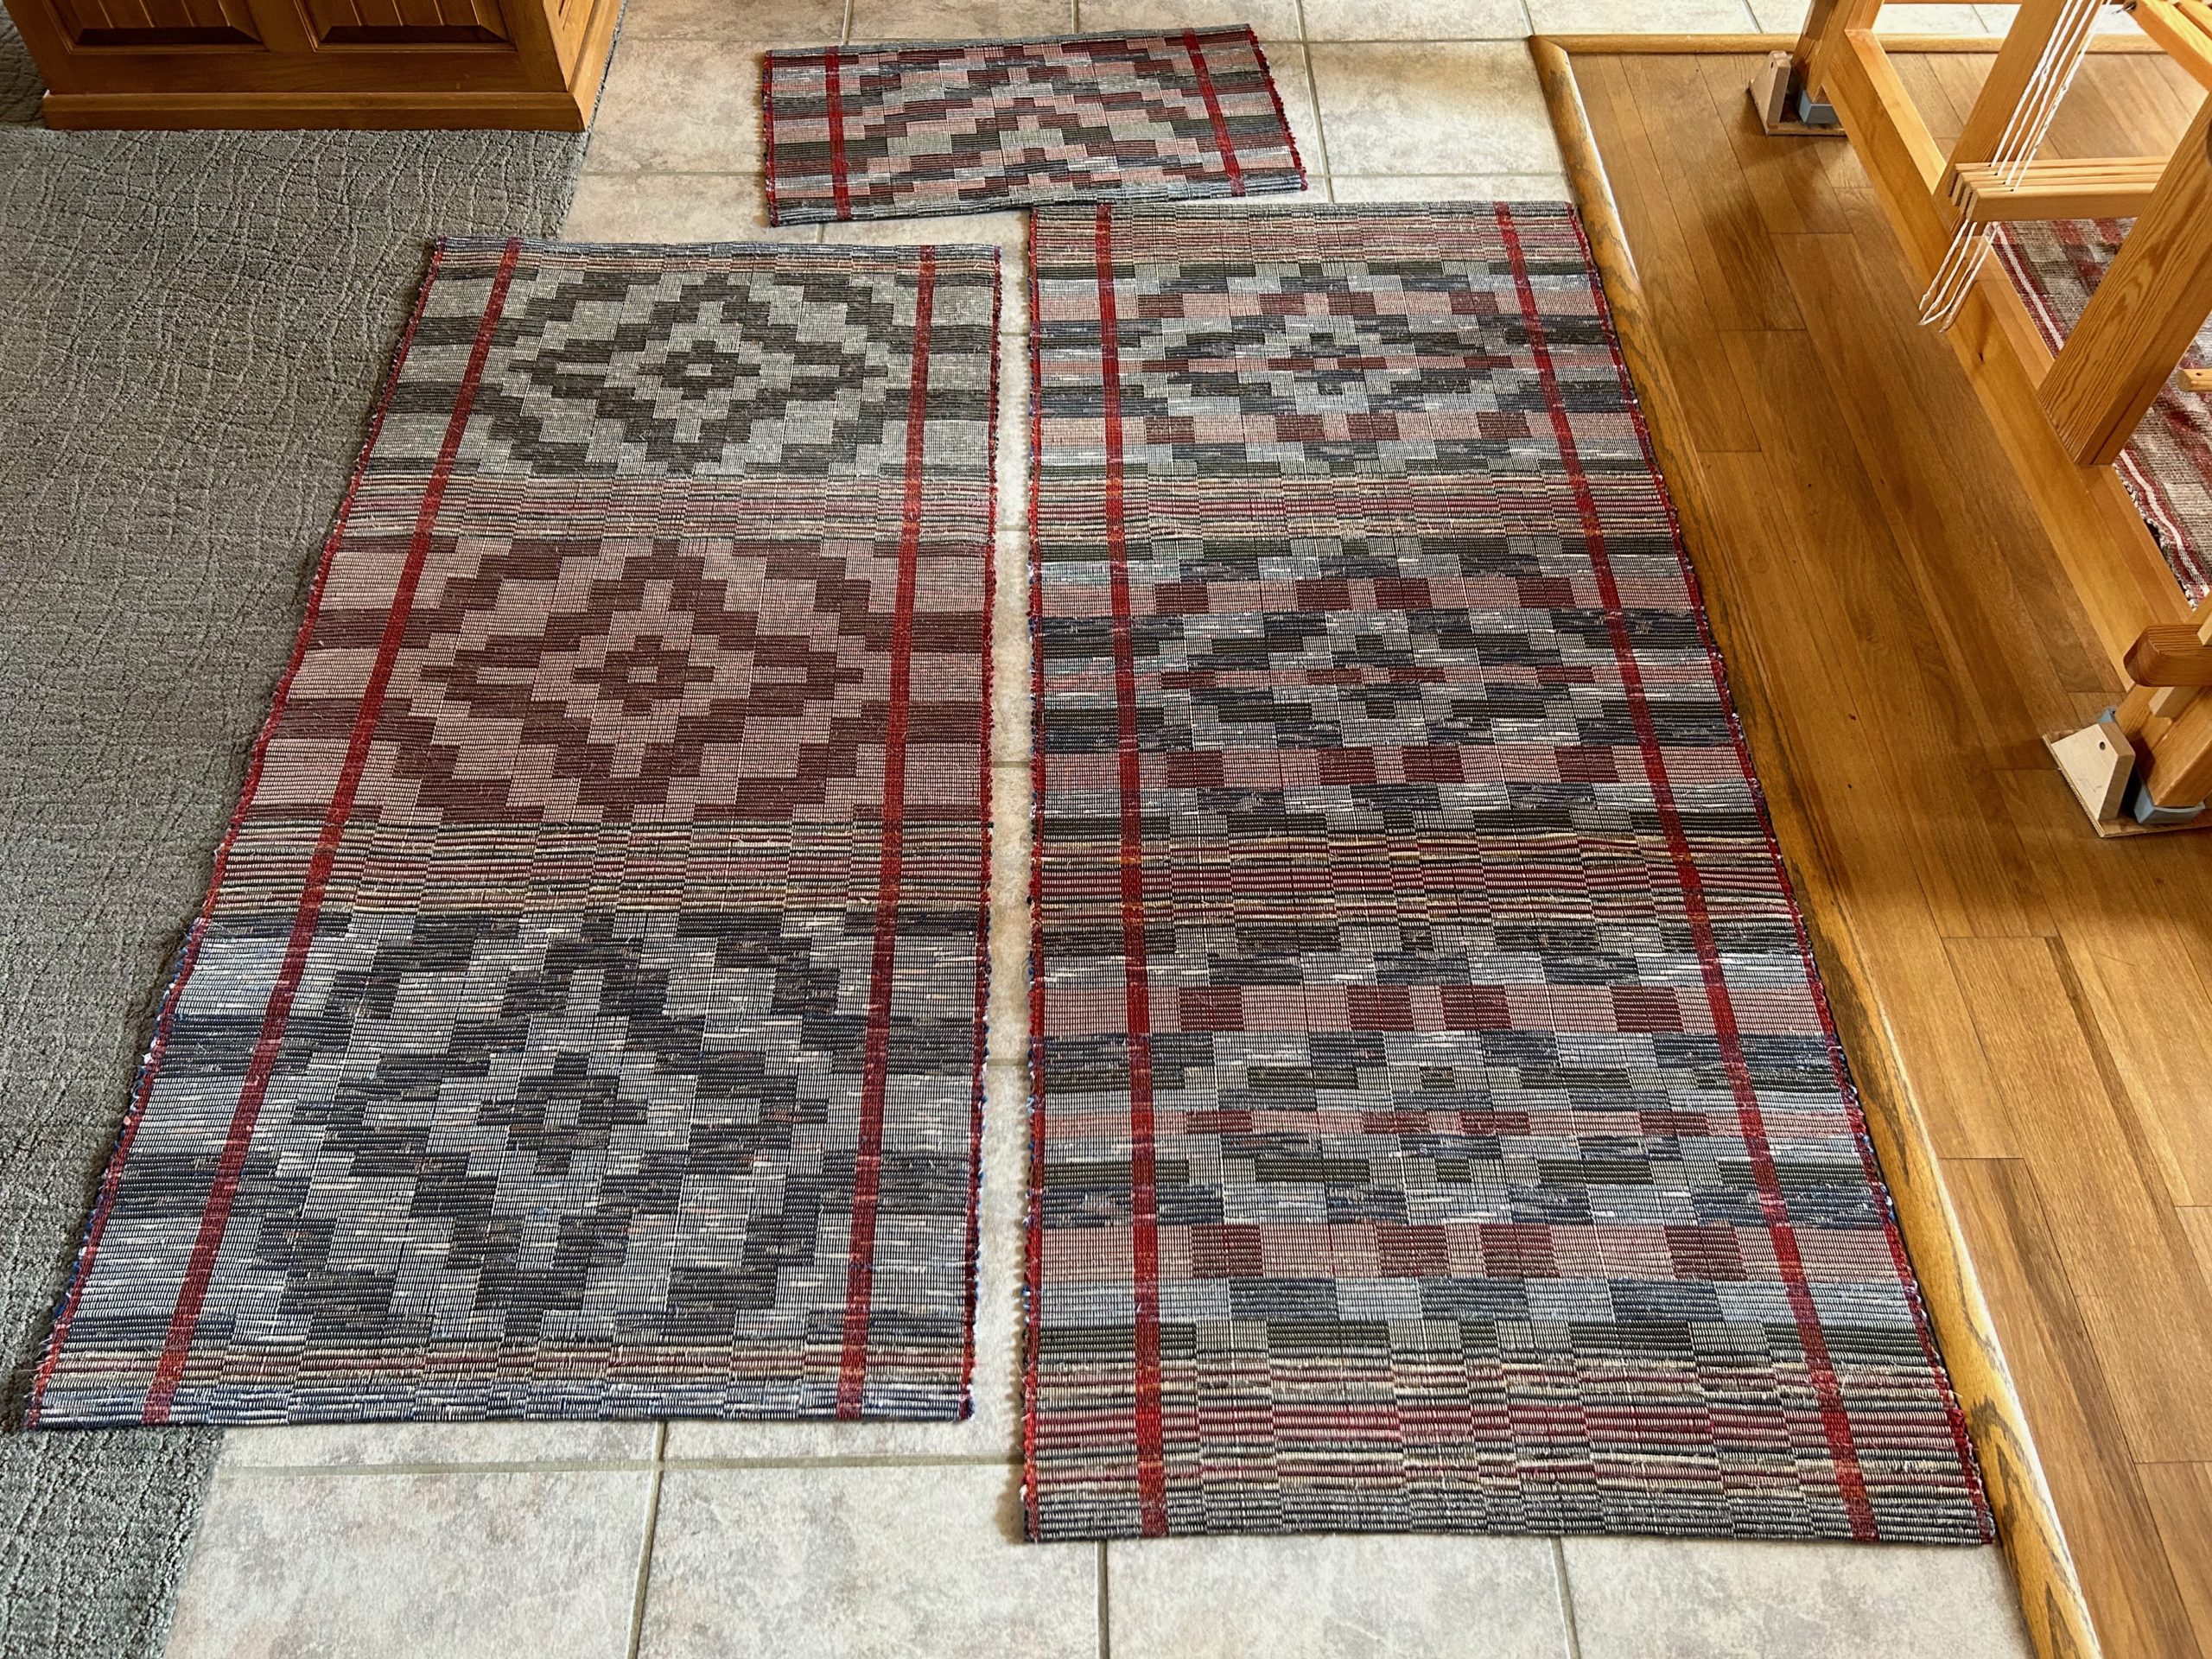
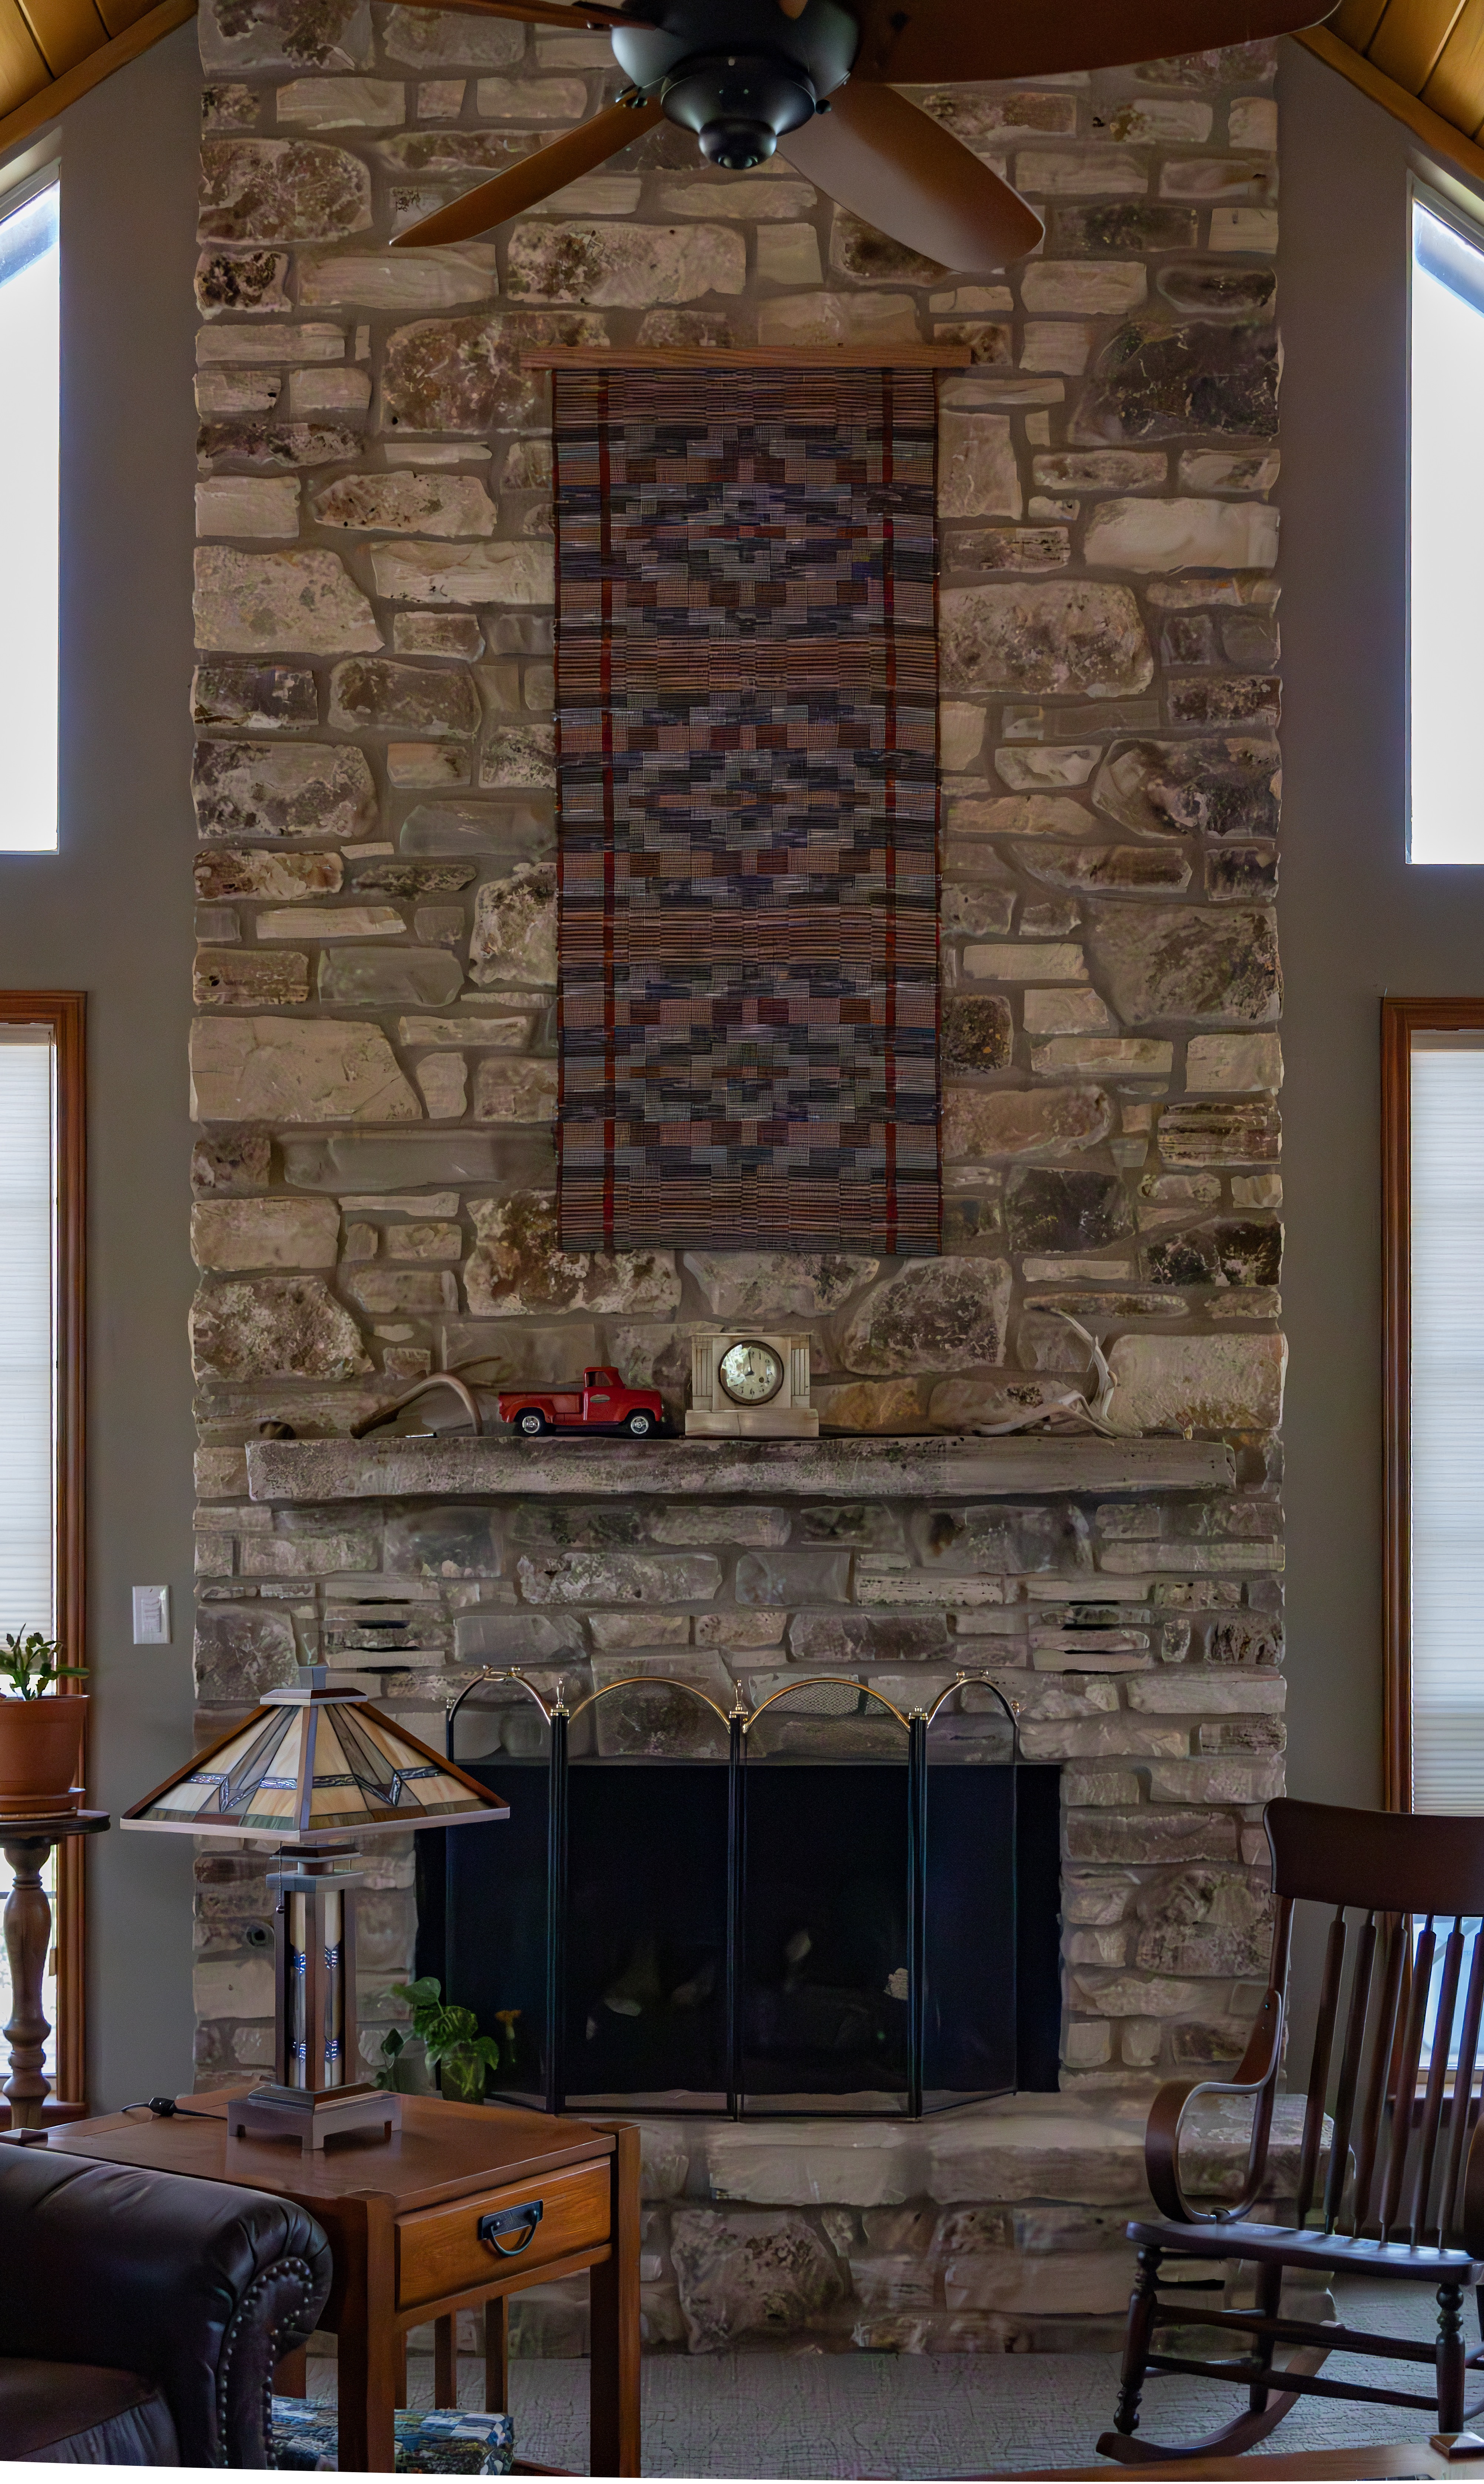
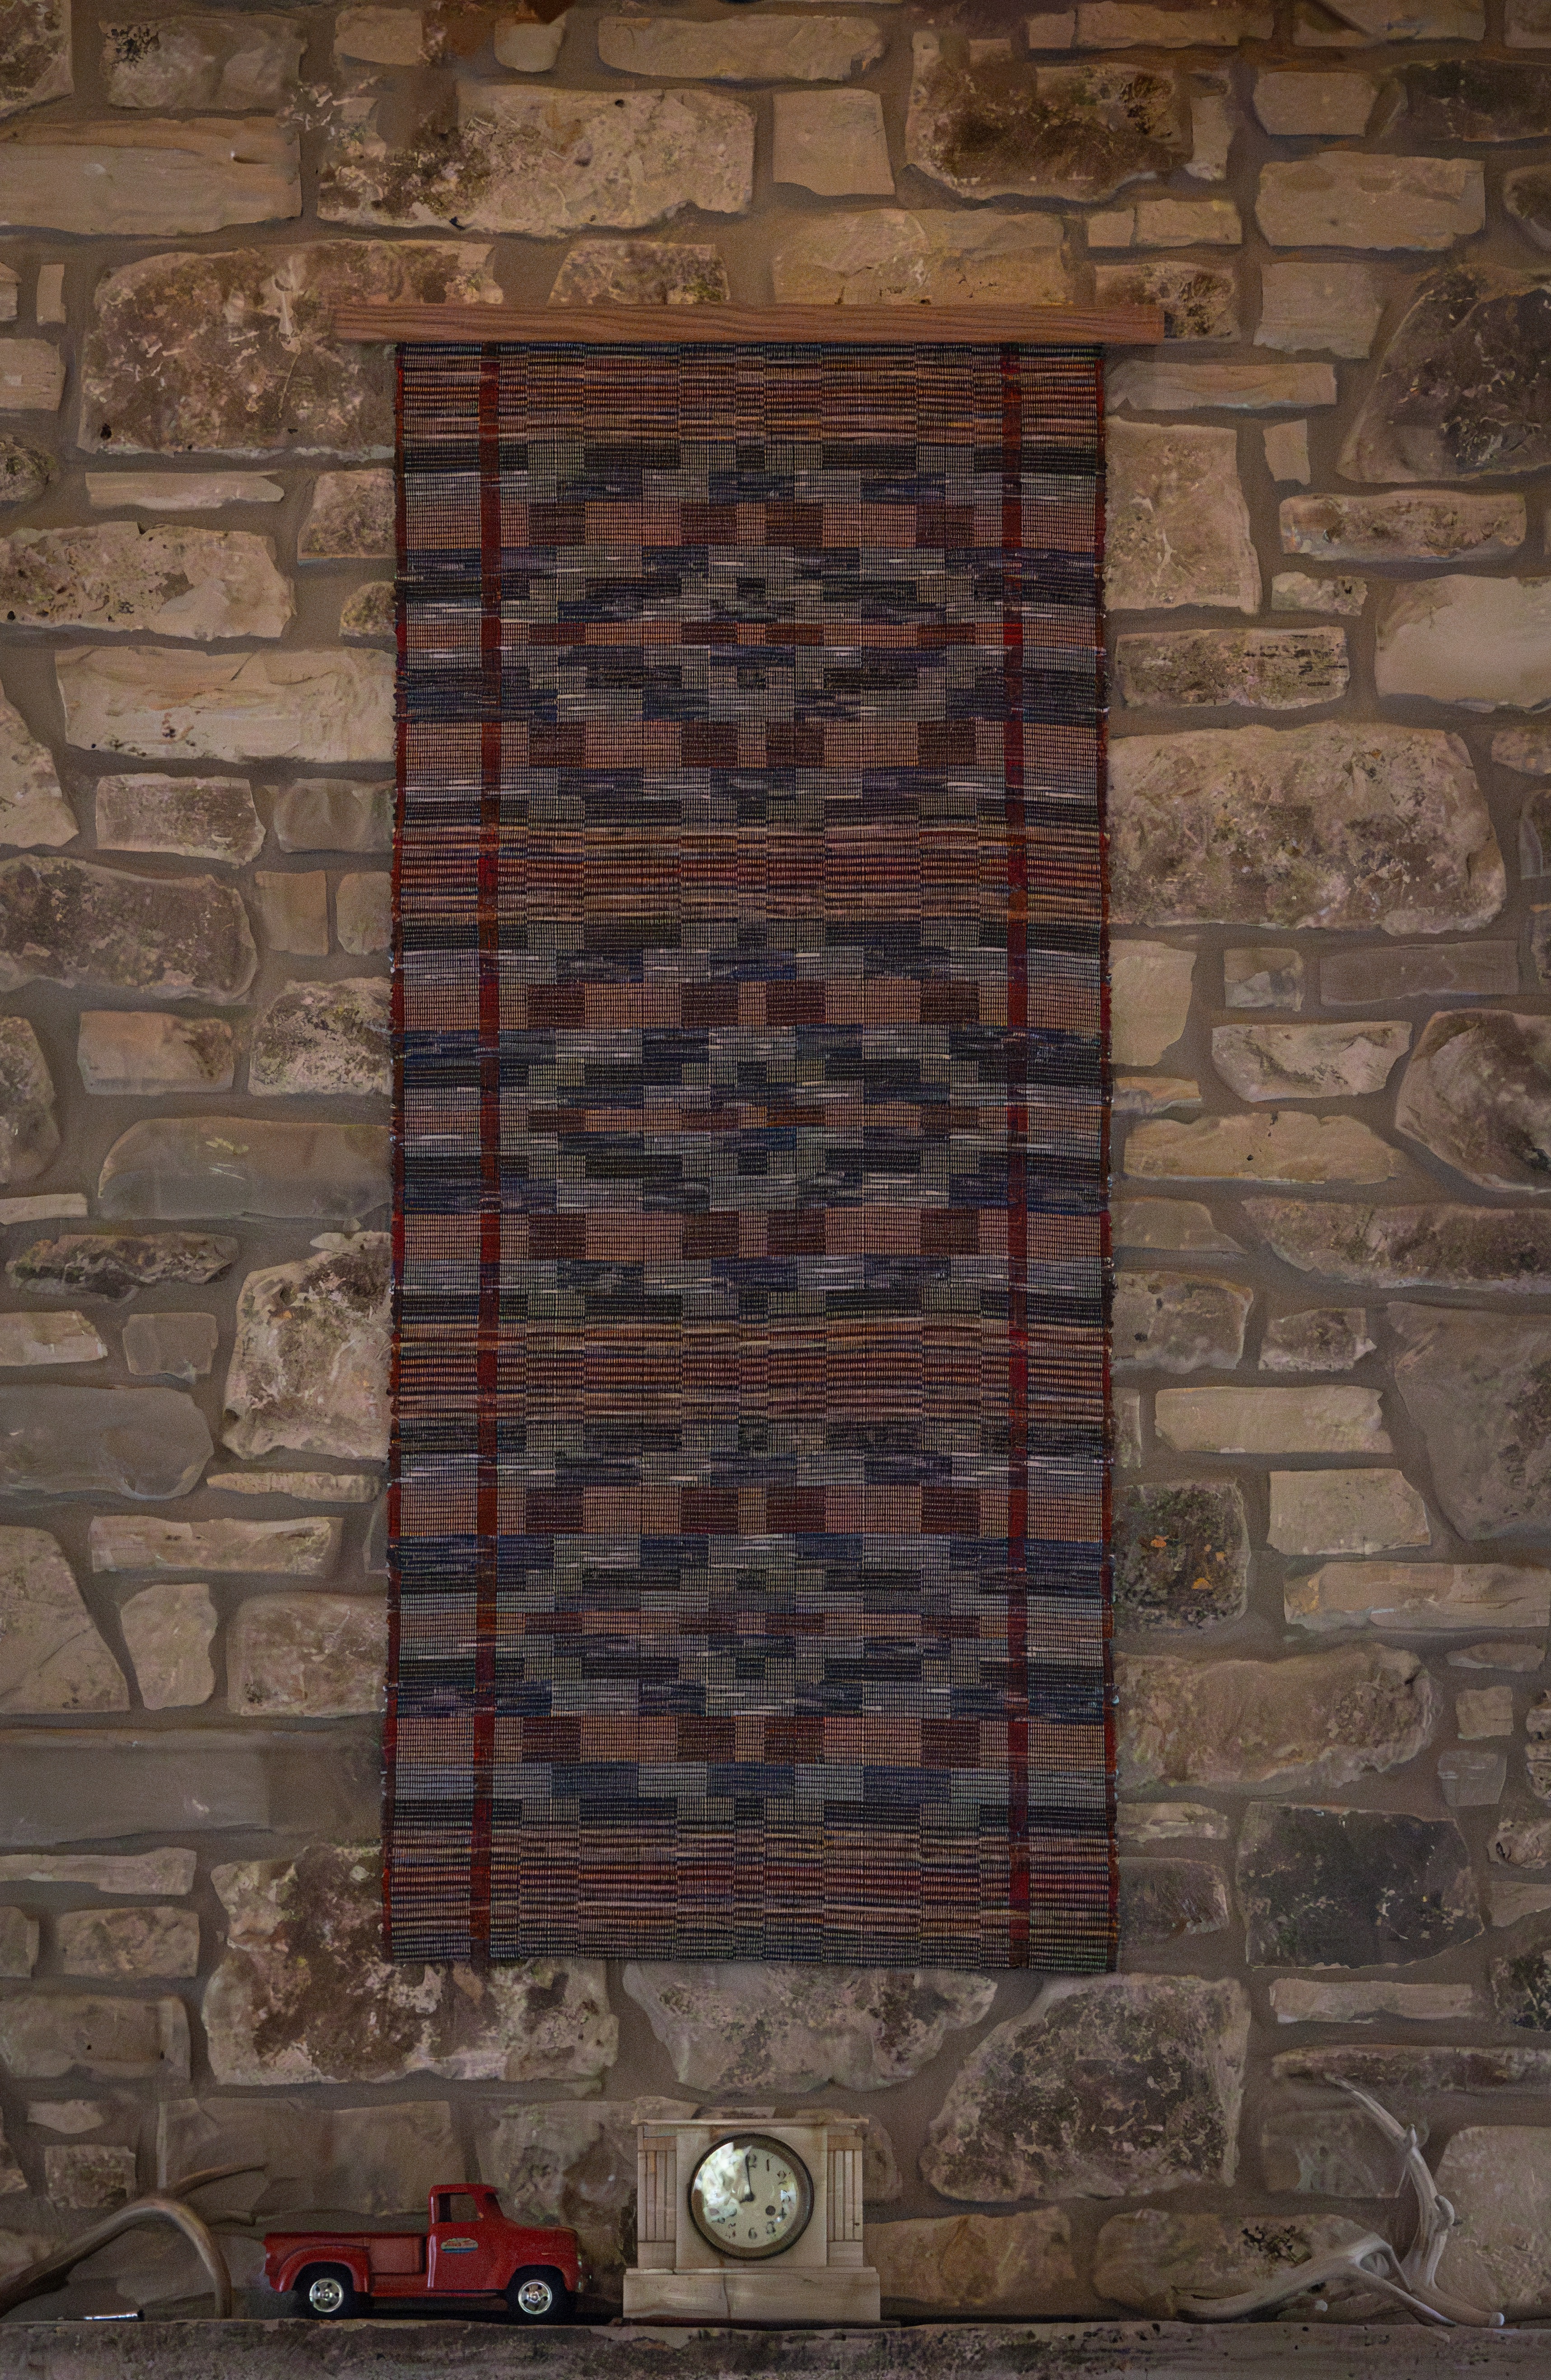
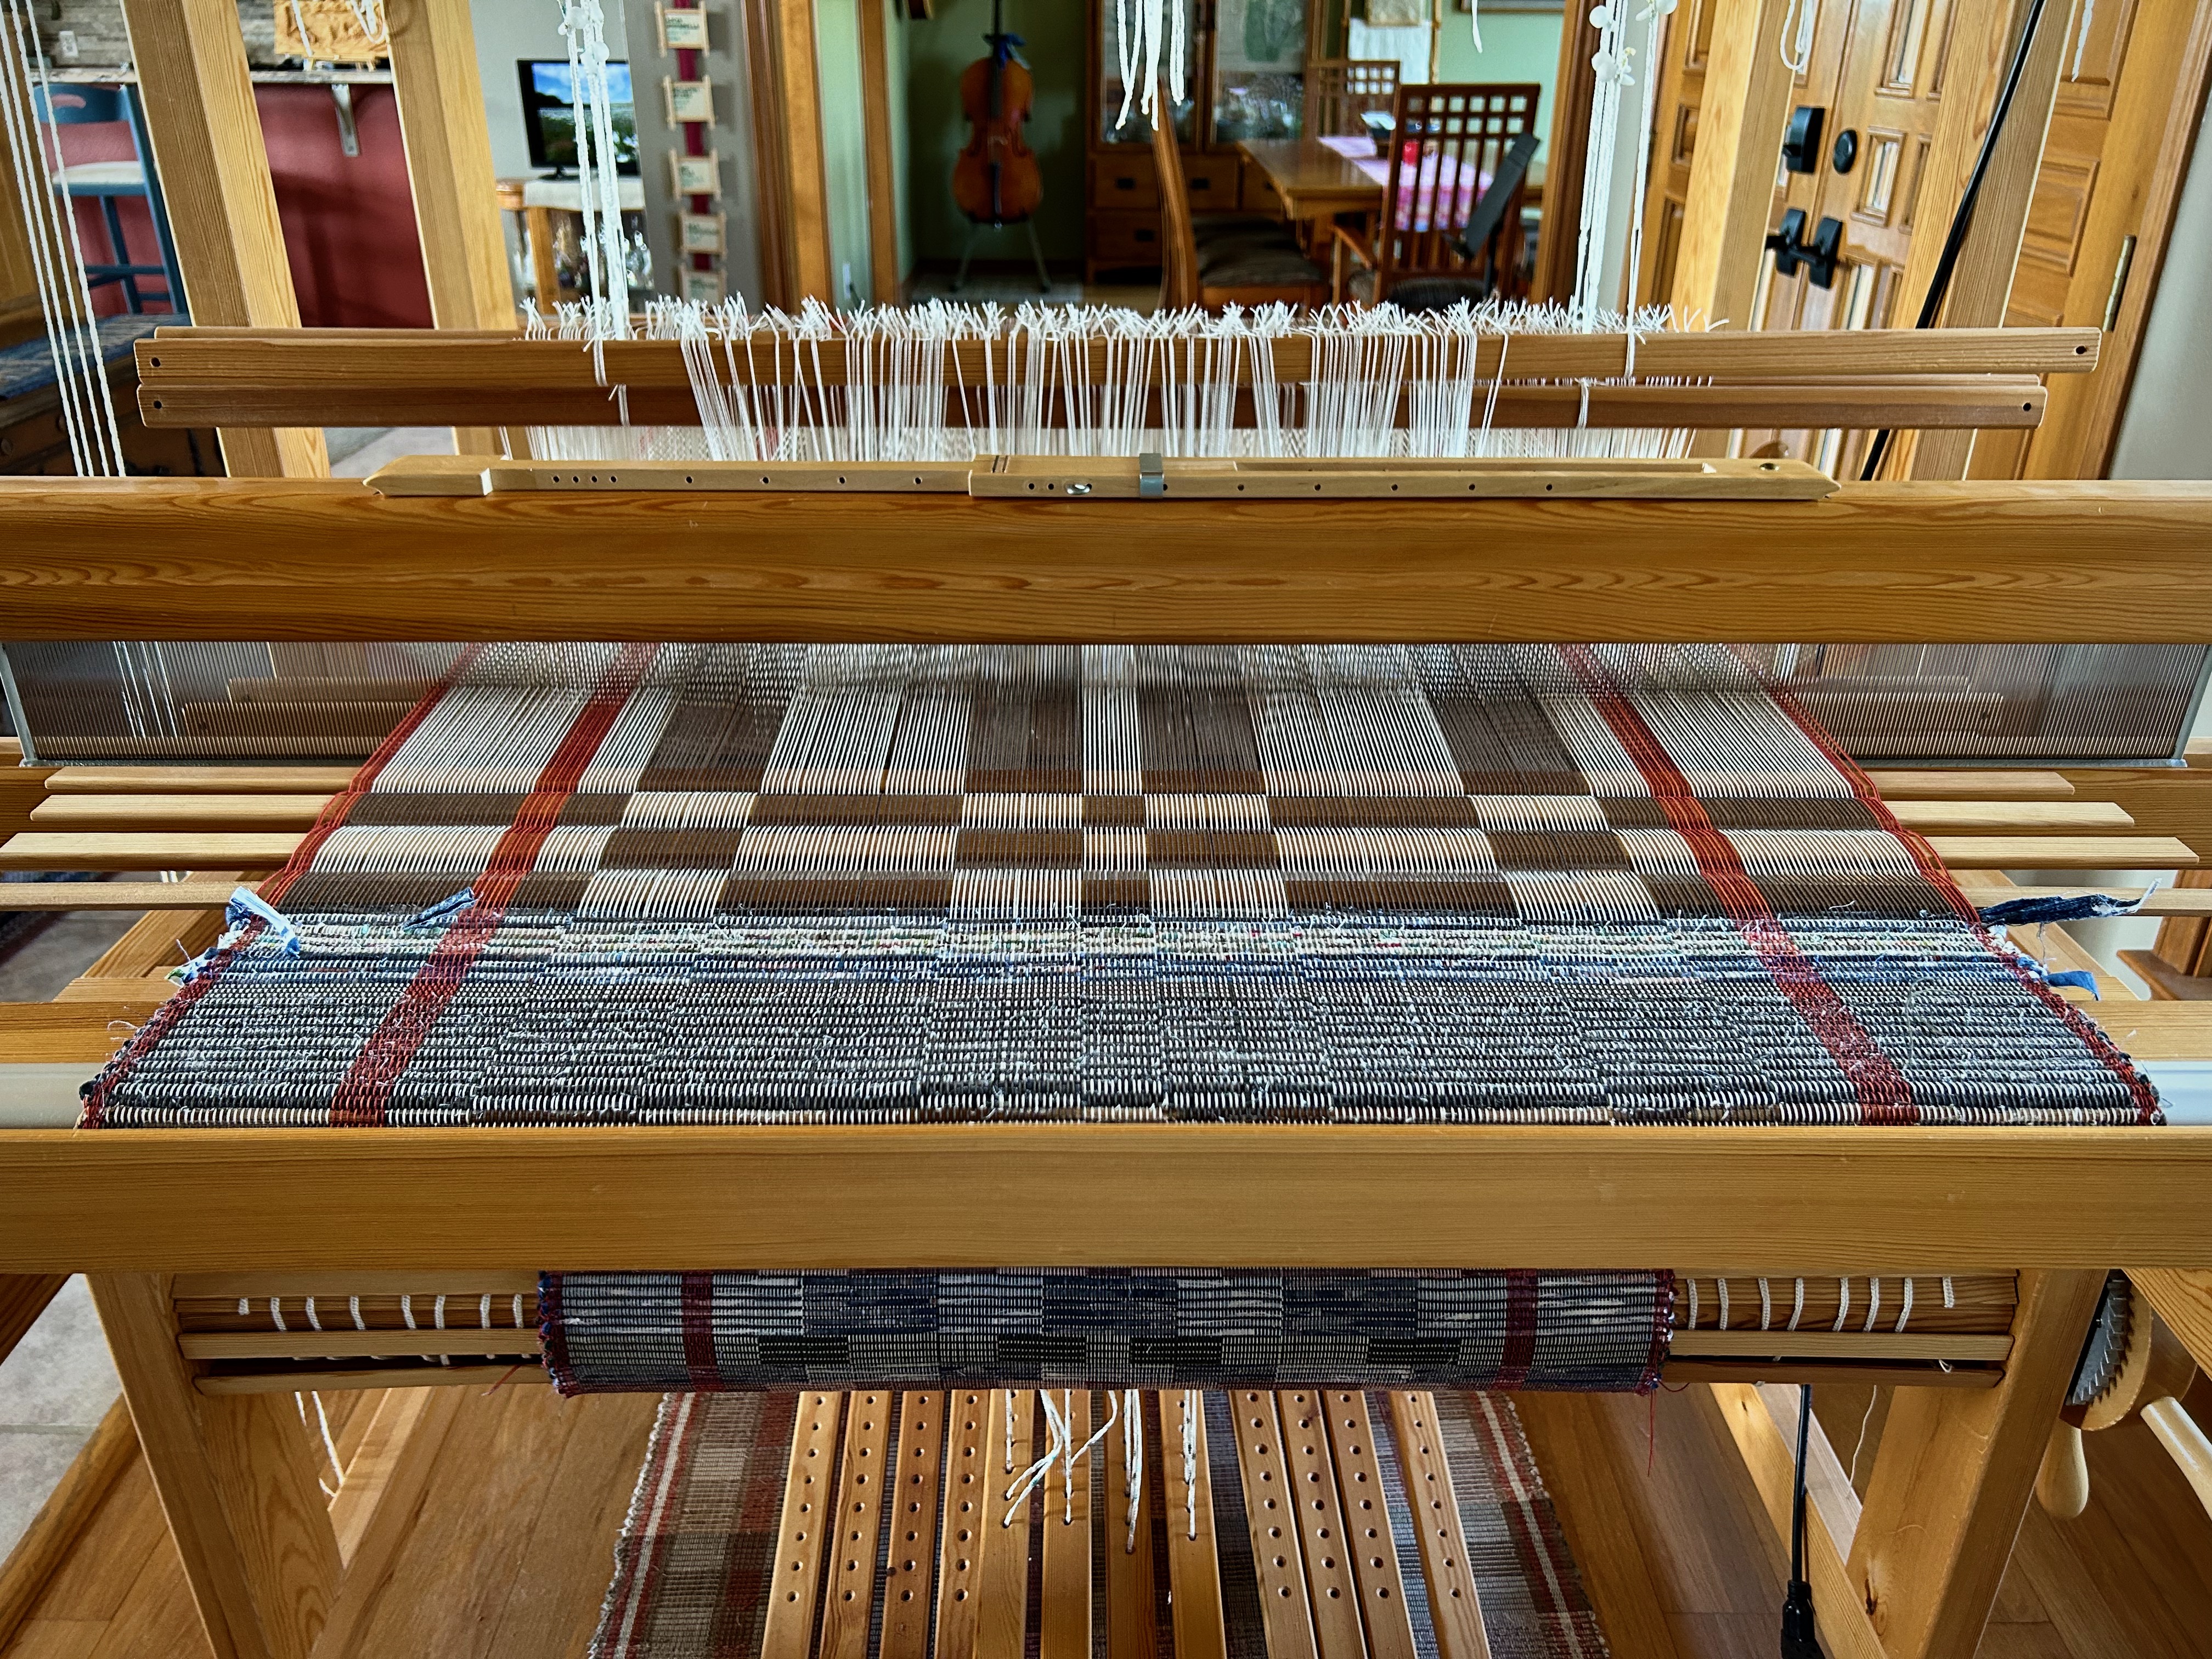
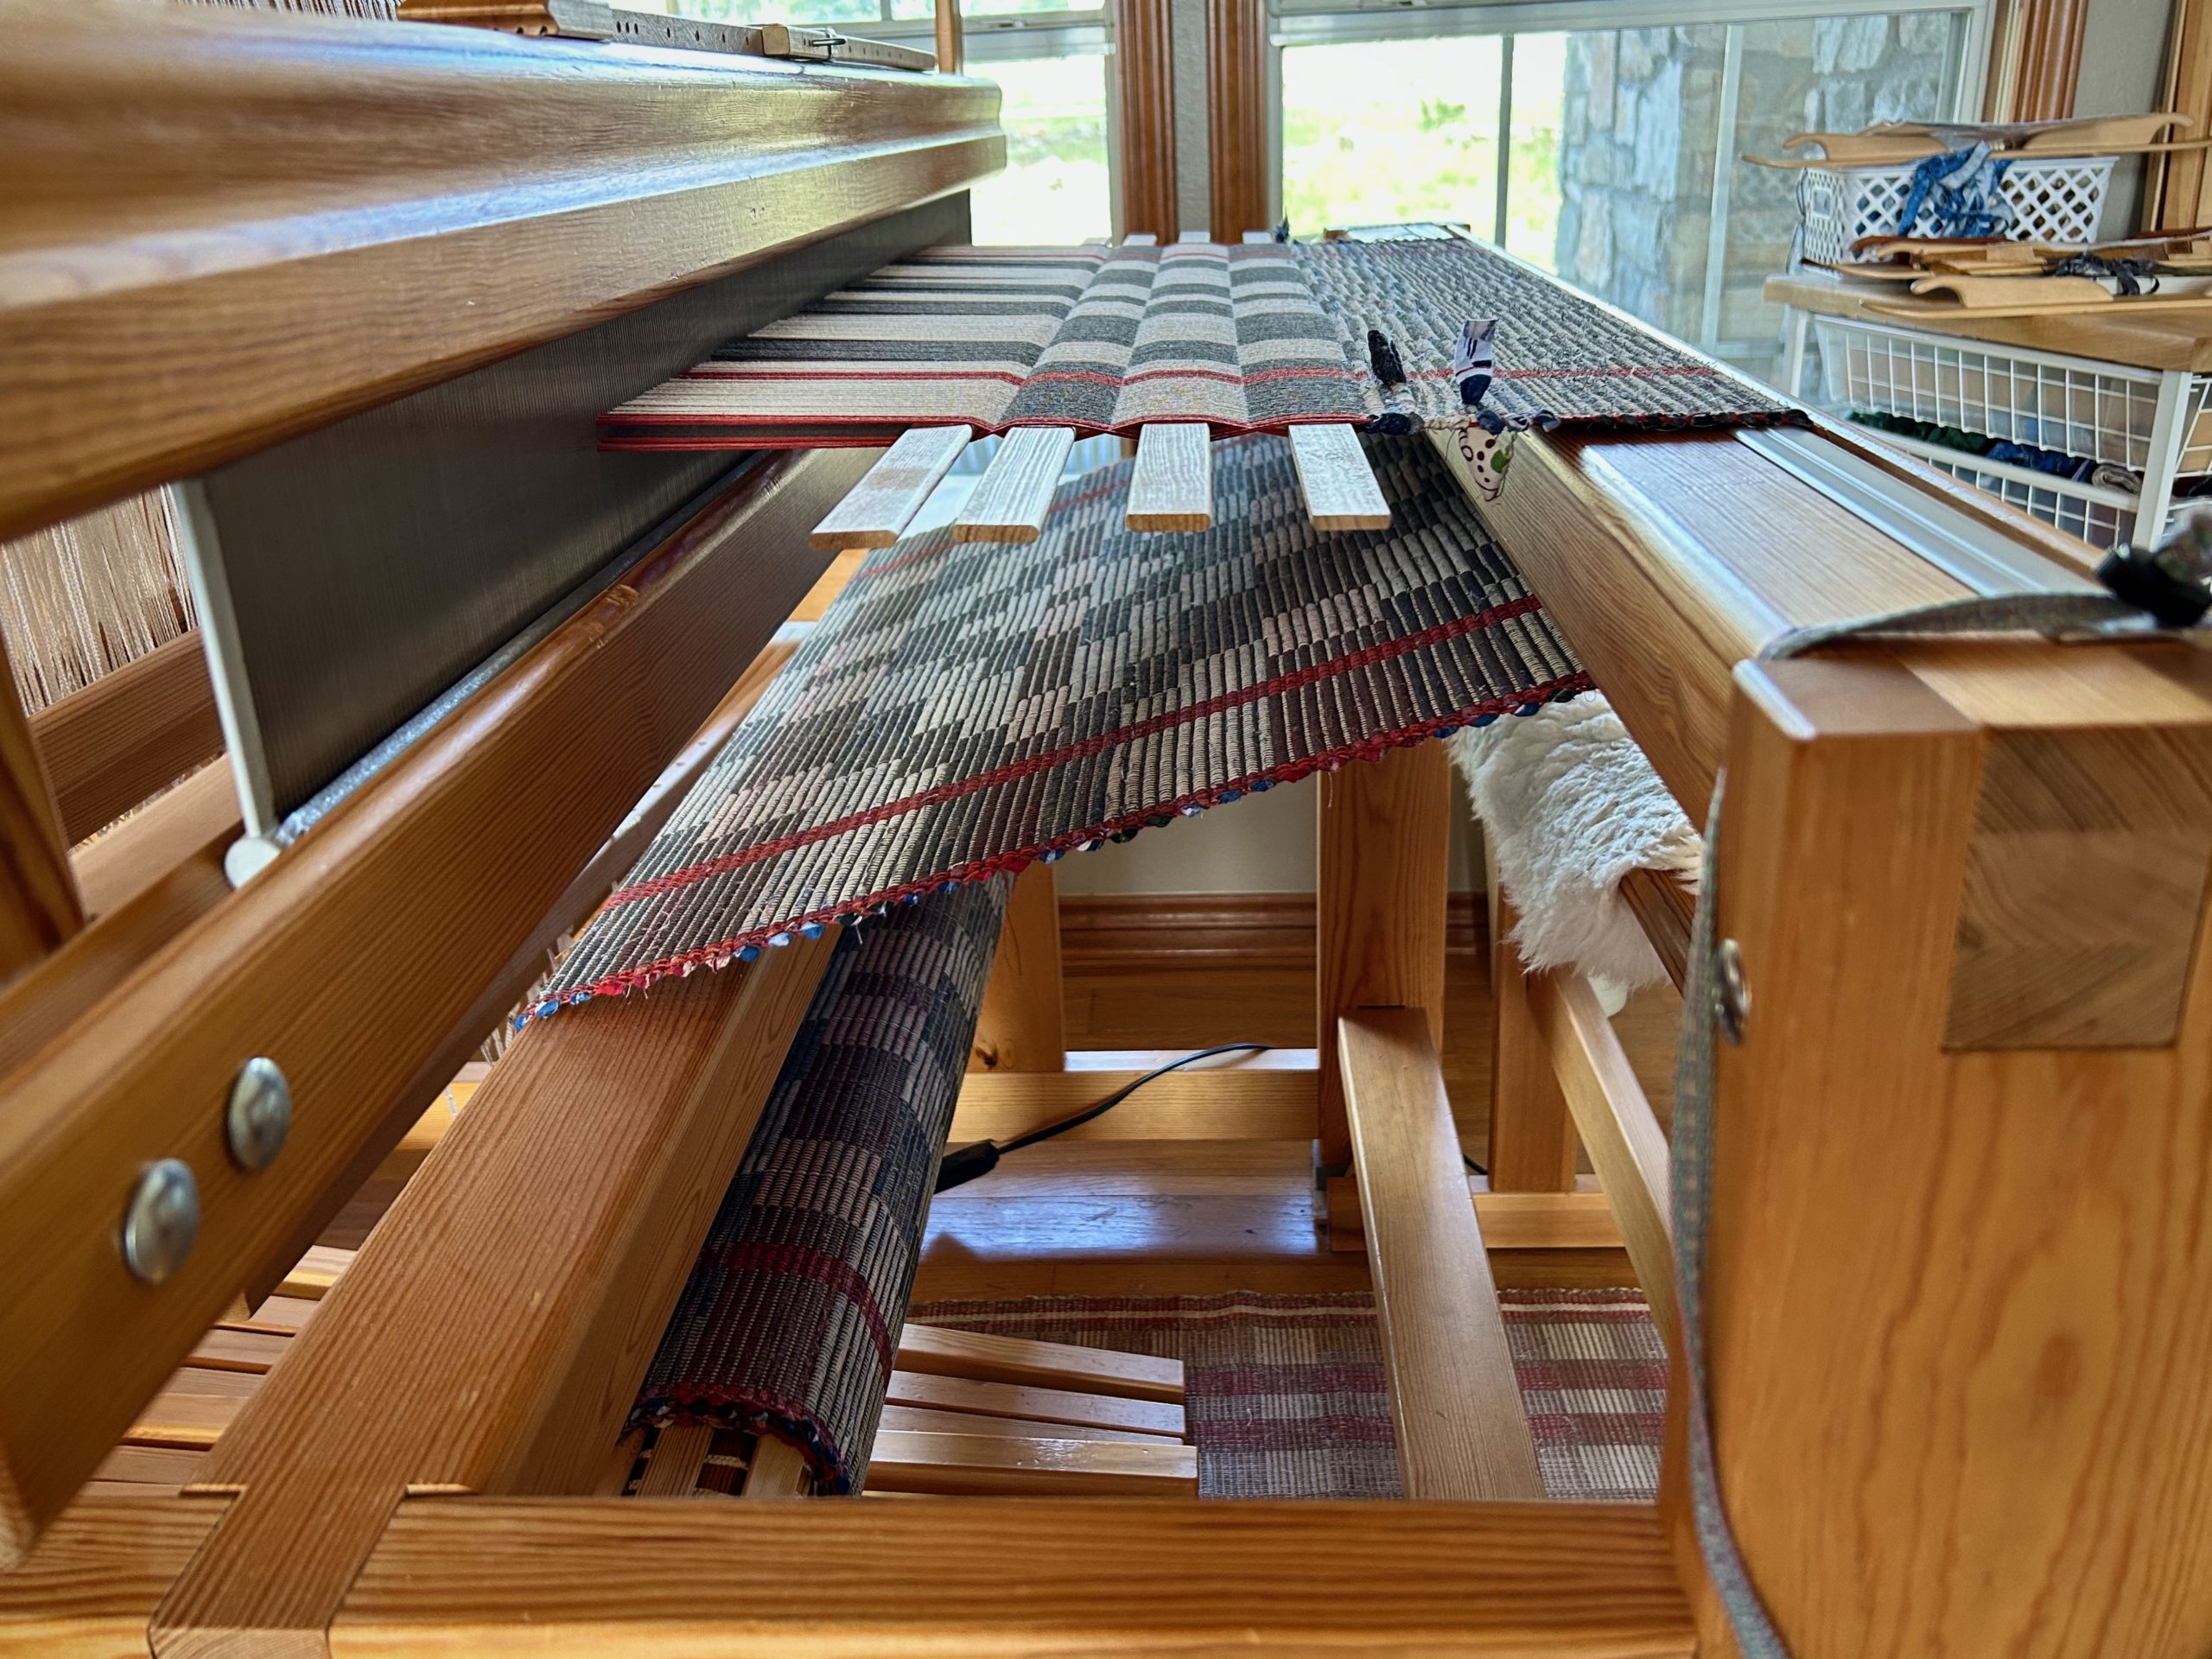
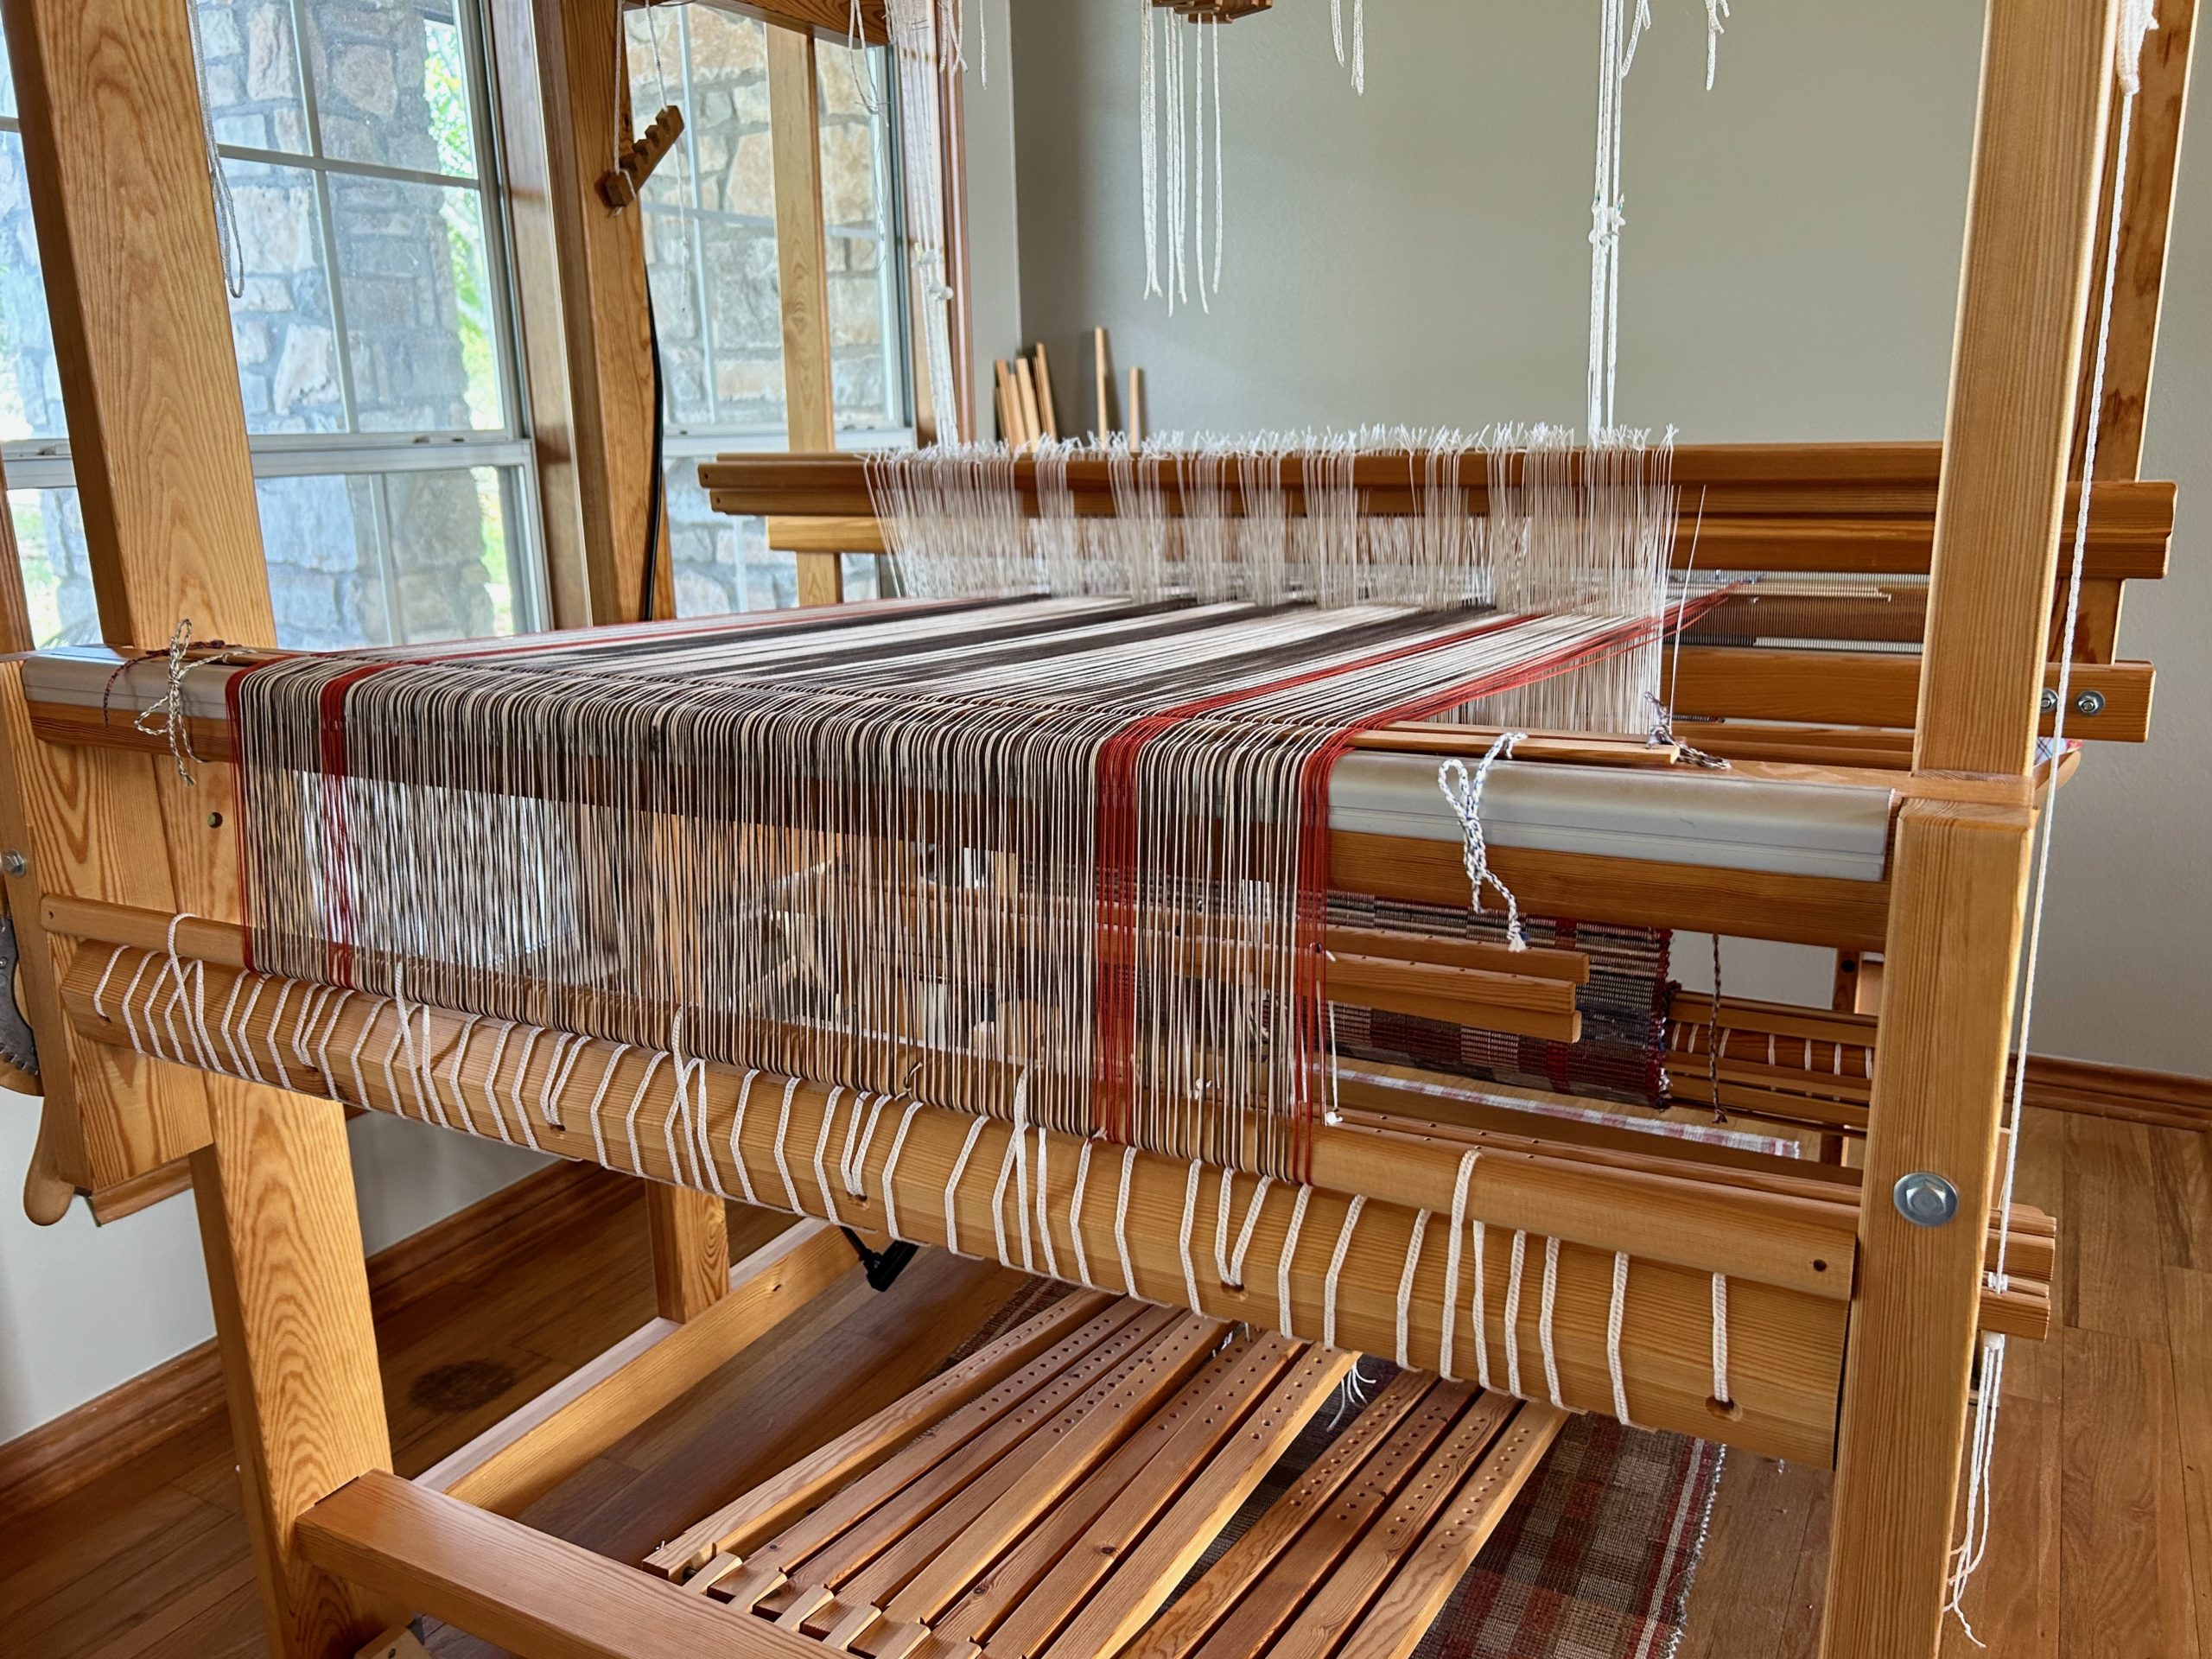
Finally, one bright yellow tube of rug warp is coming off the shelf! Bright yellow is subdued by pairing it with tan, making a creamy neutral warp for my next set of rag rugs. I bought the tube of yellow 12/6 cotton for half price on a clearance sale a few years ago. What was I thinking? I haven’t used yellow in a rug warp before, but it looks like this is going to work.
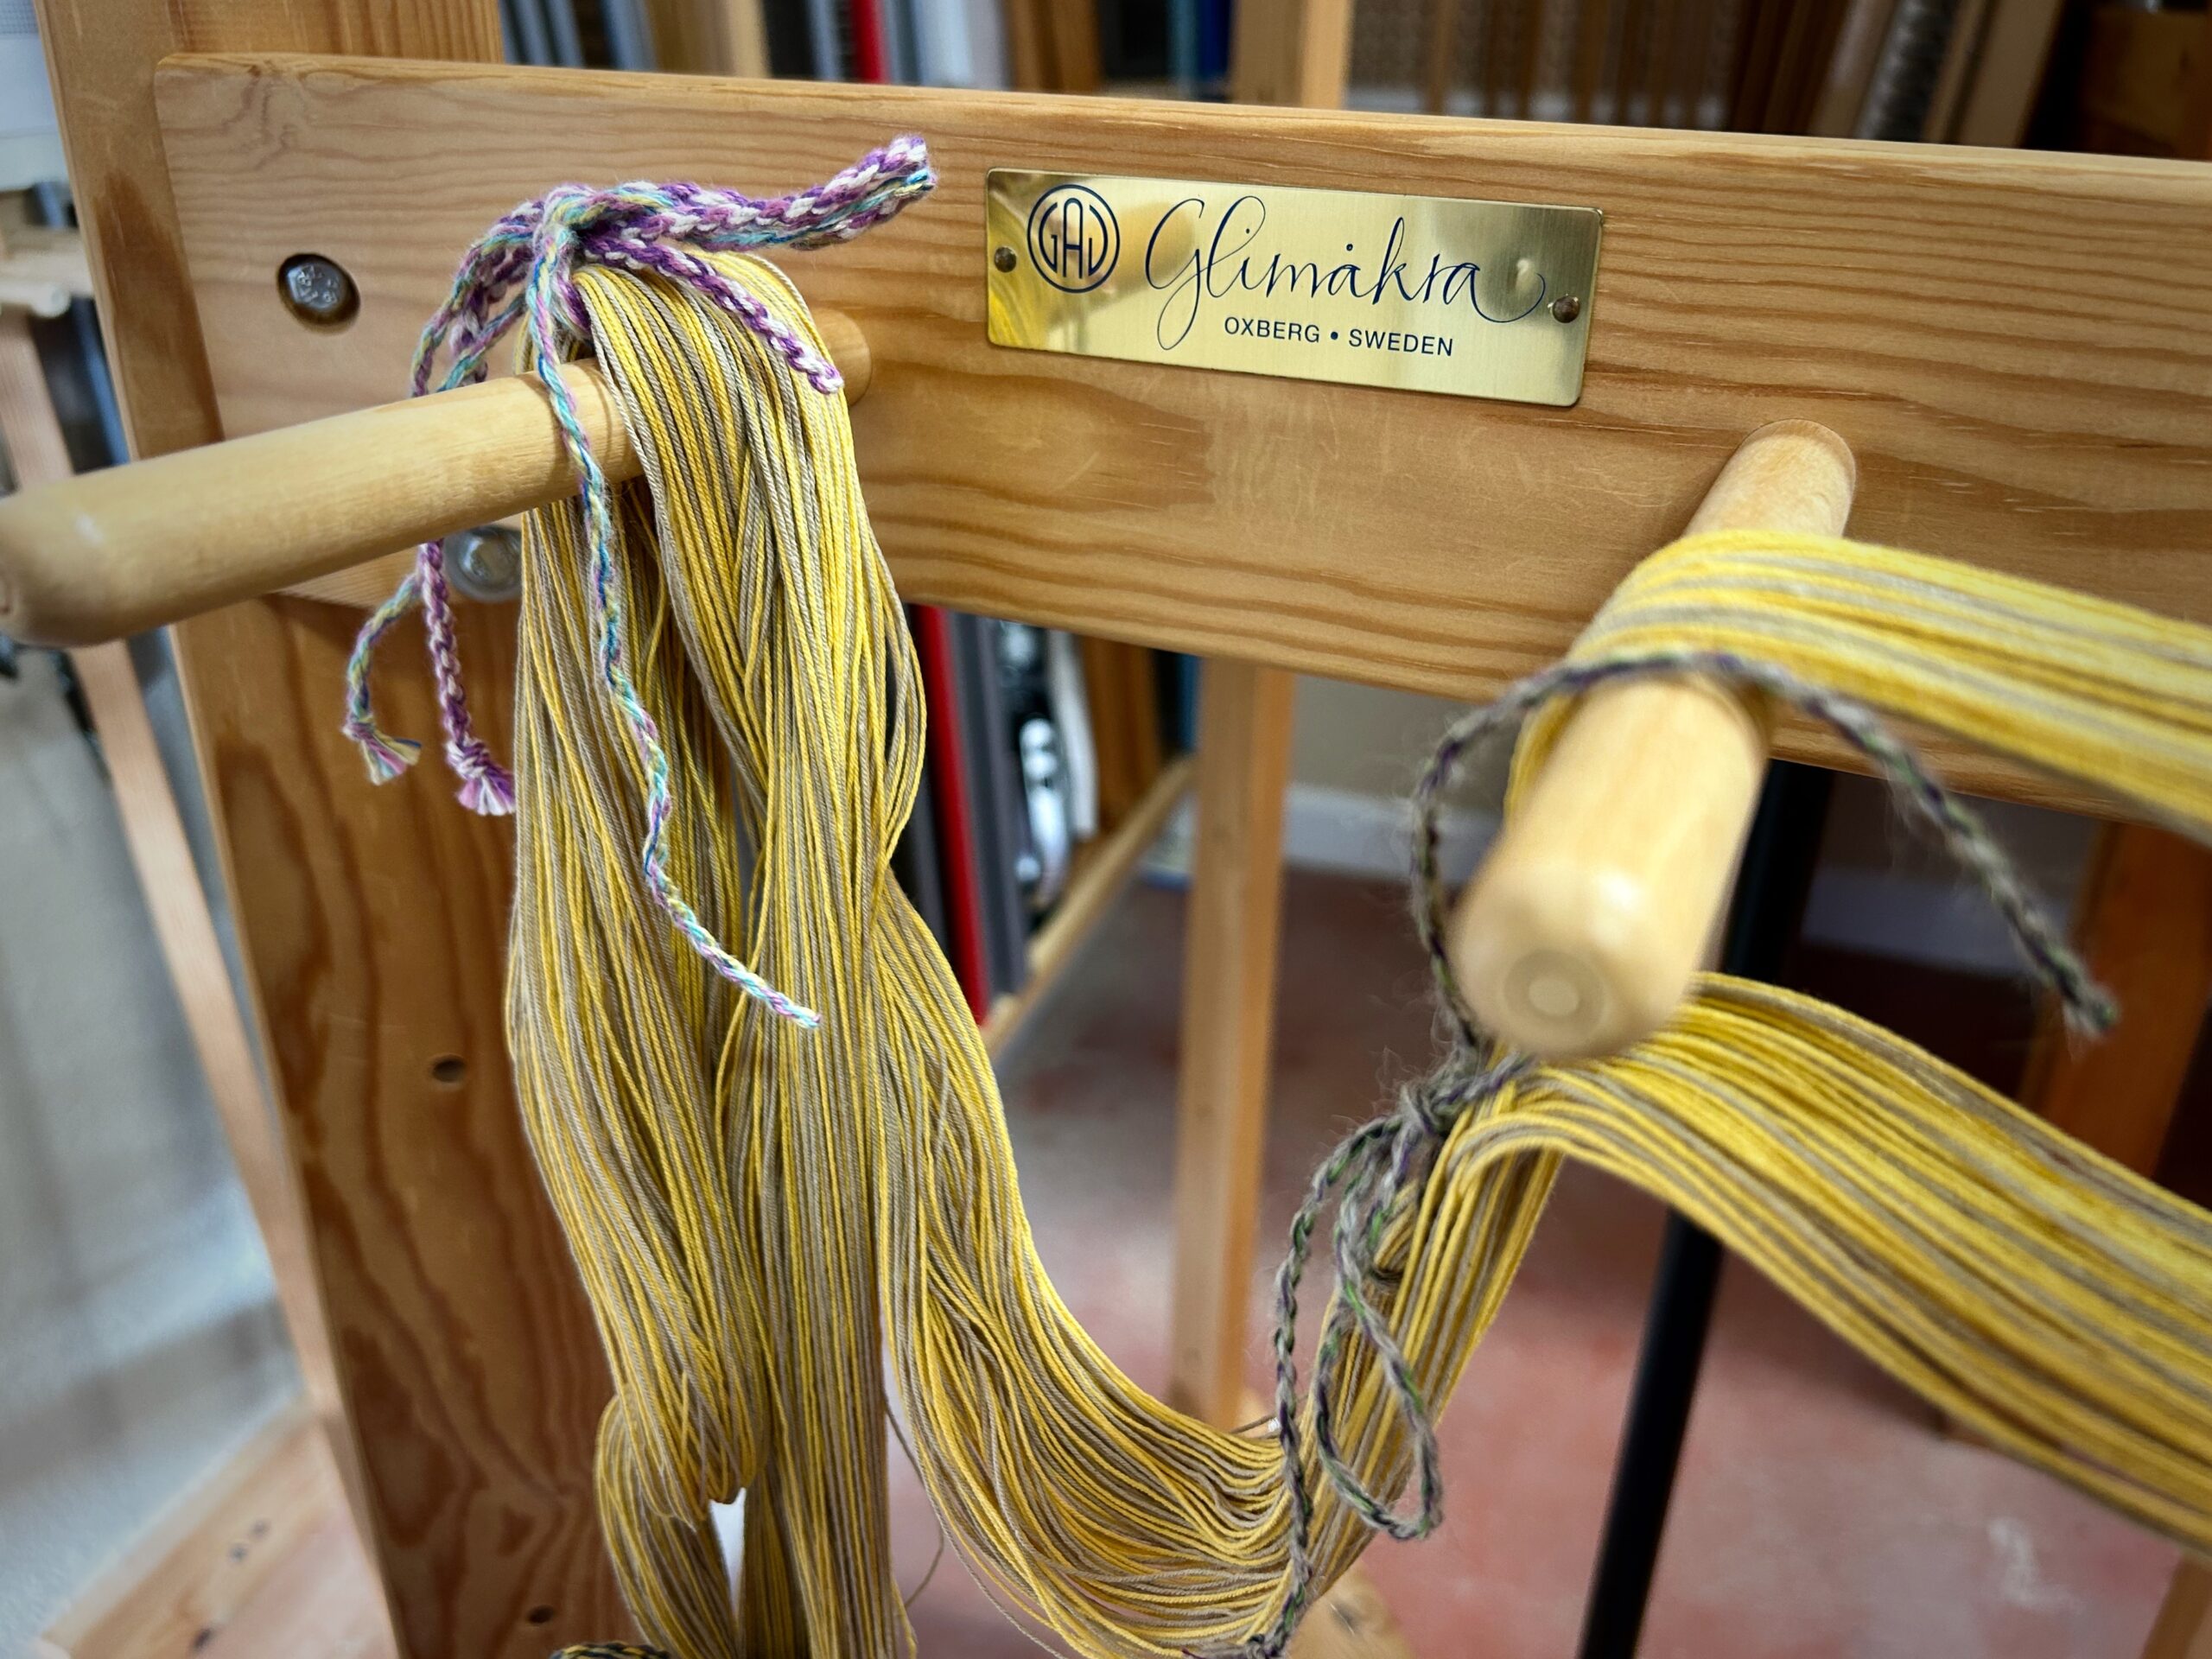

Keep an ongoing conversation with the Lord. Sometimes it takes a while for us to understand the direction he has for us. It’s like looking at that yellow tube of thread, until finally you gain the courage to take it off the shelf. Right then, you notice the tan thread. The answer has been there all along.
May you enjoy a good long conversation.
With you,
Karen