In my memories, I always picture Grandma wearing an apron, whether doing housework, gardening, or baking coffee cake in her kitchen. Maybe that is part of the magic I feel when I put on my weaving apron.
Weaving apron is ready for my next session at the Glimåkra Standard loom. Fabric protection board protects the fabric on the loom, but without an apron my clothing suffers from rubbing up against the board.
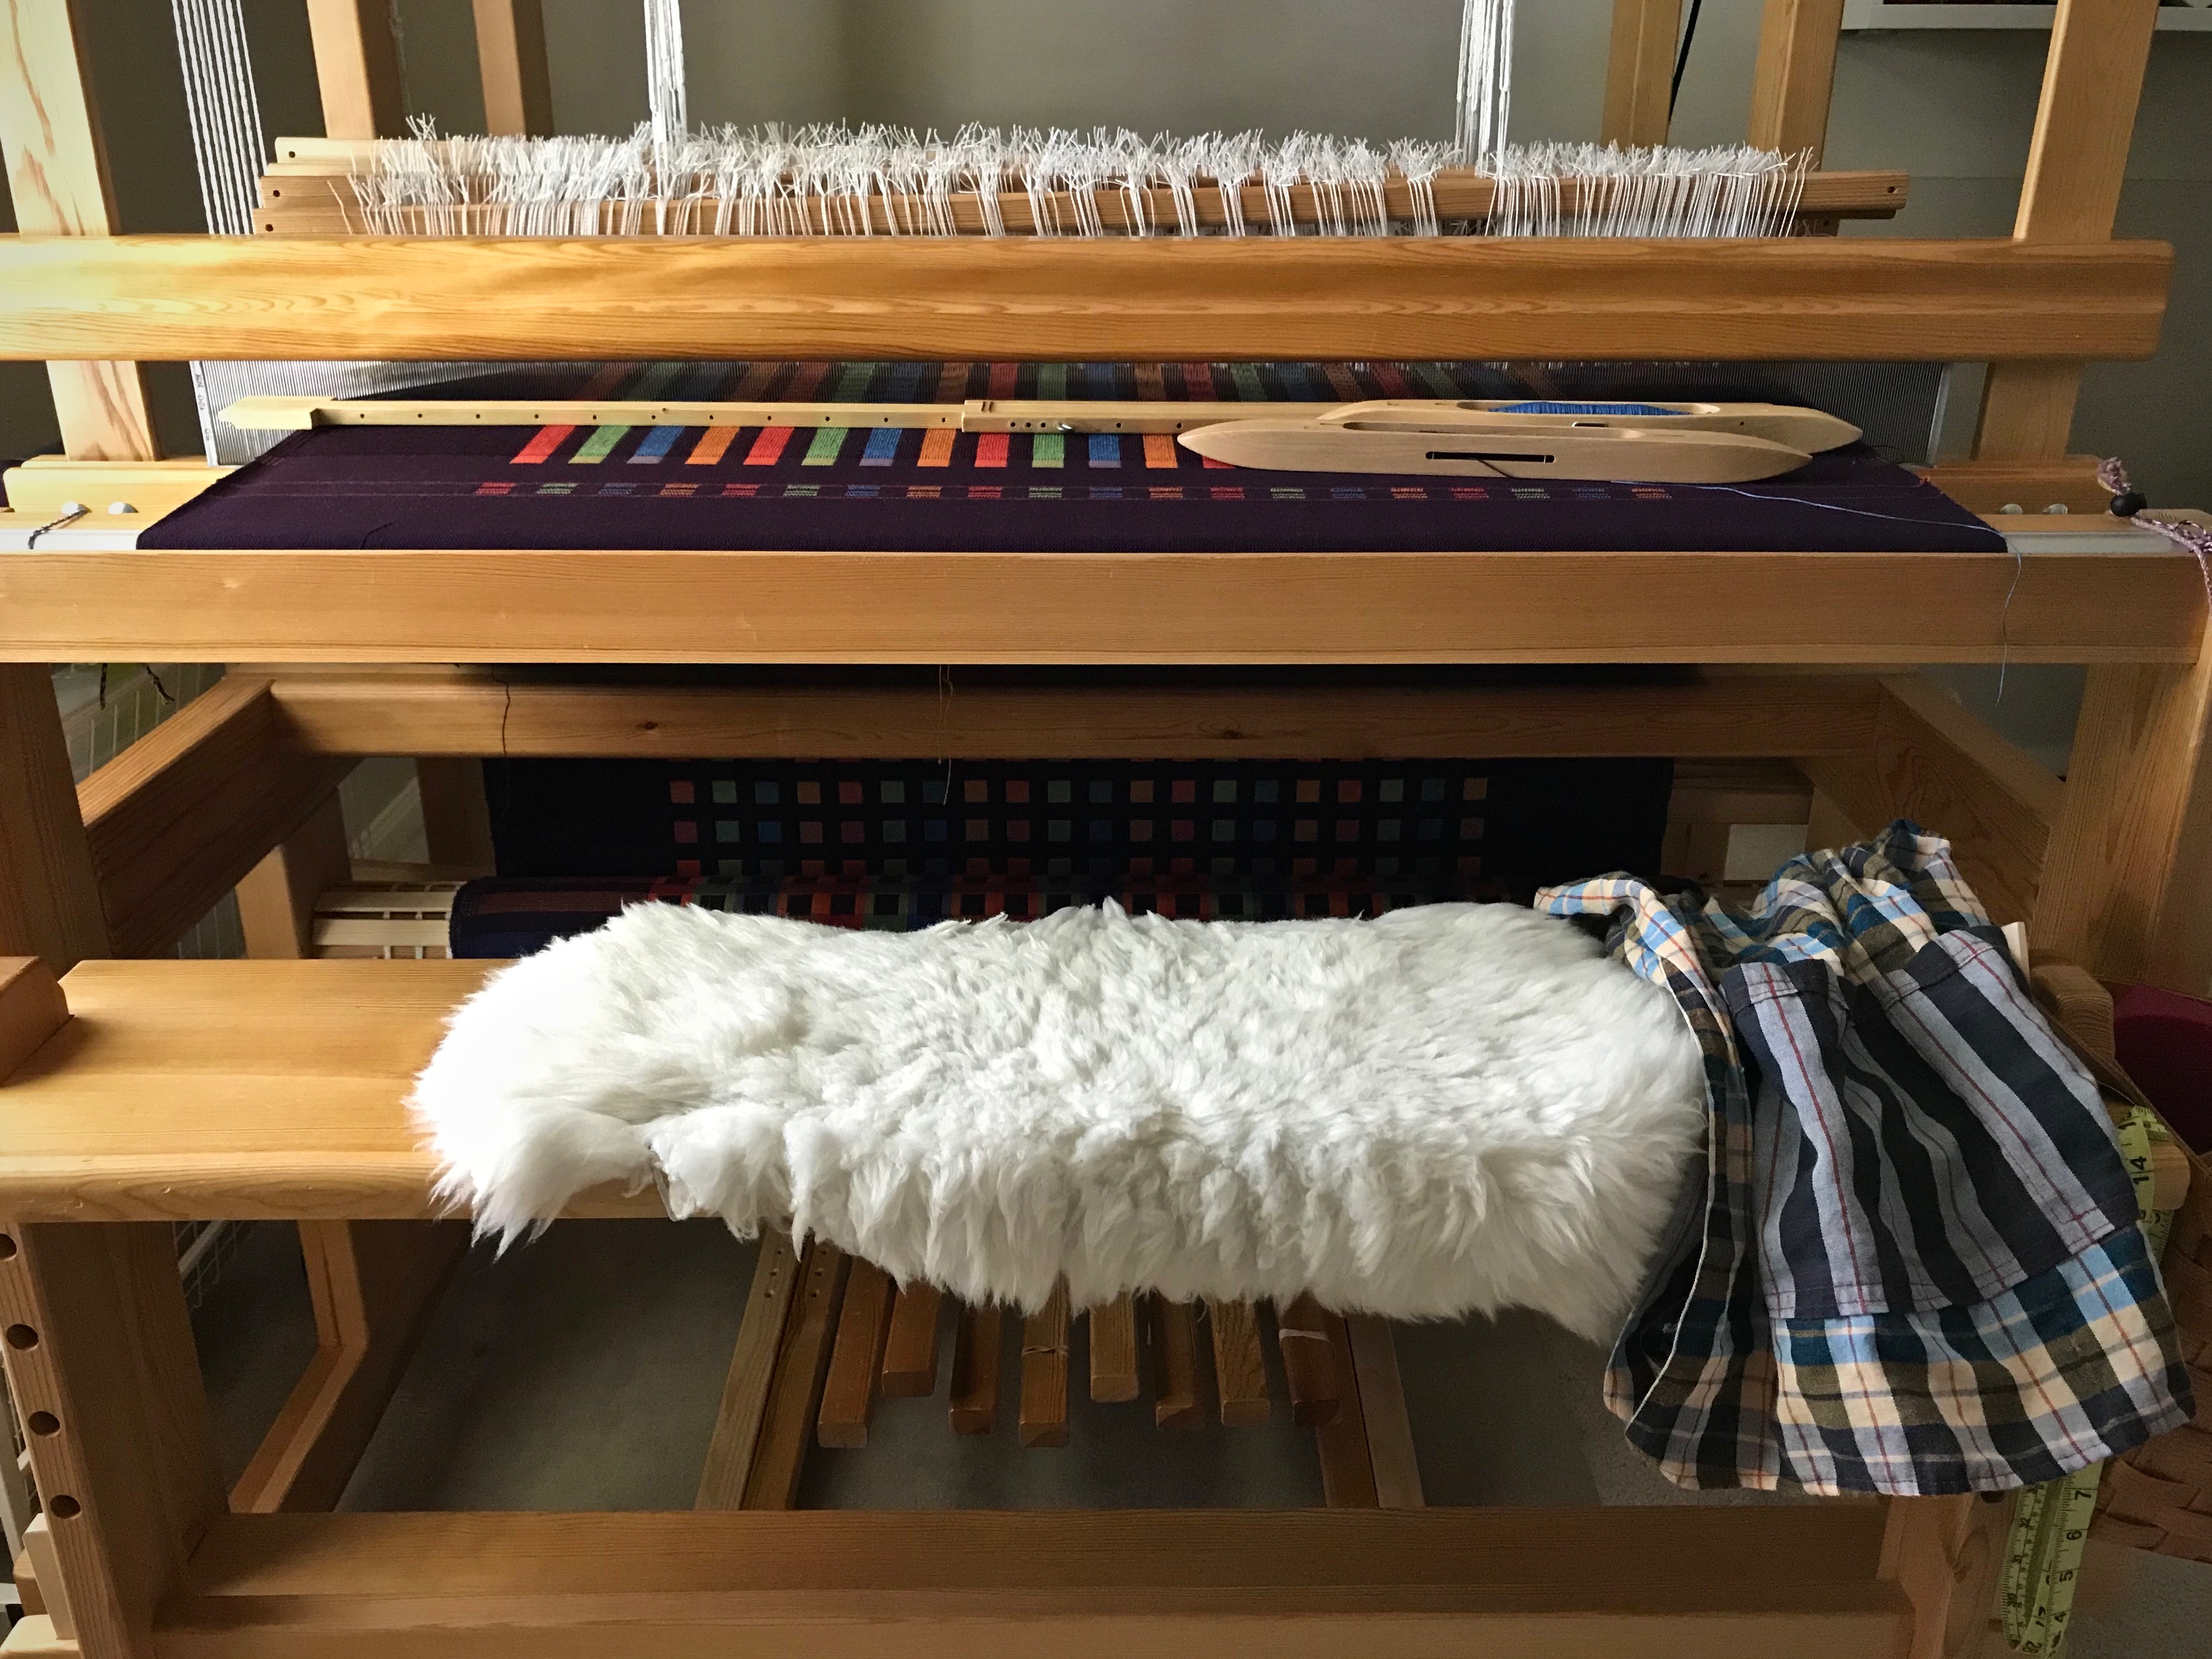
I sit right up to the breast beam when I weave, which helps my posture and my reach. This makes the fabric on the loom vulnerable, especially to buttons, buckles, or zippers. It also gives my clothes undue wear, even creating small holes in some of my shirts. My Glimåkra Standard loom has the fabric protection board, aka “belly board,” but that is not in place until the knots from the beginning of the warp go under the breast beam. So, the first inches of weaving go unprotected. My other looms don’t have a fabric protection board.
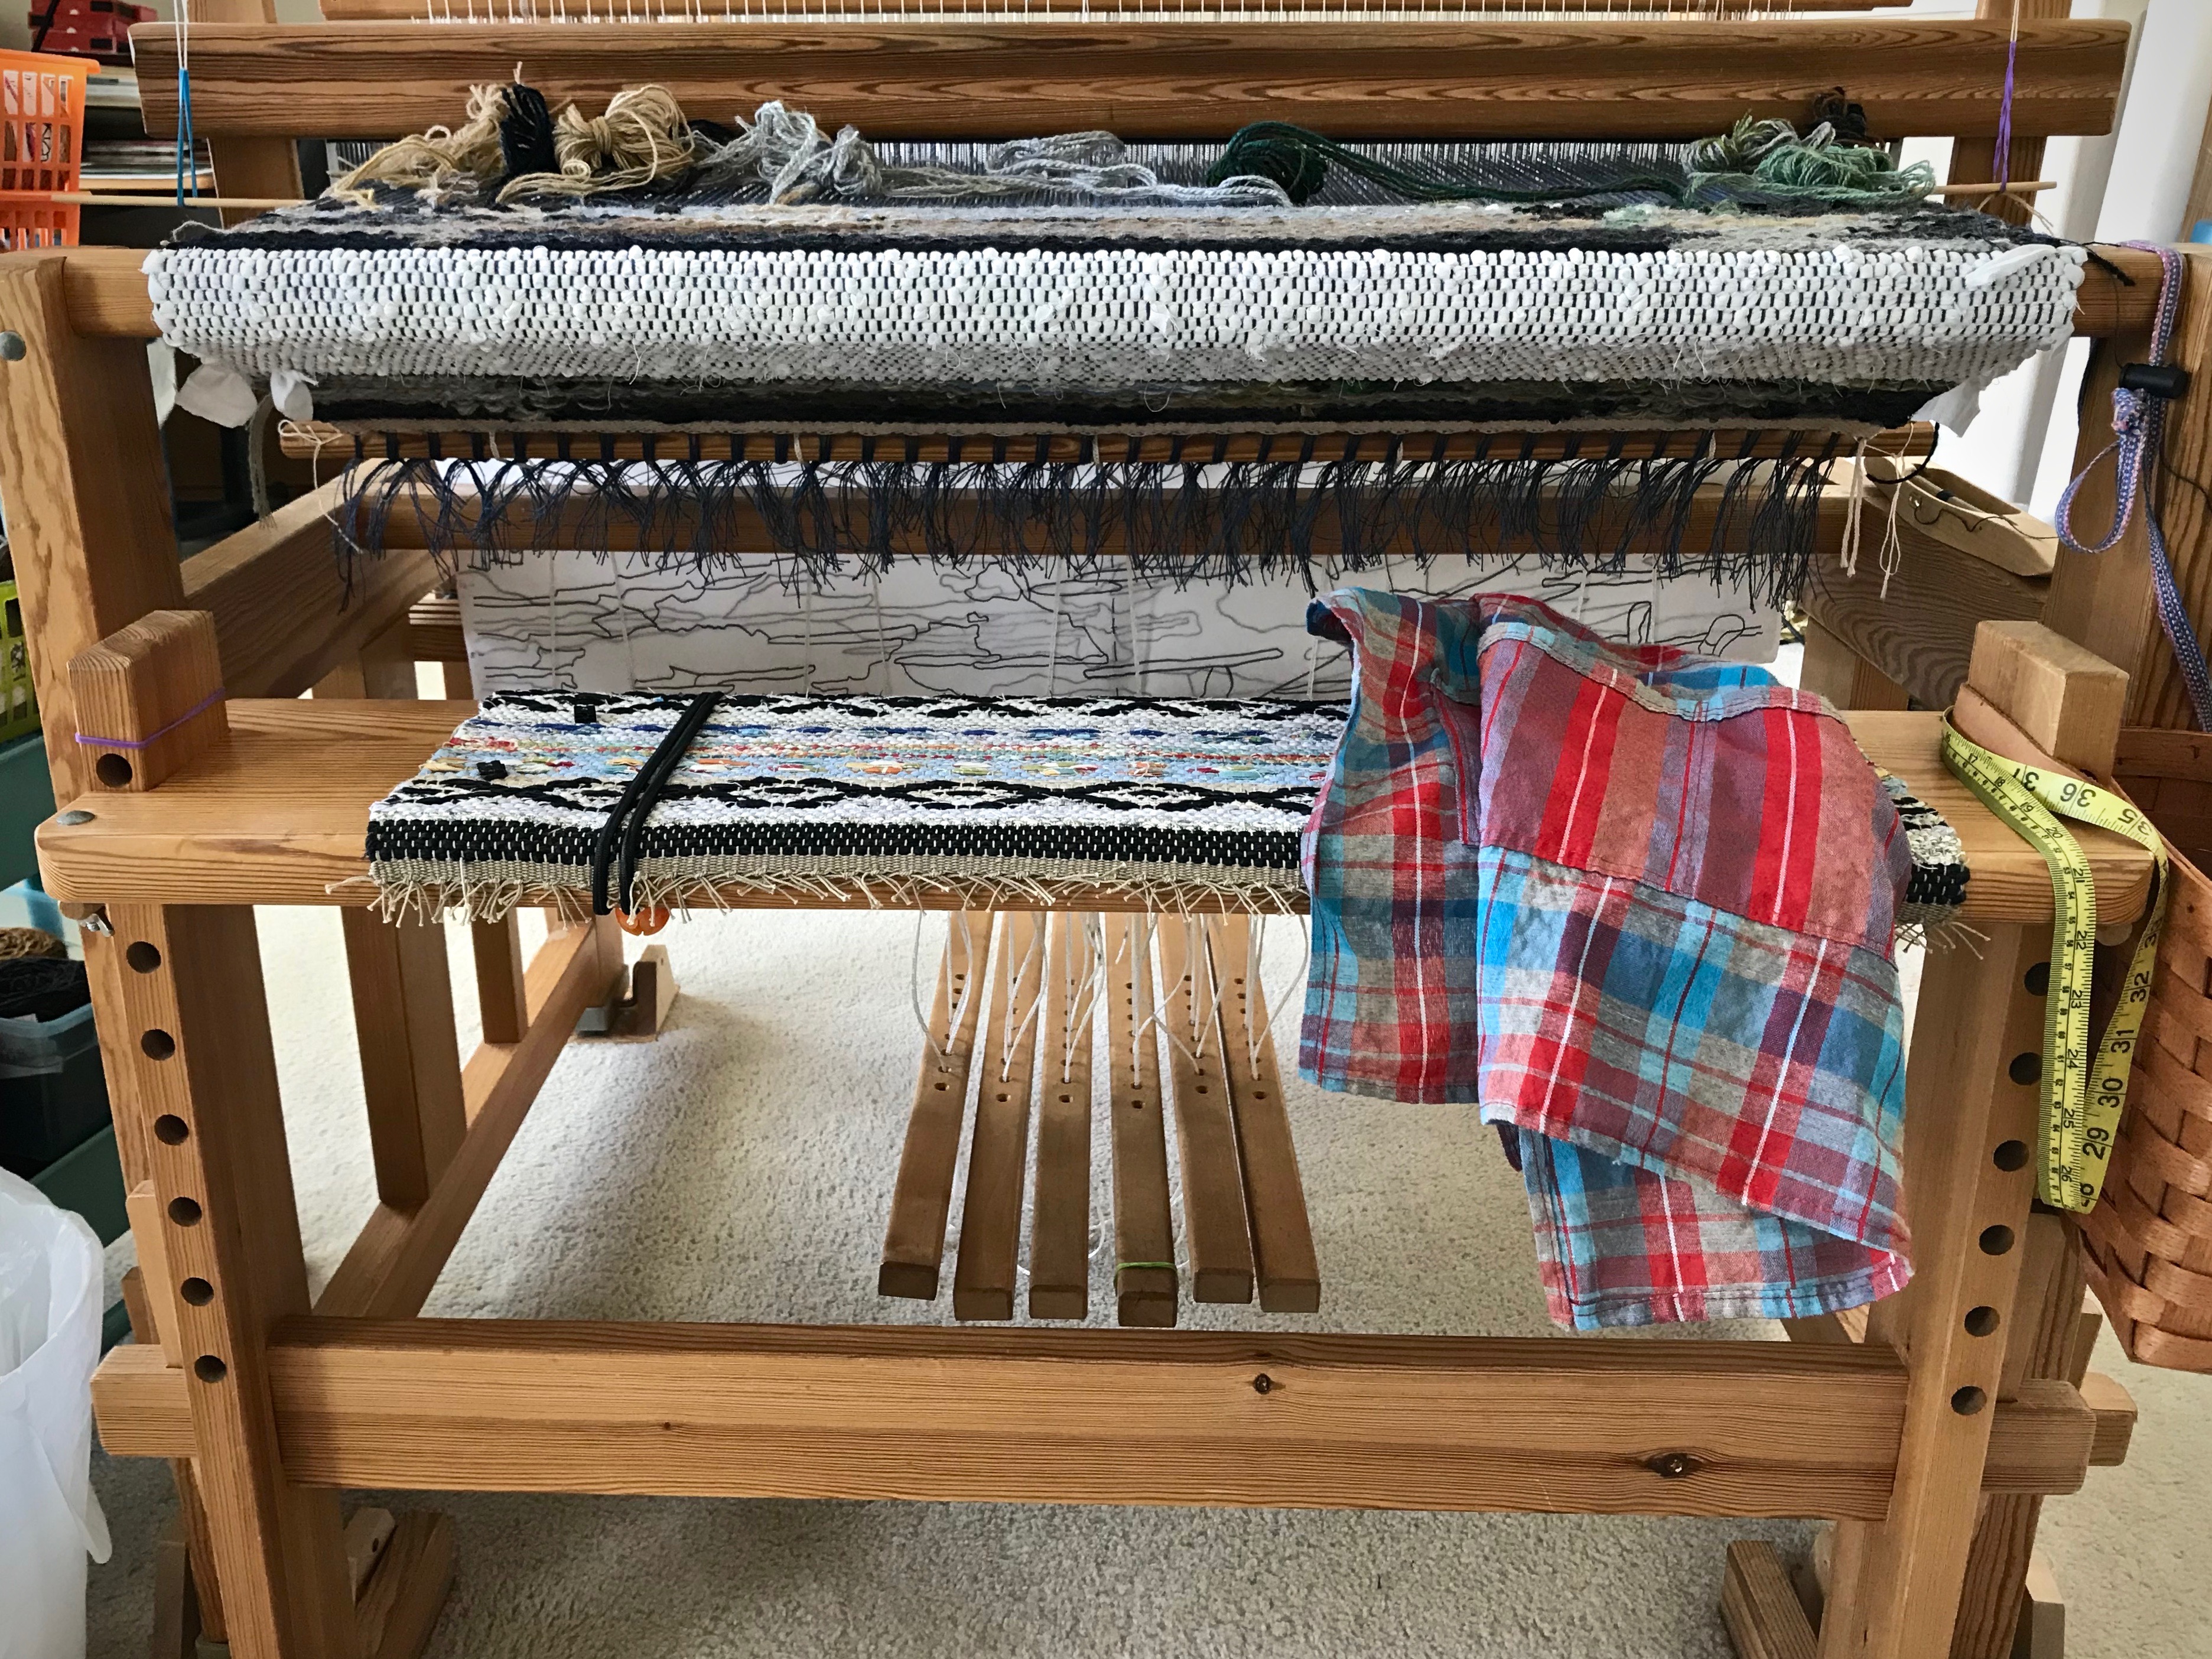
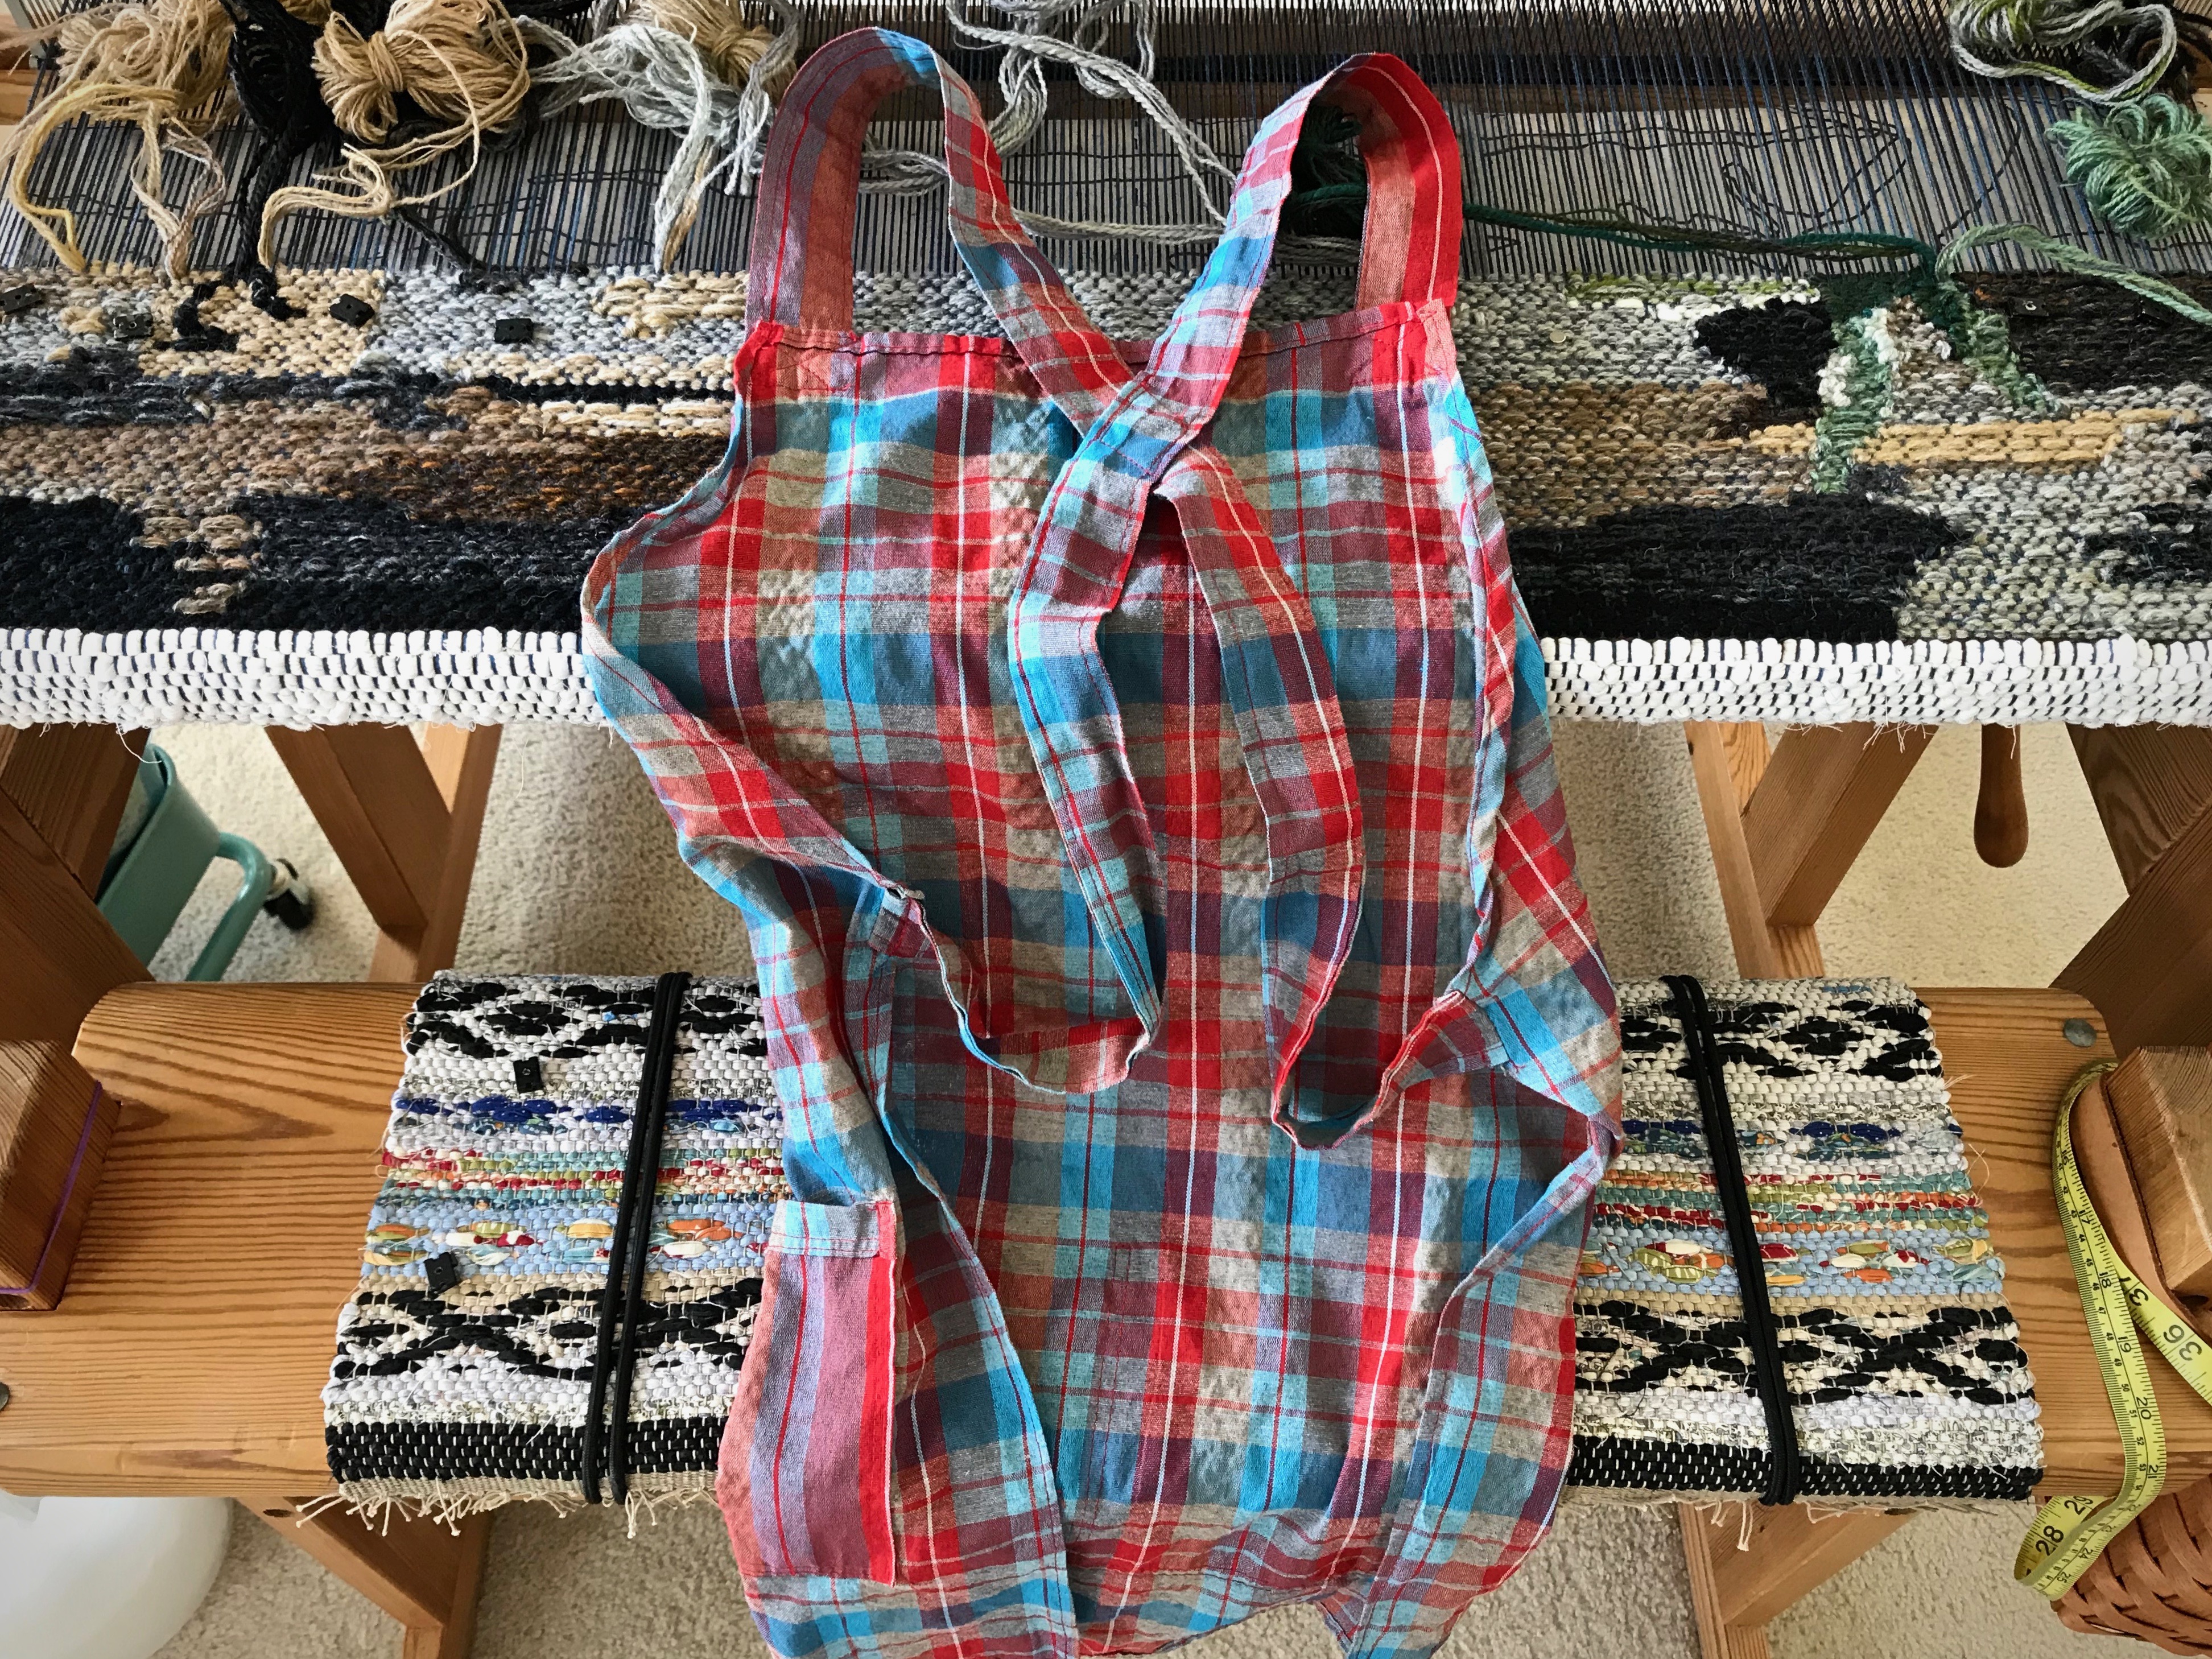
Apron is kept on the loom bench for easy access. There is no fabric protection board on this loom, so without an apron, the tapestry being woven and the clothing I wear are both susceptible to damage from repeated contact.Apron pockets keep things handy.With simple criss-cross straps at the back, this weaving apron fits just about anybody. And there is no bow to tie in the back, like my Grandma’s aprons had.
A weaving apron guards both the fabric on the loom and my clothes. The apron also gives me ample pockets, good for countless things—dropping in a few wound quills to take back to the loom, keeping a tape measure handy, separating one wool butterfly from the rest, and other things you wouldn’t think of if you didn’t have them.
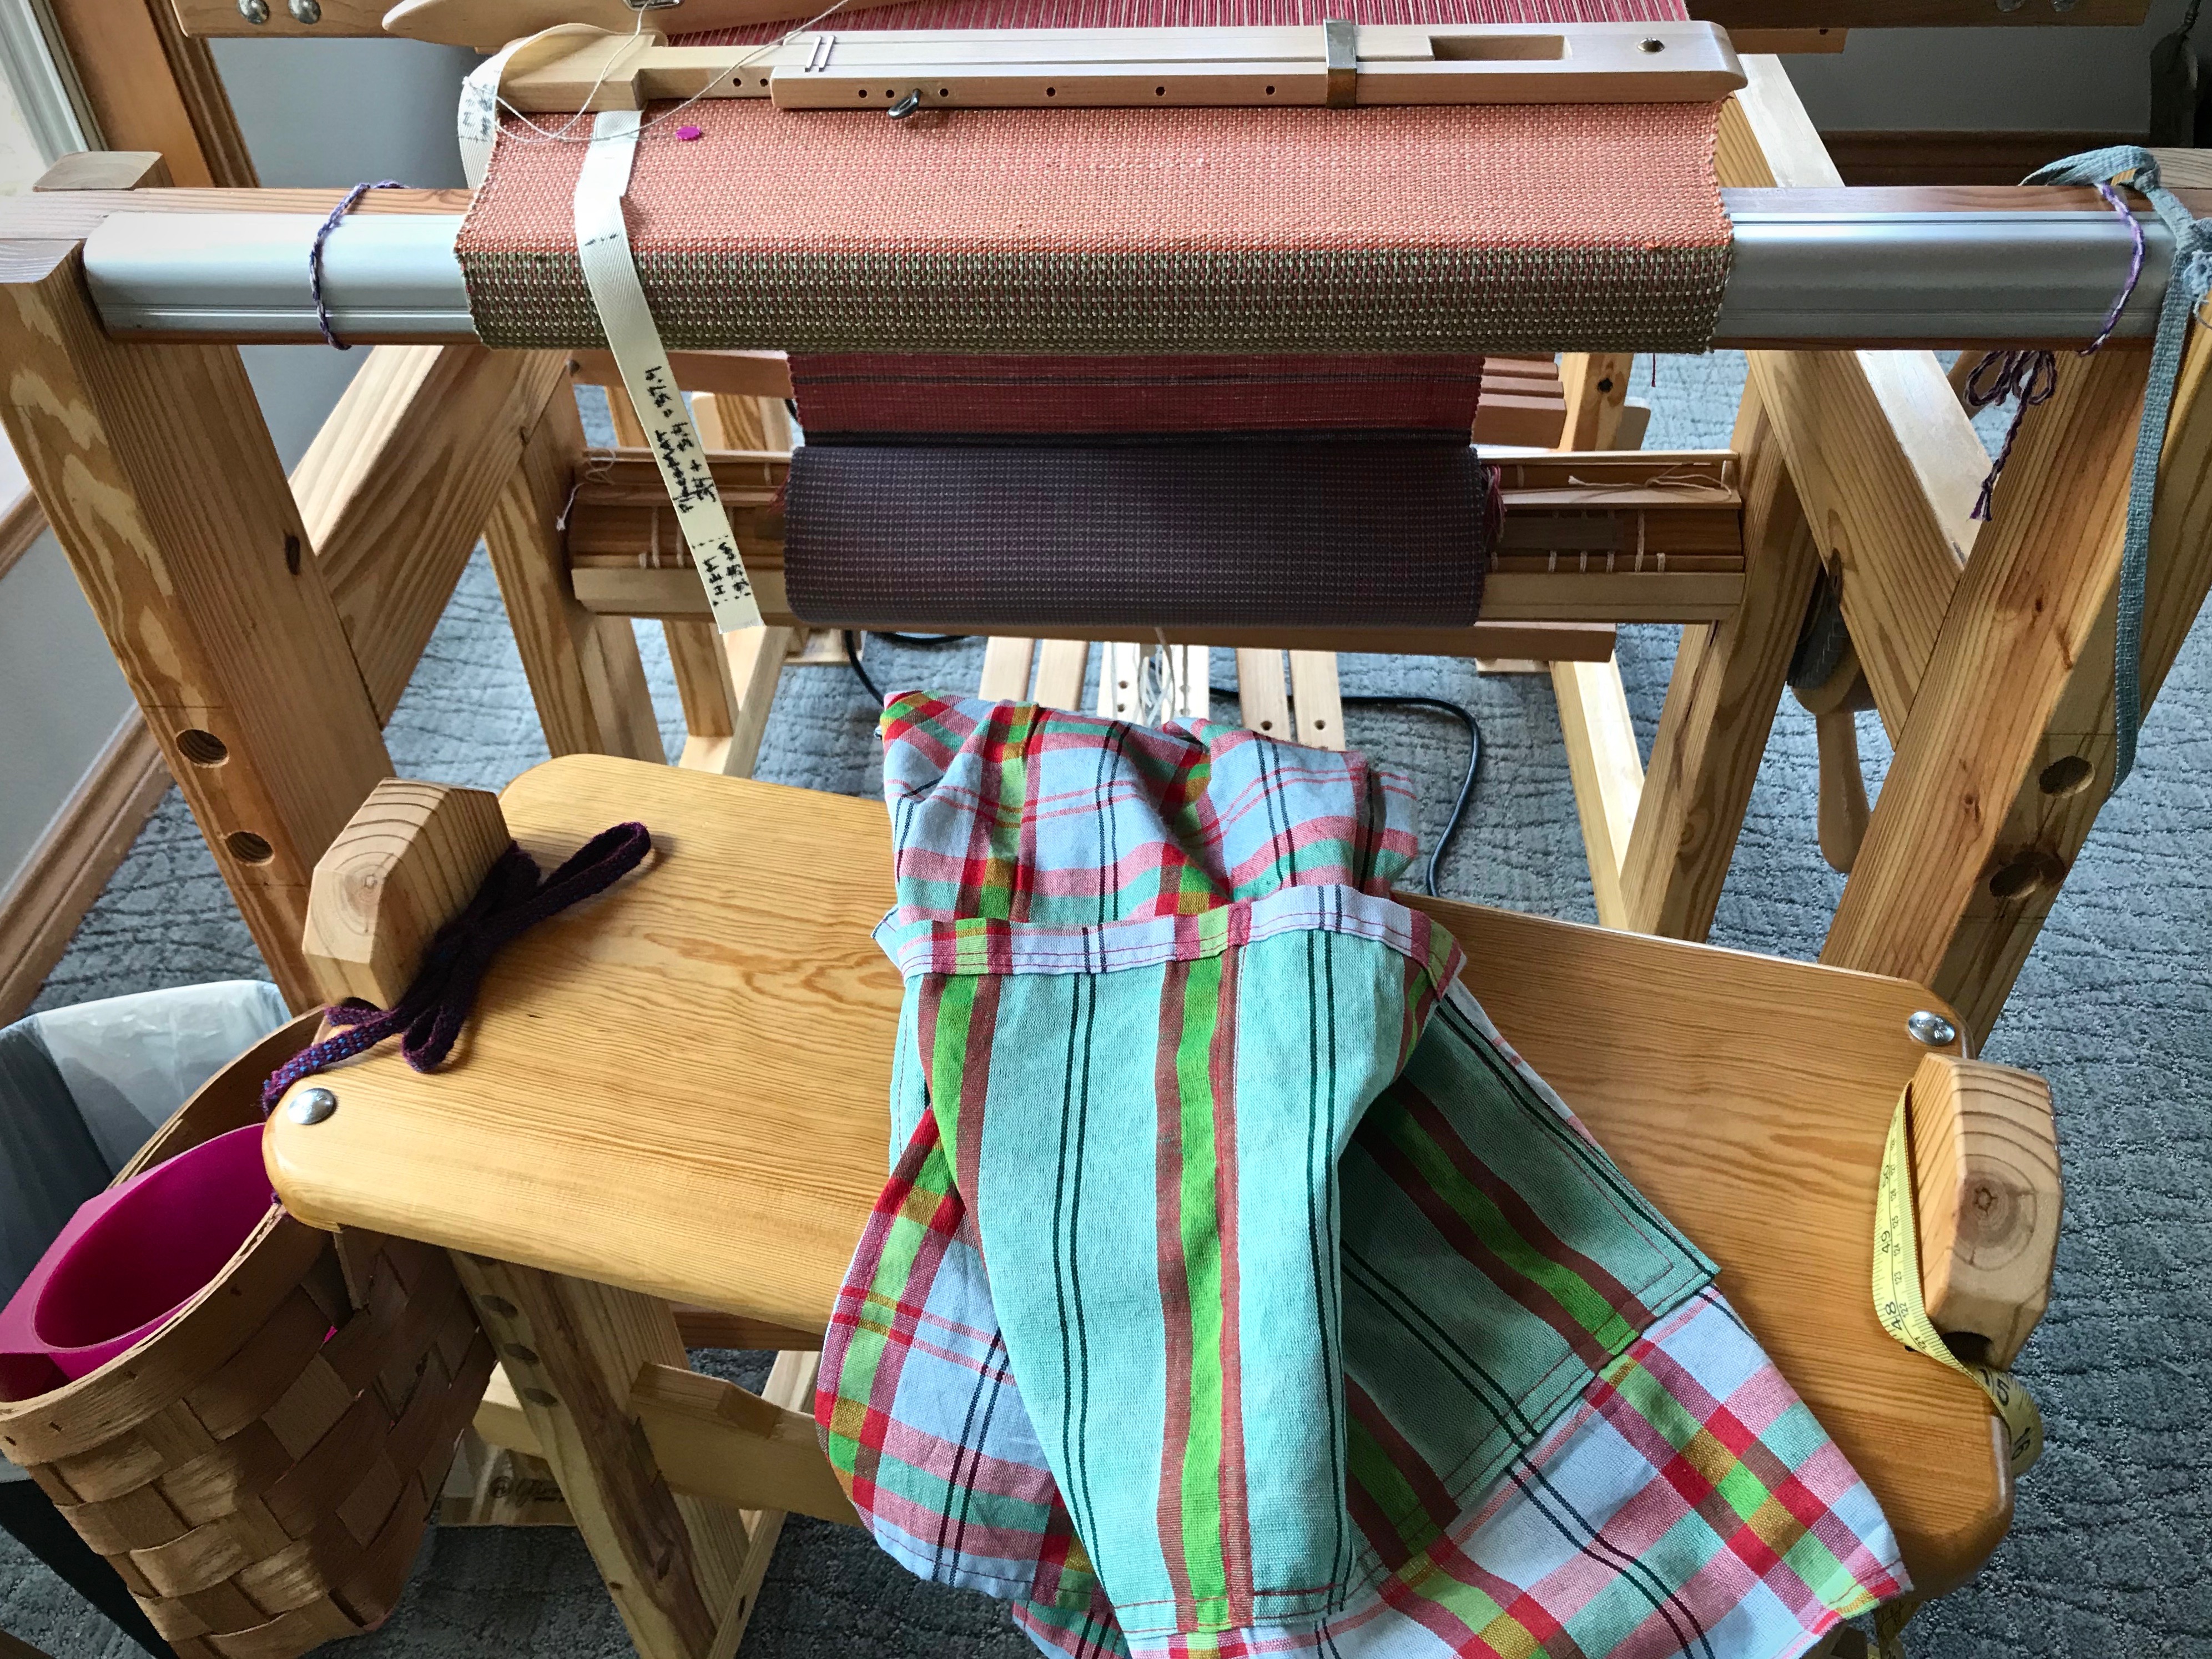
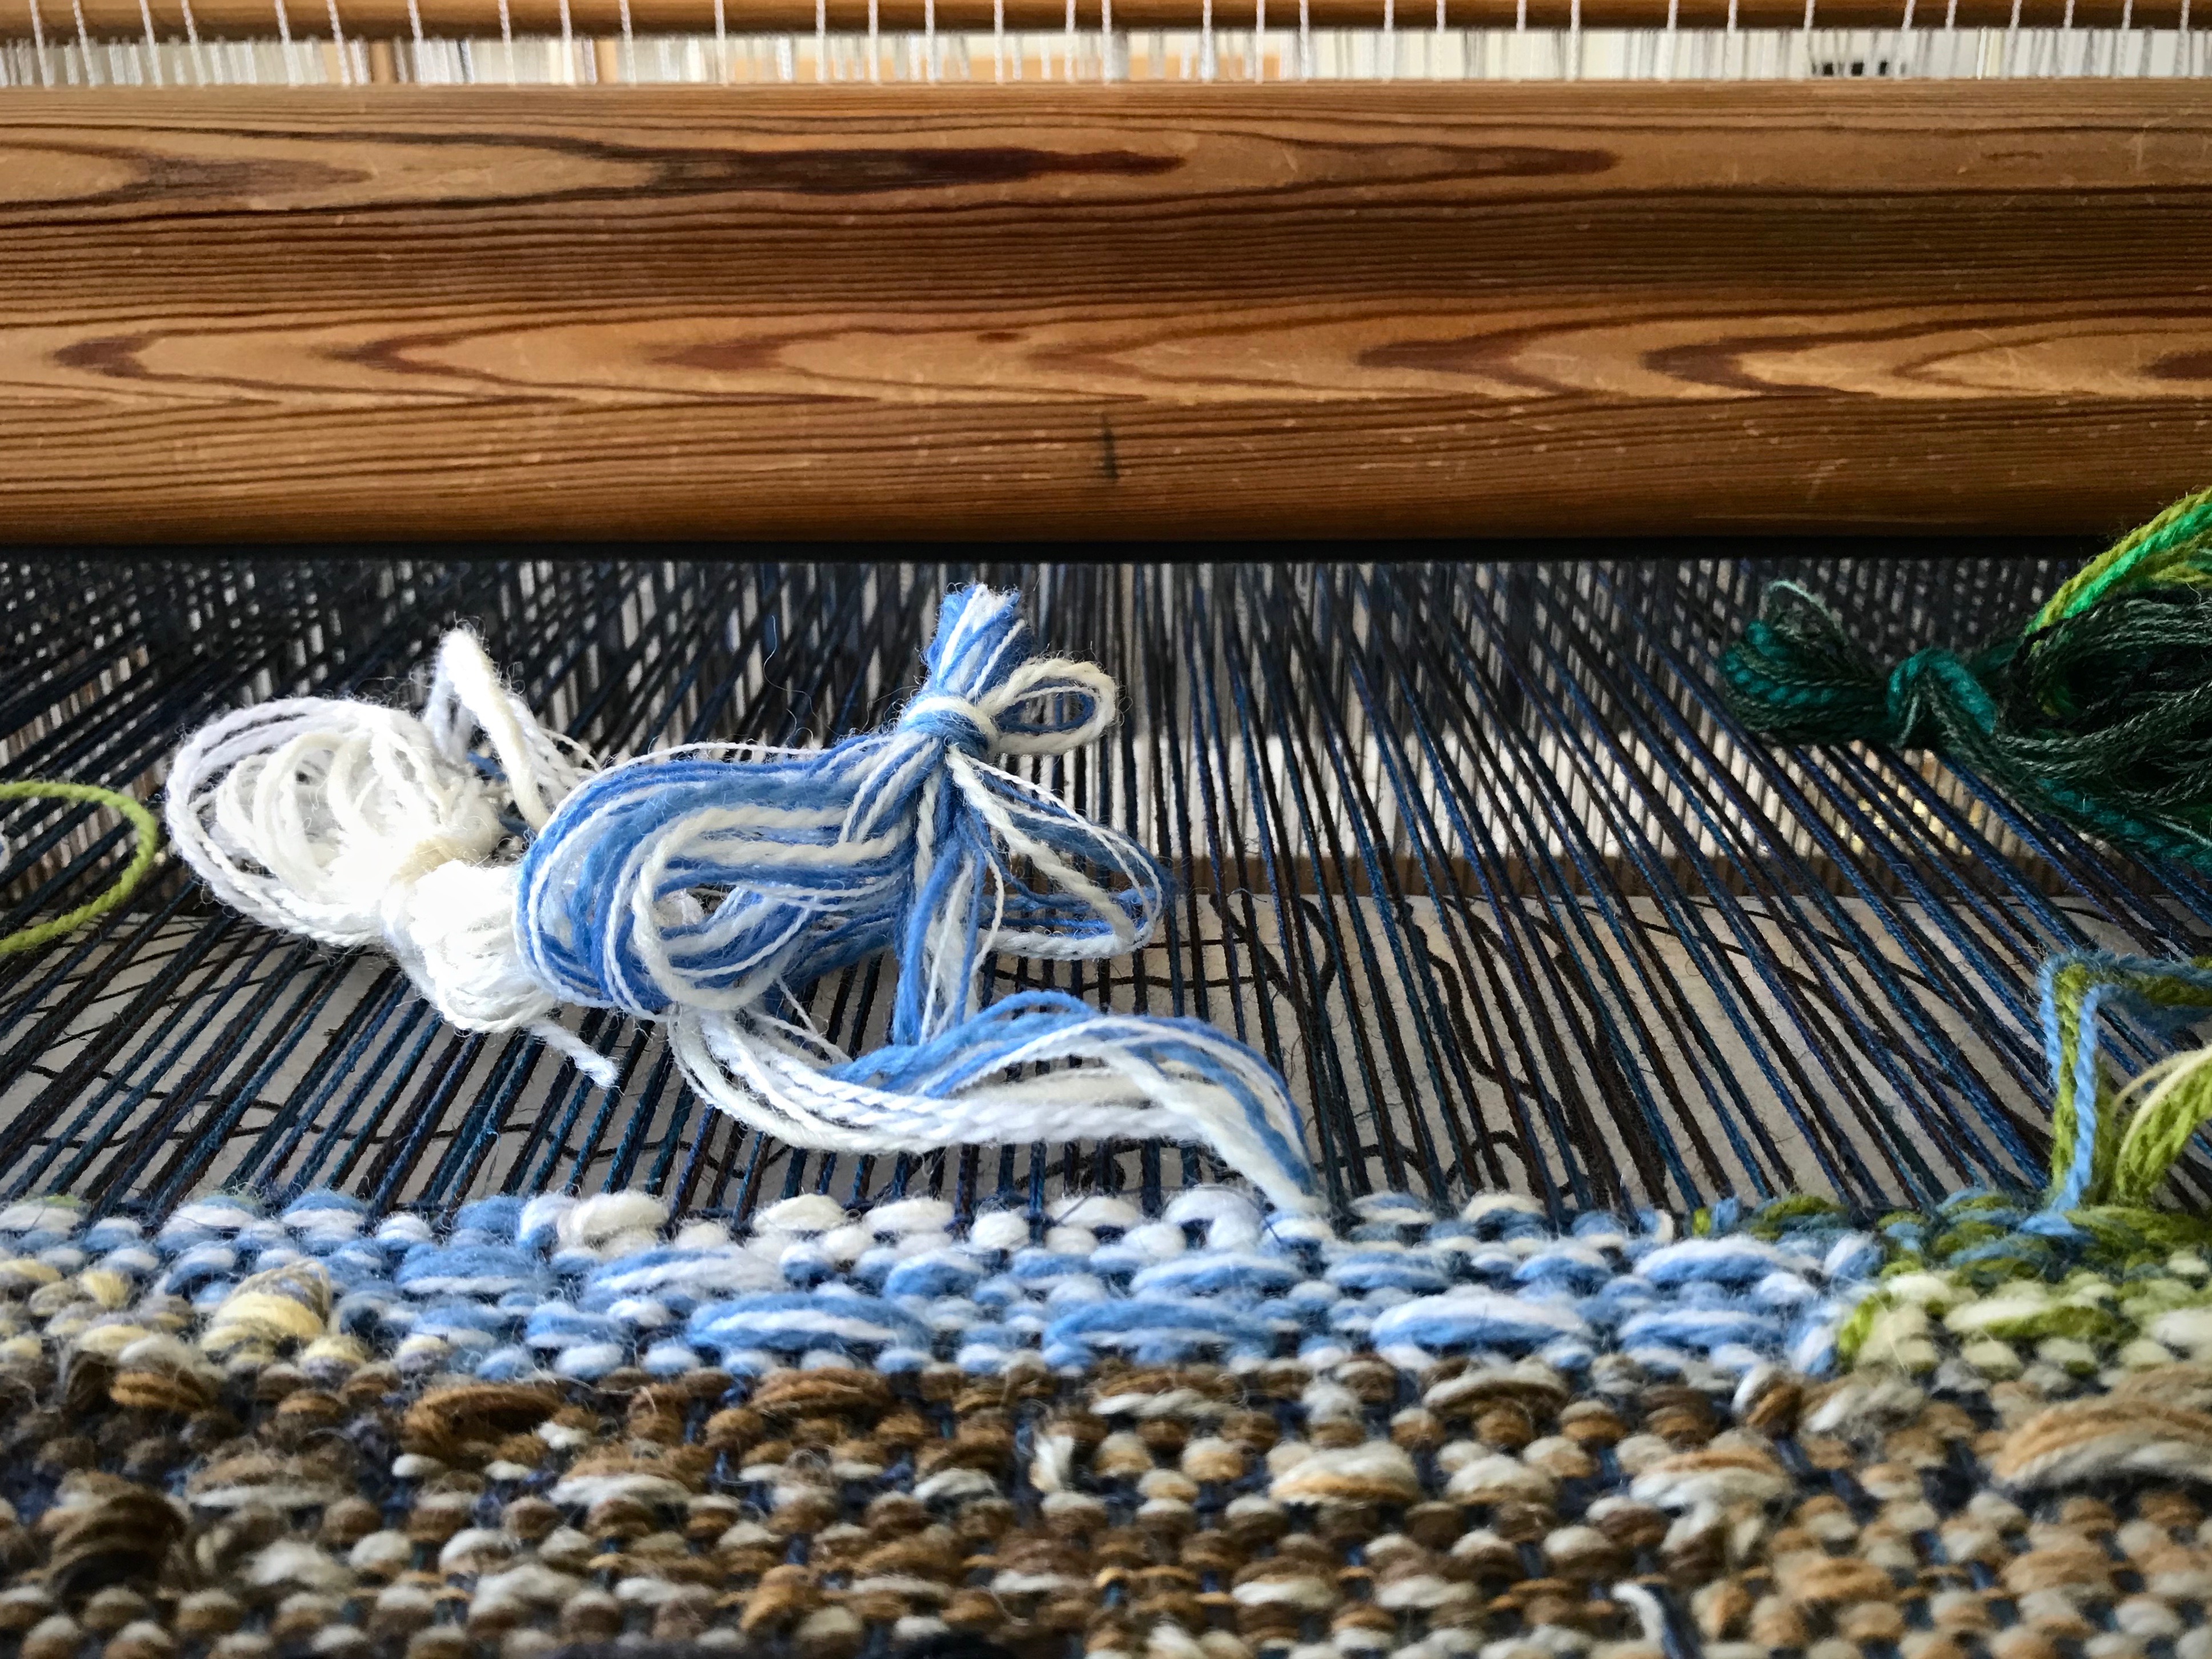
Texas hill country loom has its weaving apron ready for my next visit there.
An apron like this would be easy to make. However, I was fortunate to come across the perfect weaving apron (not labeled as such), pockets and all, at a quaint little shop in Texas hill country. So, now I keep one at each loom. And when you put one of these aprons on to weave, something magical happens…
Alignment, security, and visibility are the main things I think about in regard to attaching and supporting the cartoon. In order to weave a tapestry this size, or any size for that matter, you need a good way to manage the cartoon. My cartoon is drawn onto a thin Pellon product (Pellon 830 Easy Pattern, 45″ wide) that is meant for pattern making. This material is easy to pin, doesn’t tear, and only barely wrinkles.
Alignment Align center of cartoon to center of warp.
A blue dashed line from top to bottom of the cartoon marks the center. I also have a pencil mark on the exact center of my beater. When the blue line on the cartoon is perfectly aligned with the center warp end, as seen from the mark on the beater, I know my cartoon is in the correct position.
Pencil mark on the beater is above the center warpend.
Security
Pin the cartoon in two places on each side of the woven tapestry.
This warp is too wide for me to reach all the way to pin the cartoon in the center. So, on both sides of the weaving I place one flathead pin near the selvedge, and another one as far as I can comfortably reach toward the center. I move the pins forward each time I am ready to advance the warp.
Two flat-head pins hold the cartoon under the tapestry weaving on the right-hand side.
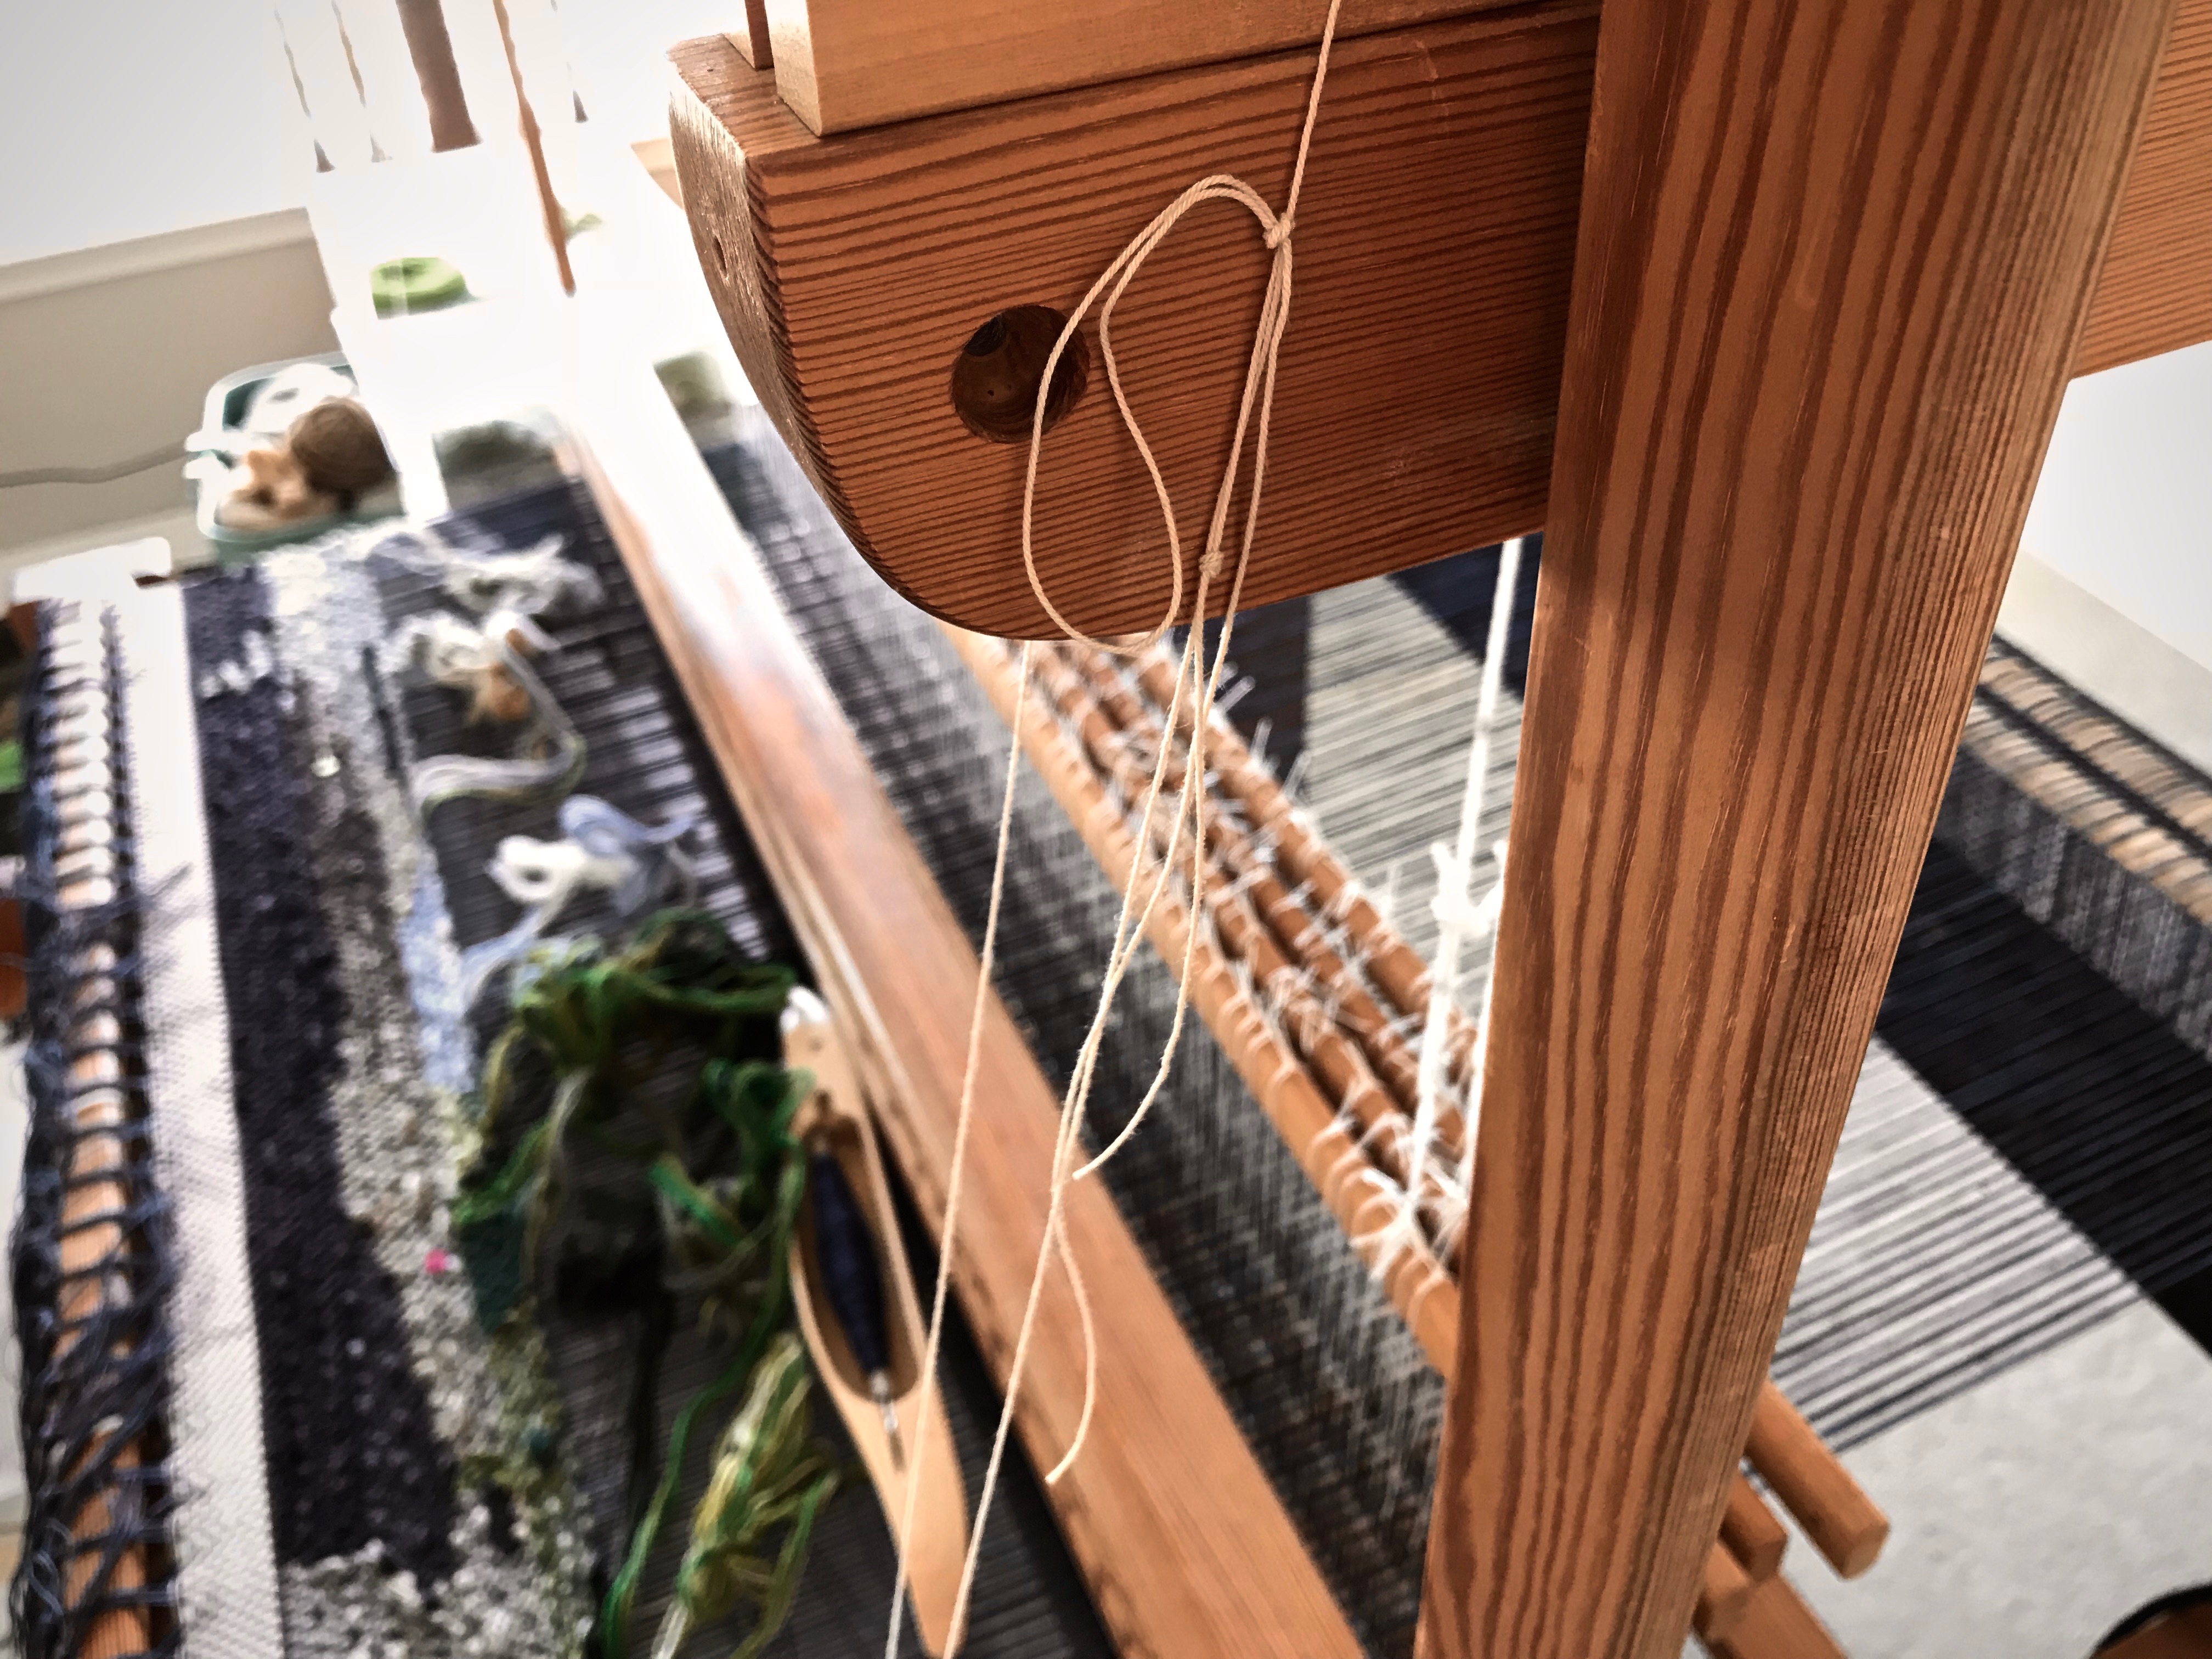
Hang a support slat under the cartoon.
I learned this from The Big Book of Weaving, by Laila Lundell, p. 239, 2008 edition. I used this method previously for a rag rug that had a cartoon for a large inlay pattern. It also works well for holding the cartoon for a woven transparency.
Seine twine loop with rubber band hangs from beater cradle. Slat holds cartoon up against the warp.
Supplies: 12/6 cotton seine twine, 2 rubber bands, long warping slat
1 Make a loop with the seine twine to hang from the beater cradle to just below the warp, with a rubber band on the loop.
2 Tie the ends of the loop with a bow knot or a weaver’s tie-up knot (this useful knot is described in How to Warp Your Loom, by Joanne Hall, p. 39).
Top of loop tied in a bow knot.Weaver’s tie-up knot is perfect for this application, since it is quick and easy to undo and re-tie if repositioning is needed.
3 Make another loop the same way, with rubber band, and hang it on the other beater cradle.
4 Place the warping slat in the hanging rubber bands, underneath the cartoon.
5 Adjust the length of the loops so that the slat lightly presses up on the cartoon and the warp.
Rubber band gives flexibility to the seine twine loop that is holding up the cartoon.
Pin the rolled-up cartoon underneath.
I roll up the Pellon cartoon under the warp and pin it once on each side. As the warp and cartoon advance I can reposition the pin as needed.
Under the warp, the cartoon is loosely rolled up and pinned.
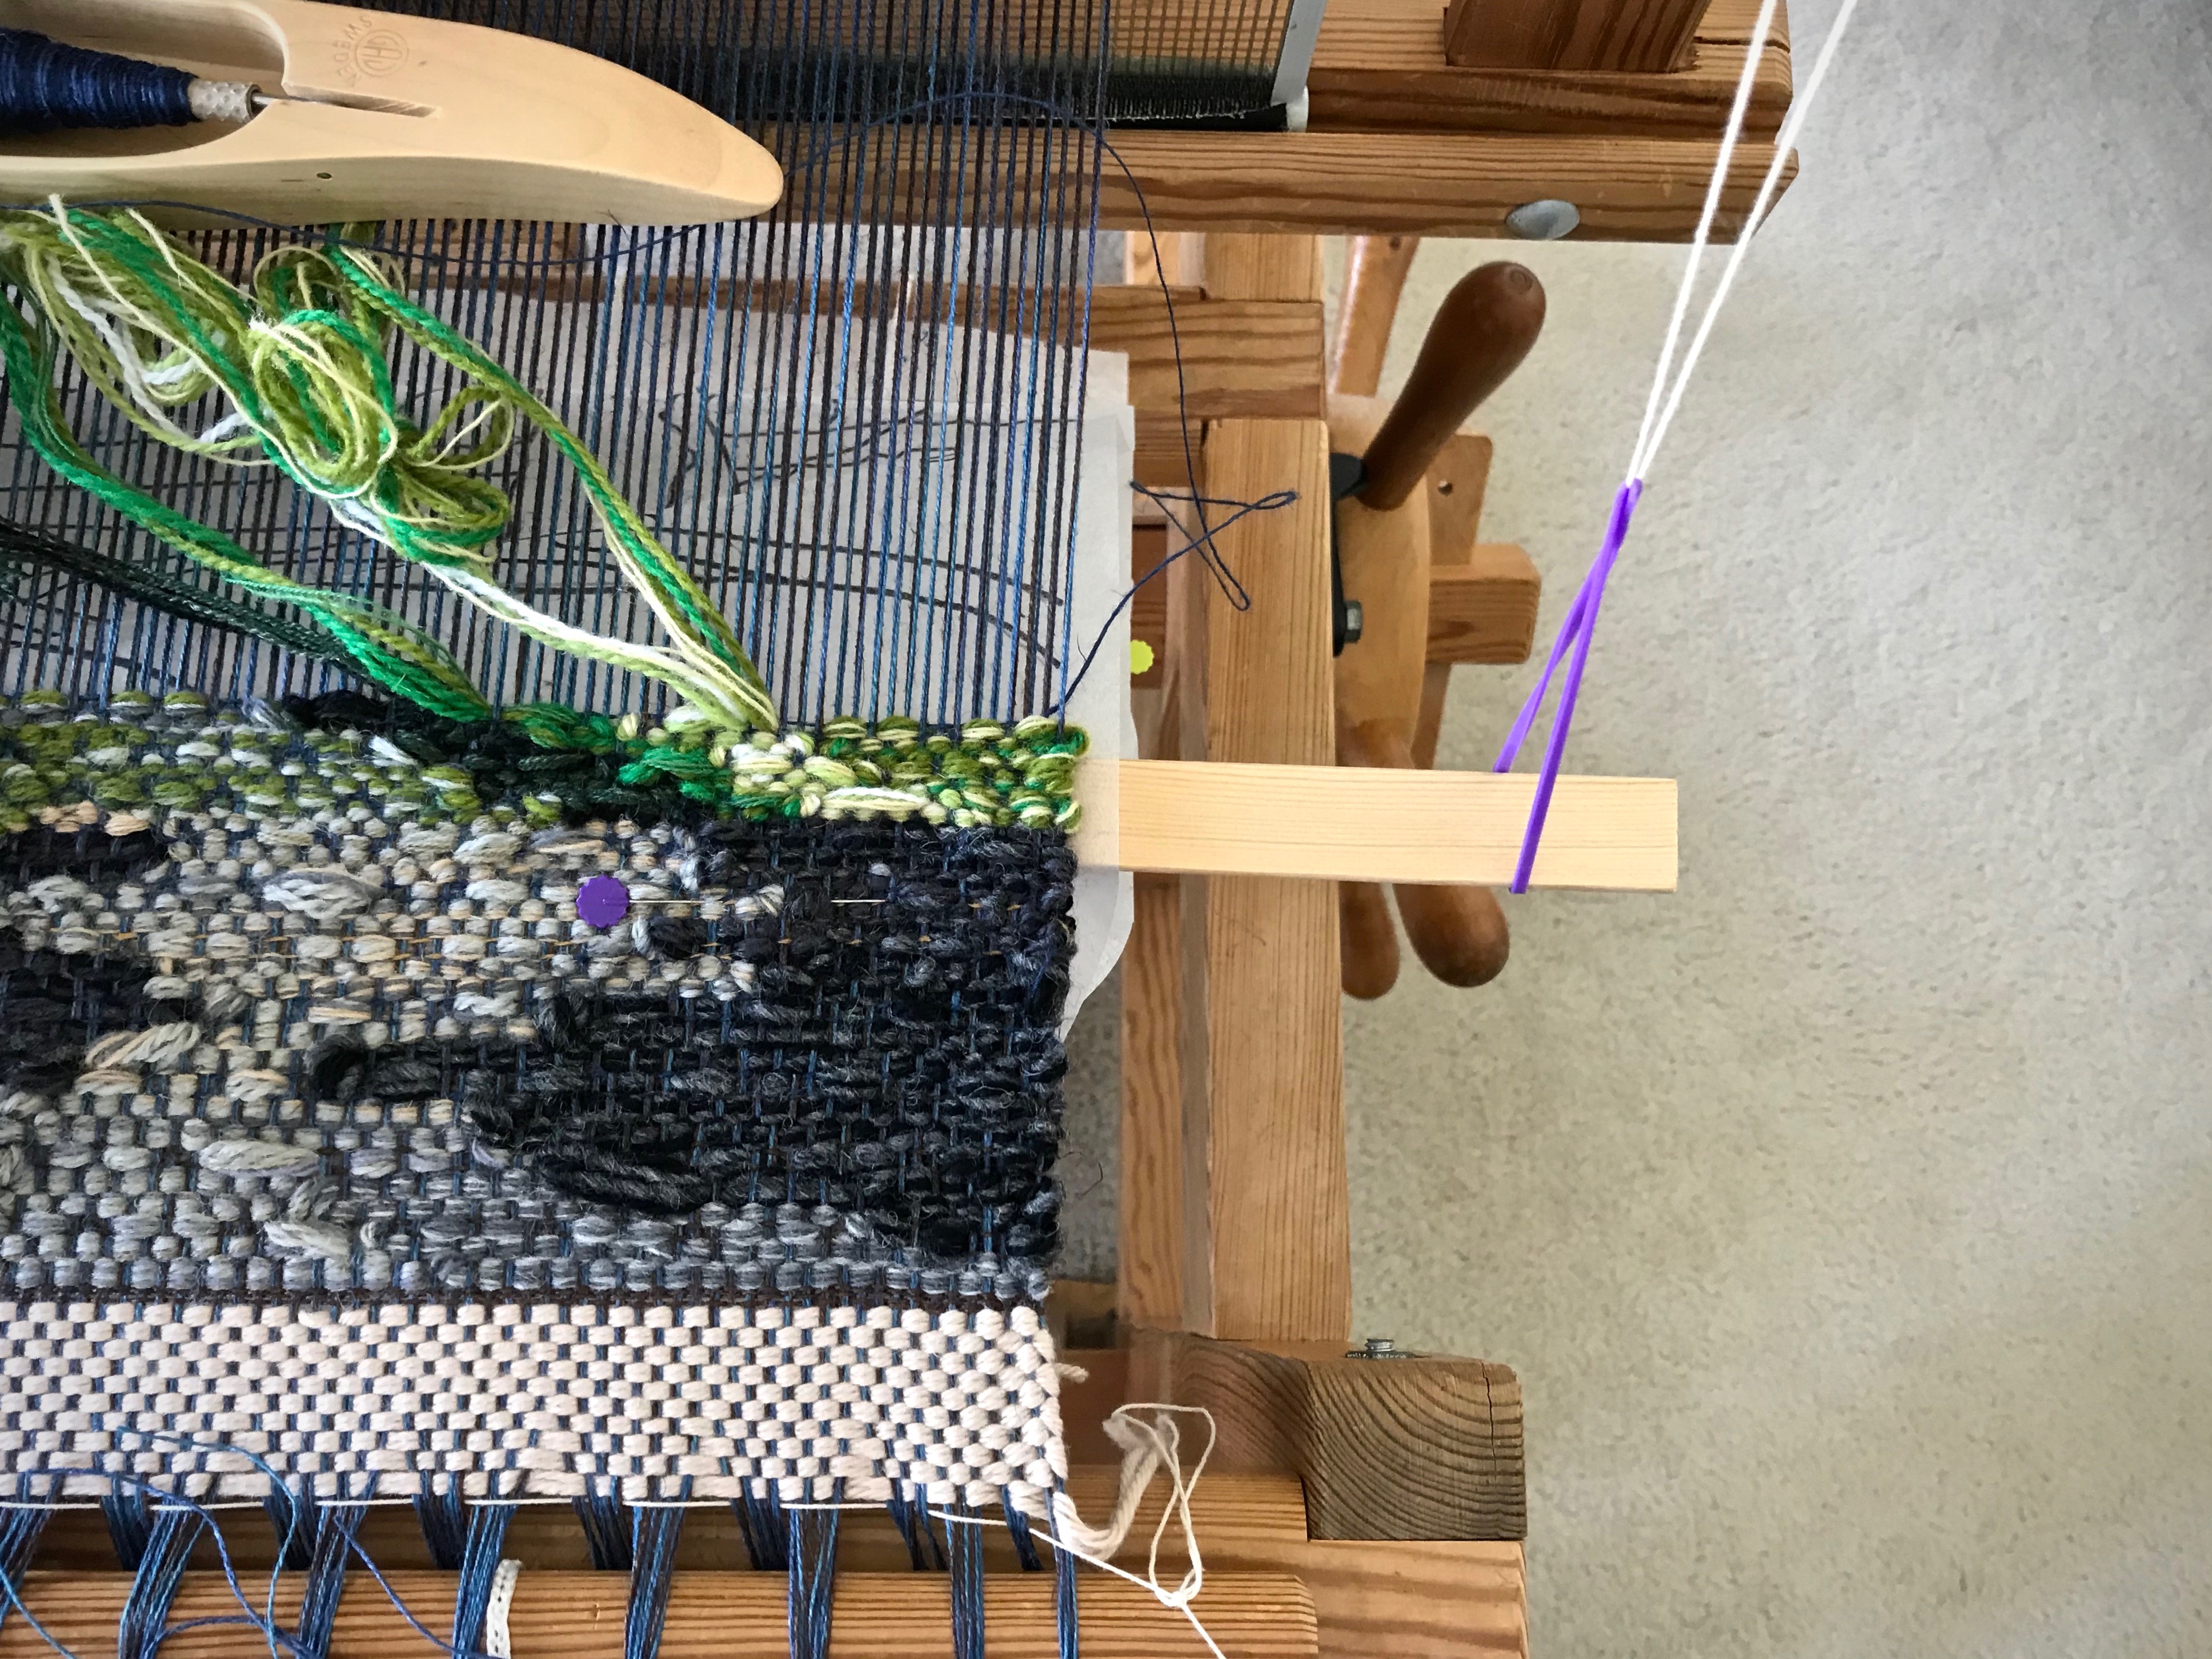
Move the slat toward the breast beam, out of the way, to beat in the weft.
Because of the rubber bands, the slat support has flexibility and does not impede the movement of the beater.
With the slat under or near the fell line, it presses the cartoon up to the warp. By doing this, I can easily see what comes next as the tapestry weaving develops row by row.
Placing the slat under the fell of the weaving raises the cartoon to visibility where it is needed most.
I wait for my ordered yarn to arrive. Meanwhile, I dream of this tapestry becoming a reality as cartoon meets wool.
May you have the alignment, security, and visibility you need.
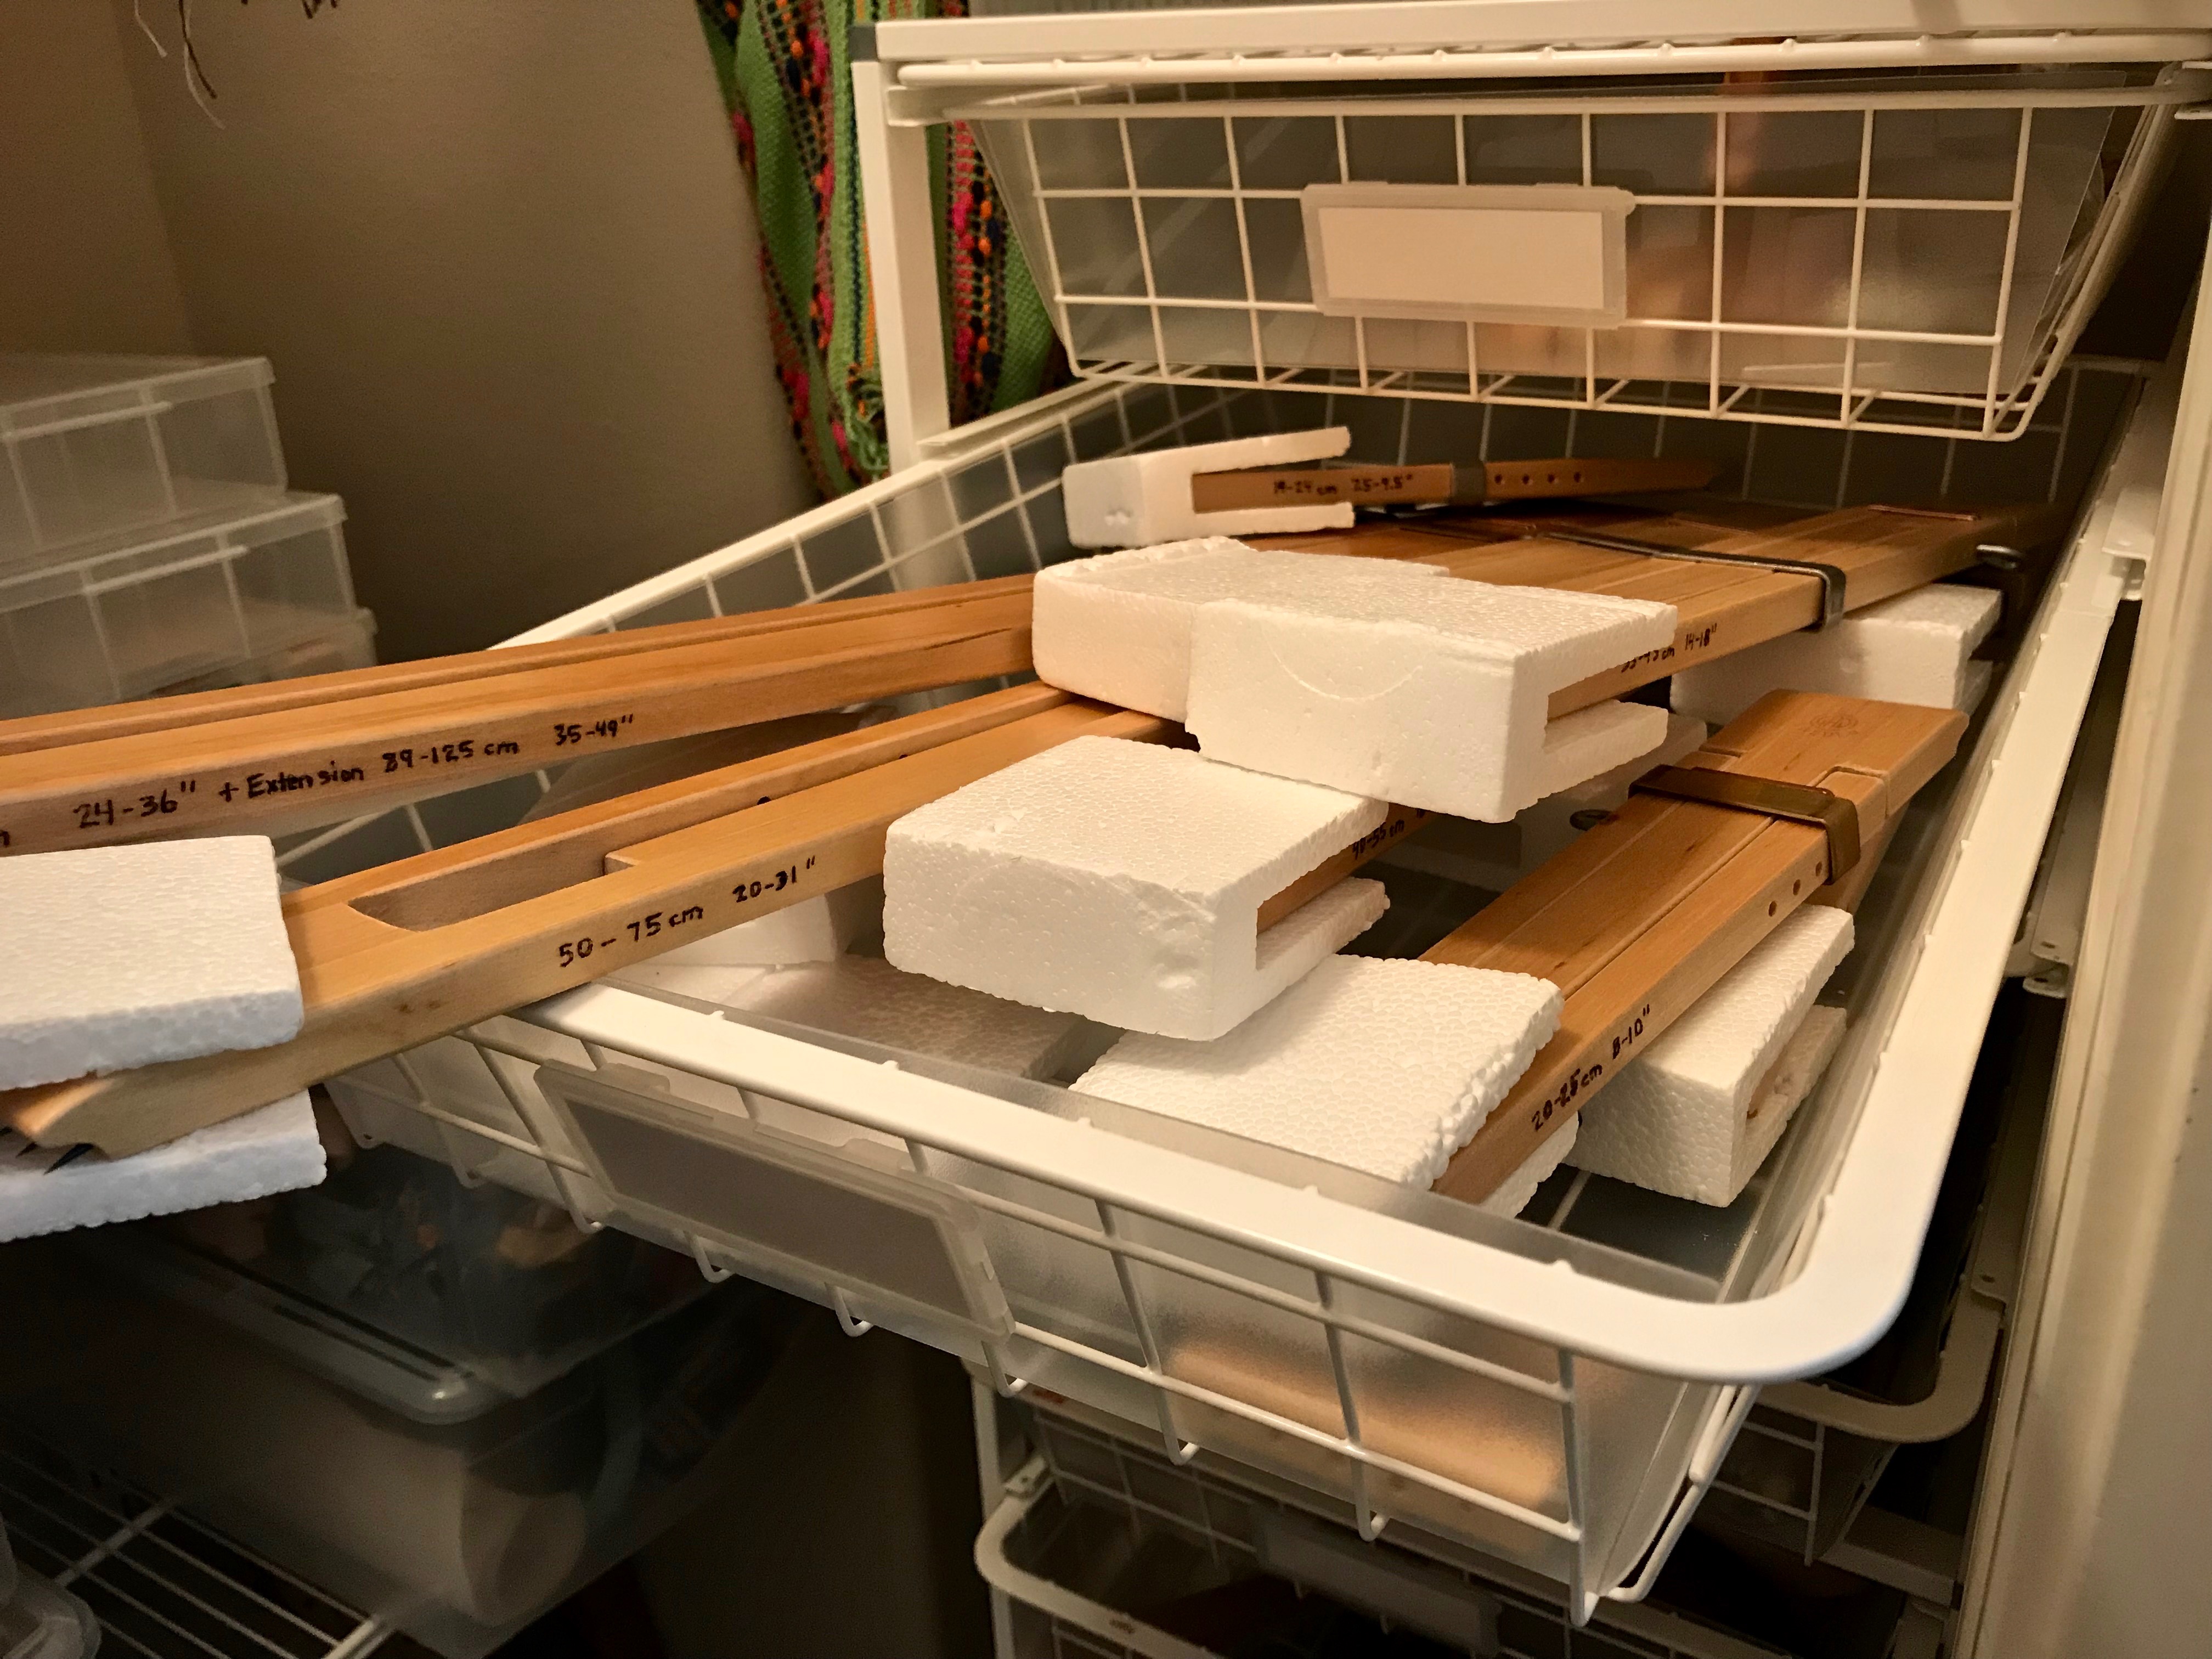
It occurs to me that I am unnecessarily doing something the hard way. Repeatedly. For every new project, I pull out my tape measure to find the right set of lease sticks. The tape measure also helps me select the temple needed for the current weaving width. No more! I do like my tape measure, but why am I measuring these things every time? Why not measure them once and label them?
Solution
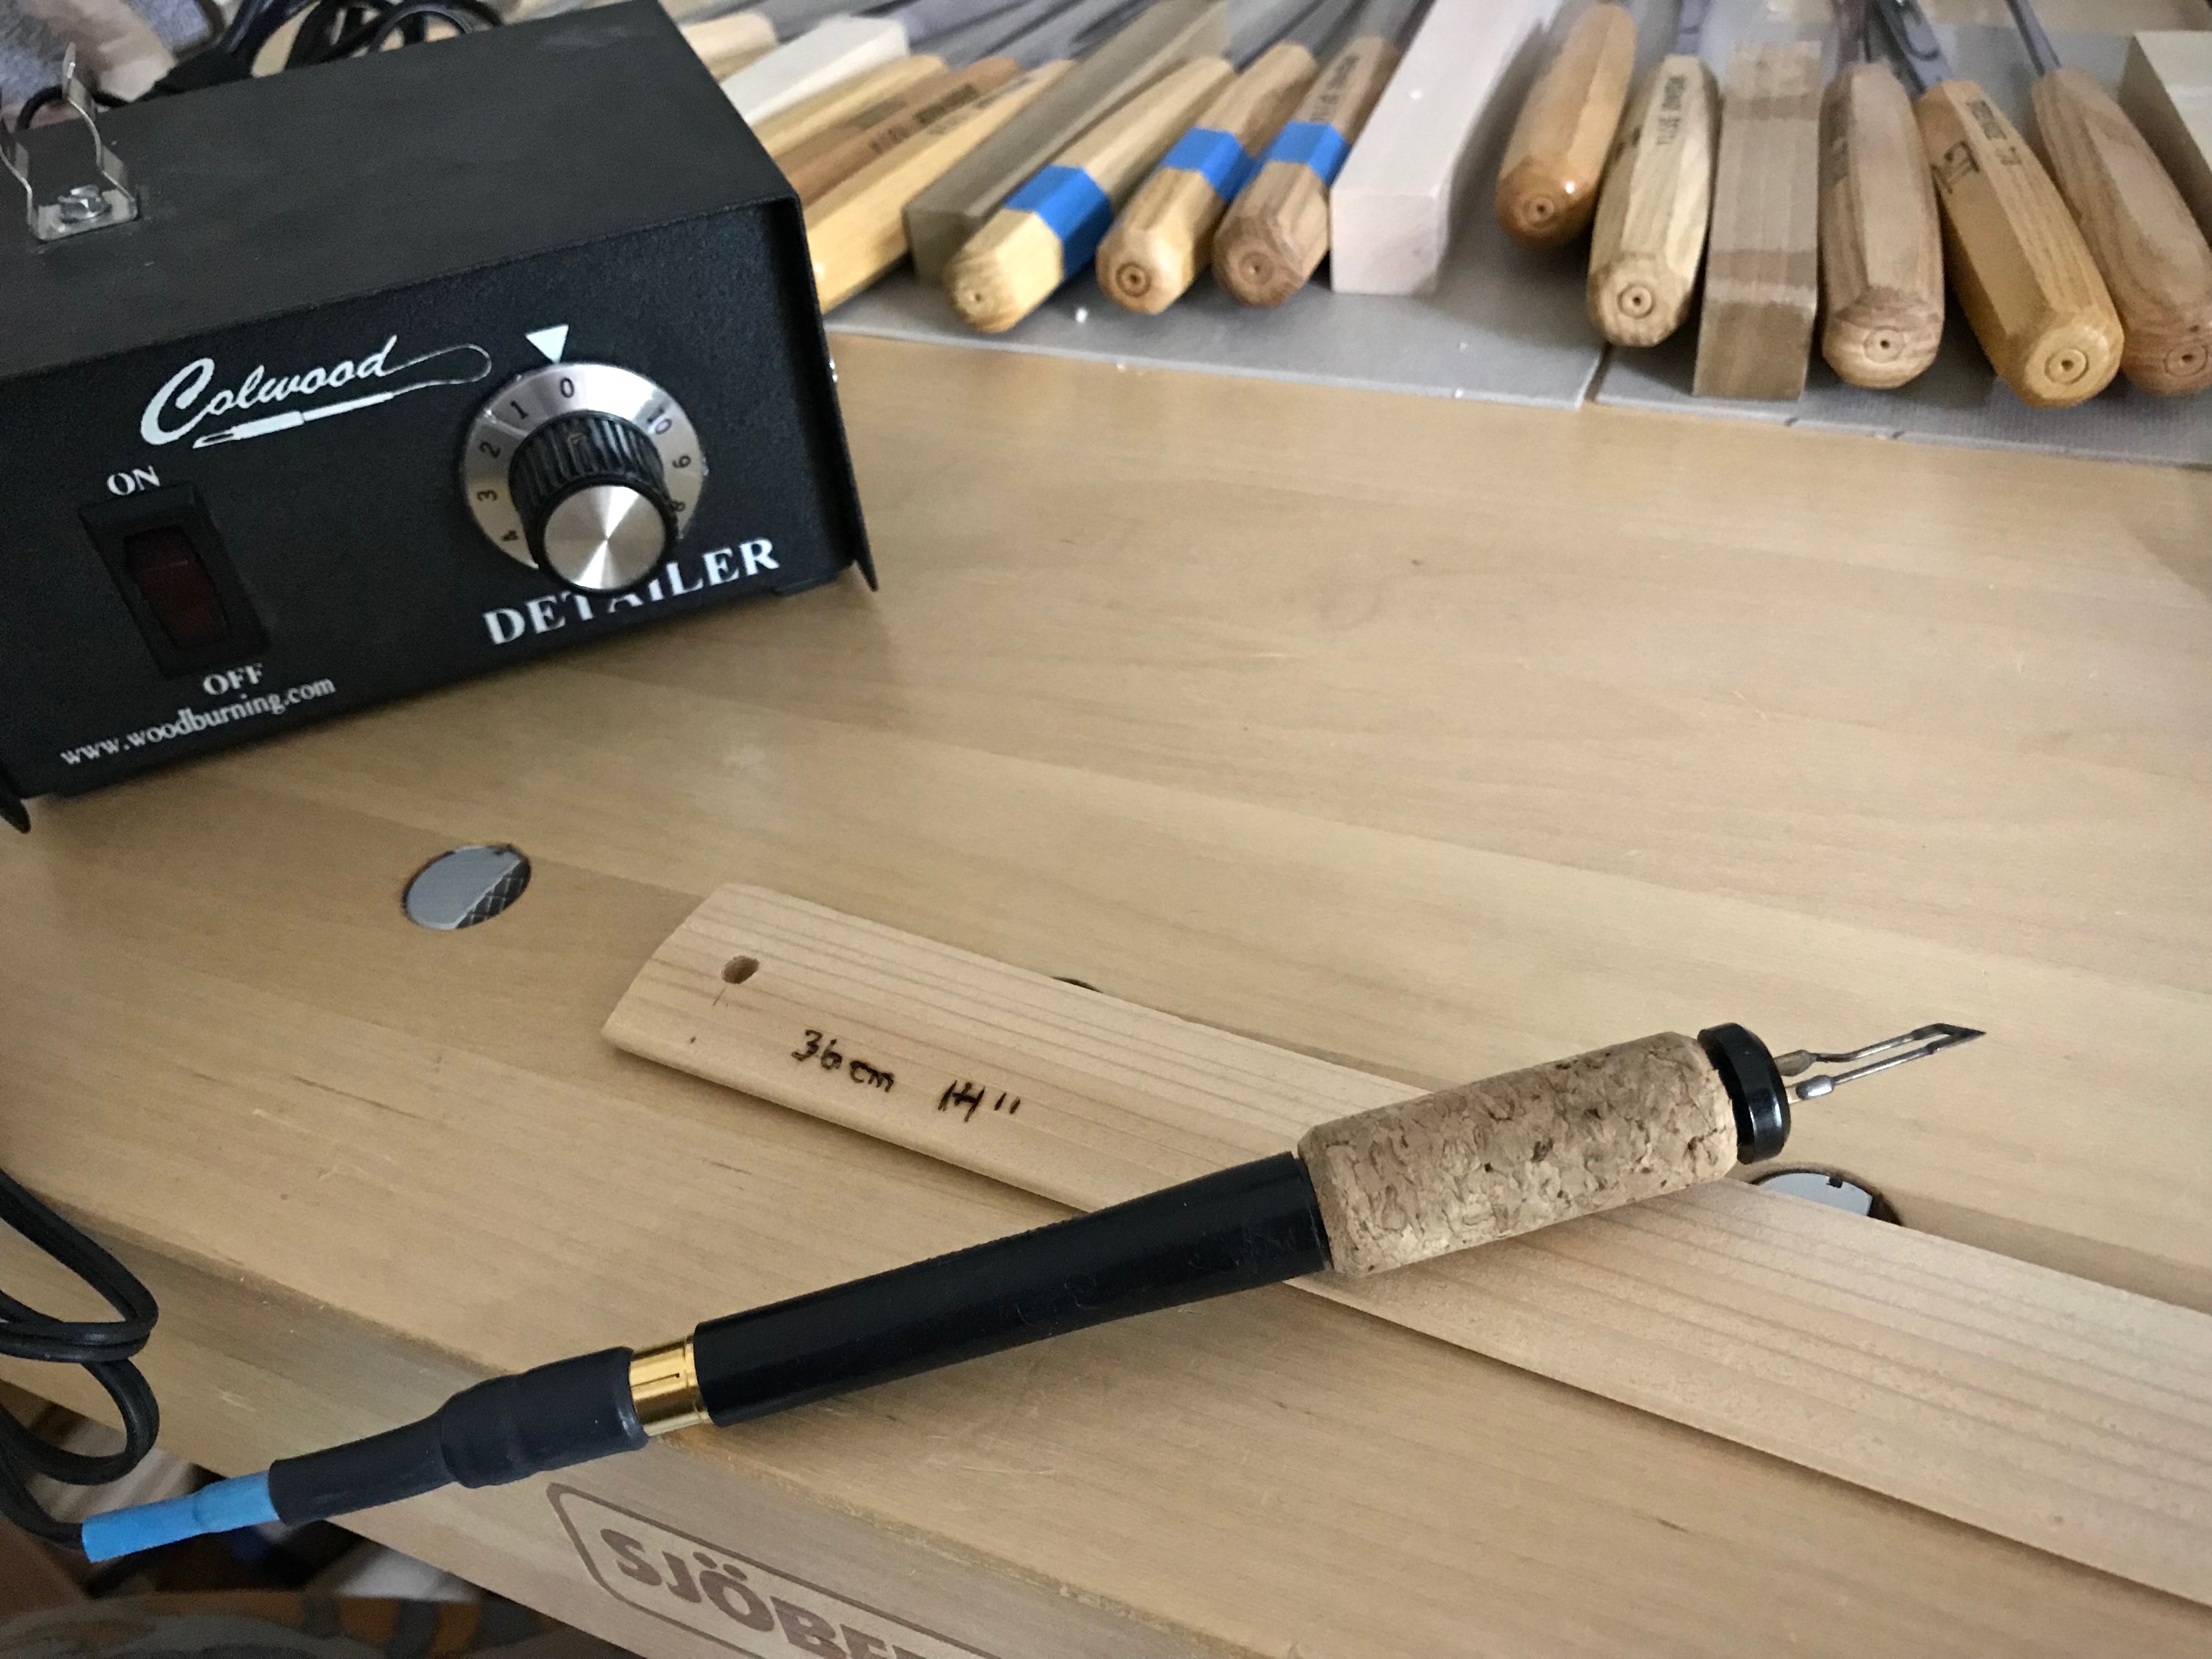
Measure the lease sticks and write the length in centimeters and in inches on one stick of each pair, in pencil.
Use a wood burner to trace the pencil markings. (My husband Steve does this part for me.)
Wood burner is used to write the length measurement on the end of a lease stick. Centimeters and inches are indicated because I use metric or imperial units, depending on the project.
Thread a cord through one end of each pair of lease sticks, to keep pairs together. Hang the lease stick pairs with the measurements clearly visible.
Looped cord is threaded through the lease stick holes to provide an easy way to hang pairs together.Paired lease sticks, ready for hanging.Pairs of lease sticks hang beside my worktable in my weaving room. My ol’ Beka rigid heddle loom on the wall happens to provide just the right little hanging post for the measured lease sticks.
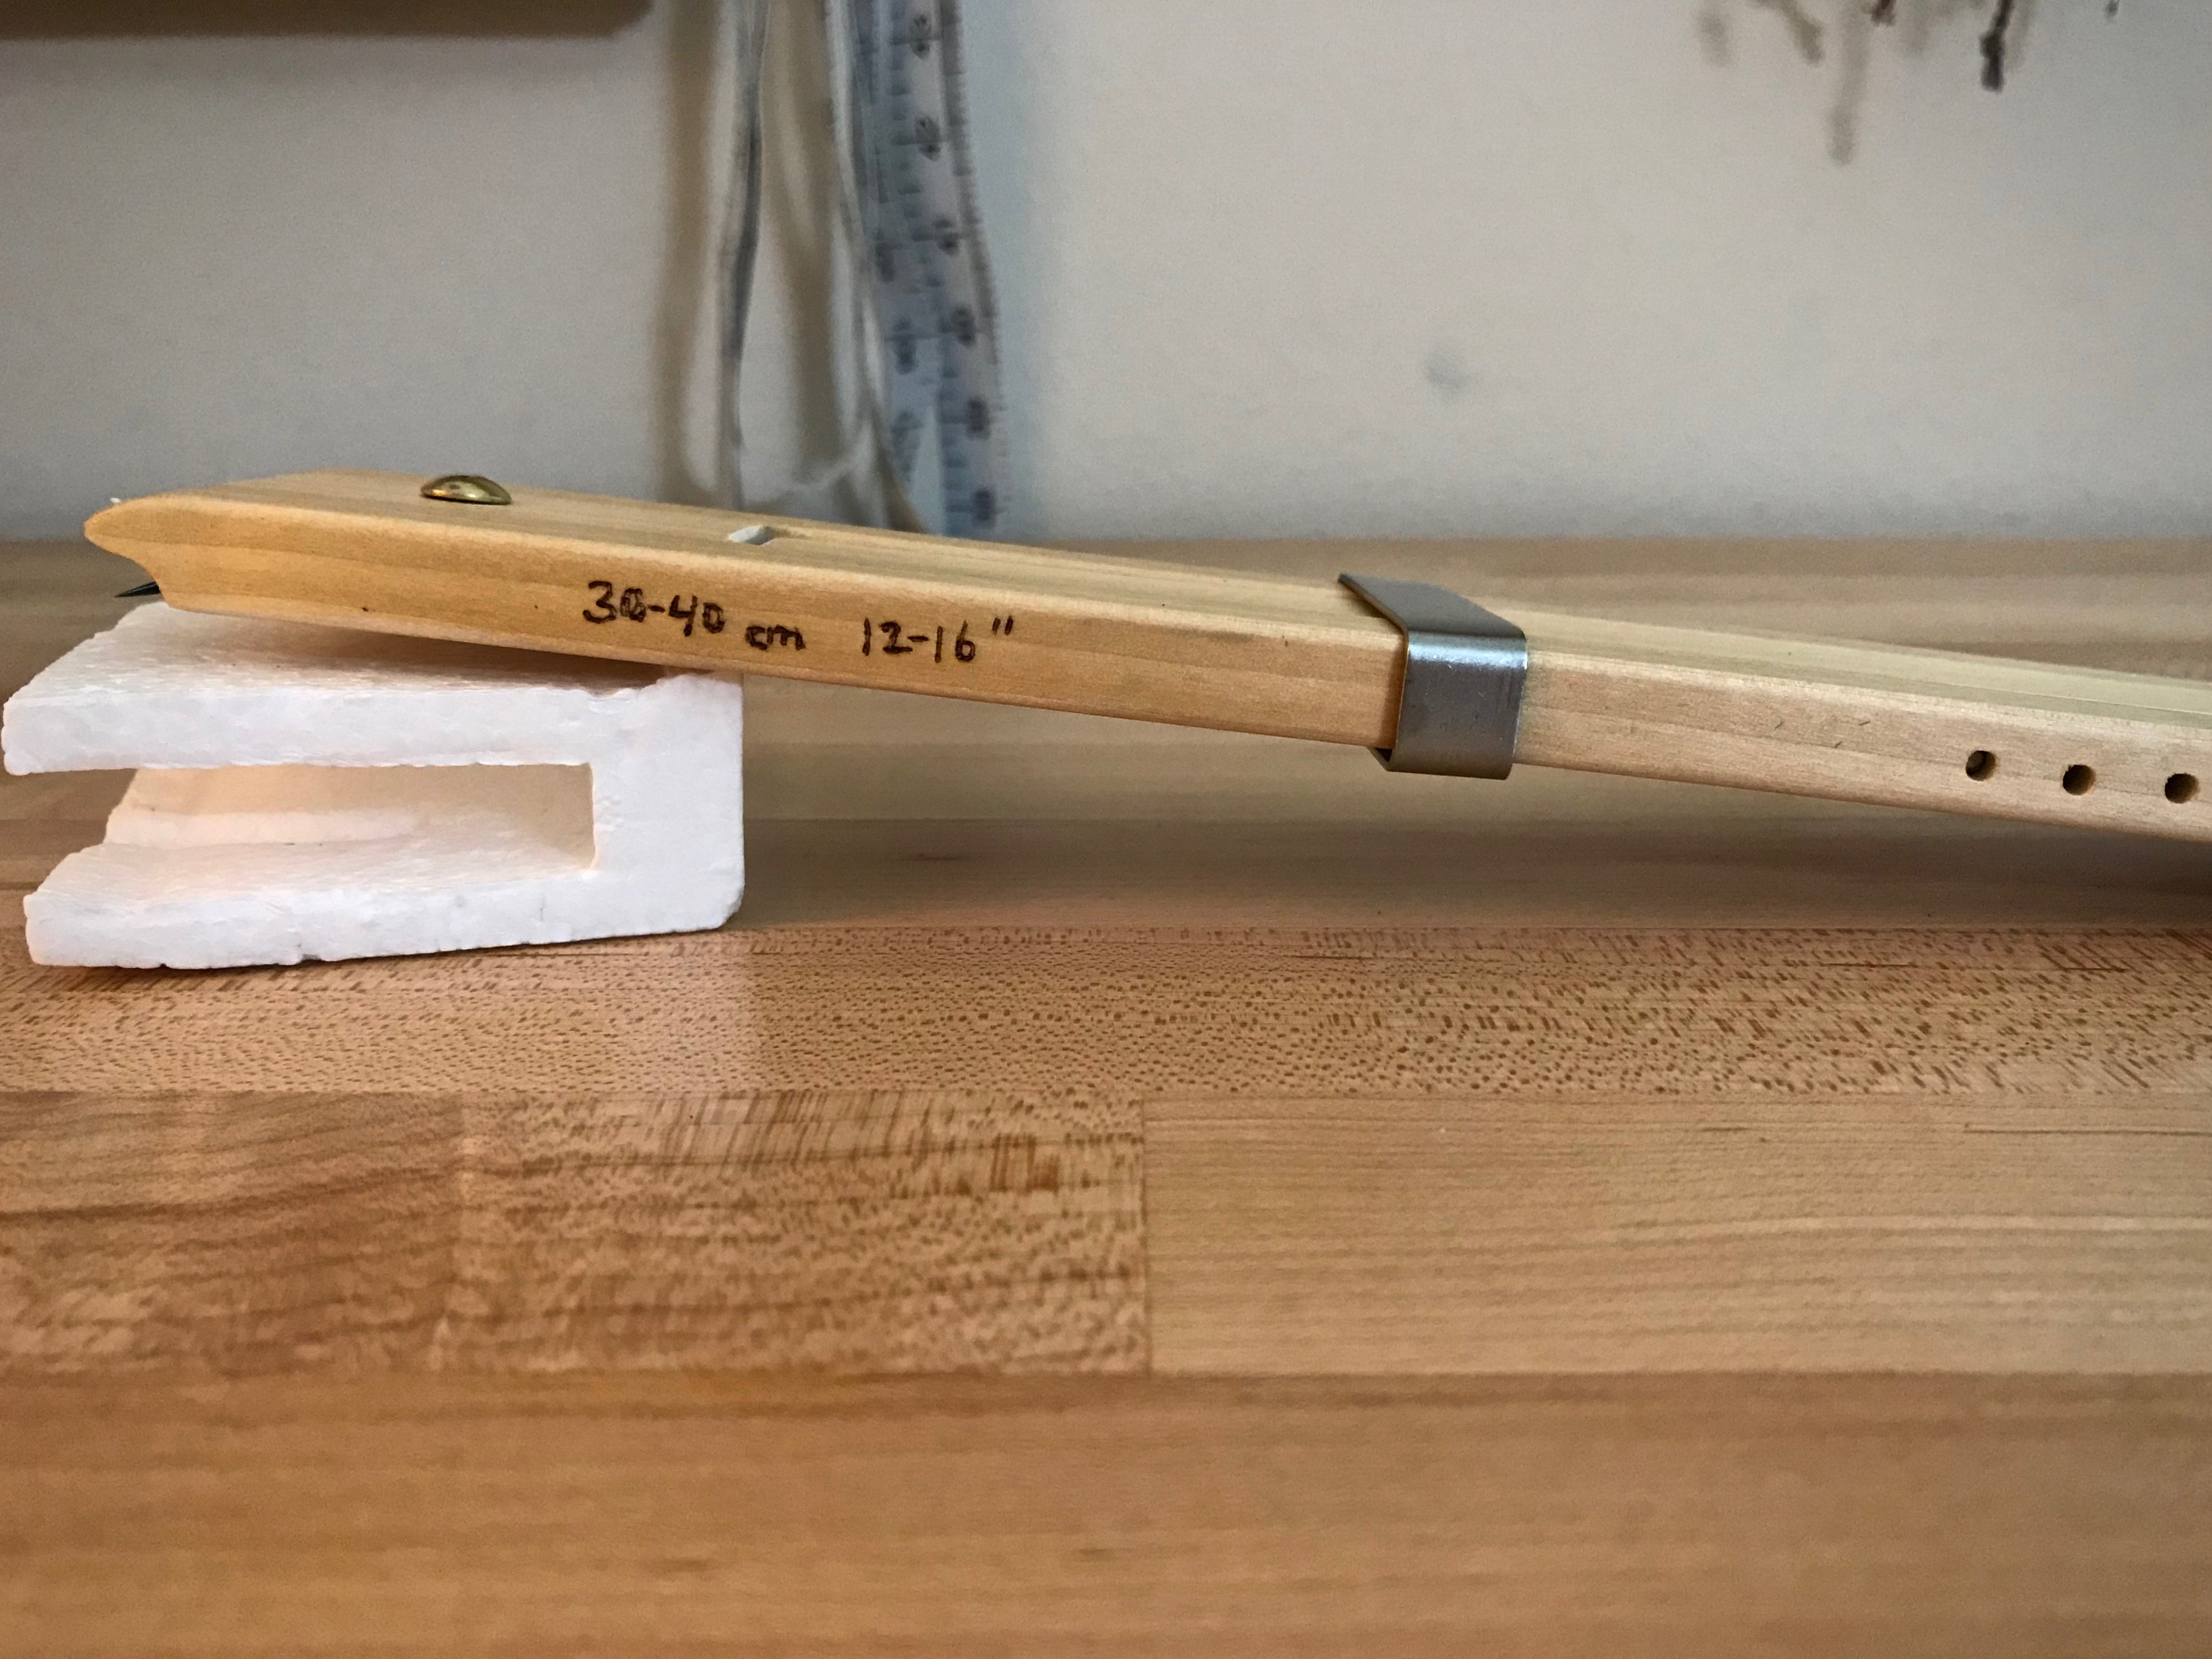
Look up the temple sizes on a website that sells them, and write the size range in centimeters and in inches on each temple, in pencil.
Use a wood burner to trace the pencil markings. (Steve, again.)
Range of temple widths is important information when I’m choosing a temple. Weaving width of a project must fit in that range.
Store the temples in a manner in which the marked measurements are easily seen.
No more trying different temples to find one that fits. Now I can look at the markings and select the correct temple the first time.
Now I have permanent at-a-glance measurements for each of these frequently-used tools!
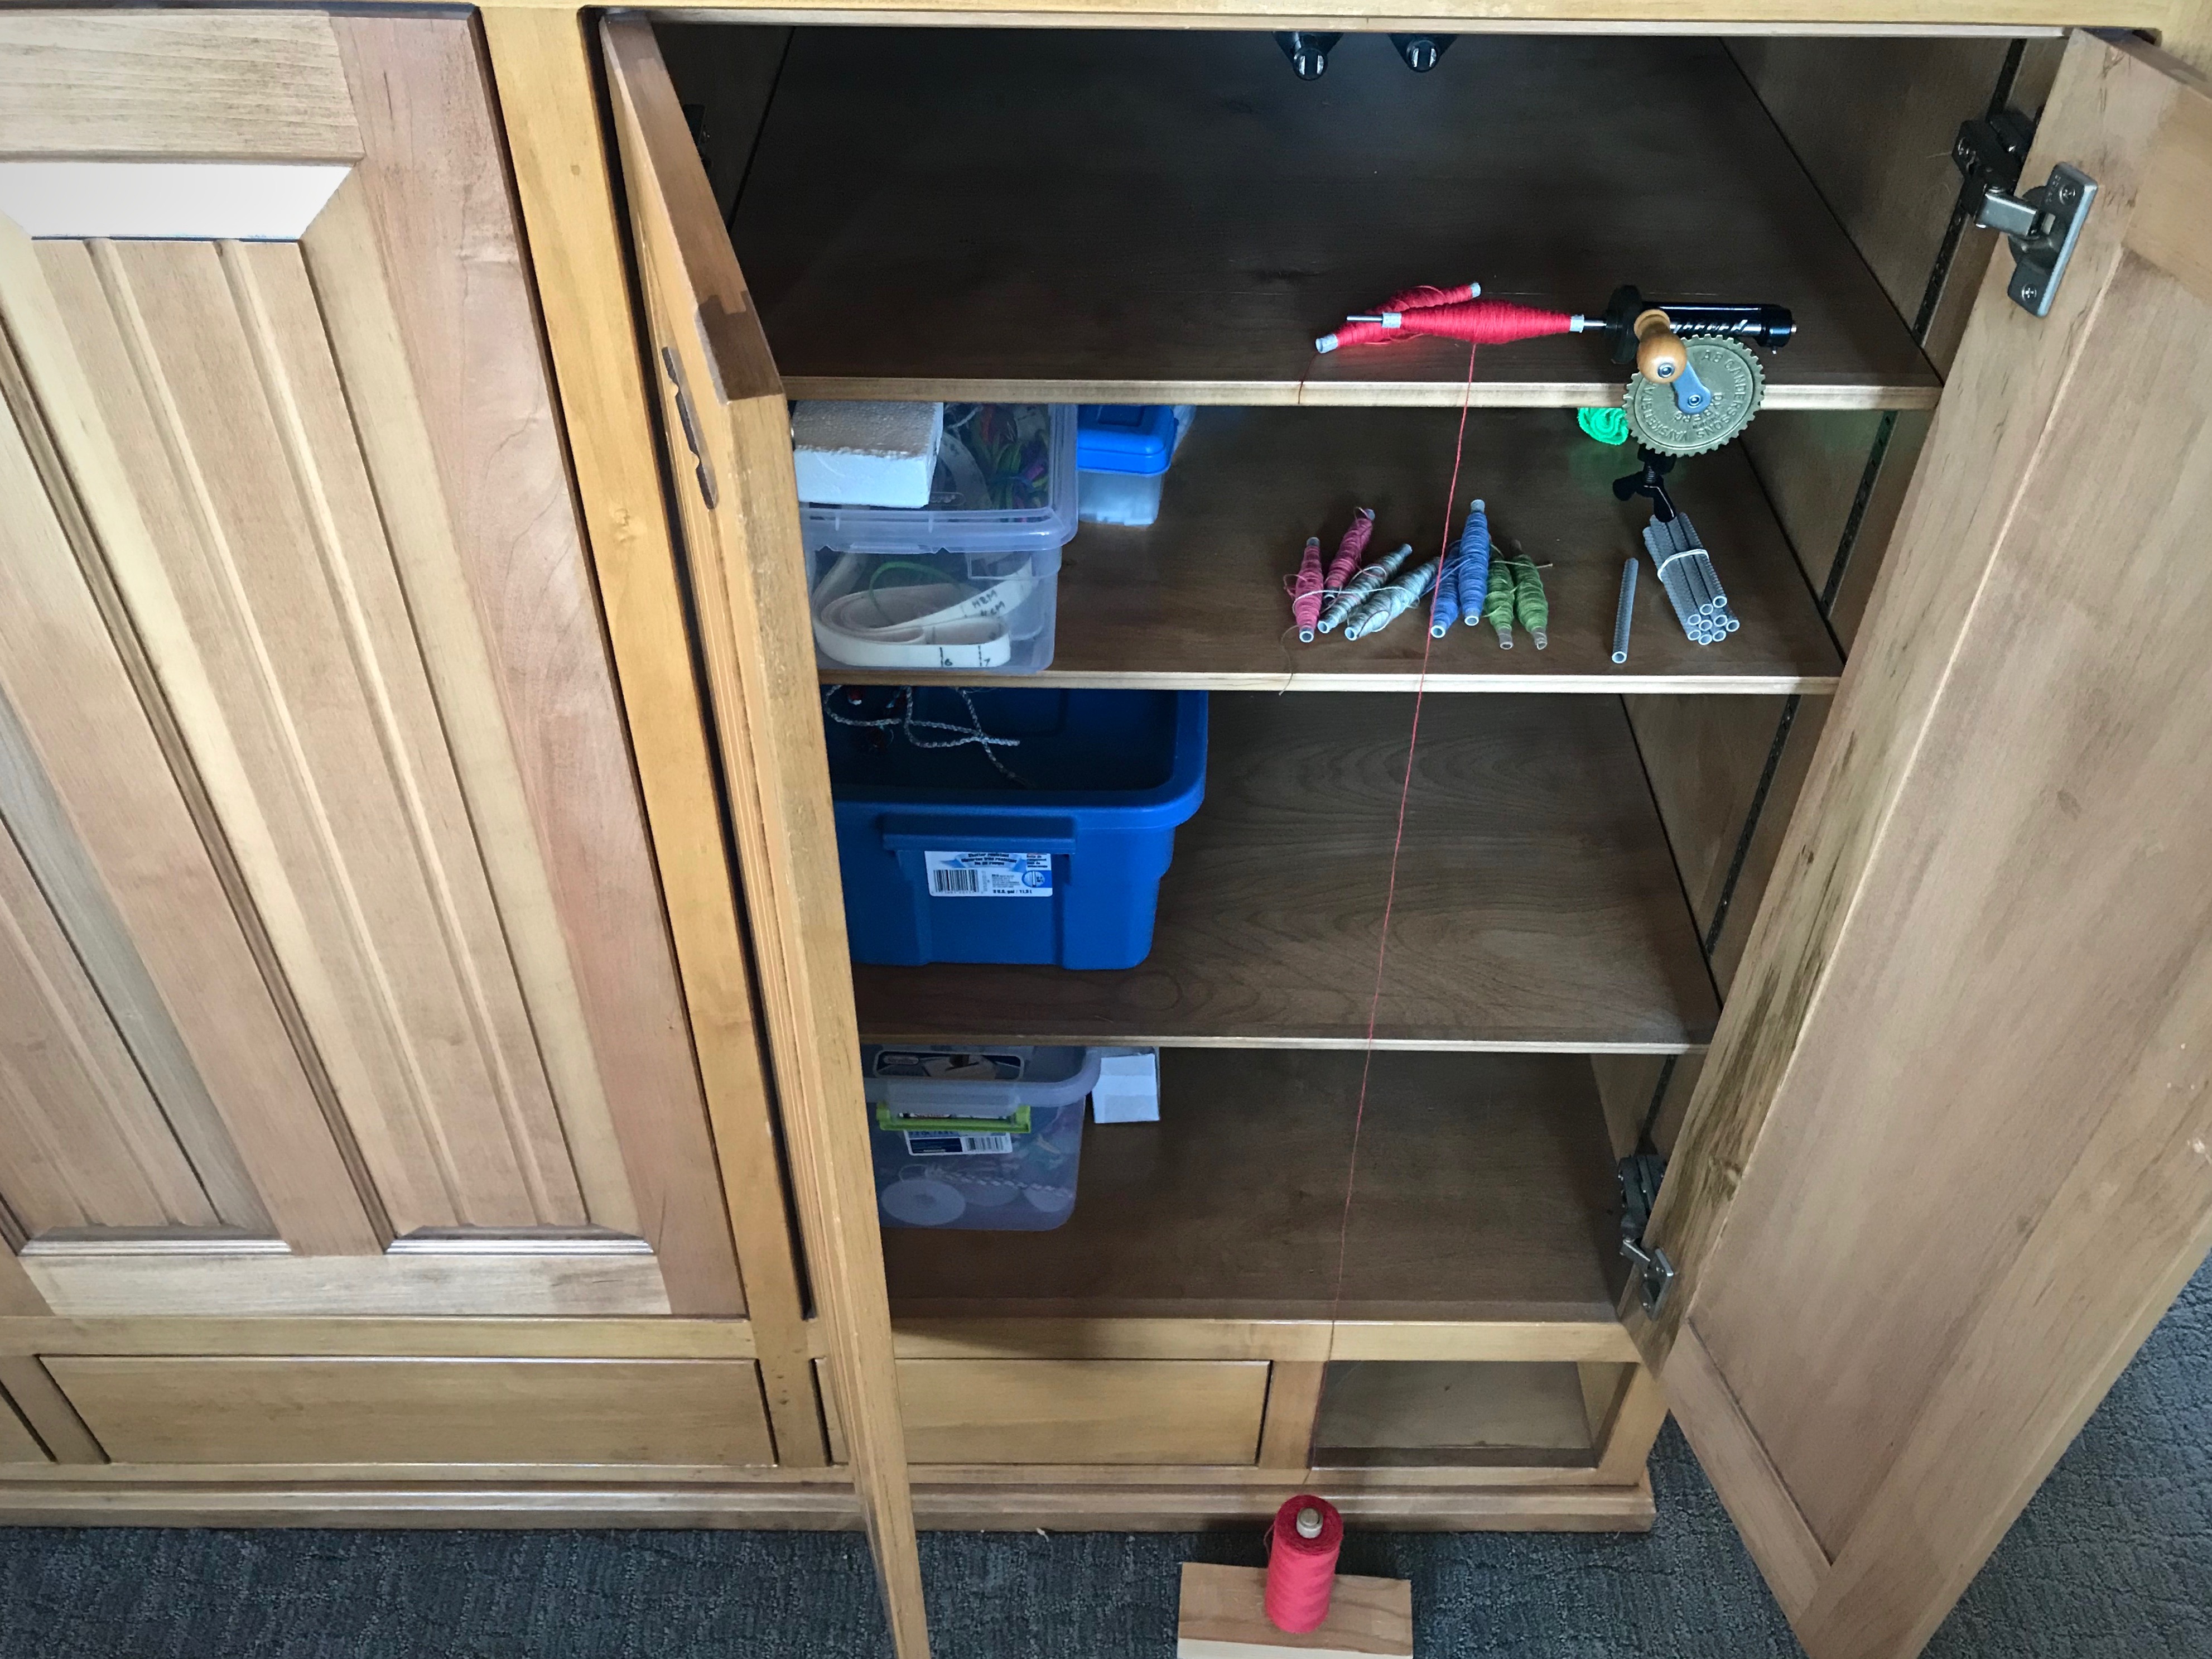
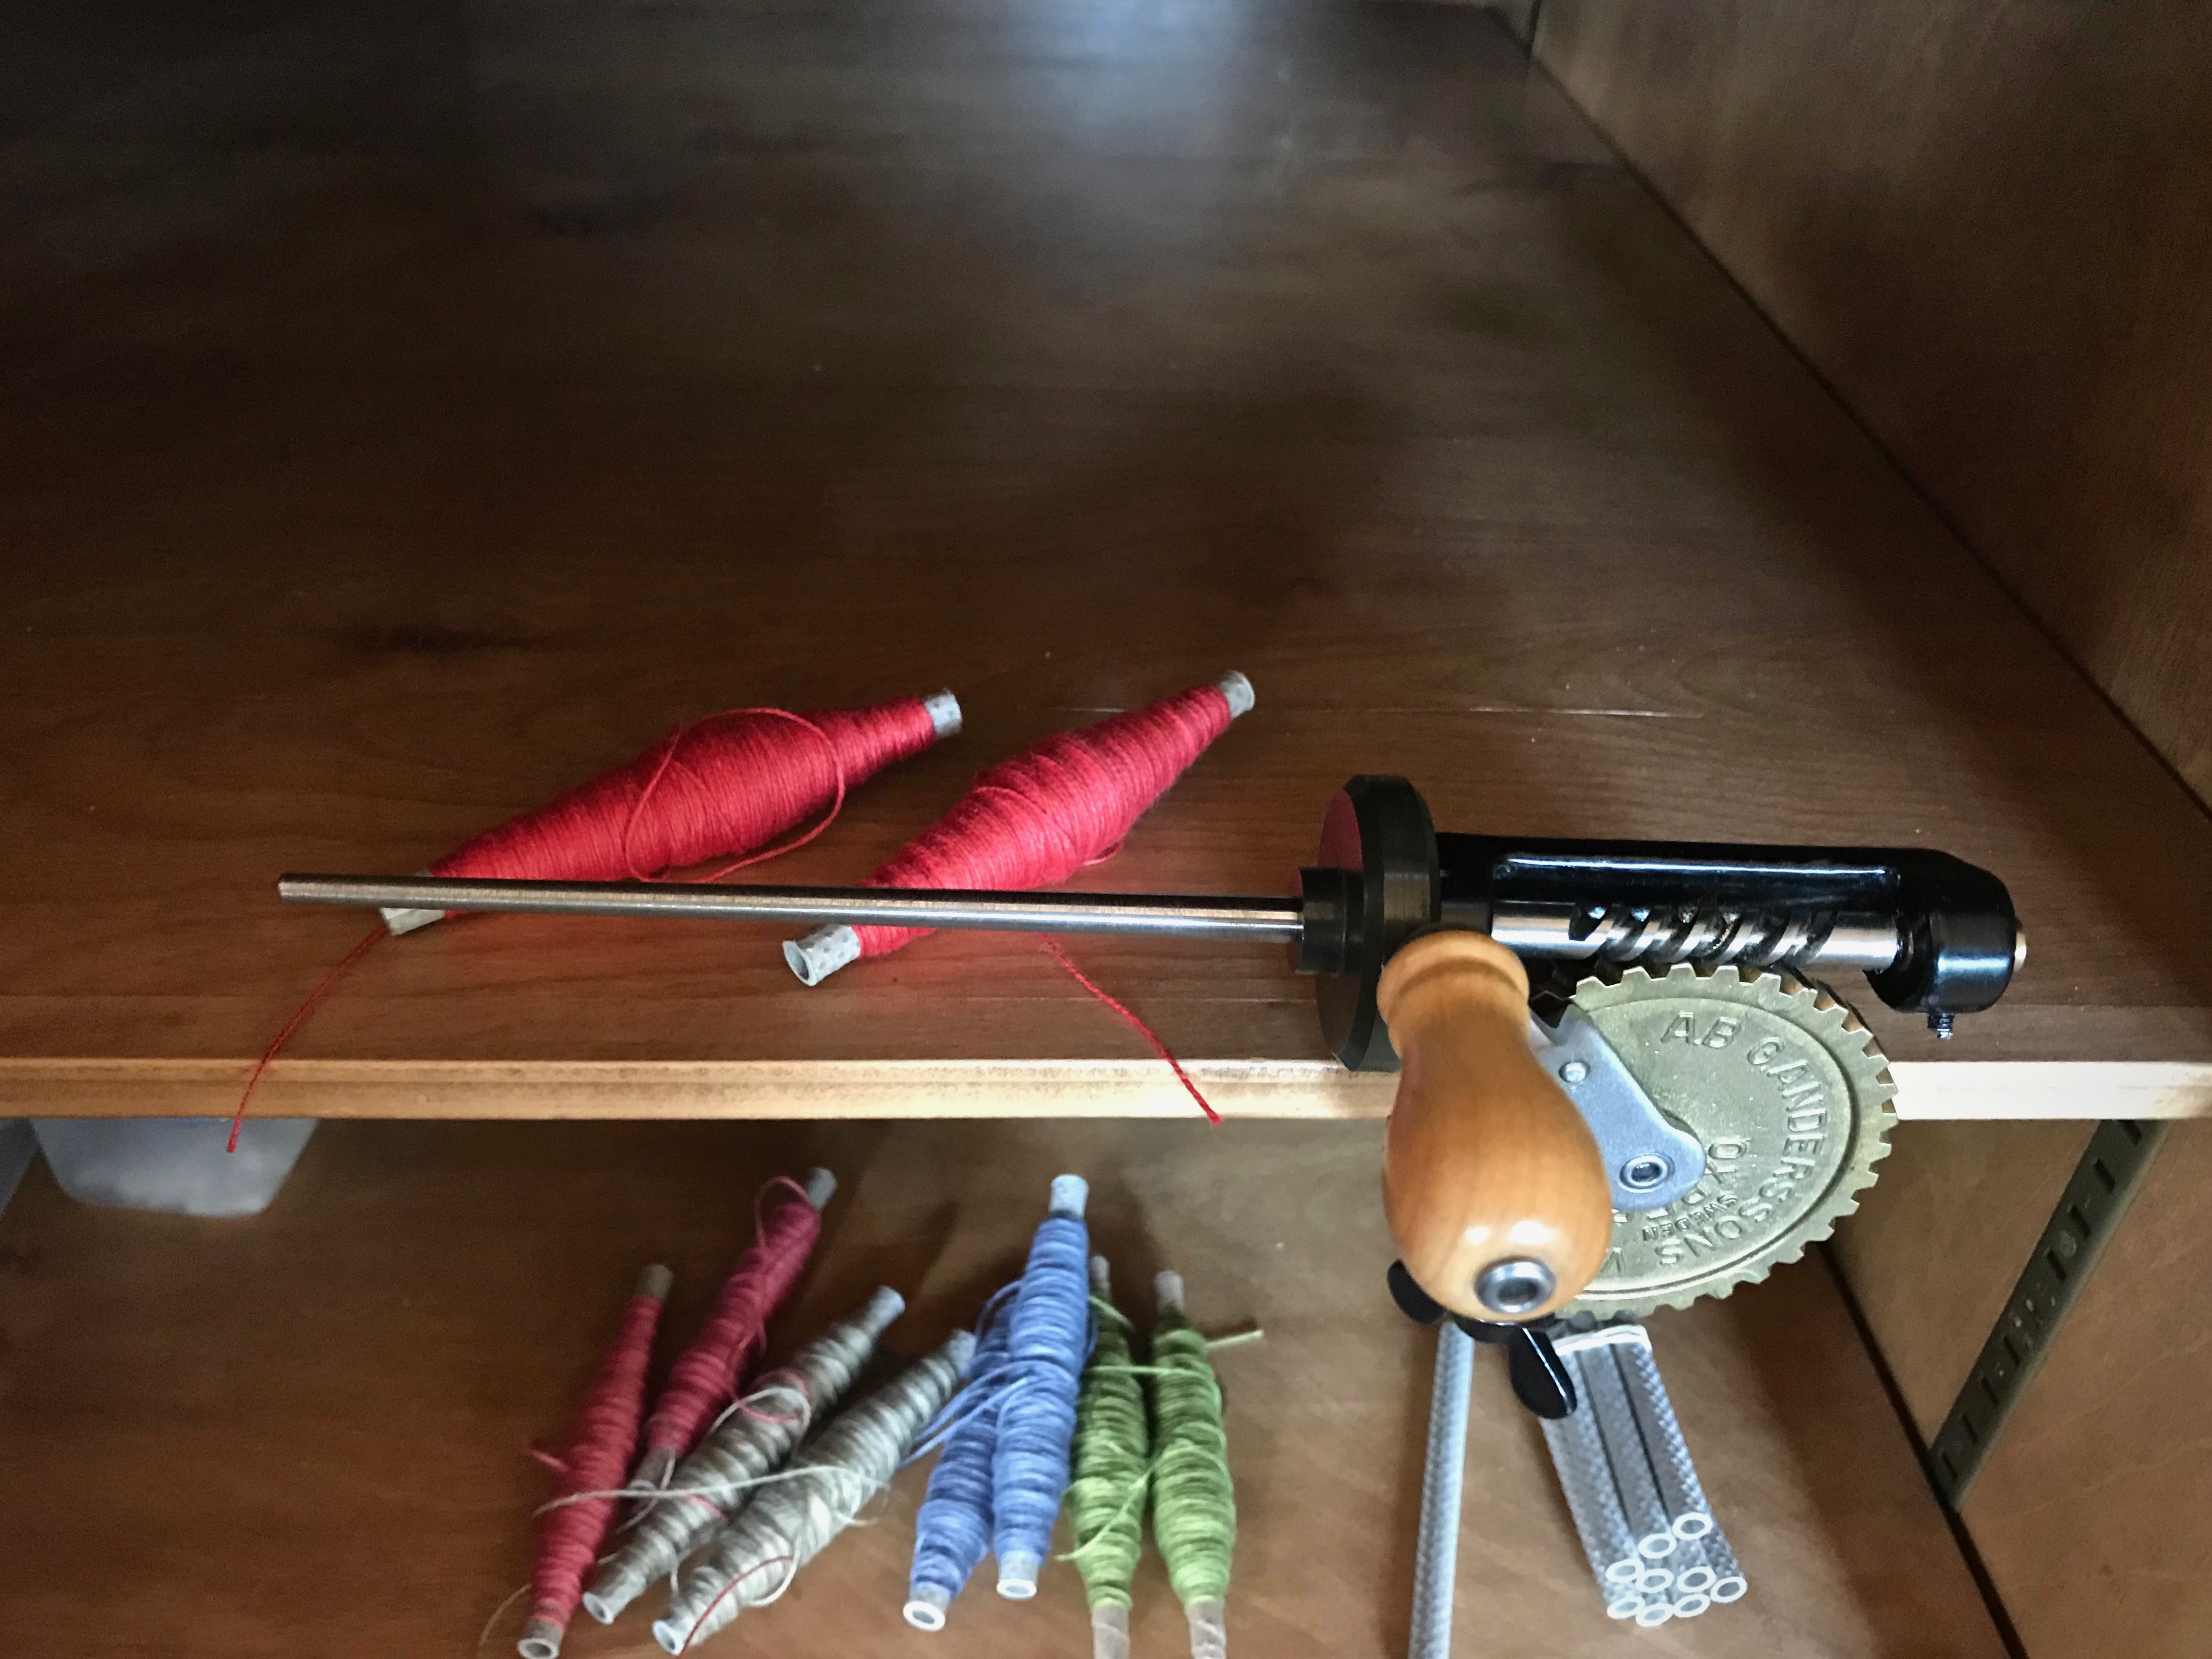
There’s nothing quite like the beauty and functionality of a well-designed tool. The Swedish hand bobbin winder is one of those tools. A bobbin winder is essential. Steve made a superb electric bobbin winder for me that I normally use. But at our Texas hill country home, my Swedish bobbin winder comes into play. And it is a pleasure to use. I clamp the bobbin winder on a shelf in the cabinet where I store my few weaving supplies for this location. The tube of thread sits directly below on a simple homemade spool holder.
Swedish hand bobbin winder is set up in my supply cabinet. It is easy to remove and put away when I finish winding quills.Narrow spindle on the bobbin winder is the size that works for winding quills.
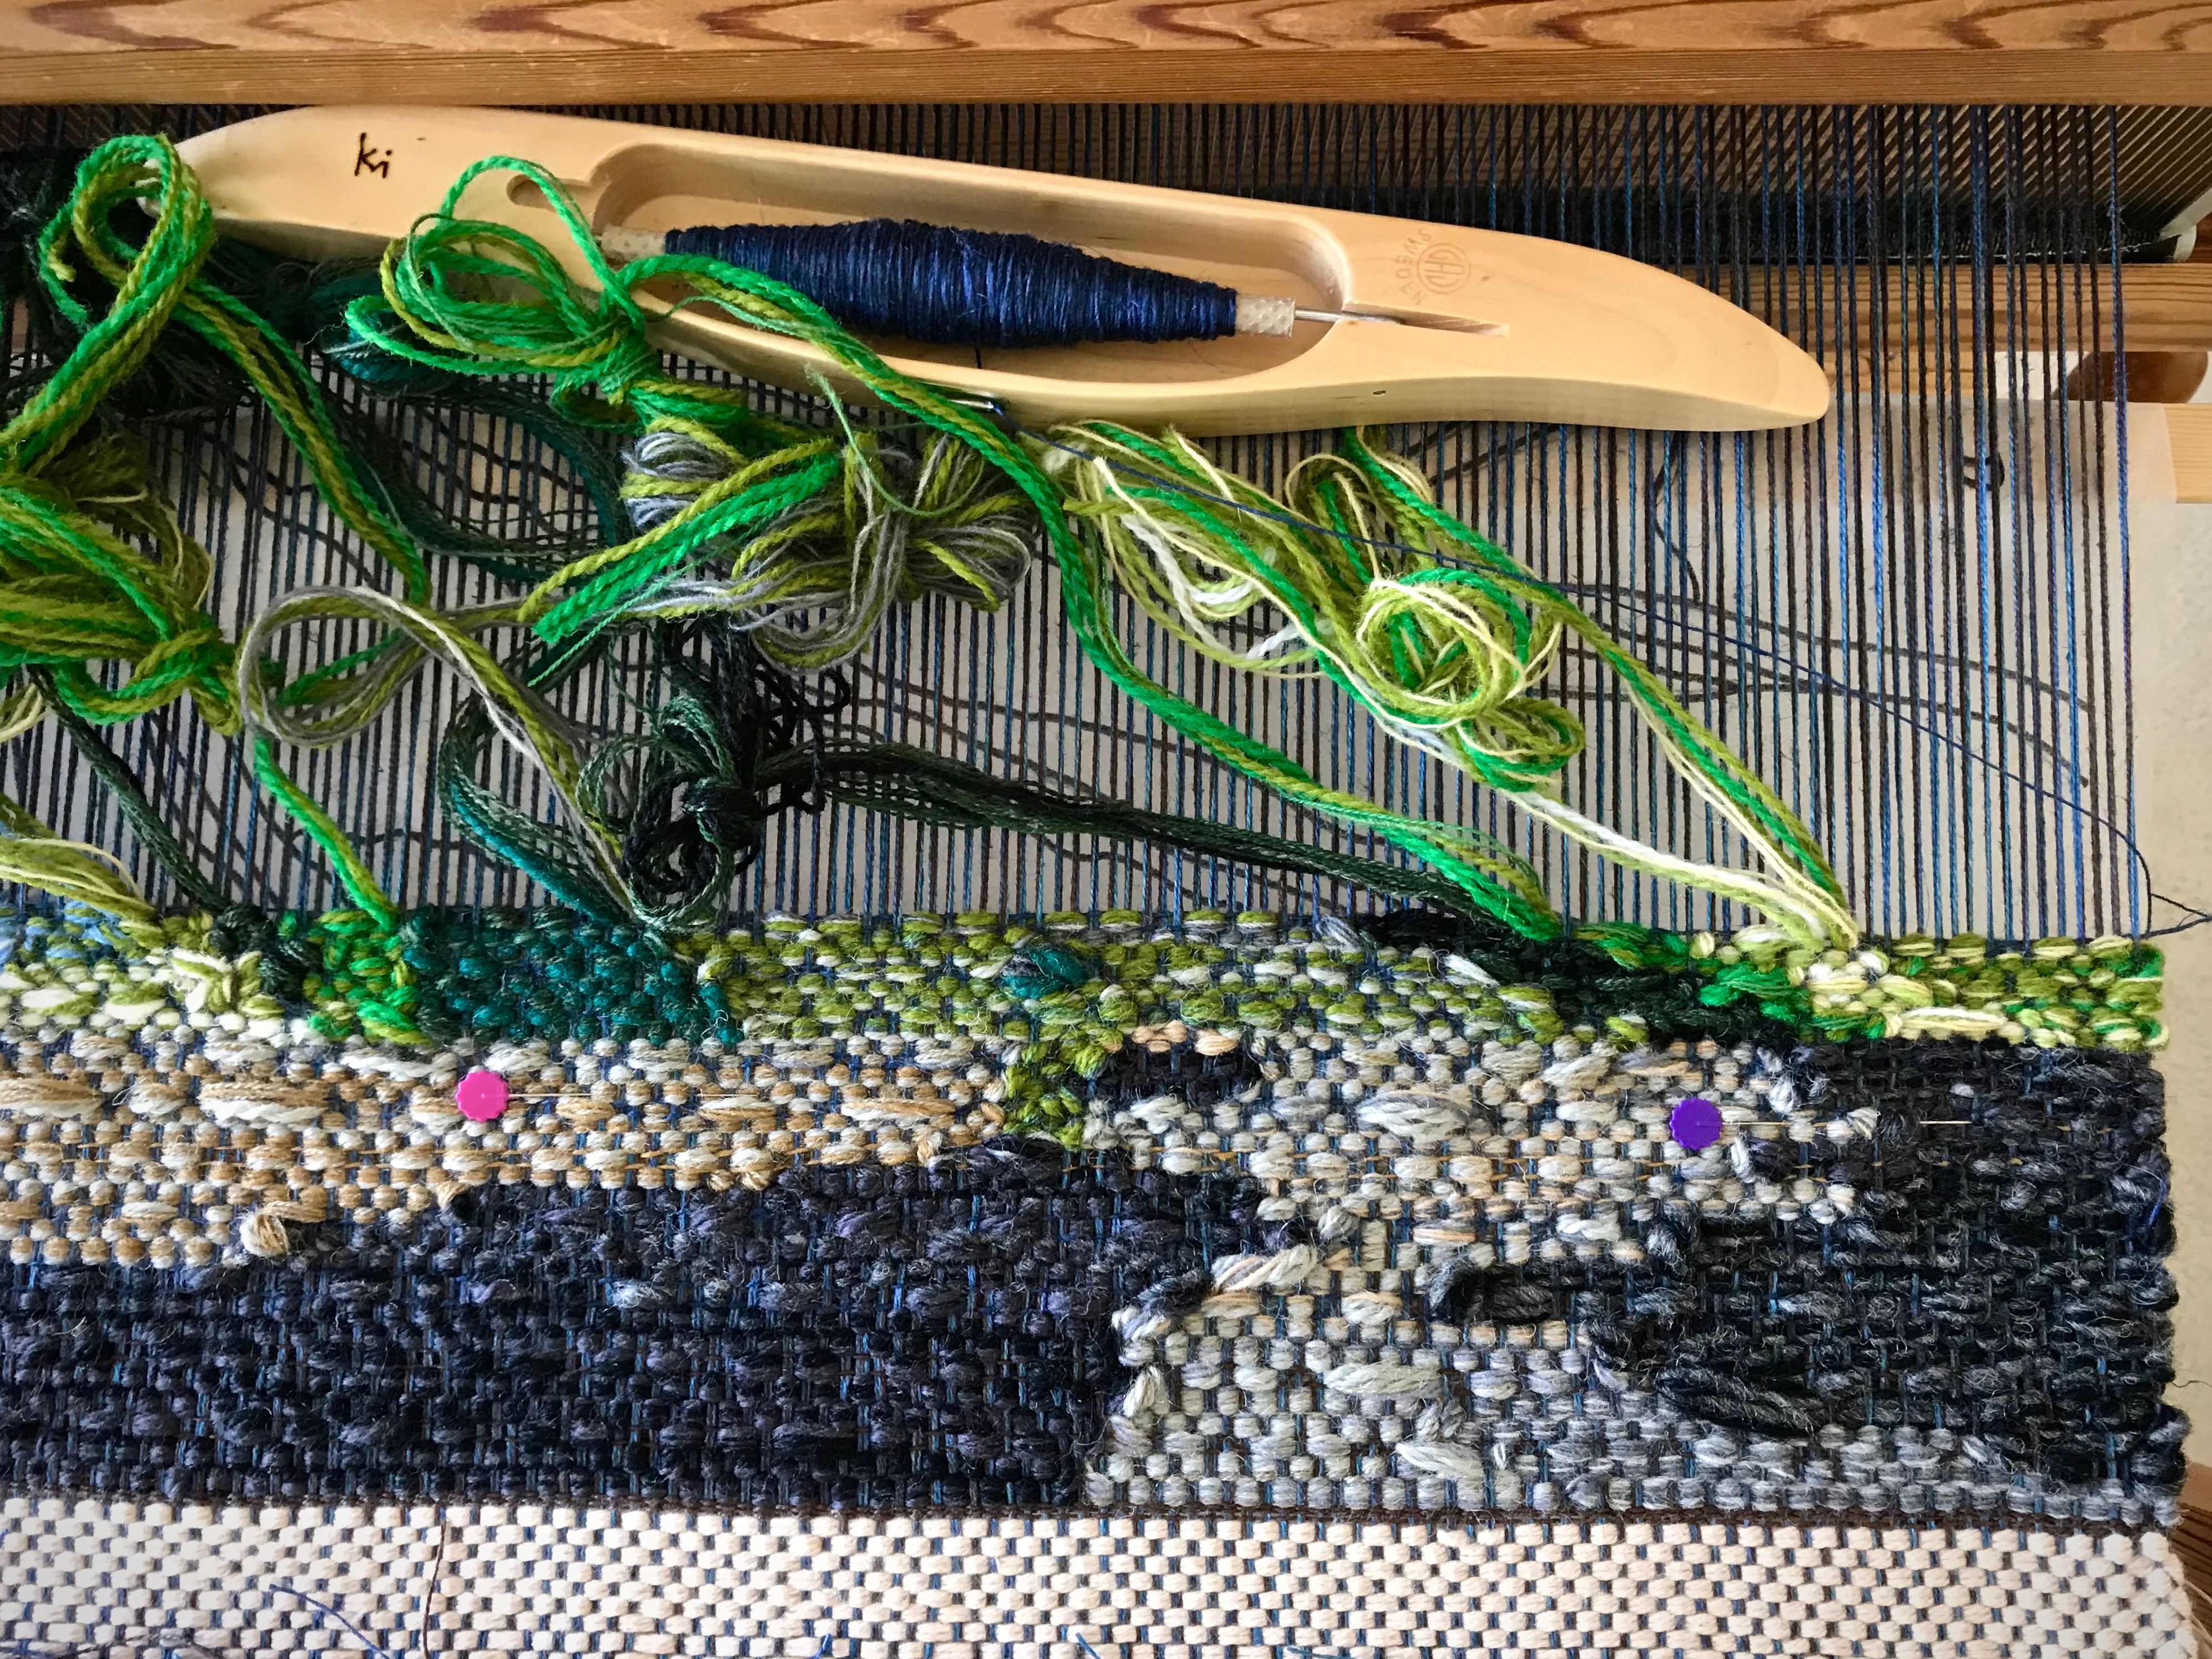
For these color-and-weave cotton placemats, I am using double-bobbin shuttles. So, with the impressively simple Swedish hand bobbin winder I am winding matching pairs of colorful 8/2 cotton quills.
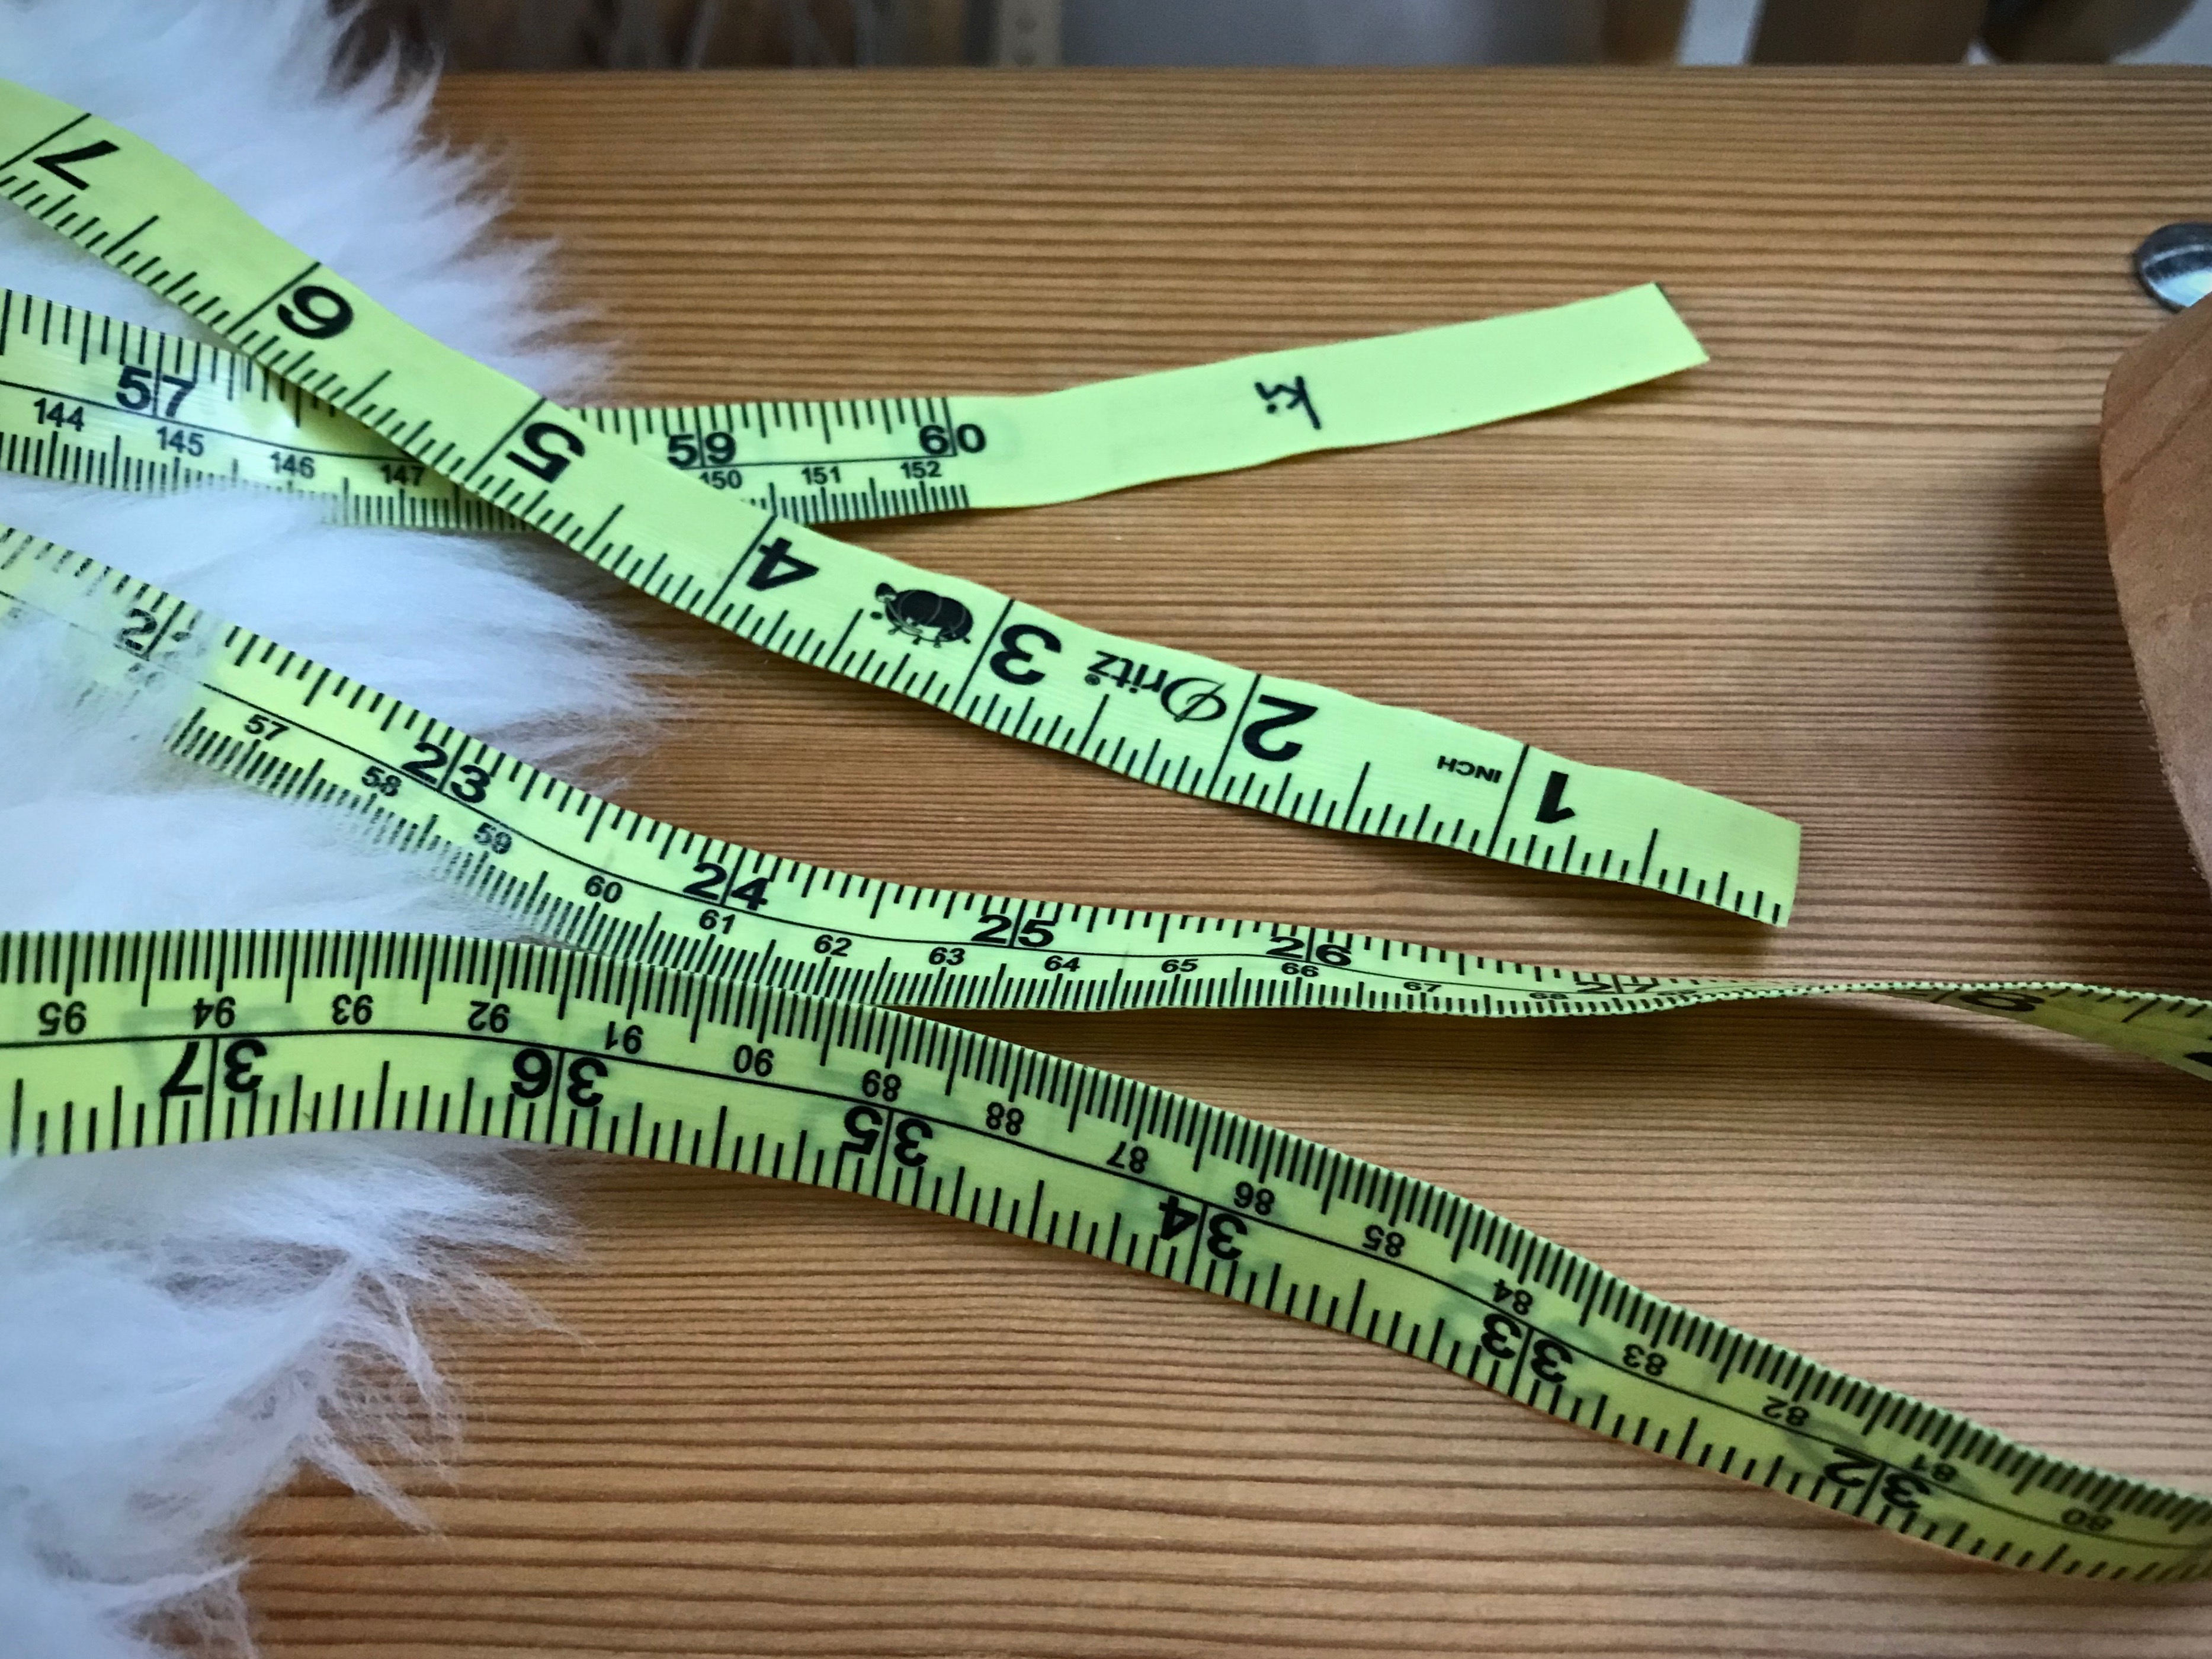
A tape measure is a weaver’s best friend. Think about how many ways the tape measure serves you. I have one at each loom. Always. And I have a few others scattered around, hanging up, and in bags. Because you never know when you might need to measure something.
Tape Measure Uses
Take measurements to determine the desired size of the finished cloth, such as window measurements for curtains, floor space for area rugs, or length of skirt tiers for skirt fabric.
Double check the width of the warp after it is pre-sleyed.
Check the width of the warp on the back tie-on bar.
Center the reed in the beater for beaming the warp by measuring the distance from the warp in the reed to the outside edge of the beater on both sides.
Find the starting point to sley the reed by measuring half of the warp width outwards from the center of the reed.
Double check the width of the warp in the reed after it is sleyed.
Center the reed in the beater for weaving.
Adjust to the correct width of the warp on the front tie-on bar after the warp is tied on.
Mark the measured weaving length on twill tape or ribbon to use as a weaving length guide.
Measure the distance between pieces that require unwoven warp, such as for fringe, or for tying knots between rag rugs.
Measure the distance from the first shaft (nearest the back of the loom) to the back tie-on bar (especially when you are hoping there is enough warp left to finish a symmetrical pattern).
Measure the width and length of fabric that has been wet finished, dried, and pressed.
Measure your pleasure at the loom. Immeasurable!
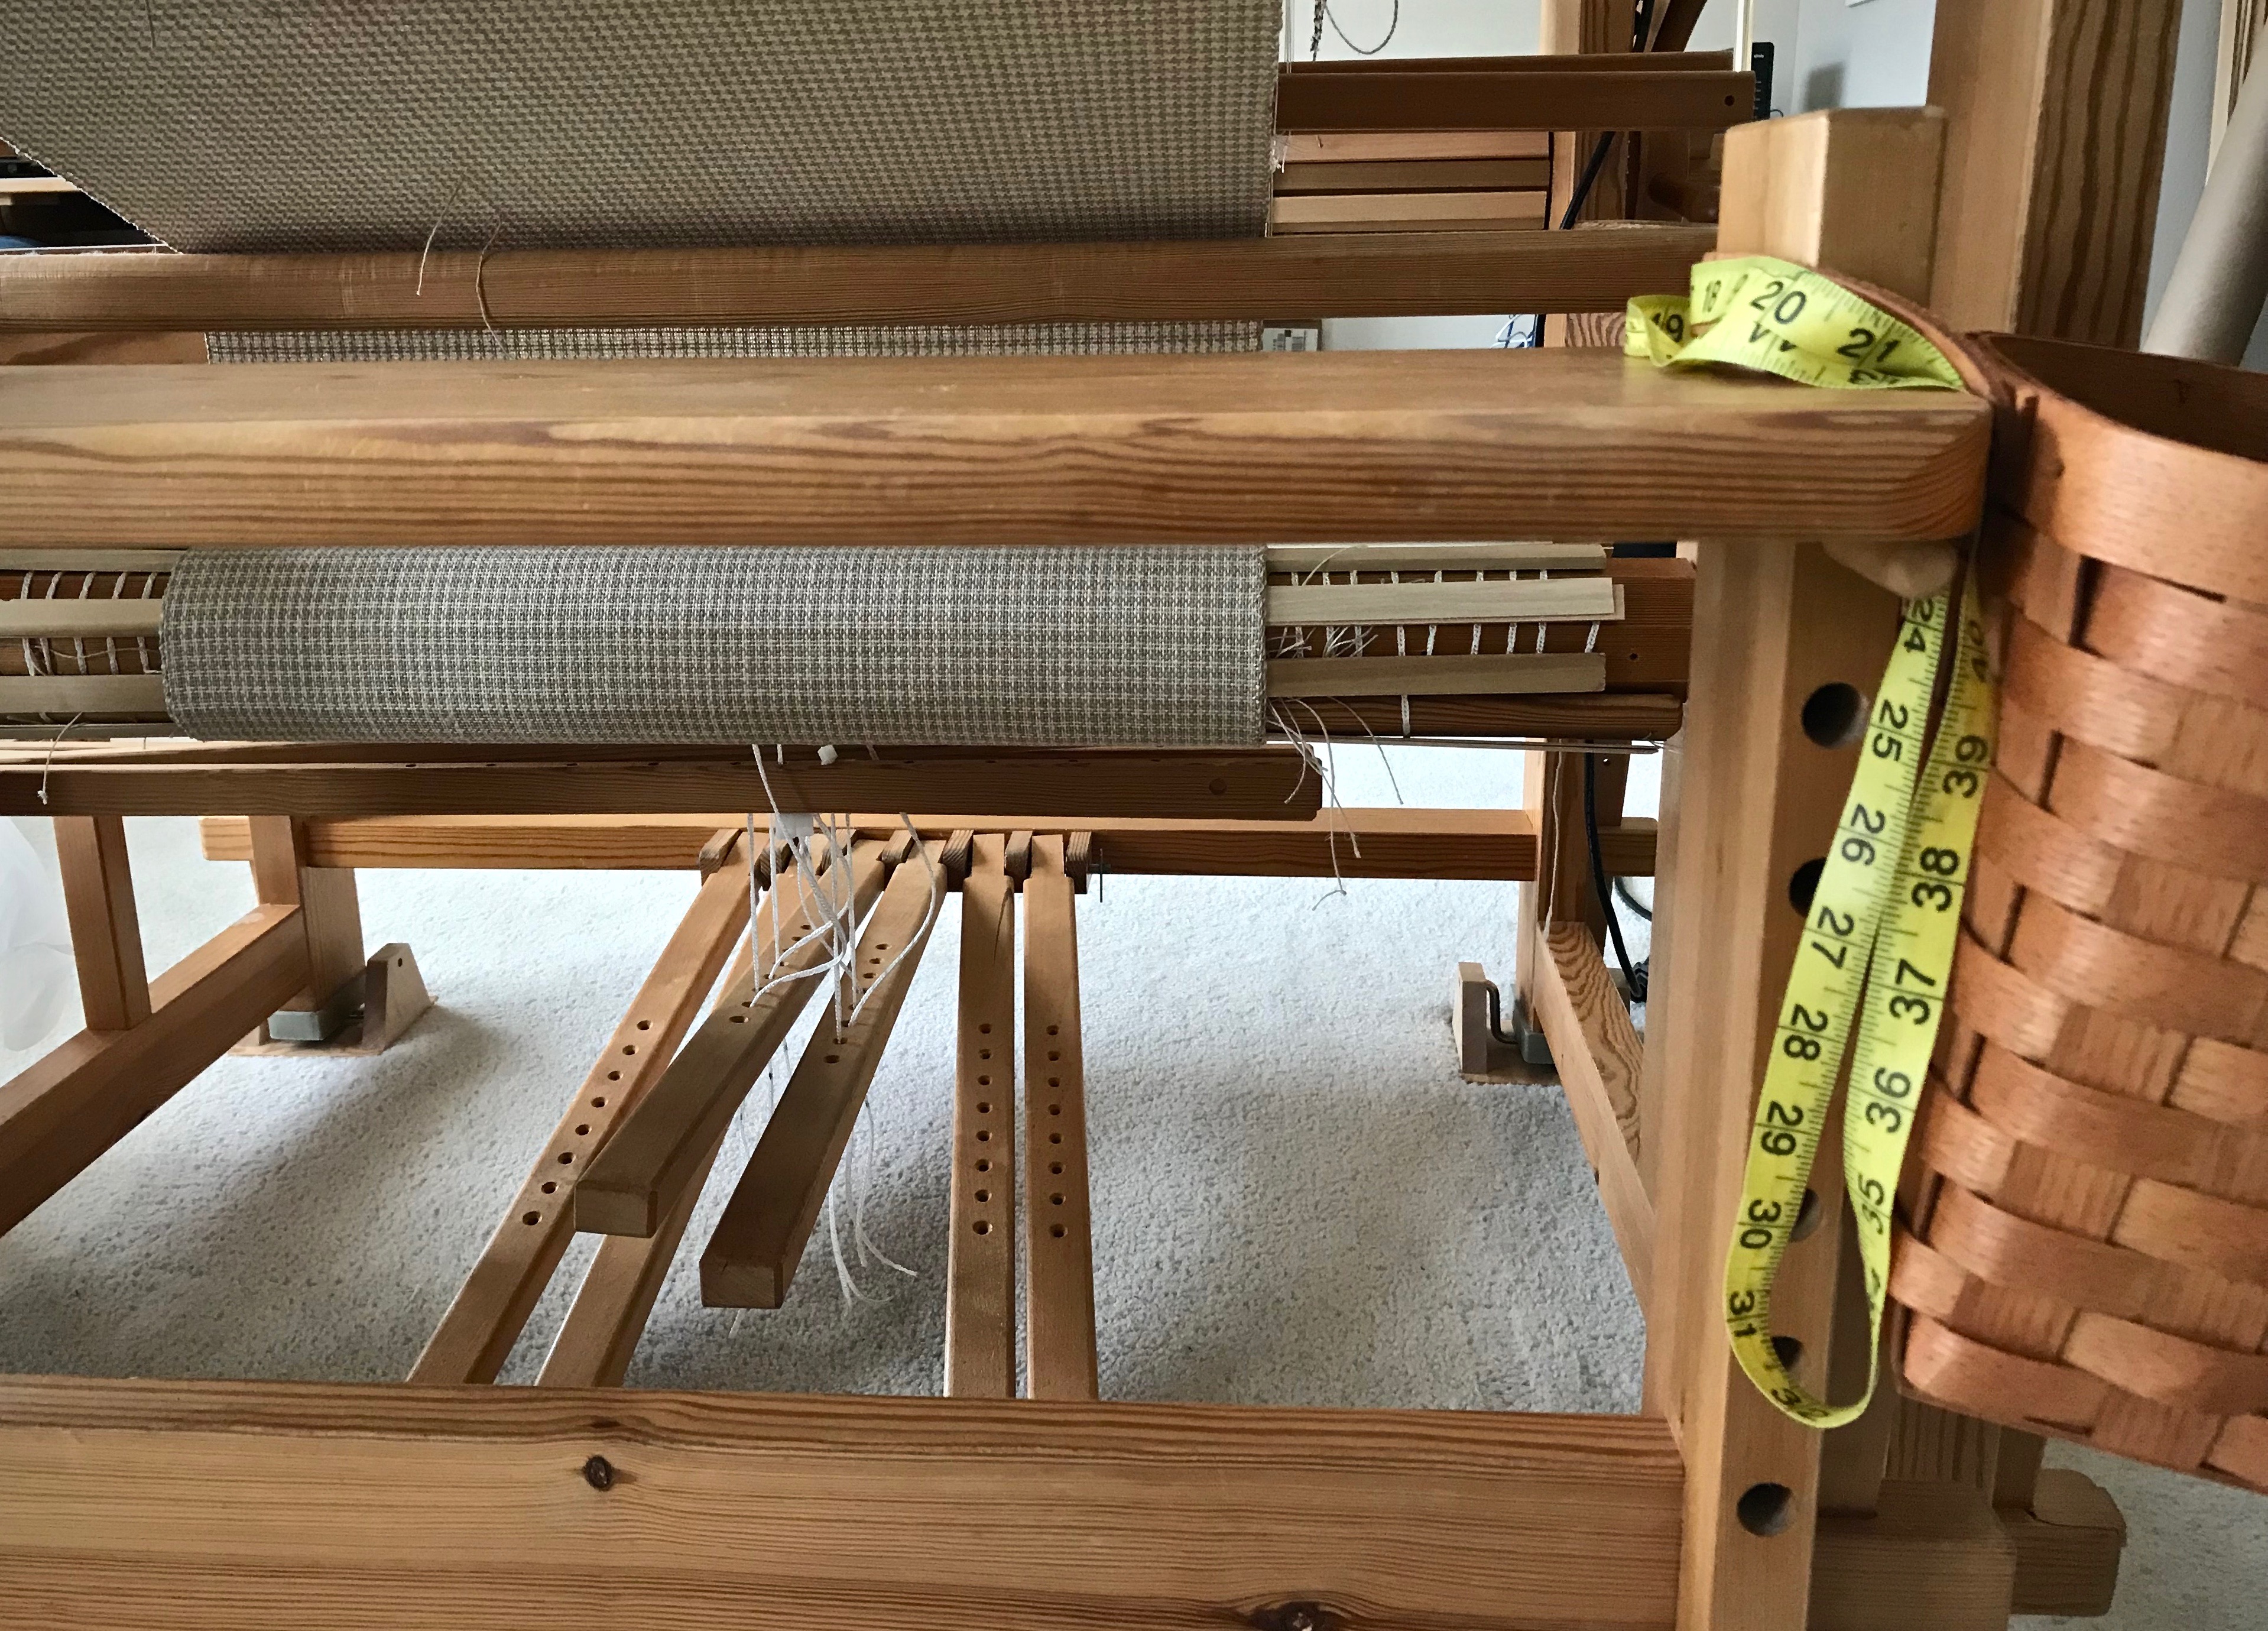
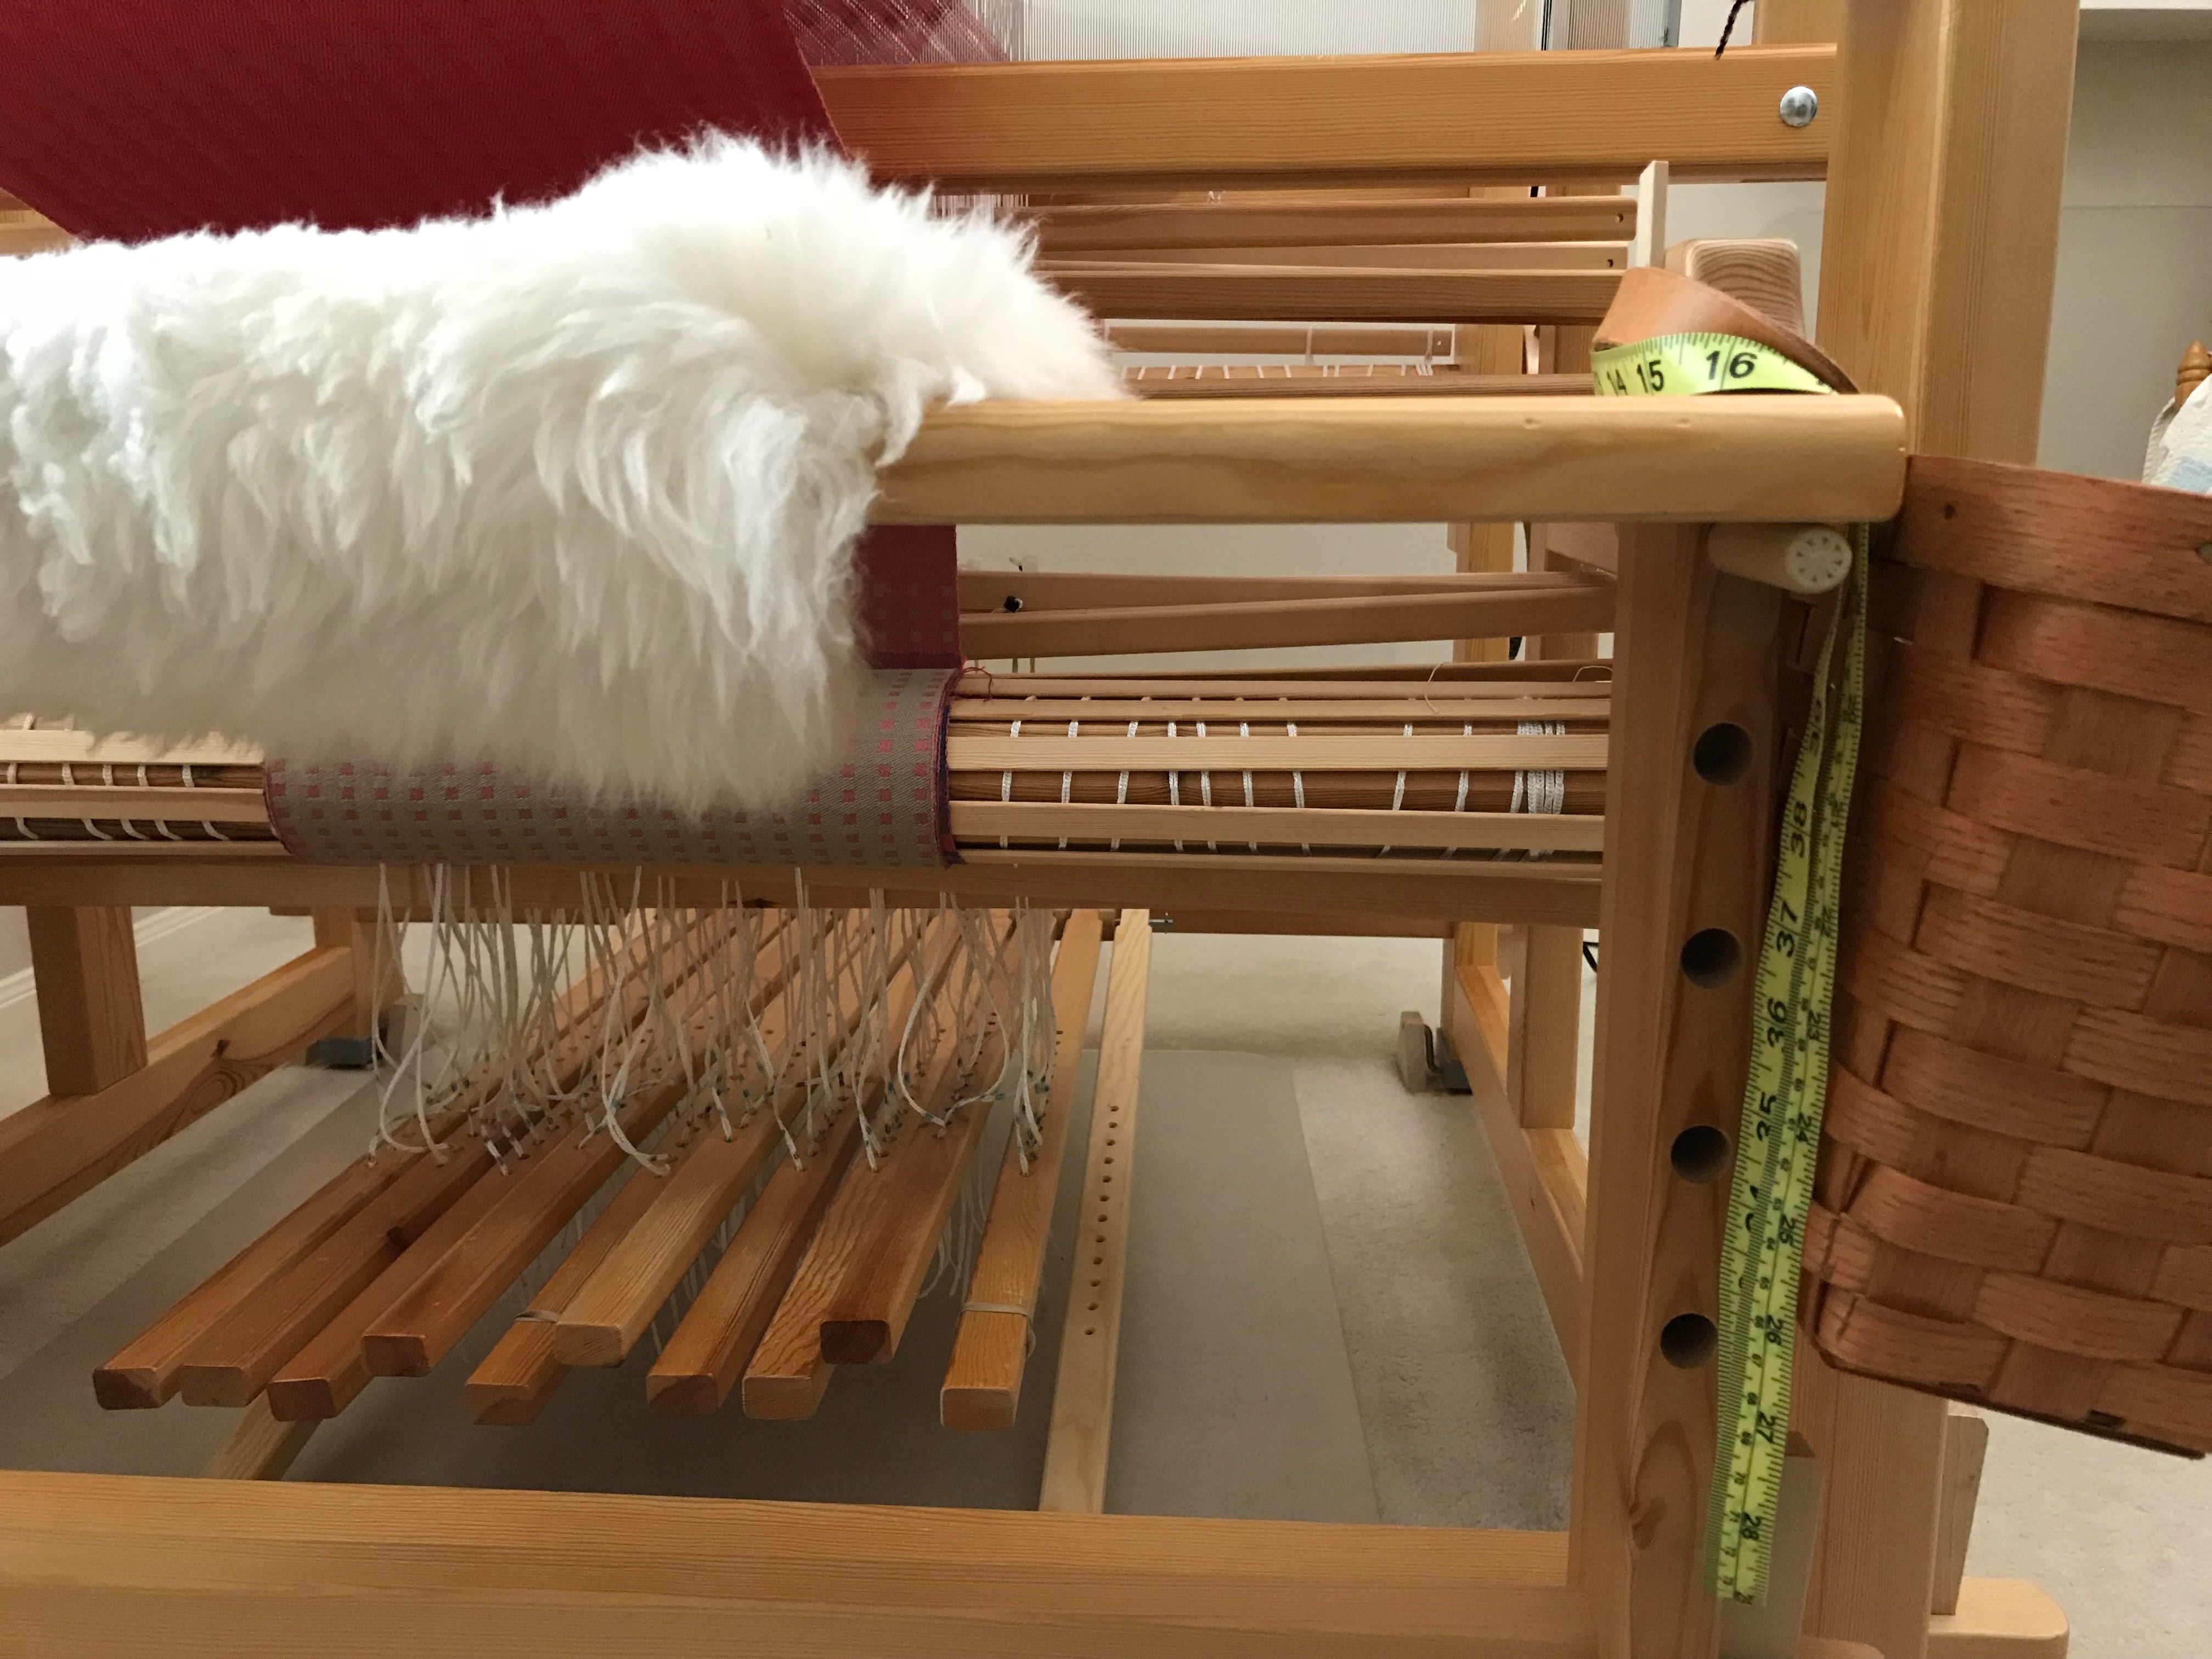
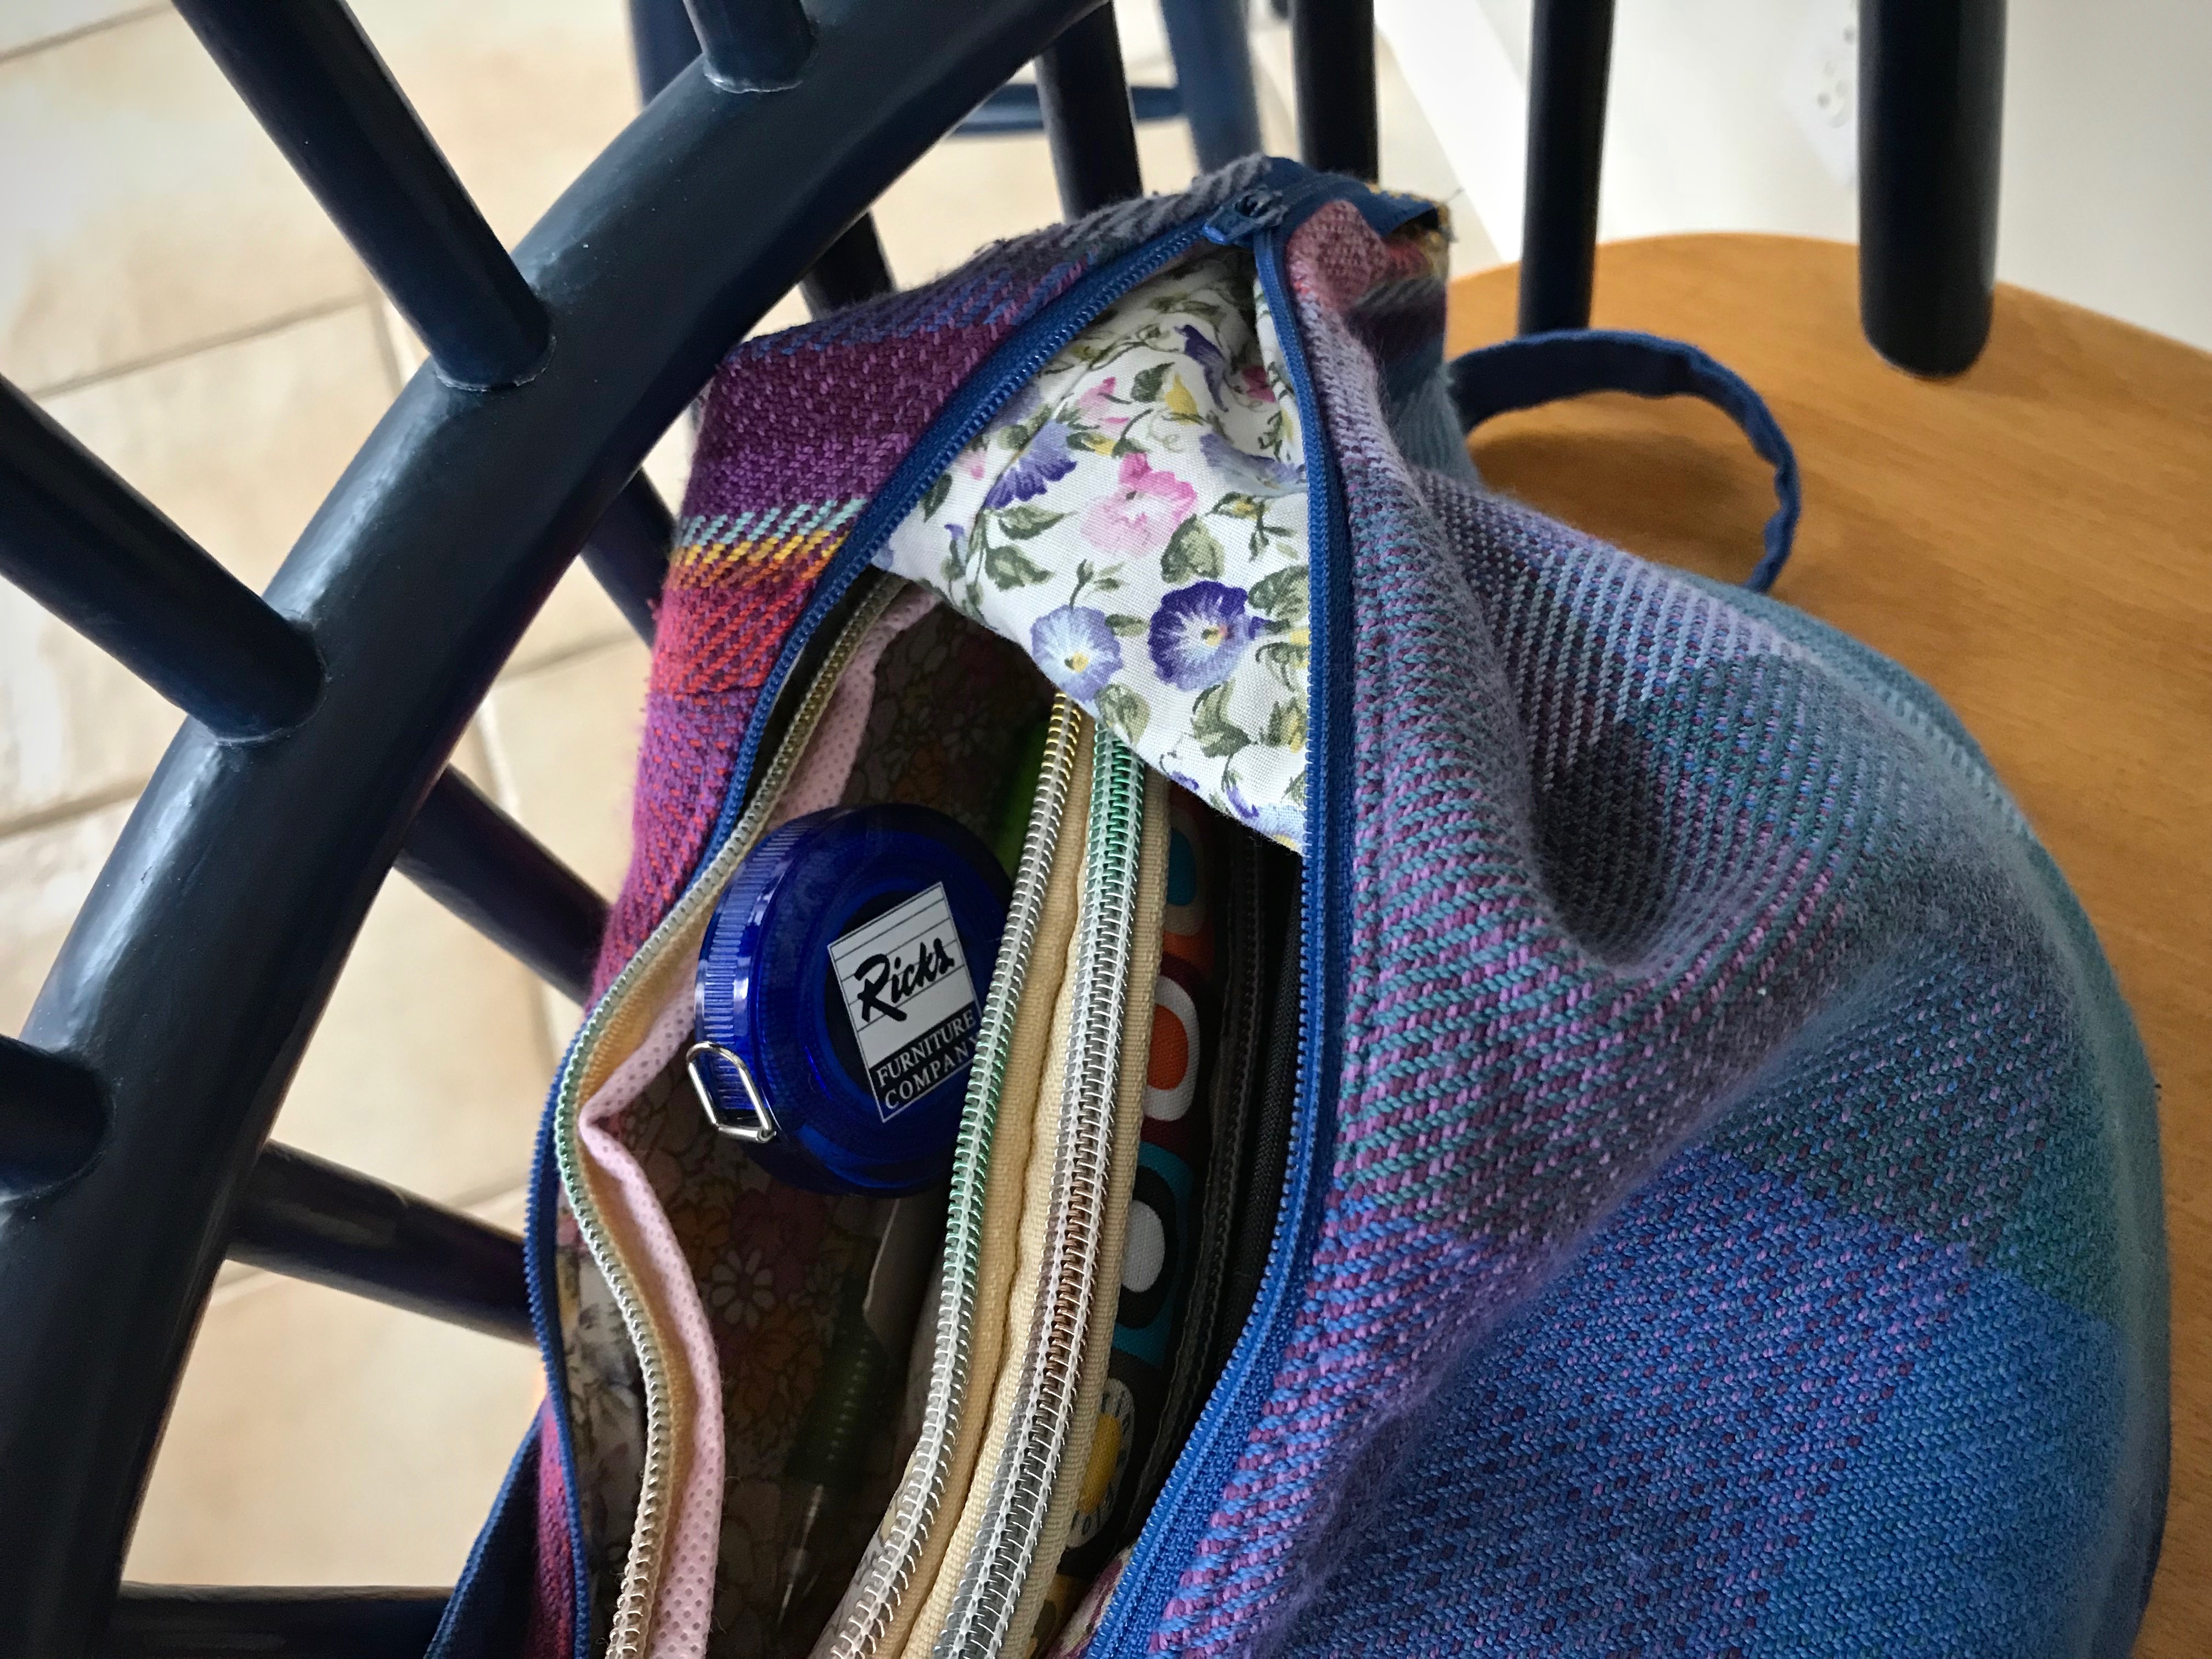
Tape measure with imperial and metric units, both of which I use regularly. Metal ends have been removed from the tape to clearly see the tape’s markings, and because I slip the tape into a dent of the reed when I am marking the spot to start sleying.Glimåkra Ideal loom, with tape measure in its usual place hanging on the end of the loom bench.Glimåkra Standard loom, with tape measure ready for the next measuring task.Tape measure hanging over the back beam on the Texas hill country loom while pre-sleying the reed and positioning things to prepare for beaming the warp.Extra-long tape measure hangs on the peg strip above my work table.Occasionally, I borrow Steve’s metal carpenter’s tape measure from his wood carving bench.Compact retractible sewing tape measure rides in my travel tapestry bag. It has imperial and metric units.No purse is complete without a tape measure, right? (A tape measure can outlive the business it promotes.)
What have I missed? Can you think of other ways your tape measure comes in handy?