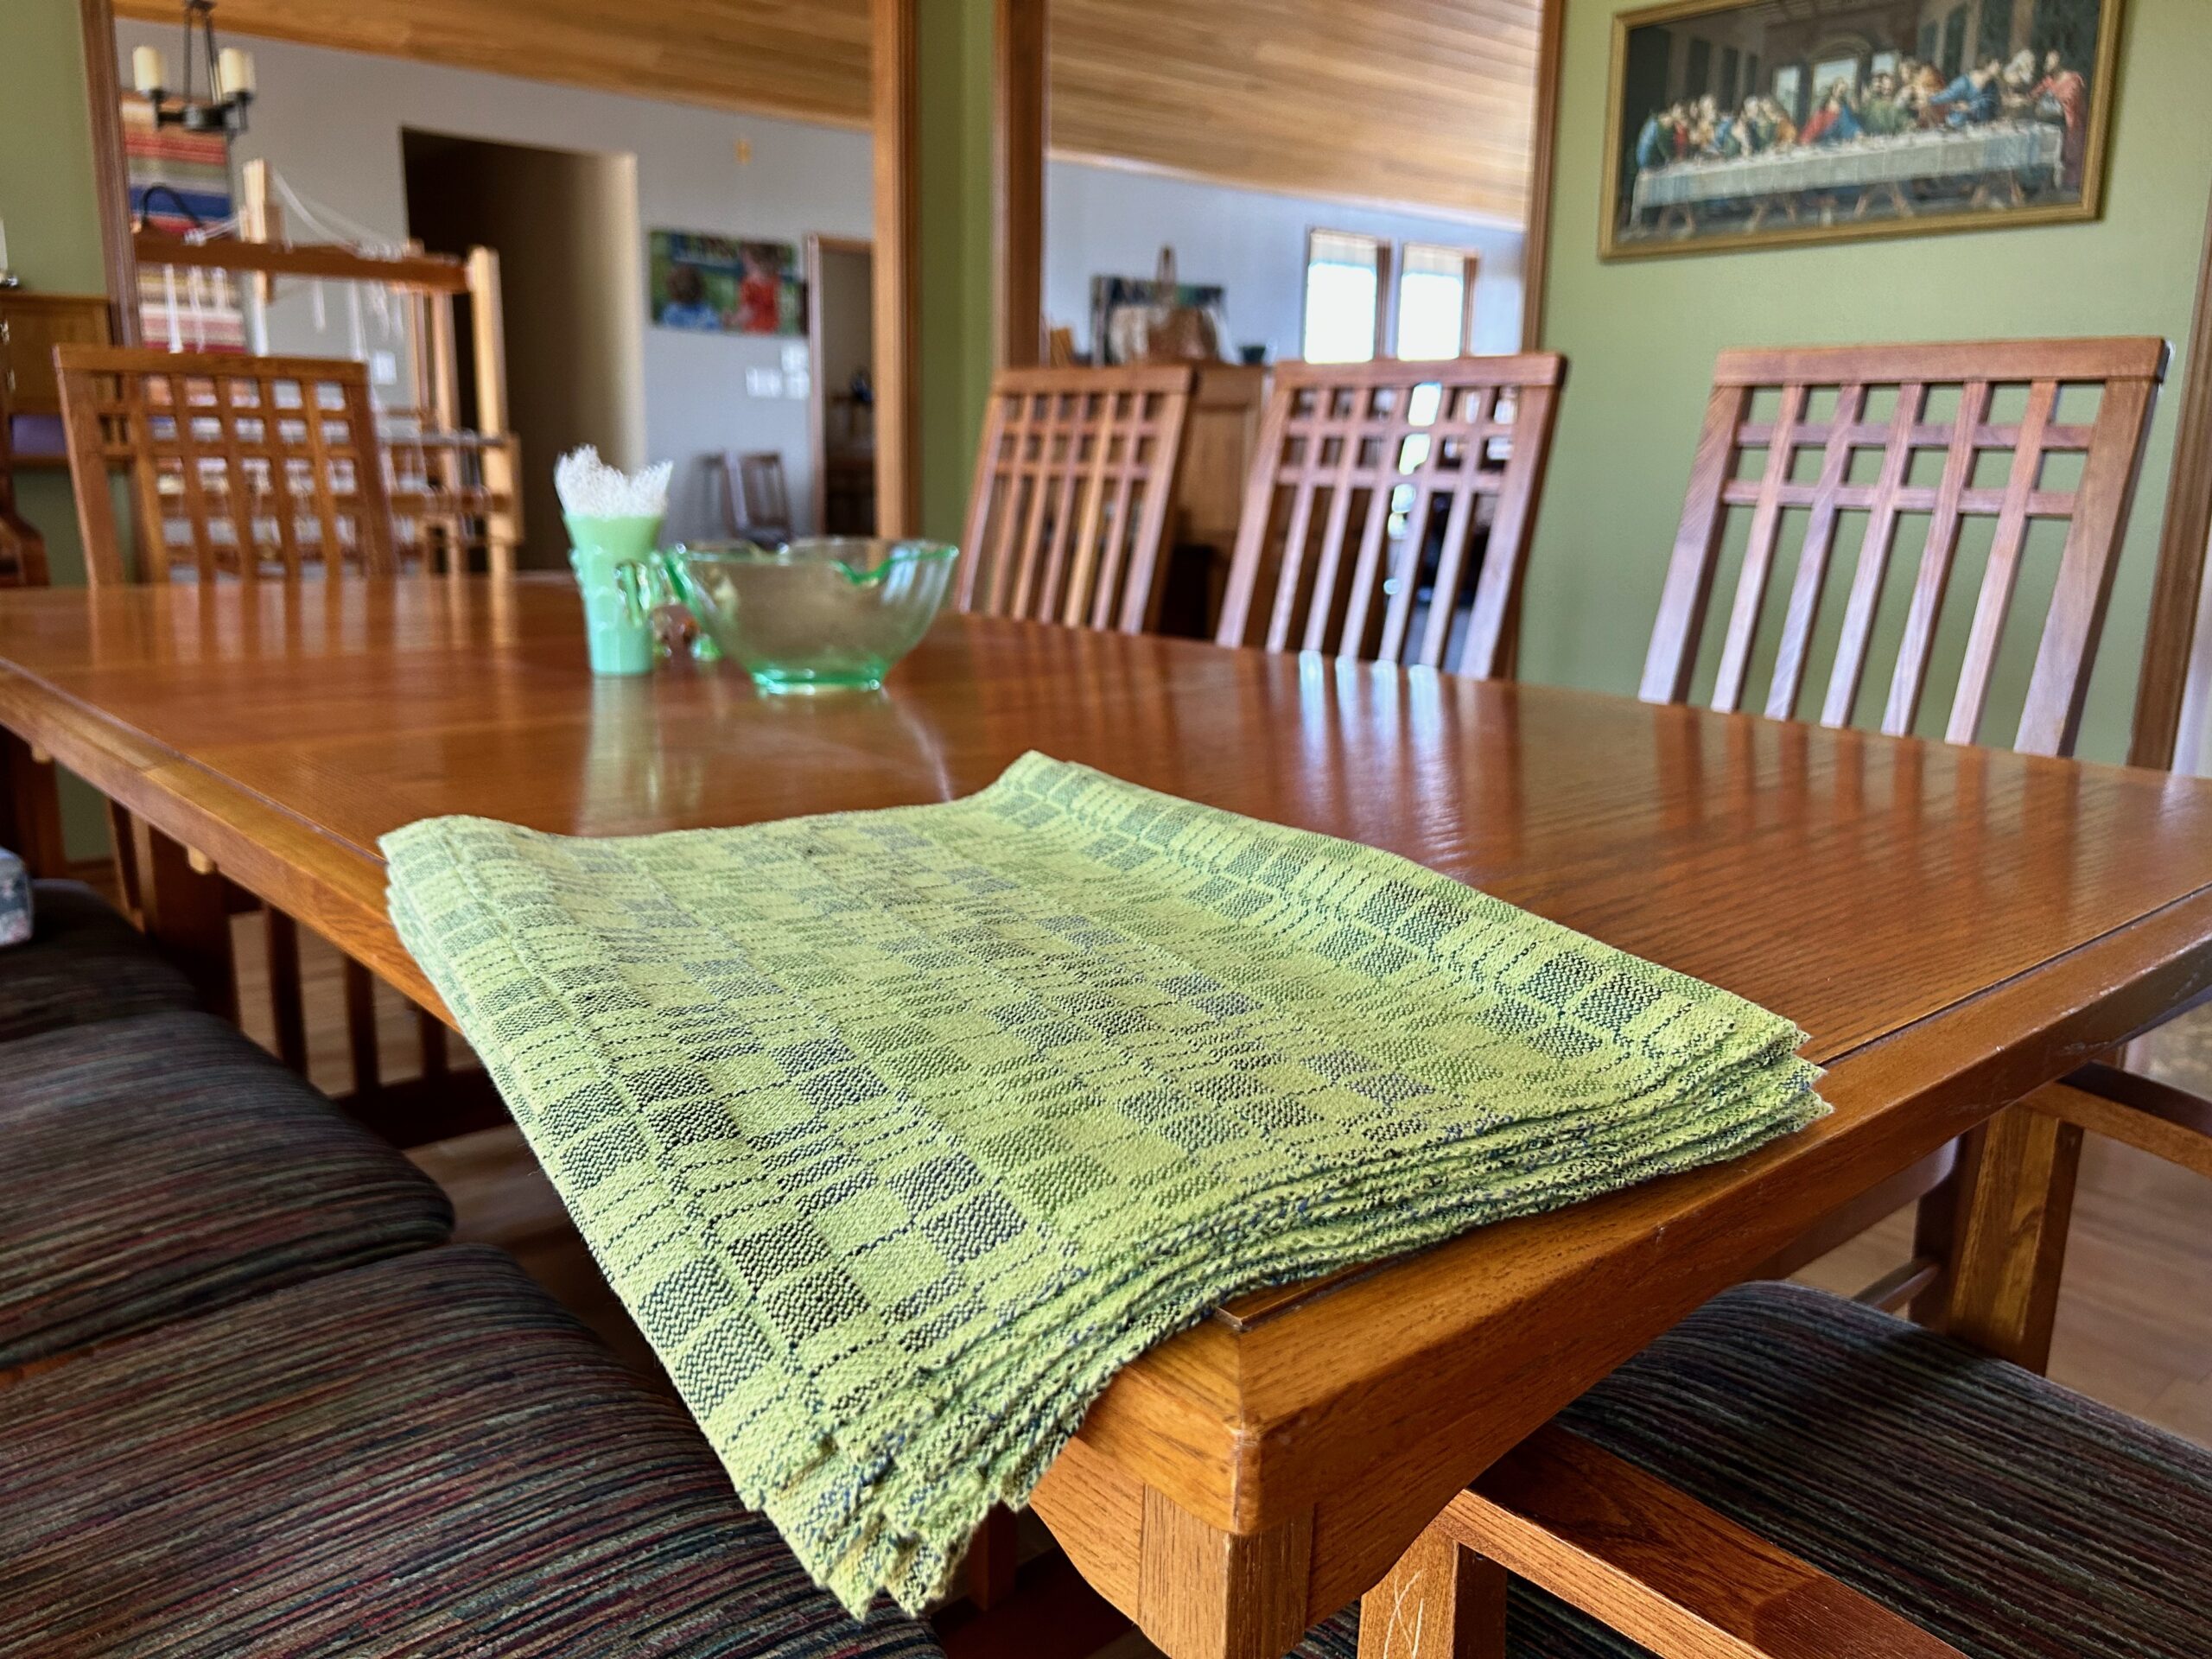
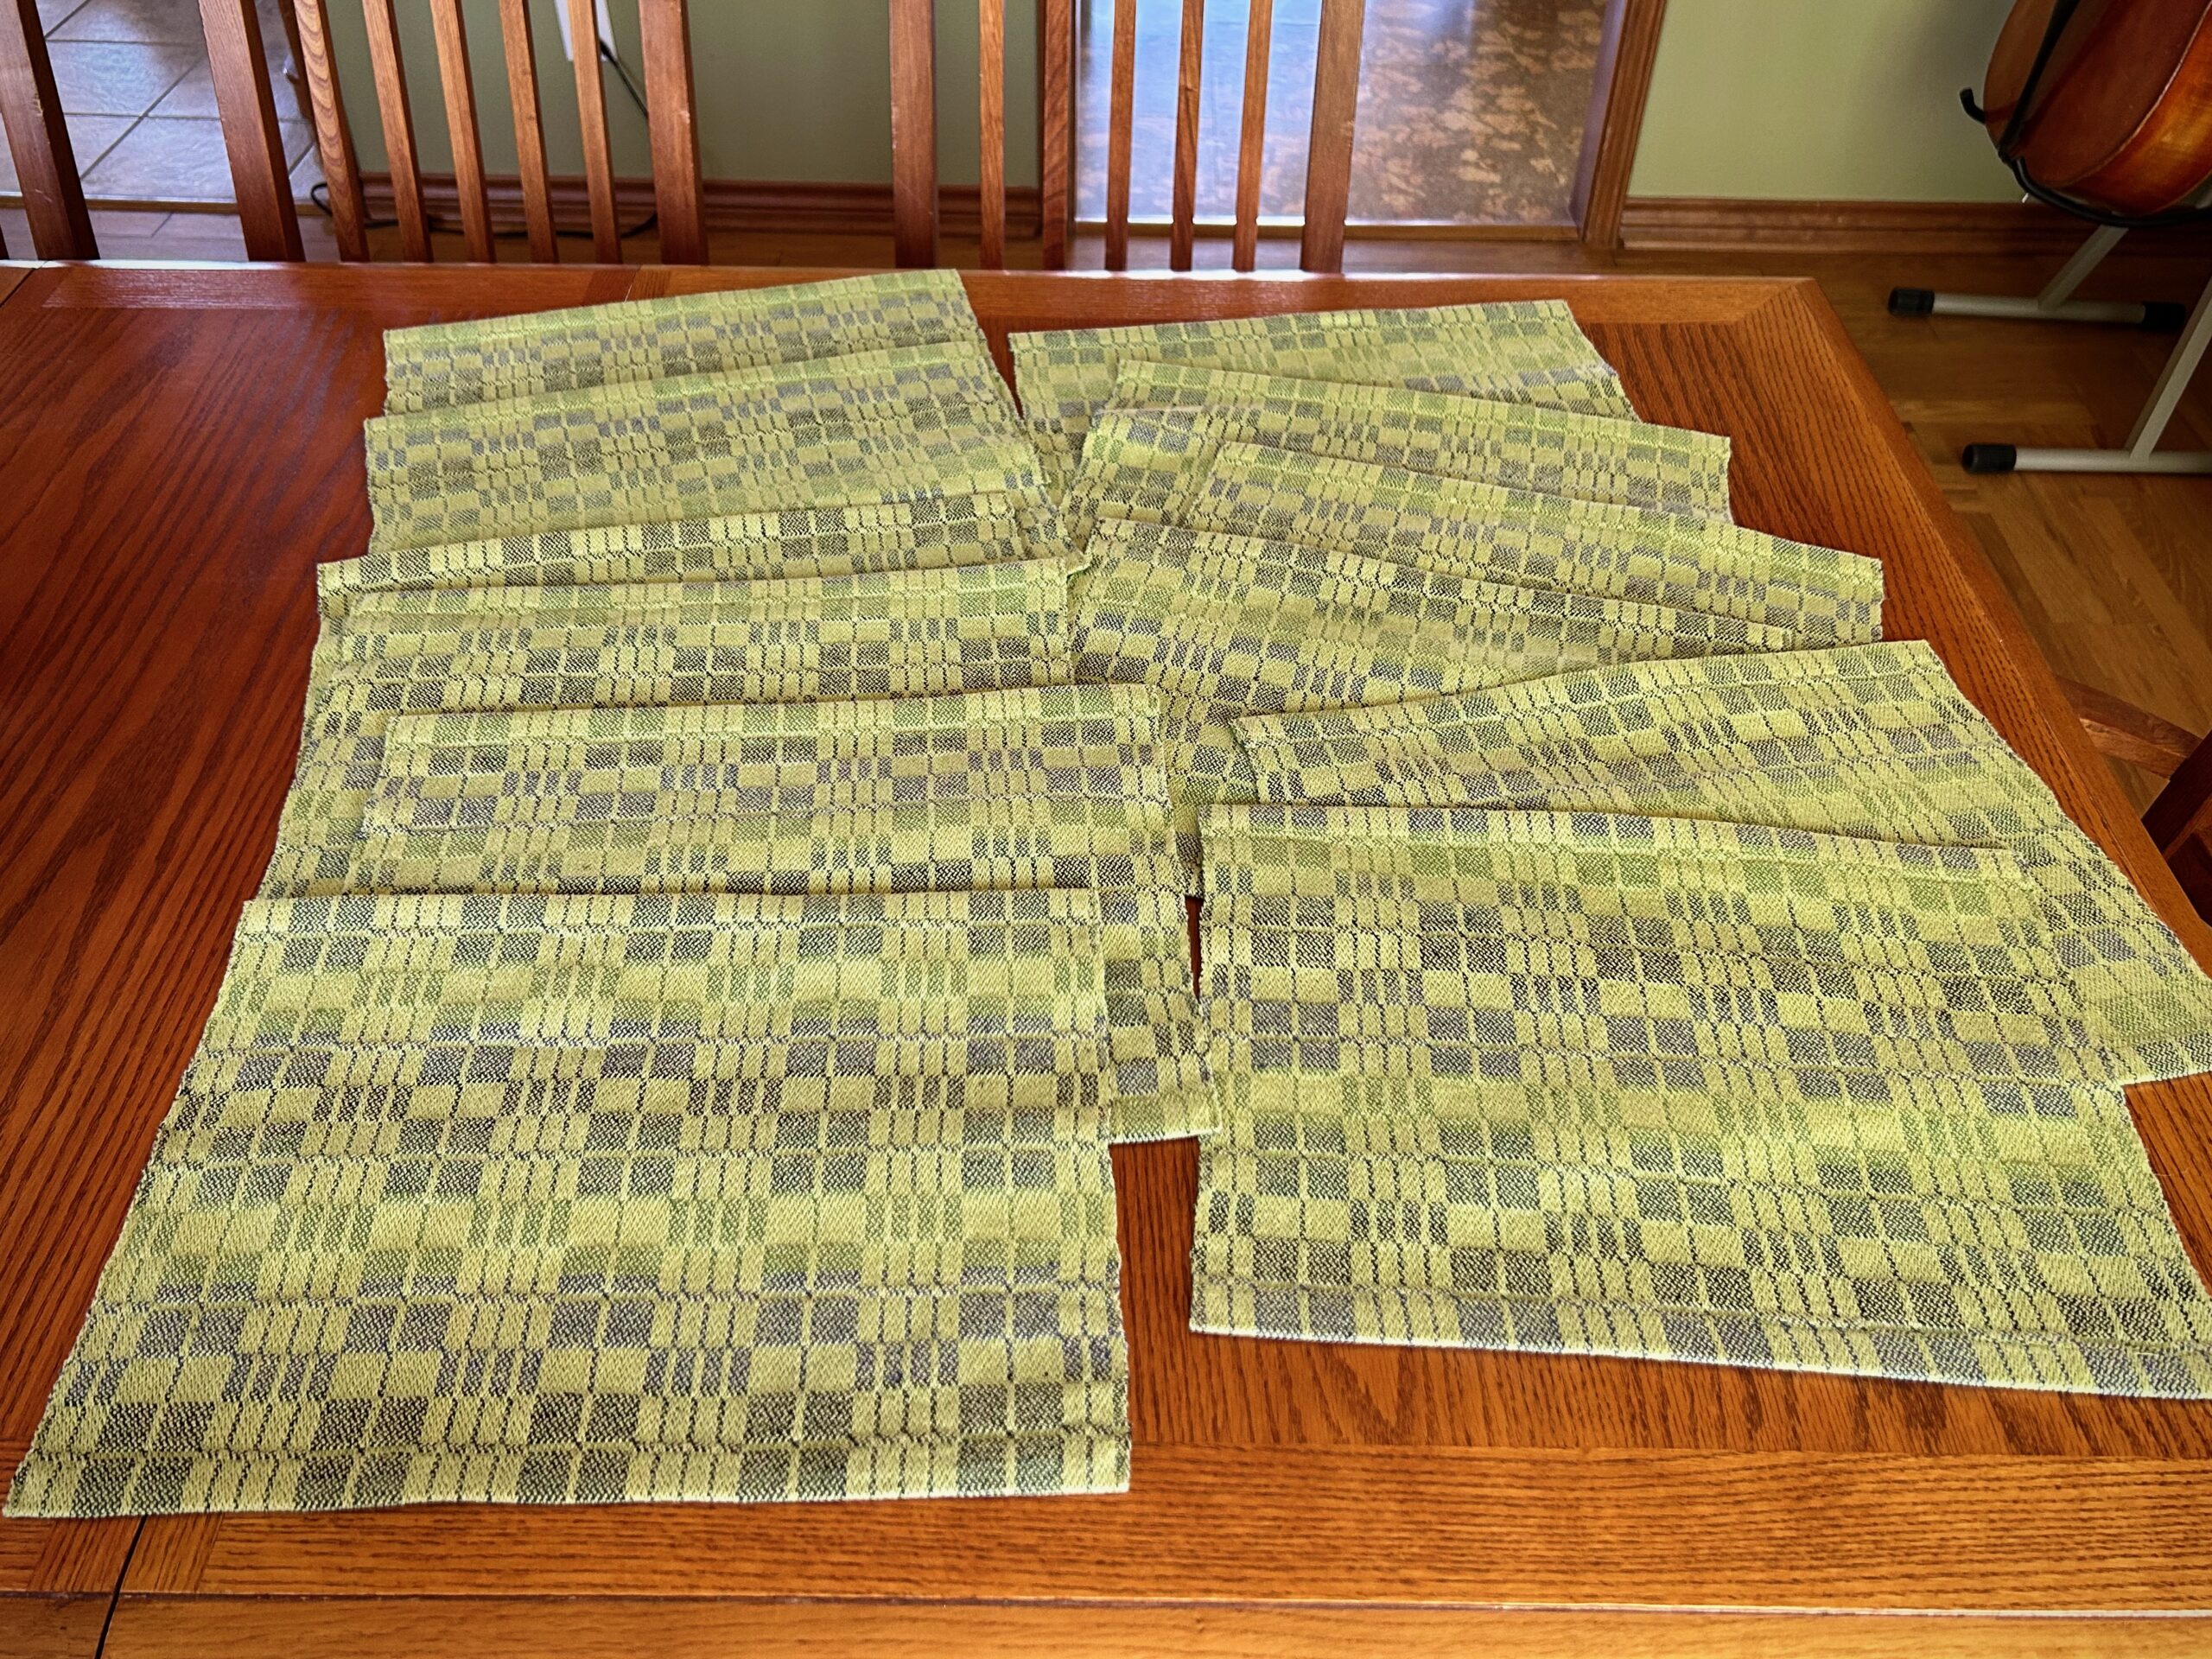
Twelve green placemats are on the dining room table. Green 22/2 cottolin warp and 8/1 tow linen weft in four colors done in a two-block broken twill, woven on the Julia with eight shafts. I am deeply satisfied with the results. Now, all I need to do is to invite everyone over for a big family meal!
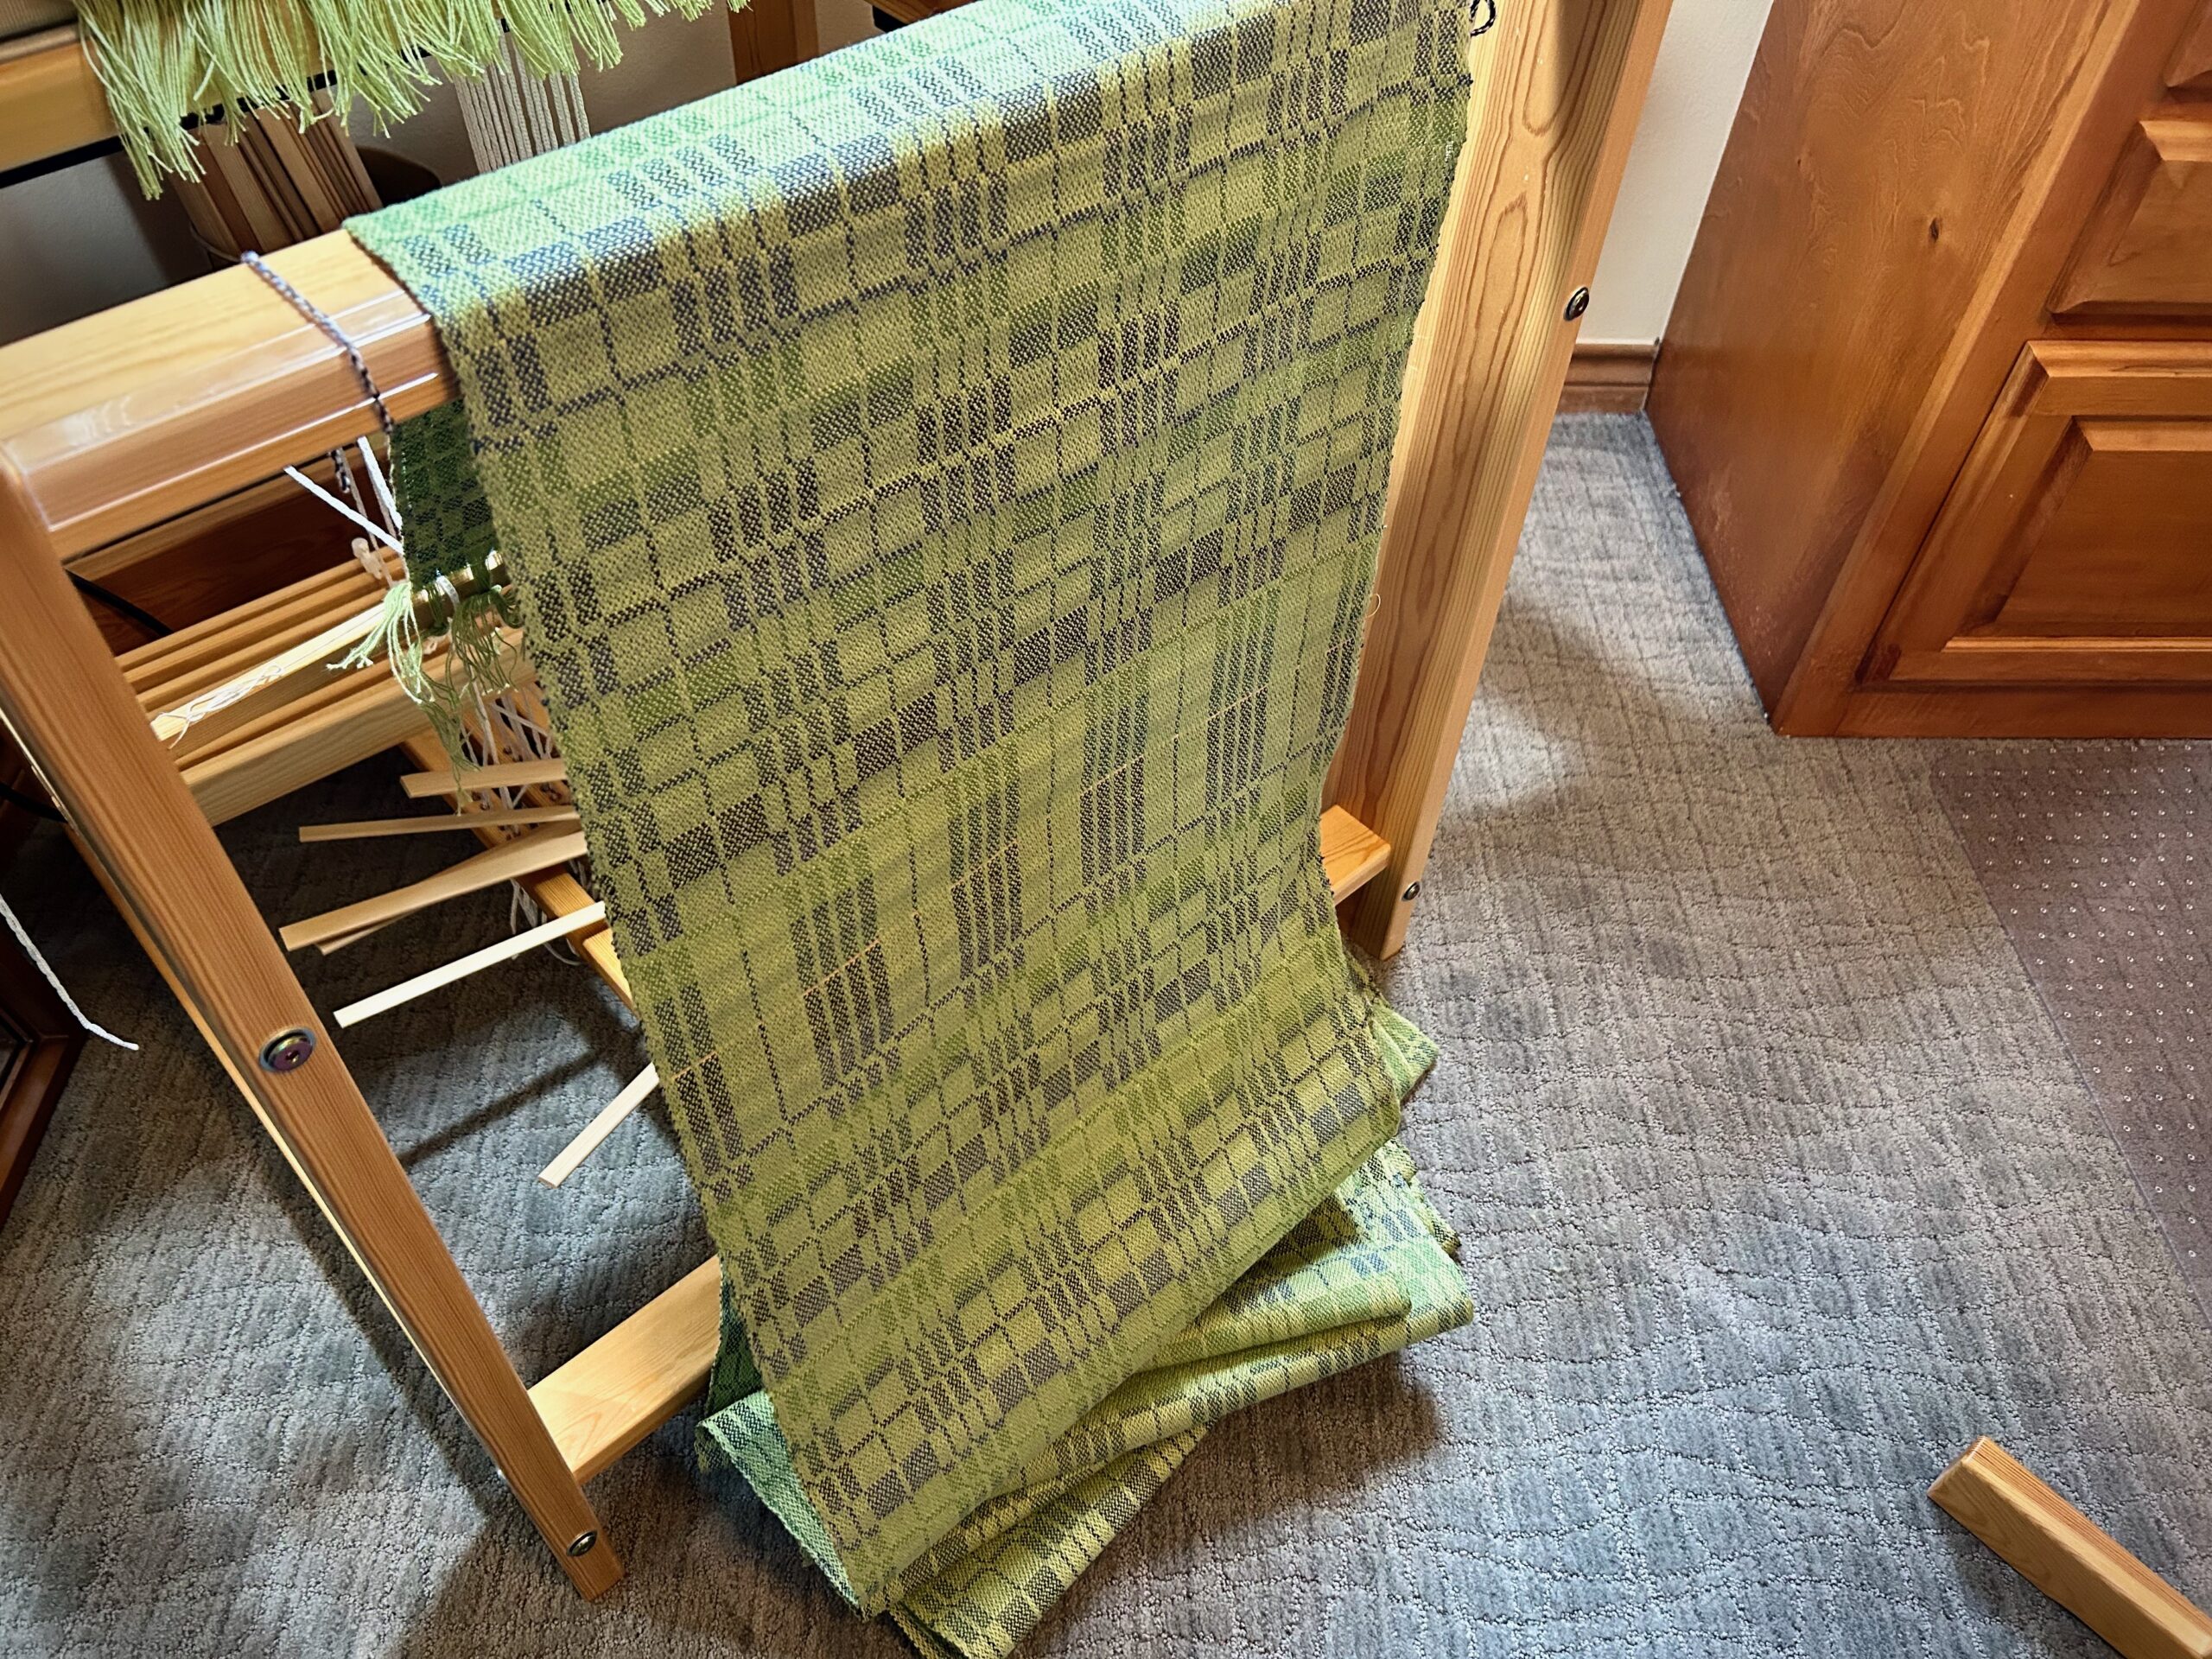
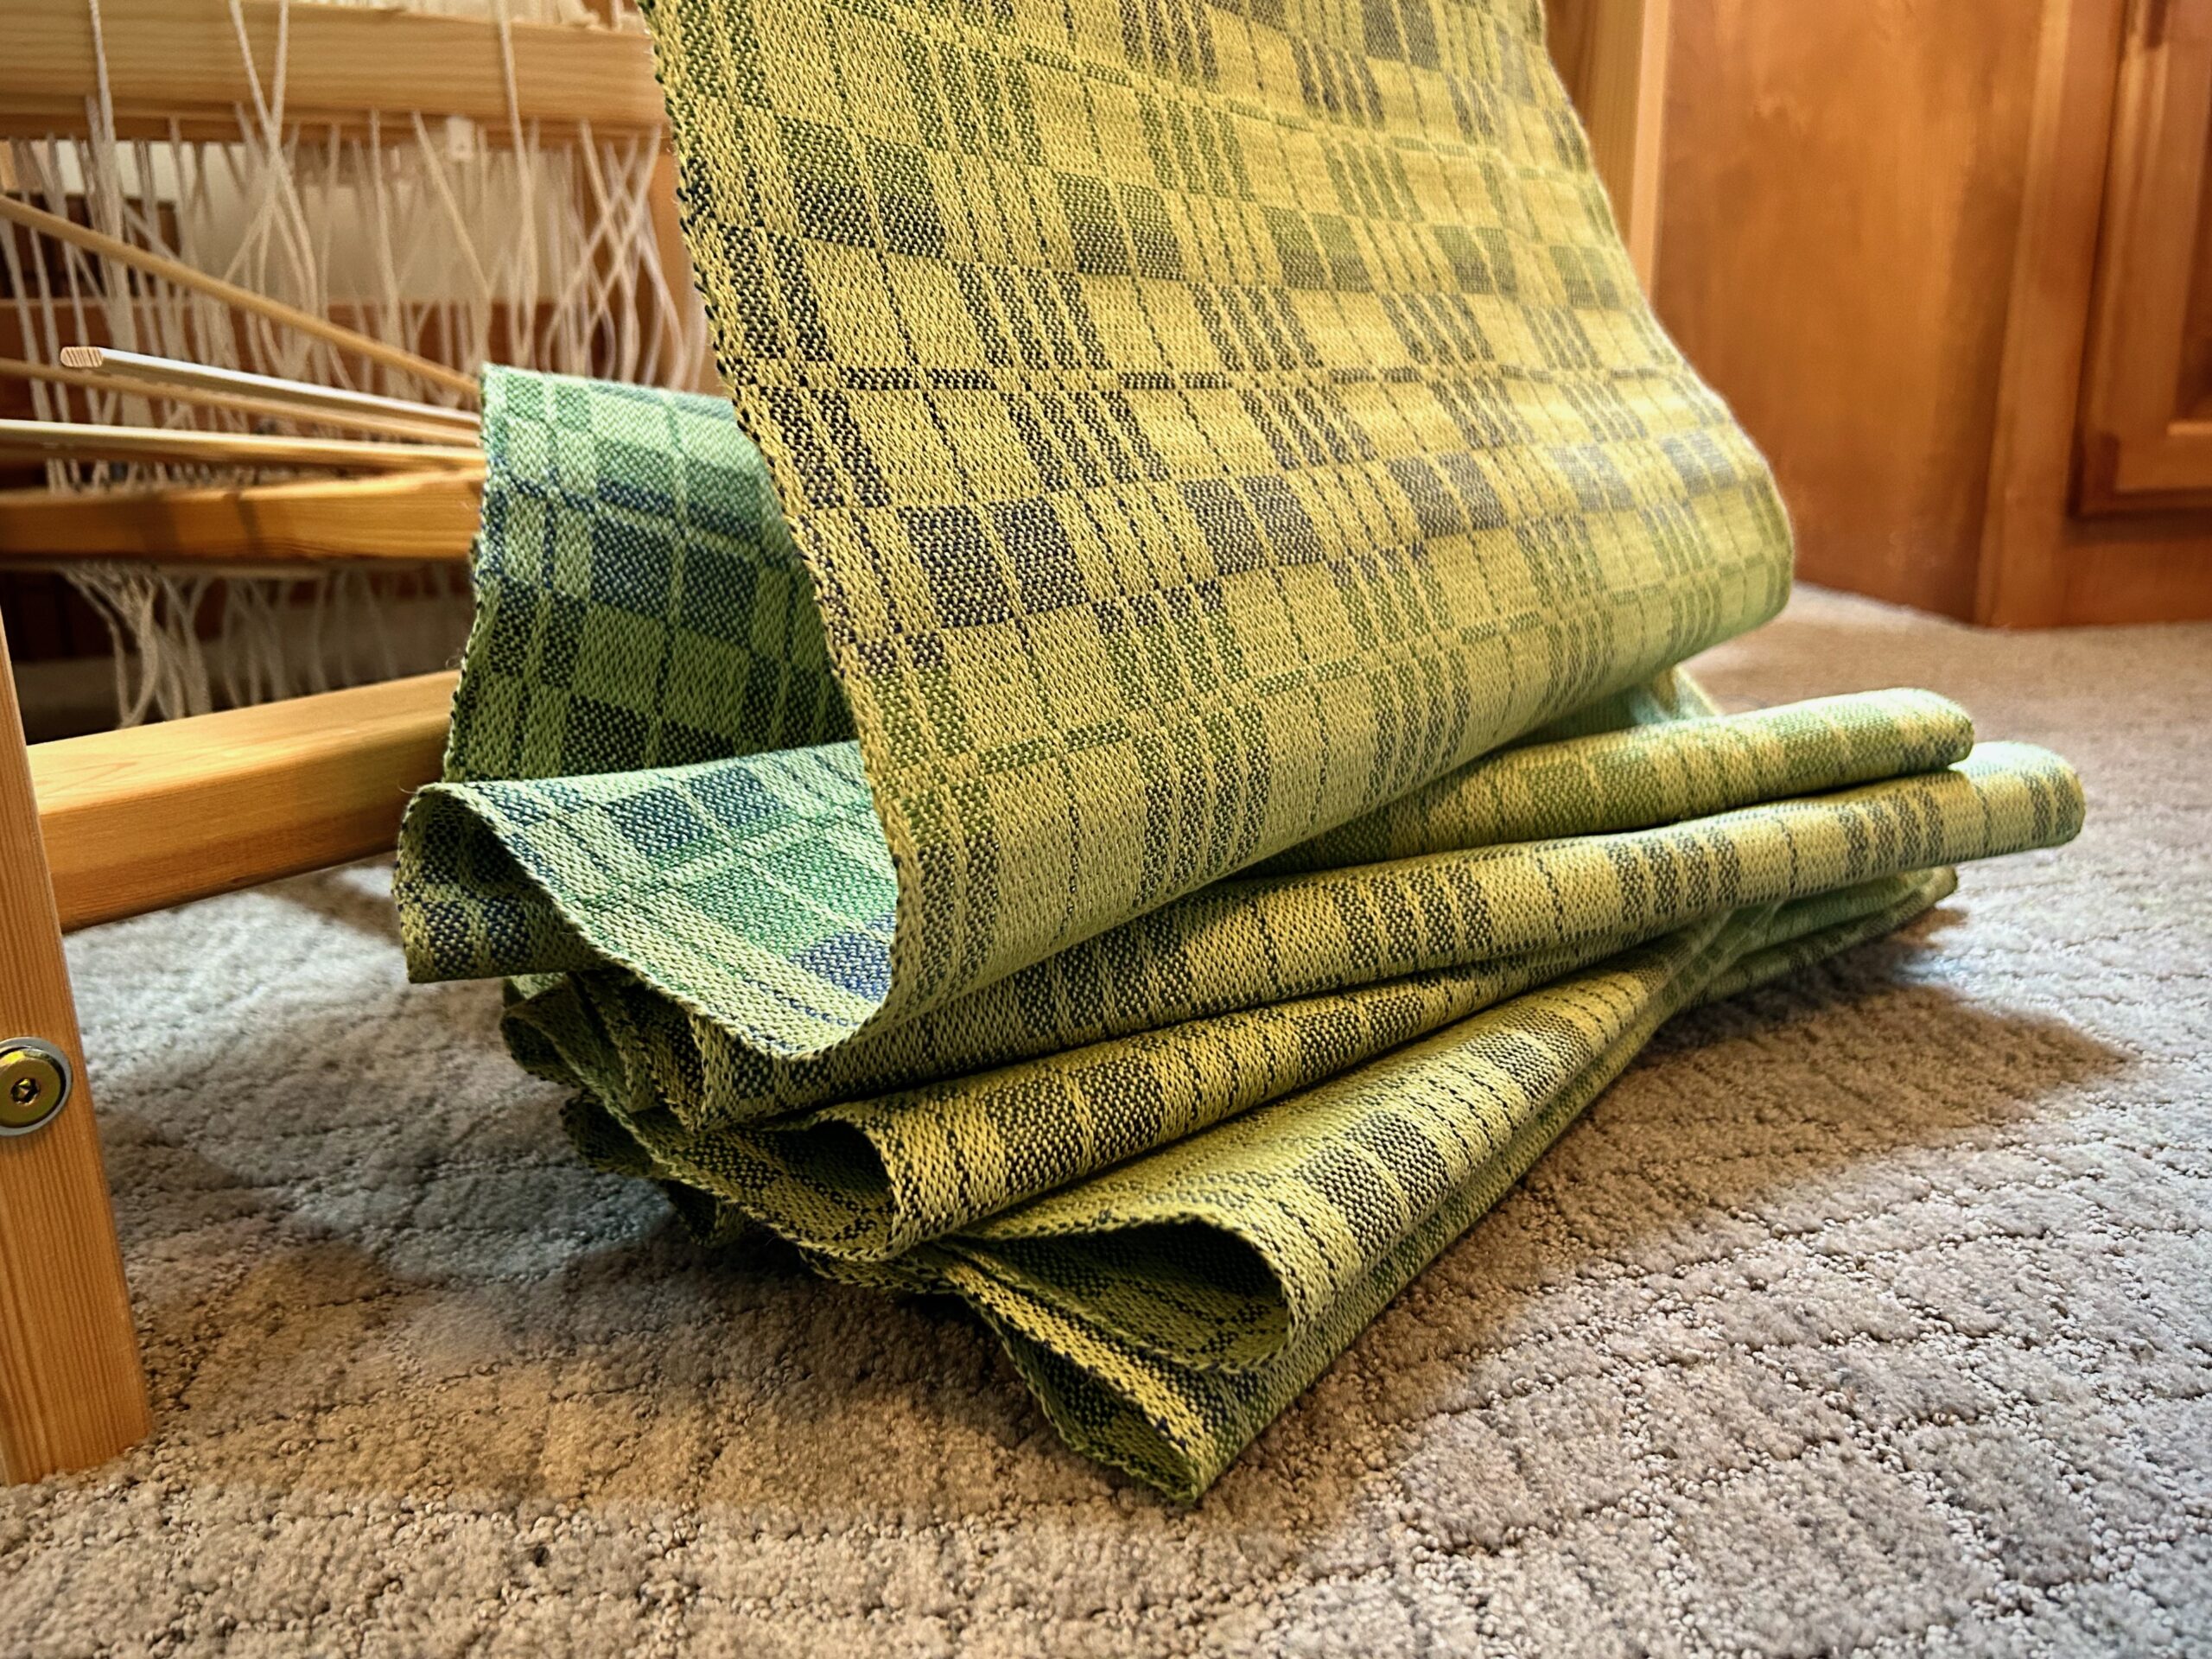
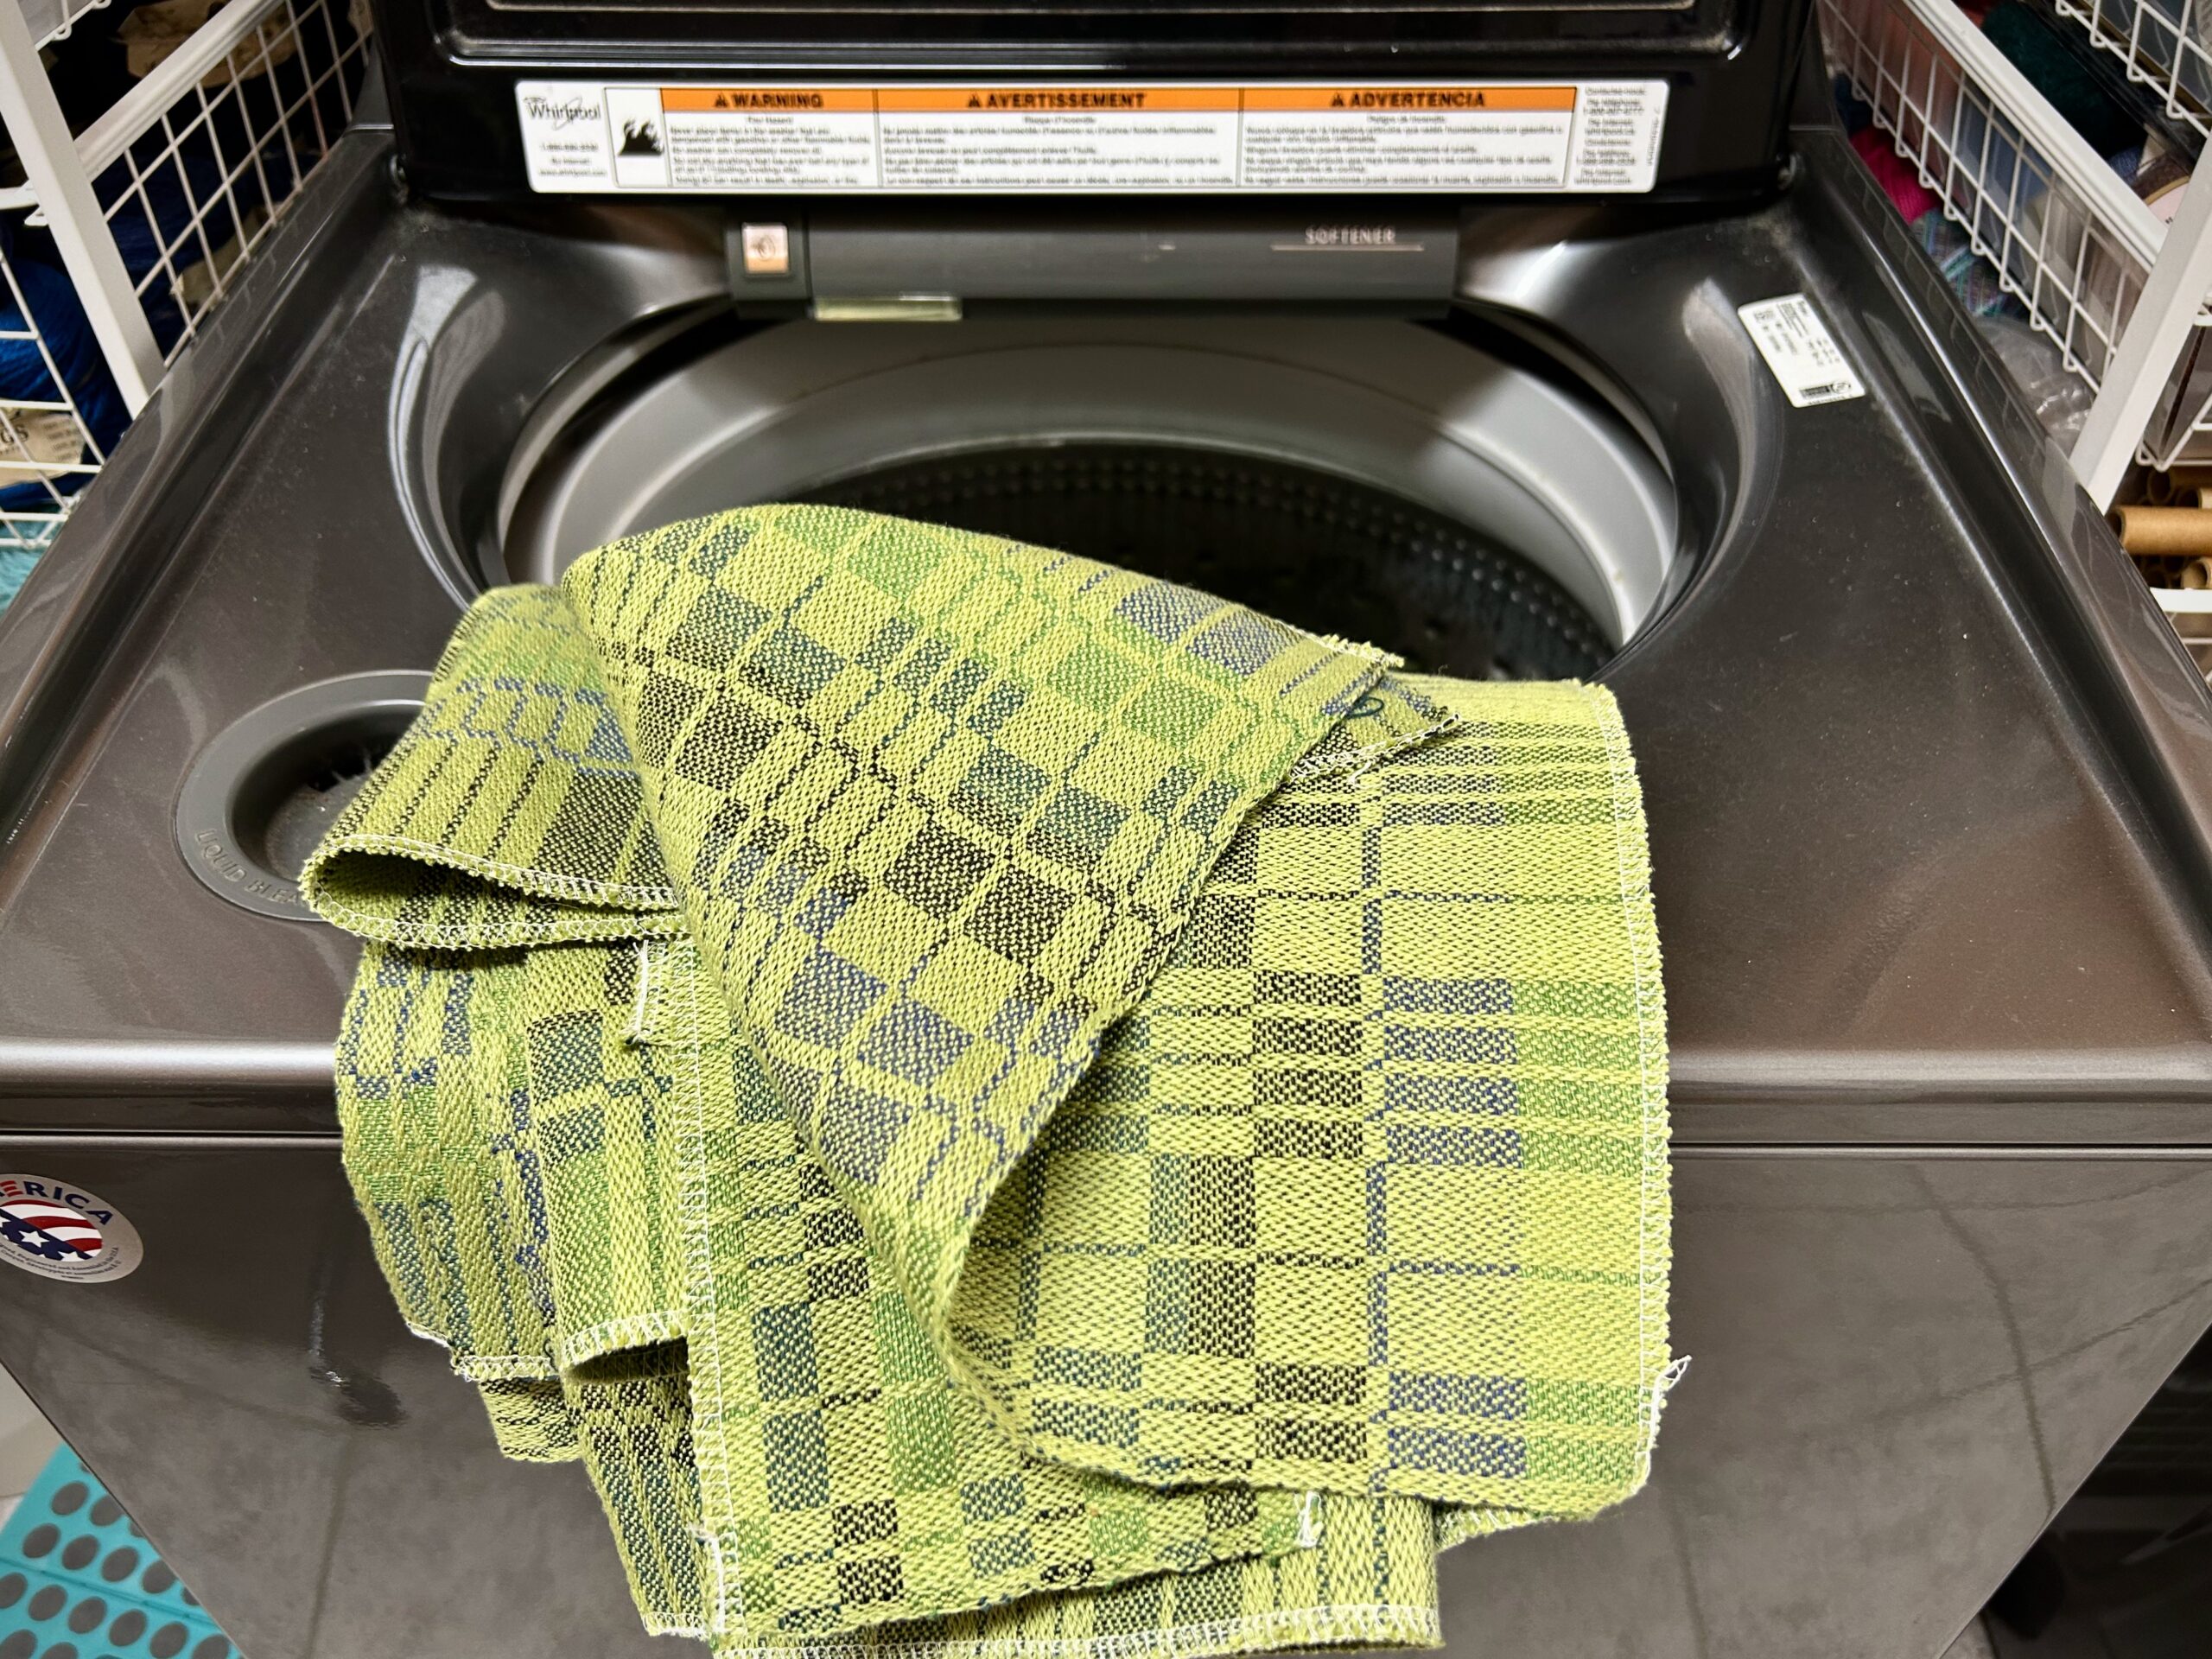
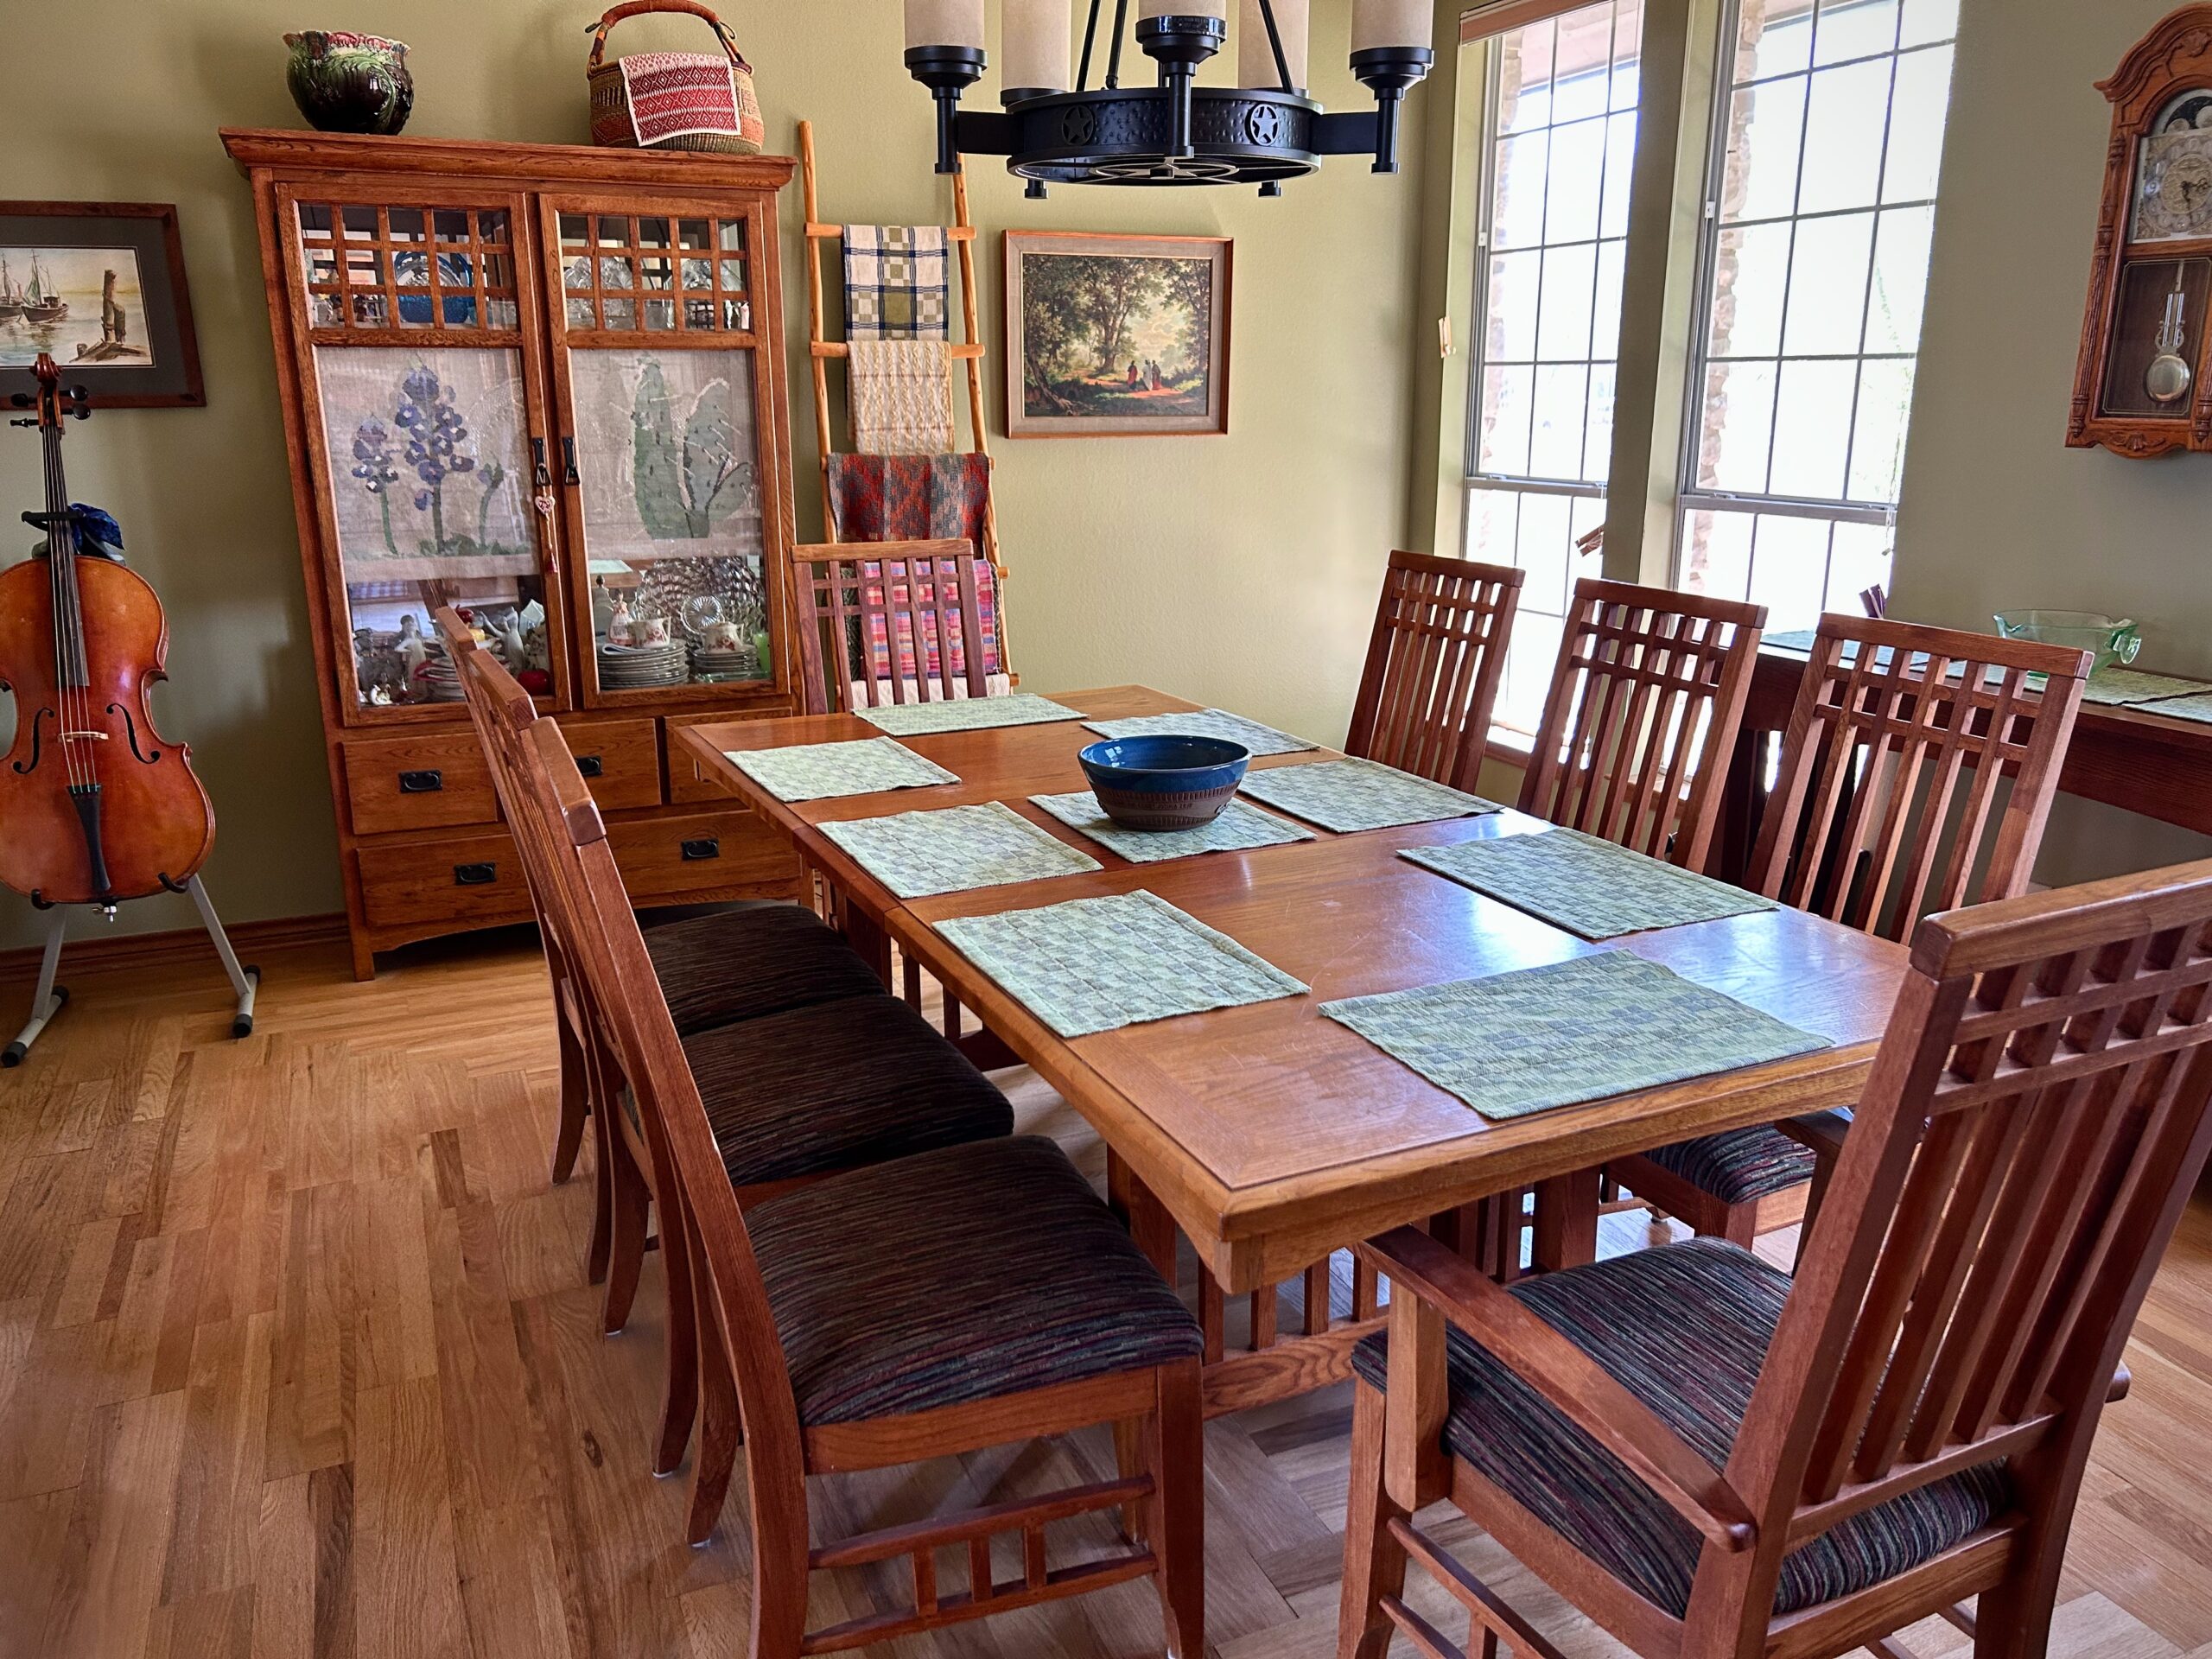
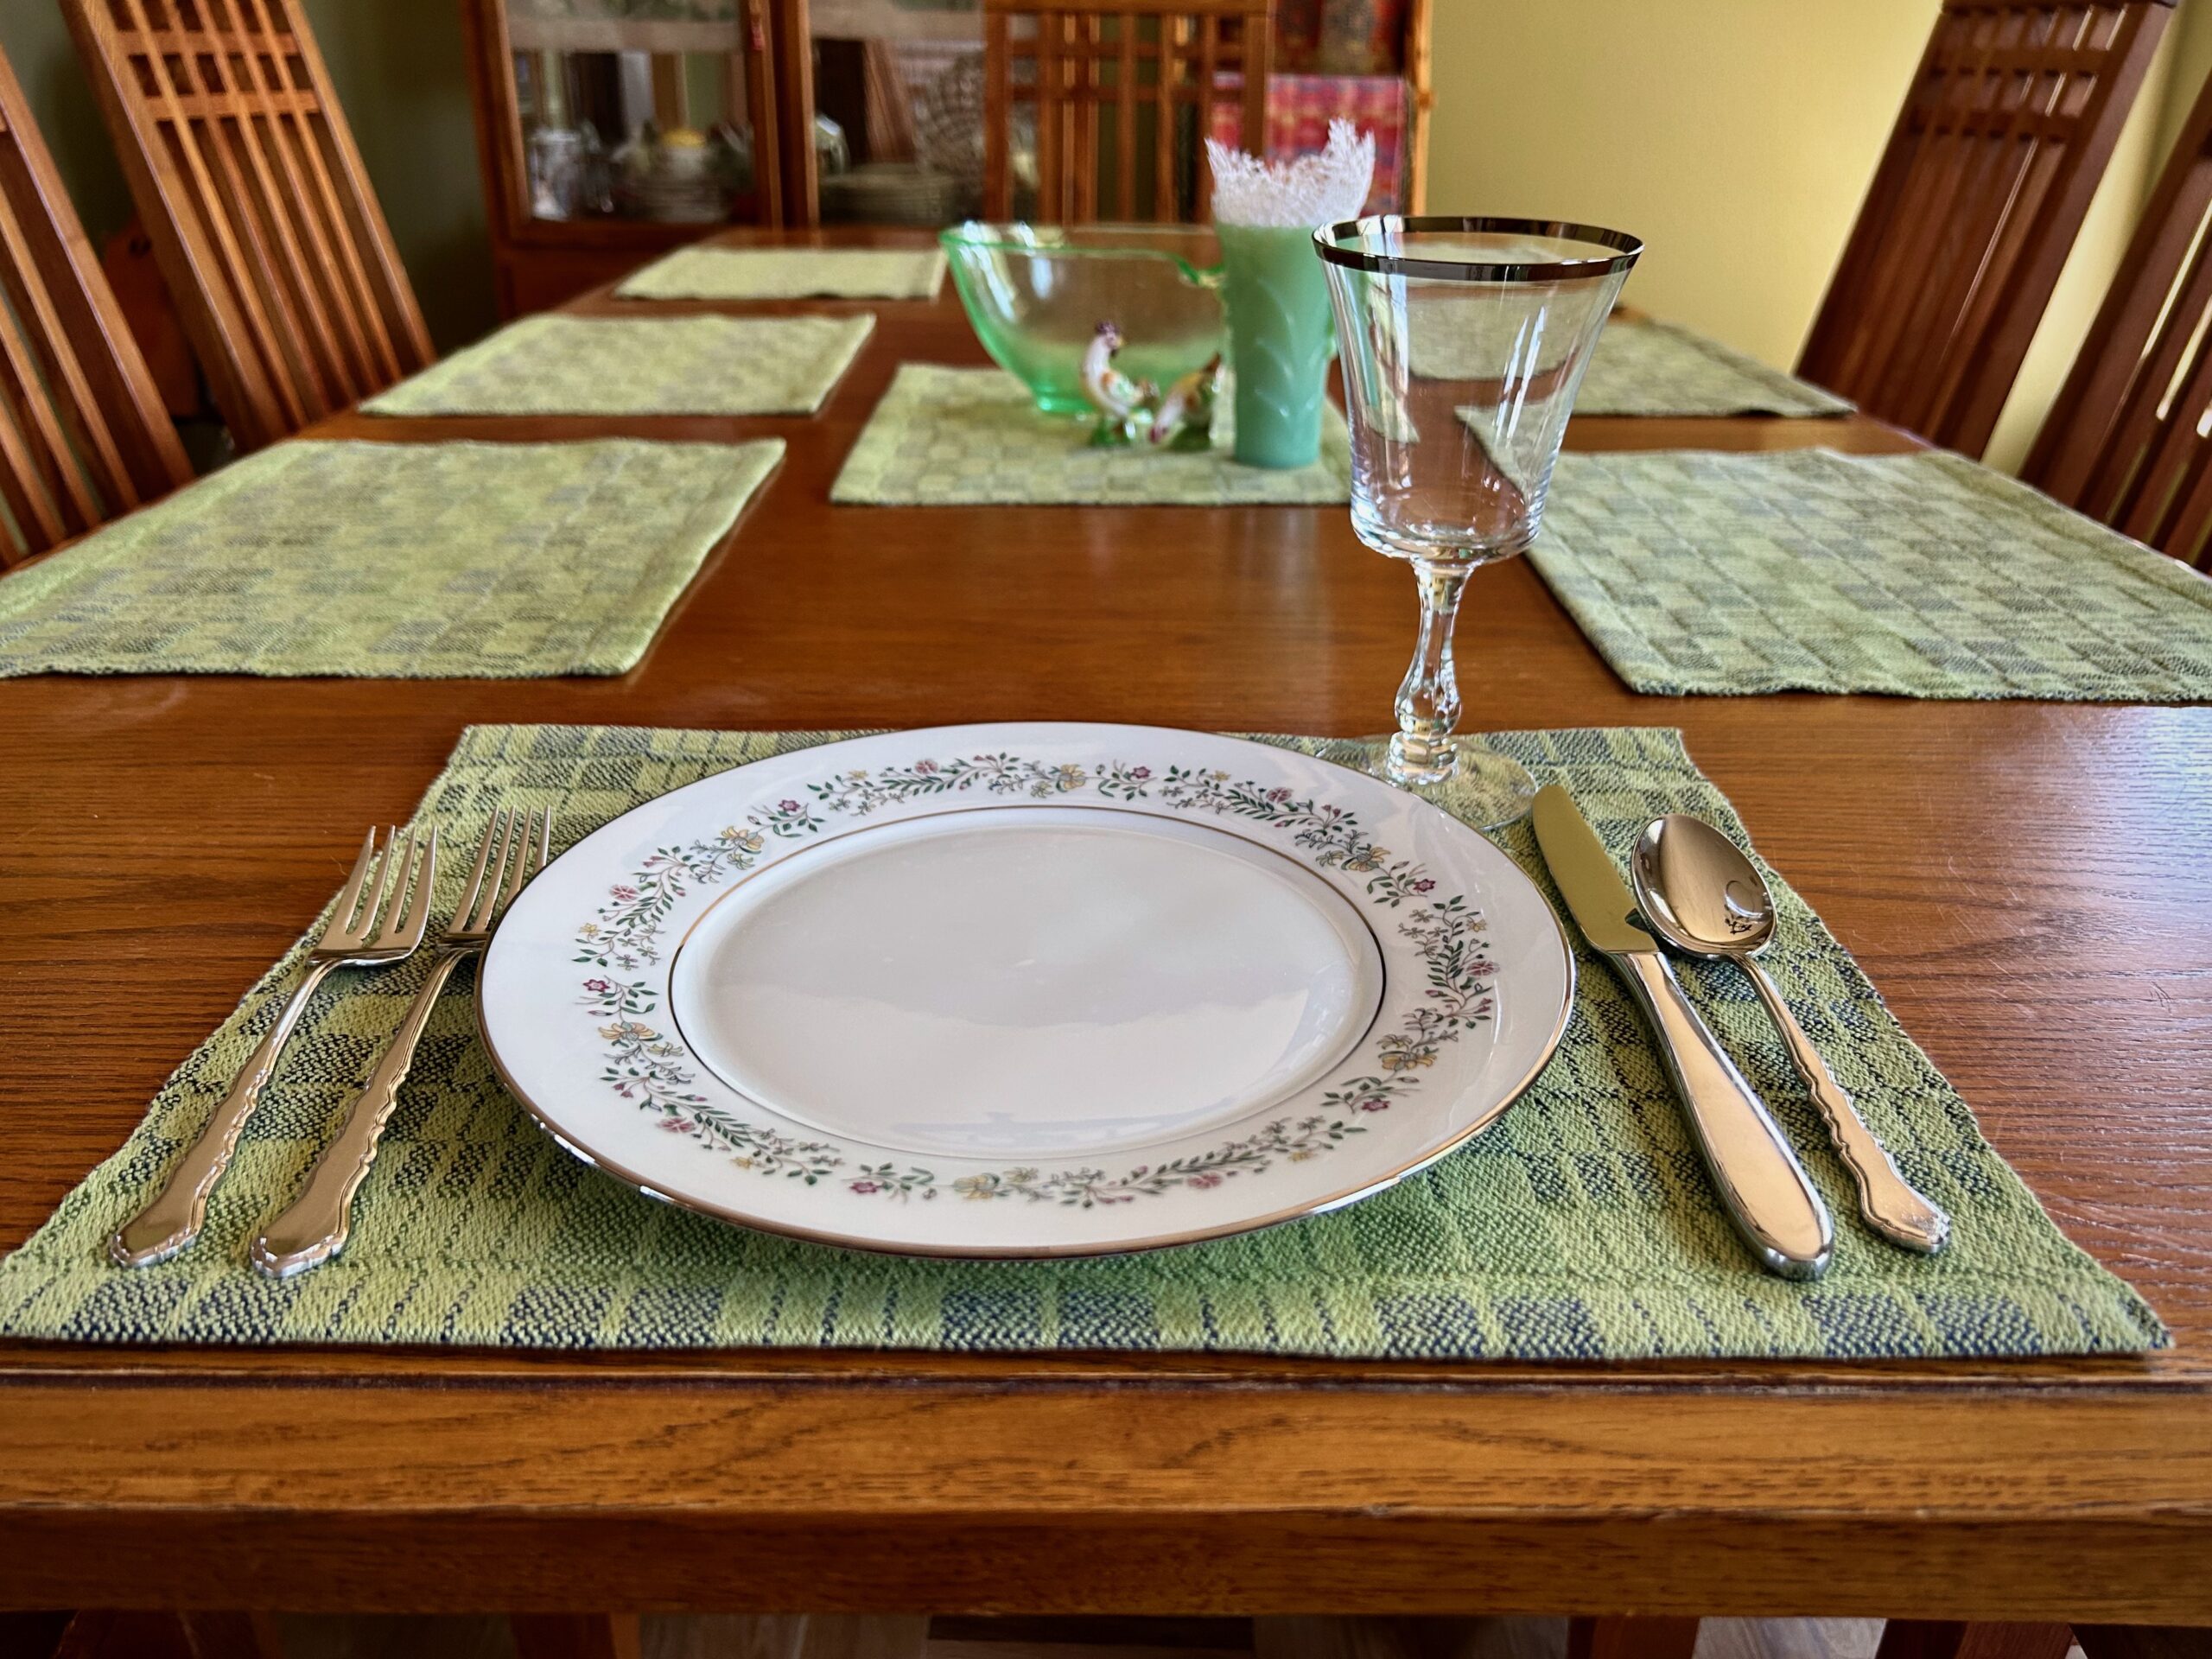
End of warp. Cutting off process begins.Fabric unrolls from the cloth beam. Warping slats go every which way onto the treadles.When I first unroll the cloth from a project that has been on the loom for a while, it is almost always “Love at first sight.” Then, I begin to question myself and wonder if the whole thing is a big mistake. The final stage is the most realistic and I am deeply satisfied with the results (usually).Into the washing machine. The placemats have been cut apart, edges secured with the serger, and serger tails threaded back in. I carefully monitor the washing machine and remove the cloth before it hits a full spin cycle. Then, into the dryer it goes, just until damp, and then I press them till dry. This is a long time at the ironing board.Twelve placemats ready to go! Machine hemmed and pressed.The four linen weft colors give the placemats a softly graded look. Each one has the same two-block pattern, but each one is different because of the variance of the weft colors. Blue, green, teal, black.Setting the table in the dining room.Let’s eat!
I am lining things up to start my next big project that will grace our home. I’ll let you know as soon as I start winding the warp!
May you finish what you’ve started, no matter how long it takes.
Two-block broken twill is a soothing pattern to weave because of its regular rhythm. Even though this is eight shafts, it is not complicated. Simple is good.
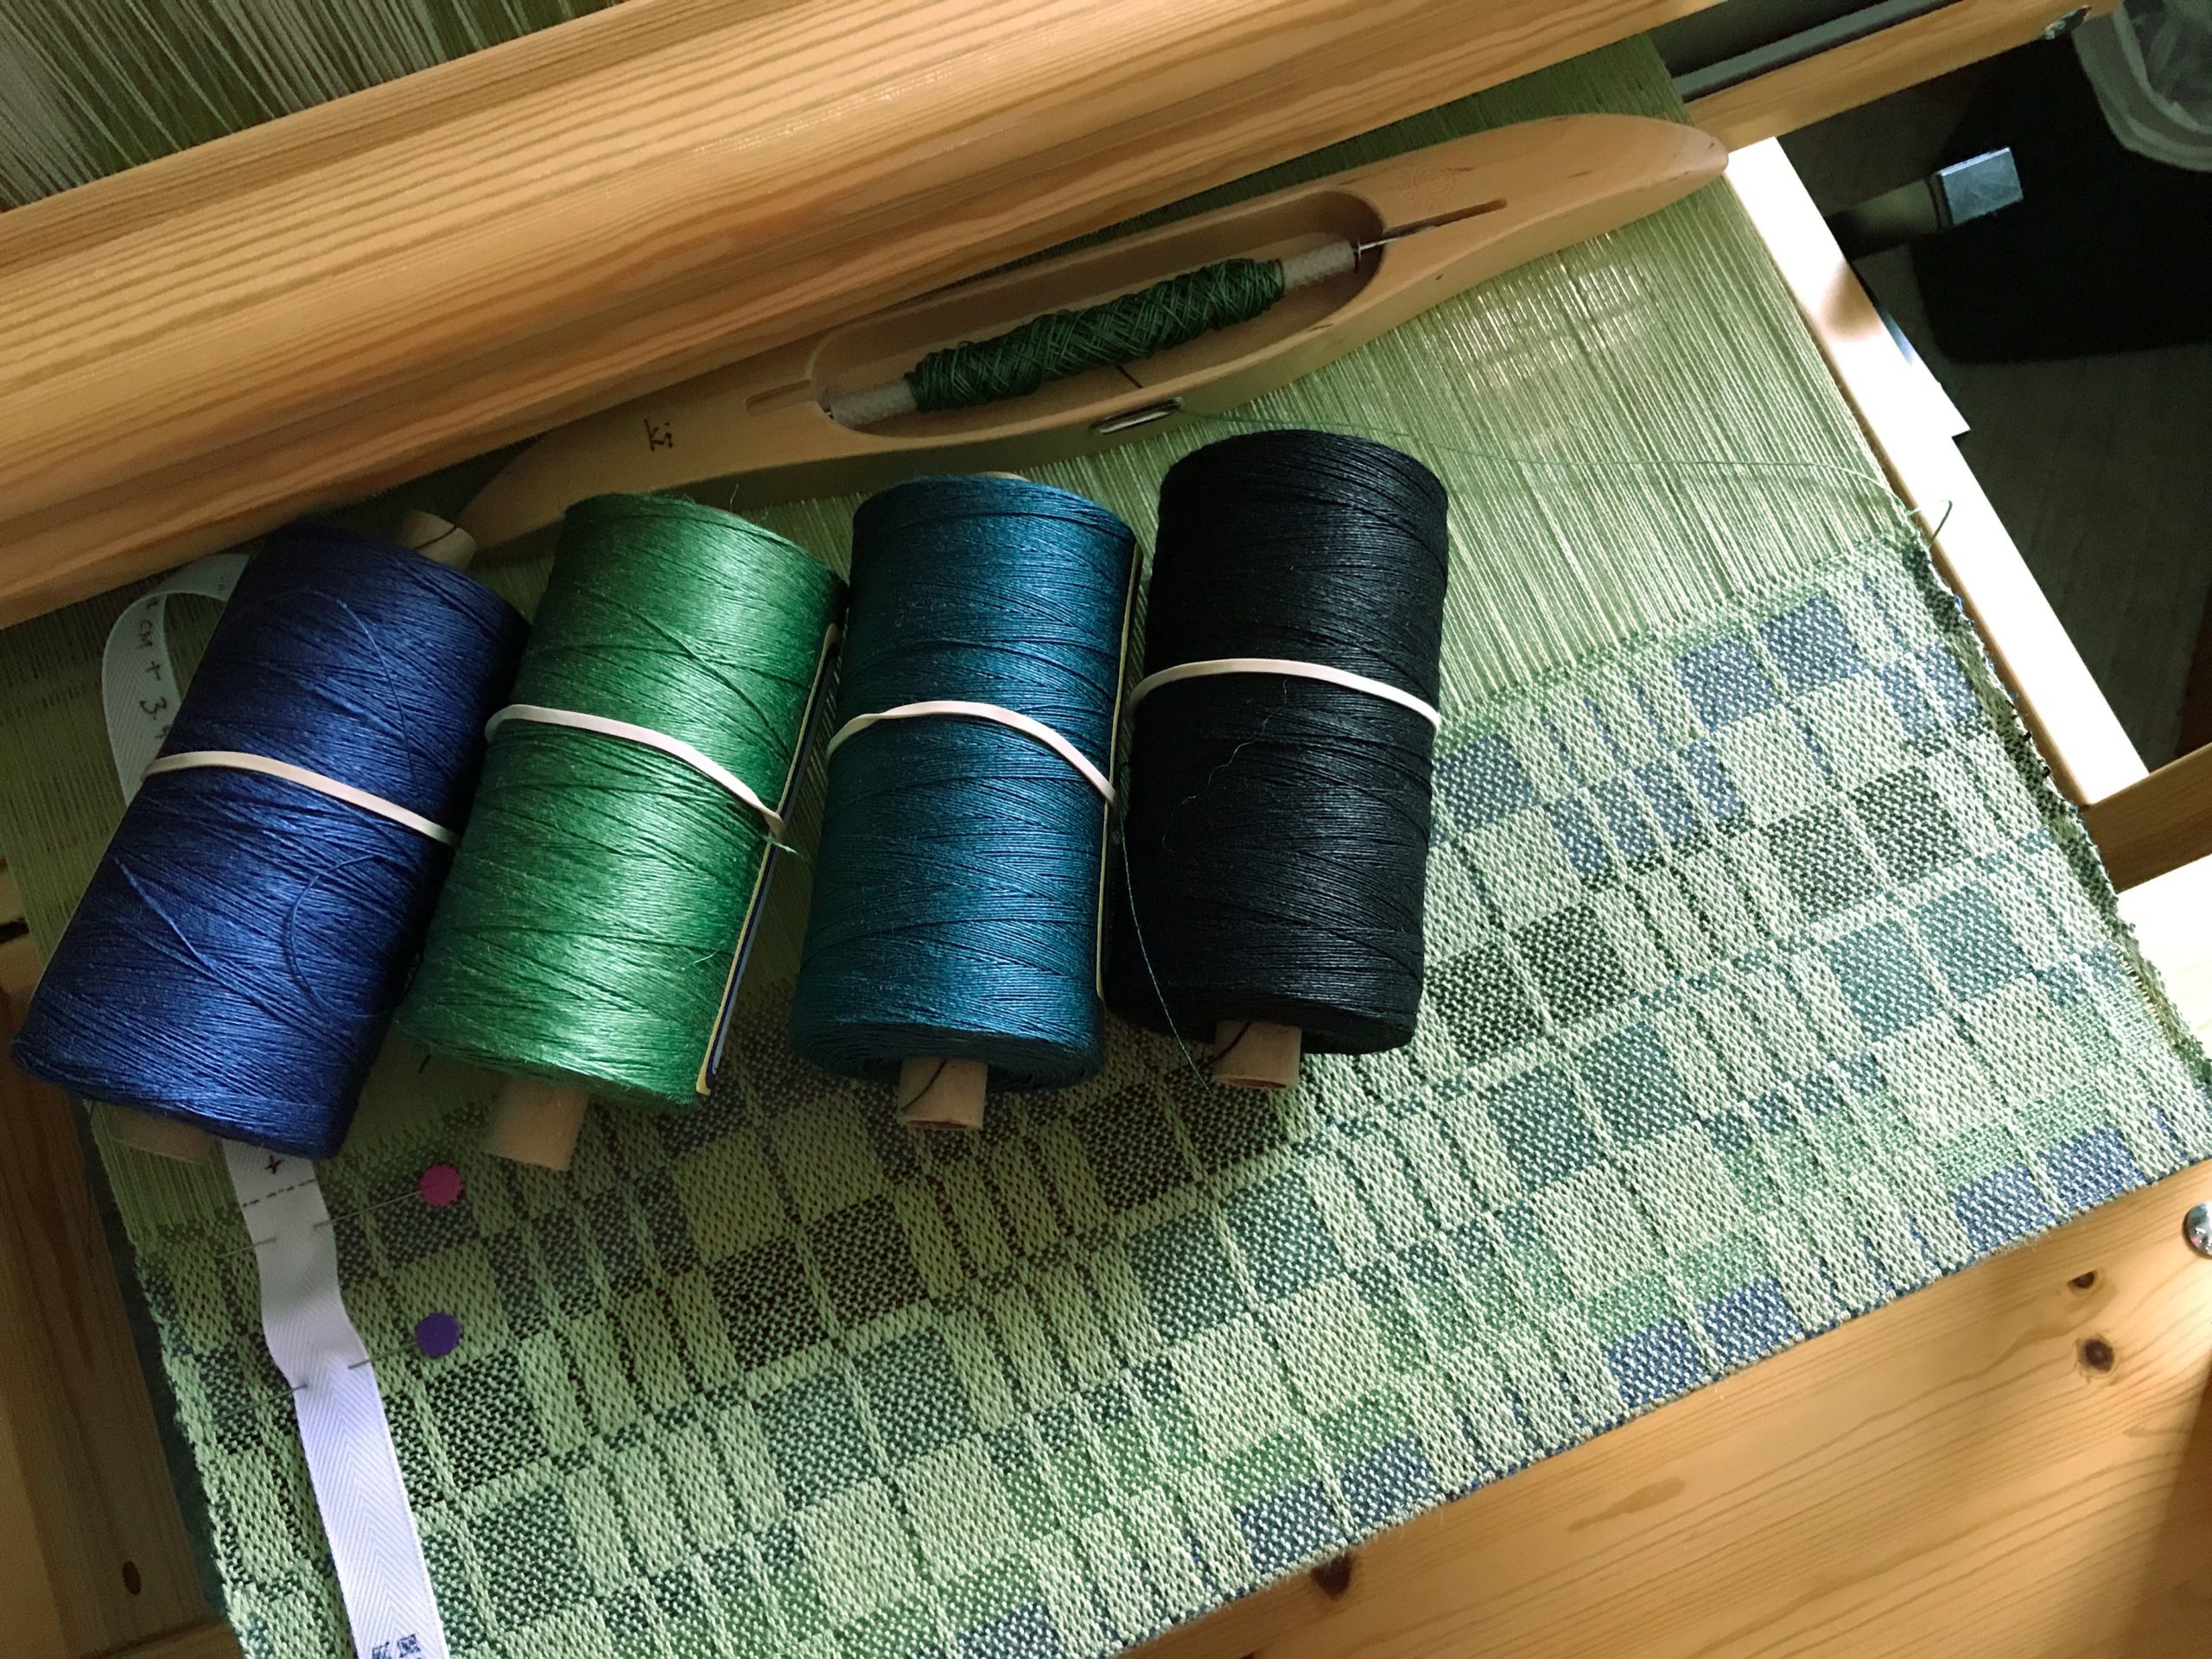
Four colors of weft are arranged in a repeated order. Warp is 22/2 cottolin. Weft is 8/1 tow linen. This is the second of twelve placemats on this warp on the Glimåkra Julia.
Instead of assigning a different solid color to each placemat, I am using all four weft colors in each one. The colors are arranged in an order that gives the appearance of gradated color. 8/1 tow linen: blue, then green, then teal, then black; repeat, repeat, repeat. There is no set number of picks for each color. Instead, I am changing from one color to the next in an irregular fashion, letting each color softly flow into the next. Regular two-block pattern; irregular color changes.
Keep it simple. The Lord’s pattern for our lives is not complicated. The Lord goes before us. As we follow him, all those irregular changes that happen in our lives turn into a lovely display of softly flowing gradated color. We can rest in that. From this color to the next…
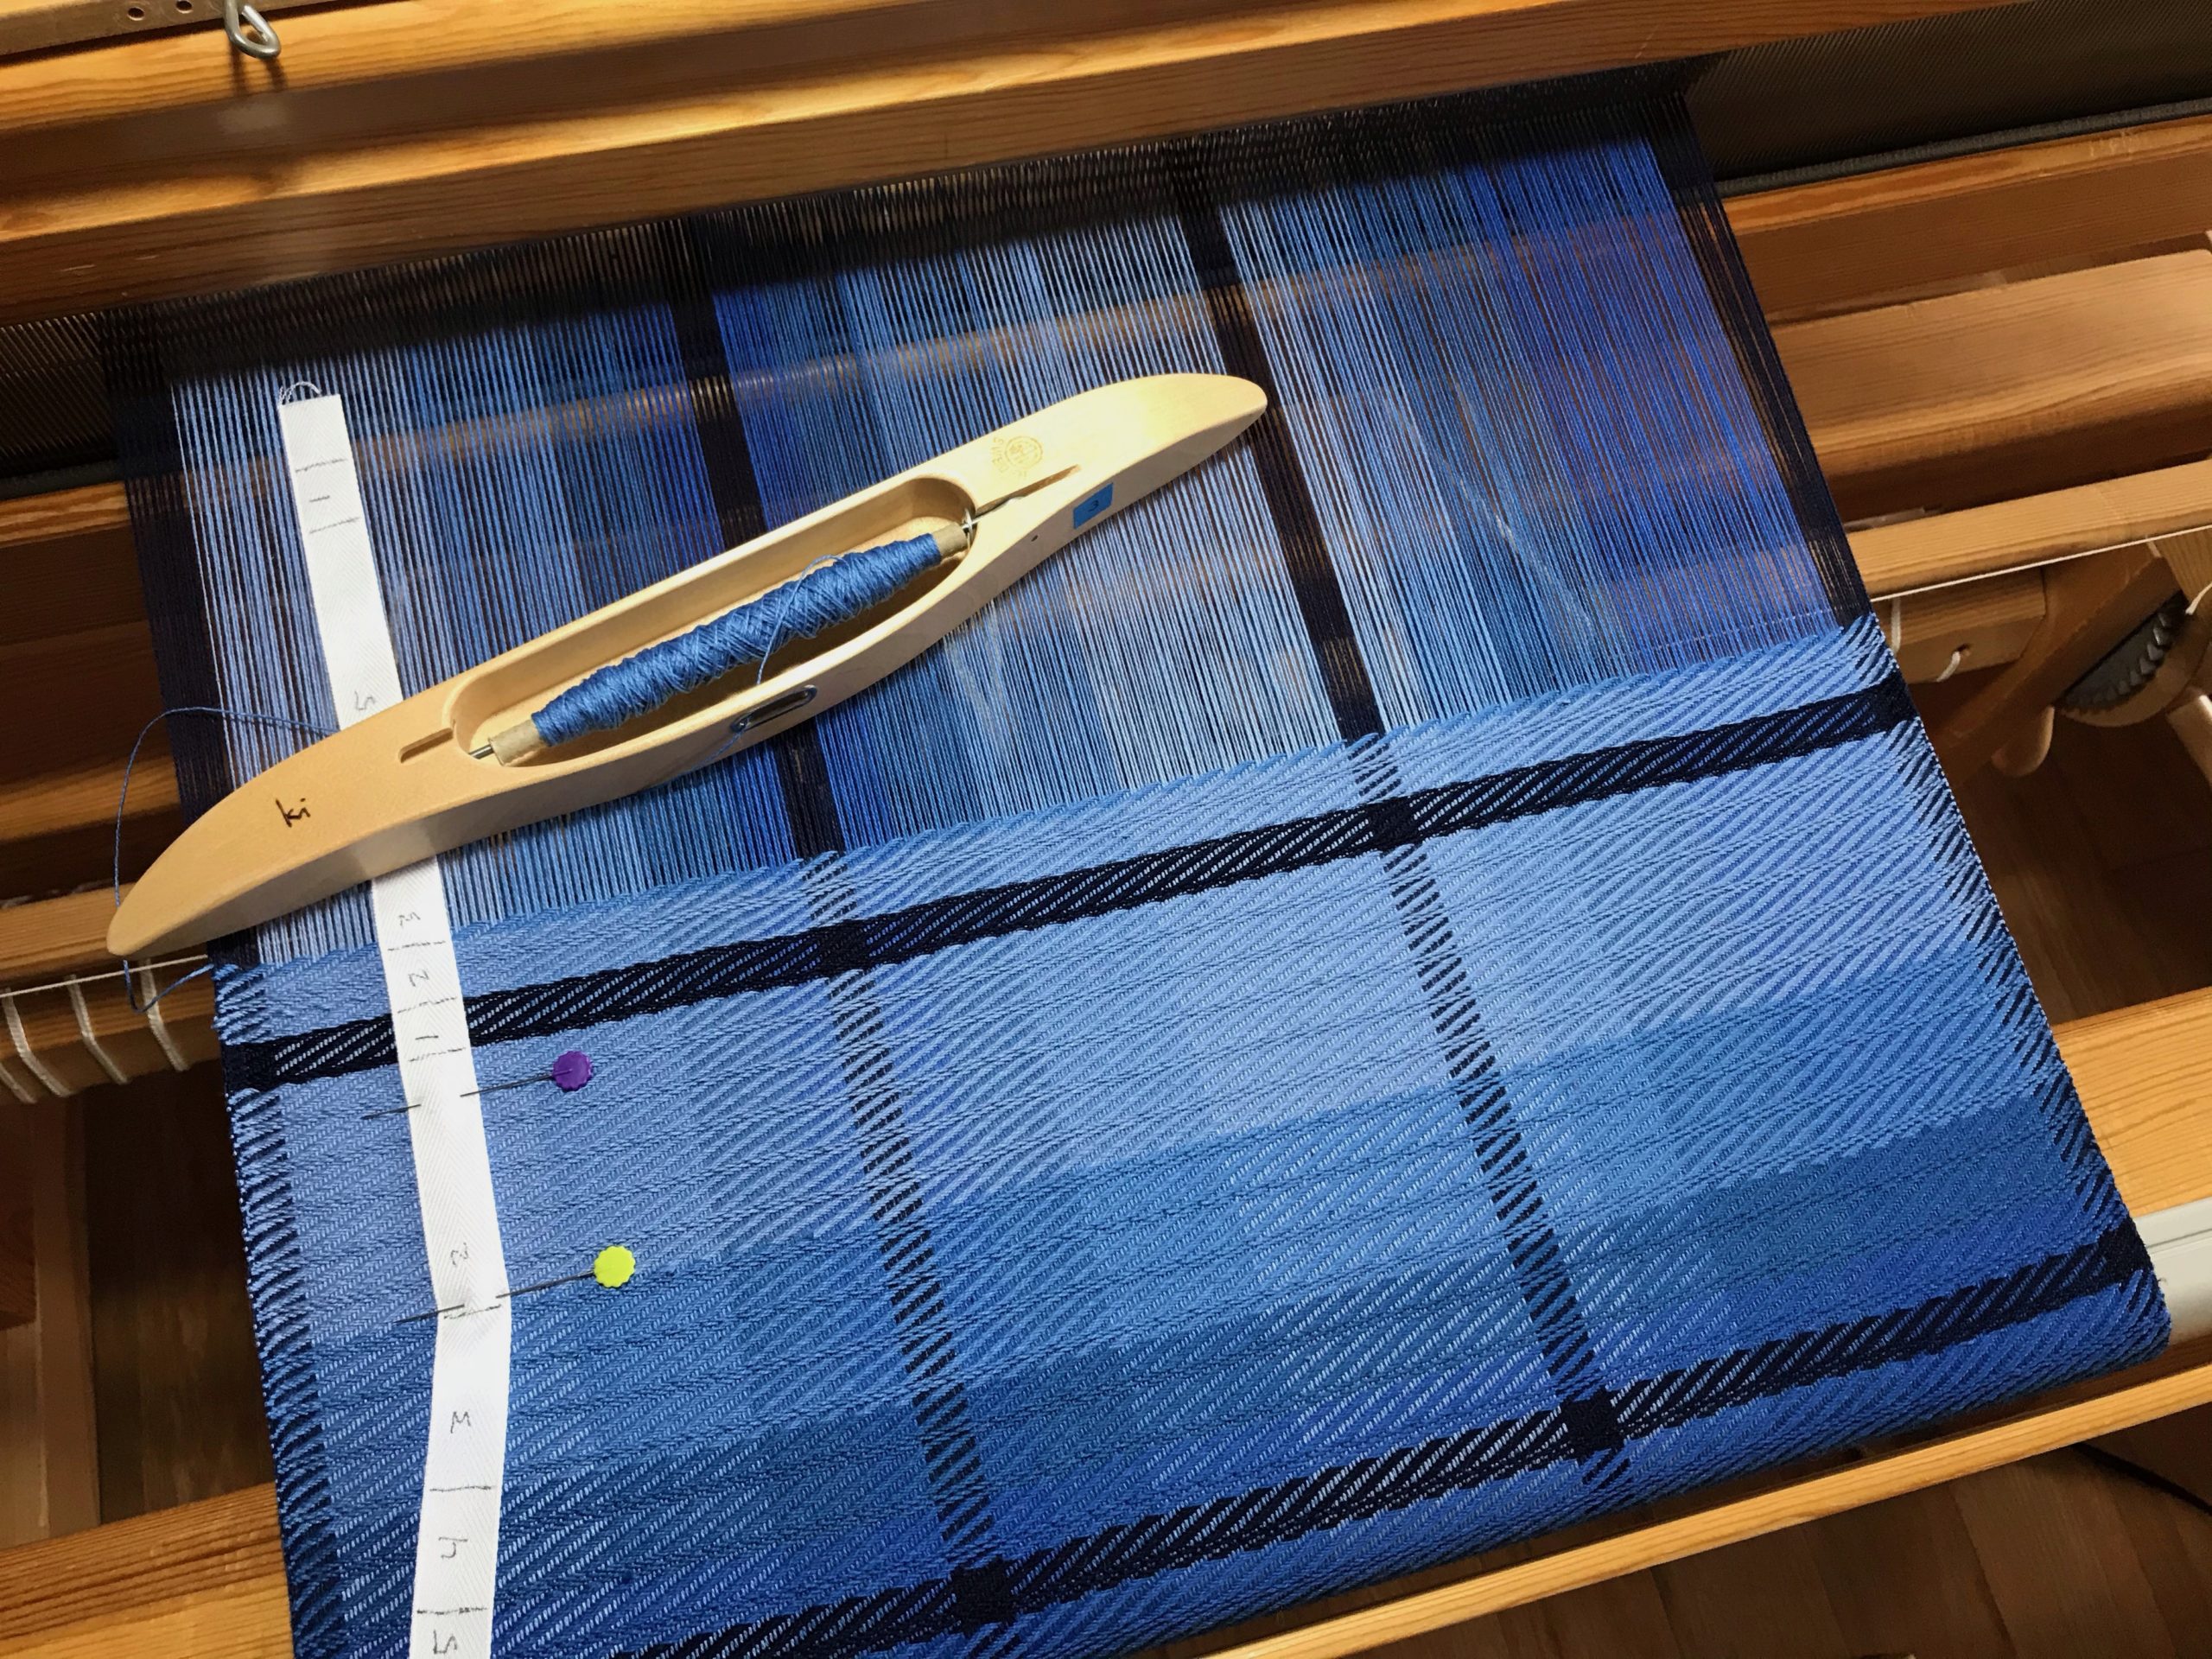
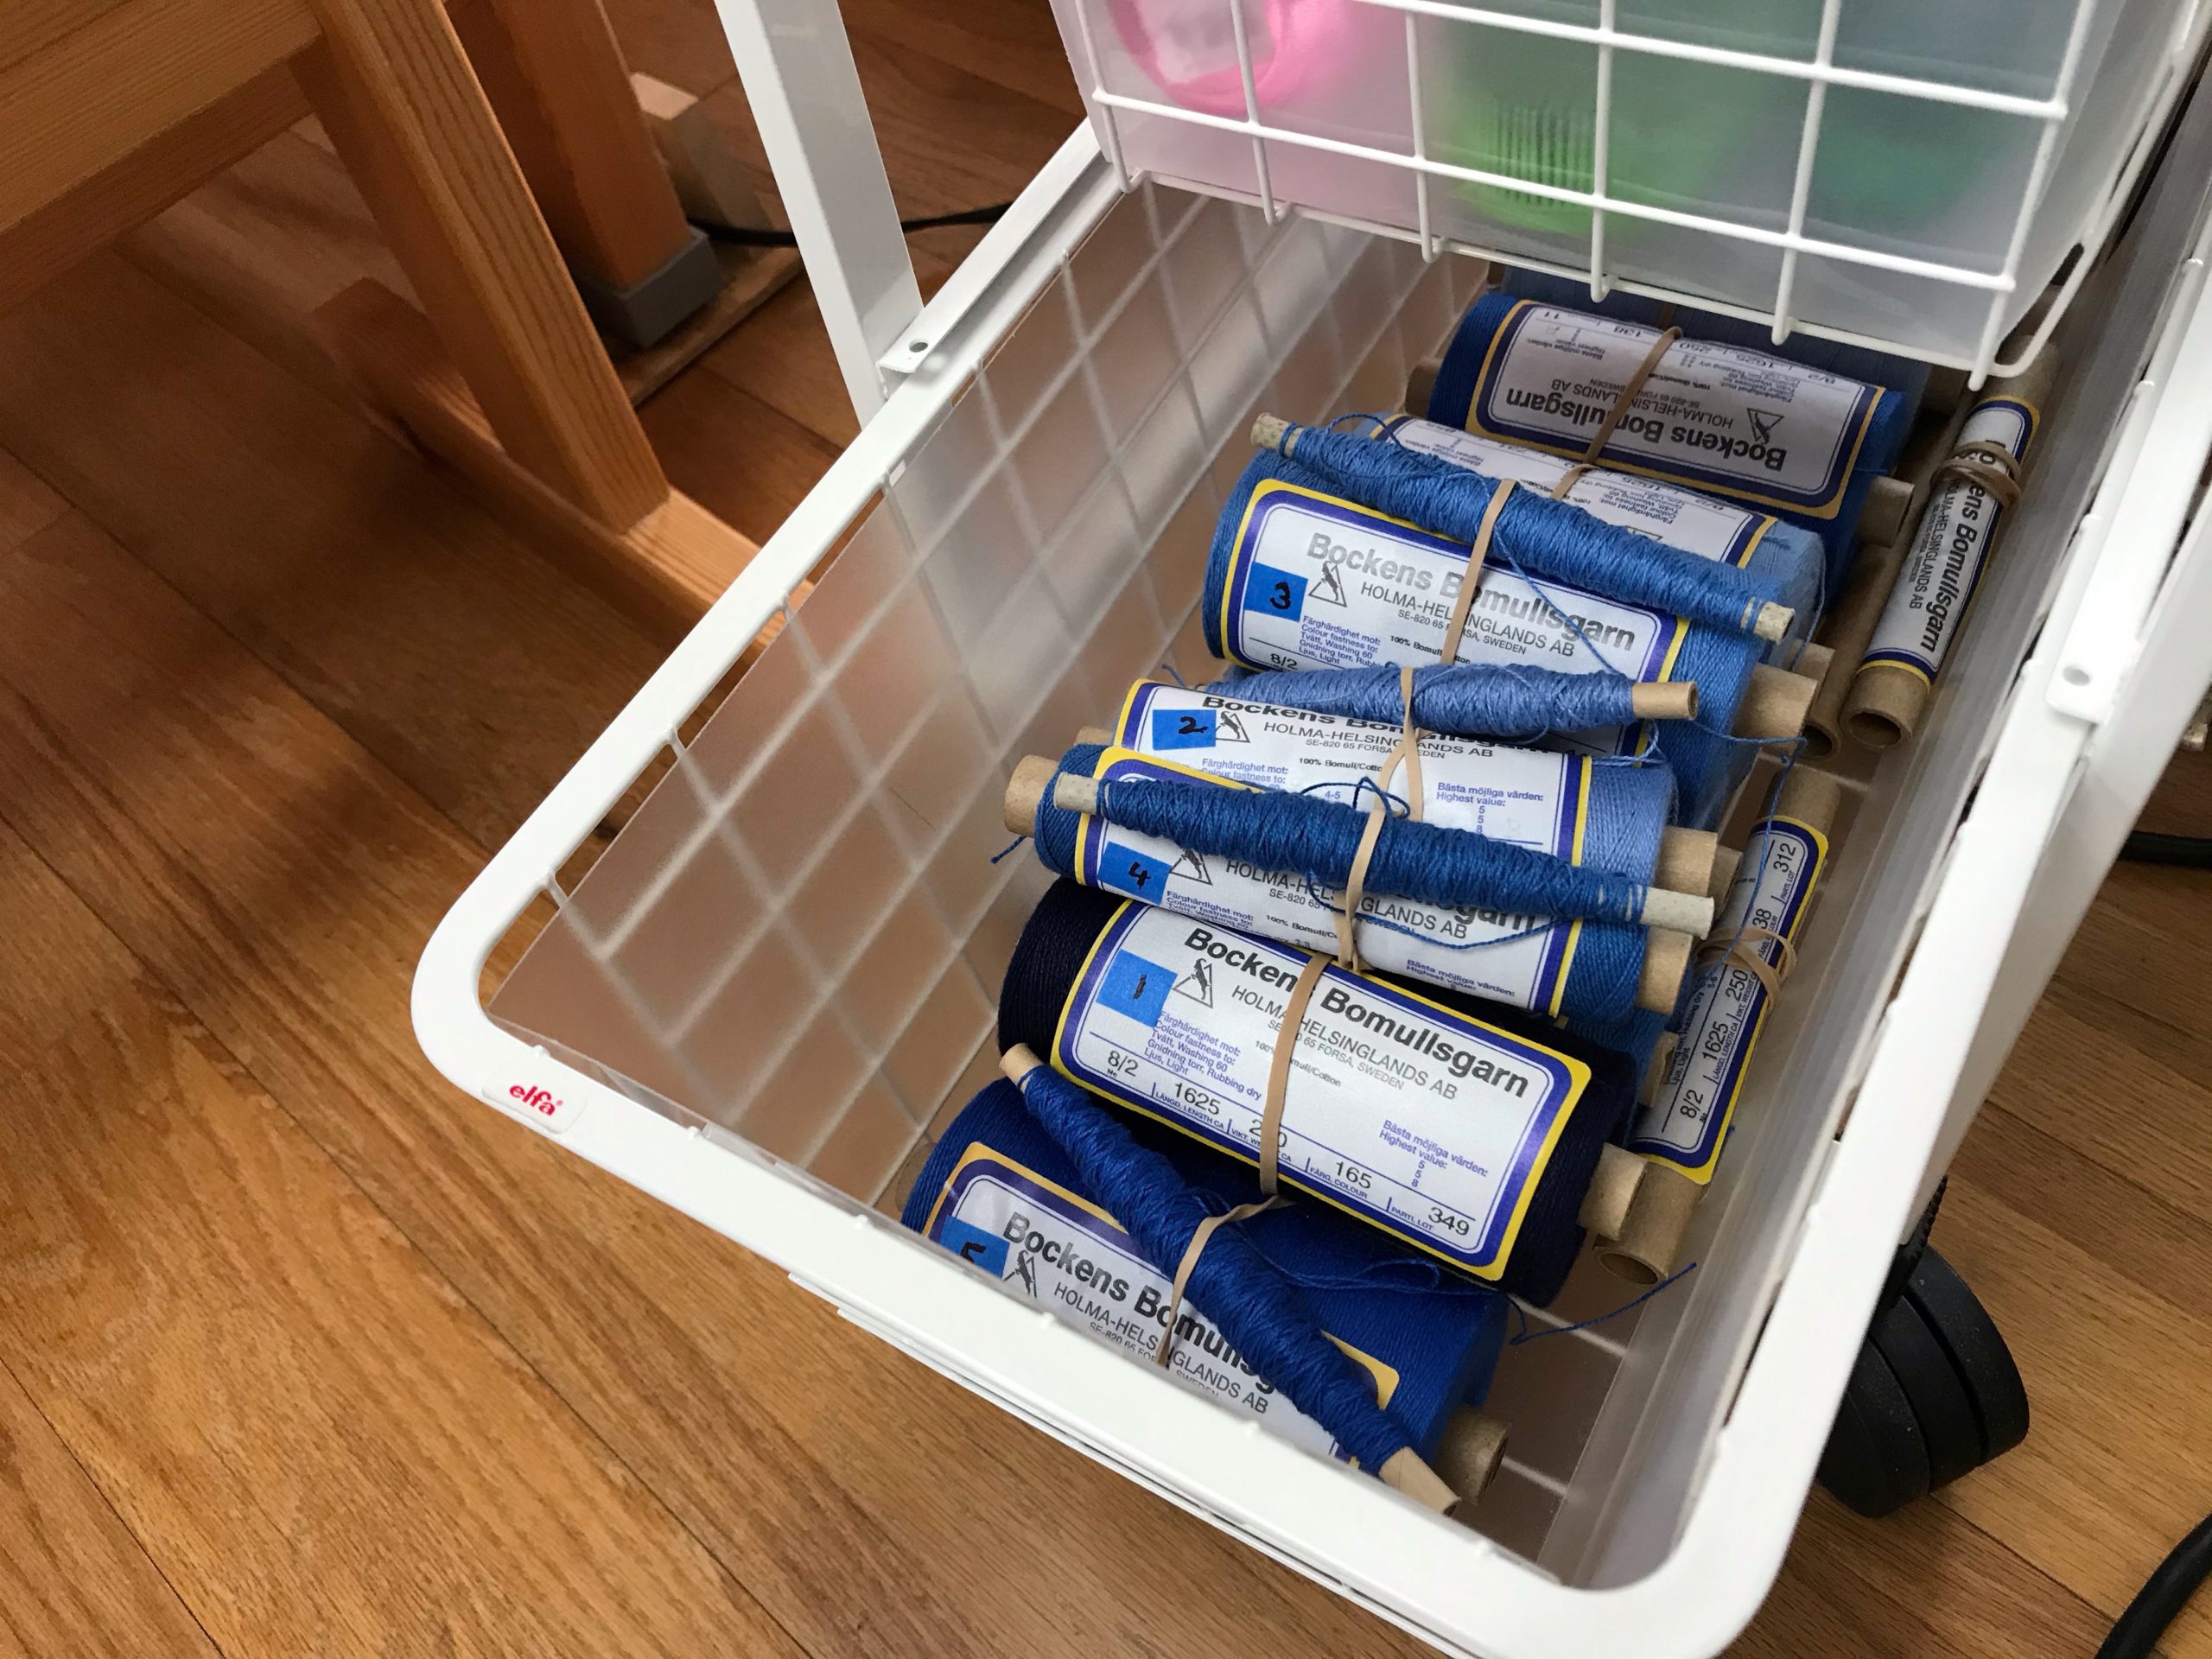
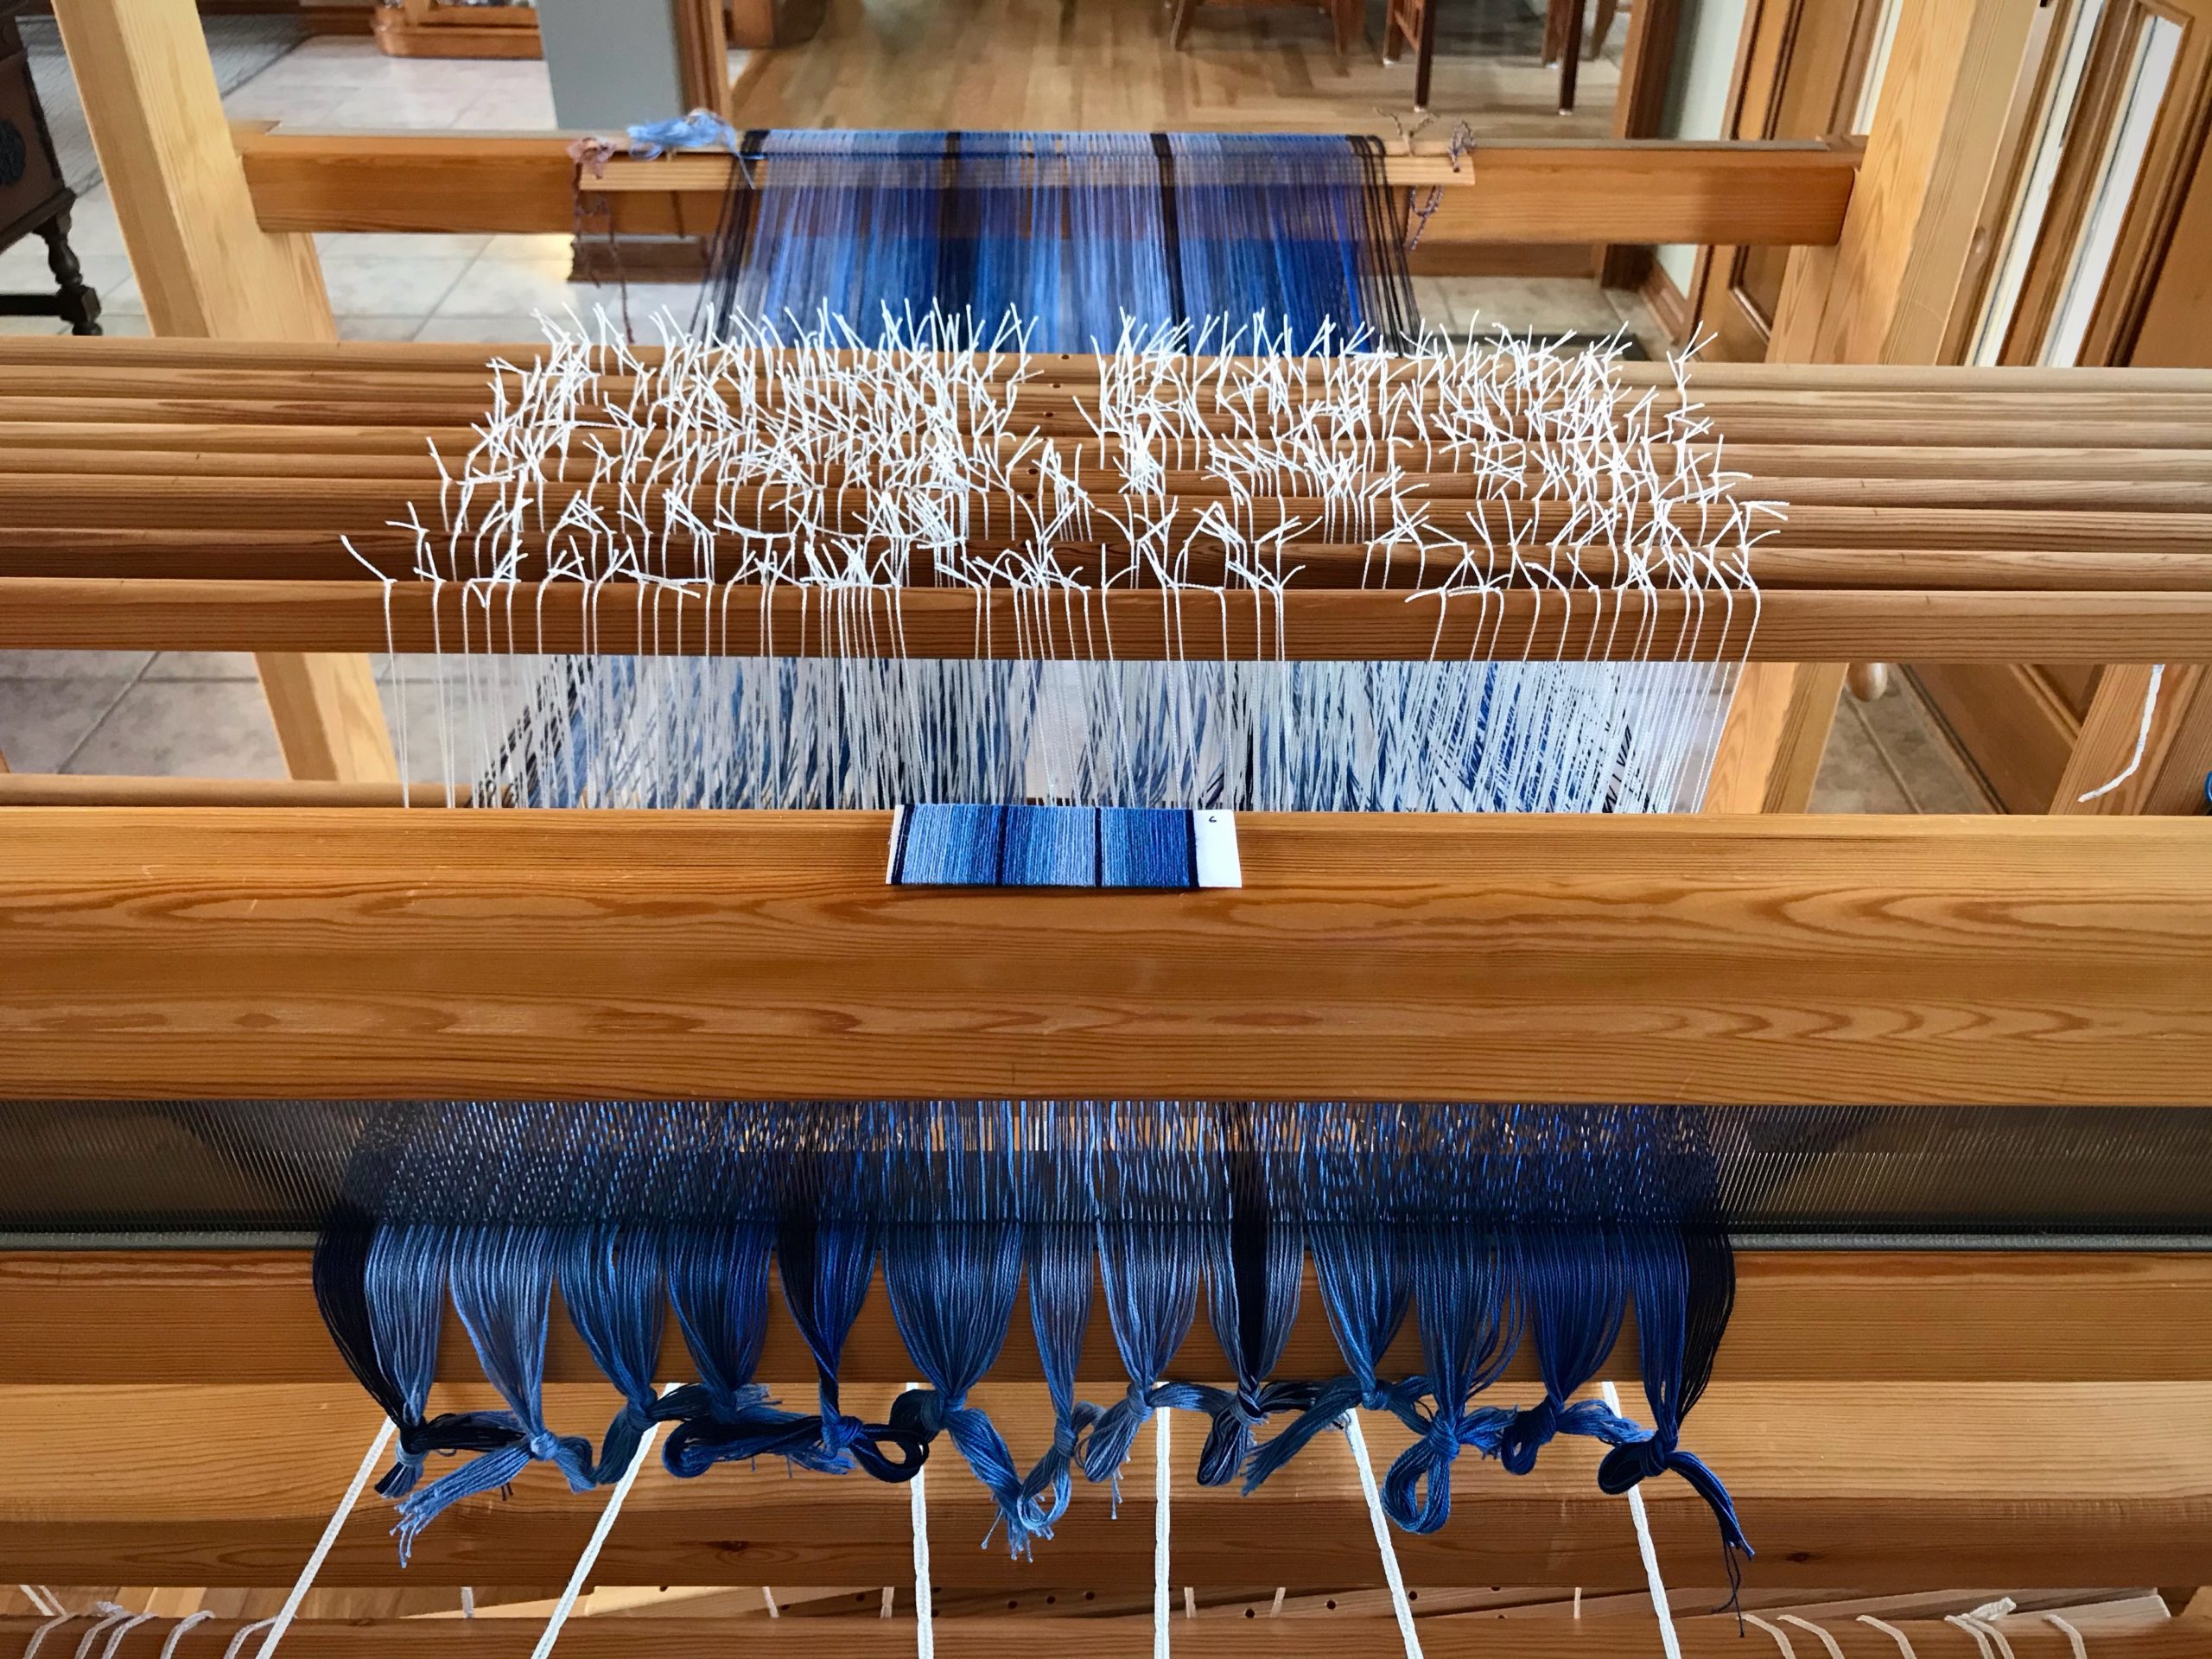
When I pick up a color of thread I don’t want to have to guess if it’s the right color. Four of the five blues in the weft sequence are close neighbors in value. The one color that is easy to identify is the navy blue, which provides a good contrast among the blues.
Weft color order follows the sequence of the warp color order. Five blues for this 8-shafttwill in 8/2 cotton.
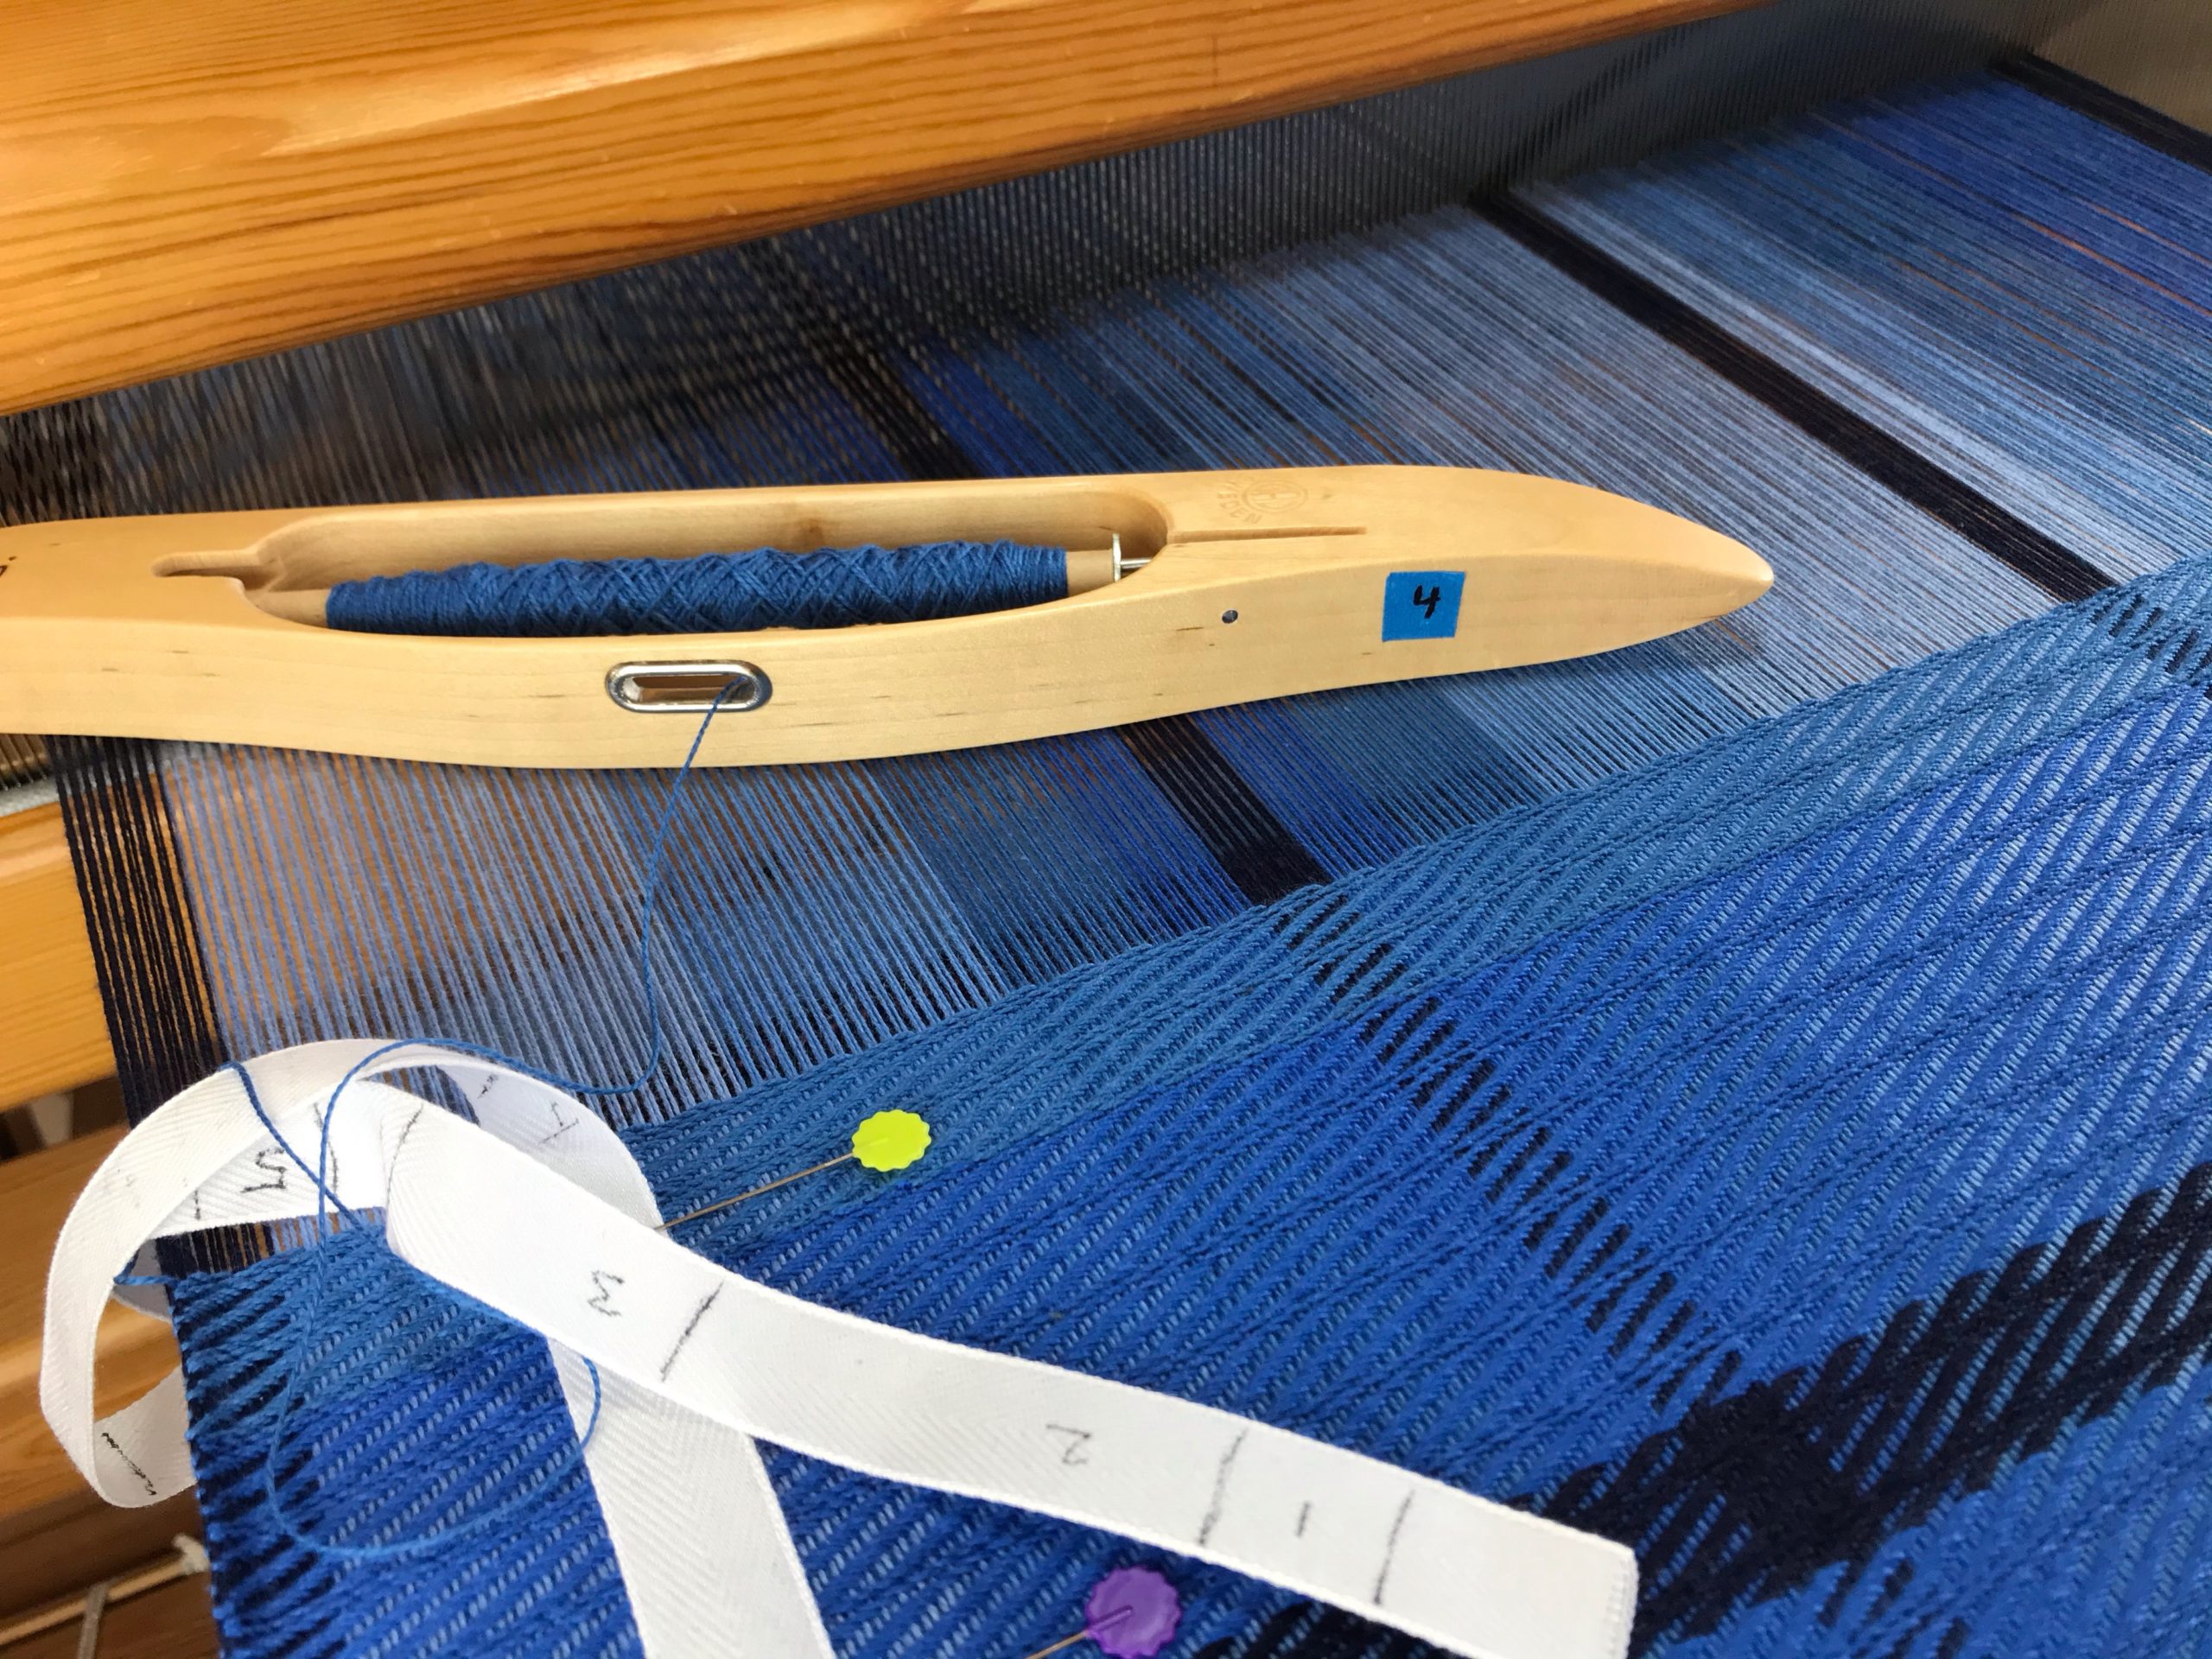
The weft order matches the warp order, and is marked out on a ribbon. I am using a separate boat shuttle for each shade of blue. But how do I know which color is which, when the difference is subtle from one color to the next?
Simplify Subtle Color Changes
Give each color a number. Write the numbers next to the colors of the warp order on the Project Notes.
Weft colors are the same as the warp colors. The Project Notes show all the details. “1, 2, 3, 4, 5” is added to the sheet to give each color a simple number.
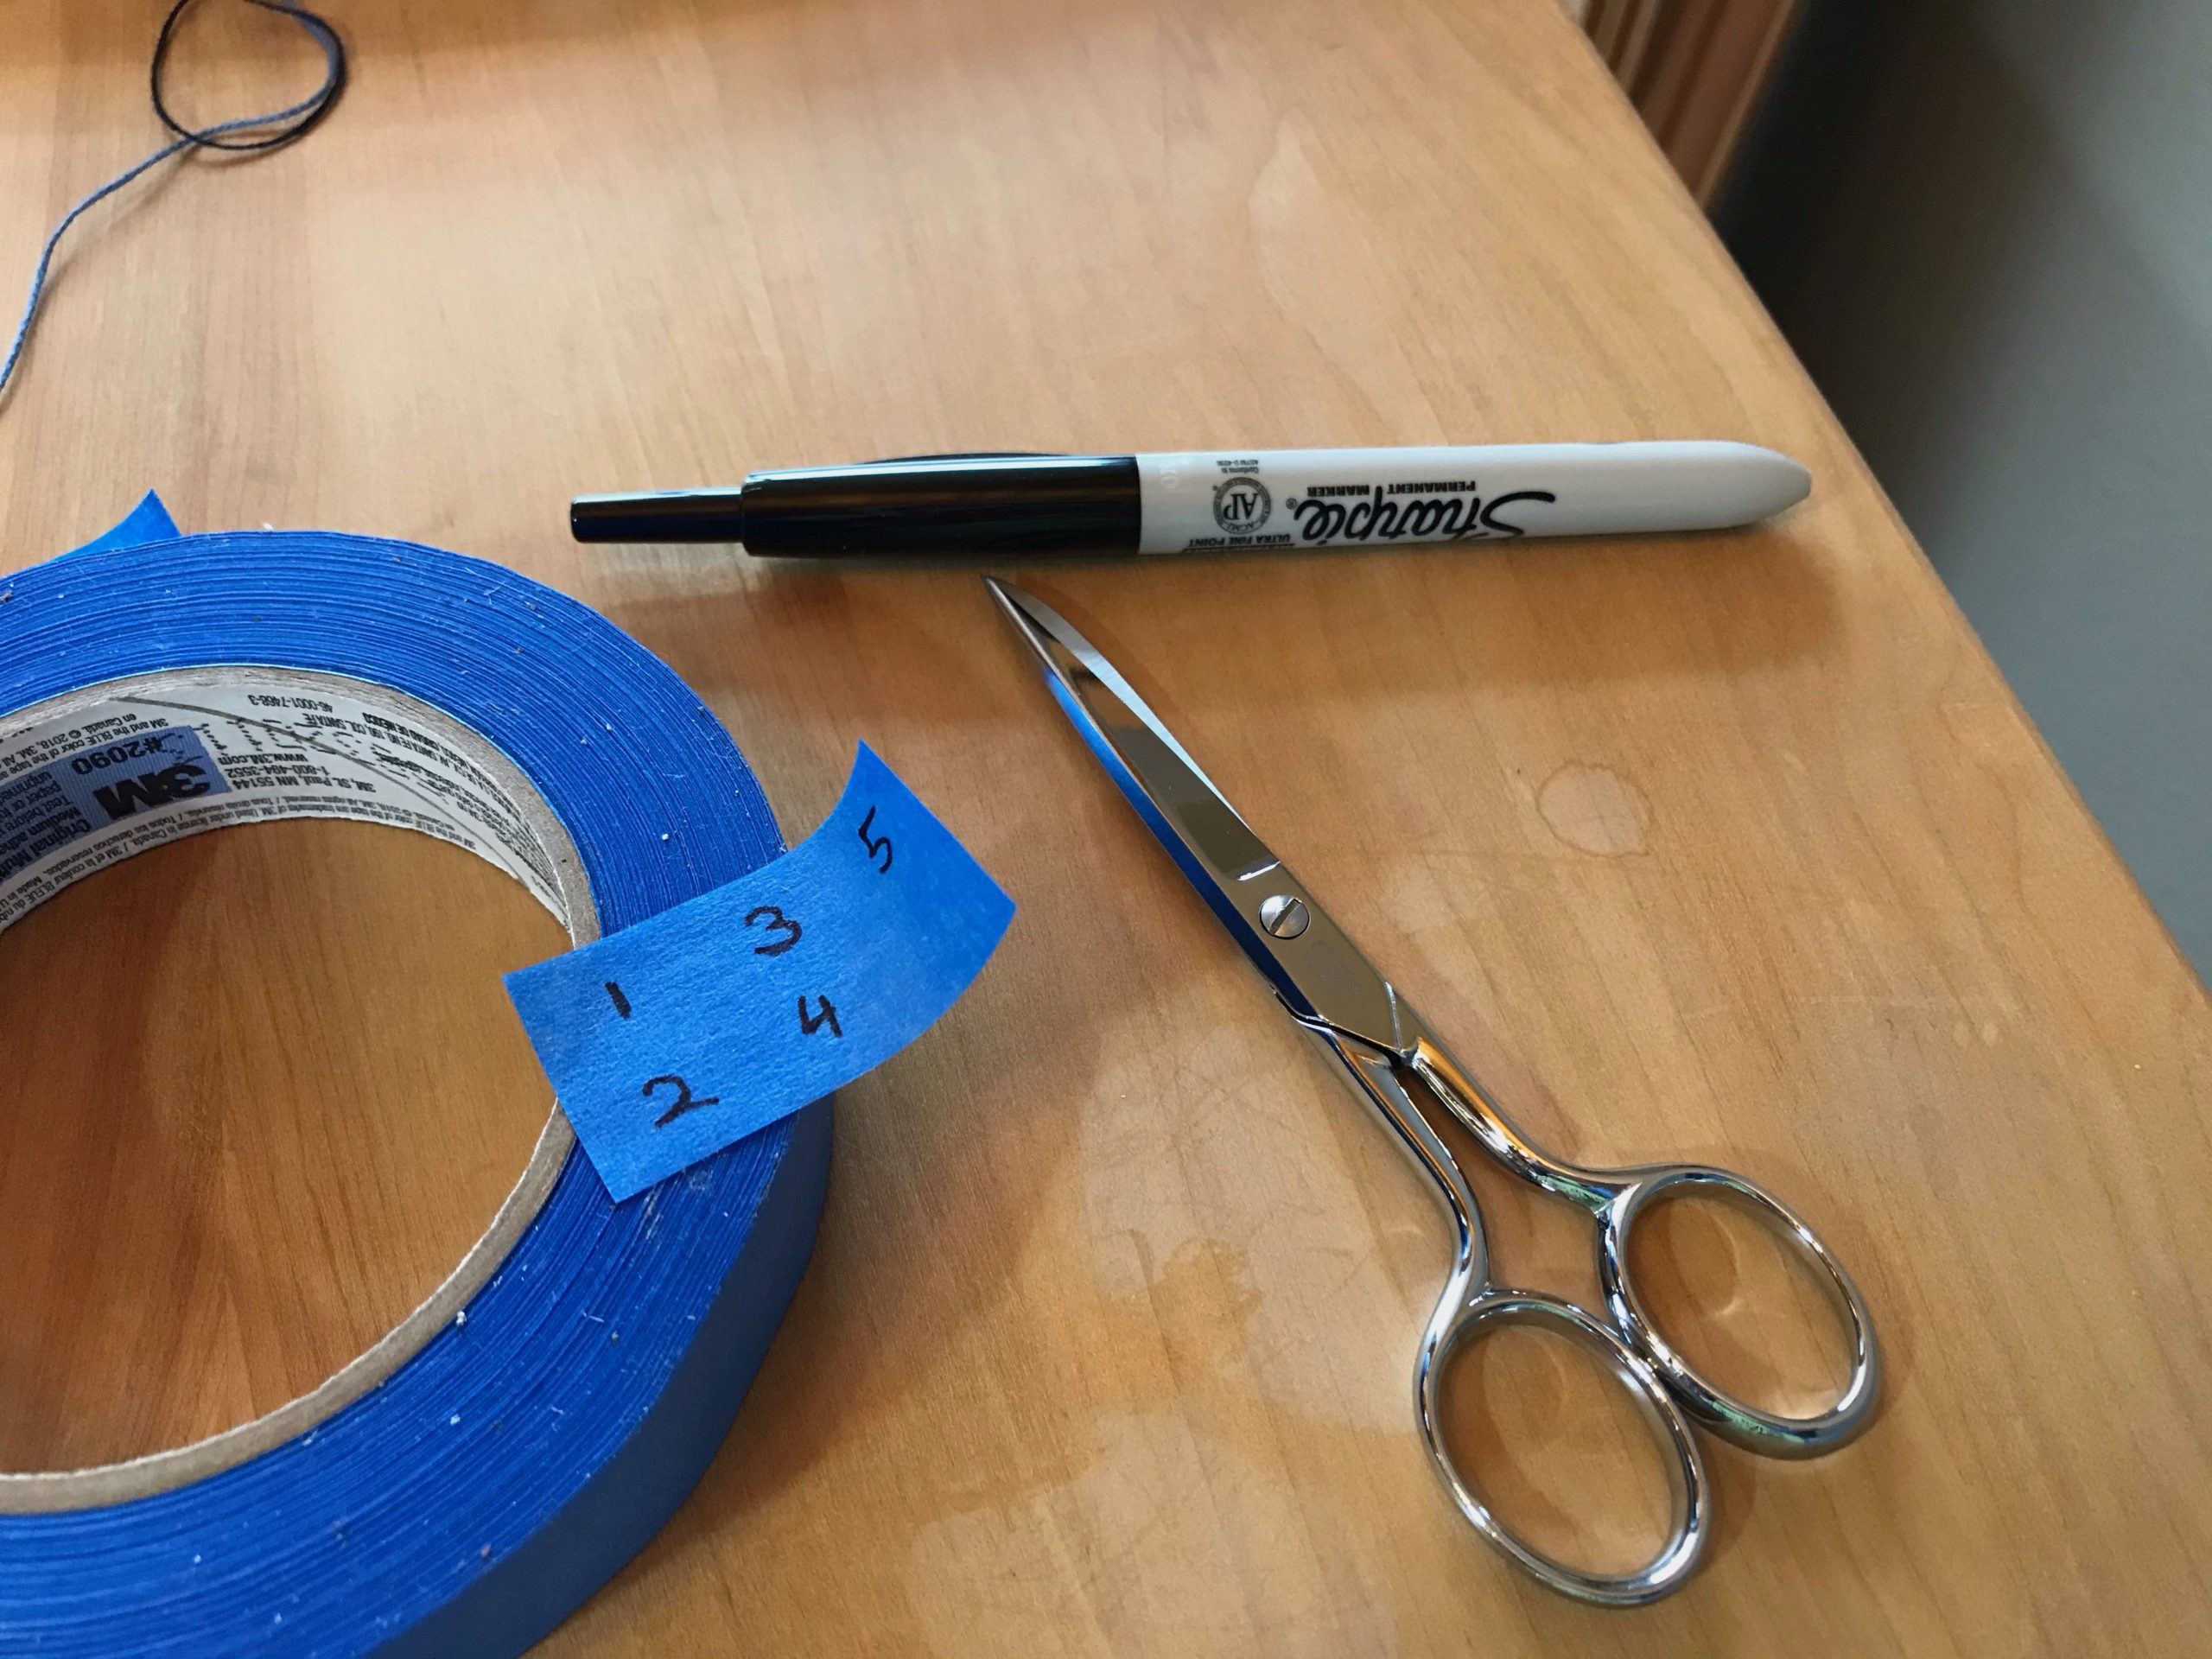
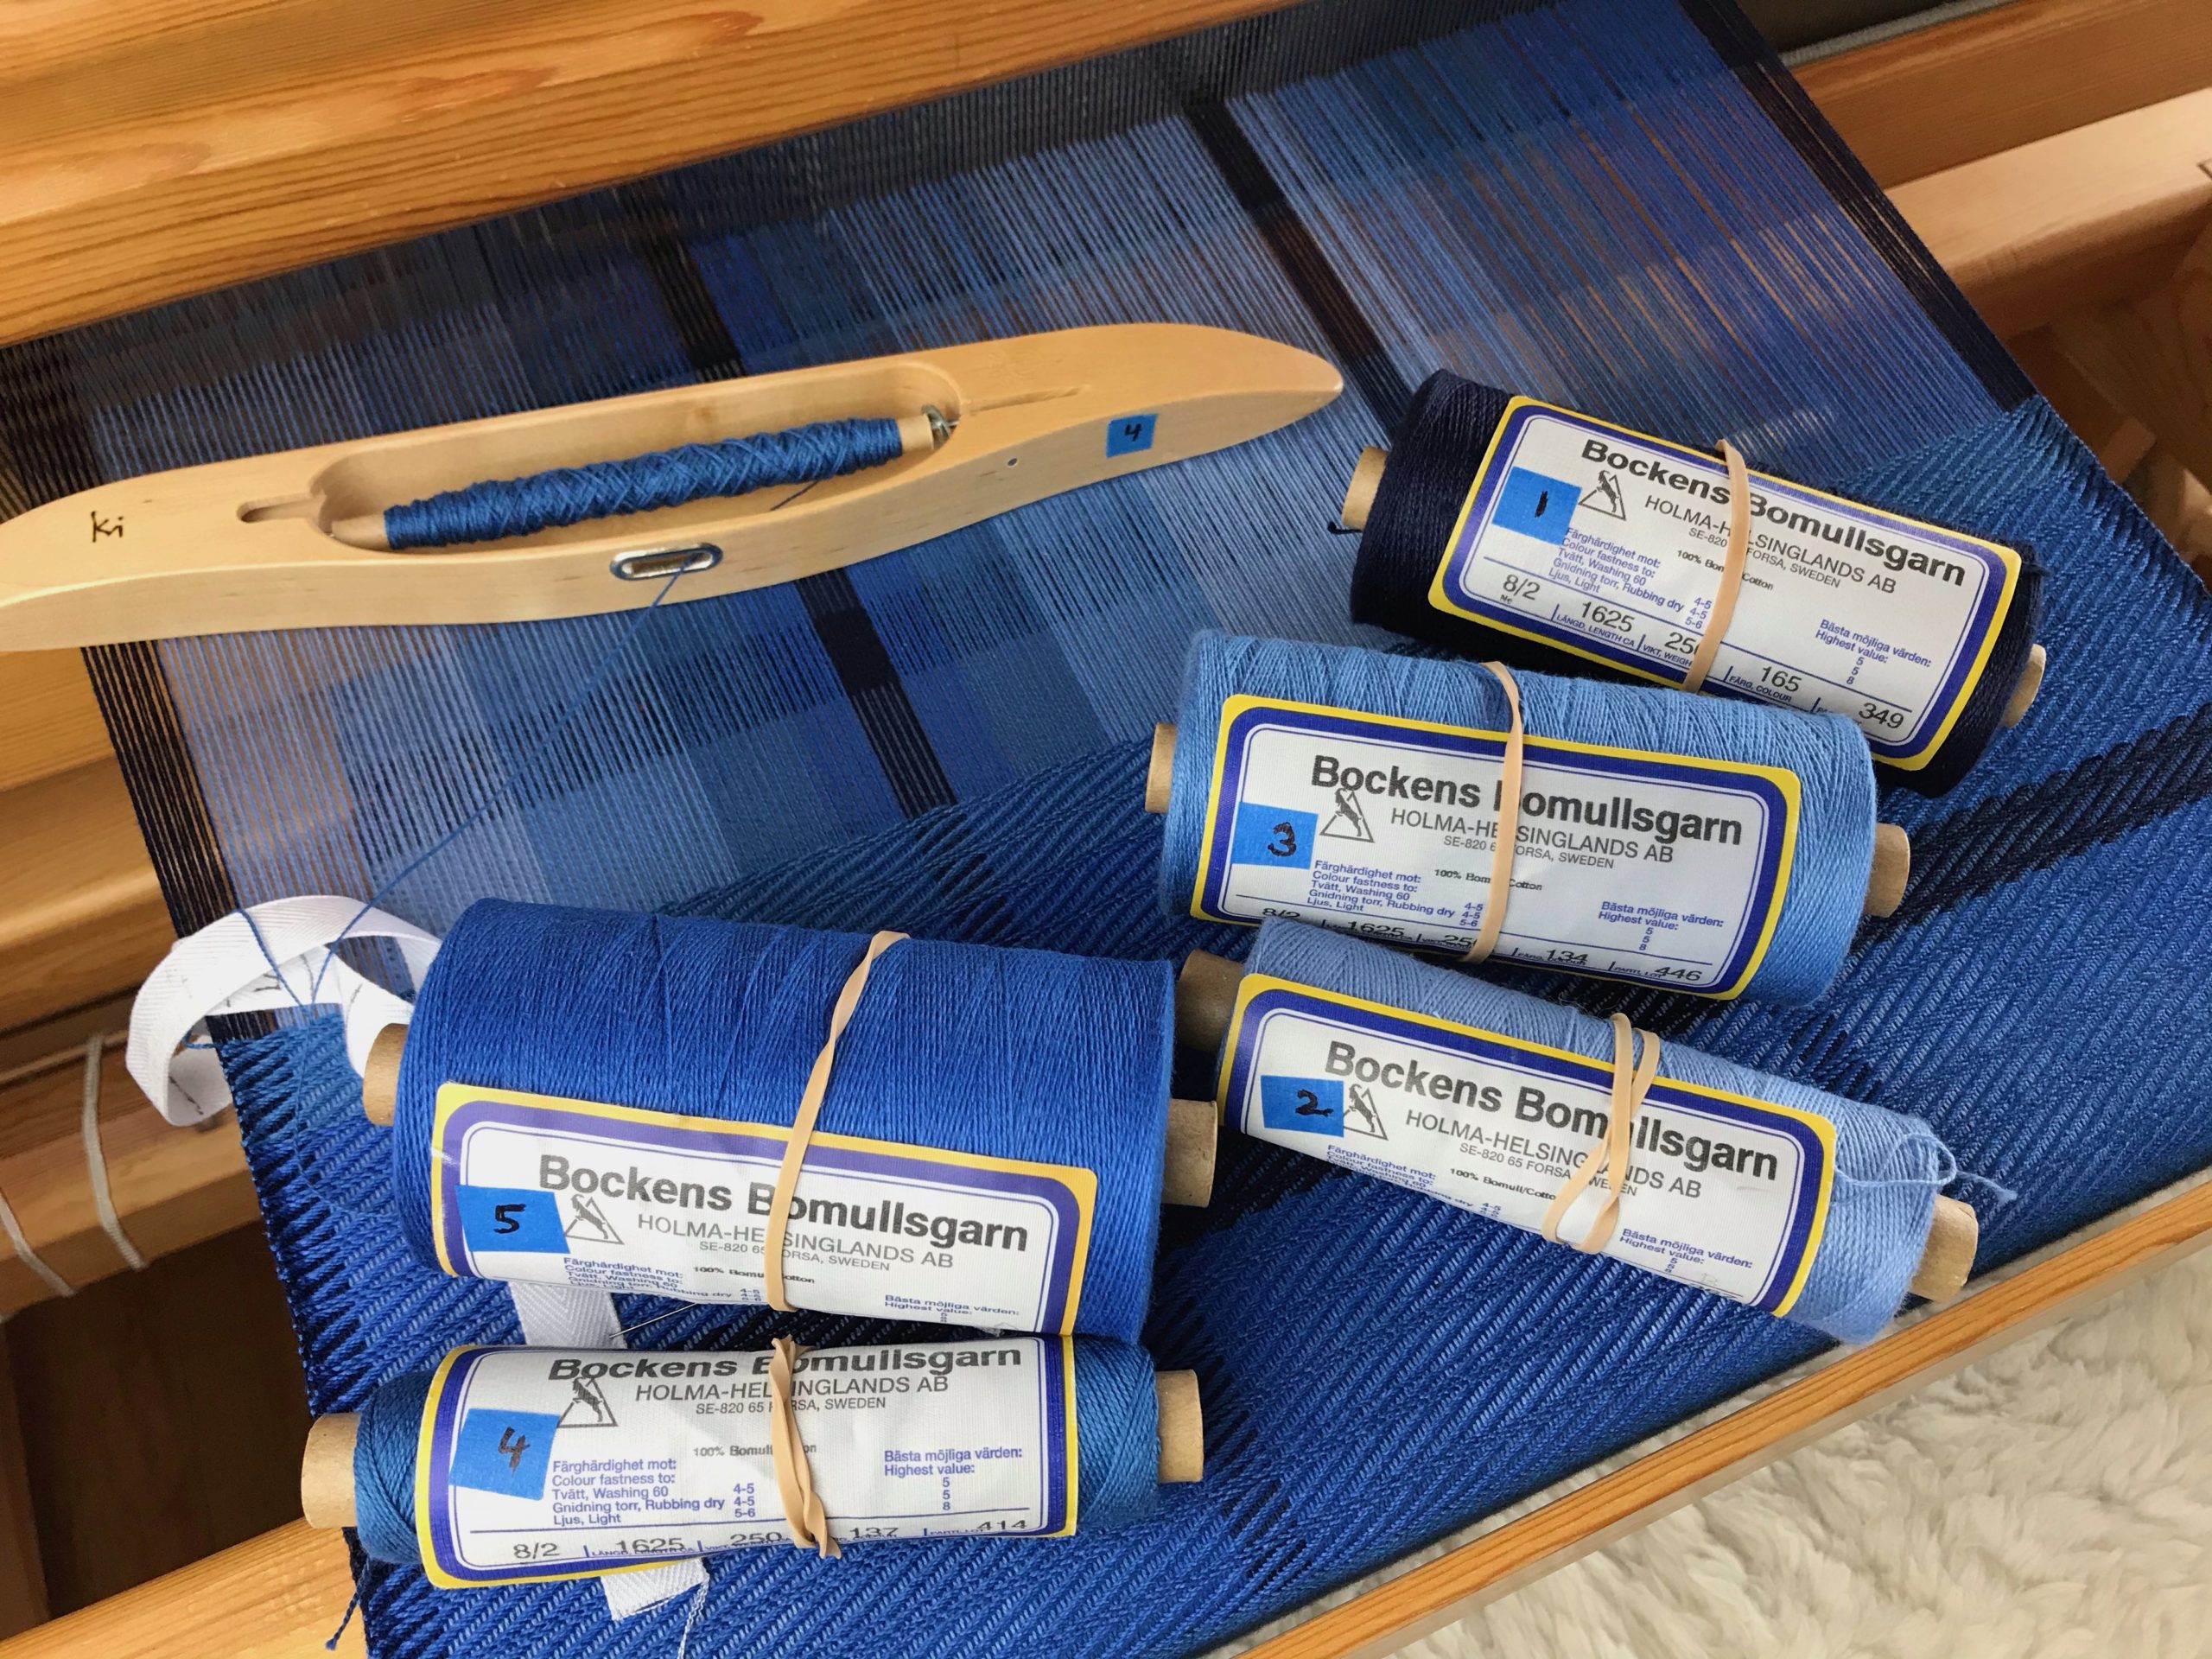
Label the thread tubes with a small piece of blue painter’s tape. Each tube of thread is numbered to correspond with the numbers on the Project Notes.
Handy blue painter’s tape is used to make removable labels.Thread tubes are labeled with their identifying number.
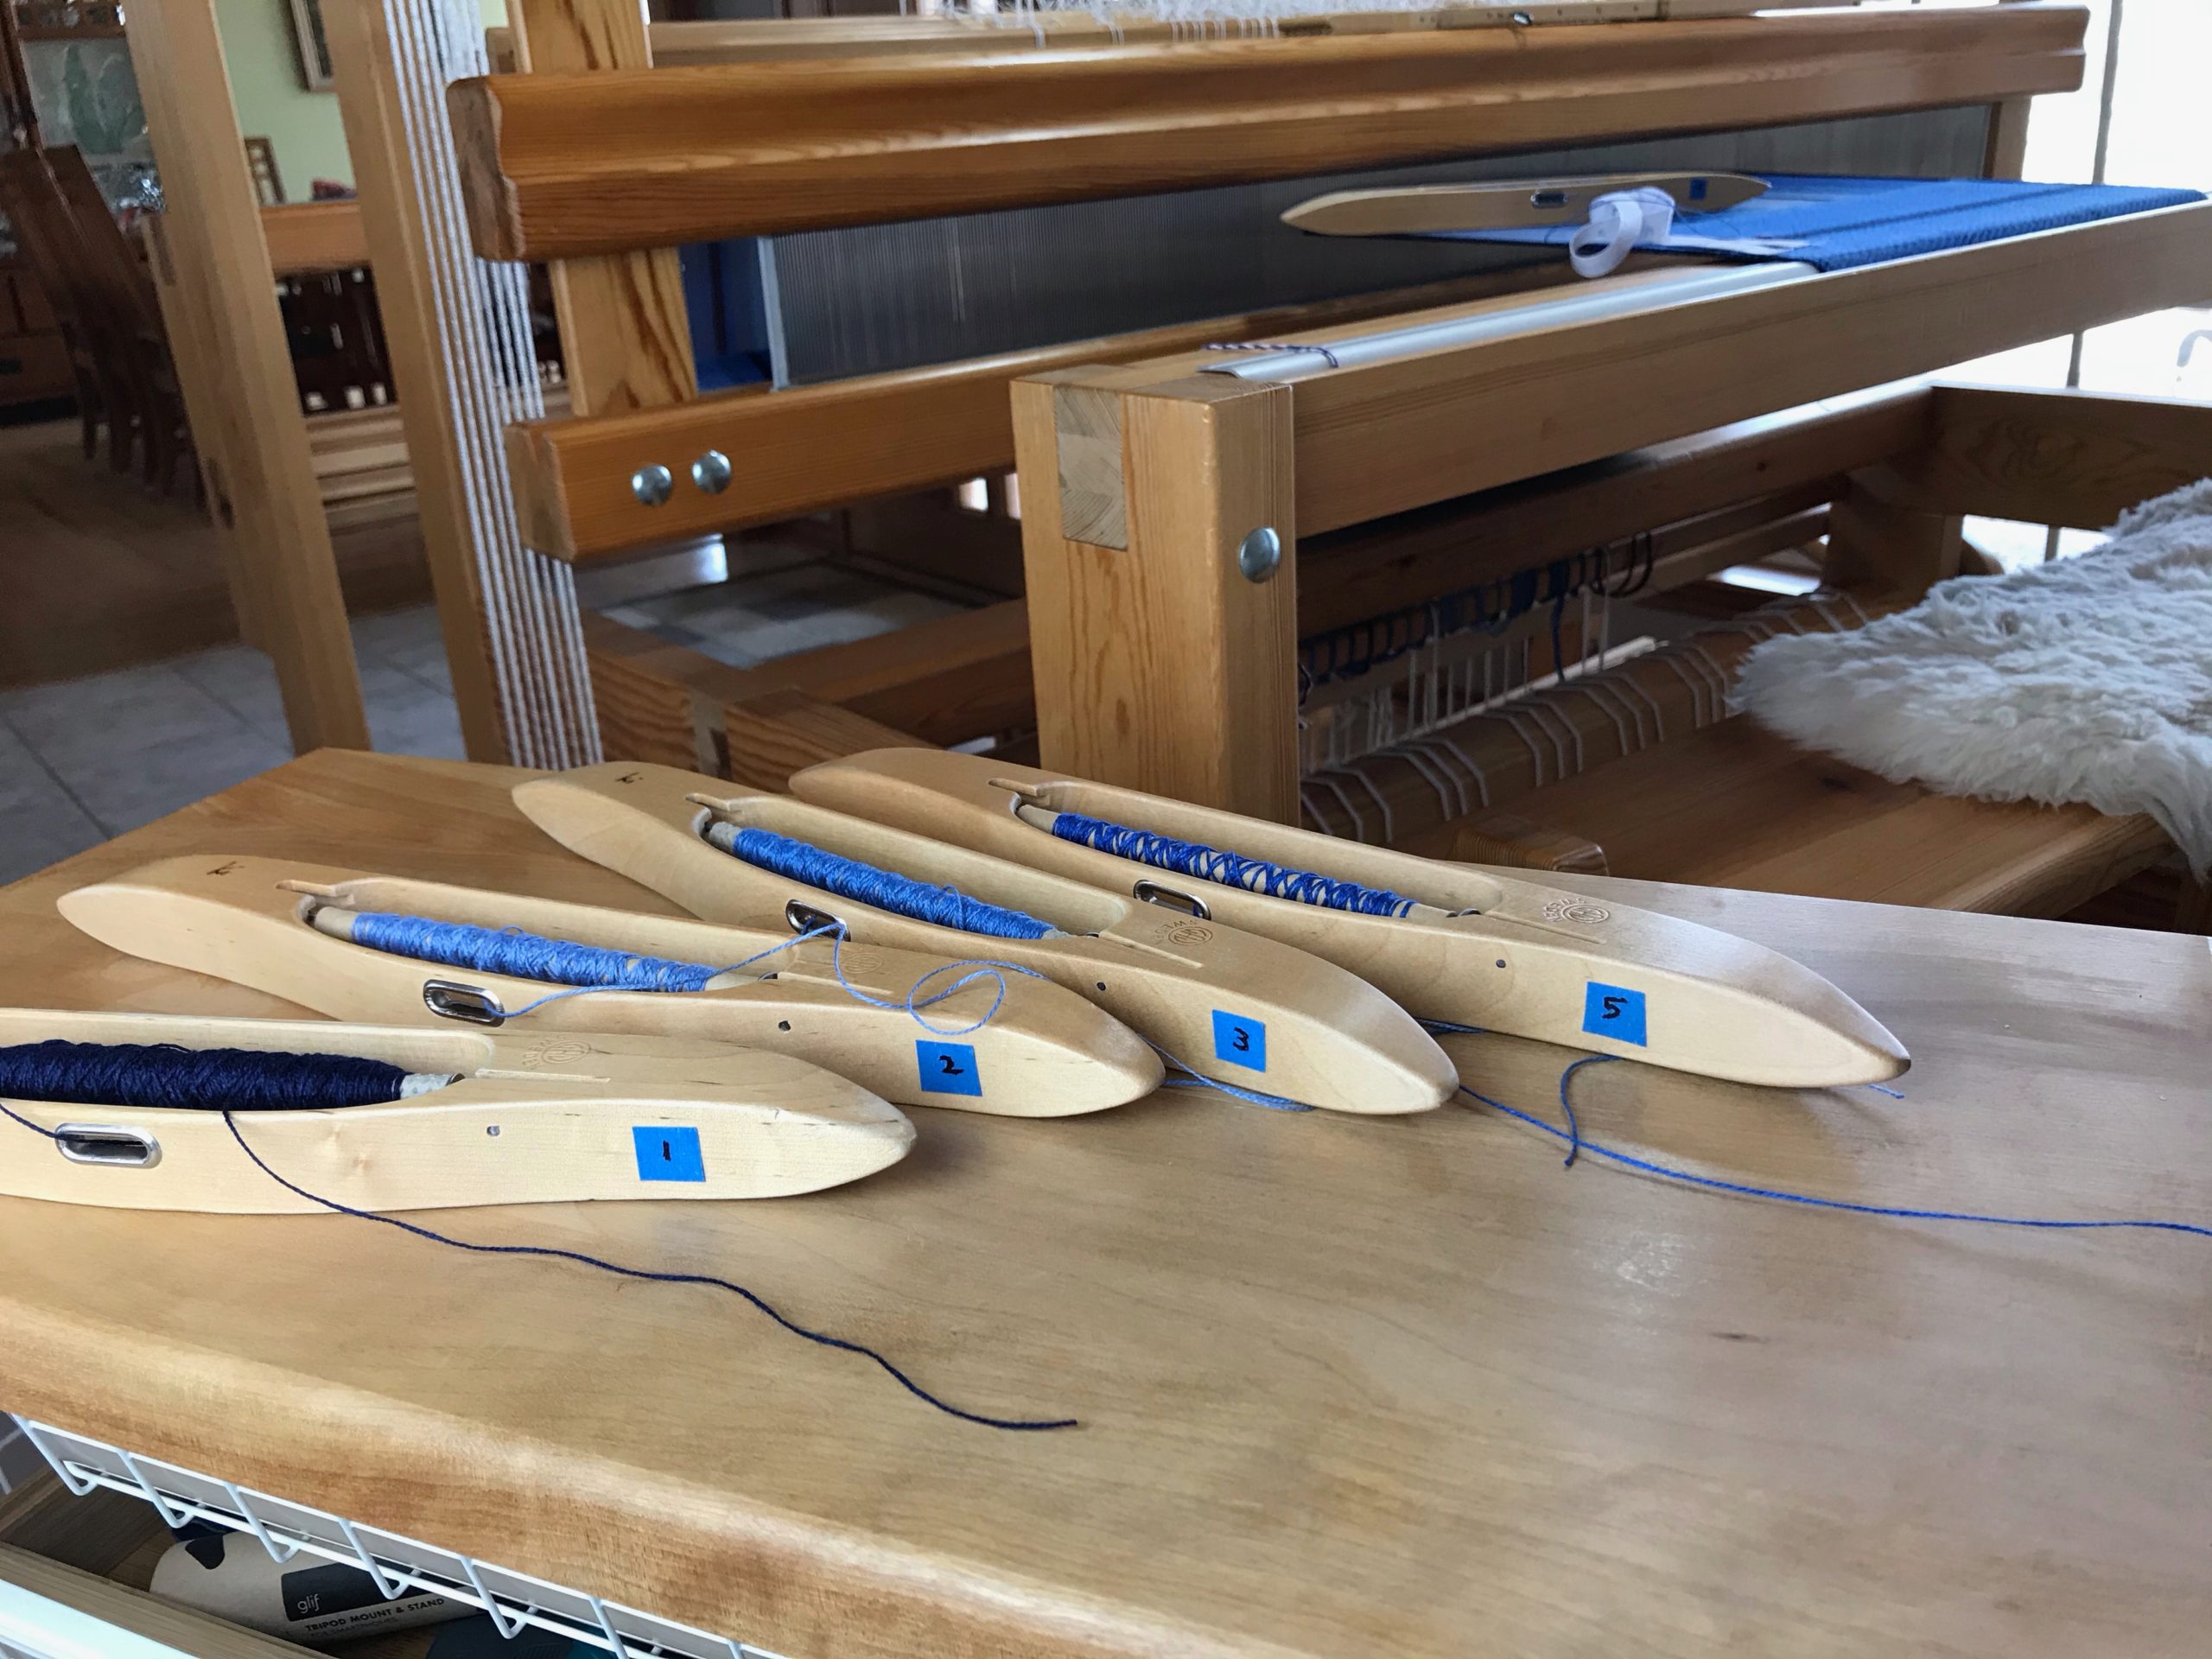
Label each boat shuttle with its assigned color number, using a small piece of blue painter’s tape.
The blue threads for this project are delightful! Four shades of blue, from pale blue to sapphire, play across the warp, accented with navy blue stripes. Lucious 8/2 cotton is threaded in eight-shafttwill. The hand of the fabric will be well suited for the chair arm- and headrest- covers I have planned. This blue color sequence is the winning combination from the thread wrappings I showed you in October. (See Warp Sequence Planning.)
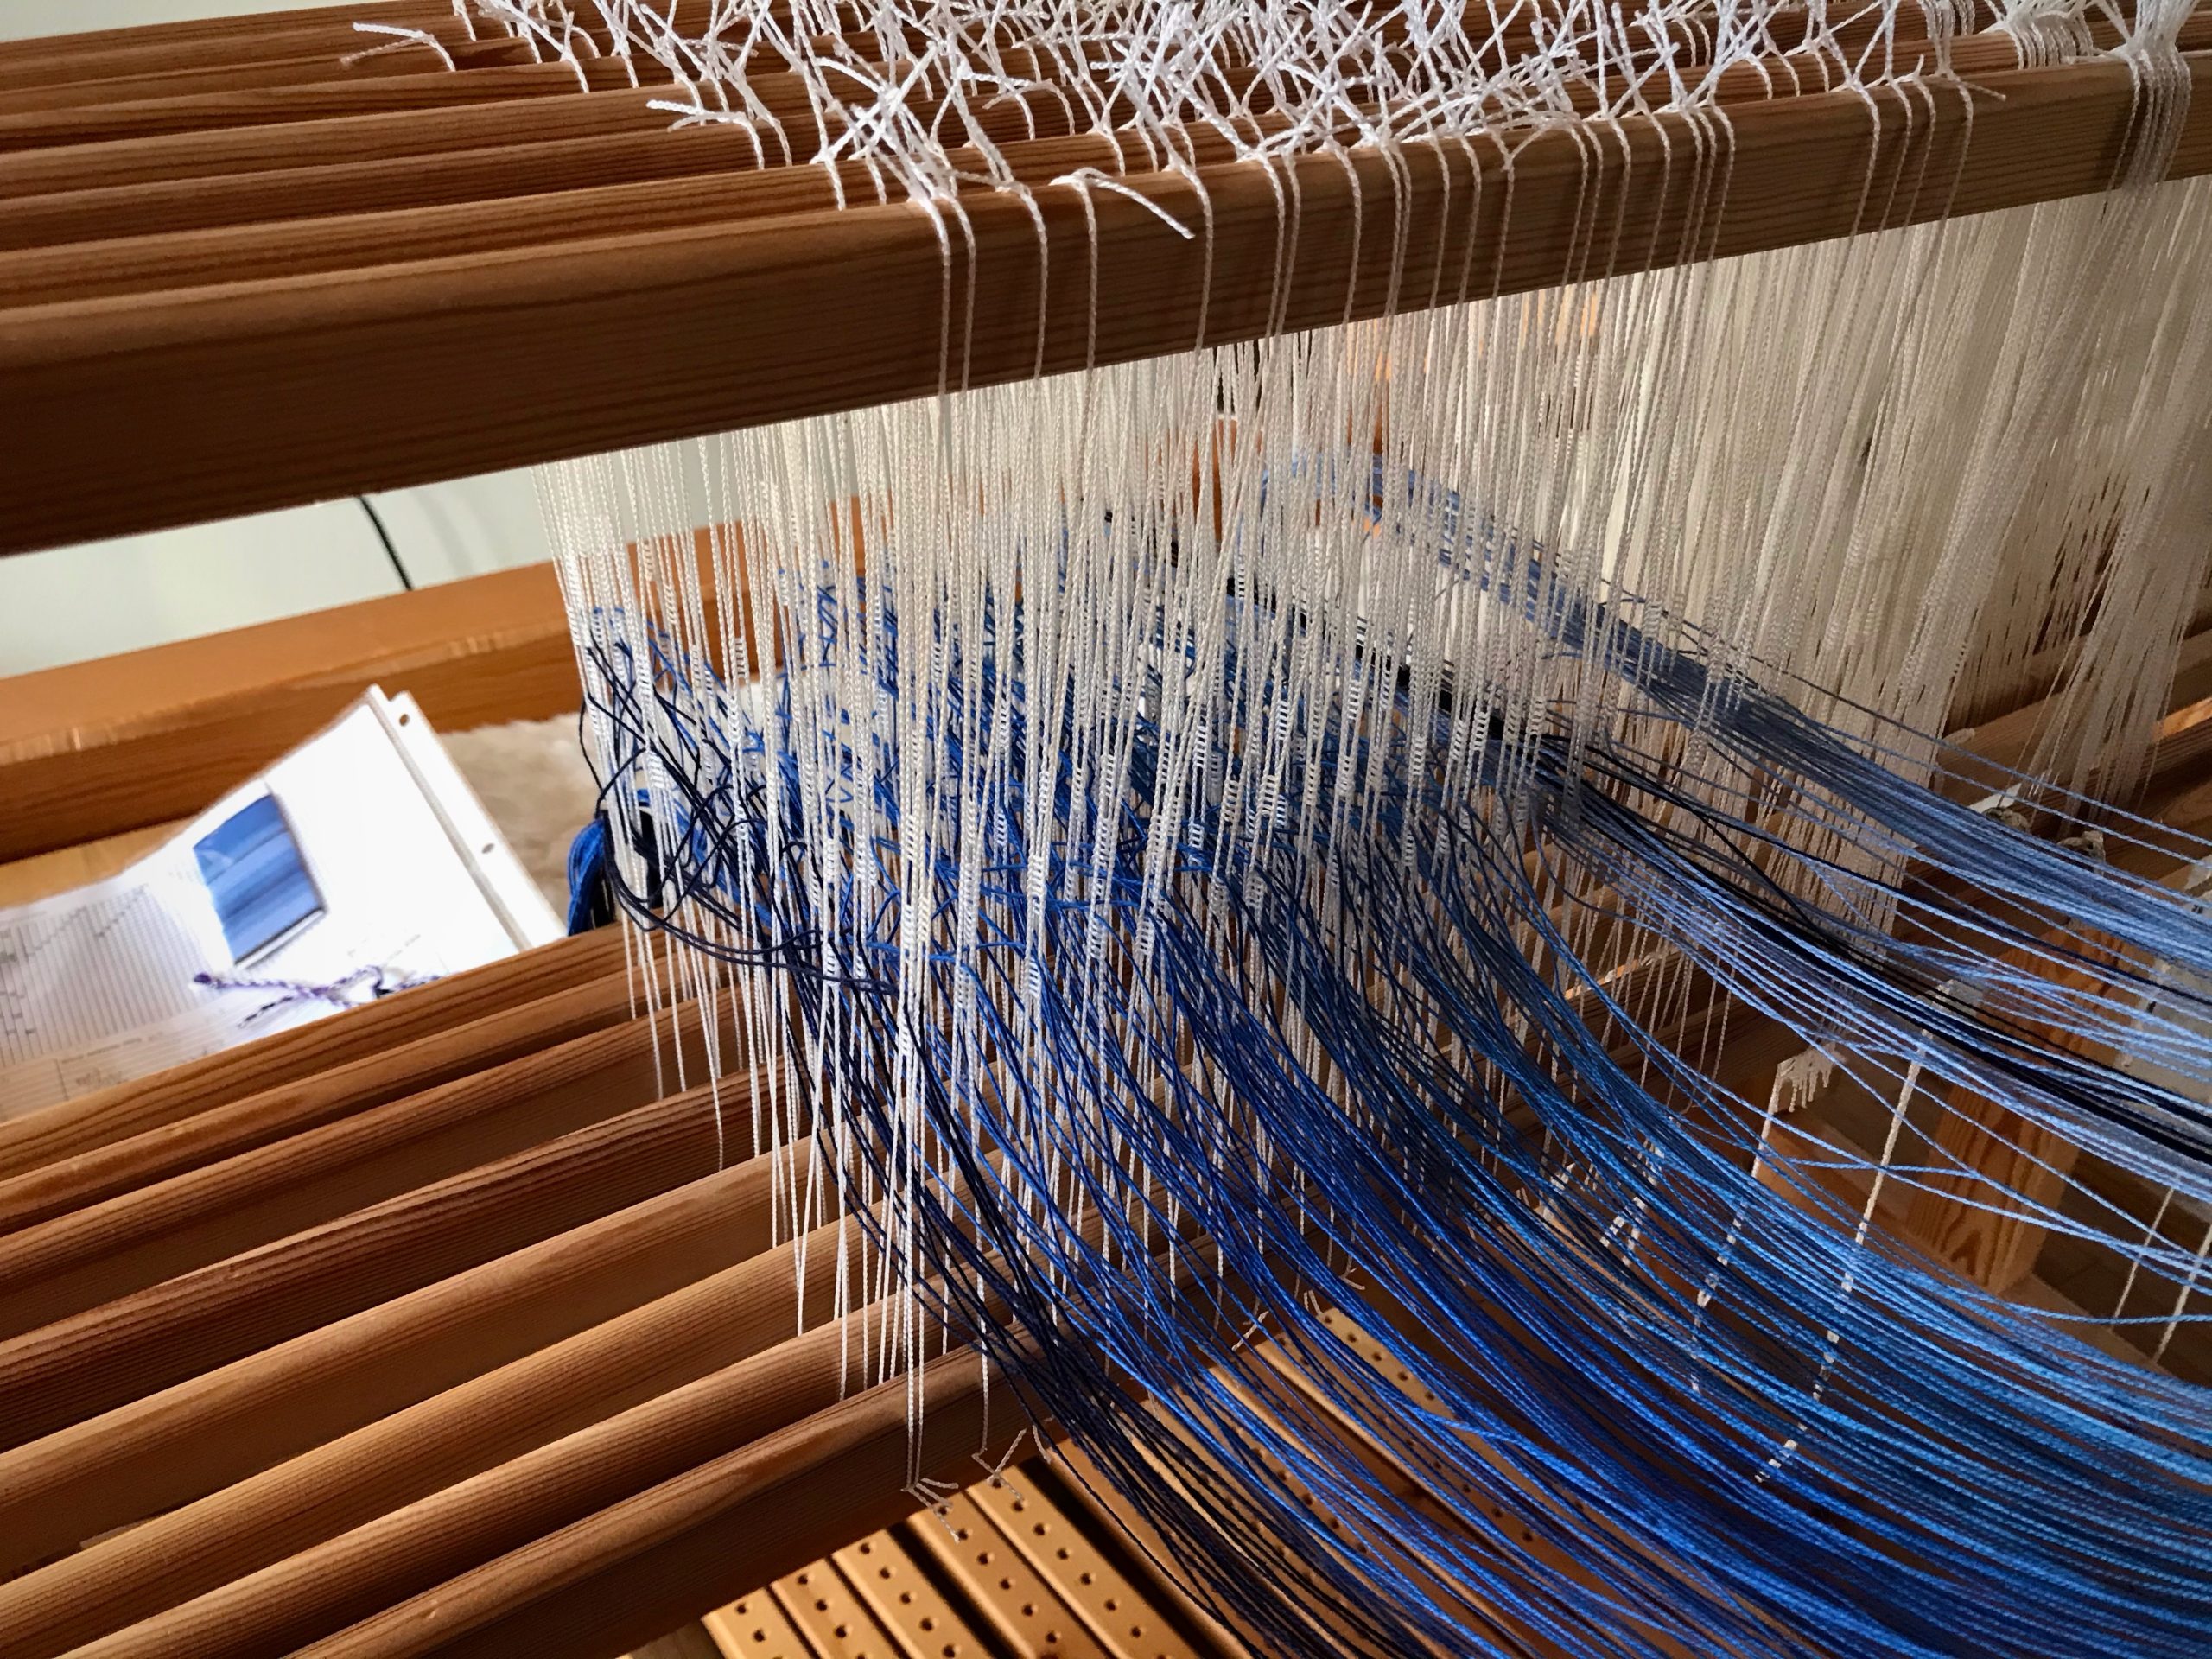
Project notes sit with me on the loom bench. Beautiful warp beam gives a glimpse of how the blue flows together.
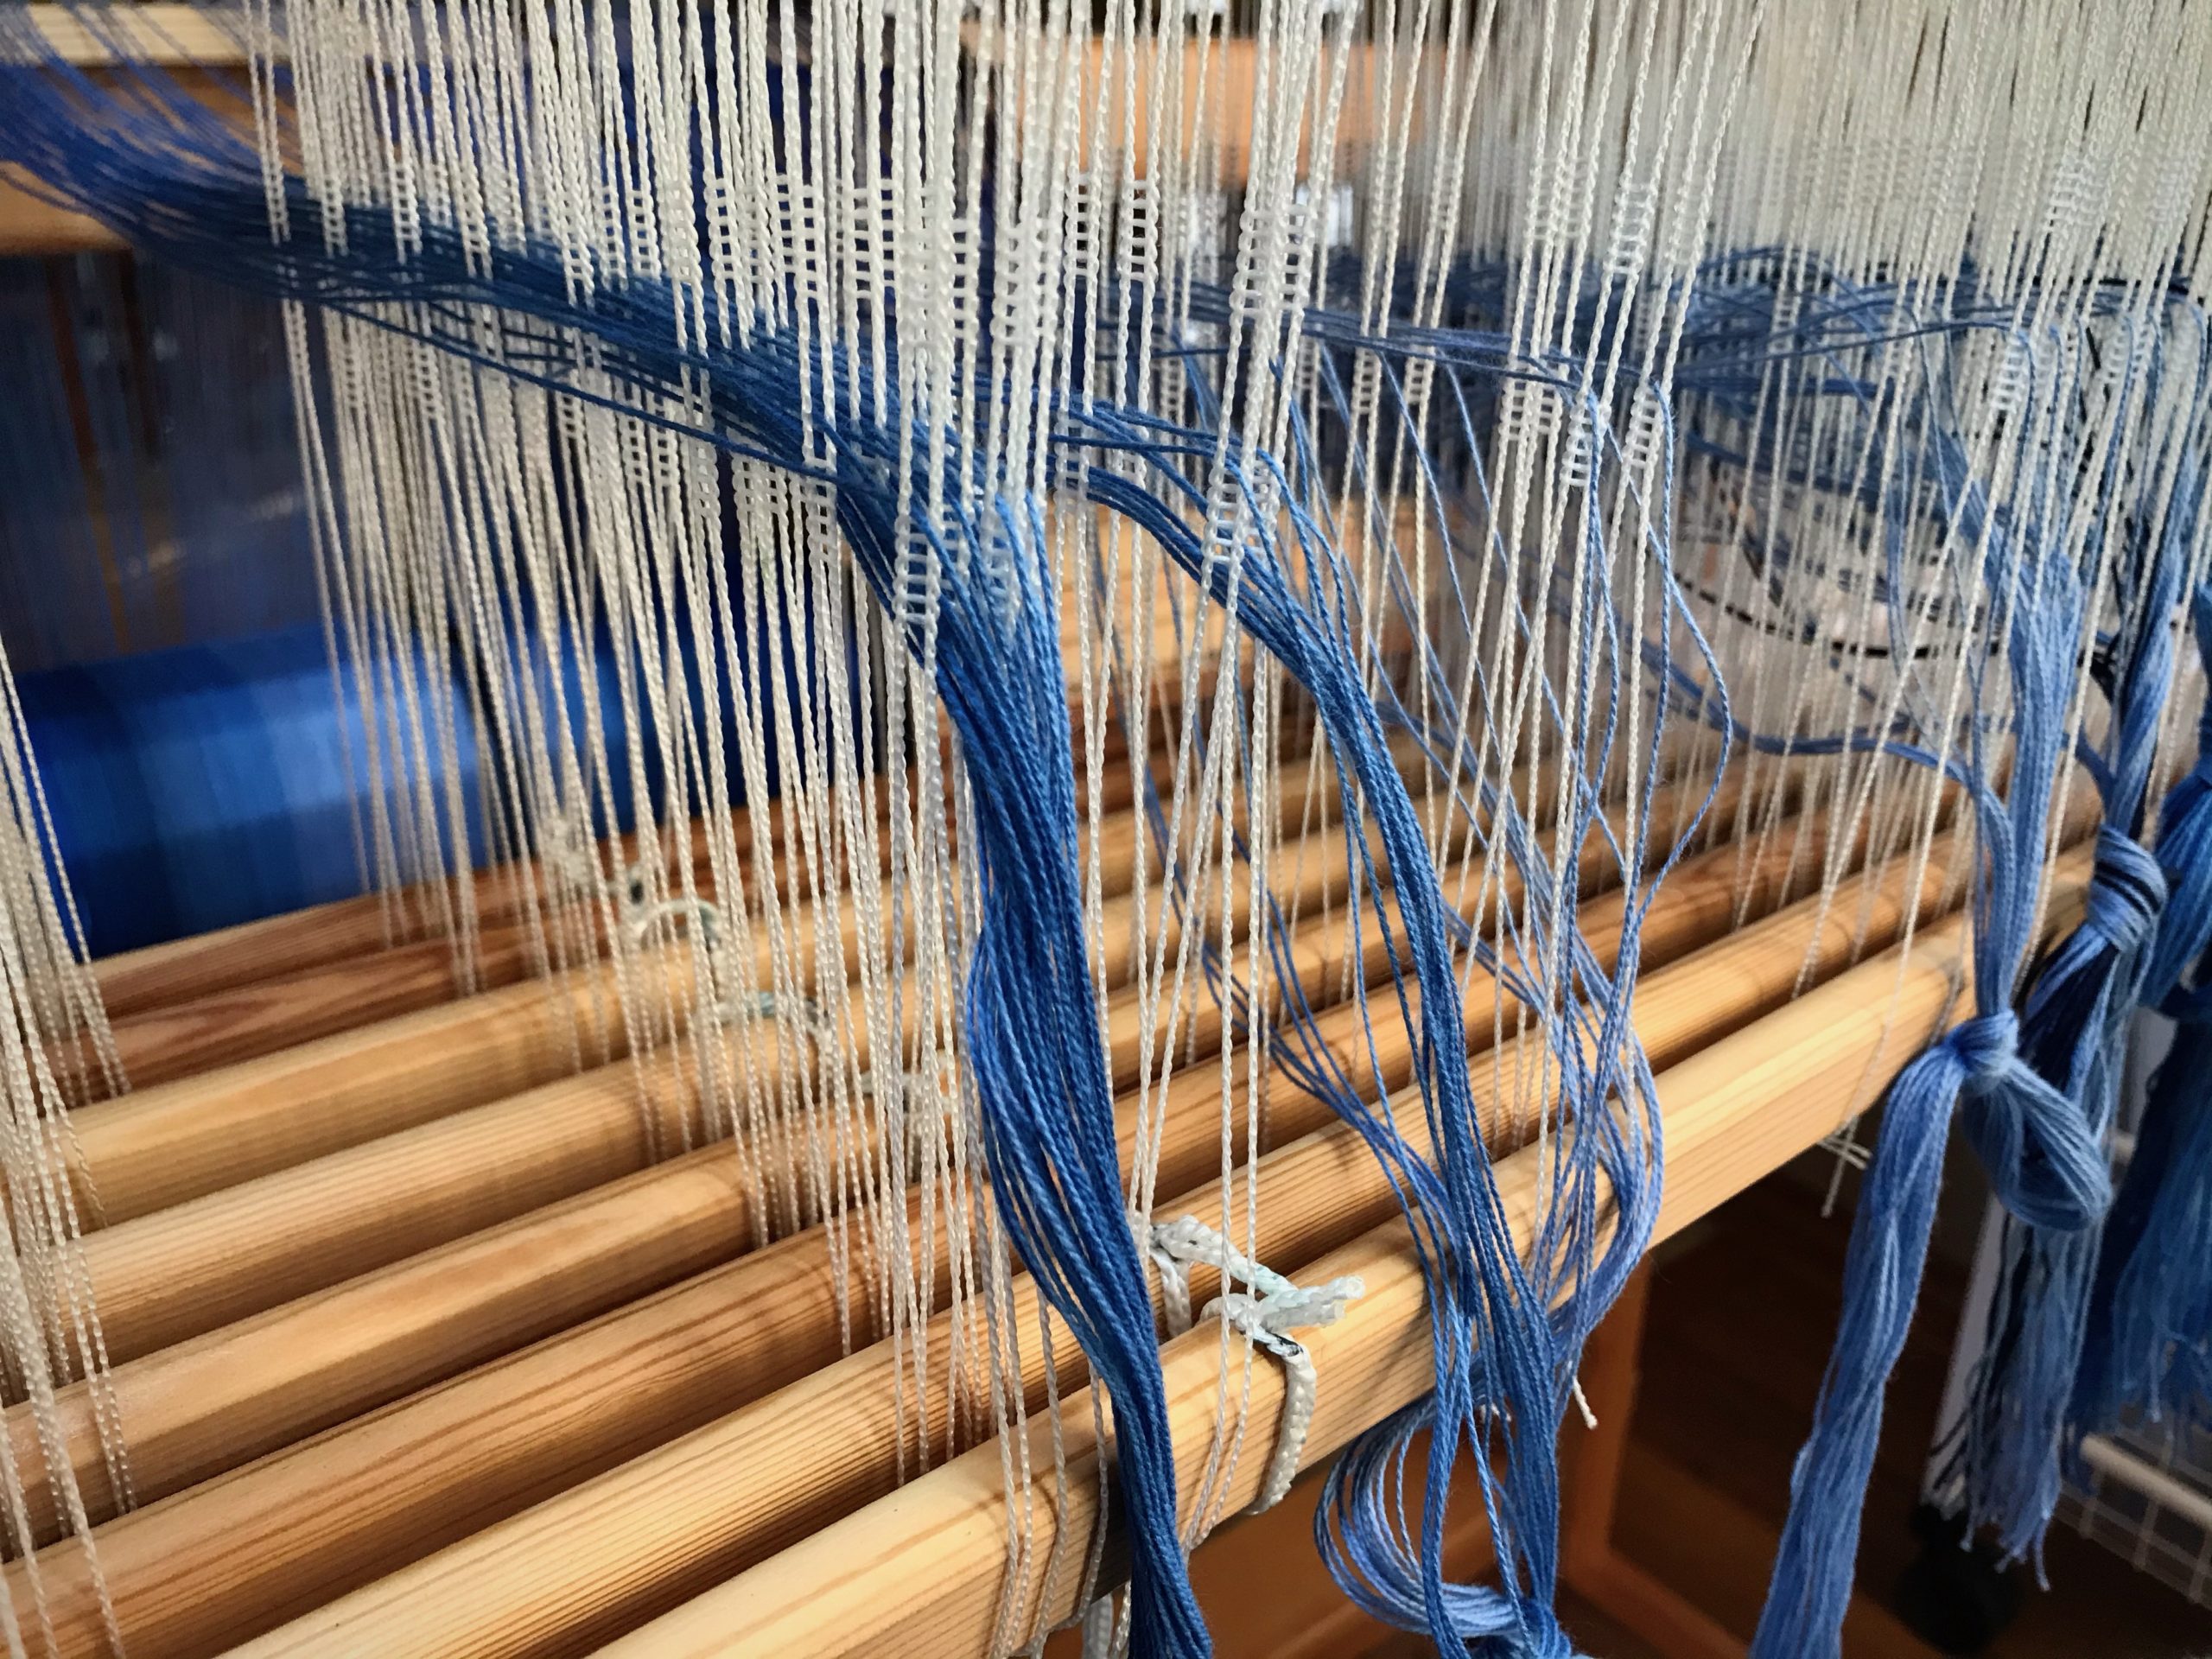
My warp planning had a calculation error. I went on my merry way, winding the warp, beaming the warp, and threading the heddles. Until, …Surprise! I have three extraends left after all the heddles are threaded. Fortunately, there is grace at the loom. I pull the navy blue border threads and three light blue threads out of their heddles and re-thread the navy blue border stripe. The three light blue ends will hang off the back, unused. All is well.
Three light blue ends sit on top of the lease stick tied to the back beam. These extra warp threads will hang off the back and stay out of the way of the warp being woven.
Grace is like that. We mess up, find and admit our wrong, and the Lord Jesus forgives, granting us a new start. When we are wrong we need grace. What about when others are wrong? When the errors of others affect us, what shall we do? Forgiveness is our only option. There is no good reason to hold those error threads and weave them into our fabric.
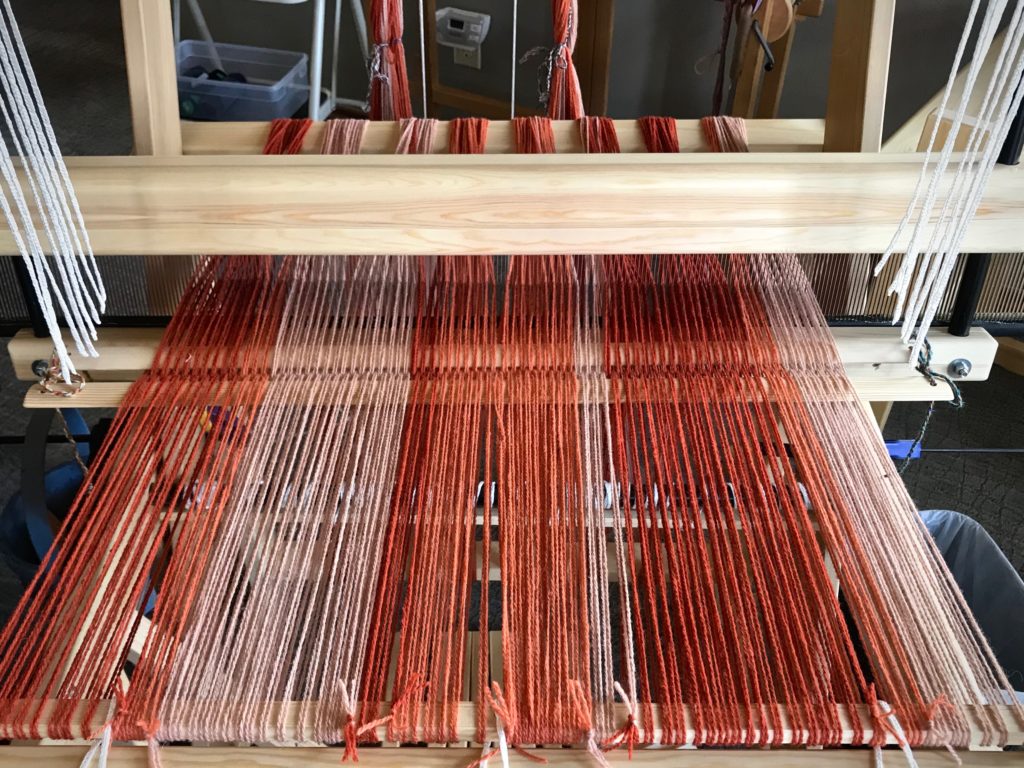
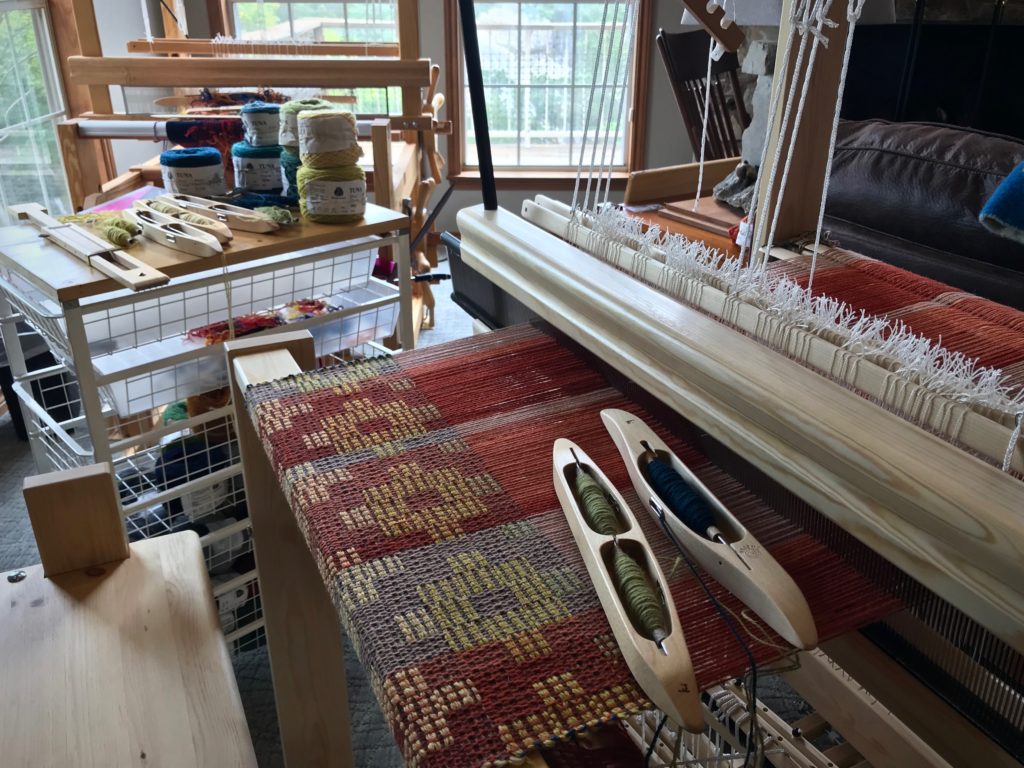
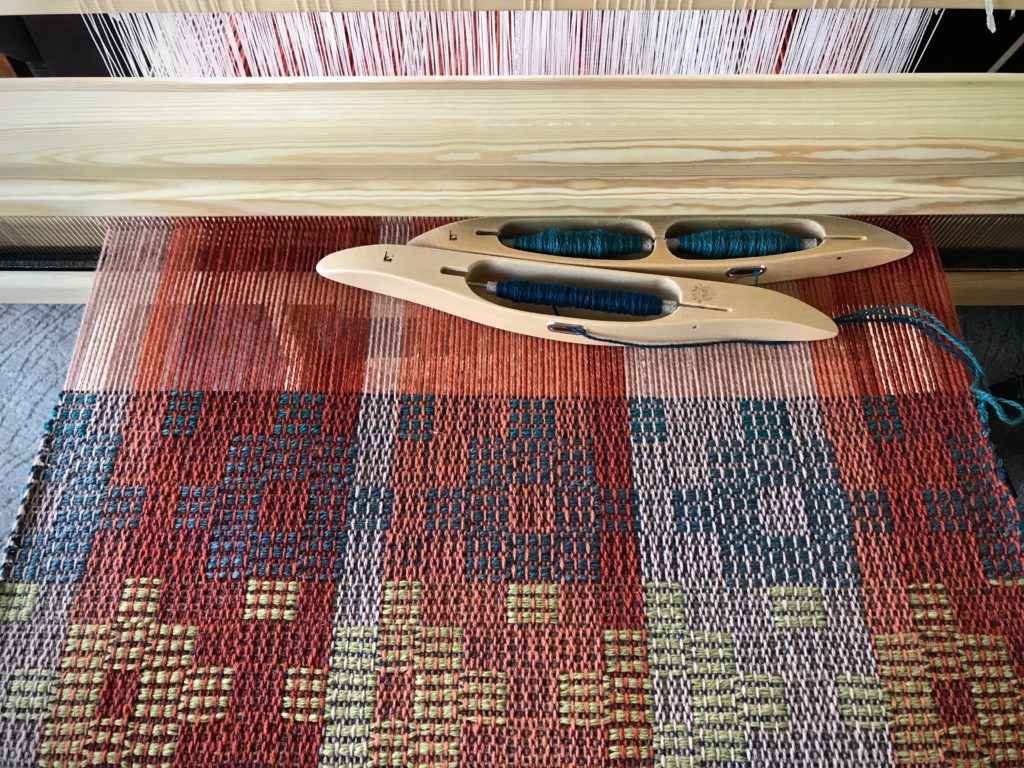
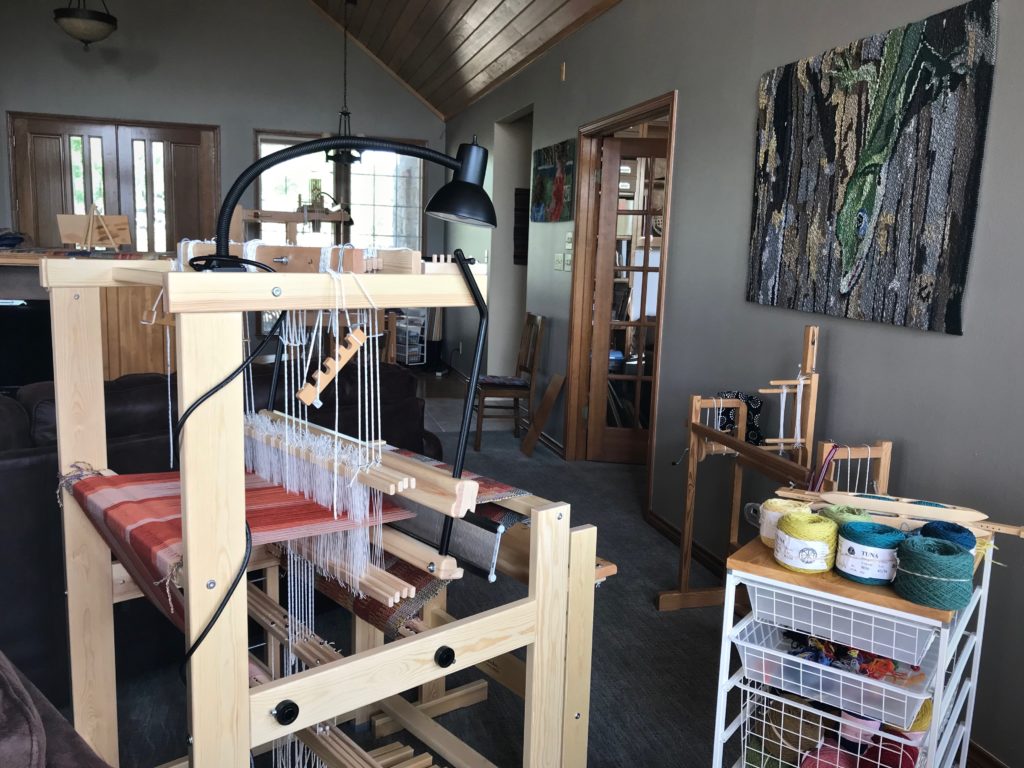
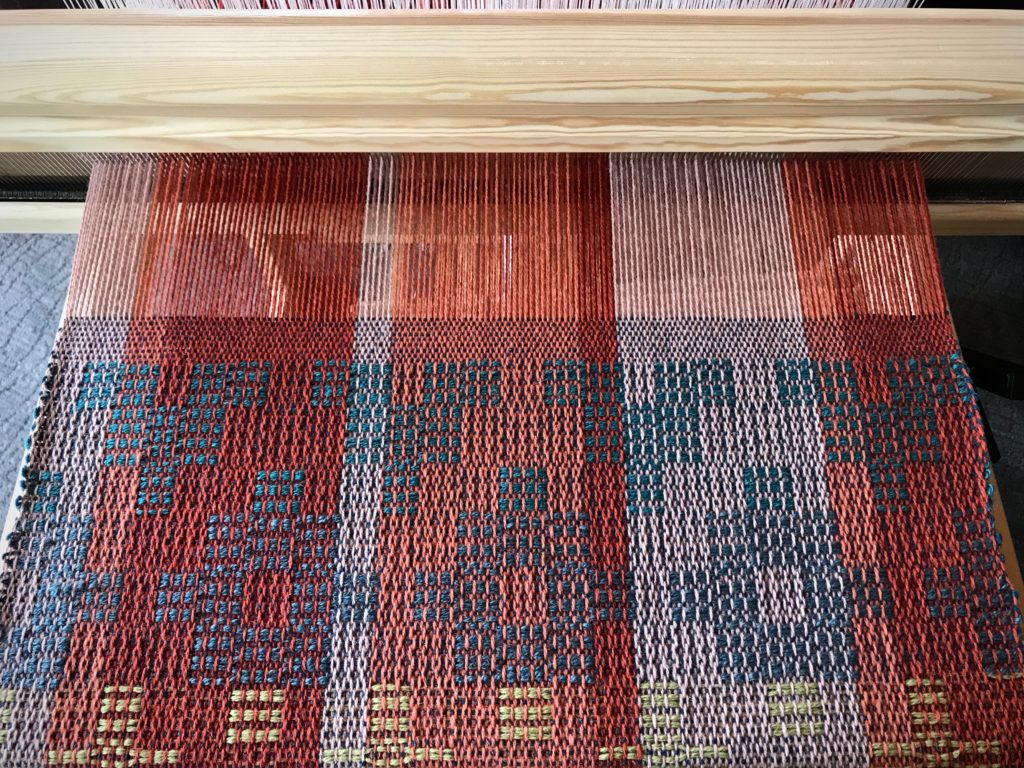
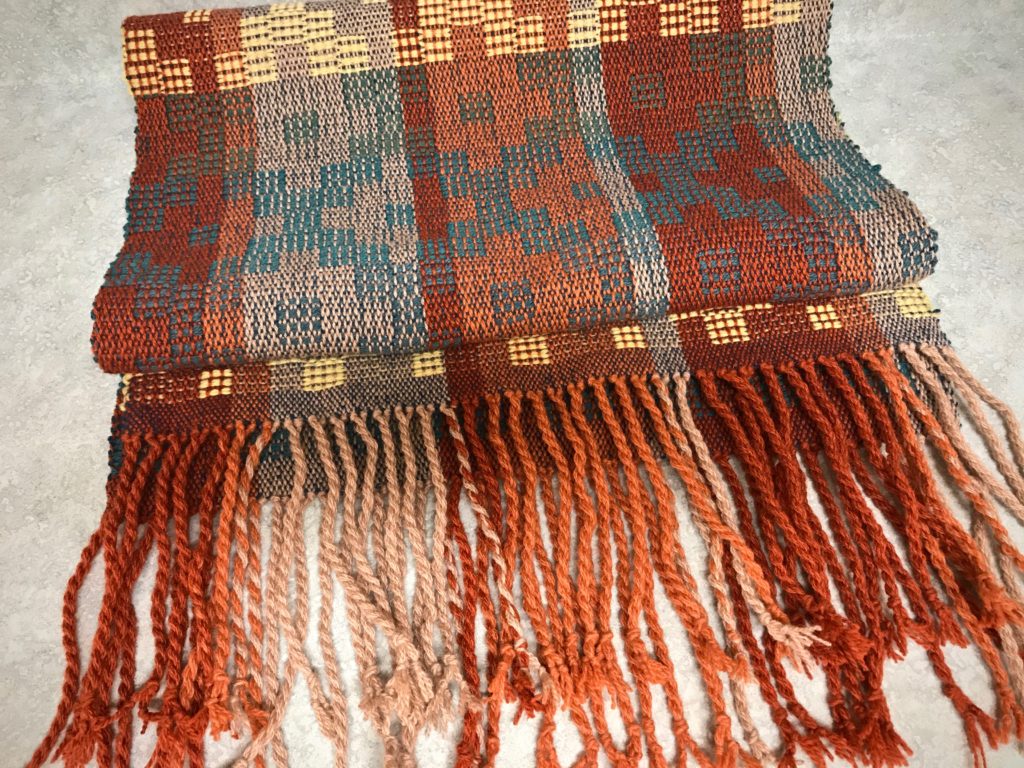
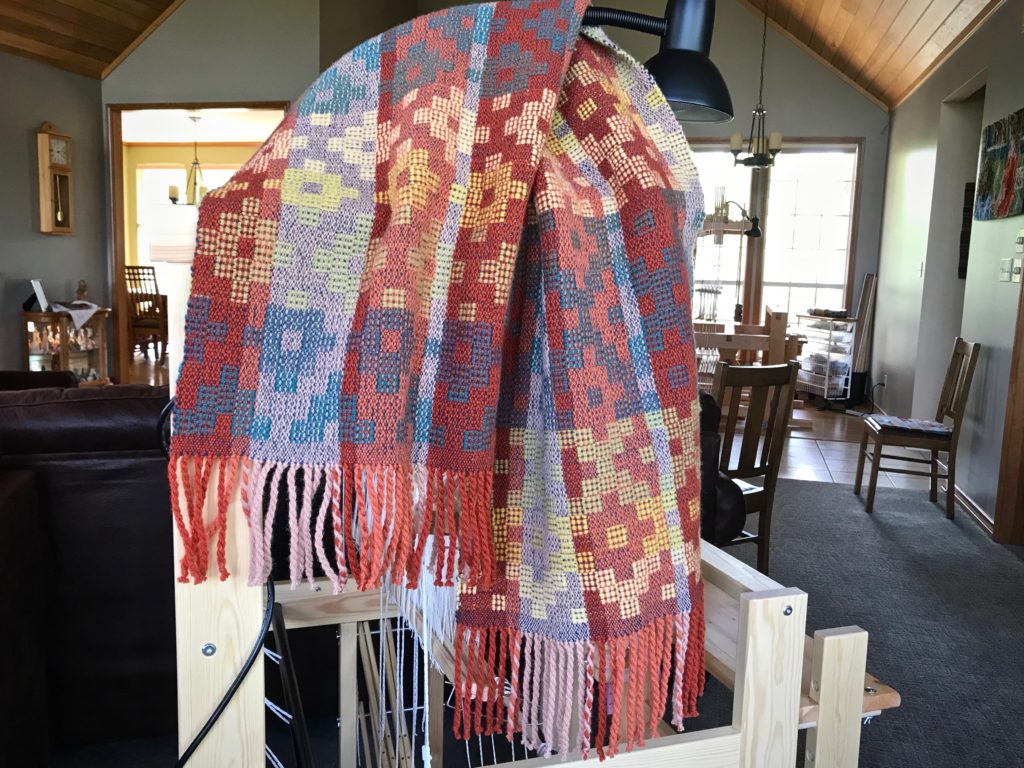
My intention is to weave fabric for a couple of cushy throw pillows. But after just one pattern repeat, I realize that this cloth on my brand new Glimåkra Julia is something I would like to wear! No pillows this time. Instead, here is my new autumn/winter shoulder wrap, embellished with frisky swinging fringes. Miss Julia has proven her worth on four-shaftJämtlandsdräll (crackle) in 6/2 Tuna wool. Her next adventure will be something that explores all eight shafts. (See My New Glimåkra Julia Loom.)
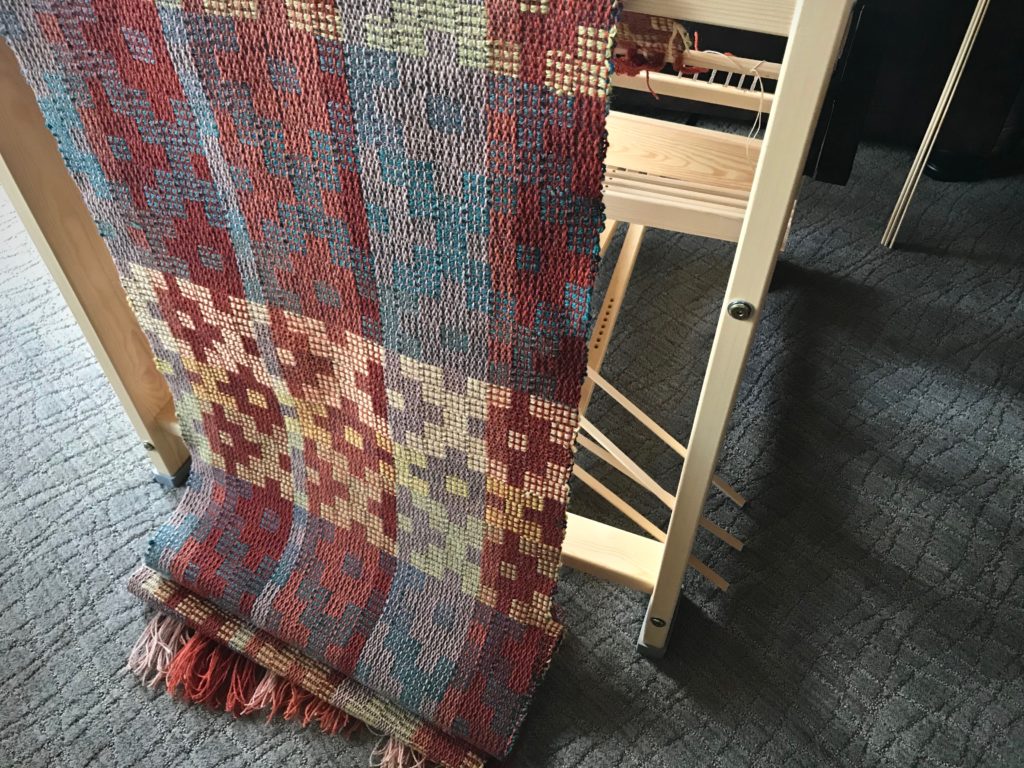
Finished wrap. Ready for cool weather!
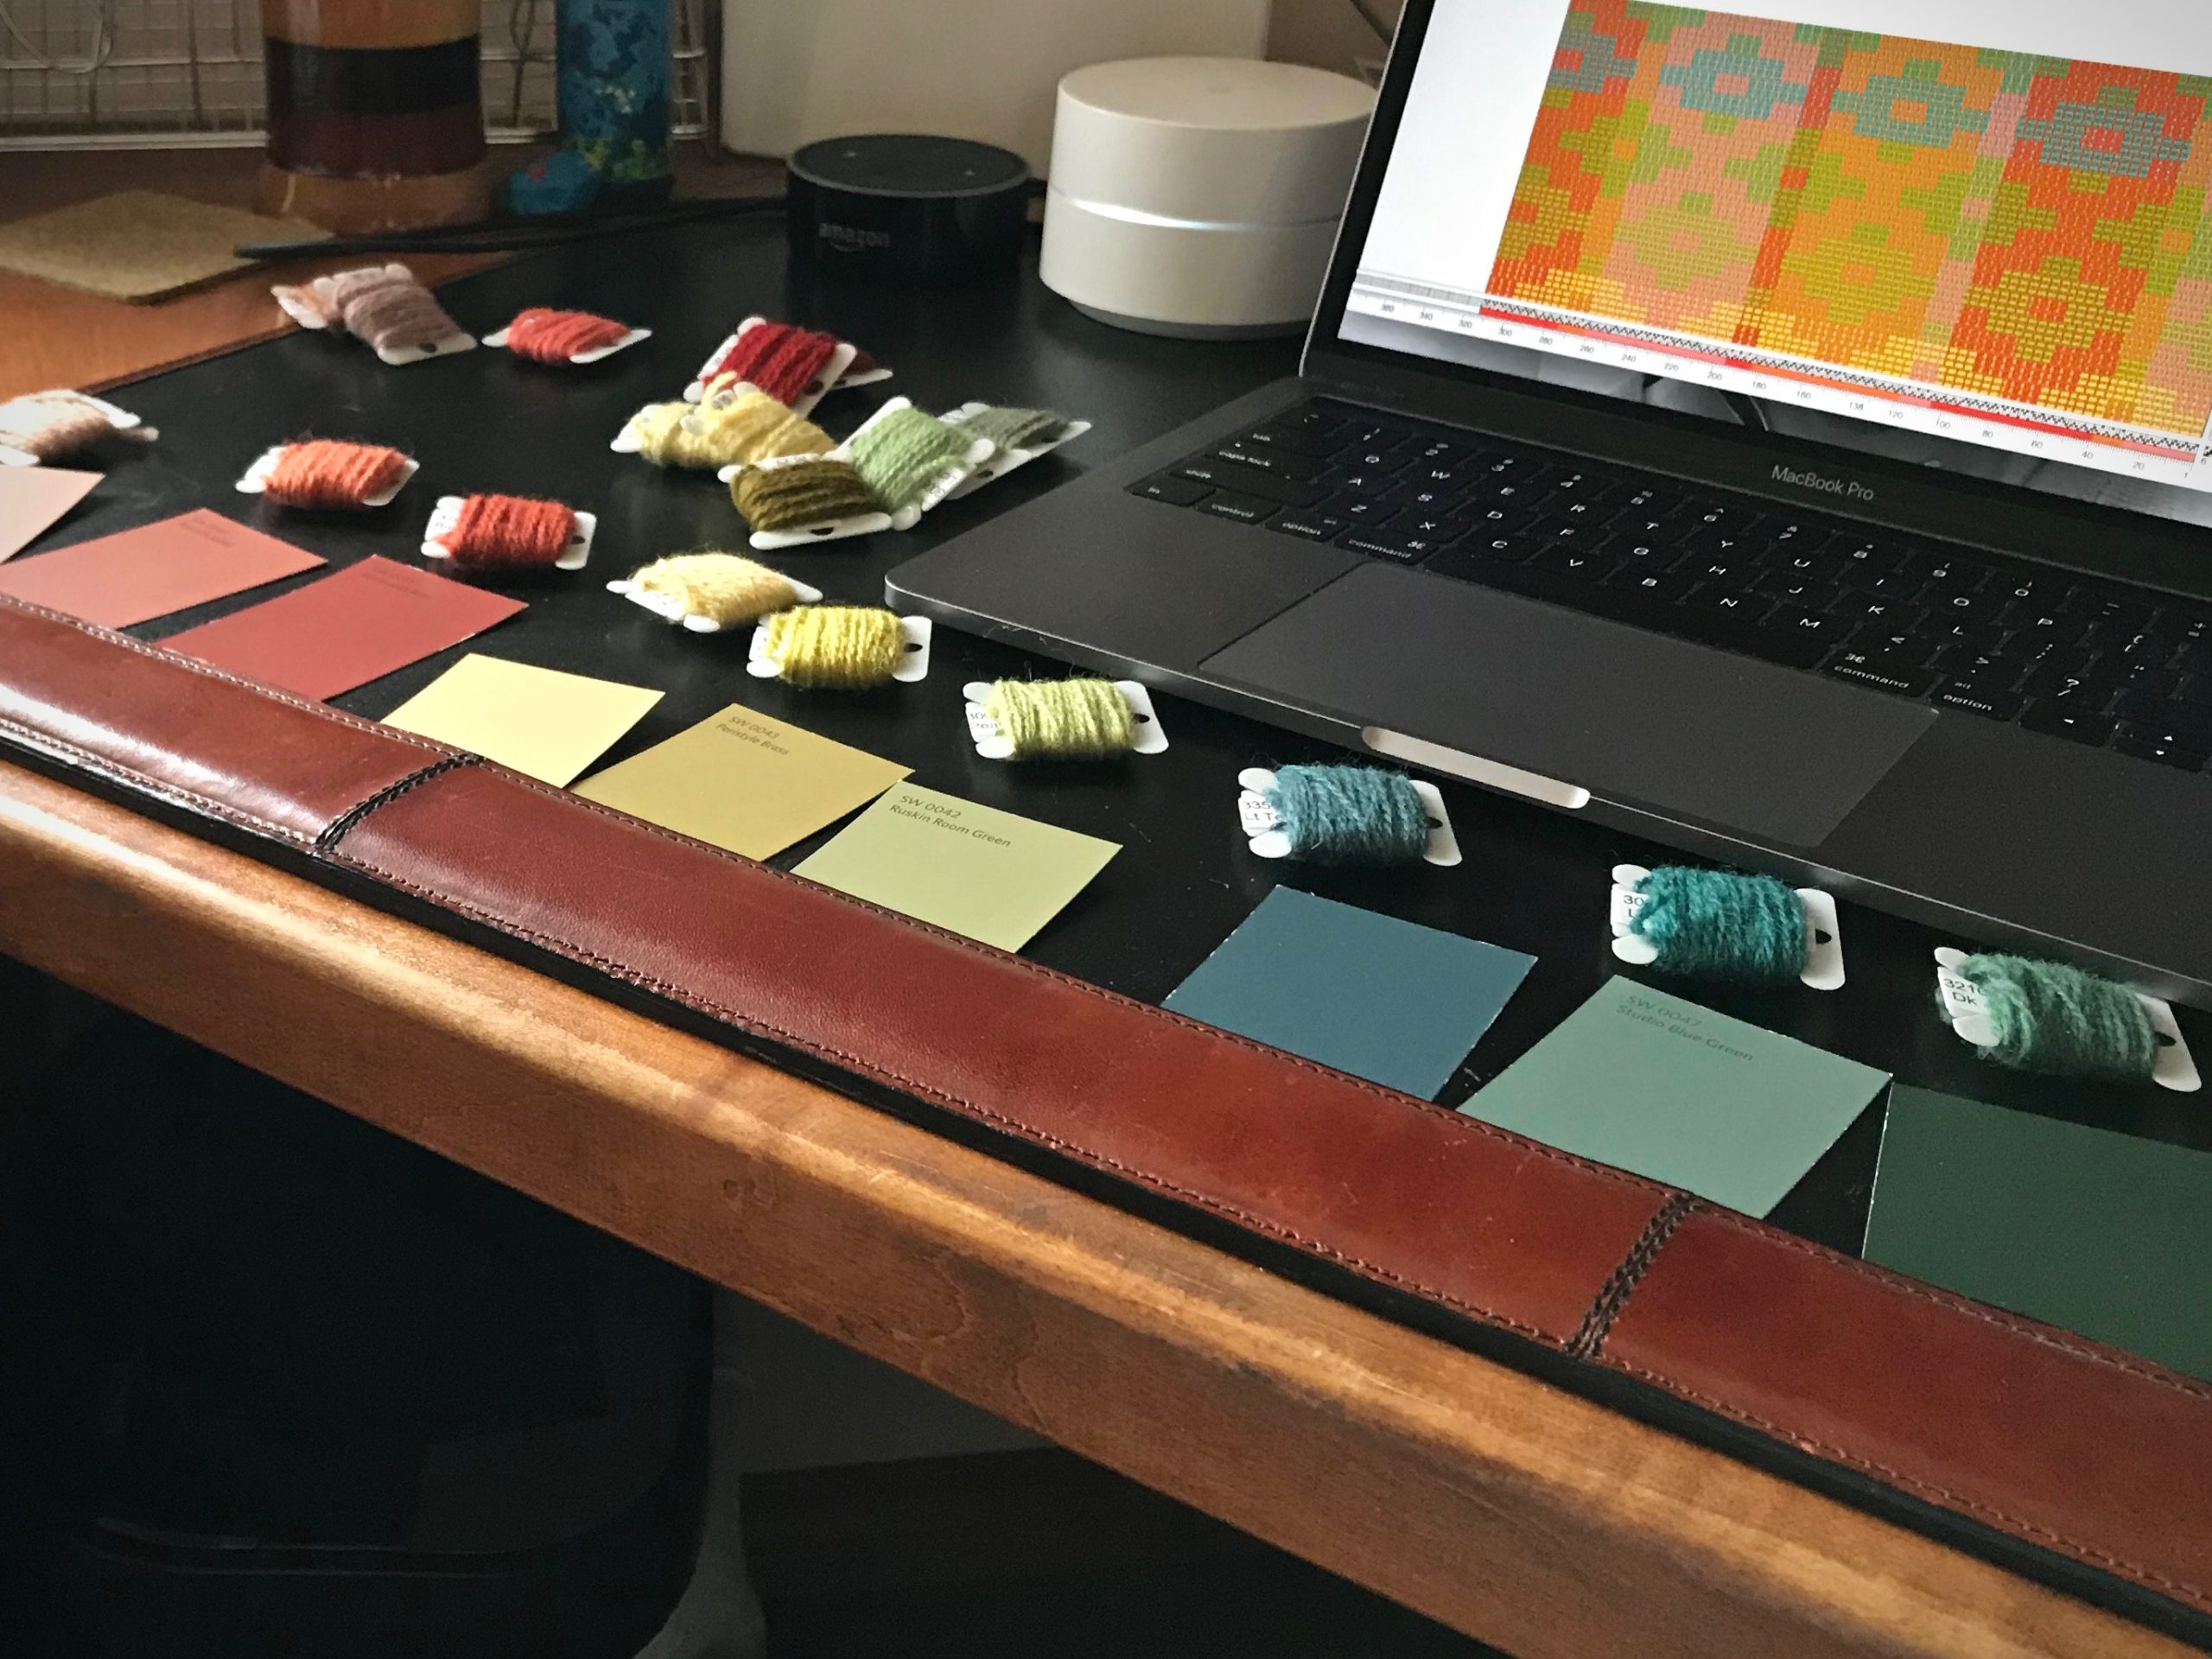
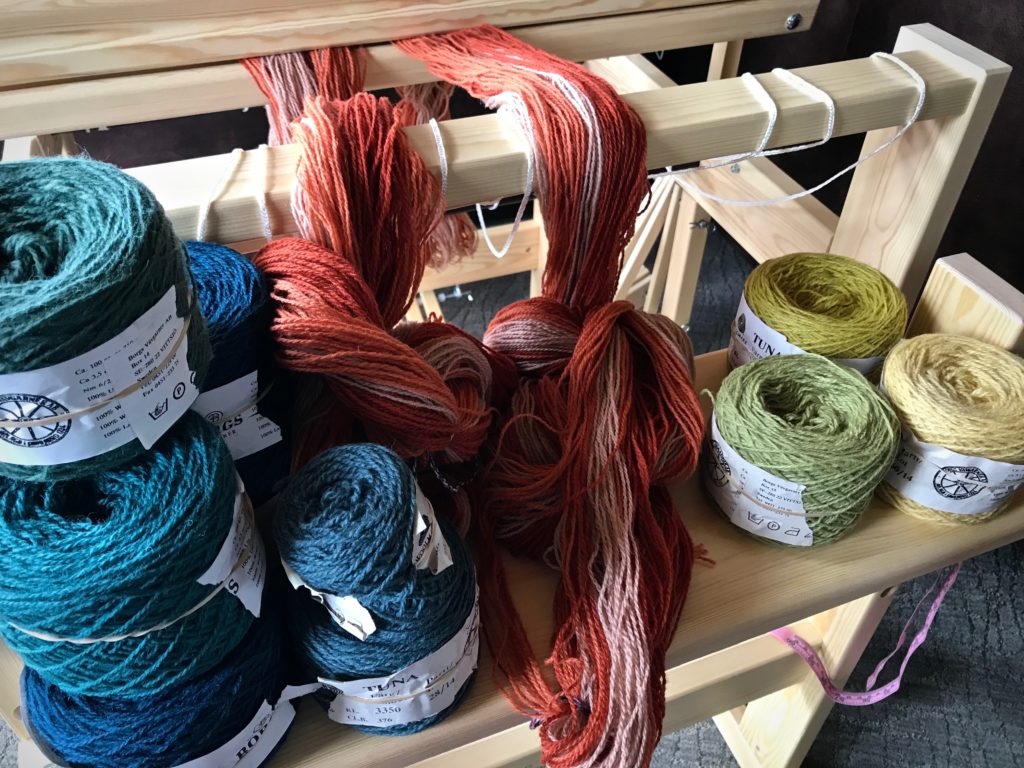
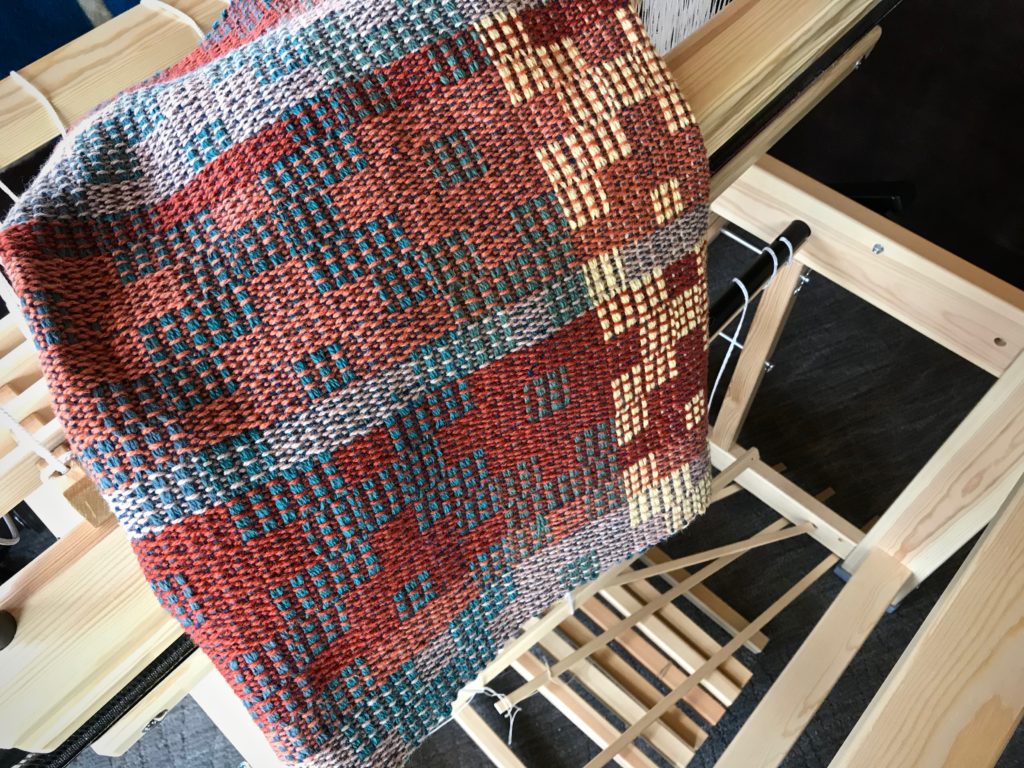
This project starts with the draft for the Jämtlandsdräll Blanket on p.59 of Simple Weaves, by Birgitta Bengtsson Björk and Tina Ignell. Tuna yarn samples, along with Fiberworks Silver for Mac, help me jazz up the color. I settle on three colors for the warp, with burnt orange as the anchor. Six different colors are used for the pattern weft, plus dark teal for the tabby.
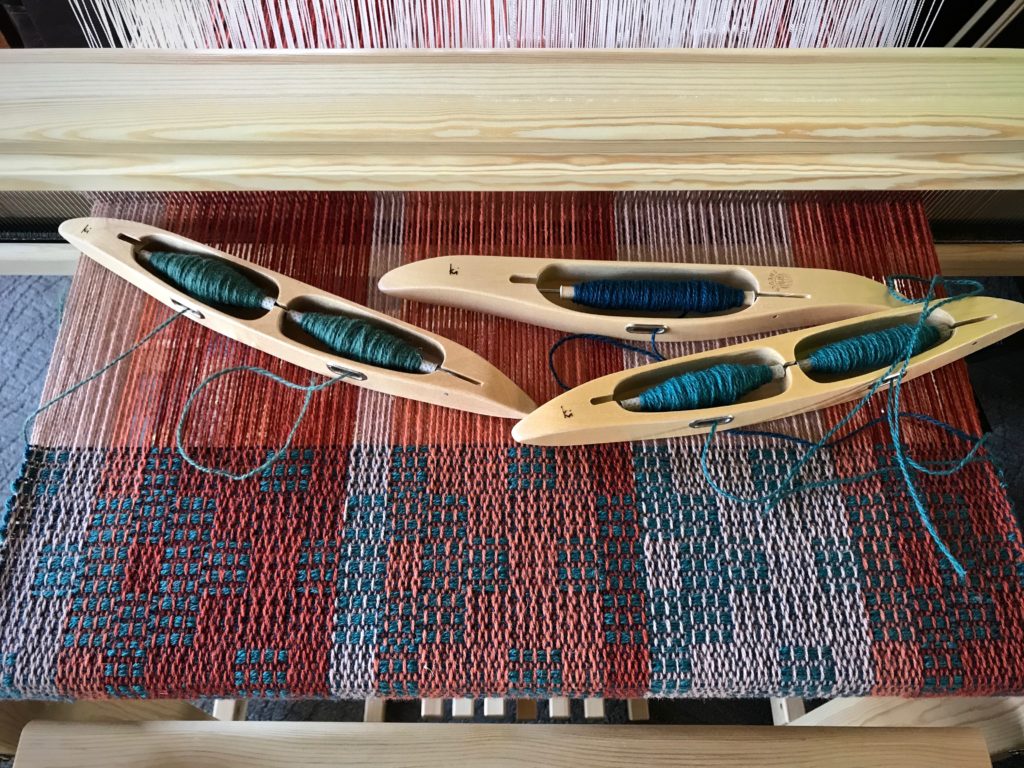
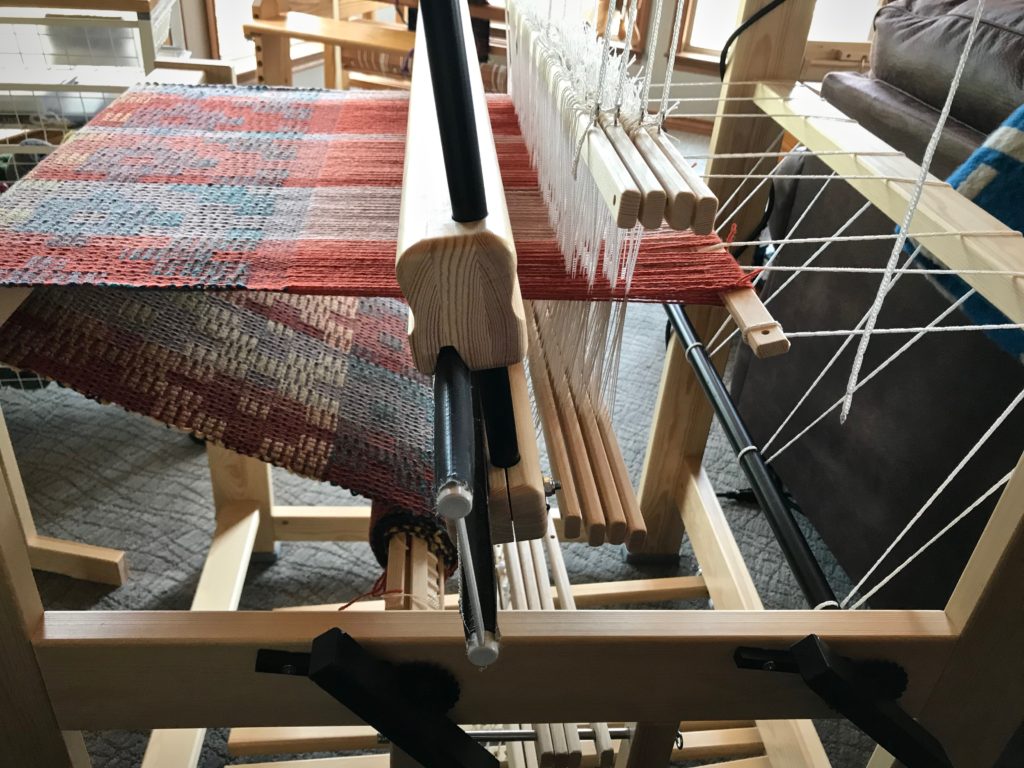
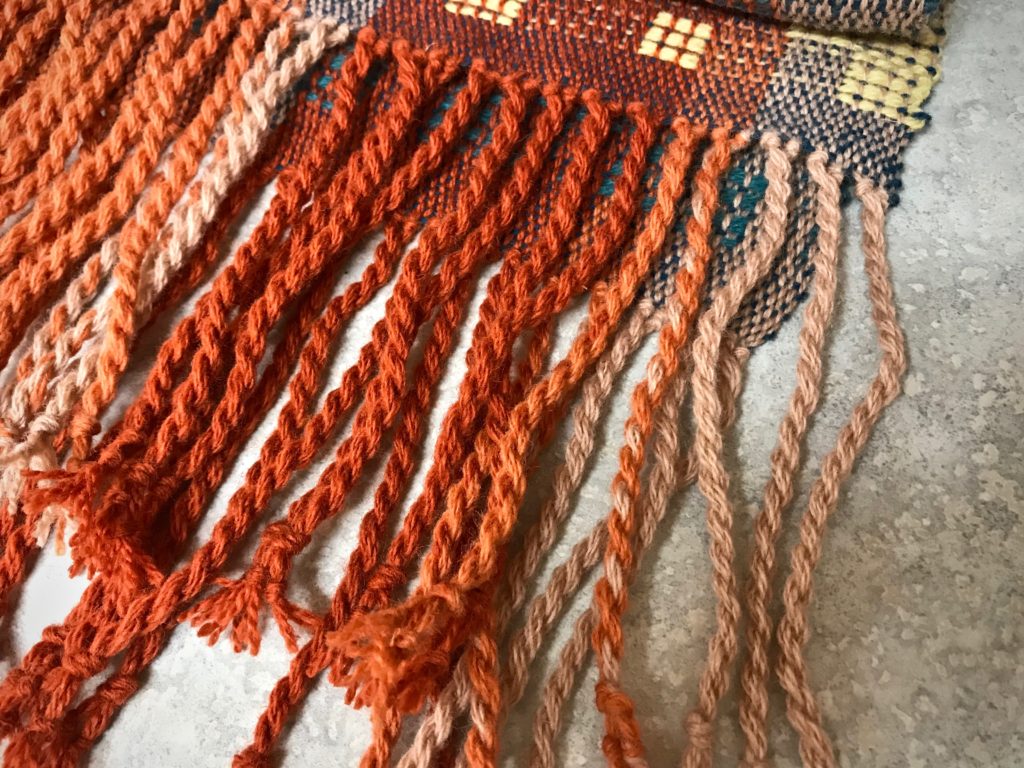
Paint chips, Tuna yarn samples, and Fiberworks Silver for Mac aid my planning process.Colors! Let’s see how they work together on the loom.Beaming the warp.Daylight, plus colorful yarn. As summer is warming up outside, Julia is dressed warmly inside.There is something about weaving with a double-bobbin shuttle that I especially enjoy.Some color gradation in the pattern.Miss Julia, filling up her cloth beam.Ending with a few picks of plain weave.Thrums at the end of the warp will serve as fringe.Cutting off, giving a view of the back side of the cloth. Front and back have reverse images.Jämtlandsdräll, just off the loom.Much to my pleasant surprise, after removing (unweaving) my short sample weaving at the beginning, and untying the front tie-on knots, I had the EXACT same length of fringe–to the centimeter–on both ends of the woven wrap. Overhand knots secure the weft. Two groups of four warp strands each form each chunky fringe. Now, this wrap is ready for wet-finishing.
This is one of those times when the weaving is so satisfying that I truly don’t want the warp to come to an end. (…except that I’m excited to start on Julia’s second adventure!)