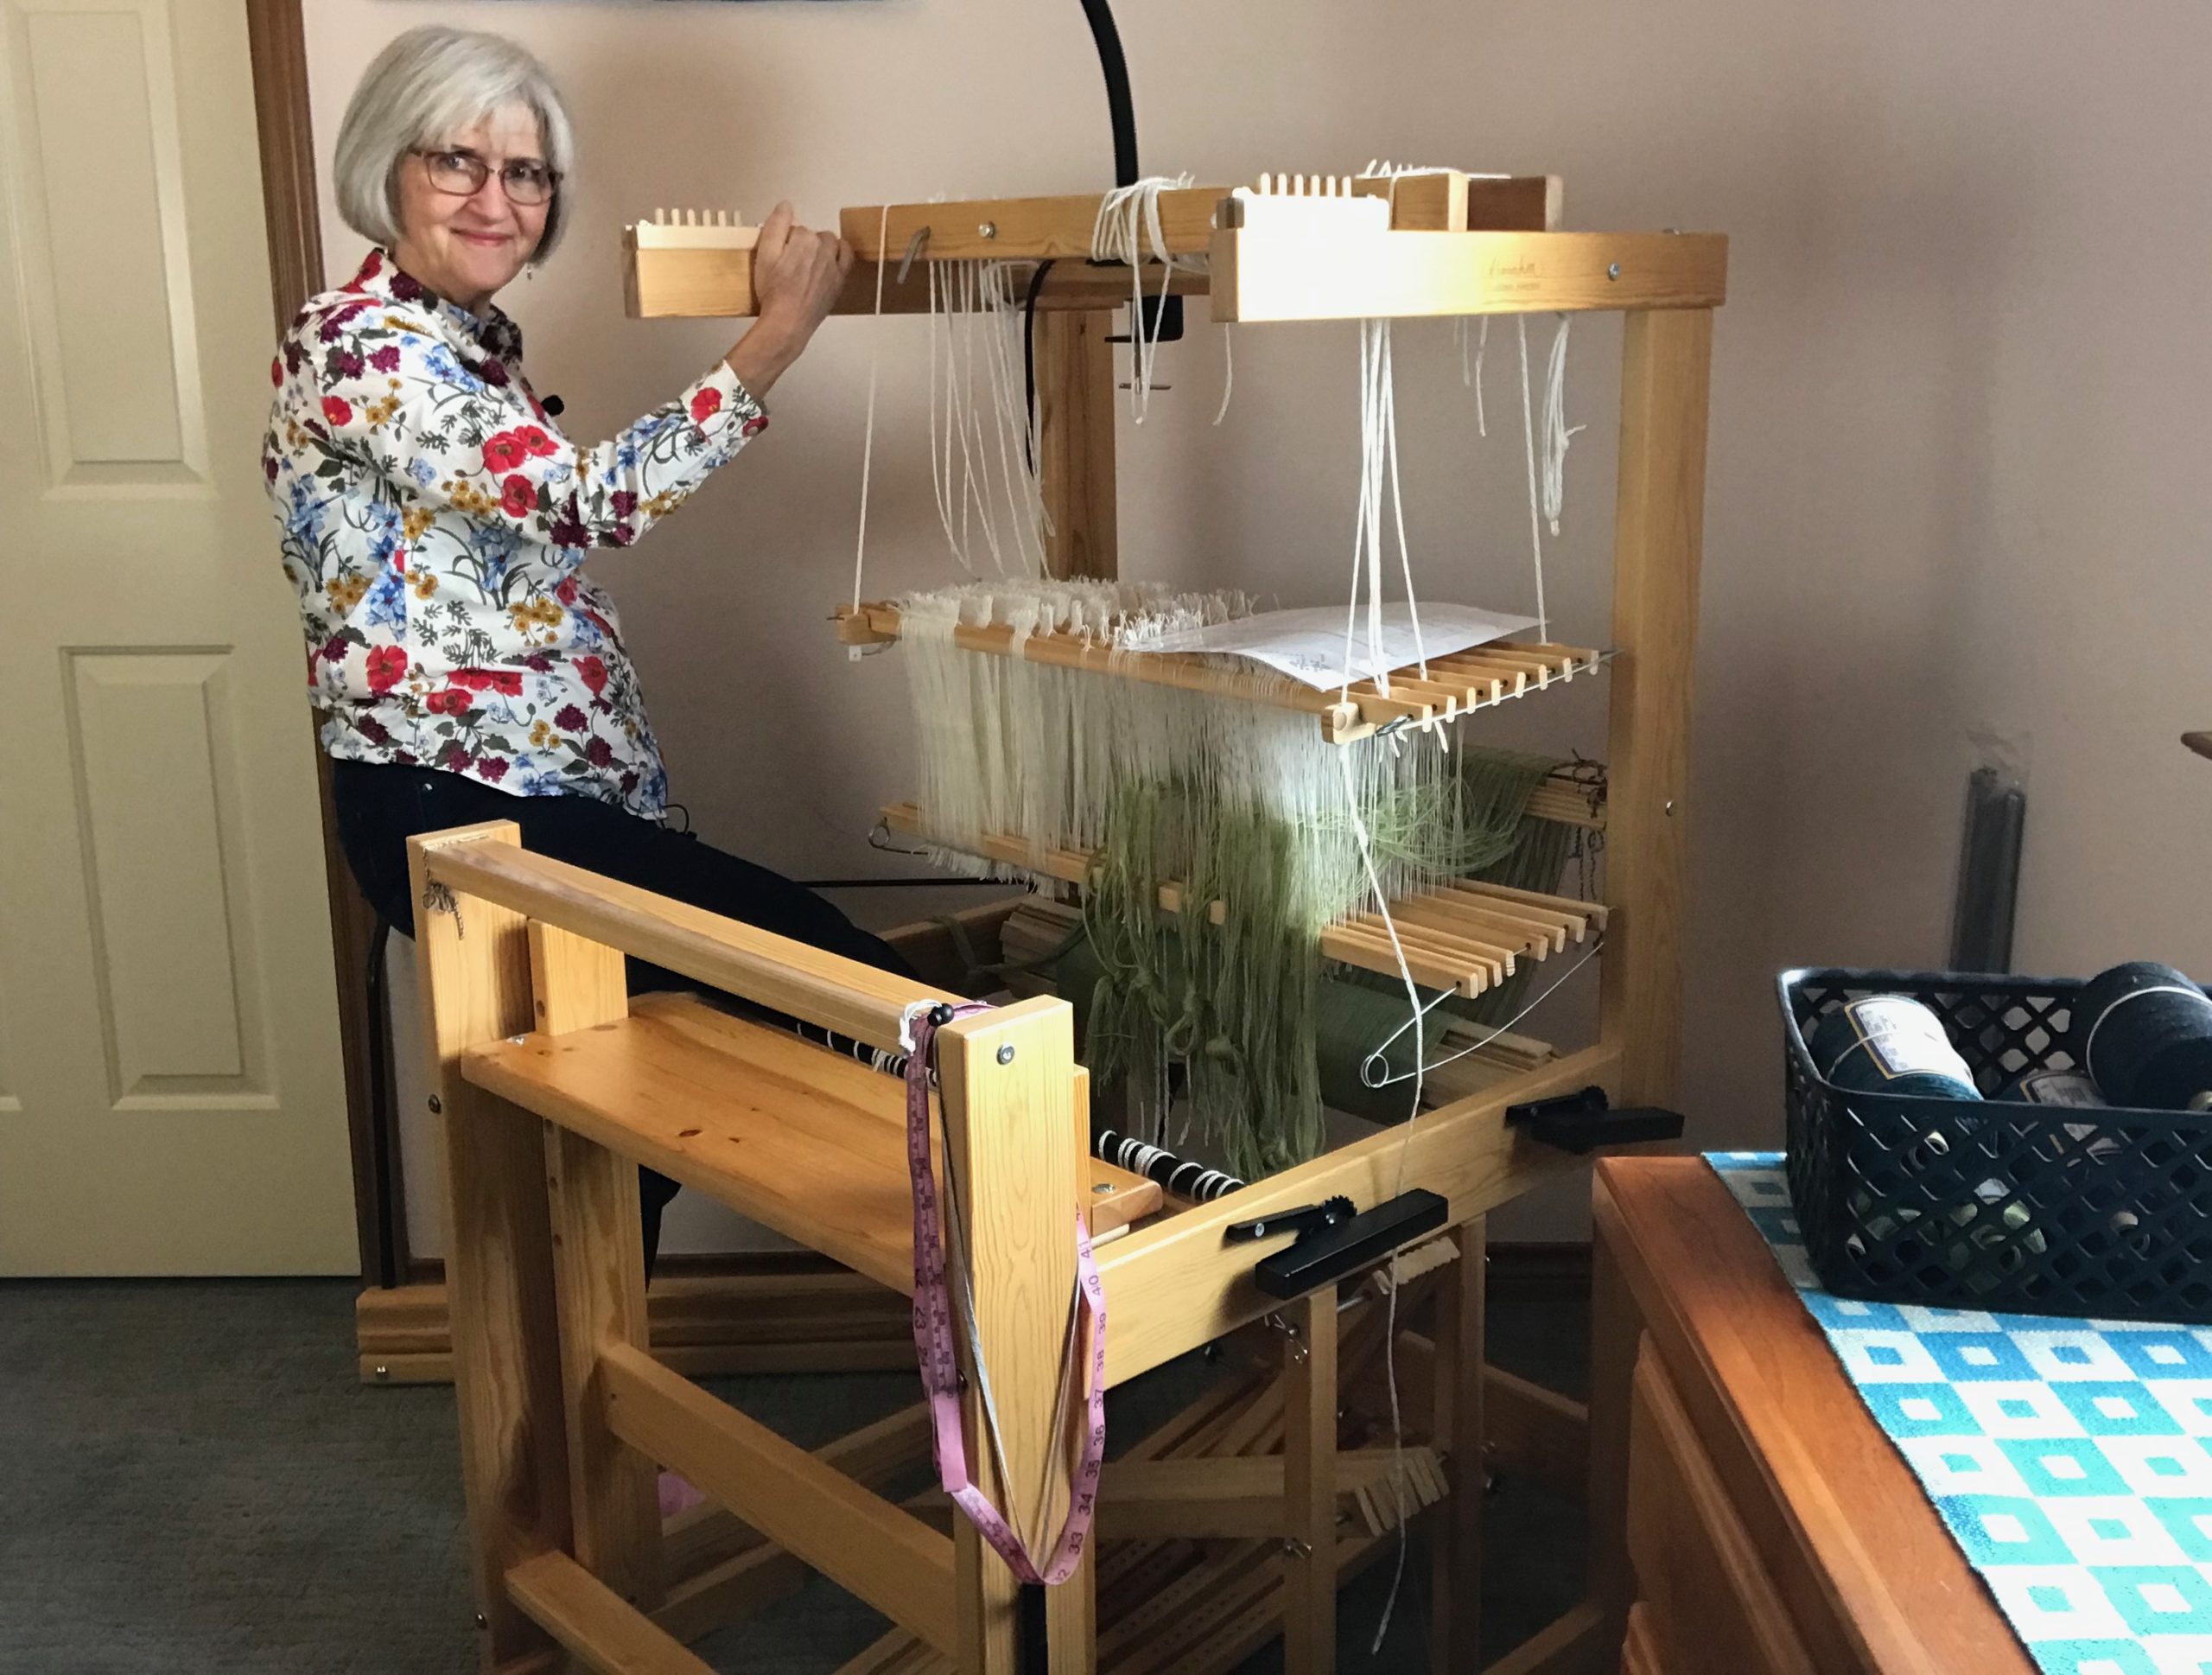
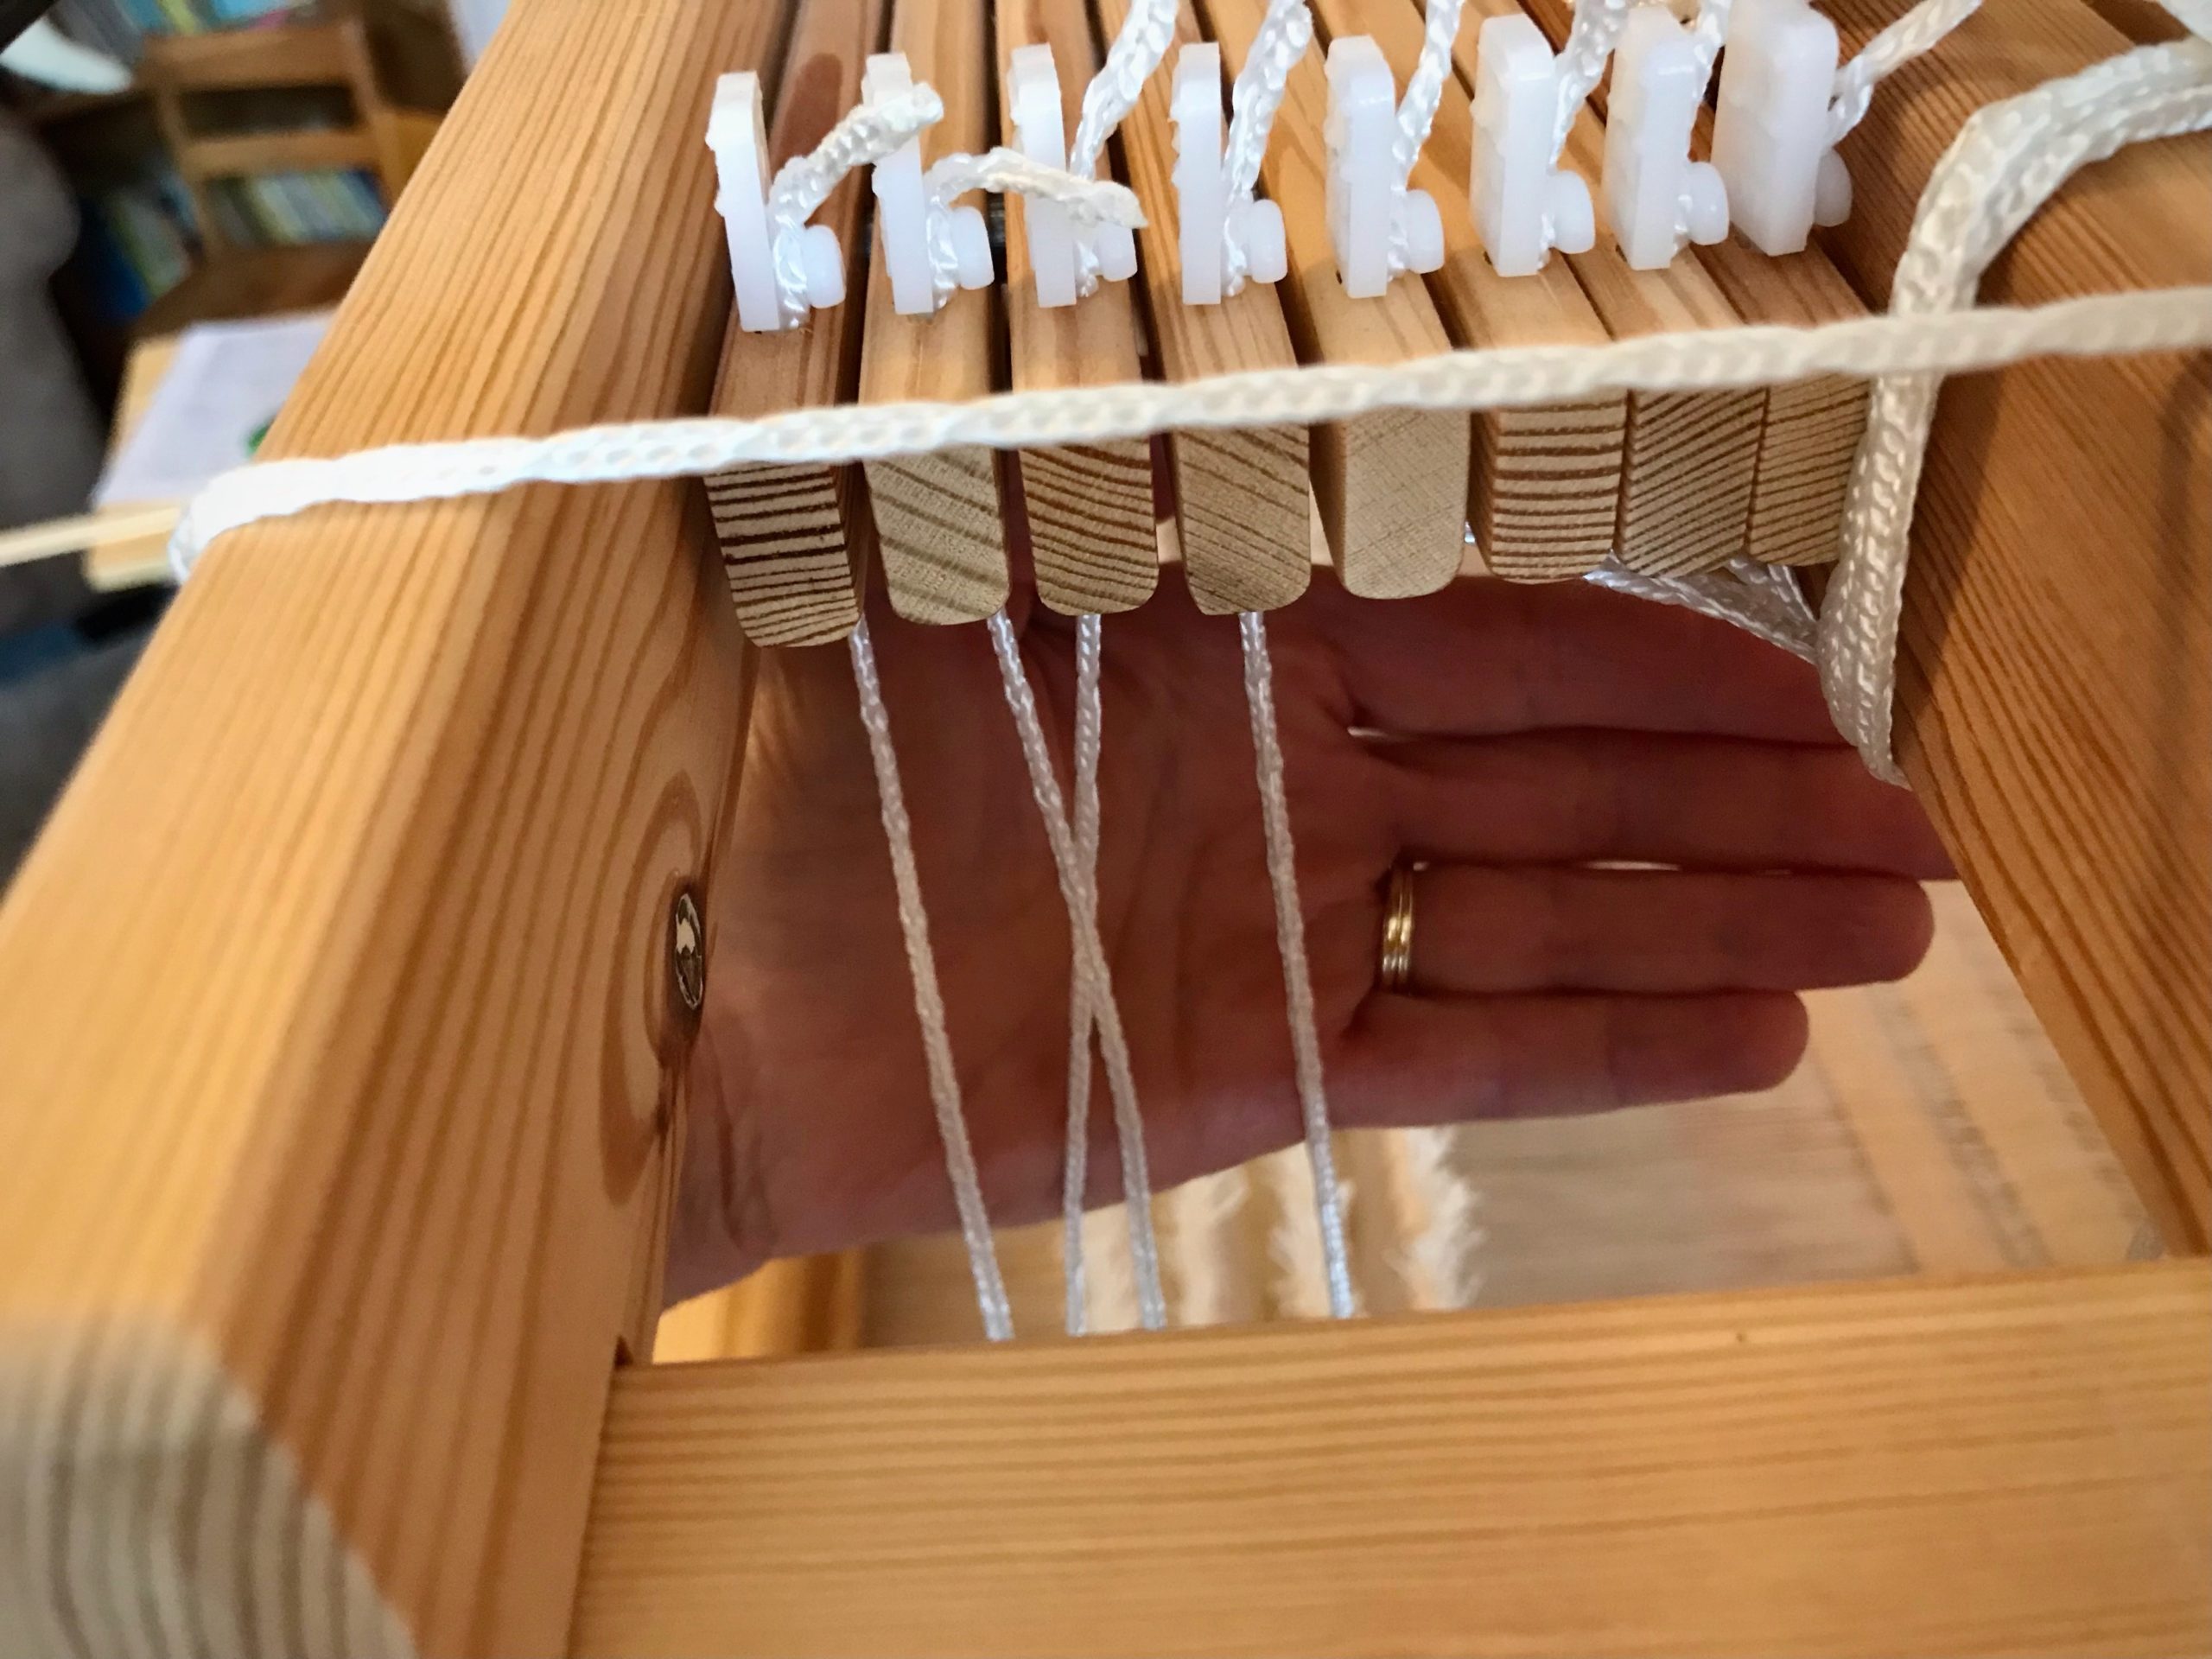
How easy is it to threadheddles on the Glimåkra Julia? It may surprise you that I like to put my loom bench inside the Julia, and then sit there to do the threading. It’s comfortable for me. Watch the video below to see how I get in and get out of the small space.
Climbing into my little “playhouse” for threadingheddles.Sitting in the Julia loom is a comfortable way for me to thread the heddles. I like to keep the shafts low so I can see the back beam, and keep my shoulders relaxed, as well. I look down through the shafts to see the heddles as I thread them.
Don’t worry, that’s not the only way to thread this petite loom. In the video I also show how to bring the shafts forward so you can comfortably thread the heddles while sitting on the loom bench in front of the loom.
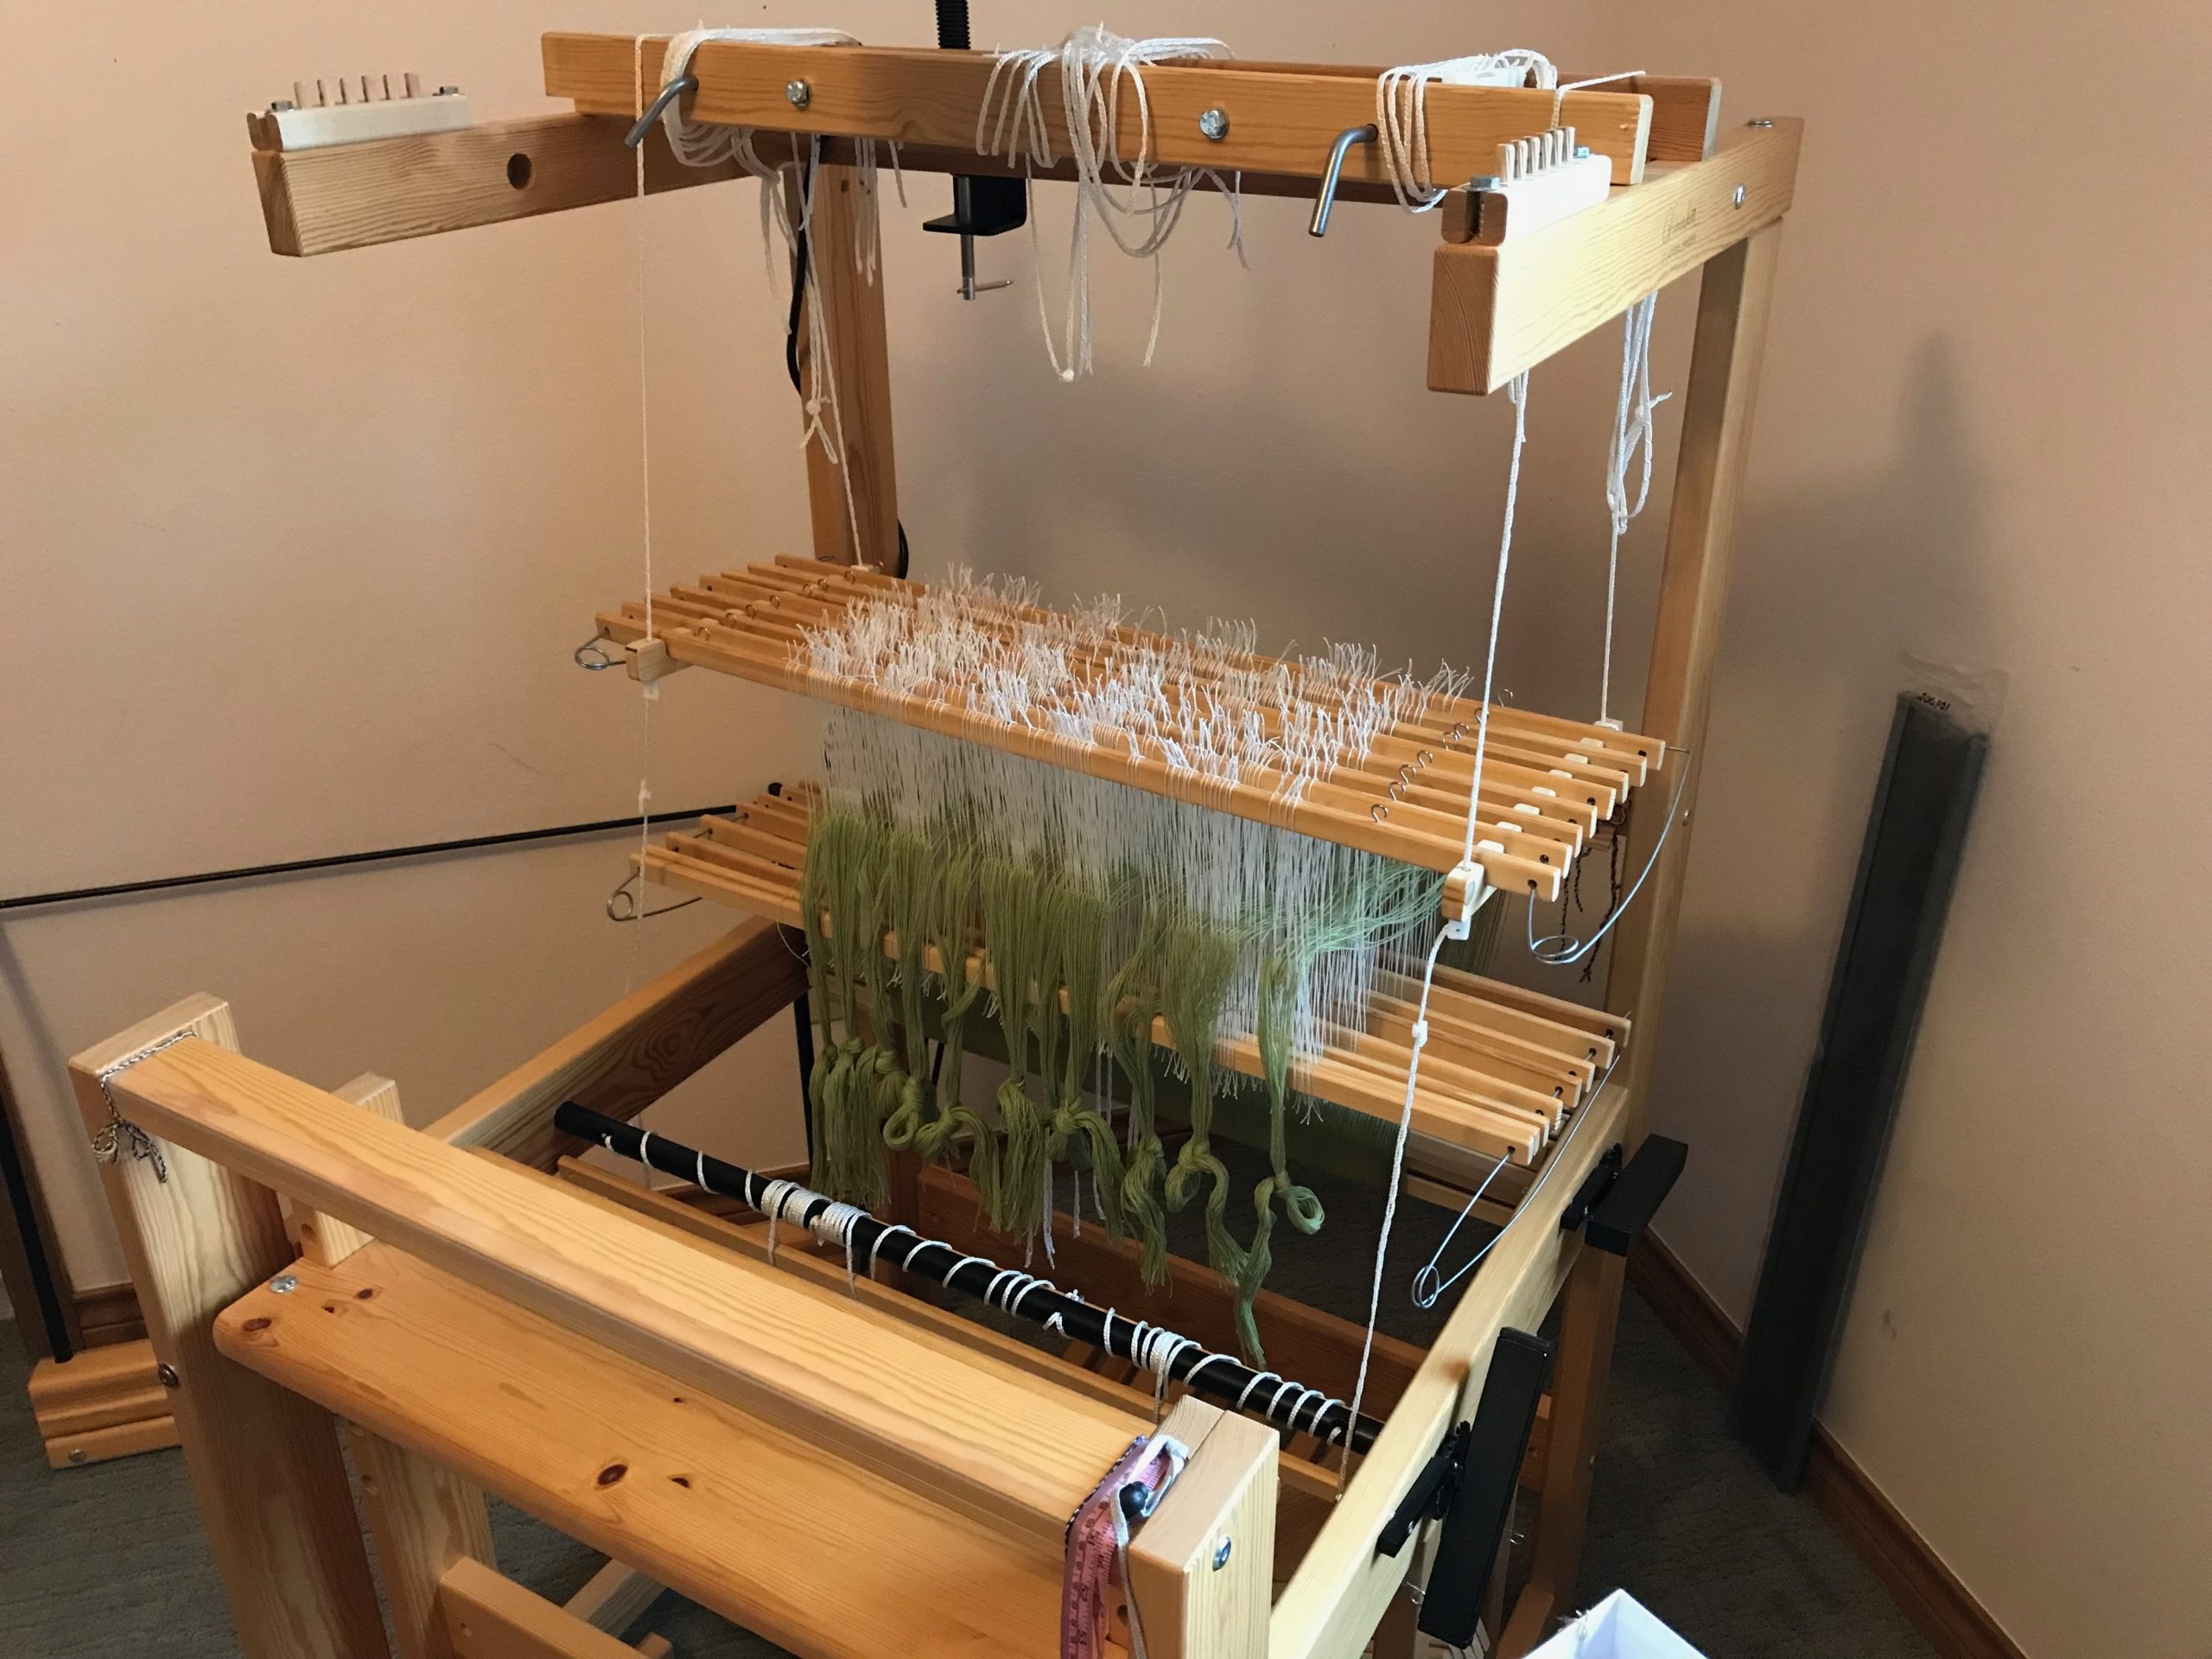
Heddles are threaded. It won’t be long now till we see some woven fabric!
Enjoy!
May you find ways to keep doing what you love to do.
You followed all the instructions for dressing the loom, and have finished the countermarchtie-up. Now, at the moment of triumph you step on the treadles, one by one. Alas! Some or all of the treadles give you nothing you can call a shed. Now what? Maybe you relate to Laura who wrote me recently, “I can’t seem to get the treadles to make a shed.”
The solution is simple. Follow the advice in this sentence on page 37 of Learning to Warp your Loom, by Joanne Hall, “If your sheds are not good, check your loom tie-up from the top down.”
If sheds are missing, there is a good chance you have a crossed cord.
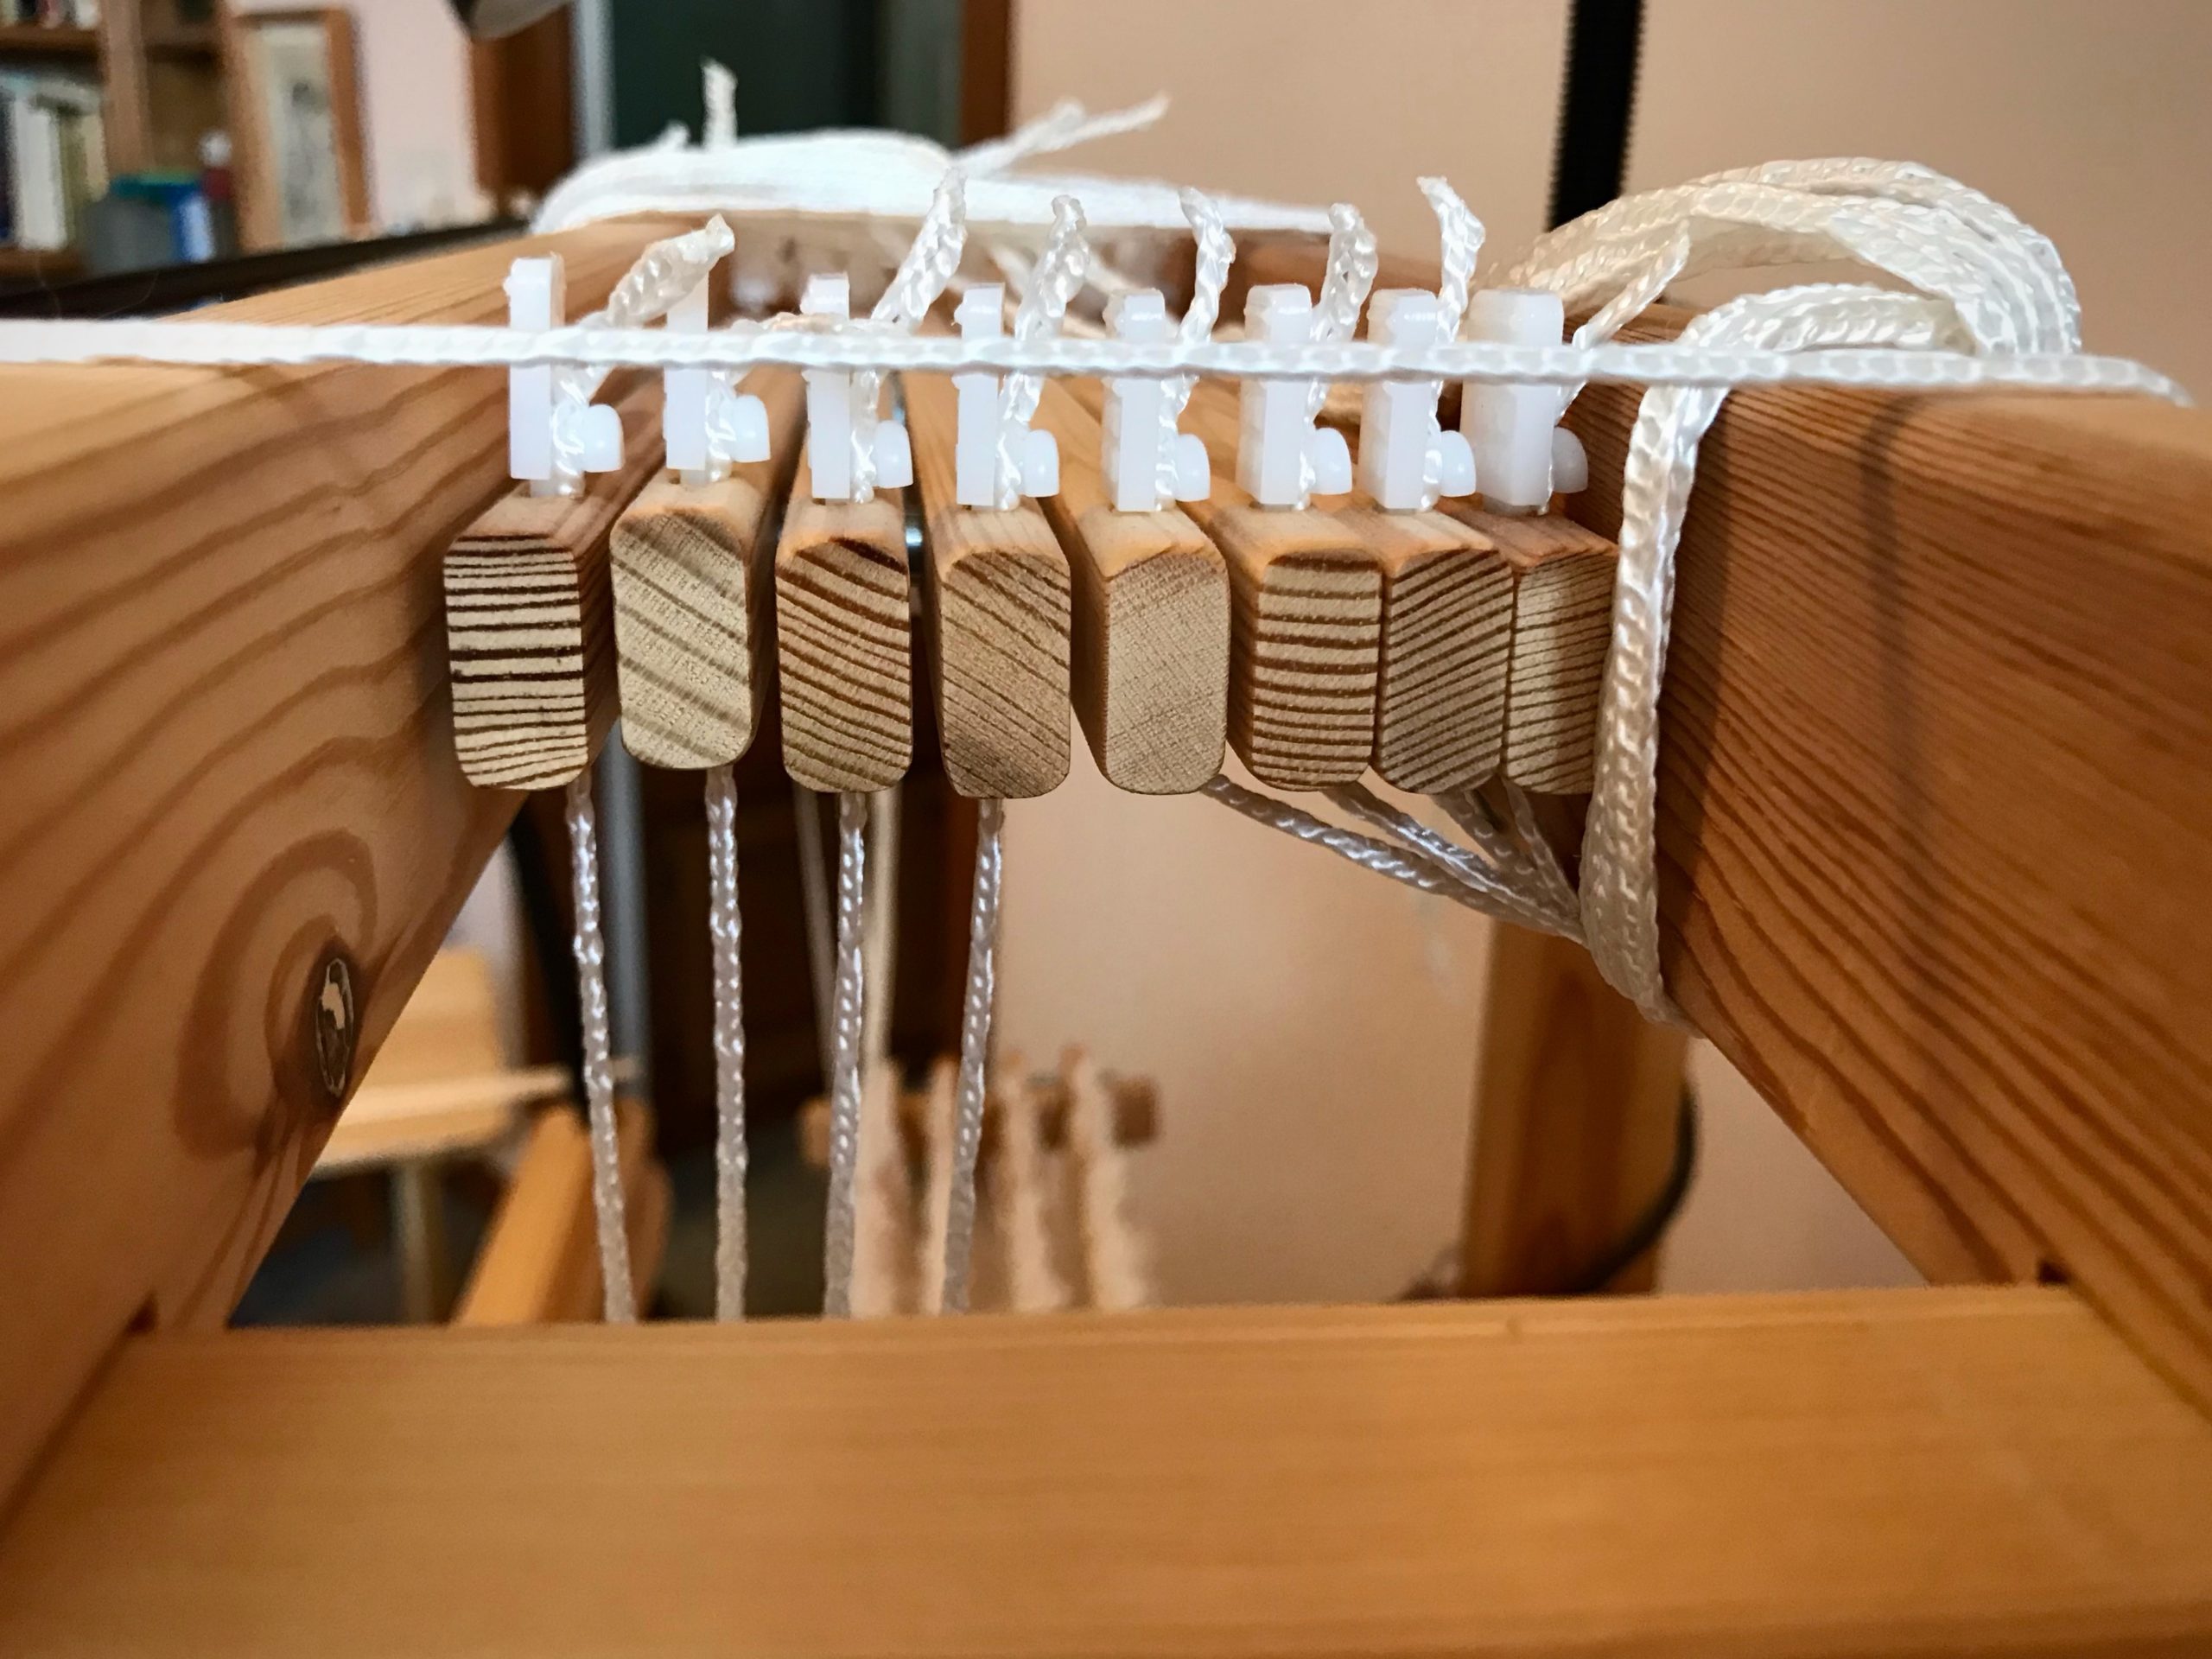
1 Follow each Texsolv cord, starting from the countermarch at top of the loom.
All the shafts are good to go, right? Not quite. Better see what’s happening at the top of those Texsolv cords.
2 Make sure that each cord is connected in the right order at the right place.
Is the first countermarch jack connected to the first shaft, the second jack to the second shaft, and so on?
Misaligned cords as seen from the top of the loom.
Are the cords that go to the lower lamms strictly in order?
– With horizontal countermarch, does each cord fall behind the shafts in order?
Cords from the horizontal countermarch go through the center of the warp, to be attached to lower lamms below.Make sure each cord goes behind its corresponding shaft bars to the lamms below. When attaching the cords to the lamms, make sure the cords are attached in the correct order. If loom is already tied up, follow each cord to check that it is attached to its corresponding lamm.
– With vertical countermarch, is each cord on its pulley, and connected to lamms in the right order?
Vertical countermarch has cords that go over pulleys on the side down to the lower lamms. I have to be extra careful to keep from attaching a cord to the wrong lamm.
3 Correct any misaligned cord.
Now, step on each treadle, one by one. Decent sheds that just need a little refining? Triumph!
Helpful Habit
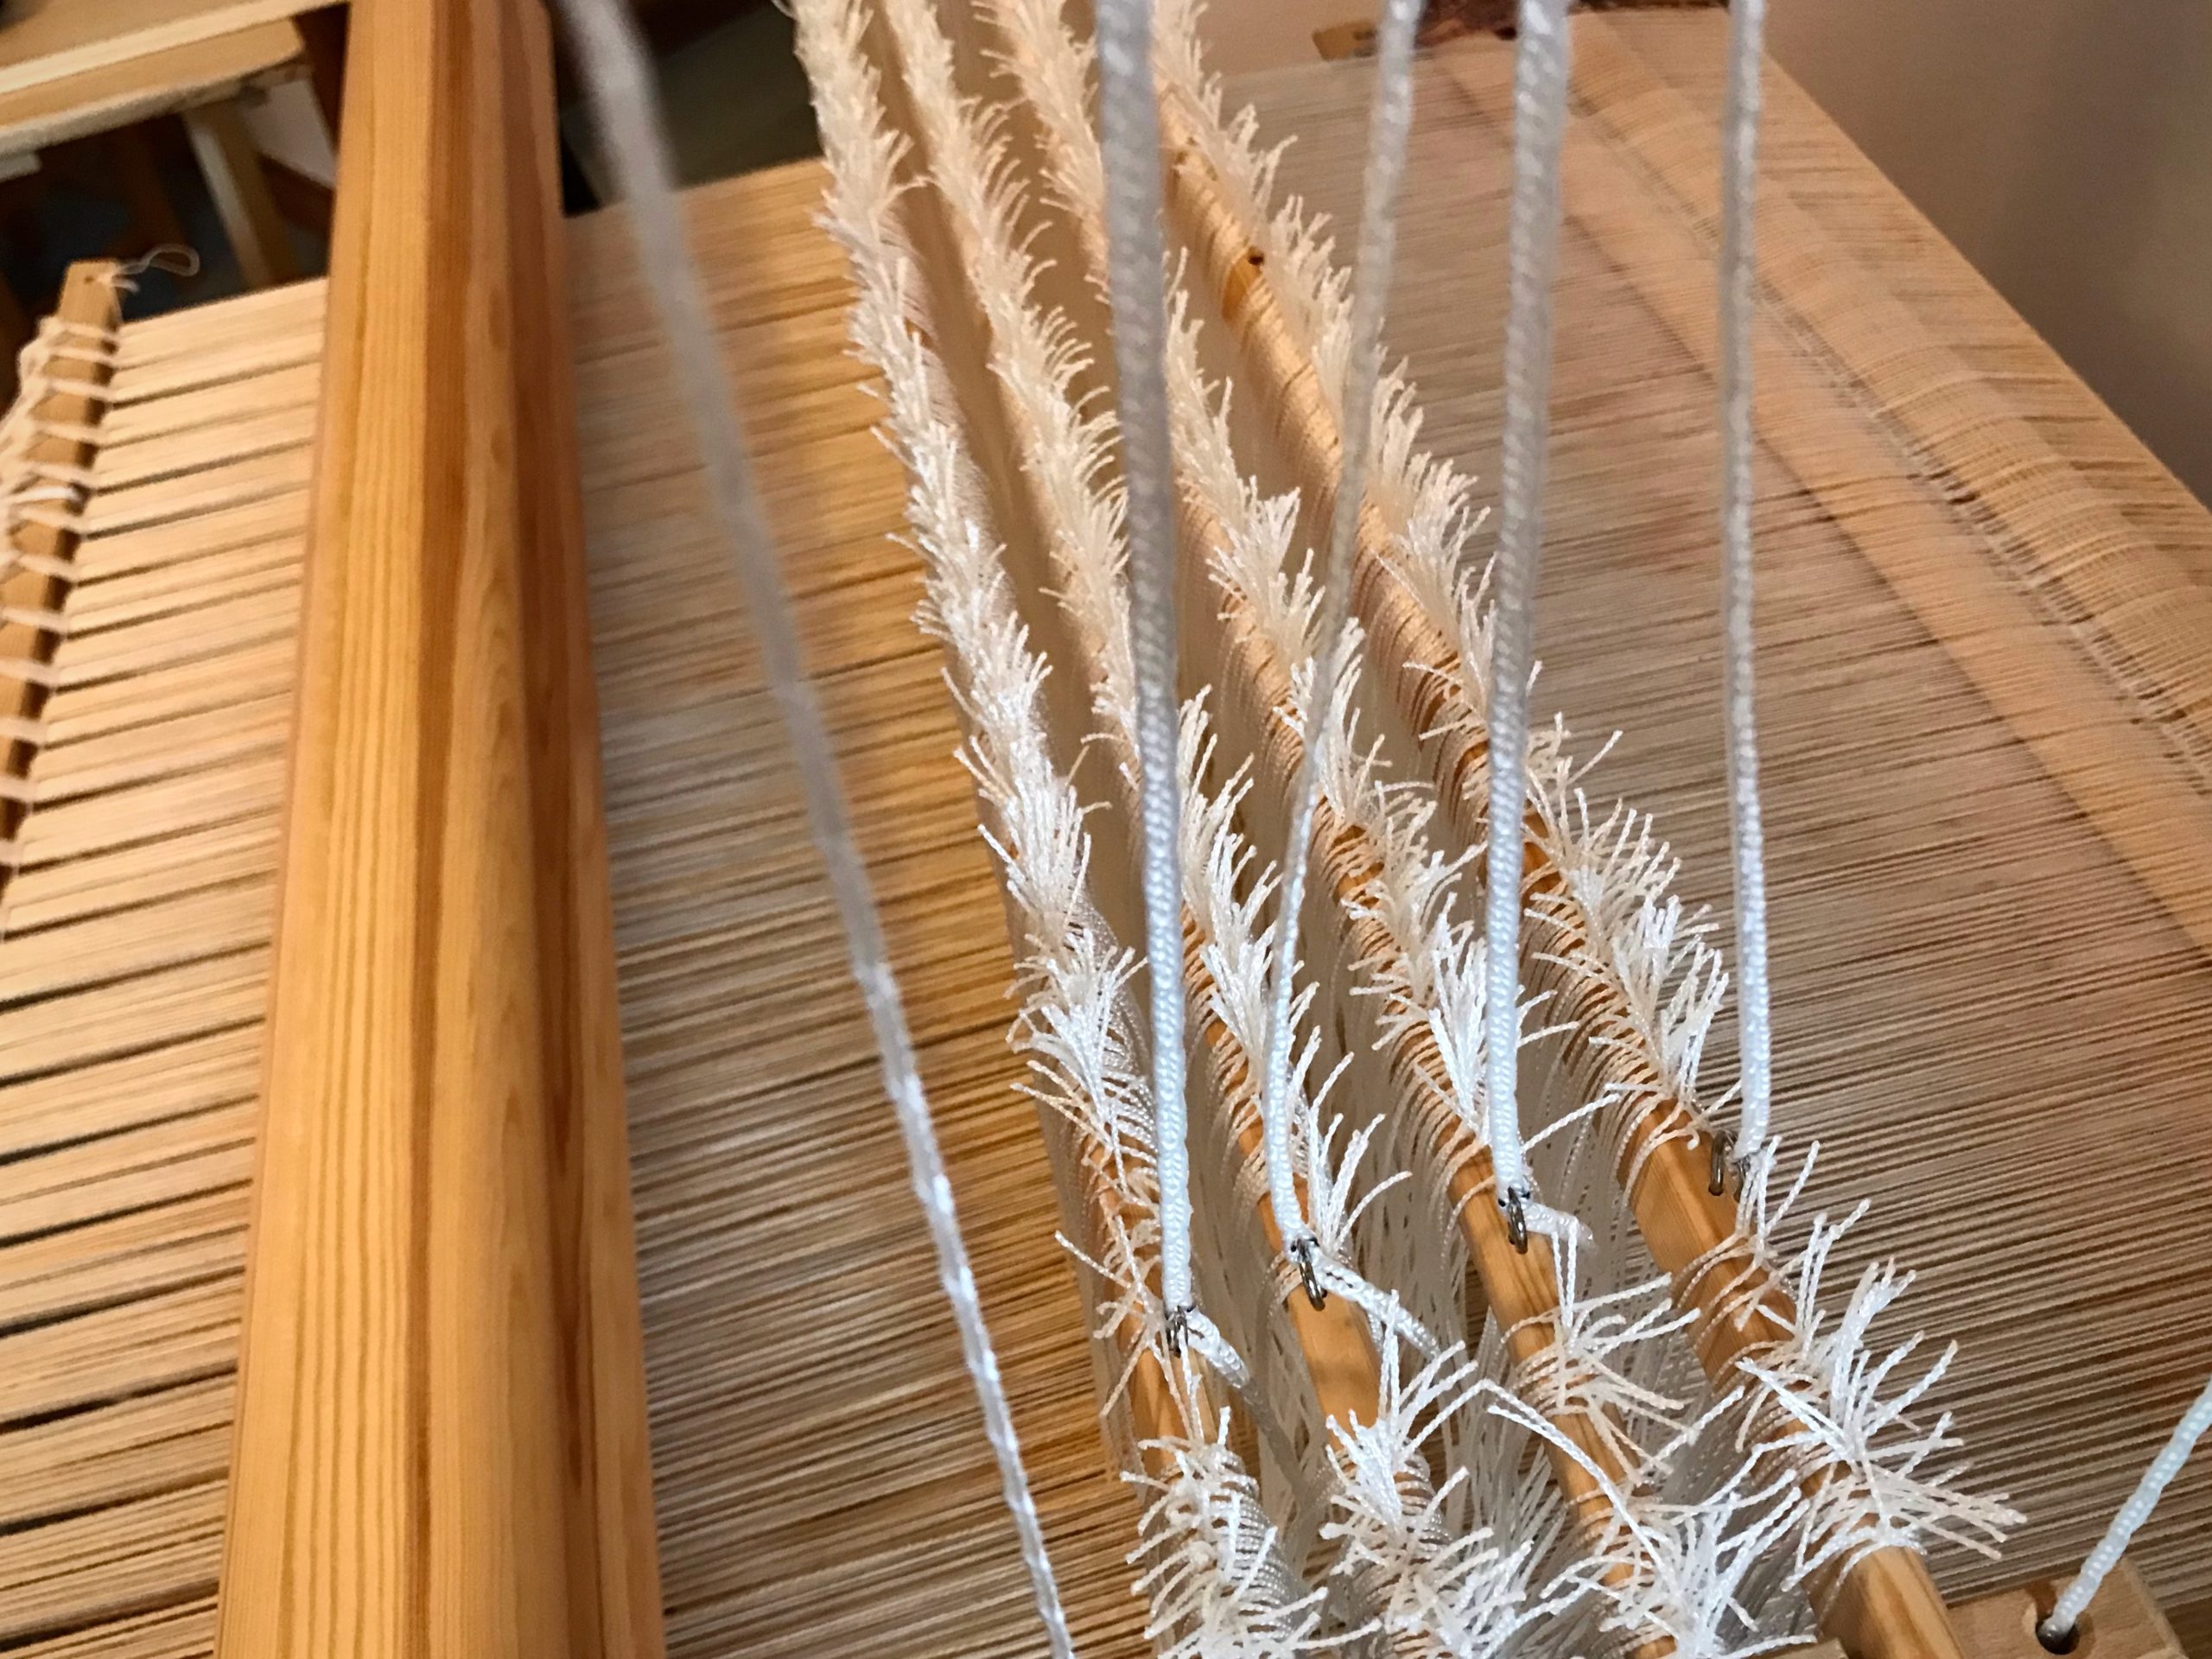
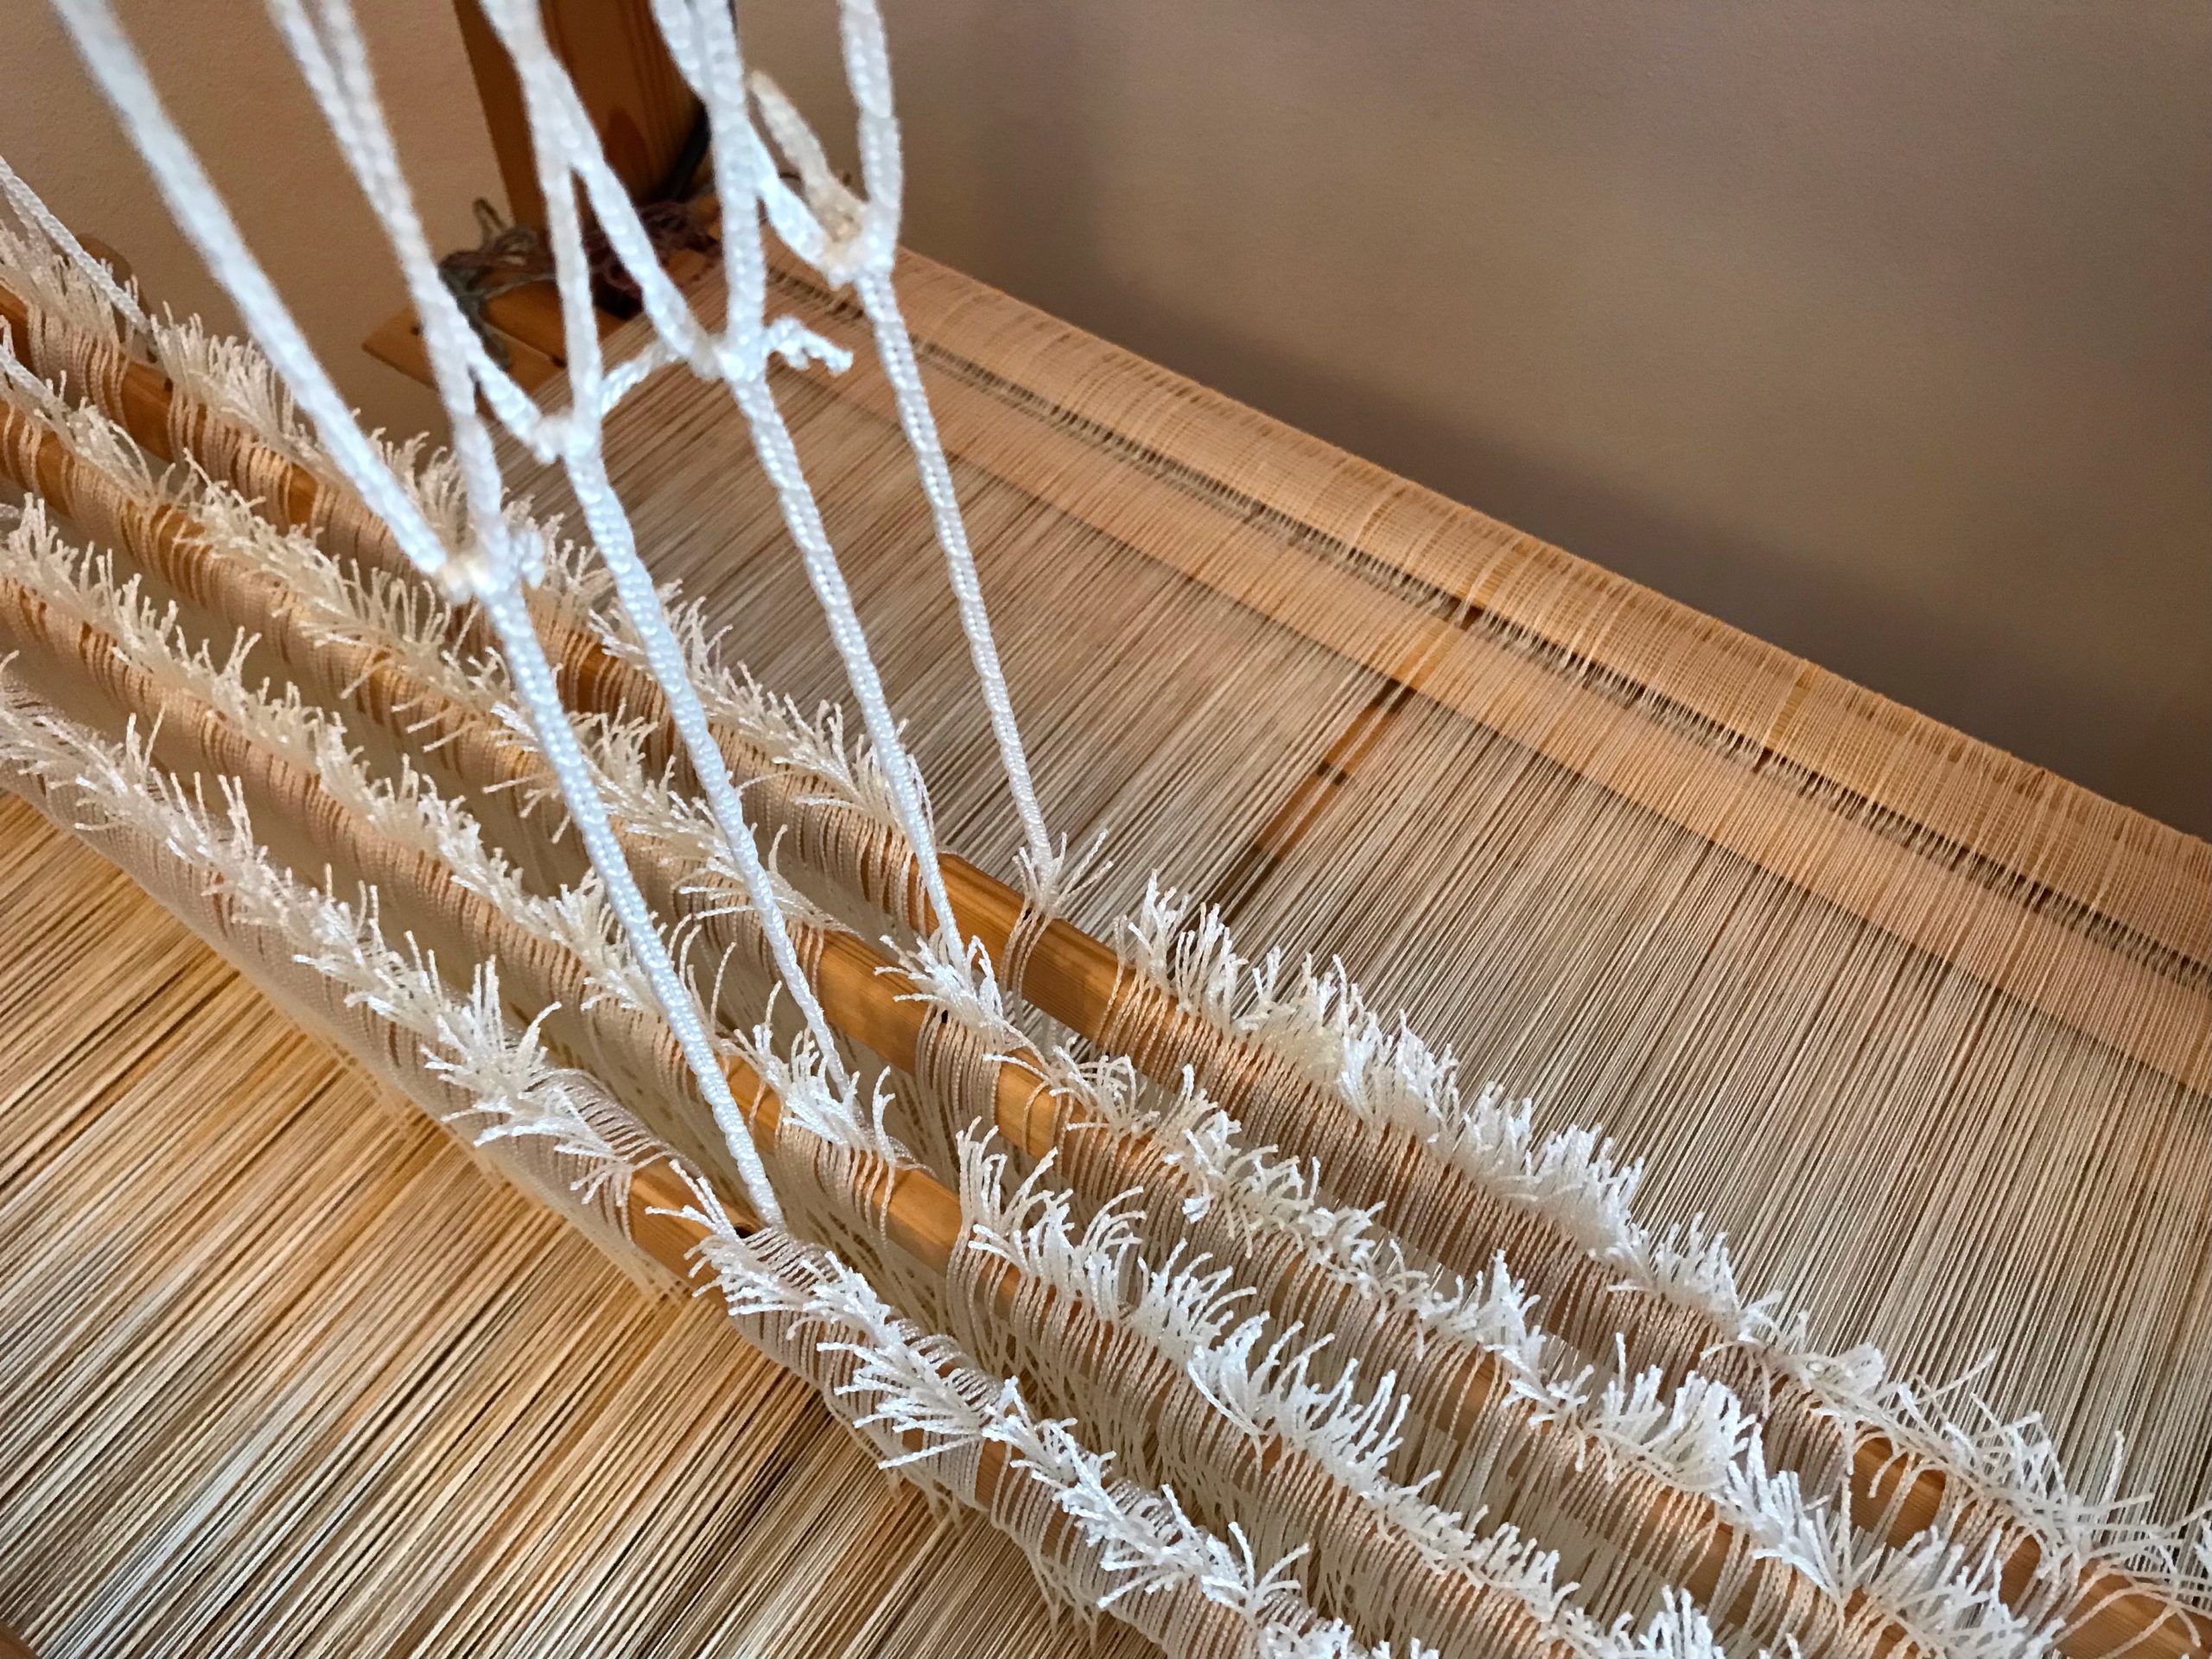
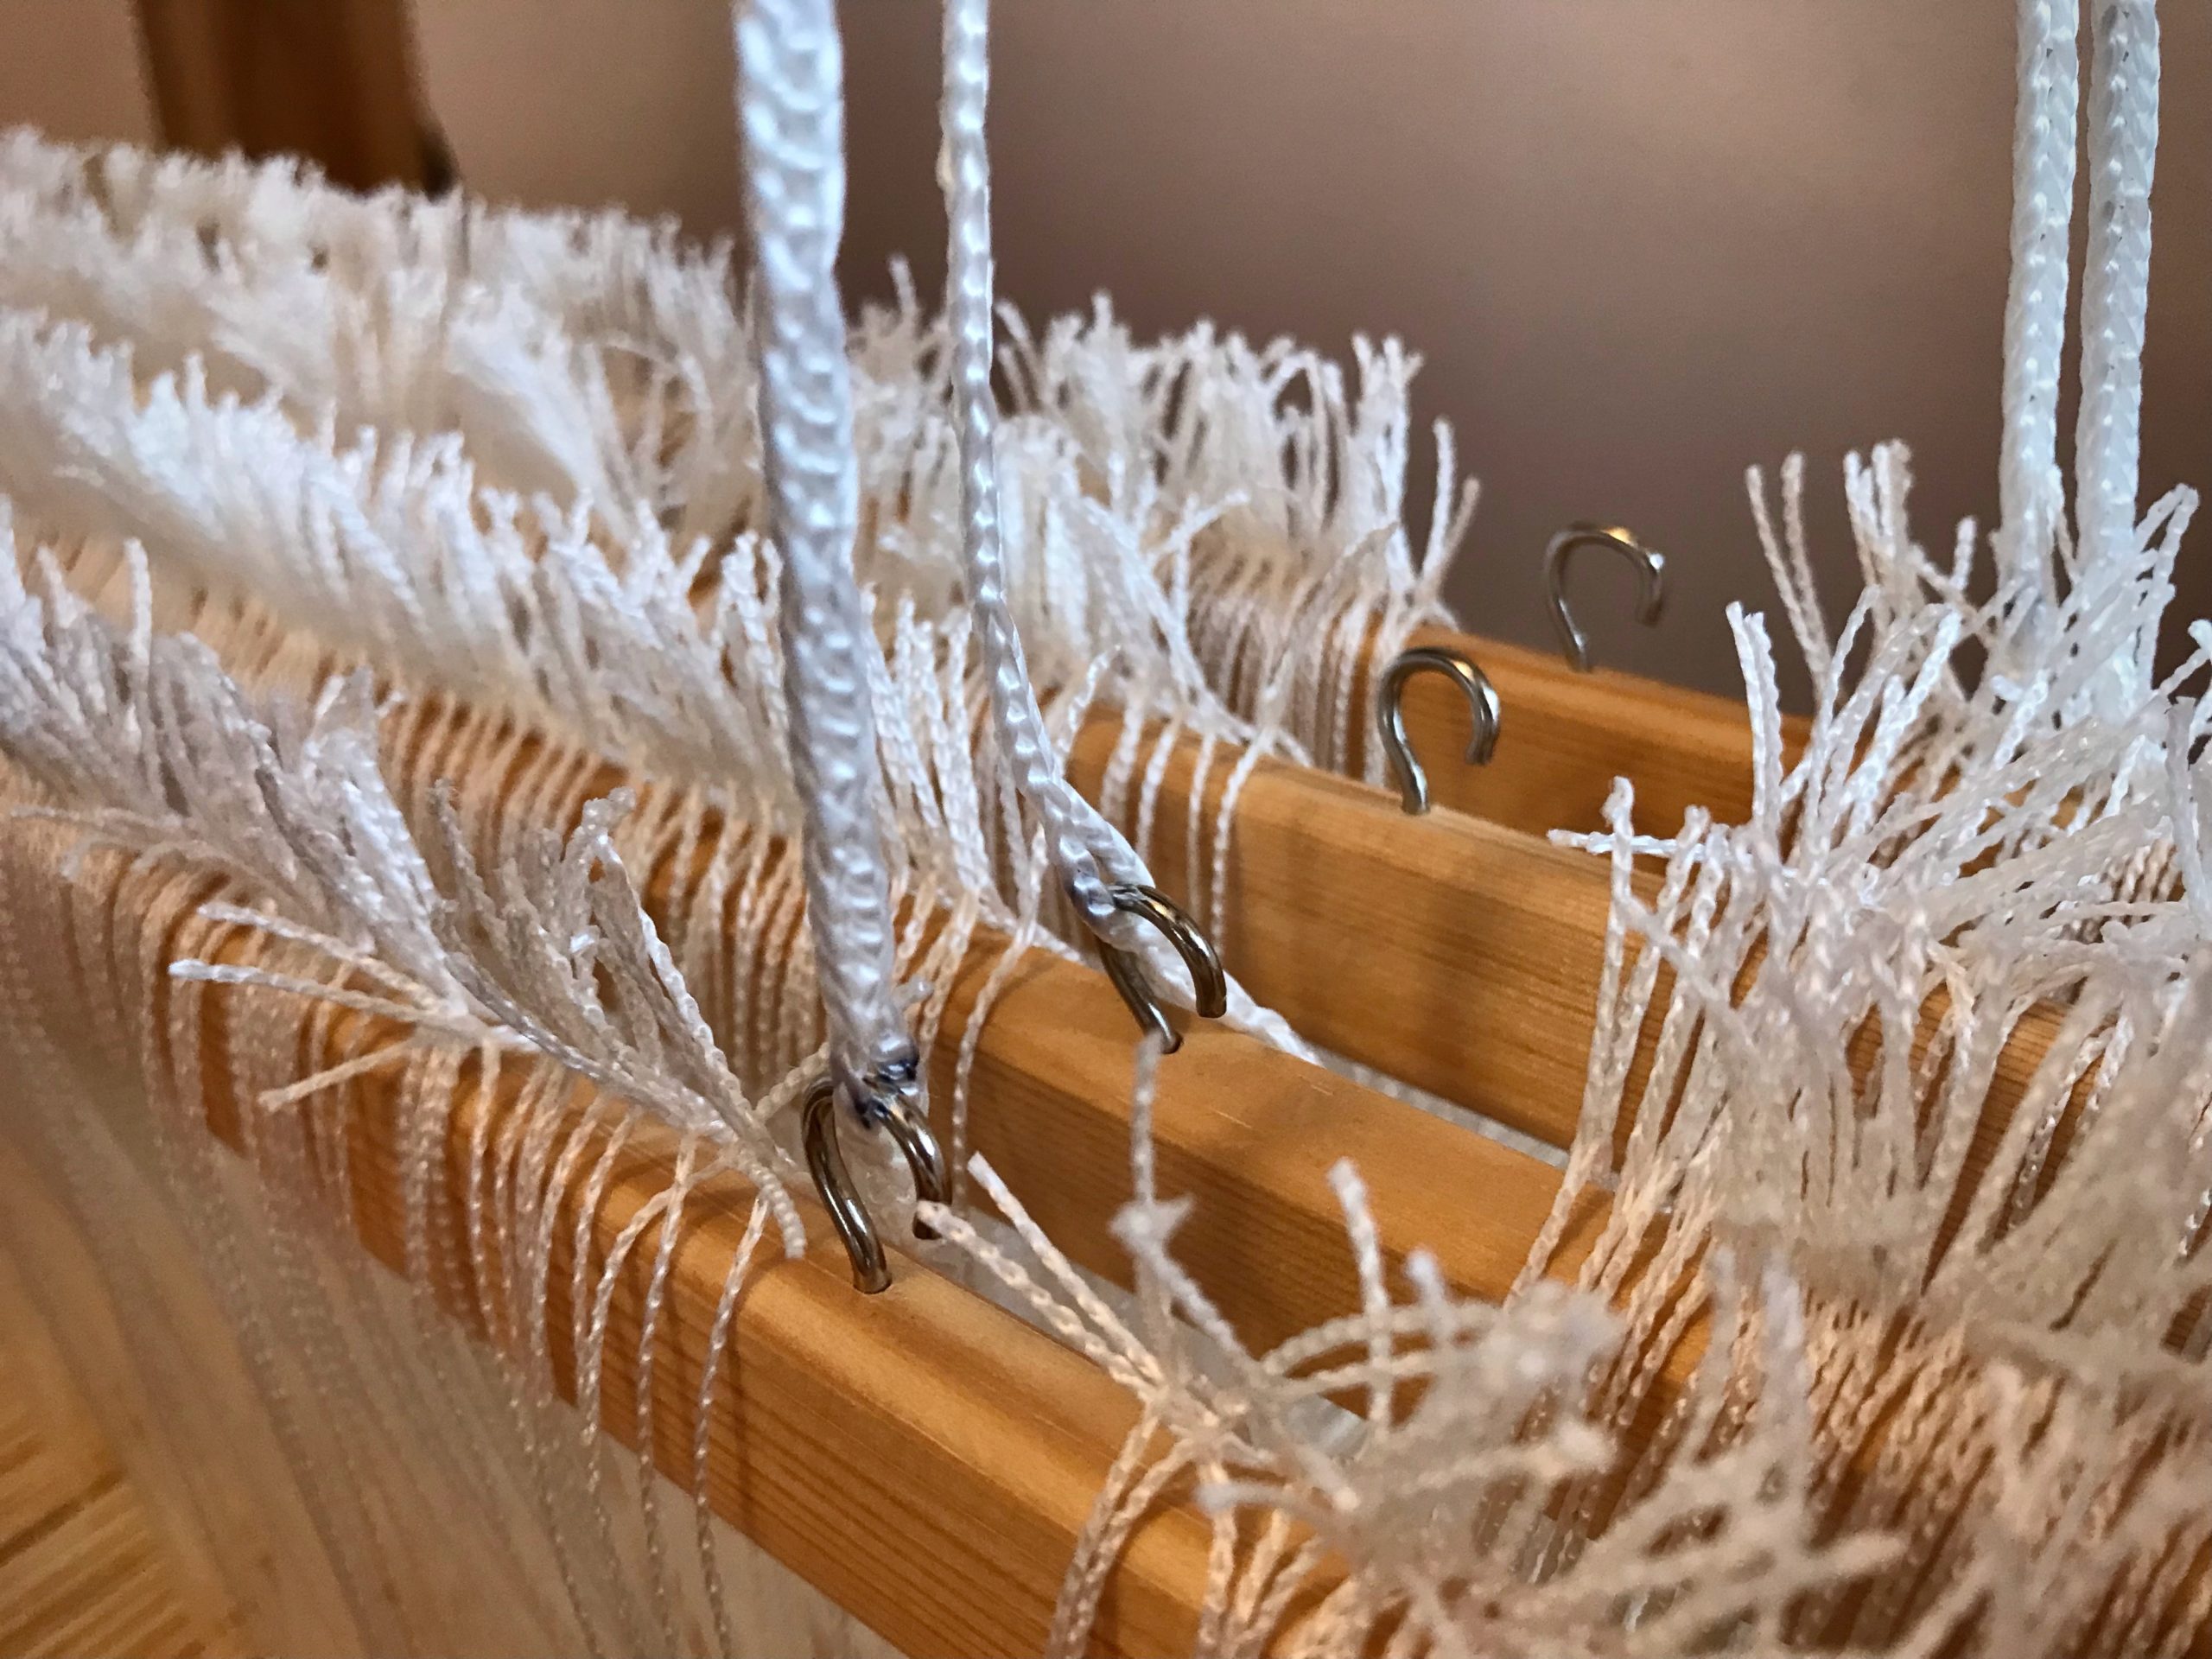
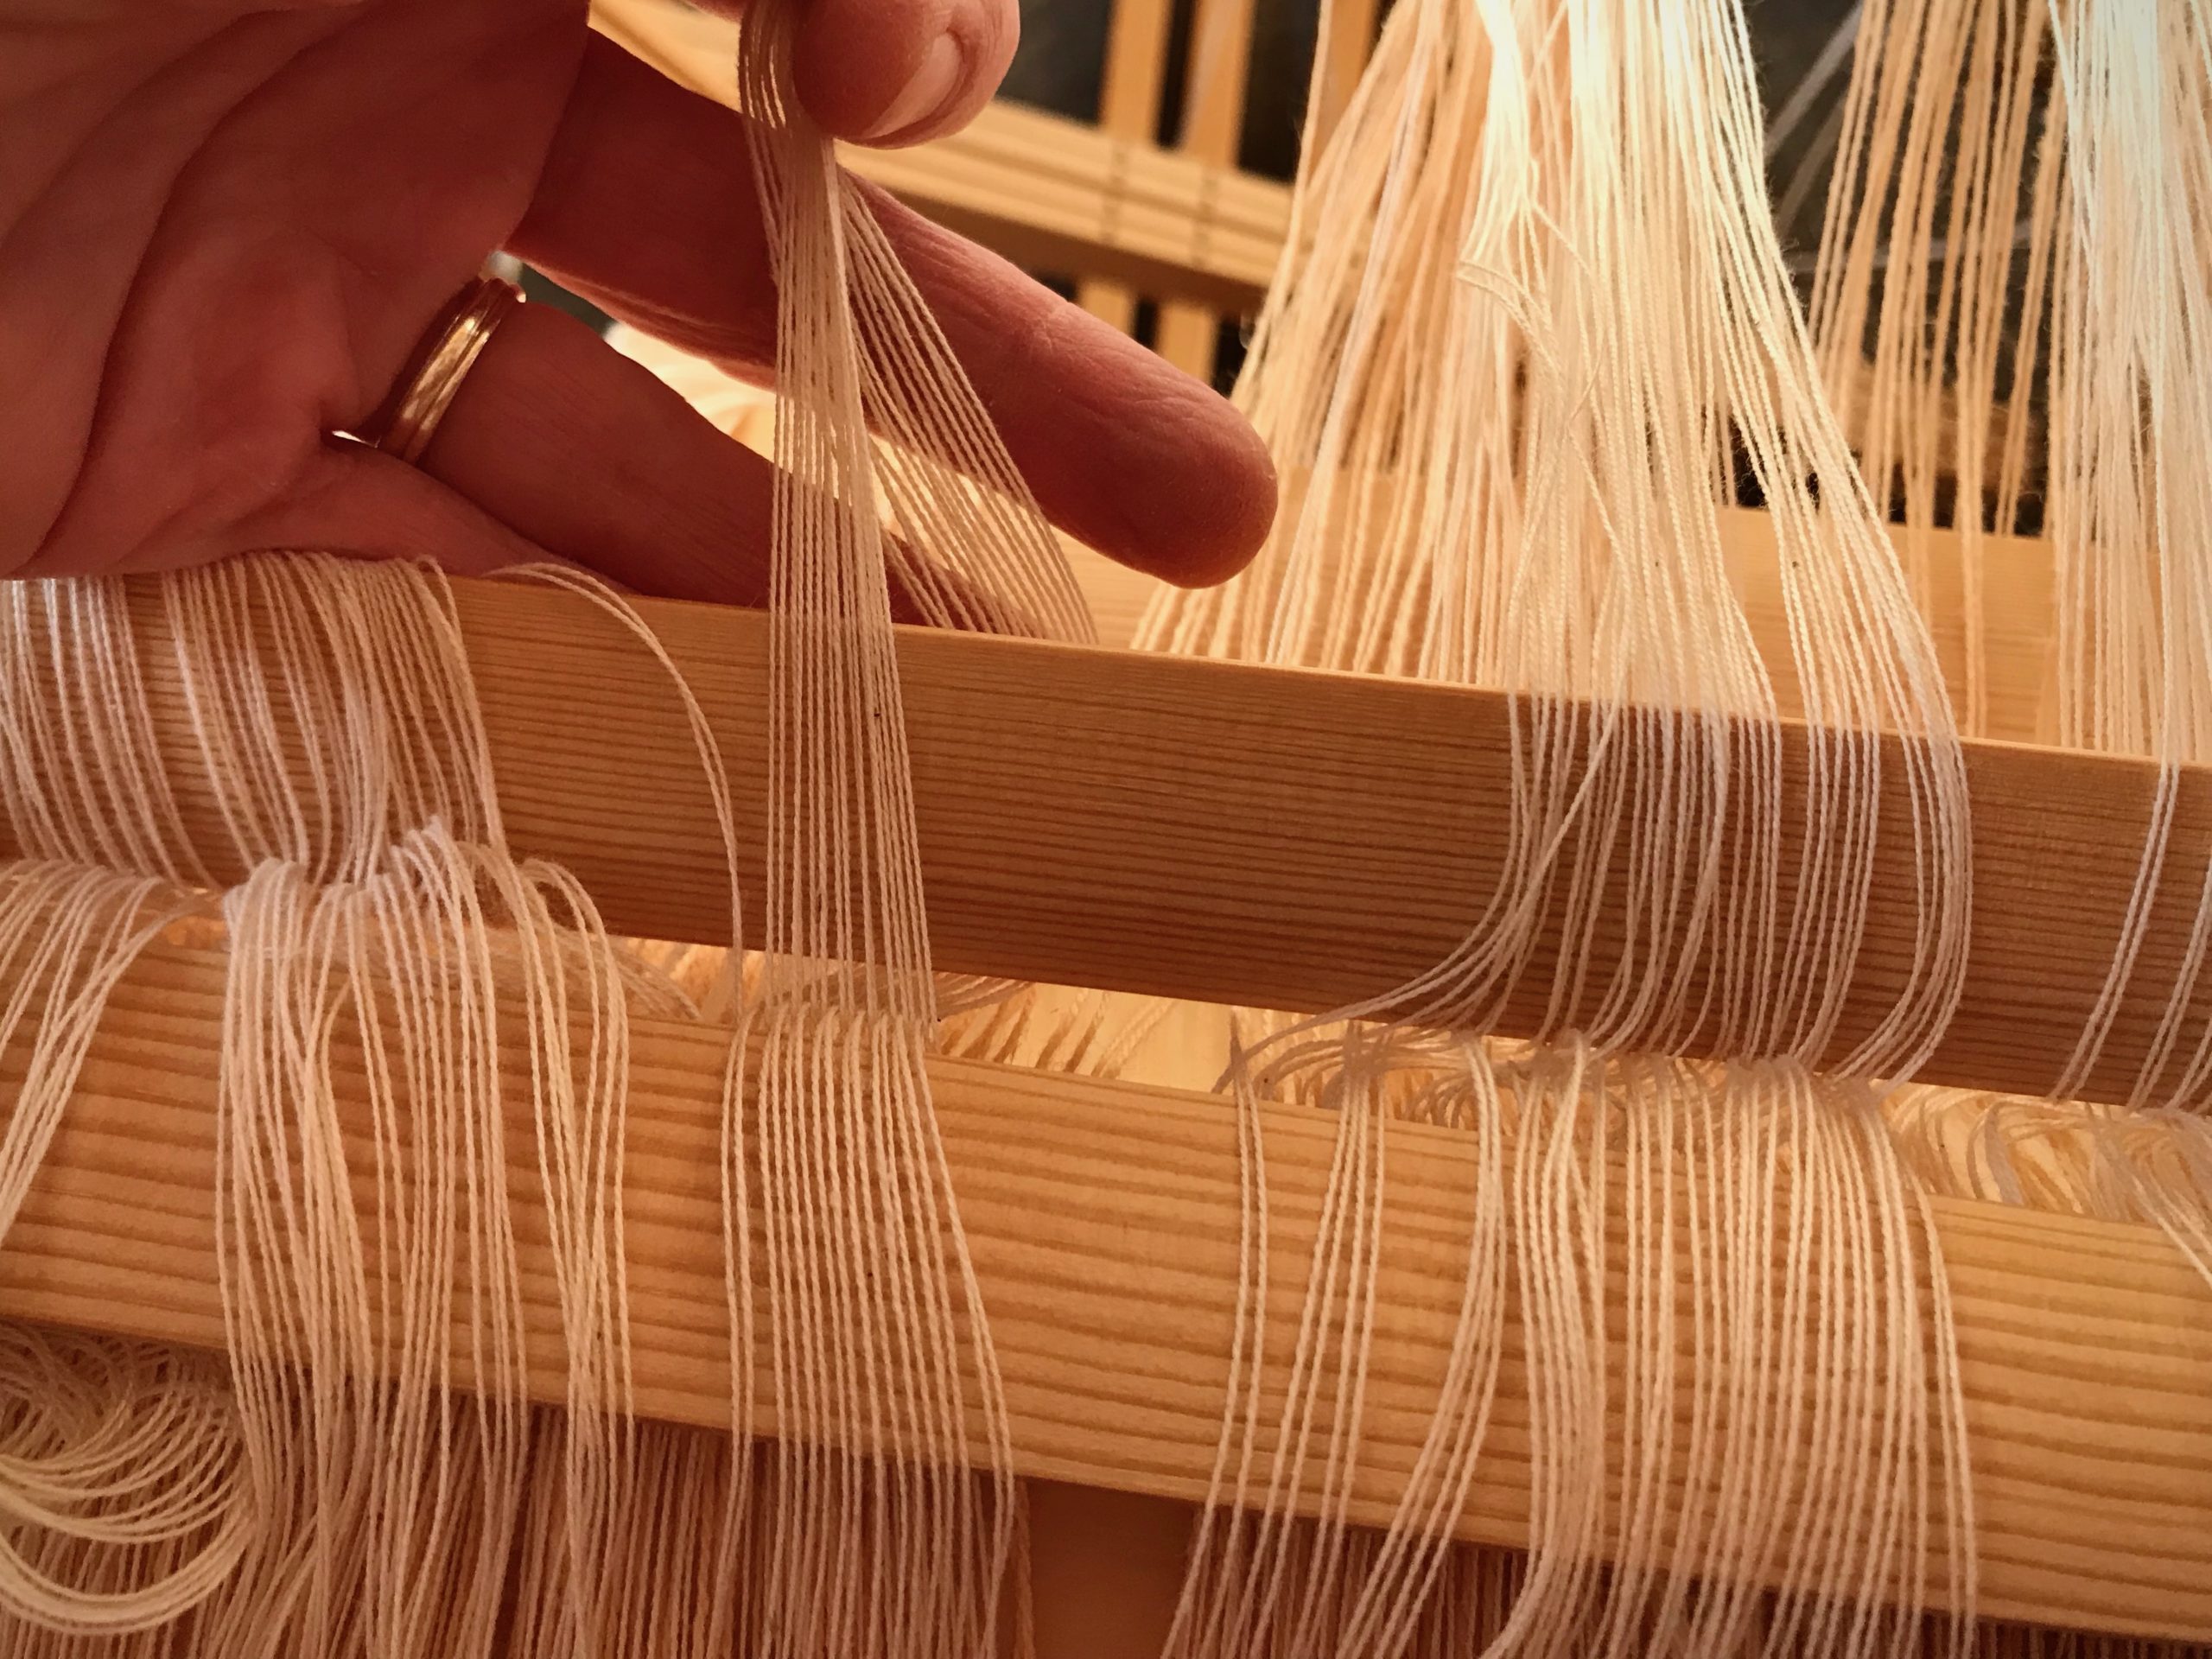
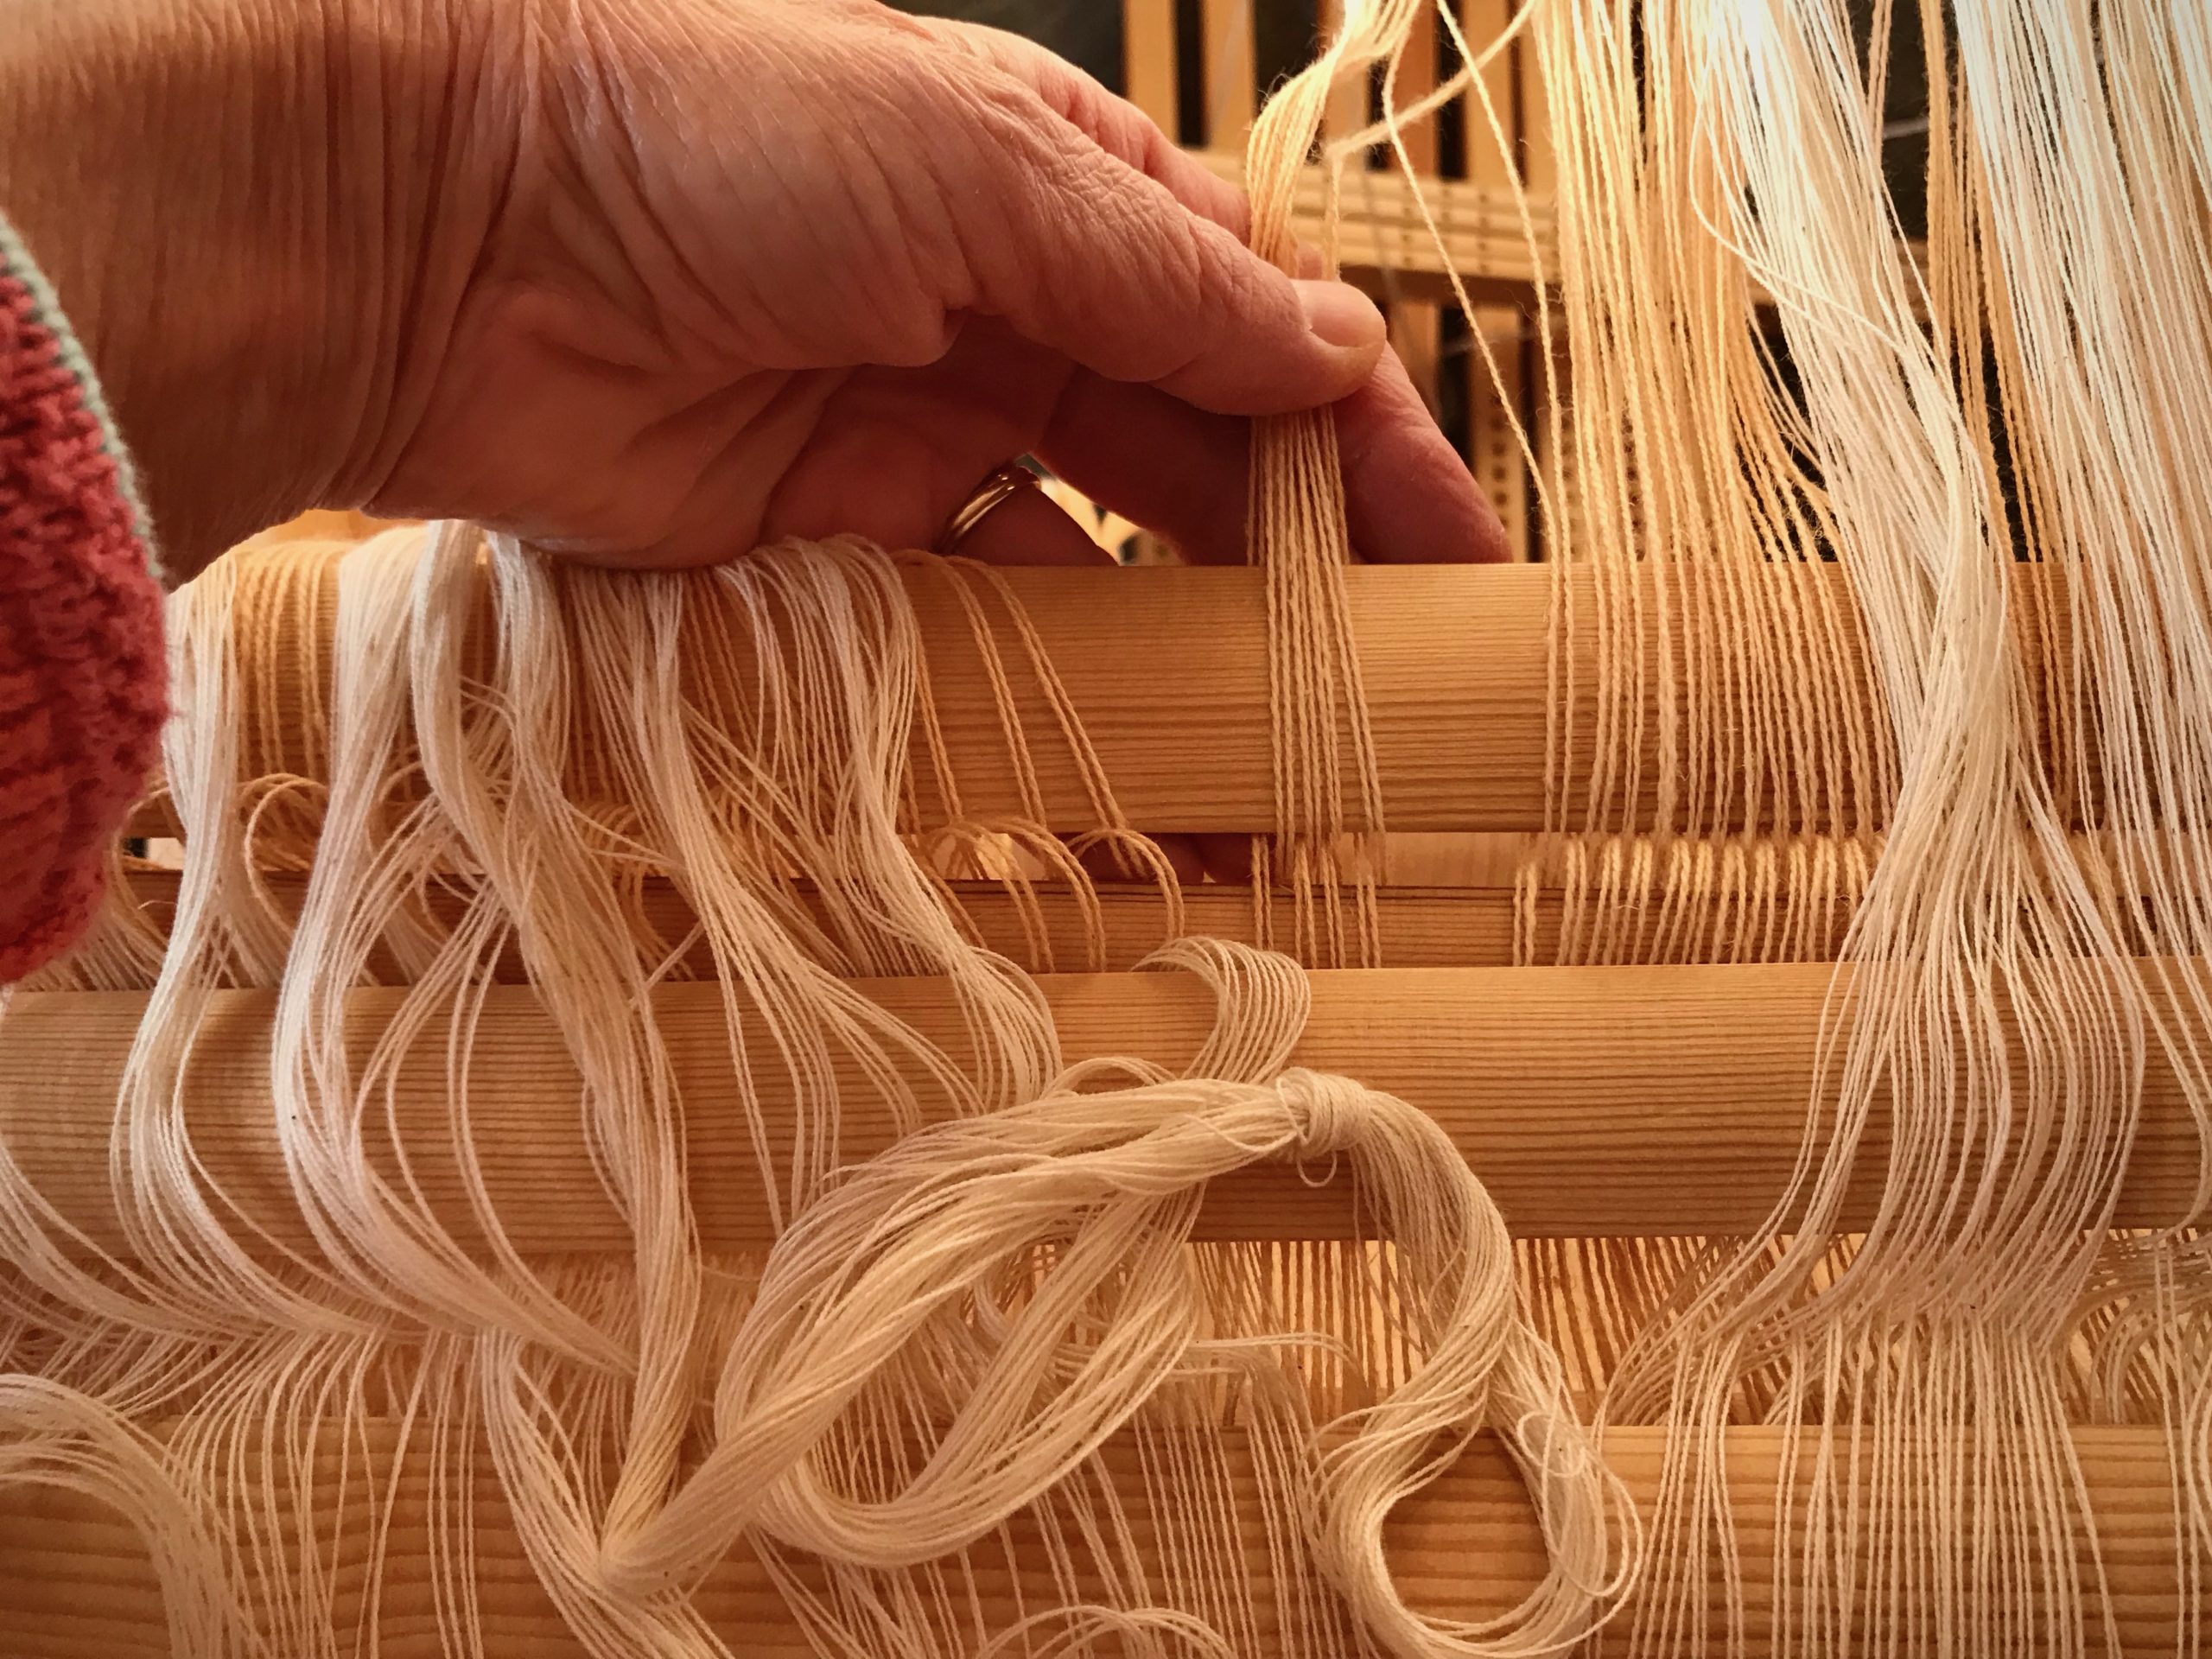
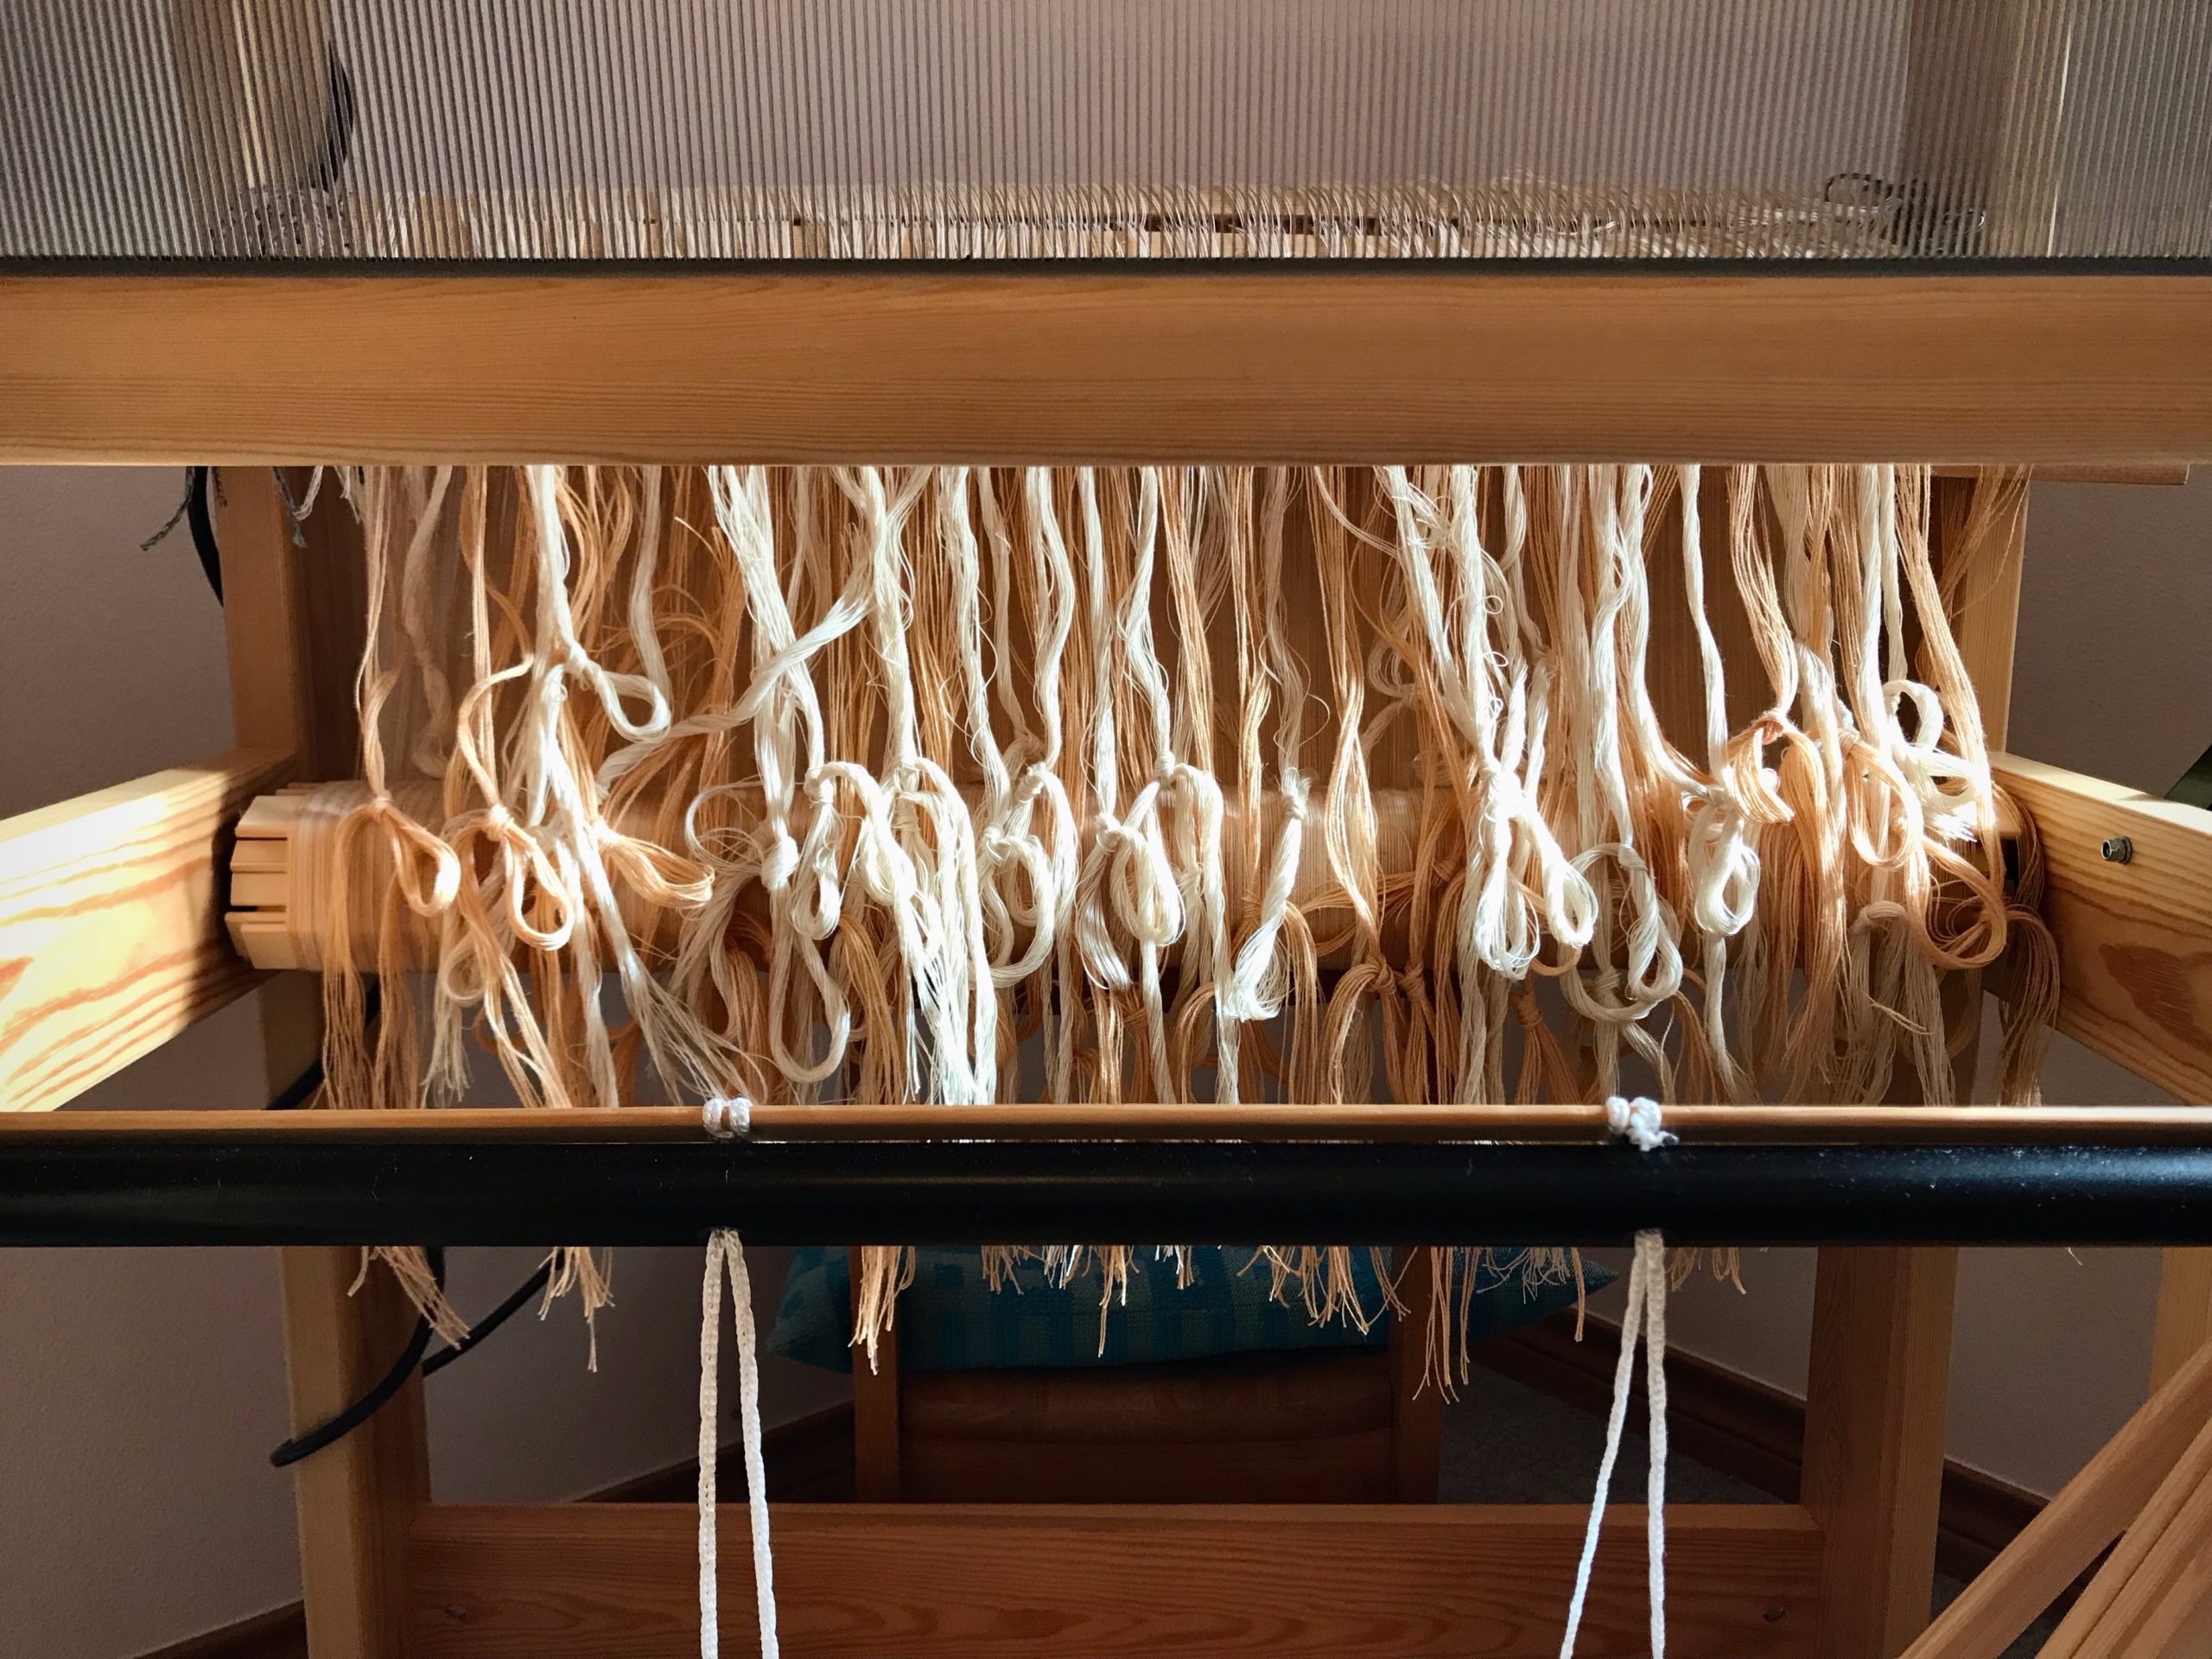
When attaching a cord while dressing the loom, start your hand at the top of the cord and slide it down to the point of connection. This helps you take hold of the correct cord.
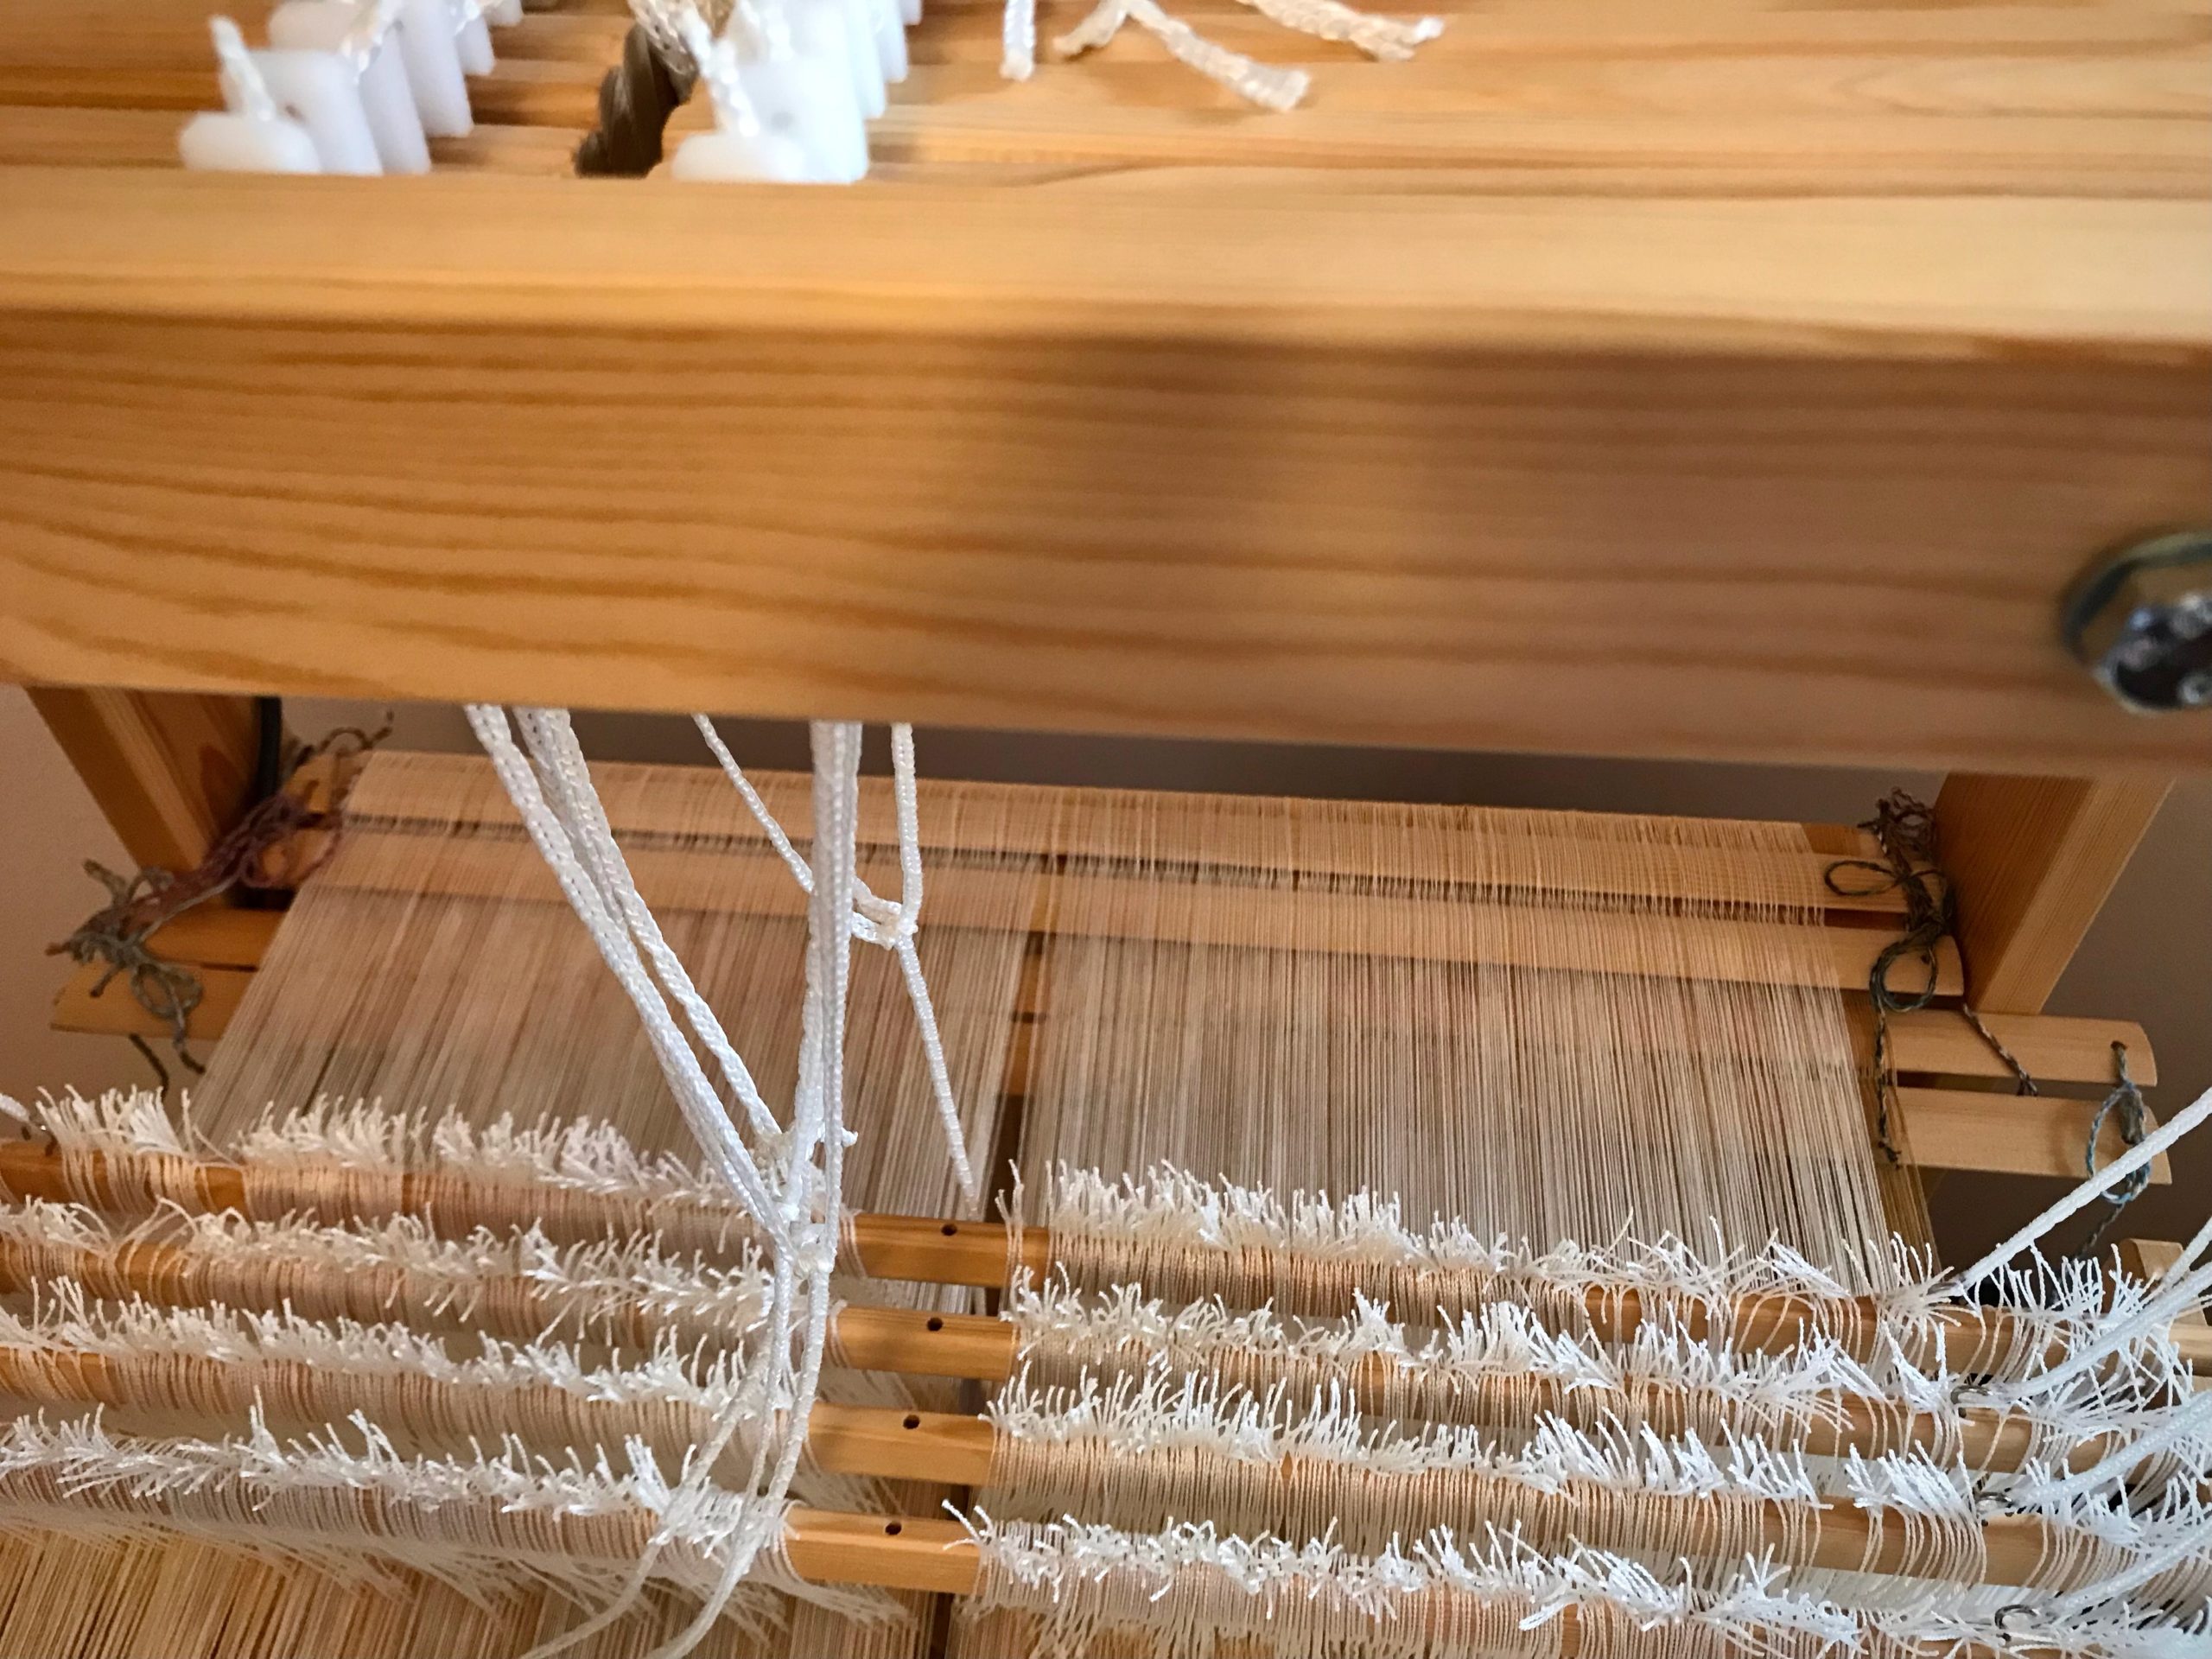
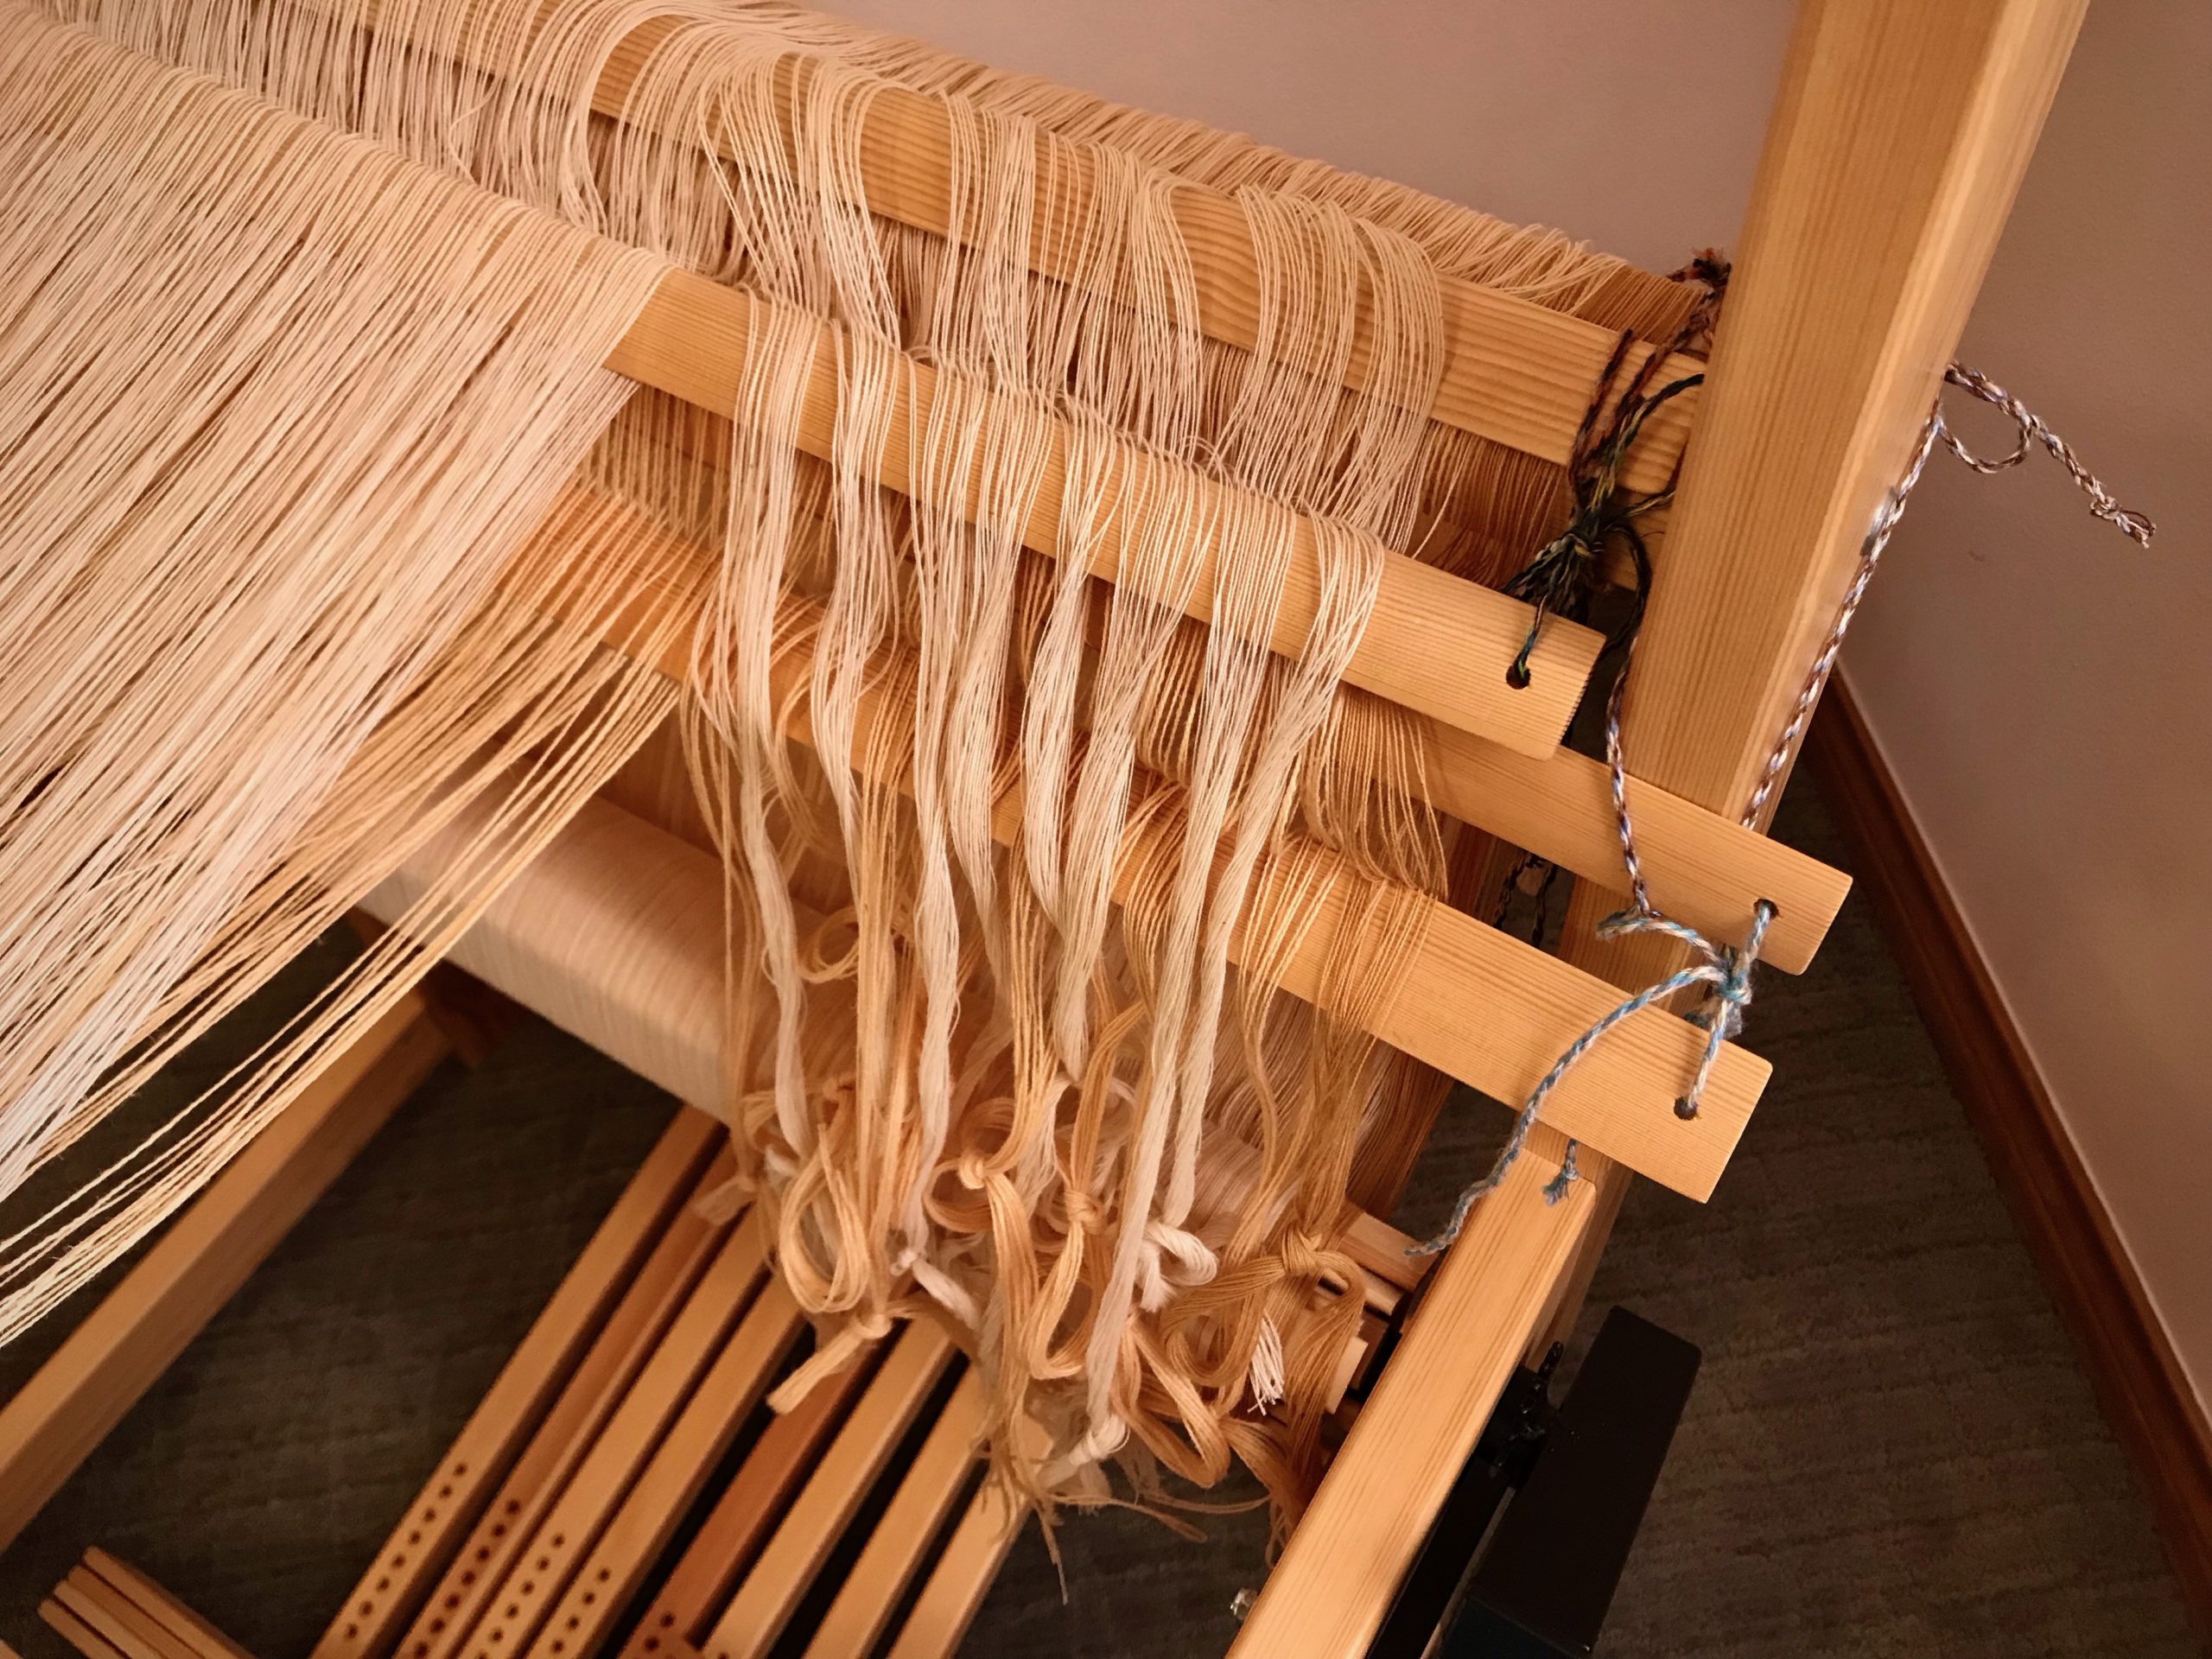
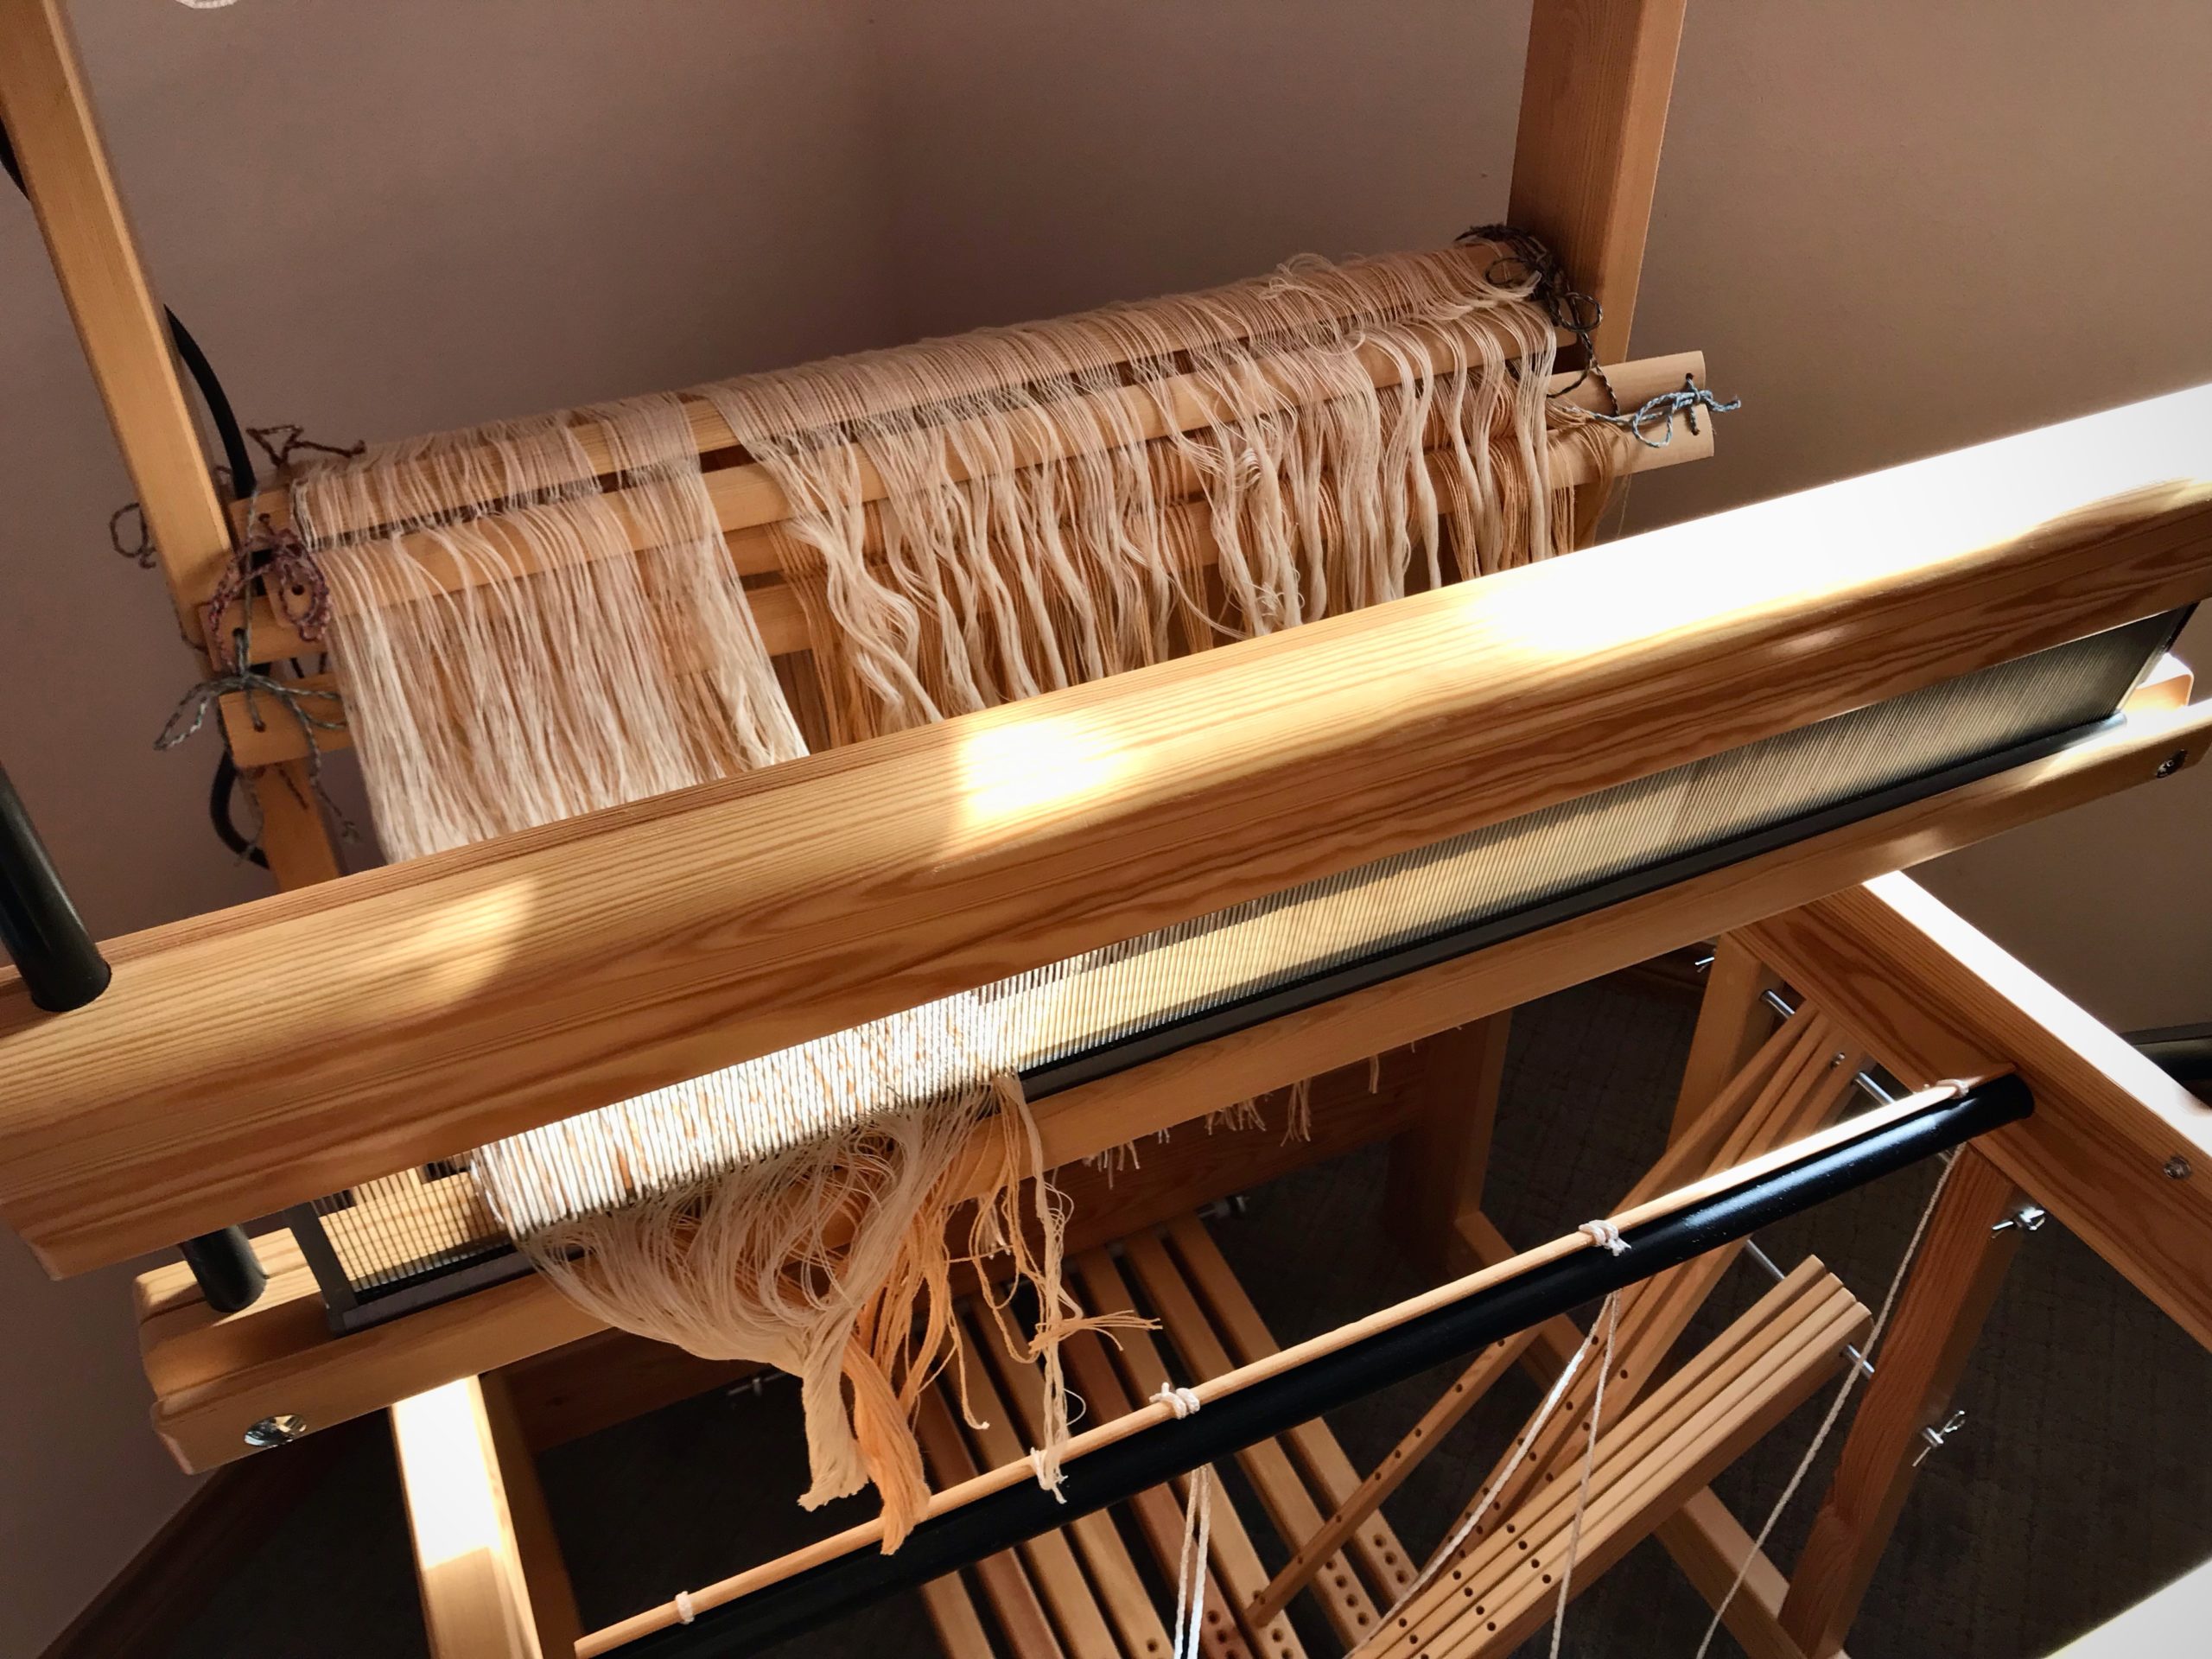
Ready to connect the shaft cords on the Glimåkra Julia, made easy by the small hooks on the shaft bars. Instead of expecting the cords to hang straight down in order, I reach my hand up to the top of the cord.Touching where the cord meets the wood, I know I have the correct cord for the shaft closest to the front of the loom. I do the same for the next cord.My hand slides down the cord and I connect the cord to the correct shaft. Now, all that’s left is tying up the treadles. Then, we weave!
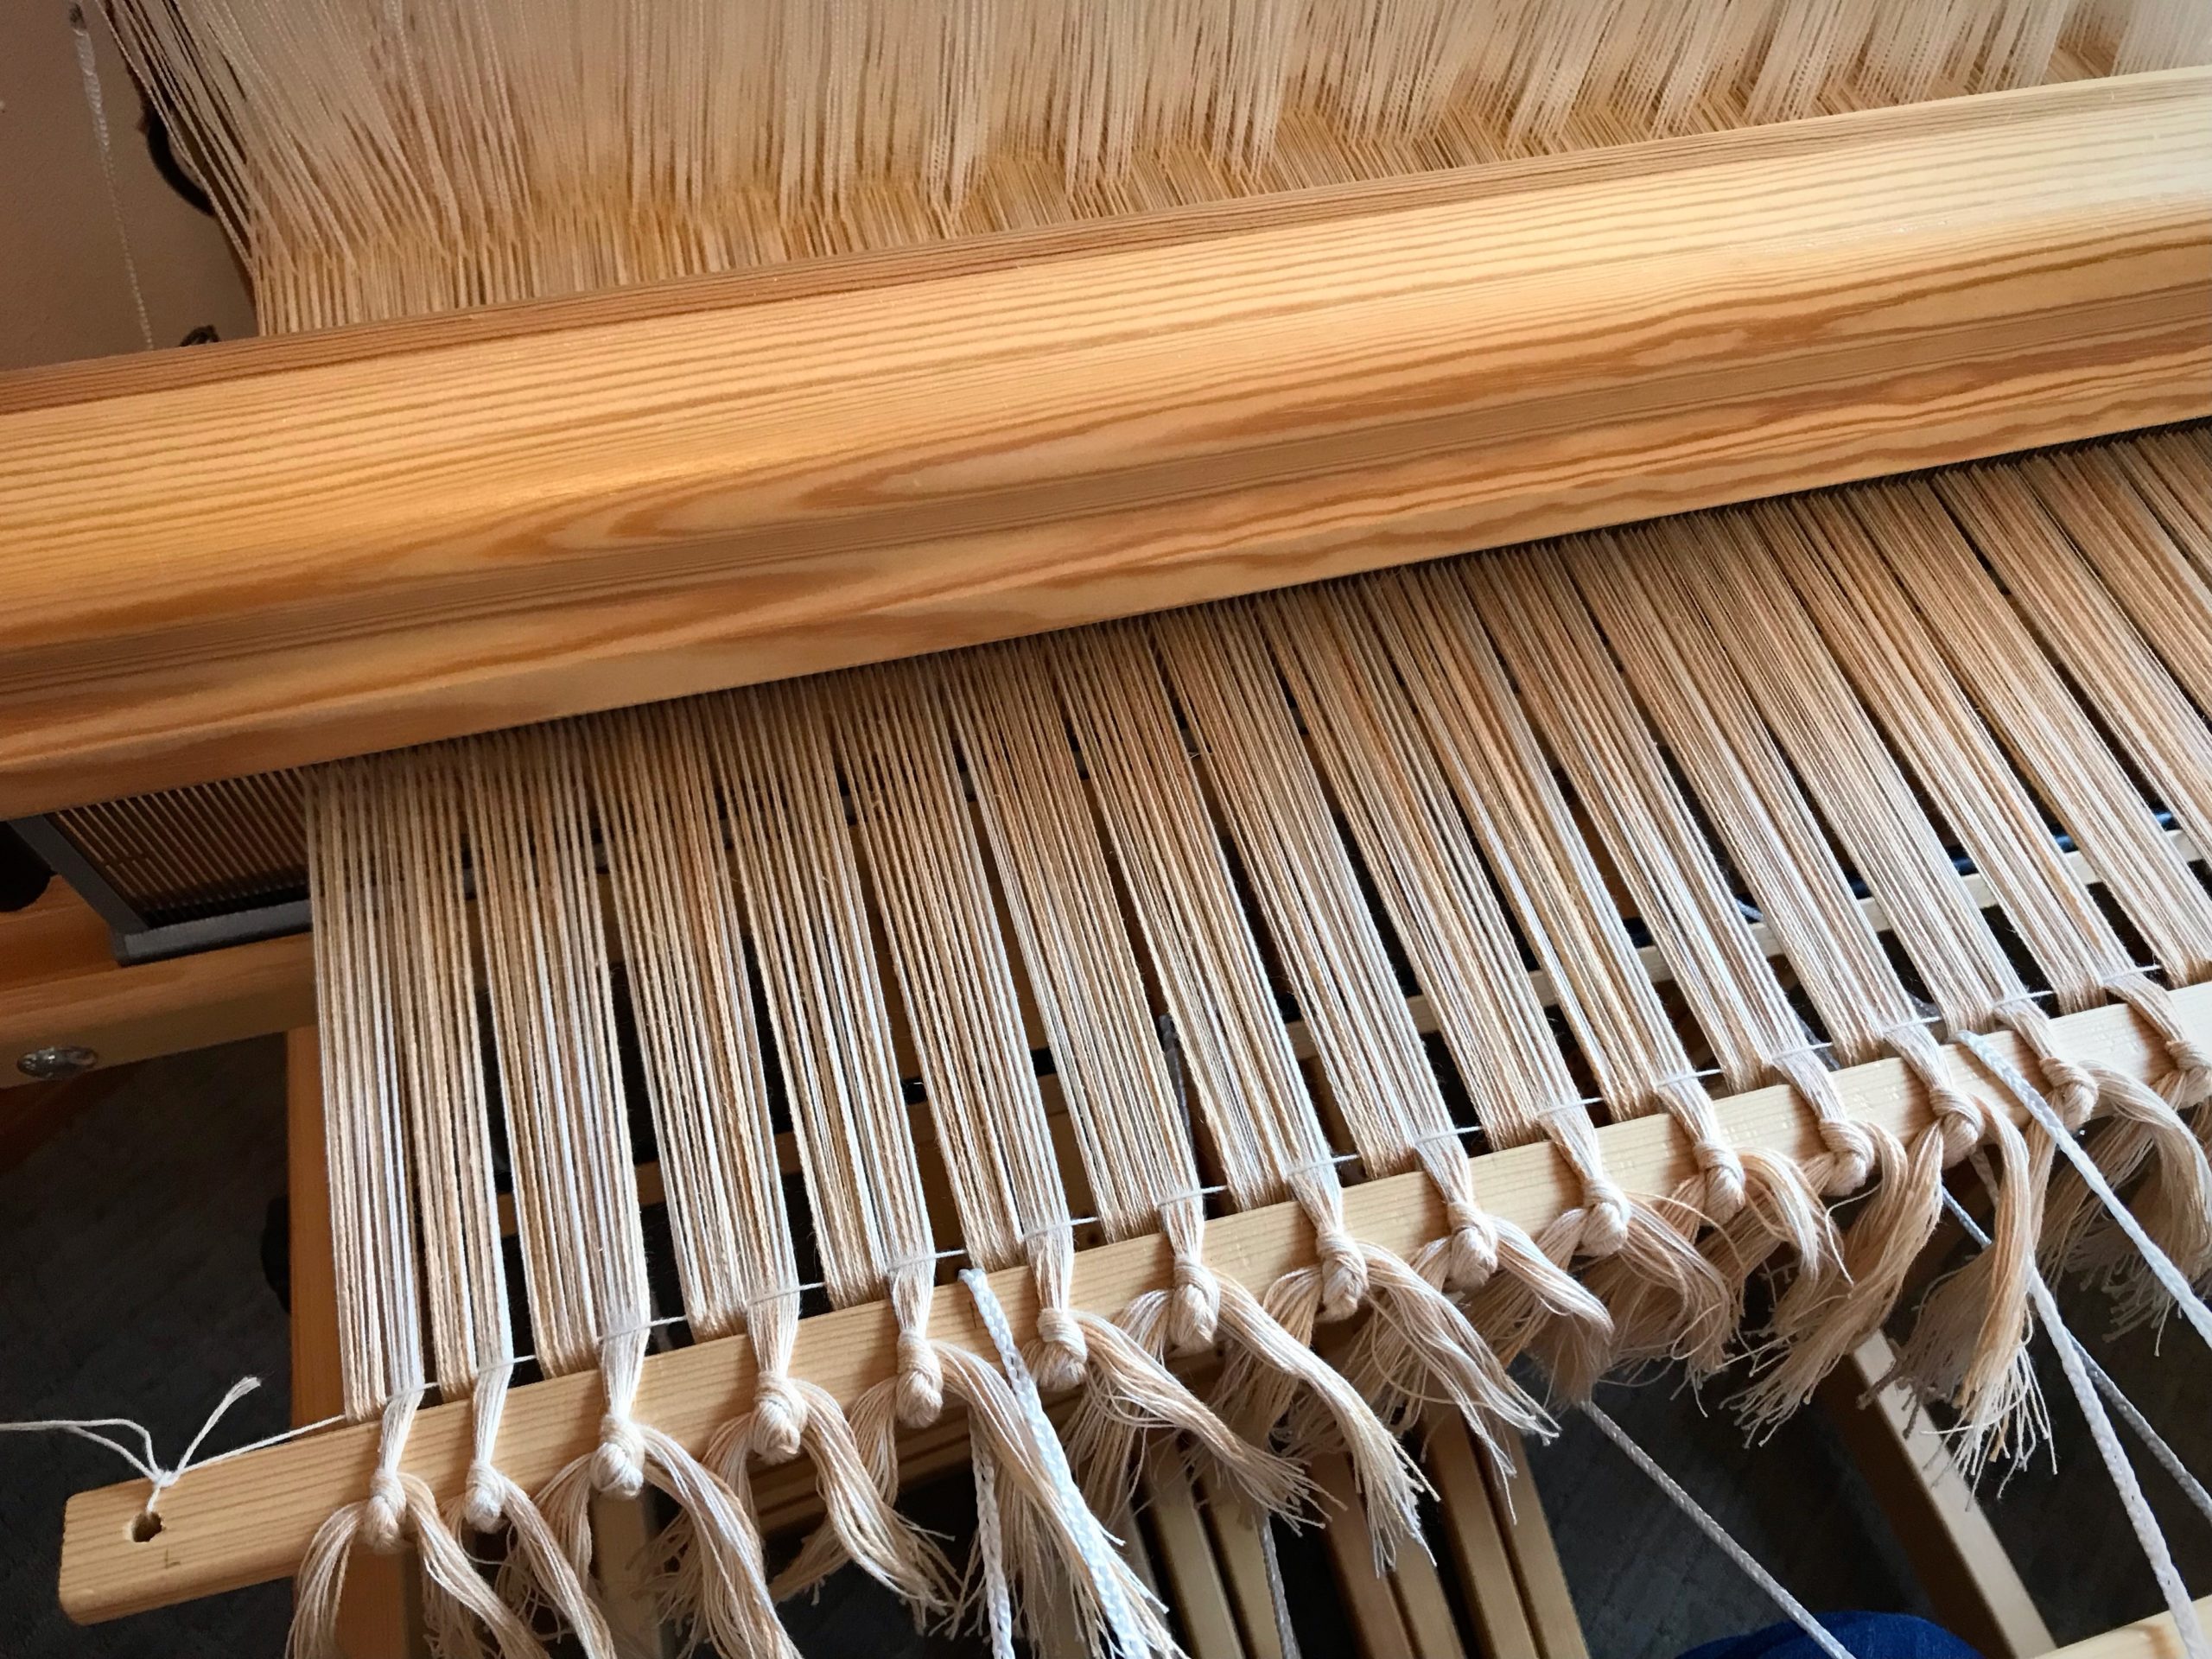
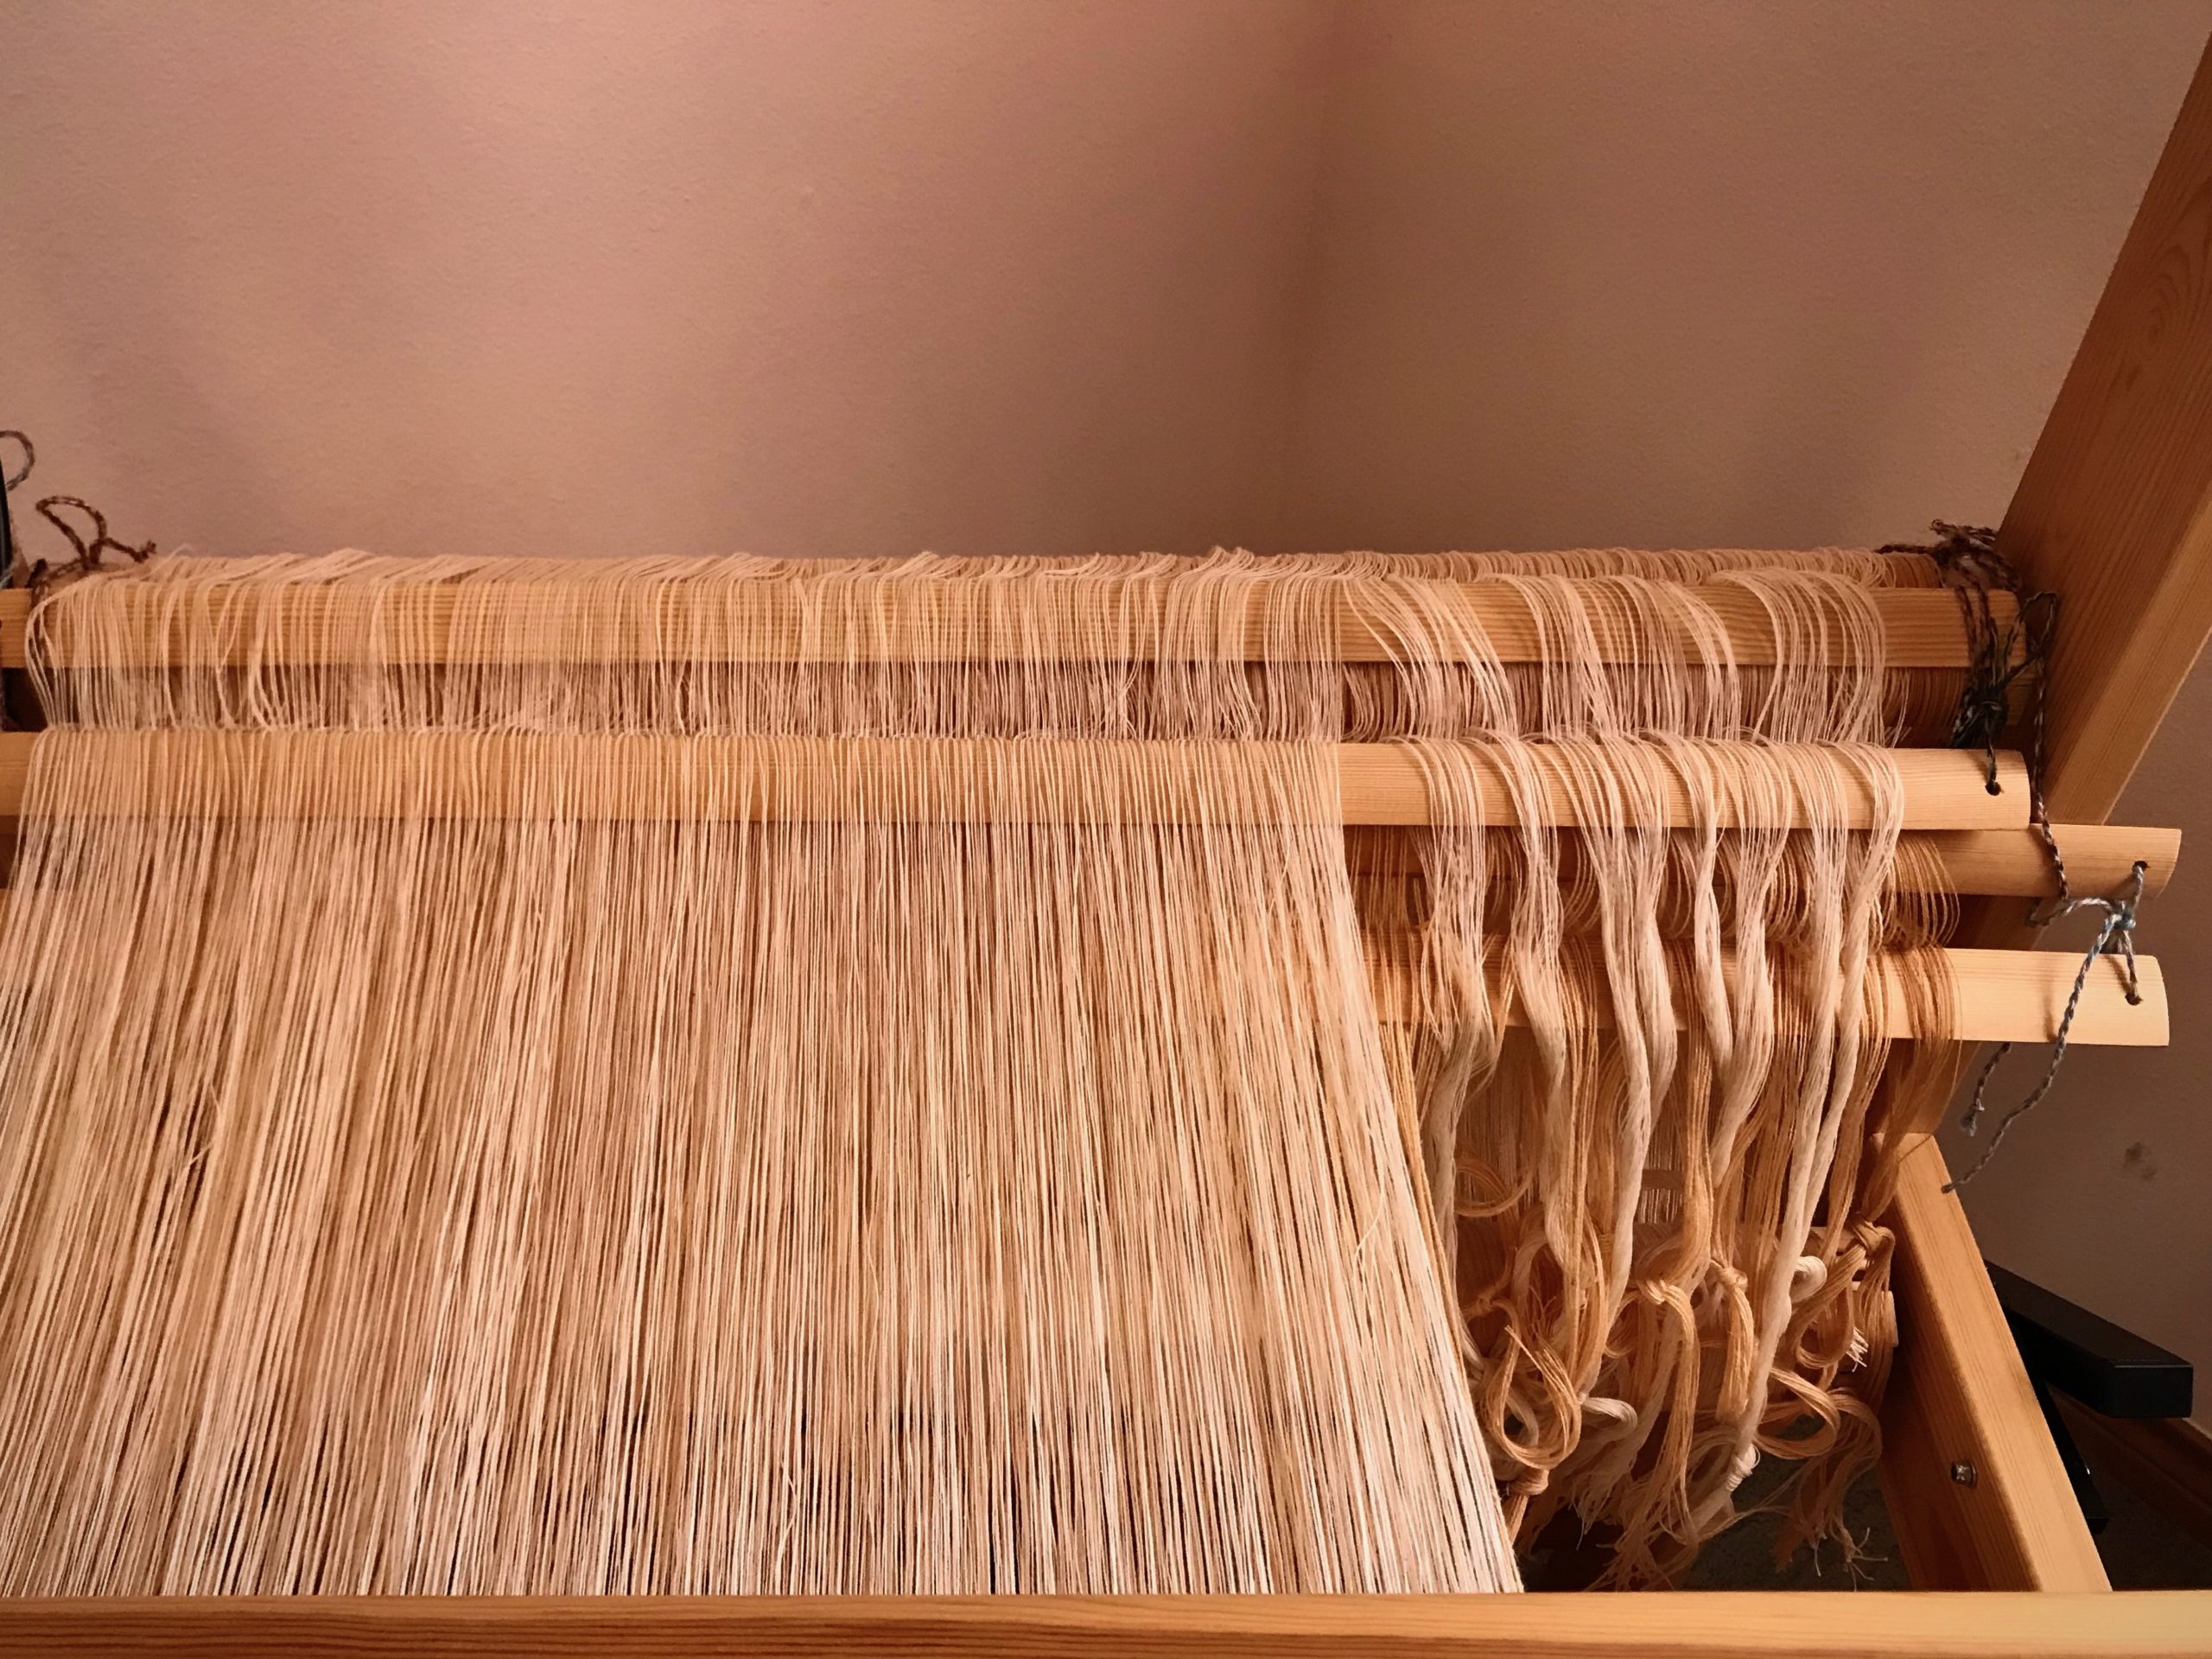
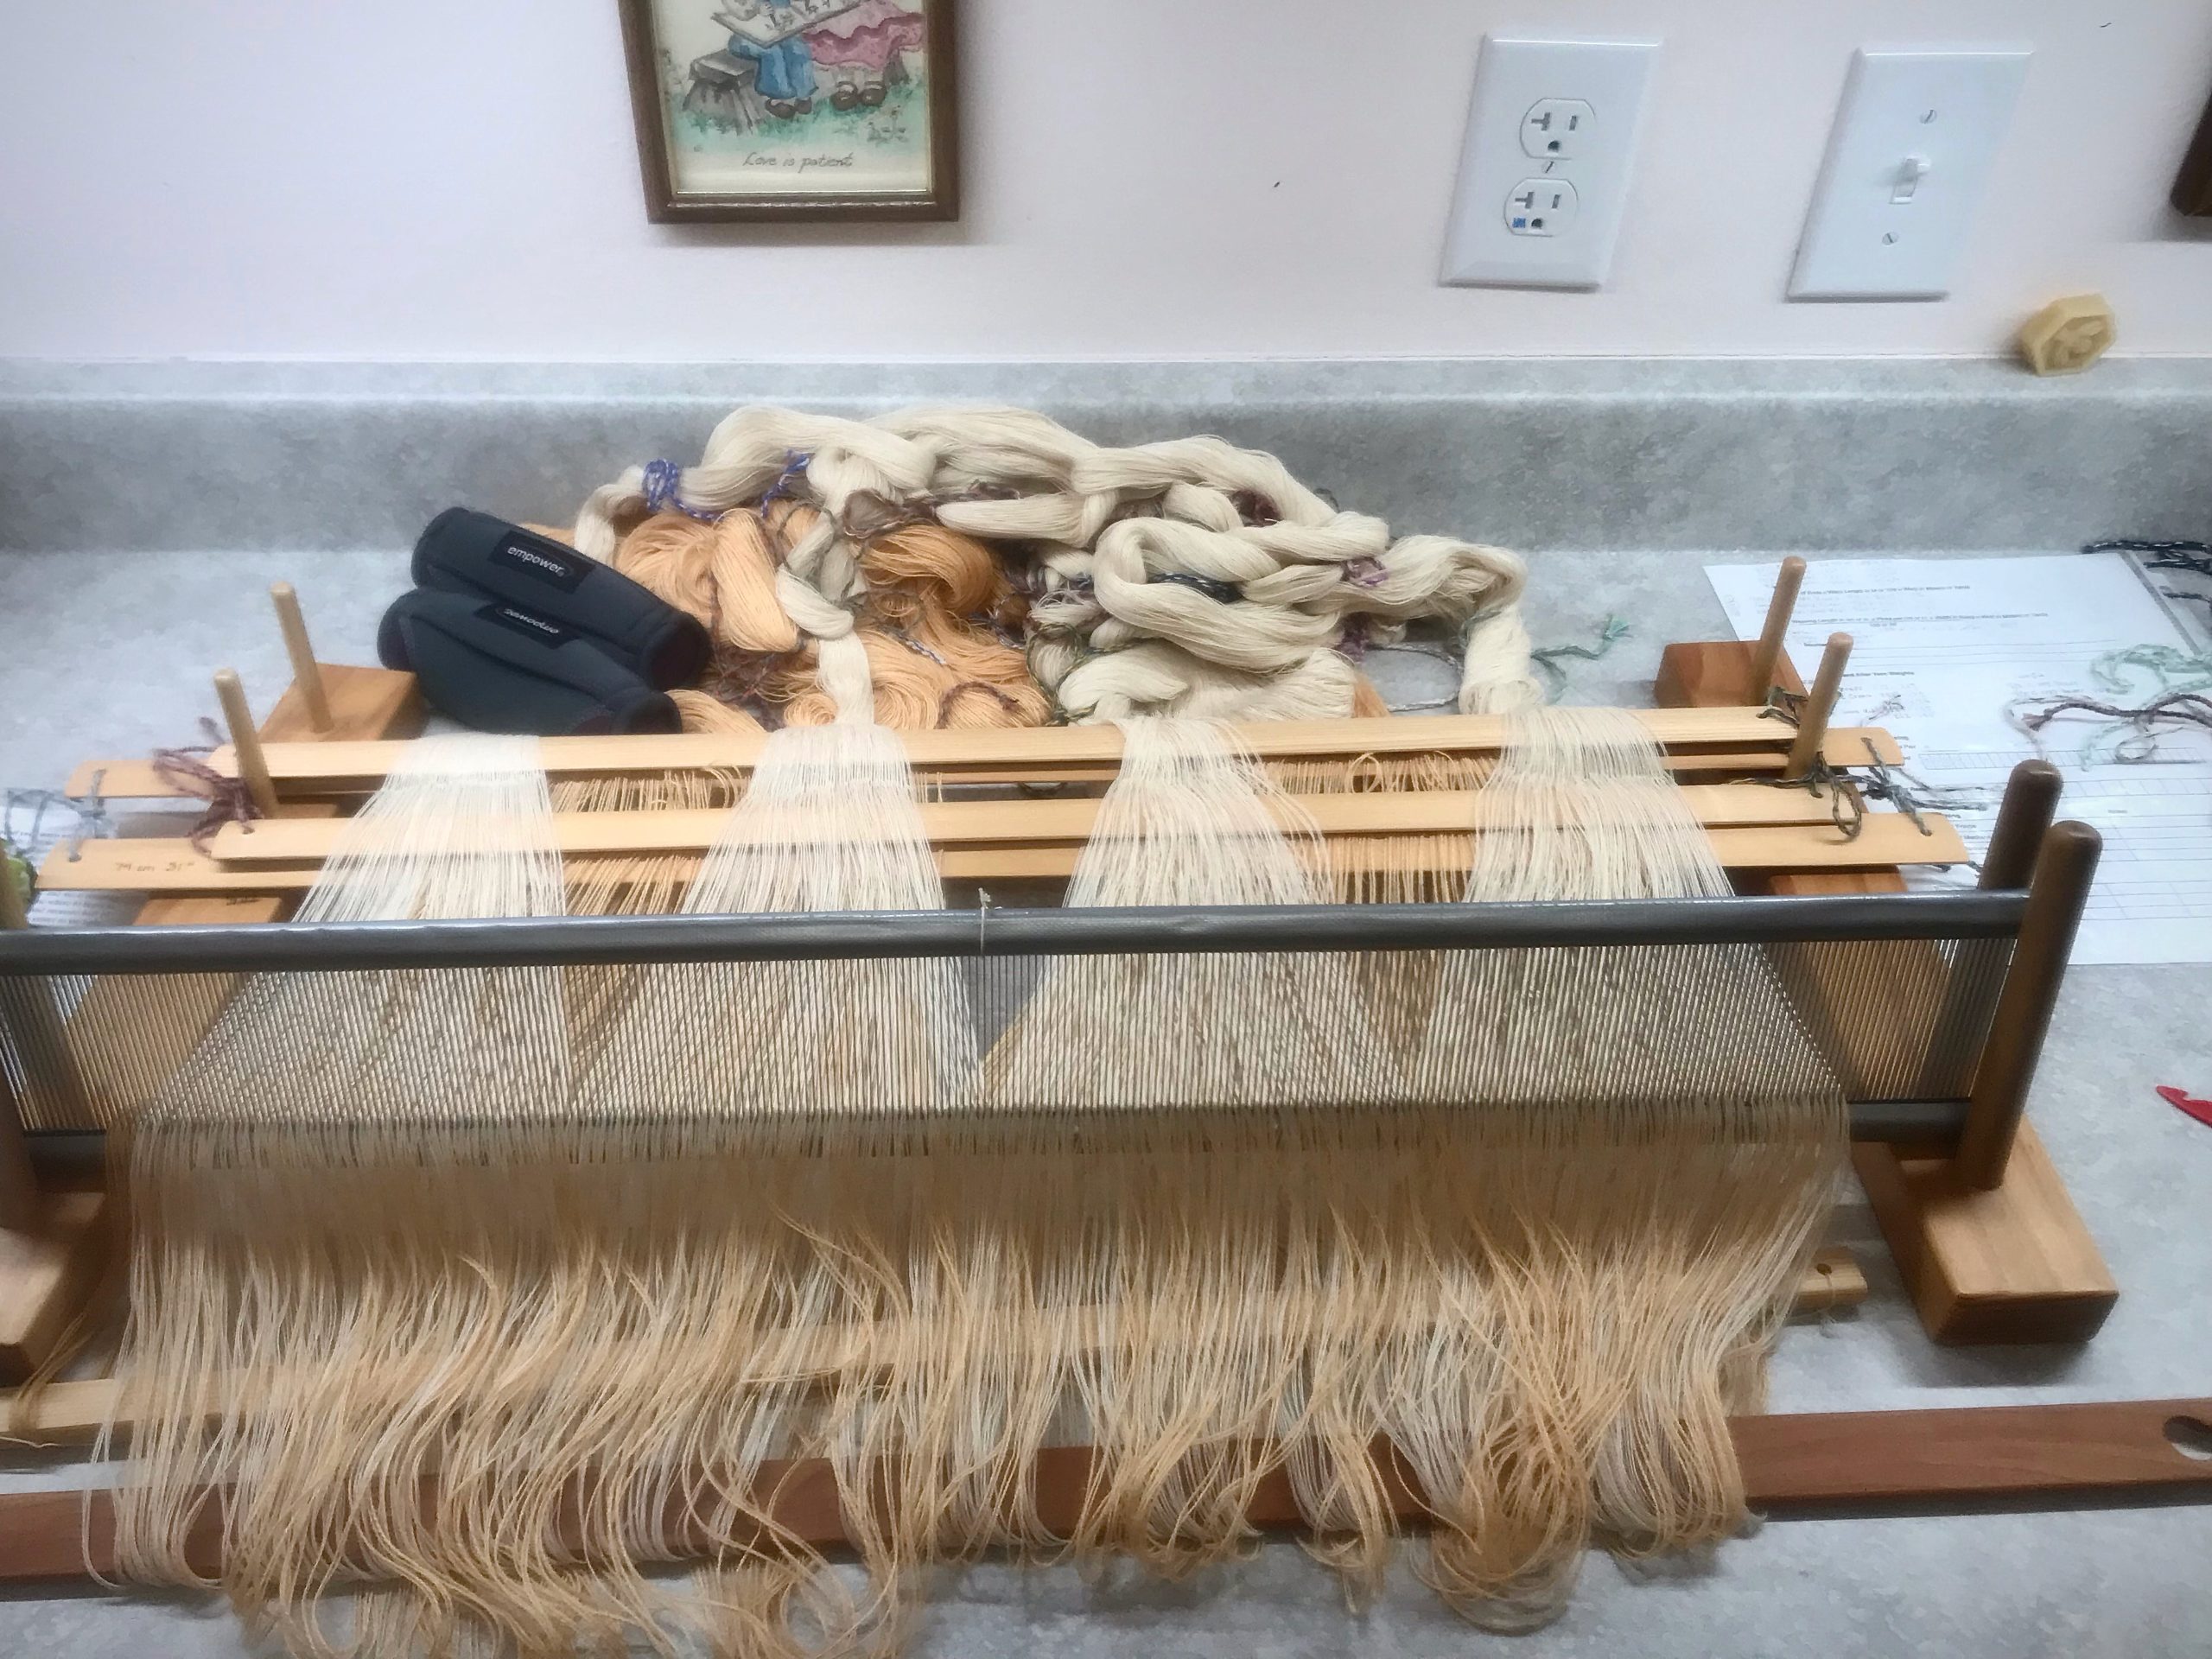
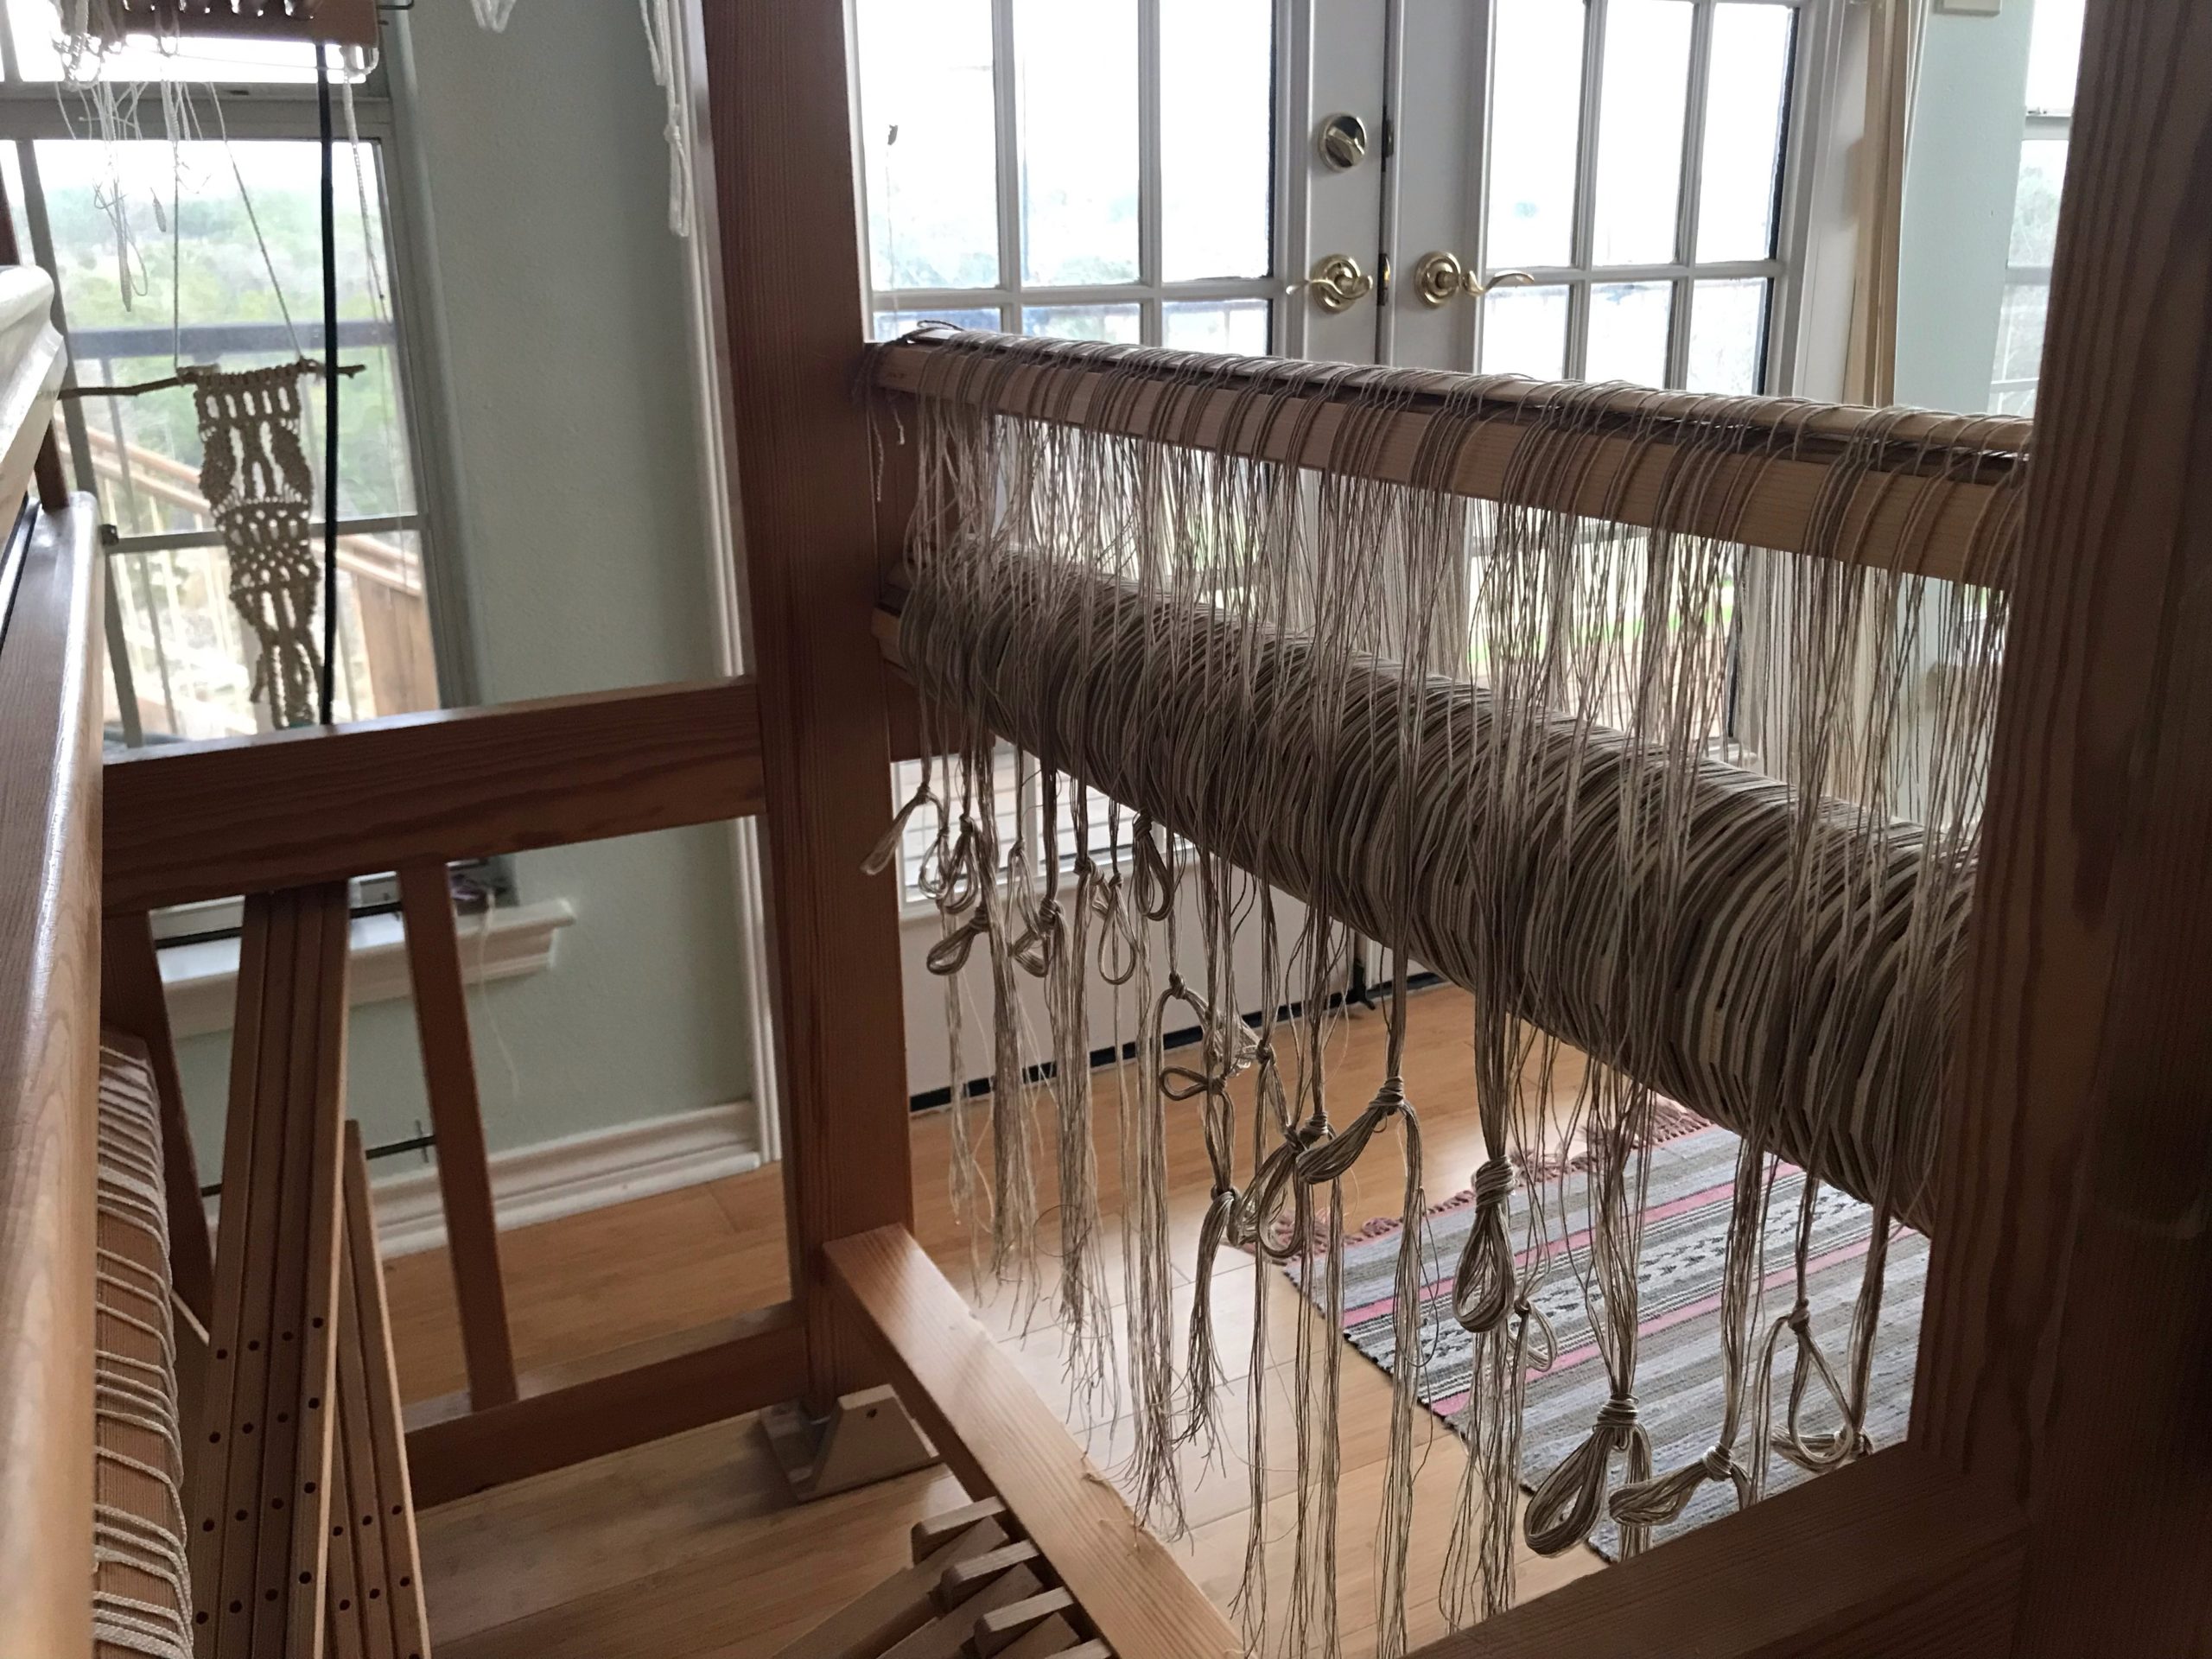
Dressing the loom with two sets of lease sticks keeps me on my toes. It means I am thinking carefully as I transfer lease sticks from in front of the reed to behind the reed. And, after beaming the warp(s), it means I am counting carefully as I put ends into threading groups of 48 threads each—32 ends of 20/2 cotton, and 16 ends of 22/2 cottolin.
Two set of lease sticks have been carefully moved from in front of the reed to behind the reed. After straightening all the warp ends, I will beam the warp.
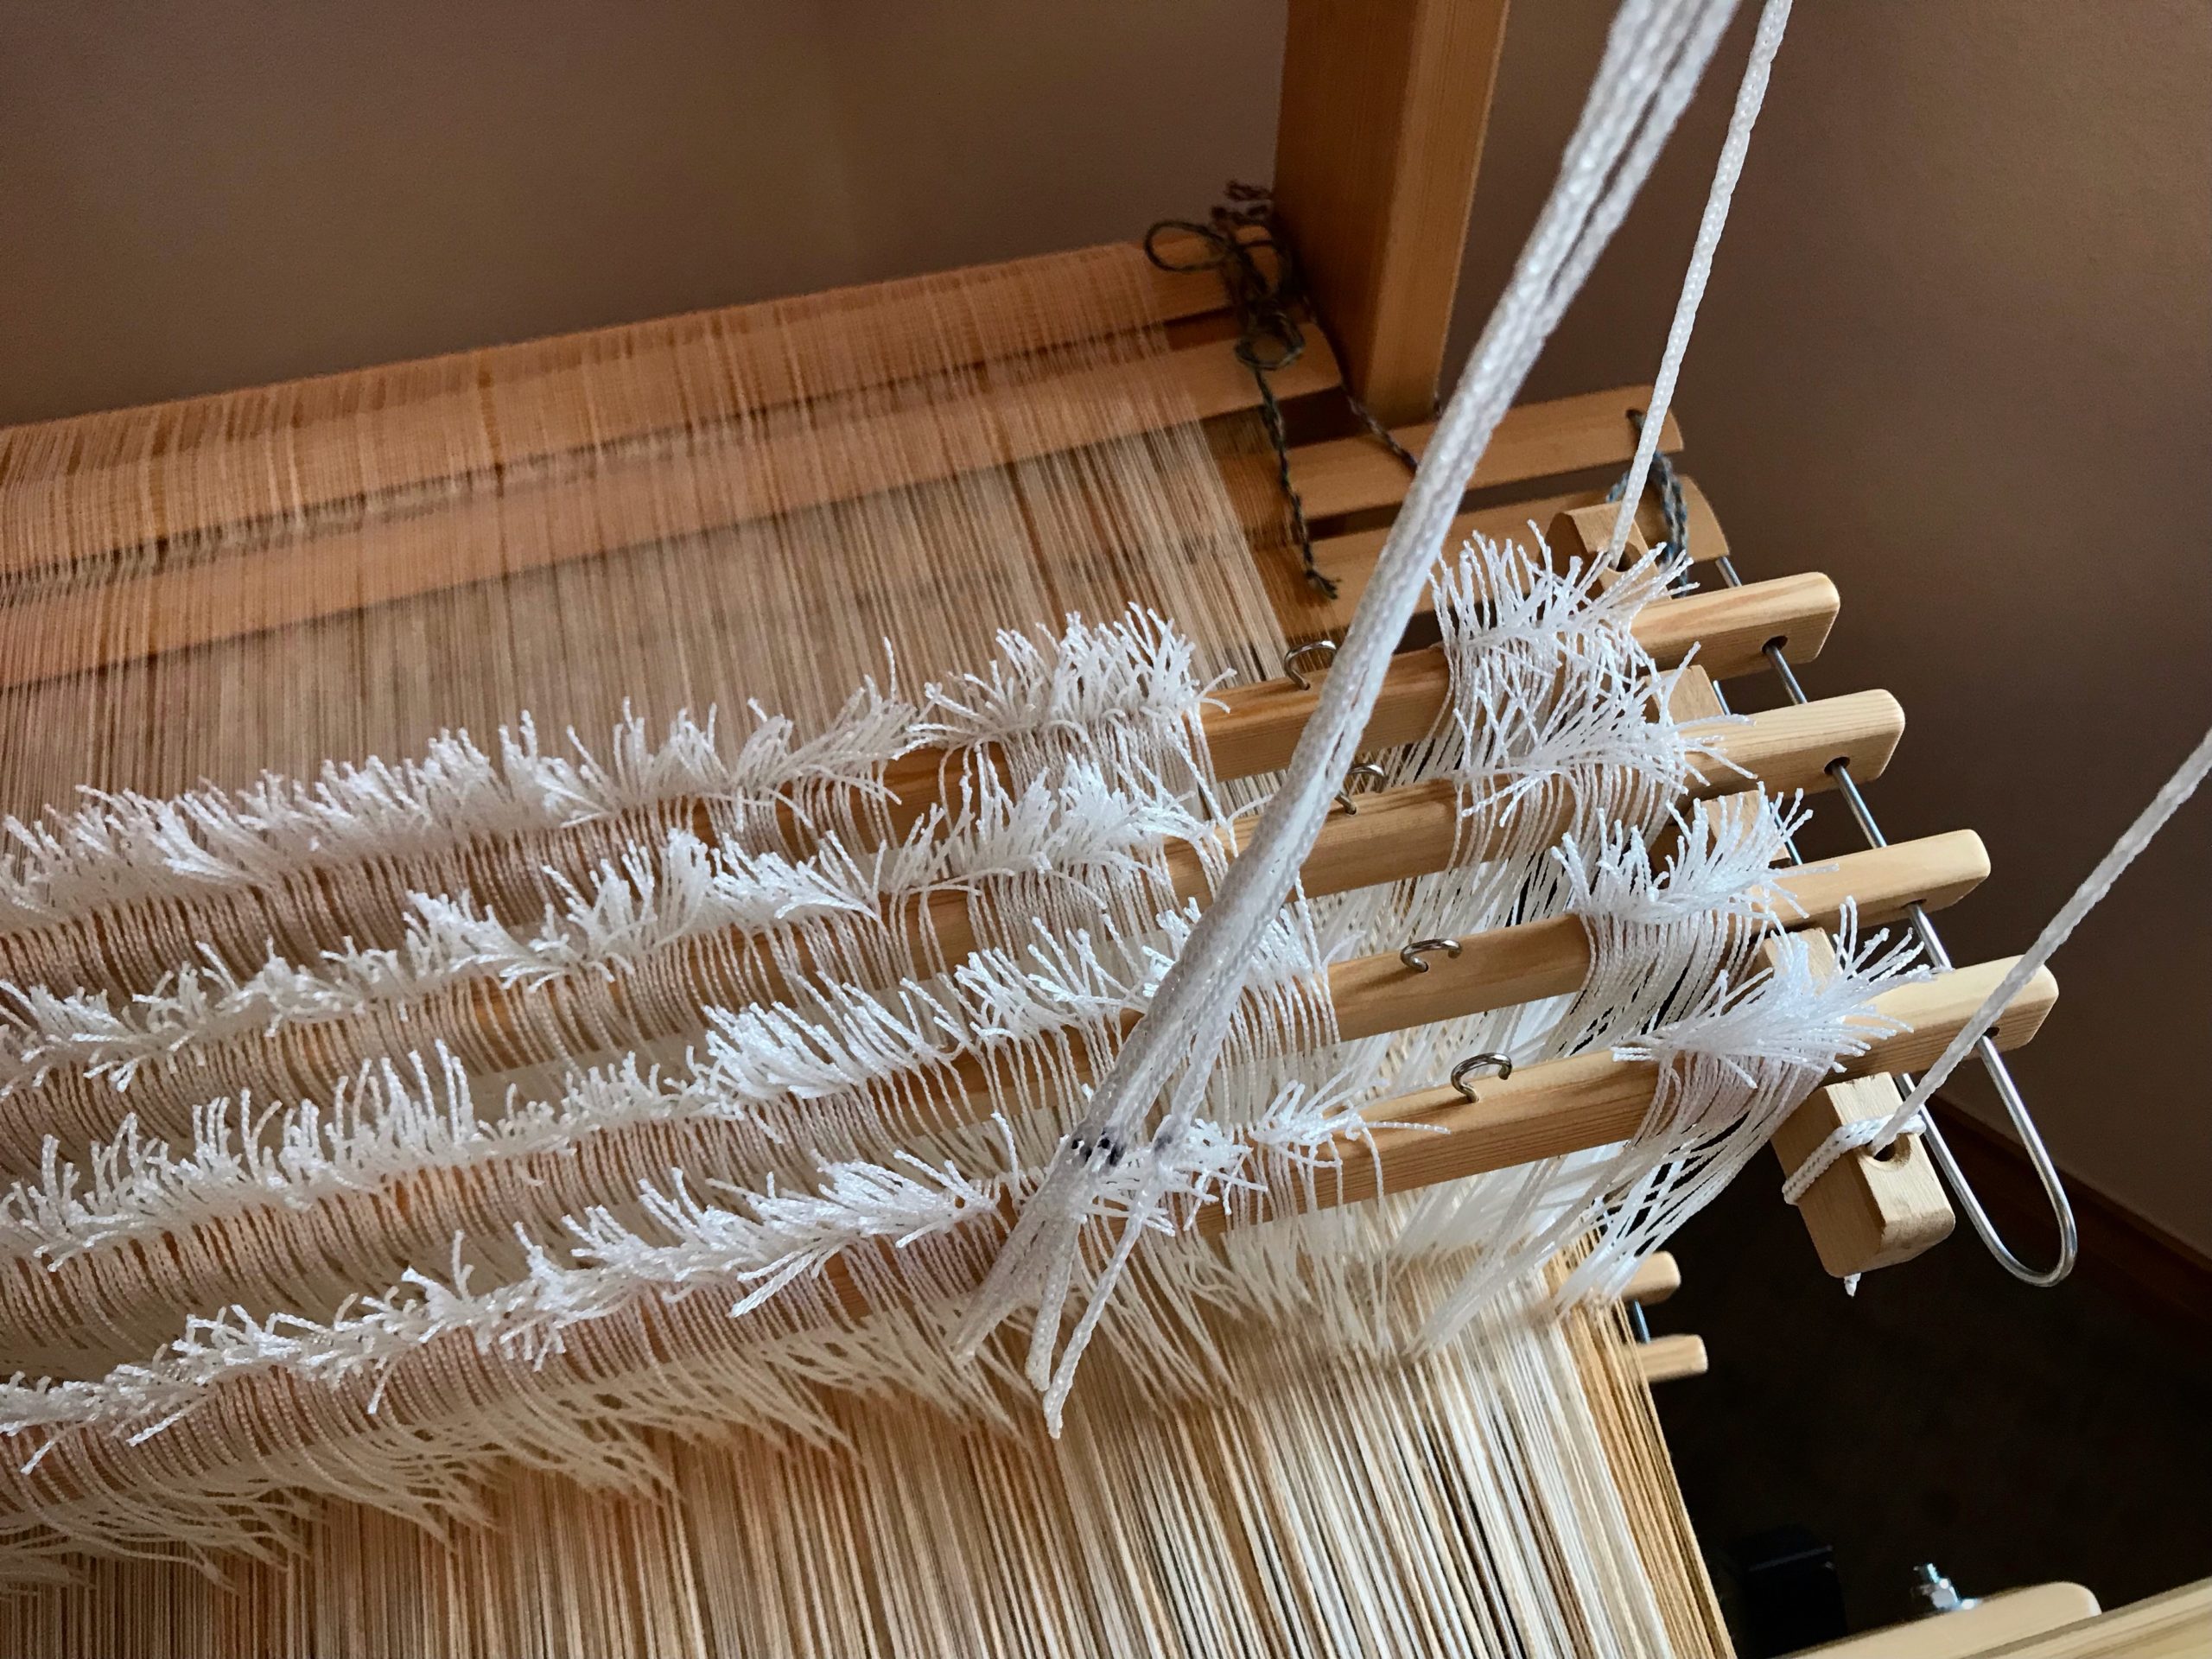
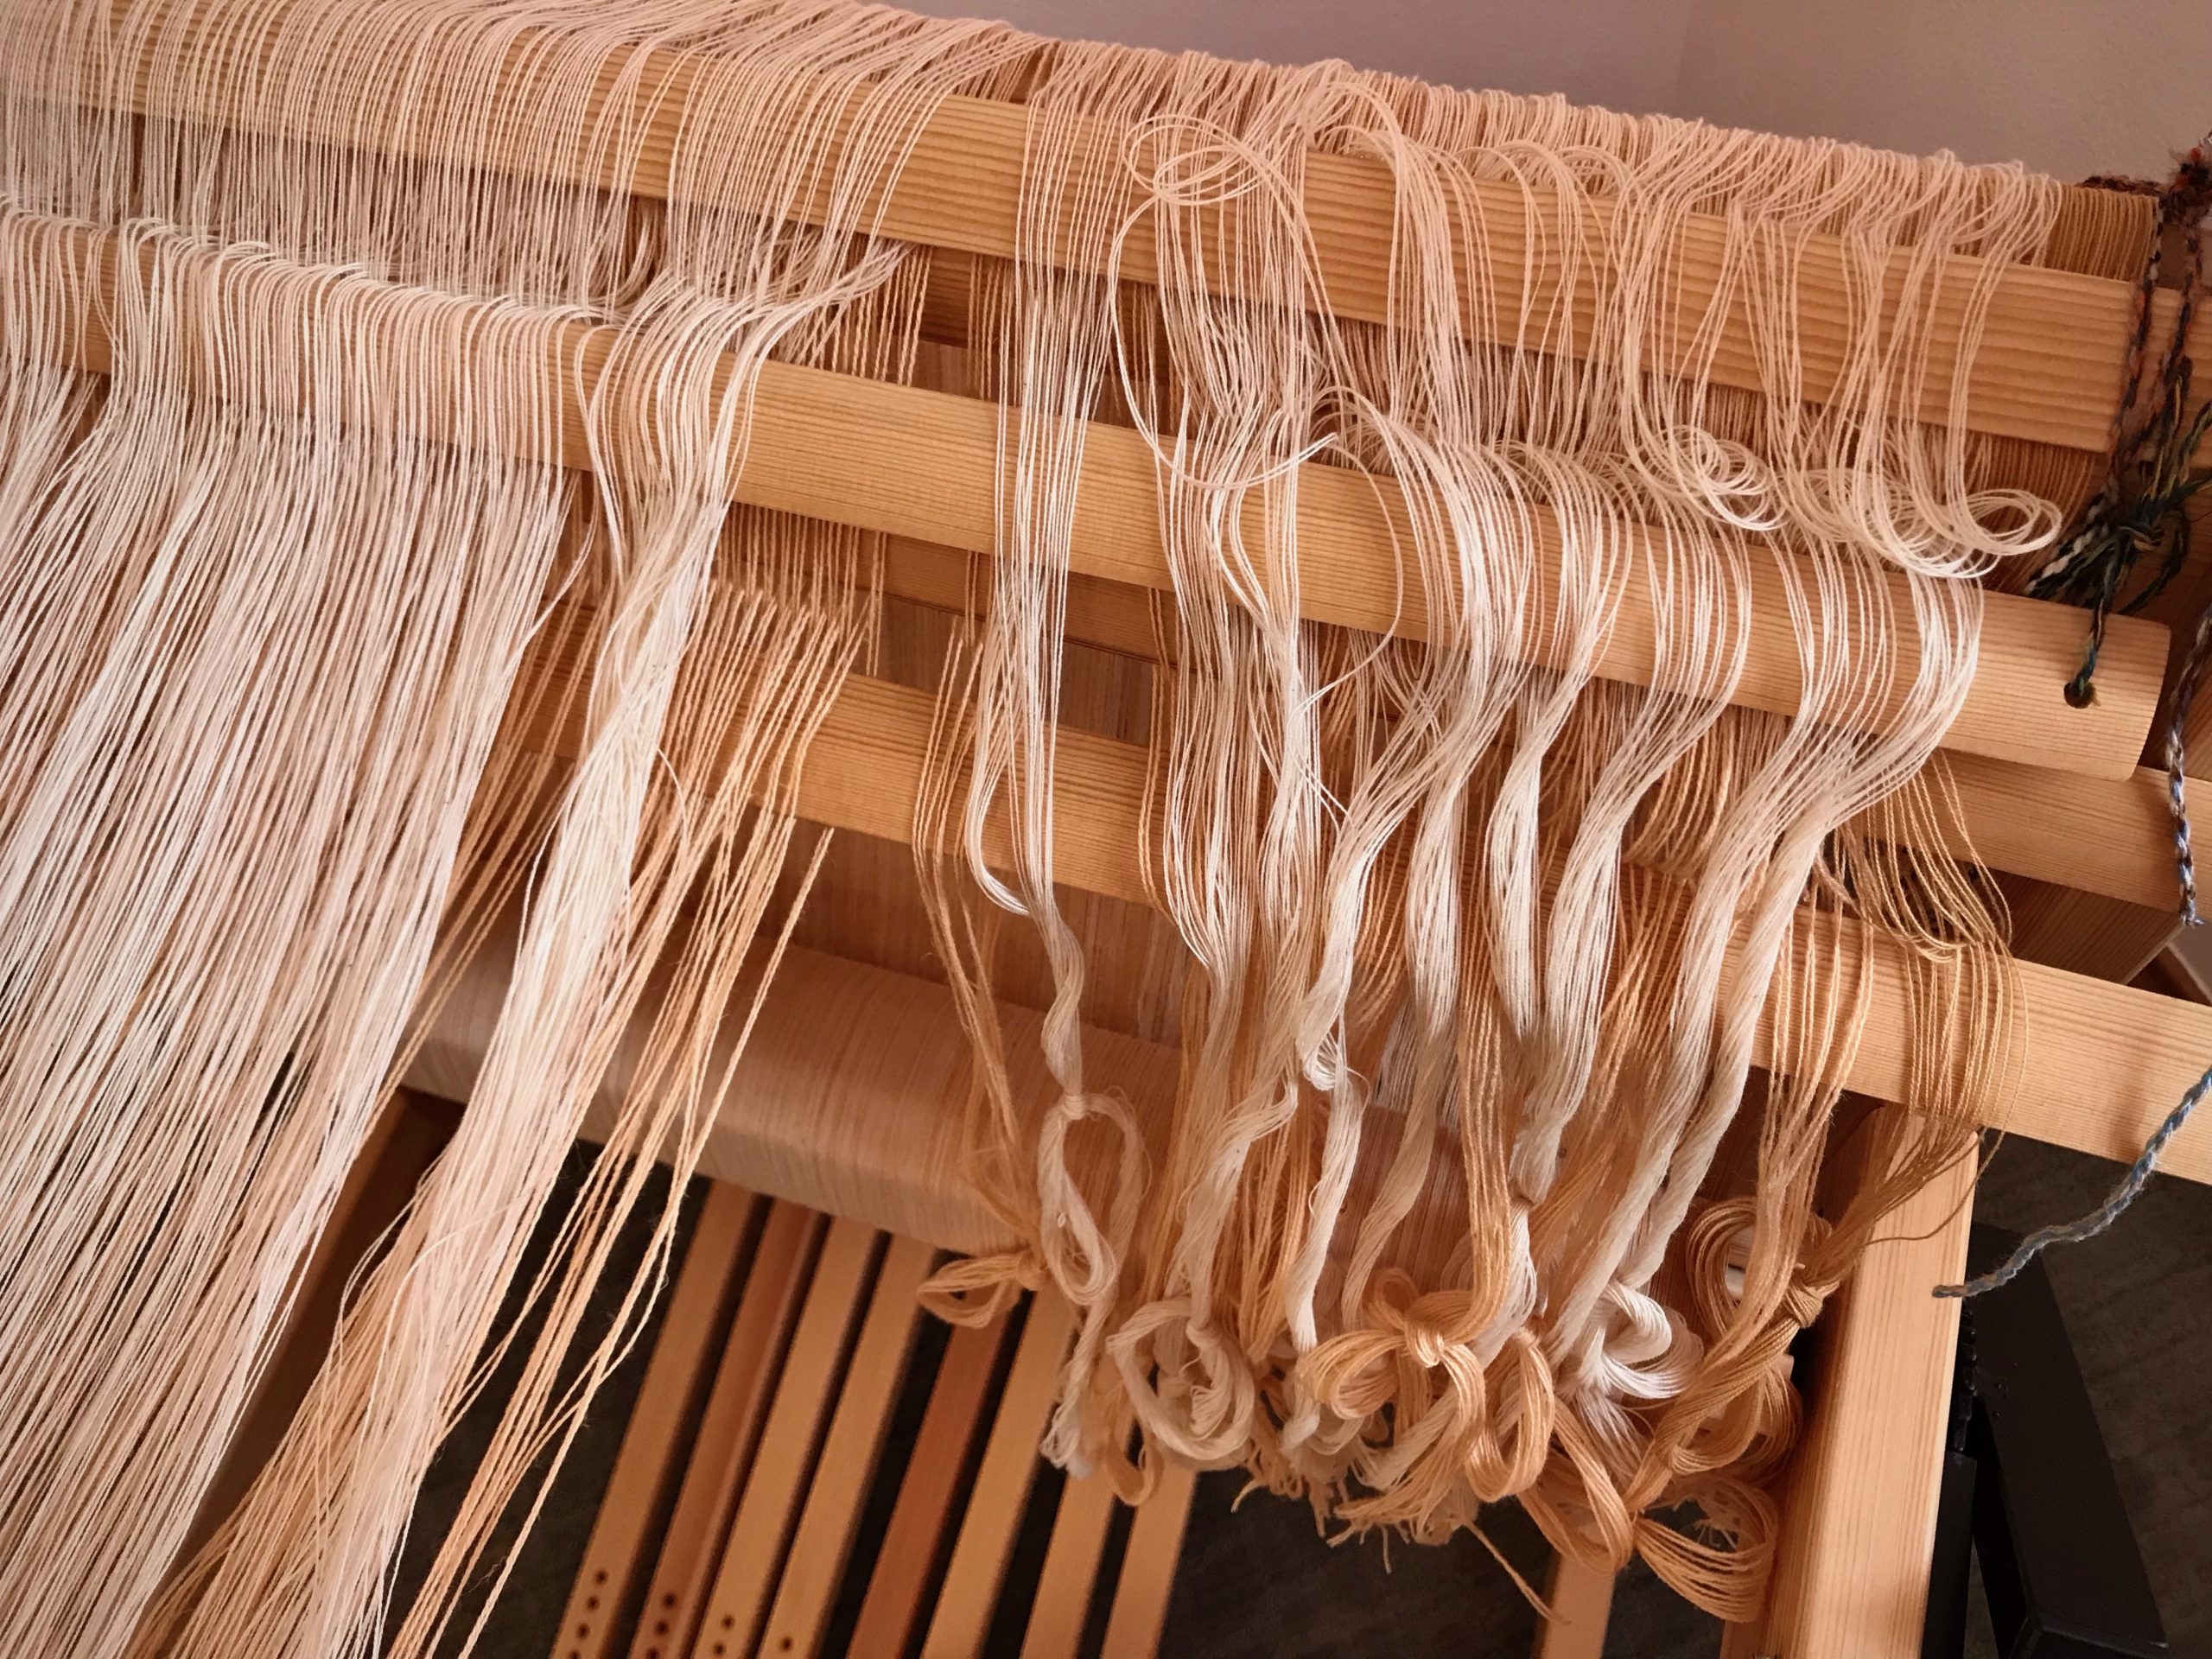
I group ends together before threading. Then, when threading, if there is a discrepancy in the number of ends, it alerts me to find a threading error. Counting out these delicate unbleached cotton threads is challenge enough. Having the layer of cream cottolin threads underneath presents additional complexity. With all these ends, this part of the process is tedious. Still, it’s worth it if it lessens my chance of making threading errors with these 1,472 ends.
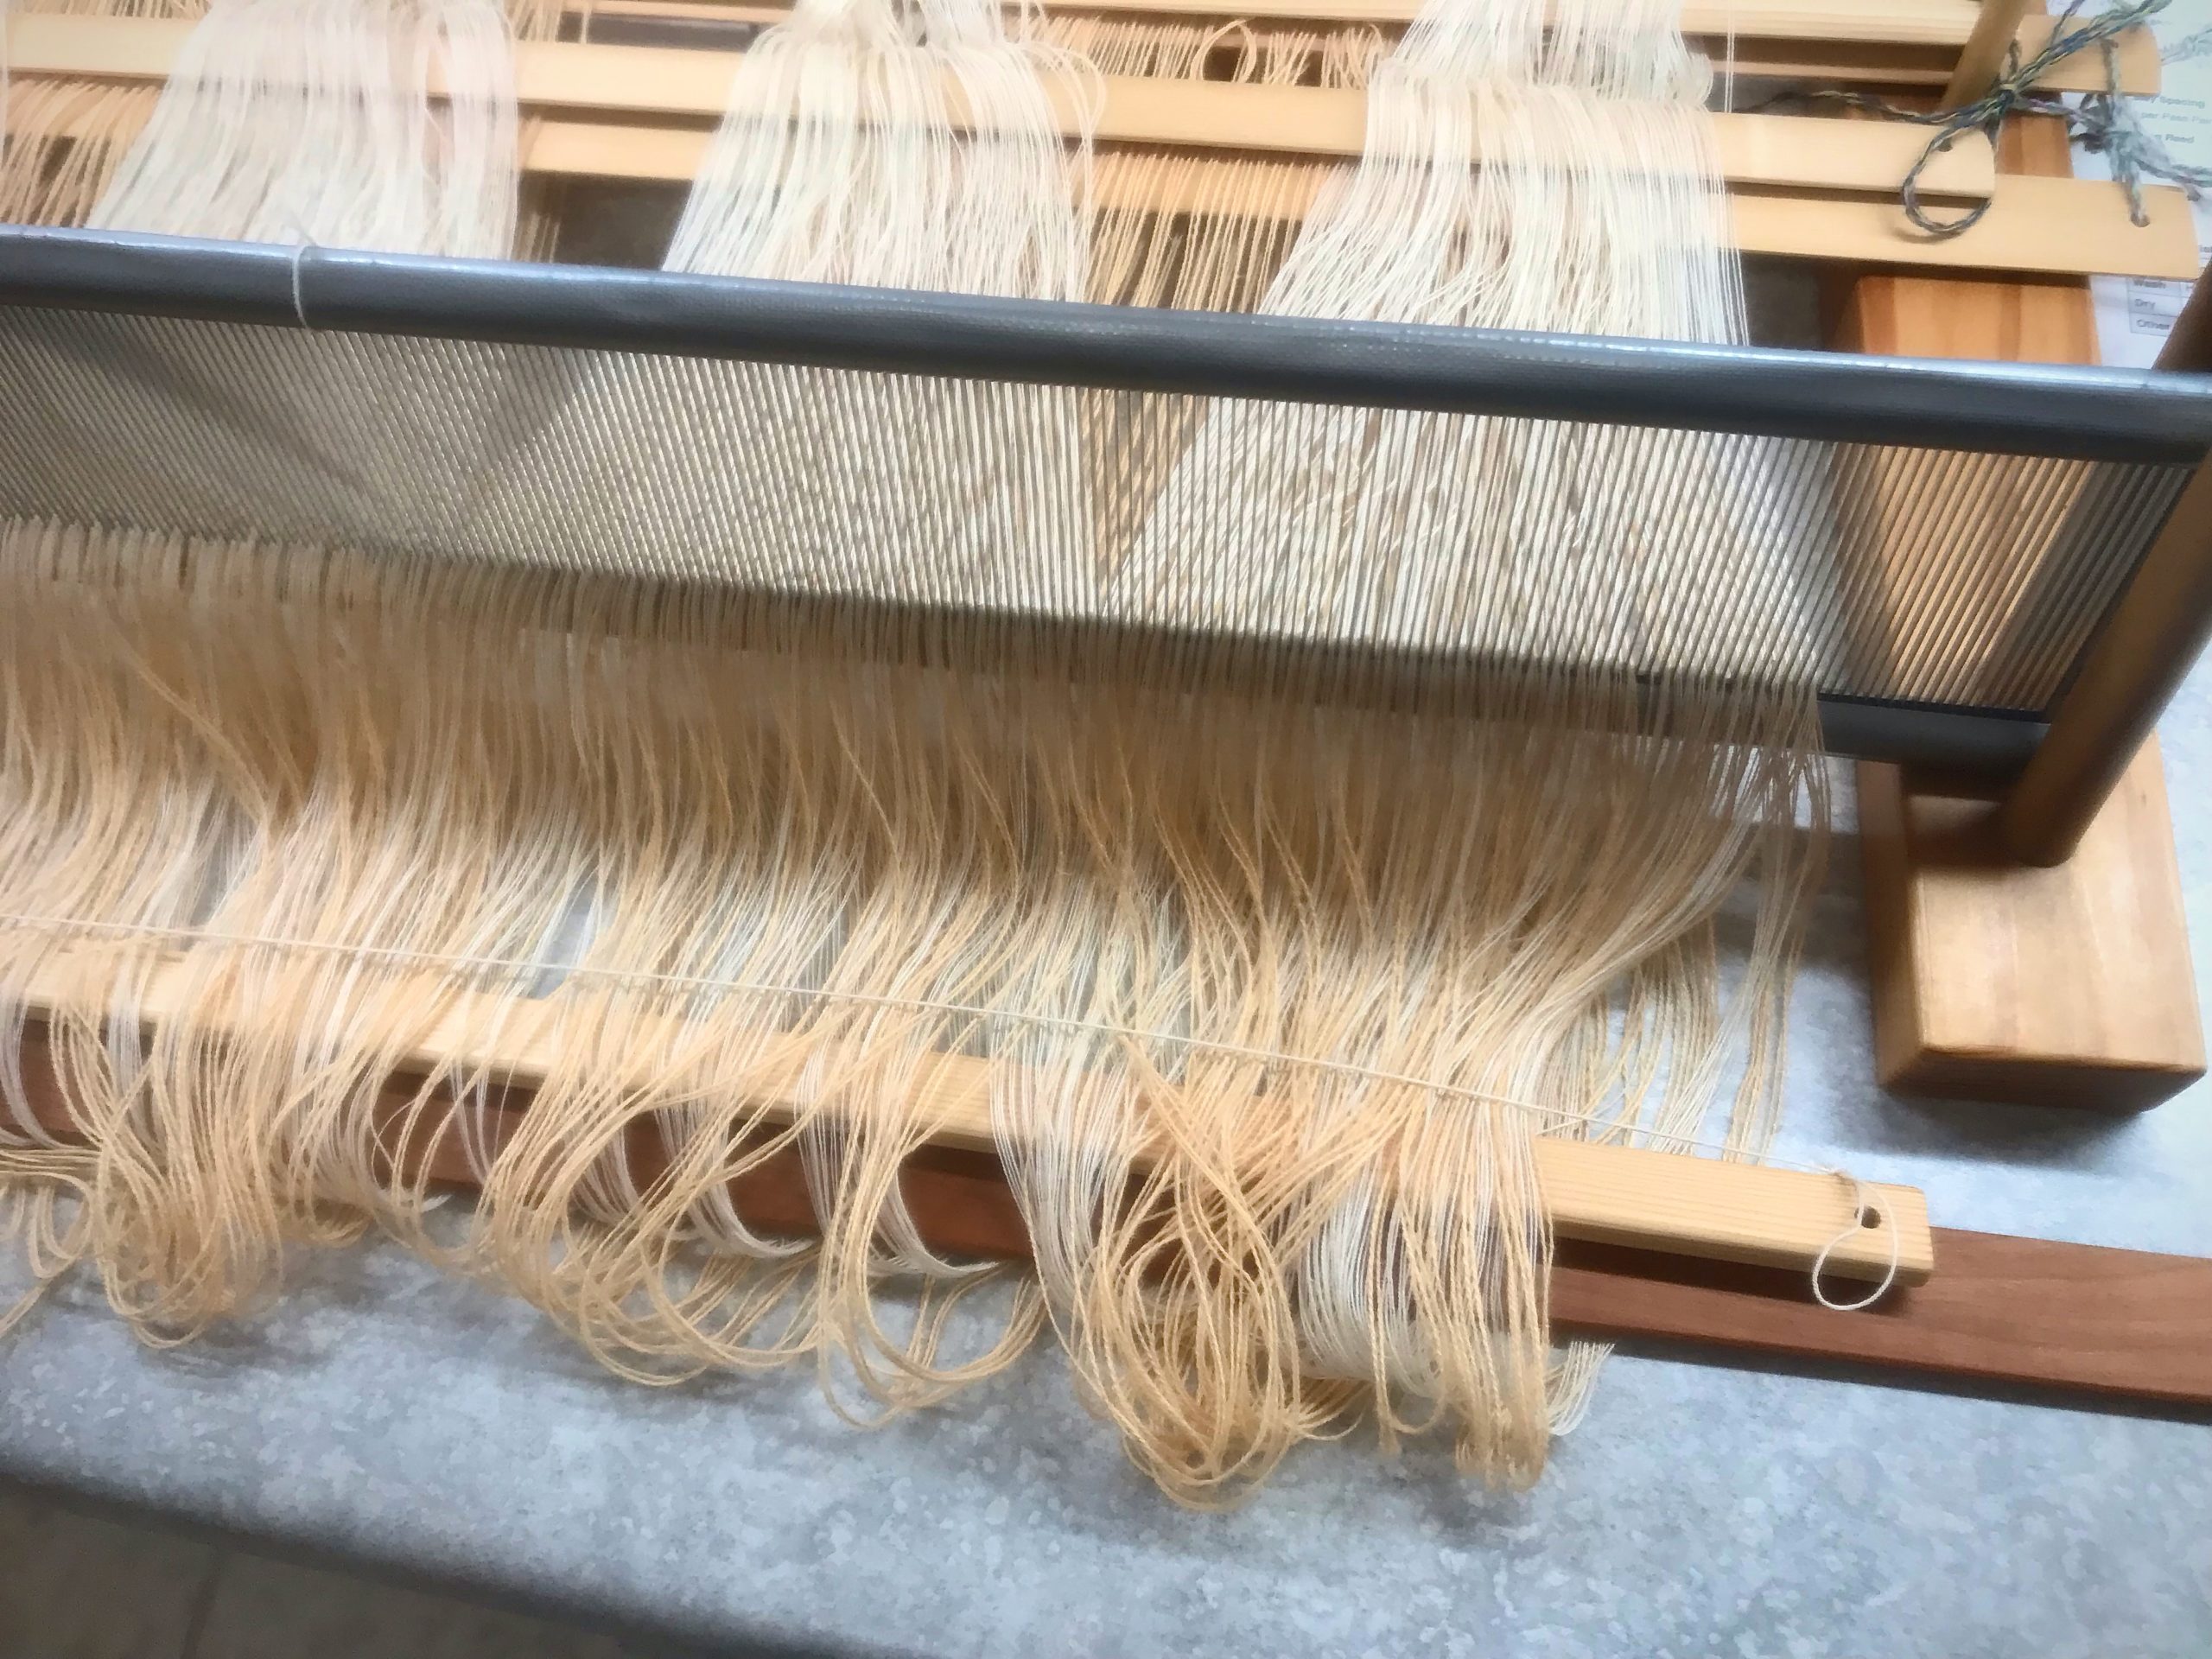
Preparation for threading. Ends are gathered into threading groups and tied together with a loose slip knot.Each set of lease sticks is tied to the back beam separately, so they can hang at different heights. The lower set is tied around the side frame and over the back beam.If I stand behind the loom, my back is in a leaning-forward position and not comfortable for long. I placed a child’s chair and cushion behind the loom. Kneeling behind the loom at this height gives me good visibility and access to the threads.View from the back of the loom. Ends are counted at the center of a pair of lease sticks. These counted ends are tied together in a loose slip knot.View from behind the loom. Loop of unbleached ends just counted lay on top to clear the view. Ends on lower pair of lease sticks are counted and tied separately. I tied the cotton threads and the cottolin threads separately to make it easier to find an error if I miscounted along the way (which, fortunately, didn’t happen).Counted ends are dropped into hanging position before moving on to the next grouping. (After taking this picture, I re-tied the lease sticks closer together, making counting easier.)Threads remain in the reed. I pull threads out of the reed when they are counted.Pretty sight of counted ends. Ready for threading!
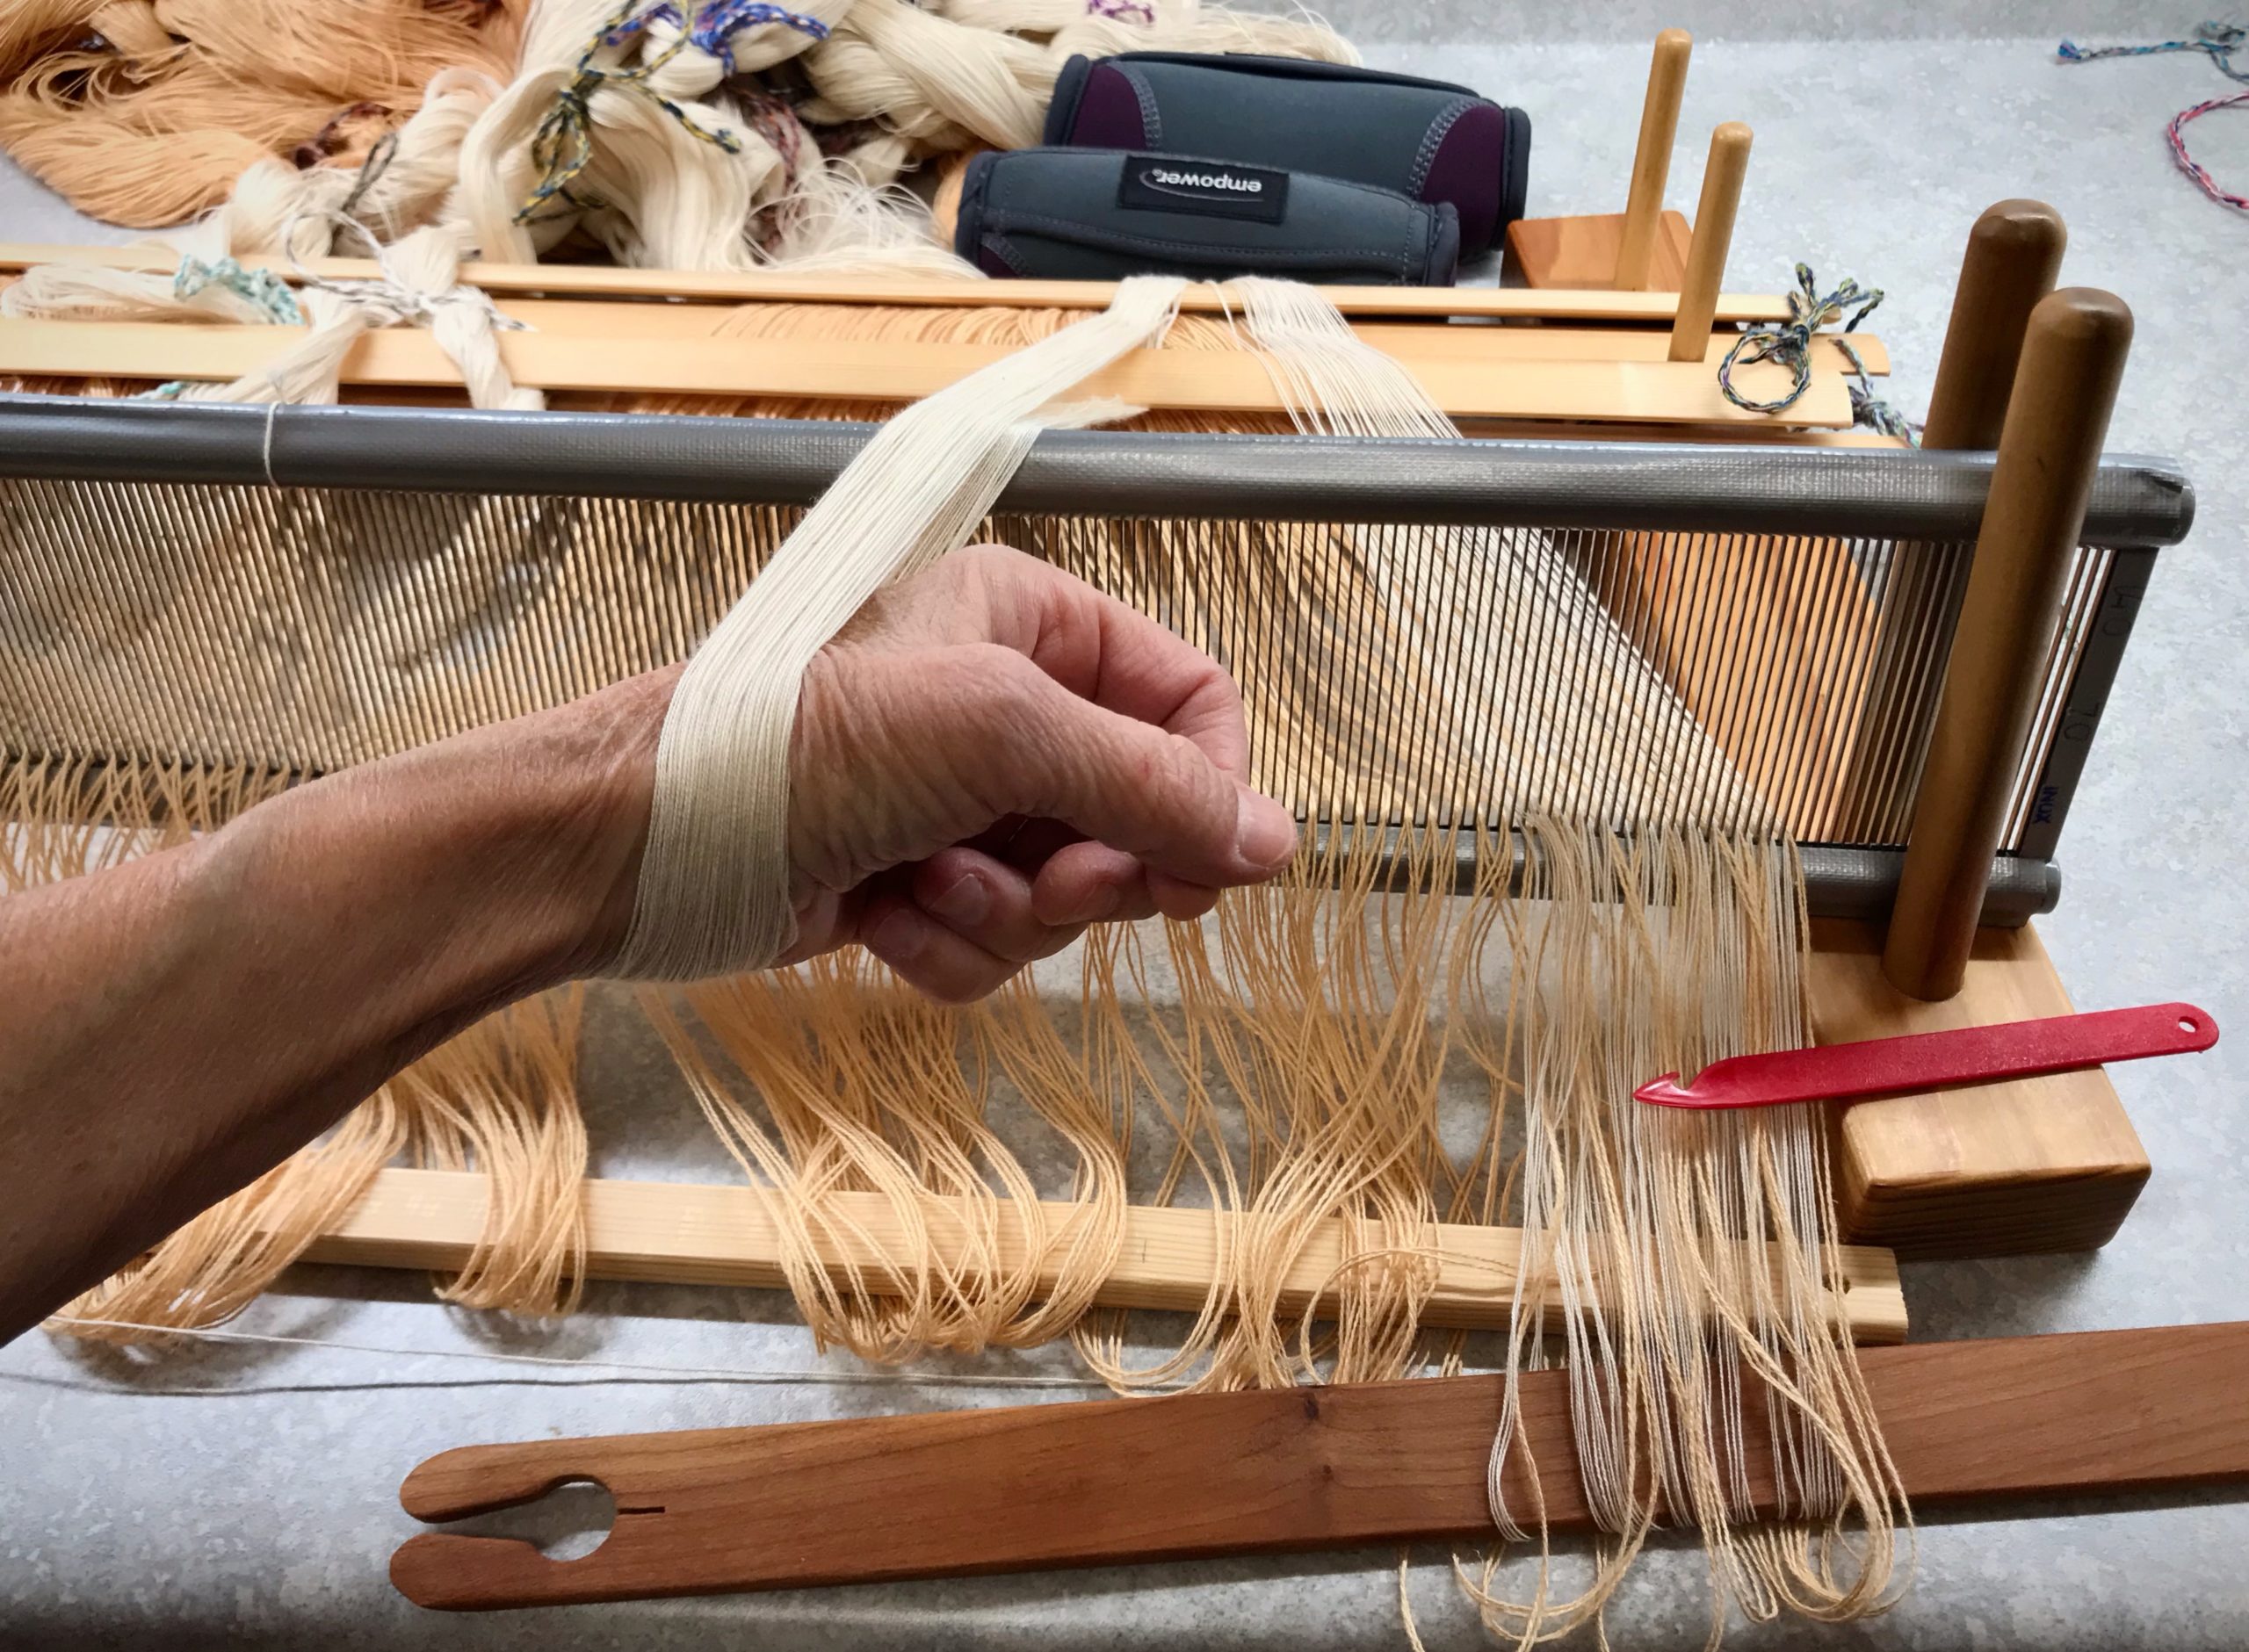
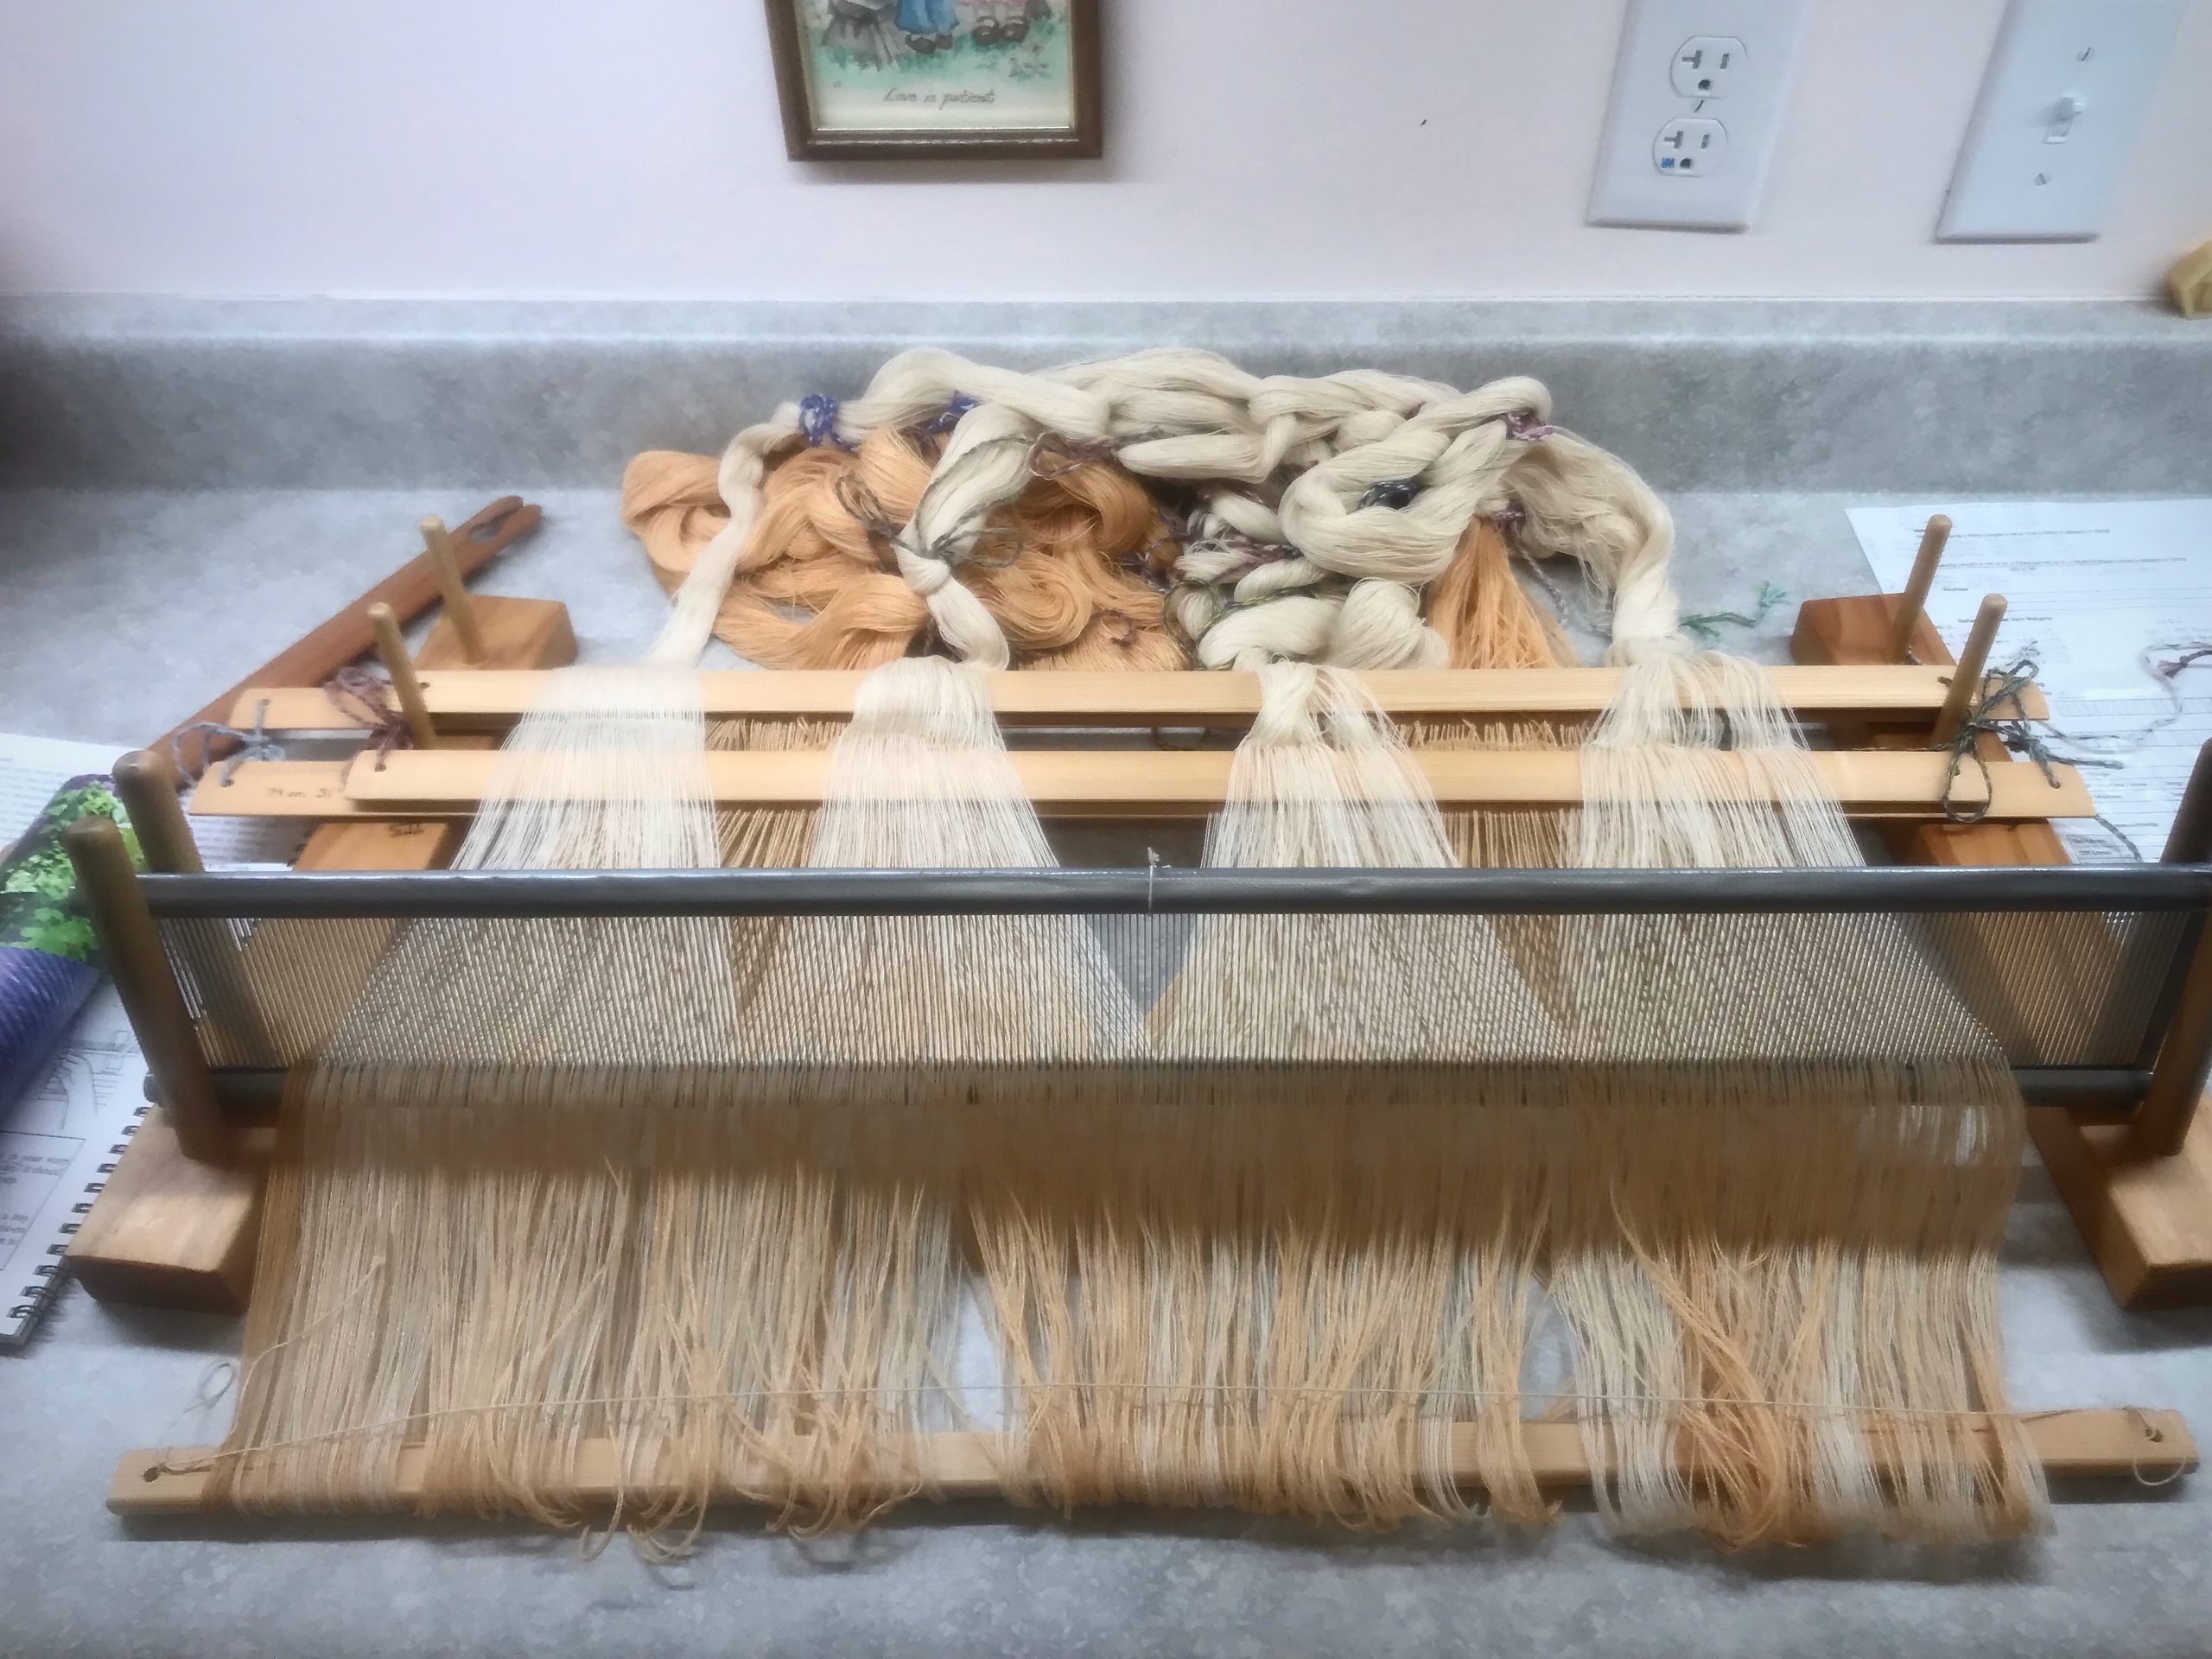
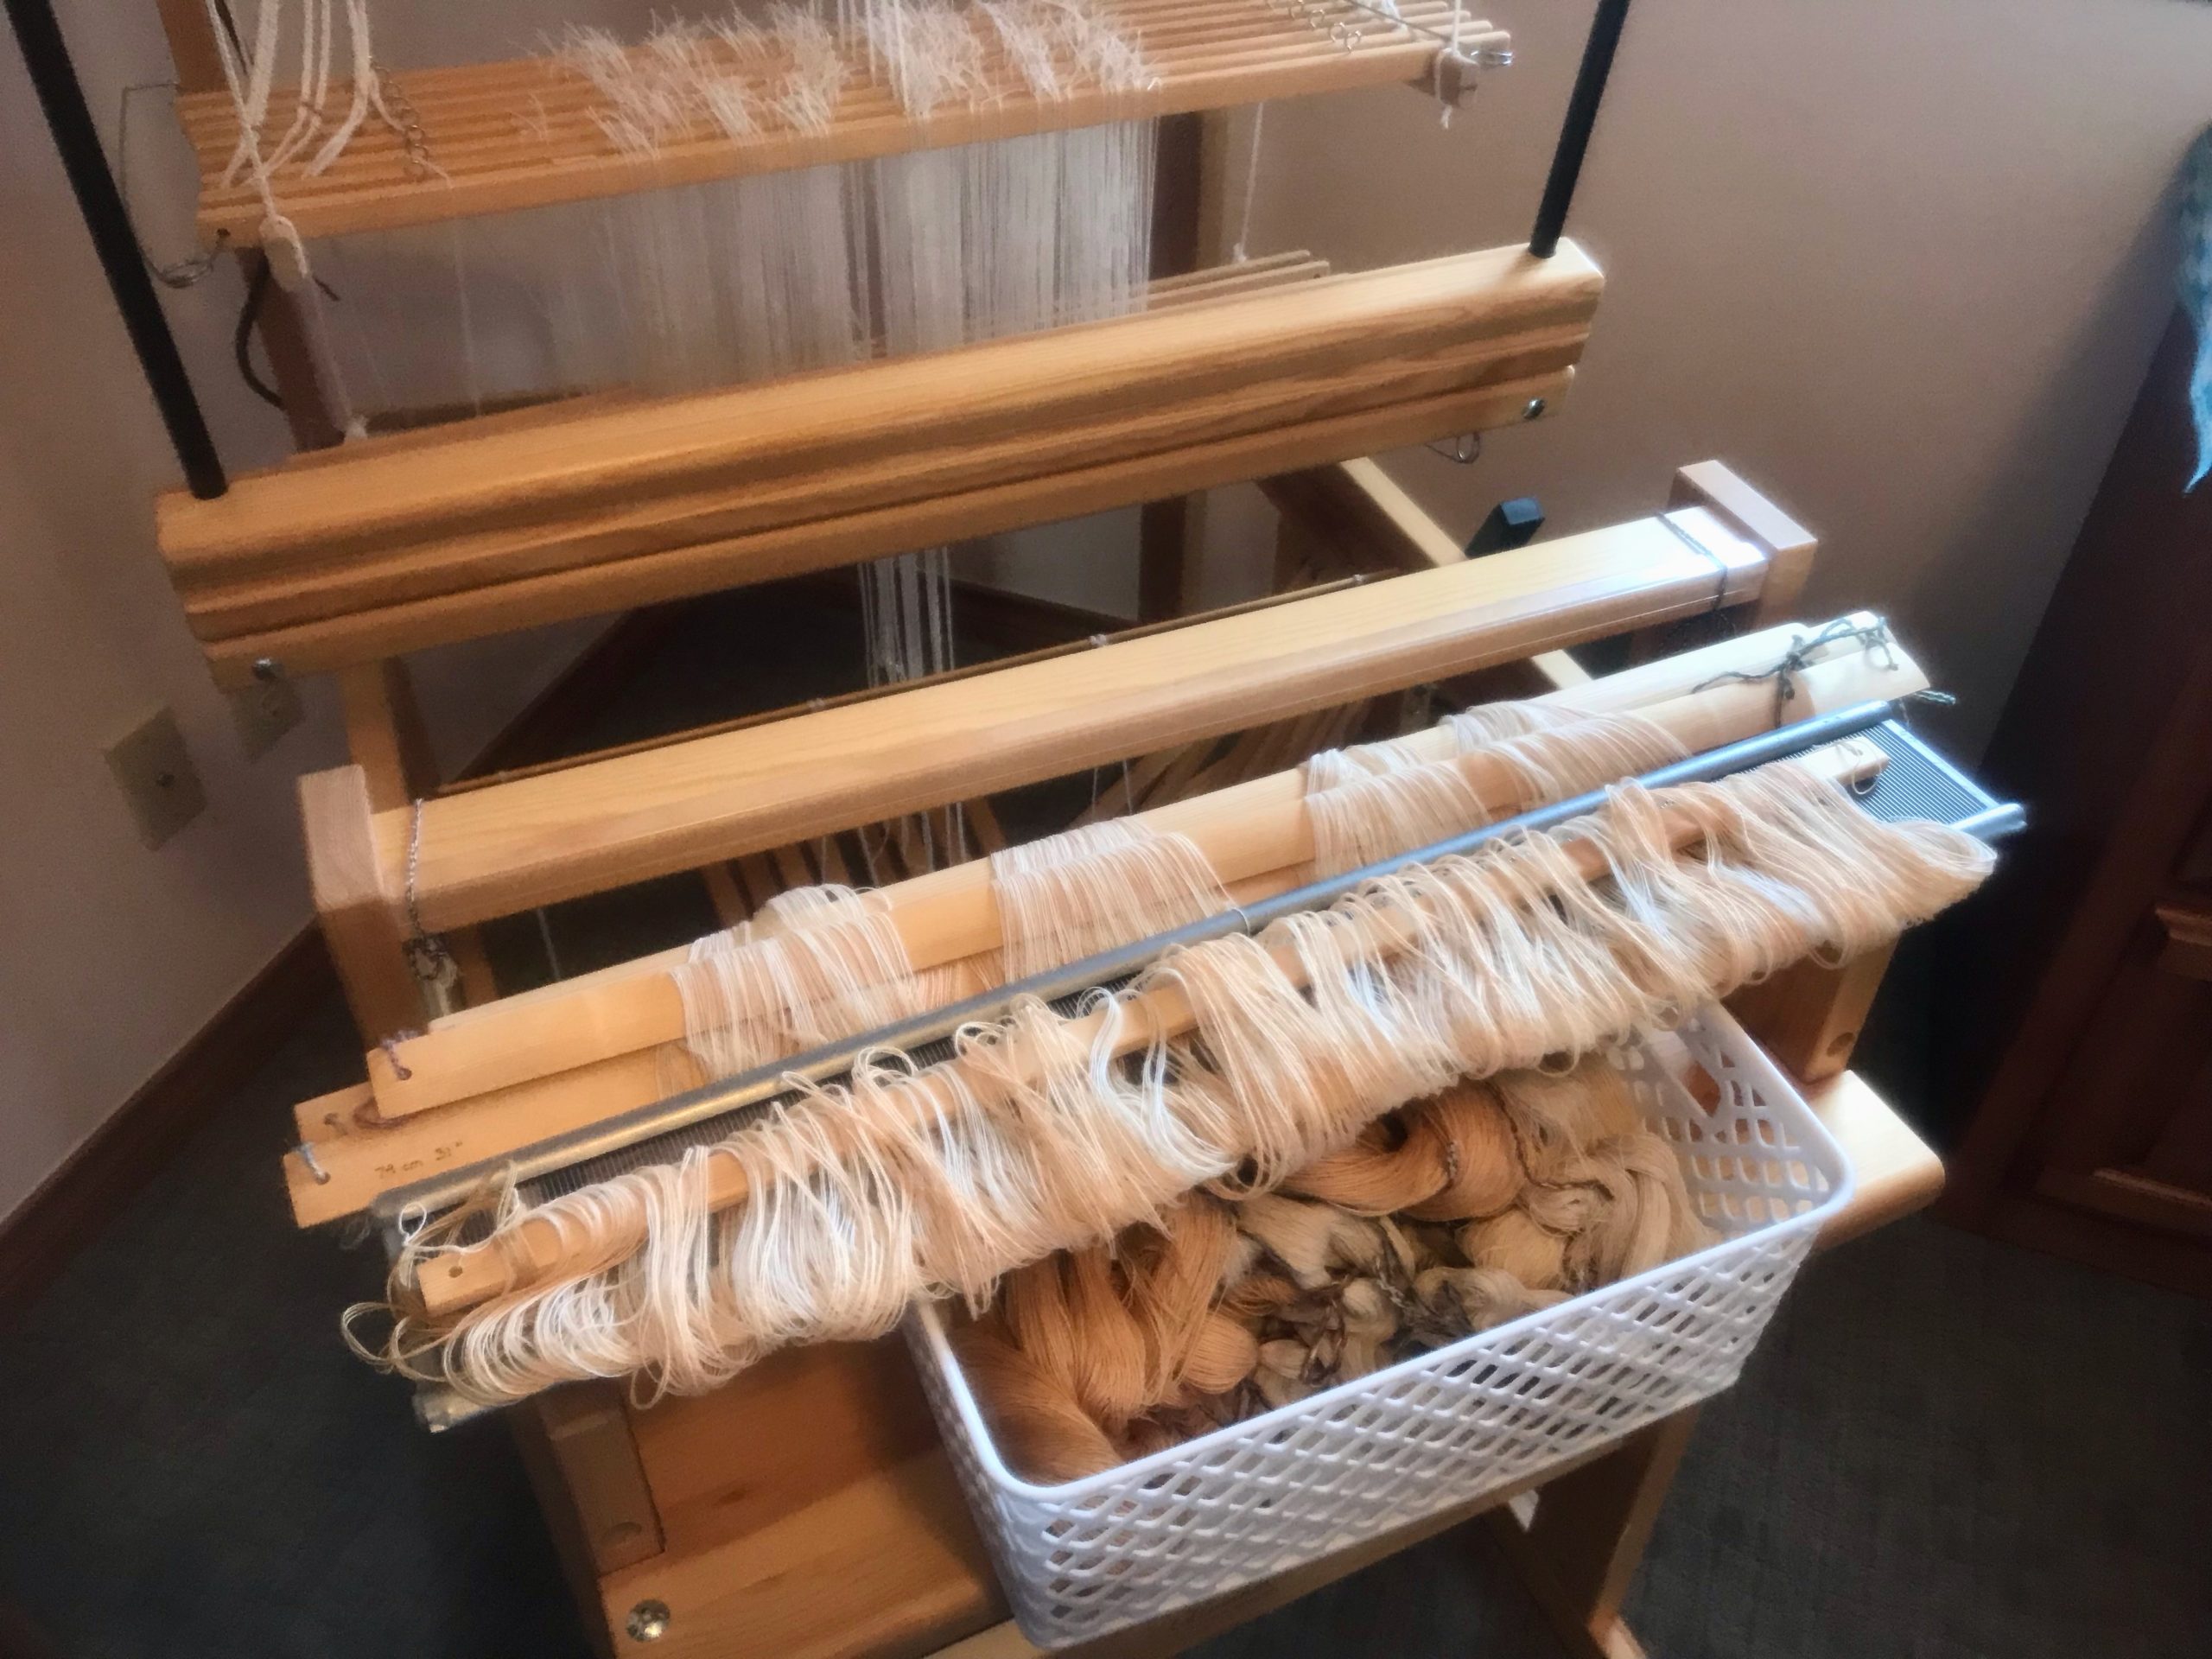
I am spreading this warp (twowarps, actually) at the worktable. One warp is 22/2 cottolin, with a narrow selvedge border of 16/2 cotton. The other warp is 20/2 cotton. This intriguing double-width project is in the Nr.3 – 2021 issue of Väv Magazine—Winnie’s Linen-Cotton Crinkly Tablecloth, by Winnie Poulsen, p.52. Despite some intrepidation, I am jumping in!
Coordinating two warps onto a single tie-on bar is tricky business. The last time I did the two-warp maneuver at the loom I nearly lost a lease crossand my sanity. The advantage of pre-sleying these warps at the table is that everything is secure. Nothing is teetering. At the worktable I can clearly see what to do for each step. Within minutes, I’m hopeful that this adventure will indeed be worth it. (Pre-sleying a warp on the table is expertly explained in Learning to Warp Your Loom, by Joanne Hall, pgs.19-20.)
Second stick holds both warps’ loops.Tie-on bar slides in and warps’ loops are secured by tying a string from one end to the other.Extra stick is removed. Two warps, each with its own set of lease sticks, have been spread in the reed. No mishaps along the way!Warp bouts are in the basket. The two sets of lease sticks, the reed, and the cloth beam tie-on bar sit on top. We’re ready to beam this warp on the Julia!
Spreading a warp (or two) is a lot like spreading hope. We come to the Lord Jesus weary, having tried hard to make things work on our own. He welcomes us with open arms and reveals the time-tested way of trusting him, one step at a time. Now, like threads being sleyed across the dents of a reed, threads of hope spread throughout our being. The threads are secured. Come weary; receive rest; spread hope.
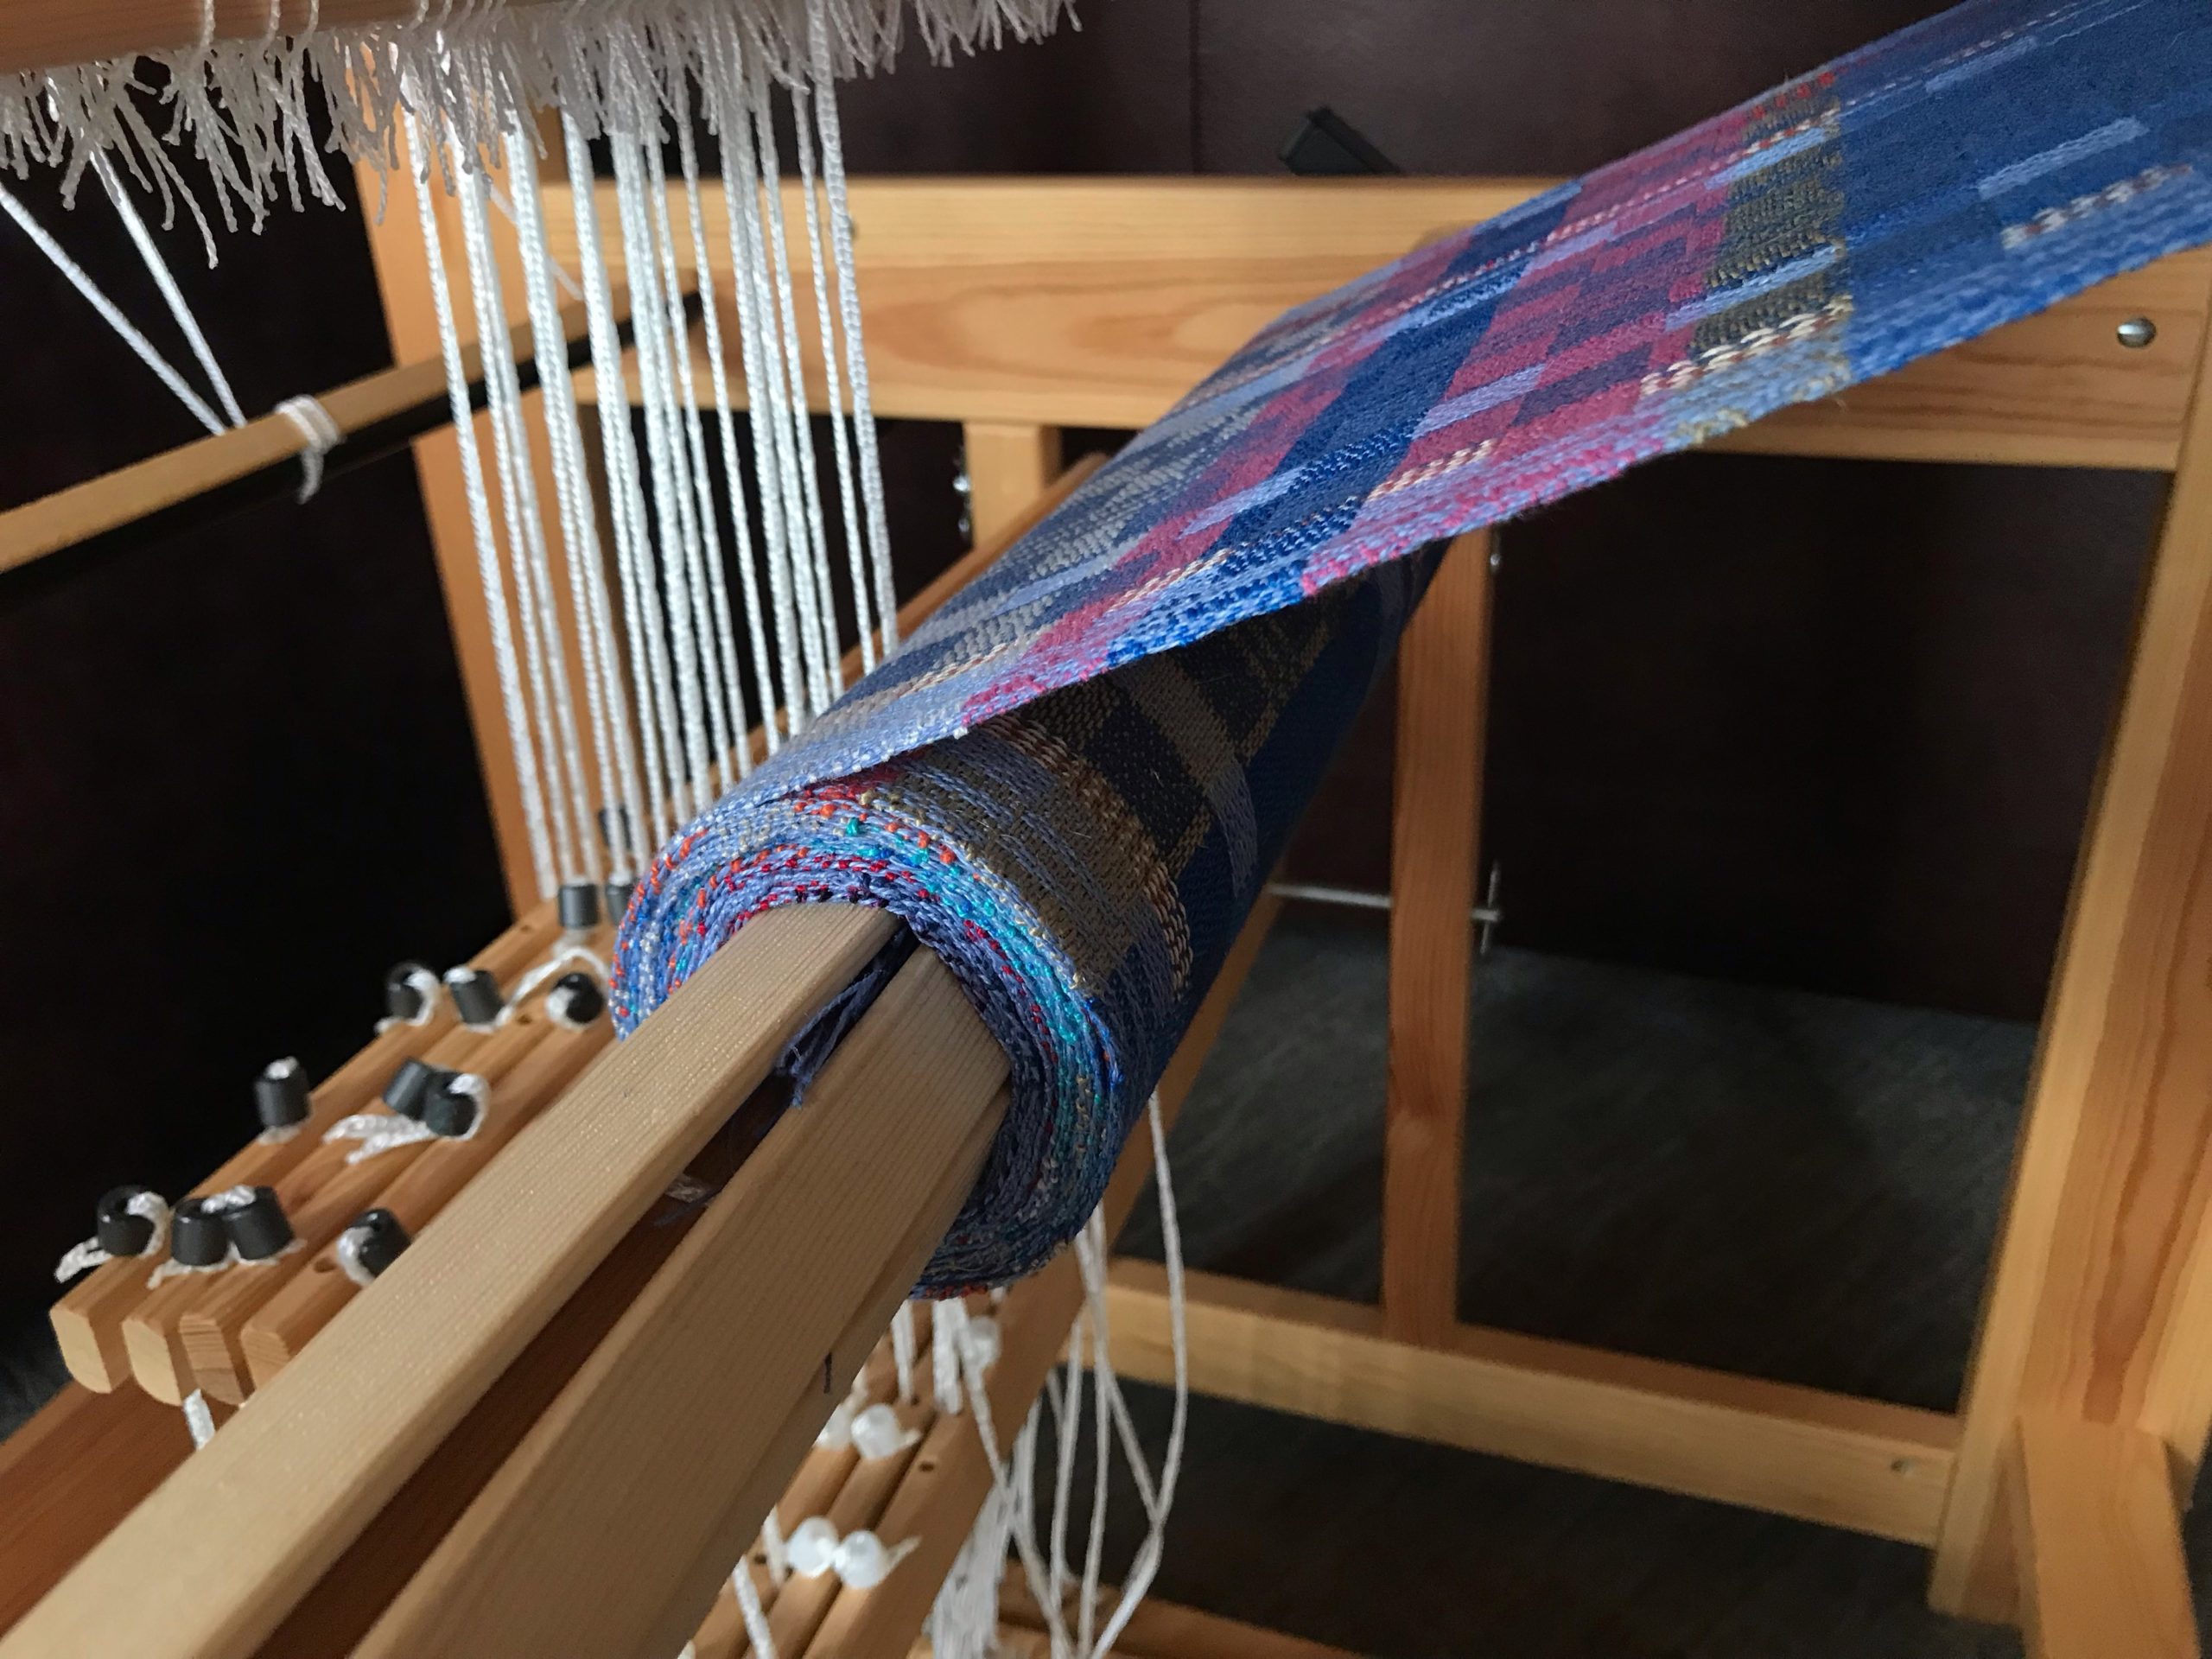
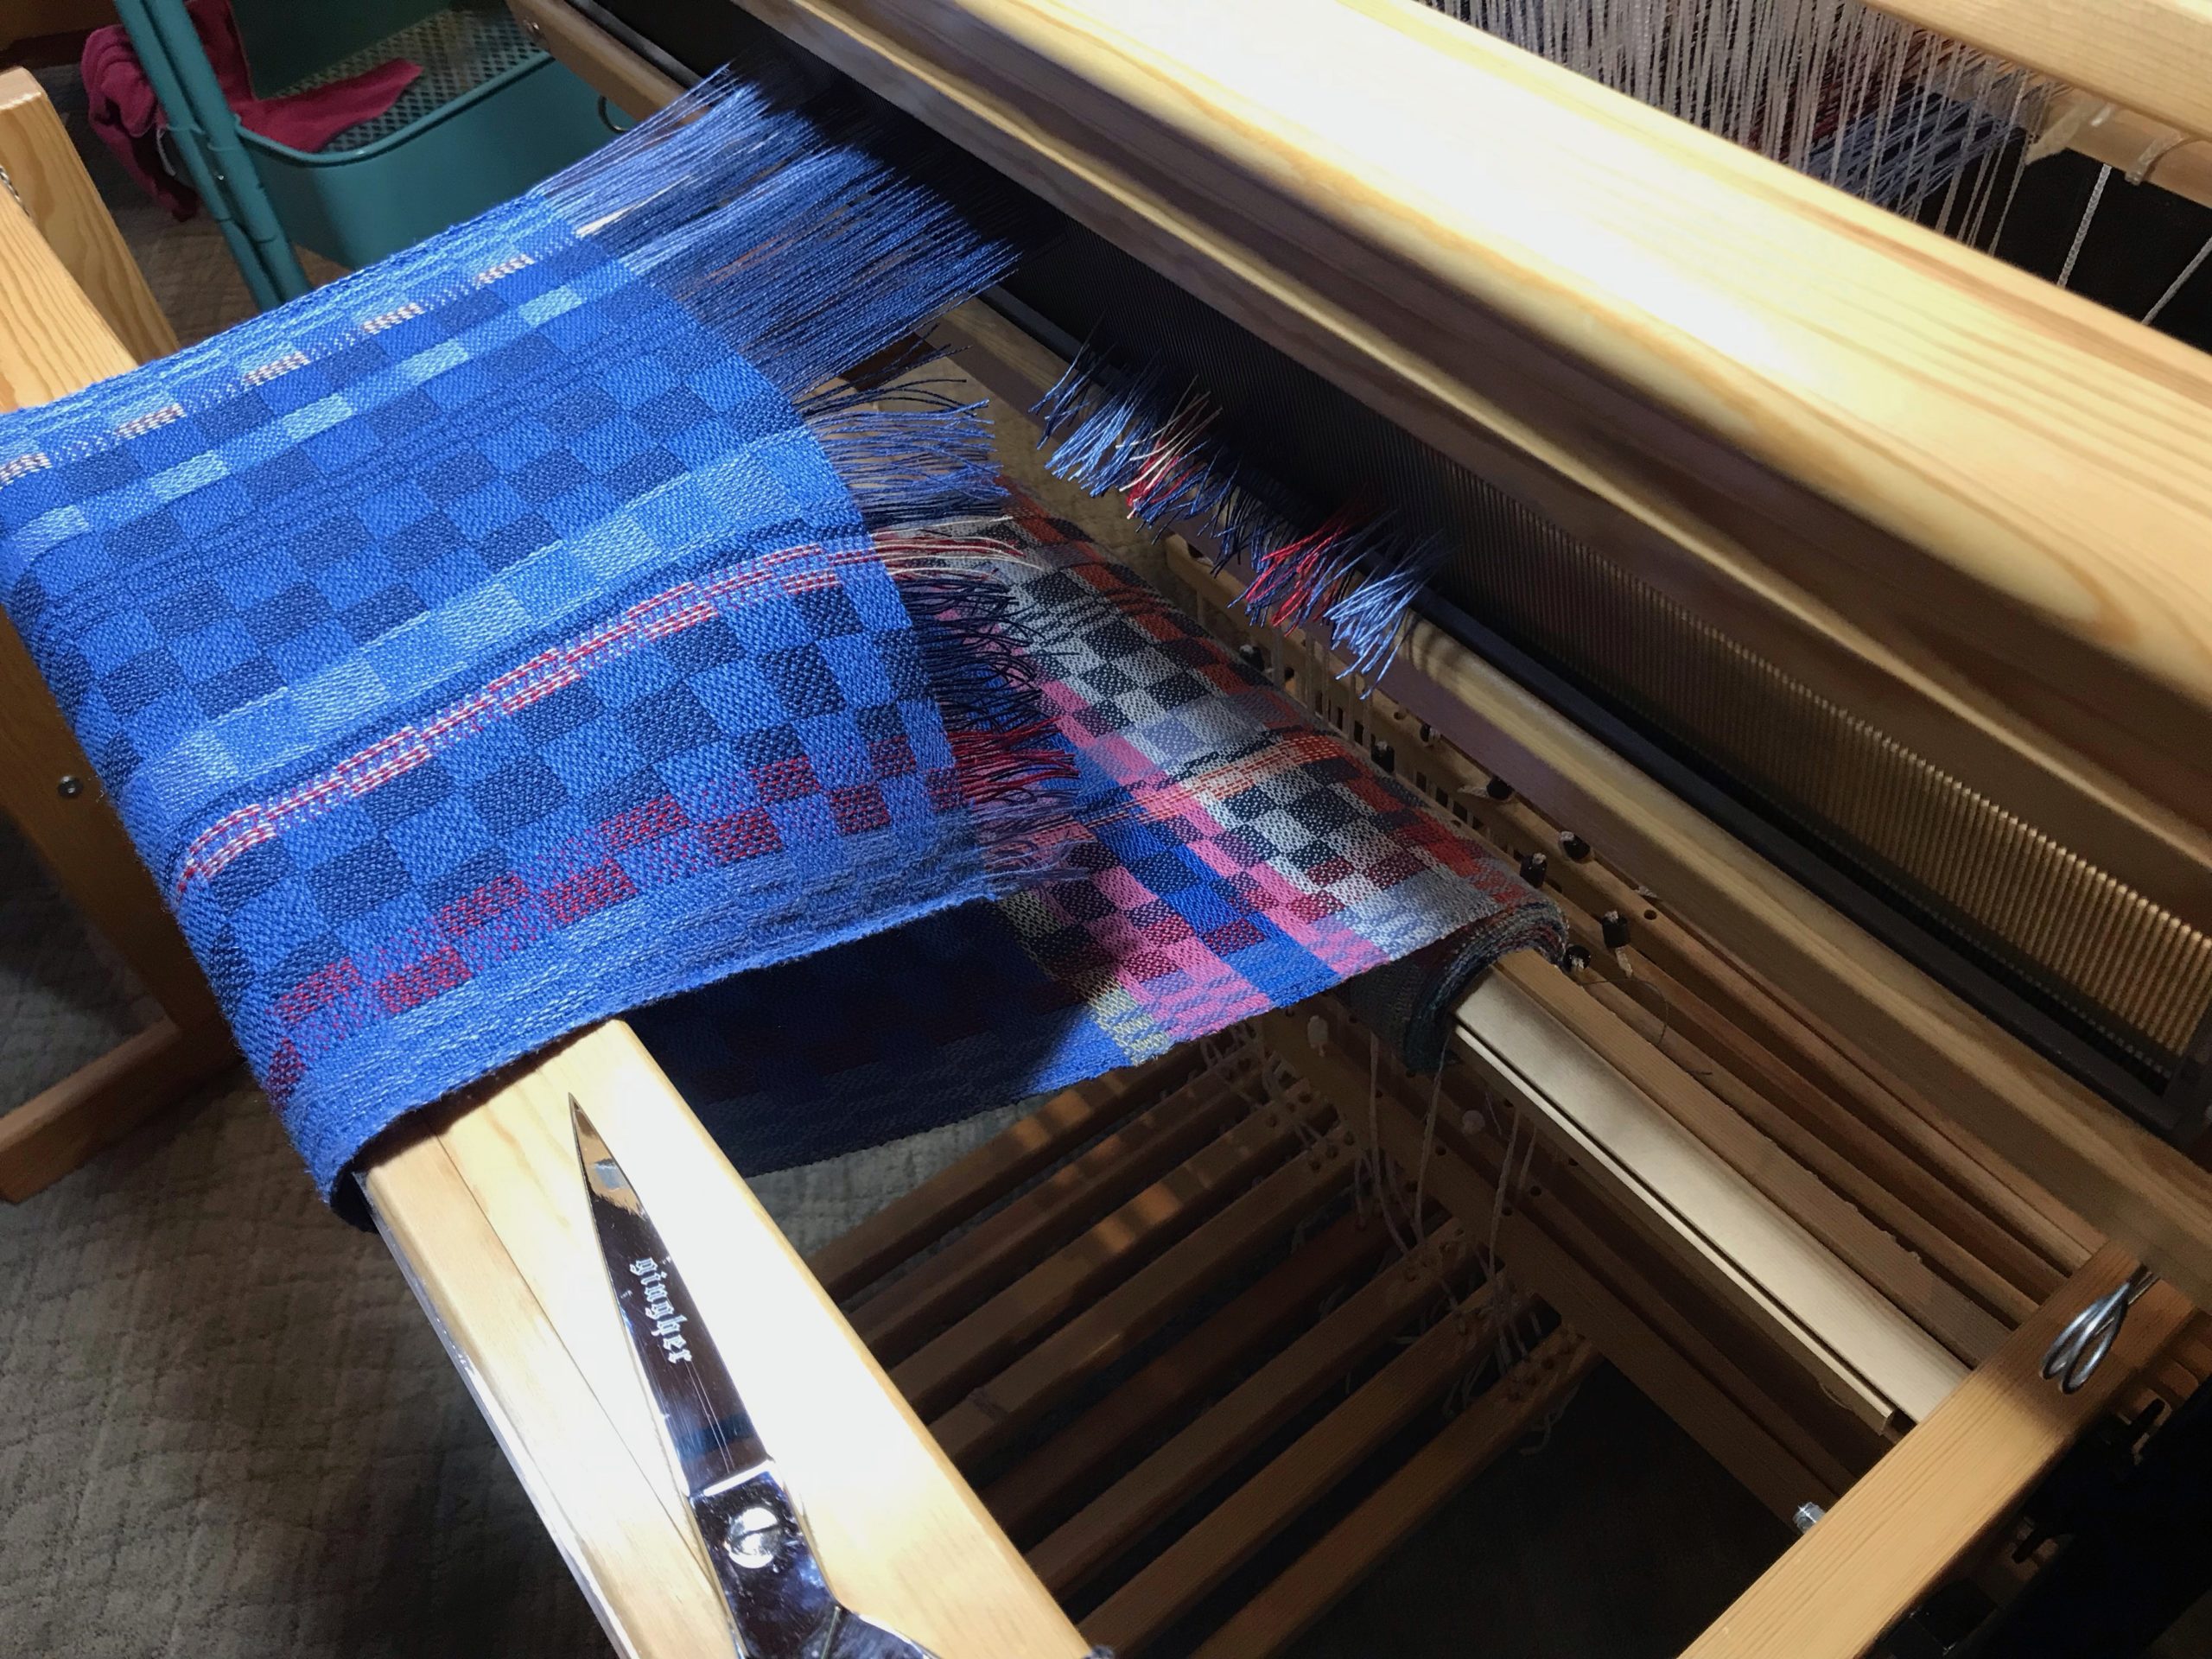
The 2021 cloth is cut from the loom. Let’s unroll the year to see how it looks. I see cherished moments. Treasured memories. New friendships. Family relationships enjoyed. Mistakes made. A few heartbreaks. Sorrow and rejoicing are intertwined at times. Besides the finished fabric, there are a few odd remnants worth keeping in my heart. And, like most thrums, there are some things I am not going to hold on to.
Final project of 2021. Linen dish cloths, with warp made from what was left on several tubes of linen. Glimåkra Julia, using 8 shafts, 8 treadles.Good-bye, 2021. Nine linen dish cloths, plus one large blue rectangle at the end. Washing dishes has never looked so good!
Three weaving highlights: 1. Eye of the Beholder—tapestry of my mom. The Lord used the making and finishing of this woven portrait to reiterate His nearness when I needed it most. 2. Siblings, tapestry from the previous year, earned the HGA (Handweavers Guild of America) Award at the Contemporary Handweavers of Texas Conference last summer. 3. The yellow huckaback three-tiered skirt, Tiers of Joy, ought to earn an achievement award. However, the real reward is a genuine sense of accomplishment through perseverance.
First warp of 2022. Glimåkra Ideal. Double-binding rag rugs coming up. Hooray!
Know when to let go. 2022 is a new warp on the loom. Some things from last year don’t belong. We have a fresh start with no room for complaints. Threads on the loom are rich with hope, ready for the intersection of thoughtful wonder and exploration. Look for results of tangible beauty.
Please enjoy looking back at the weaving journey of 2021 with me. I’m grateful to have you here, and look forward to more good times together!