Tried and True: How to Remove Guesswork

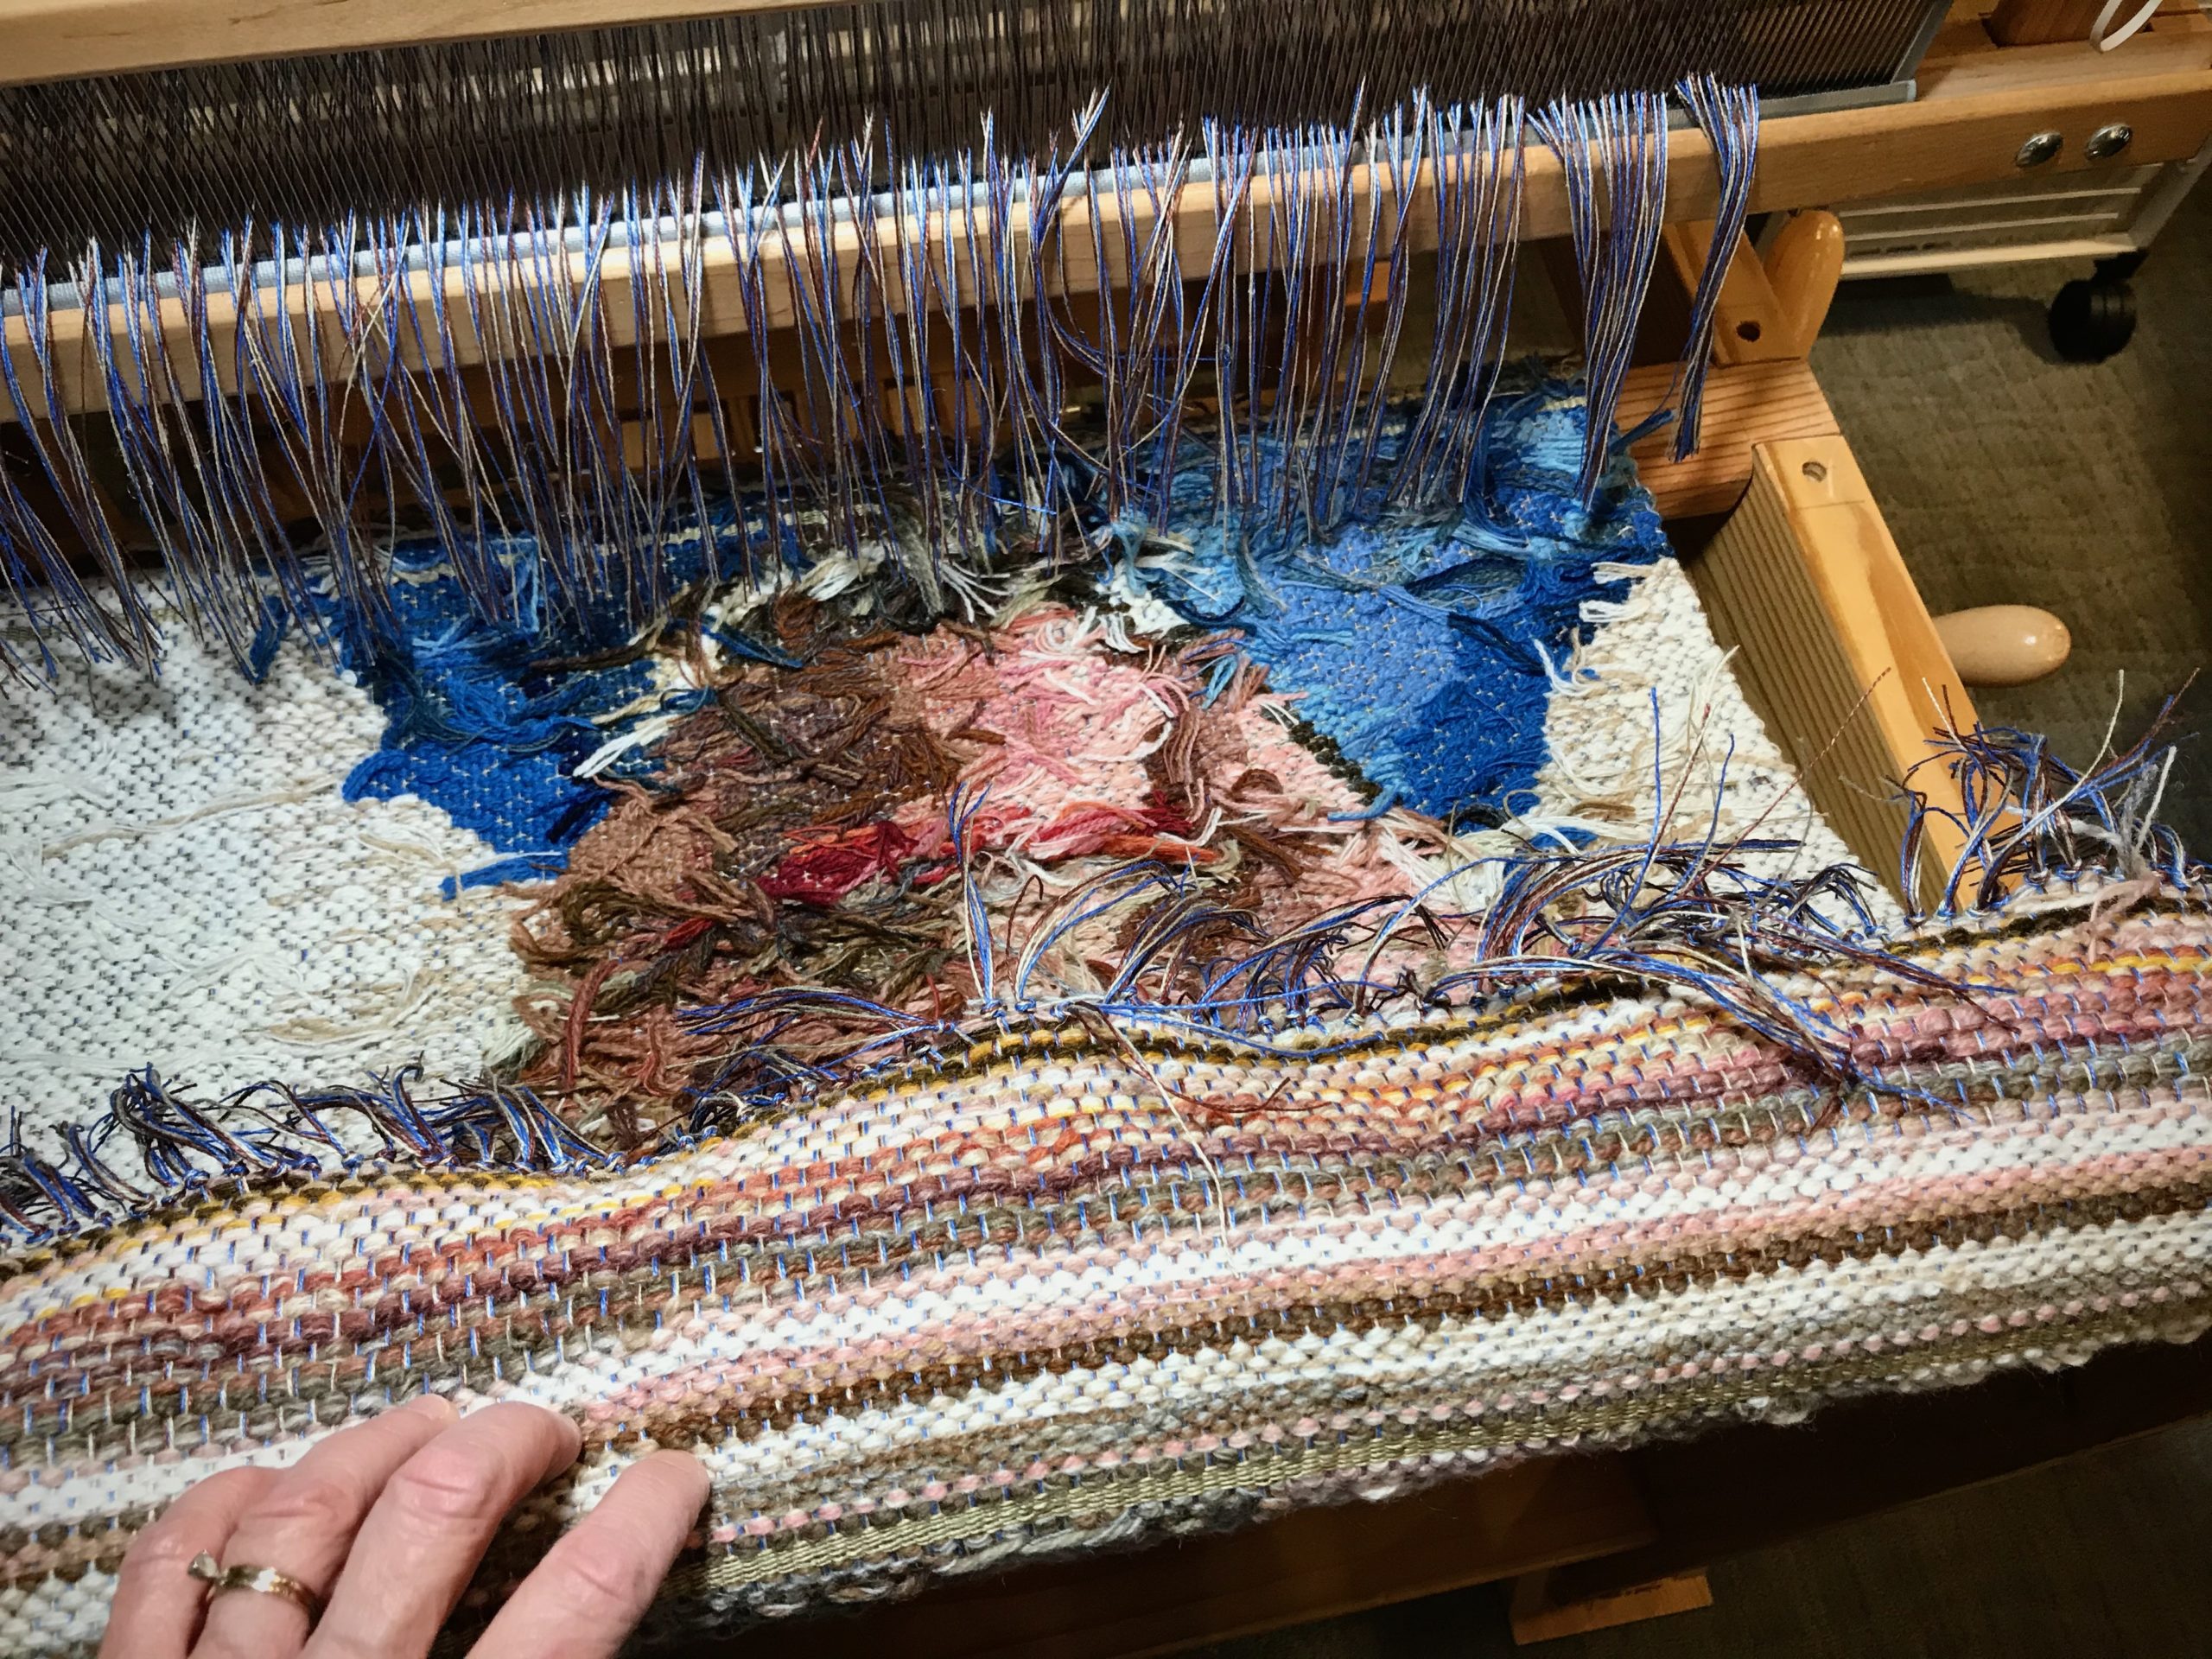
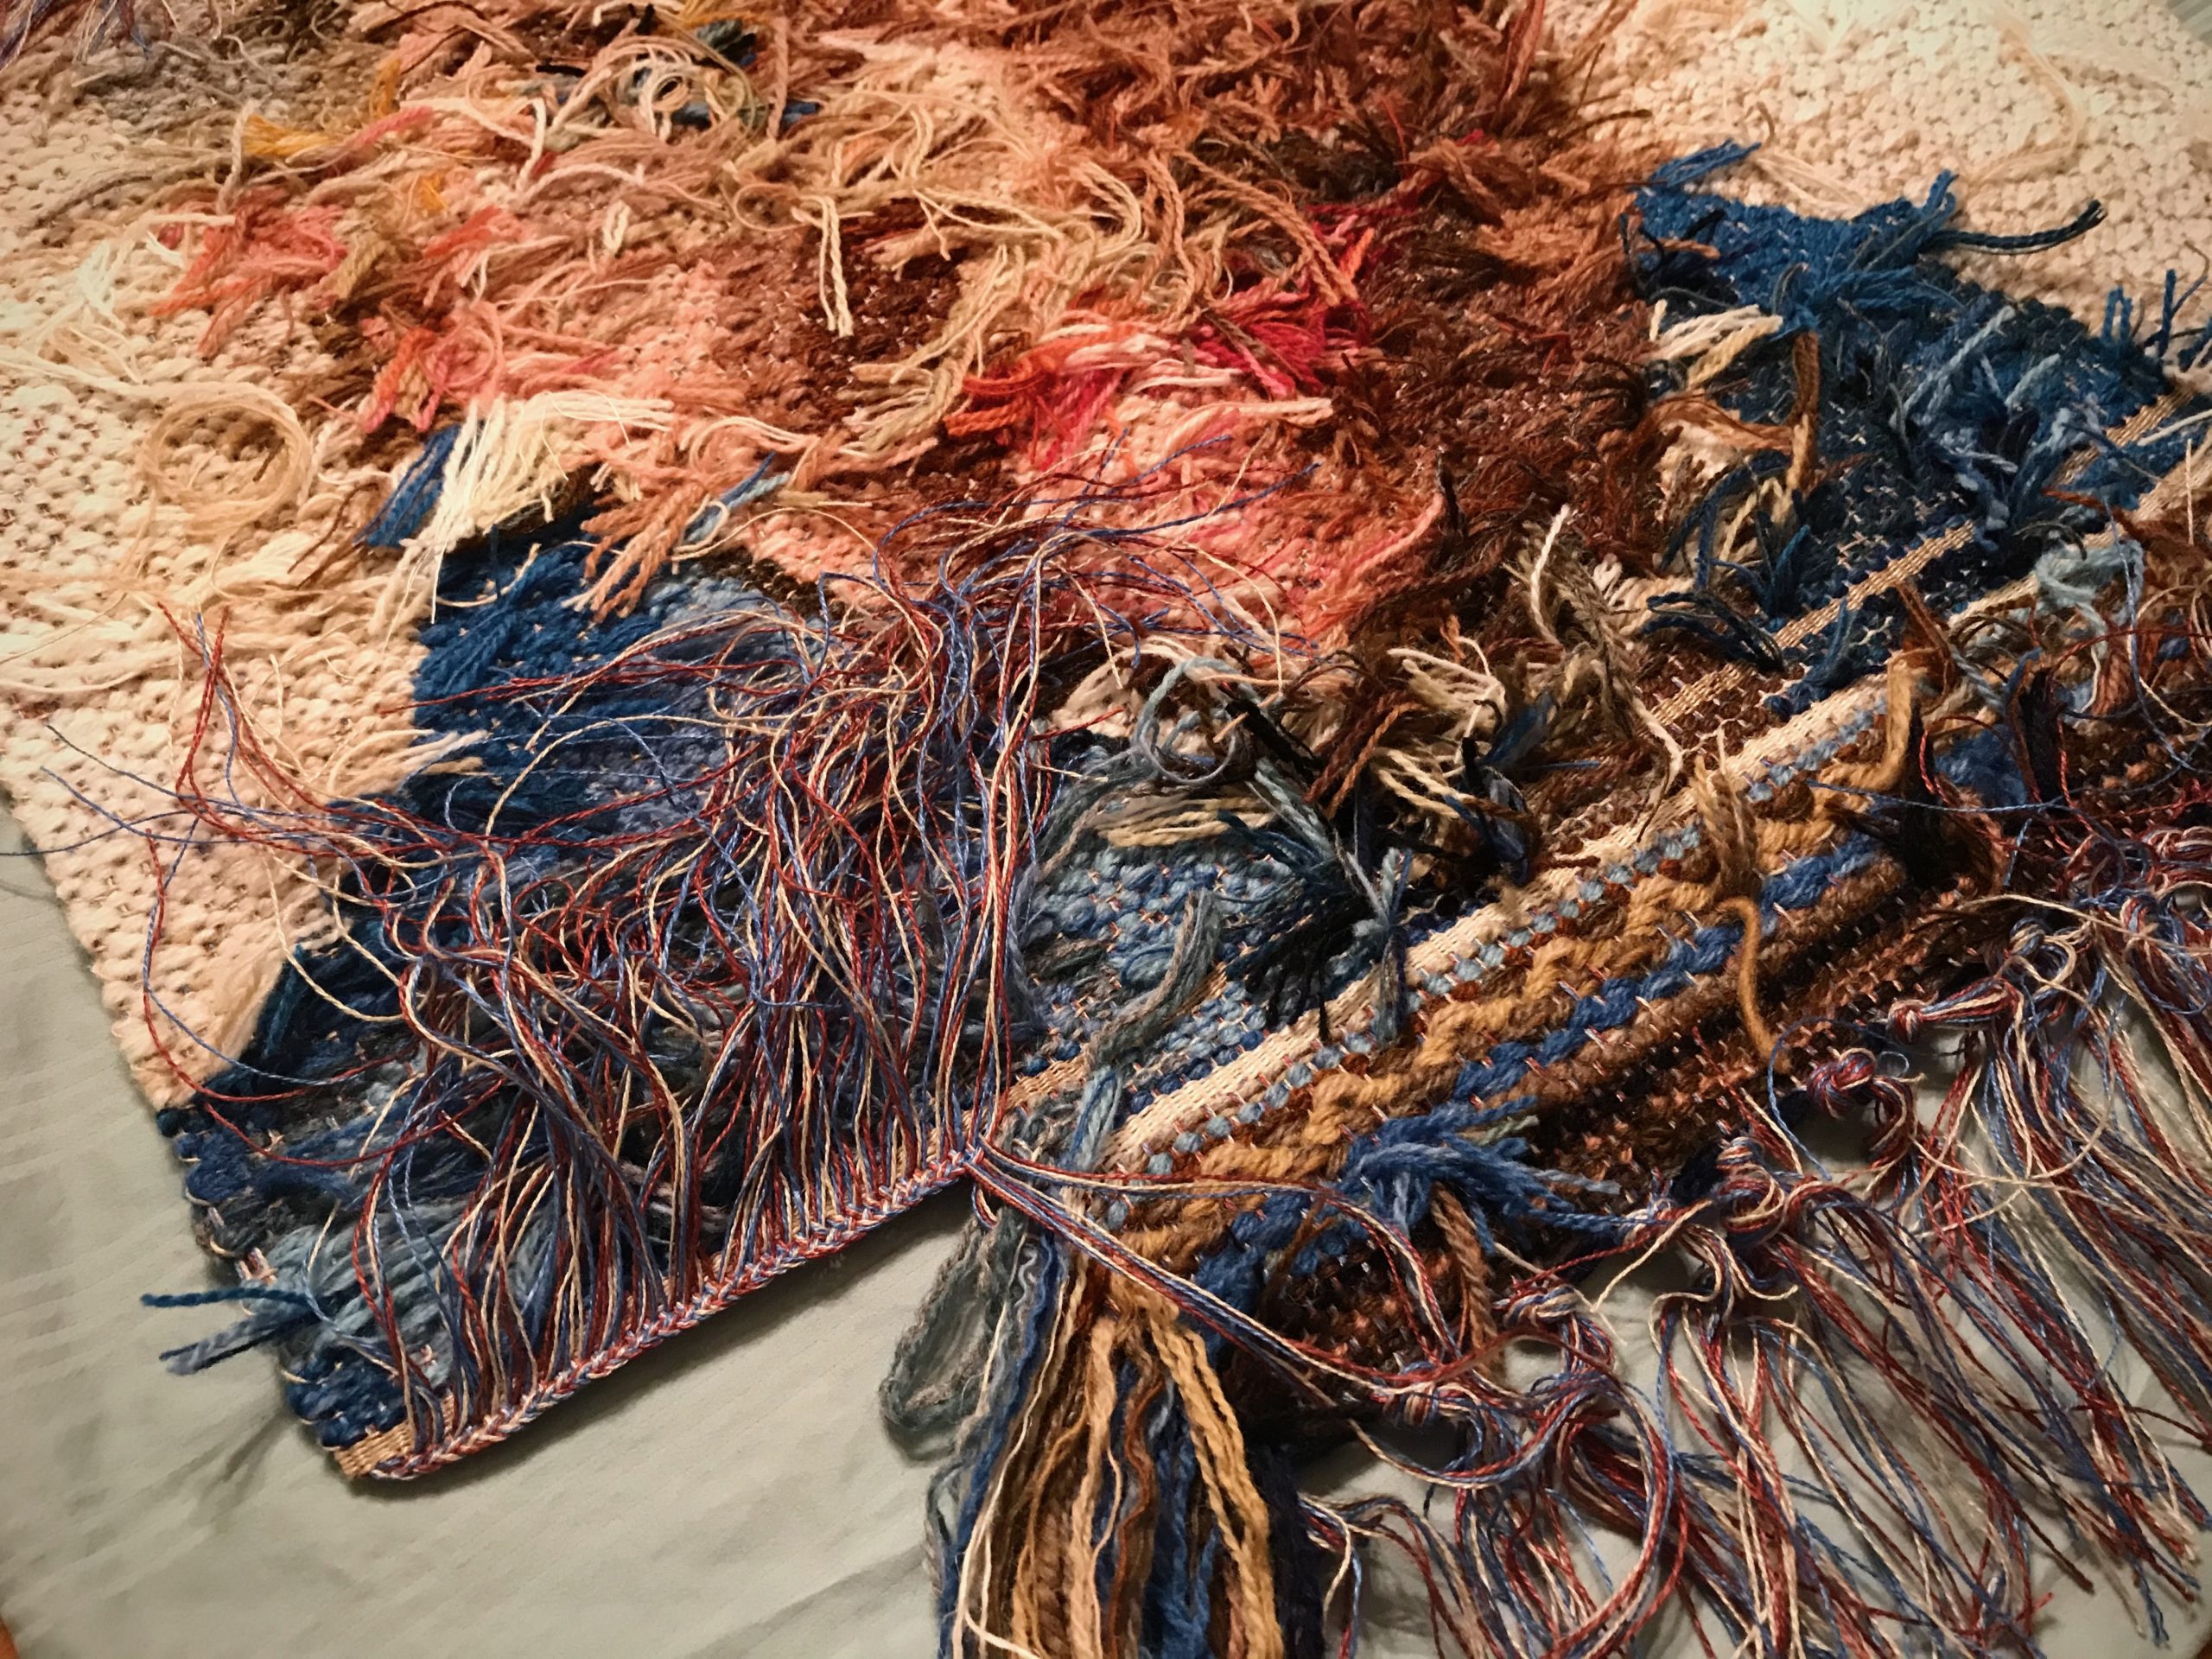
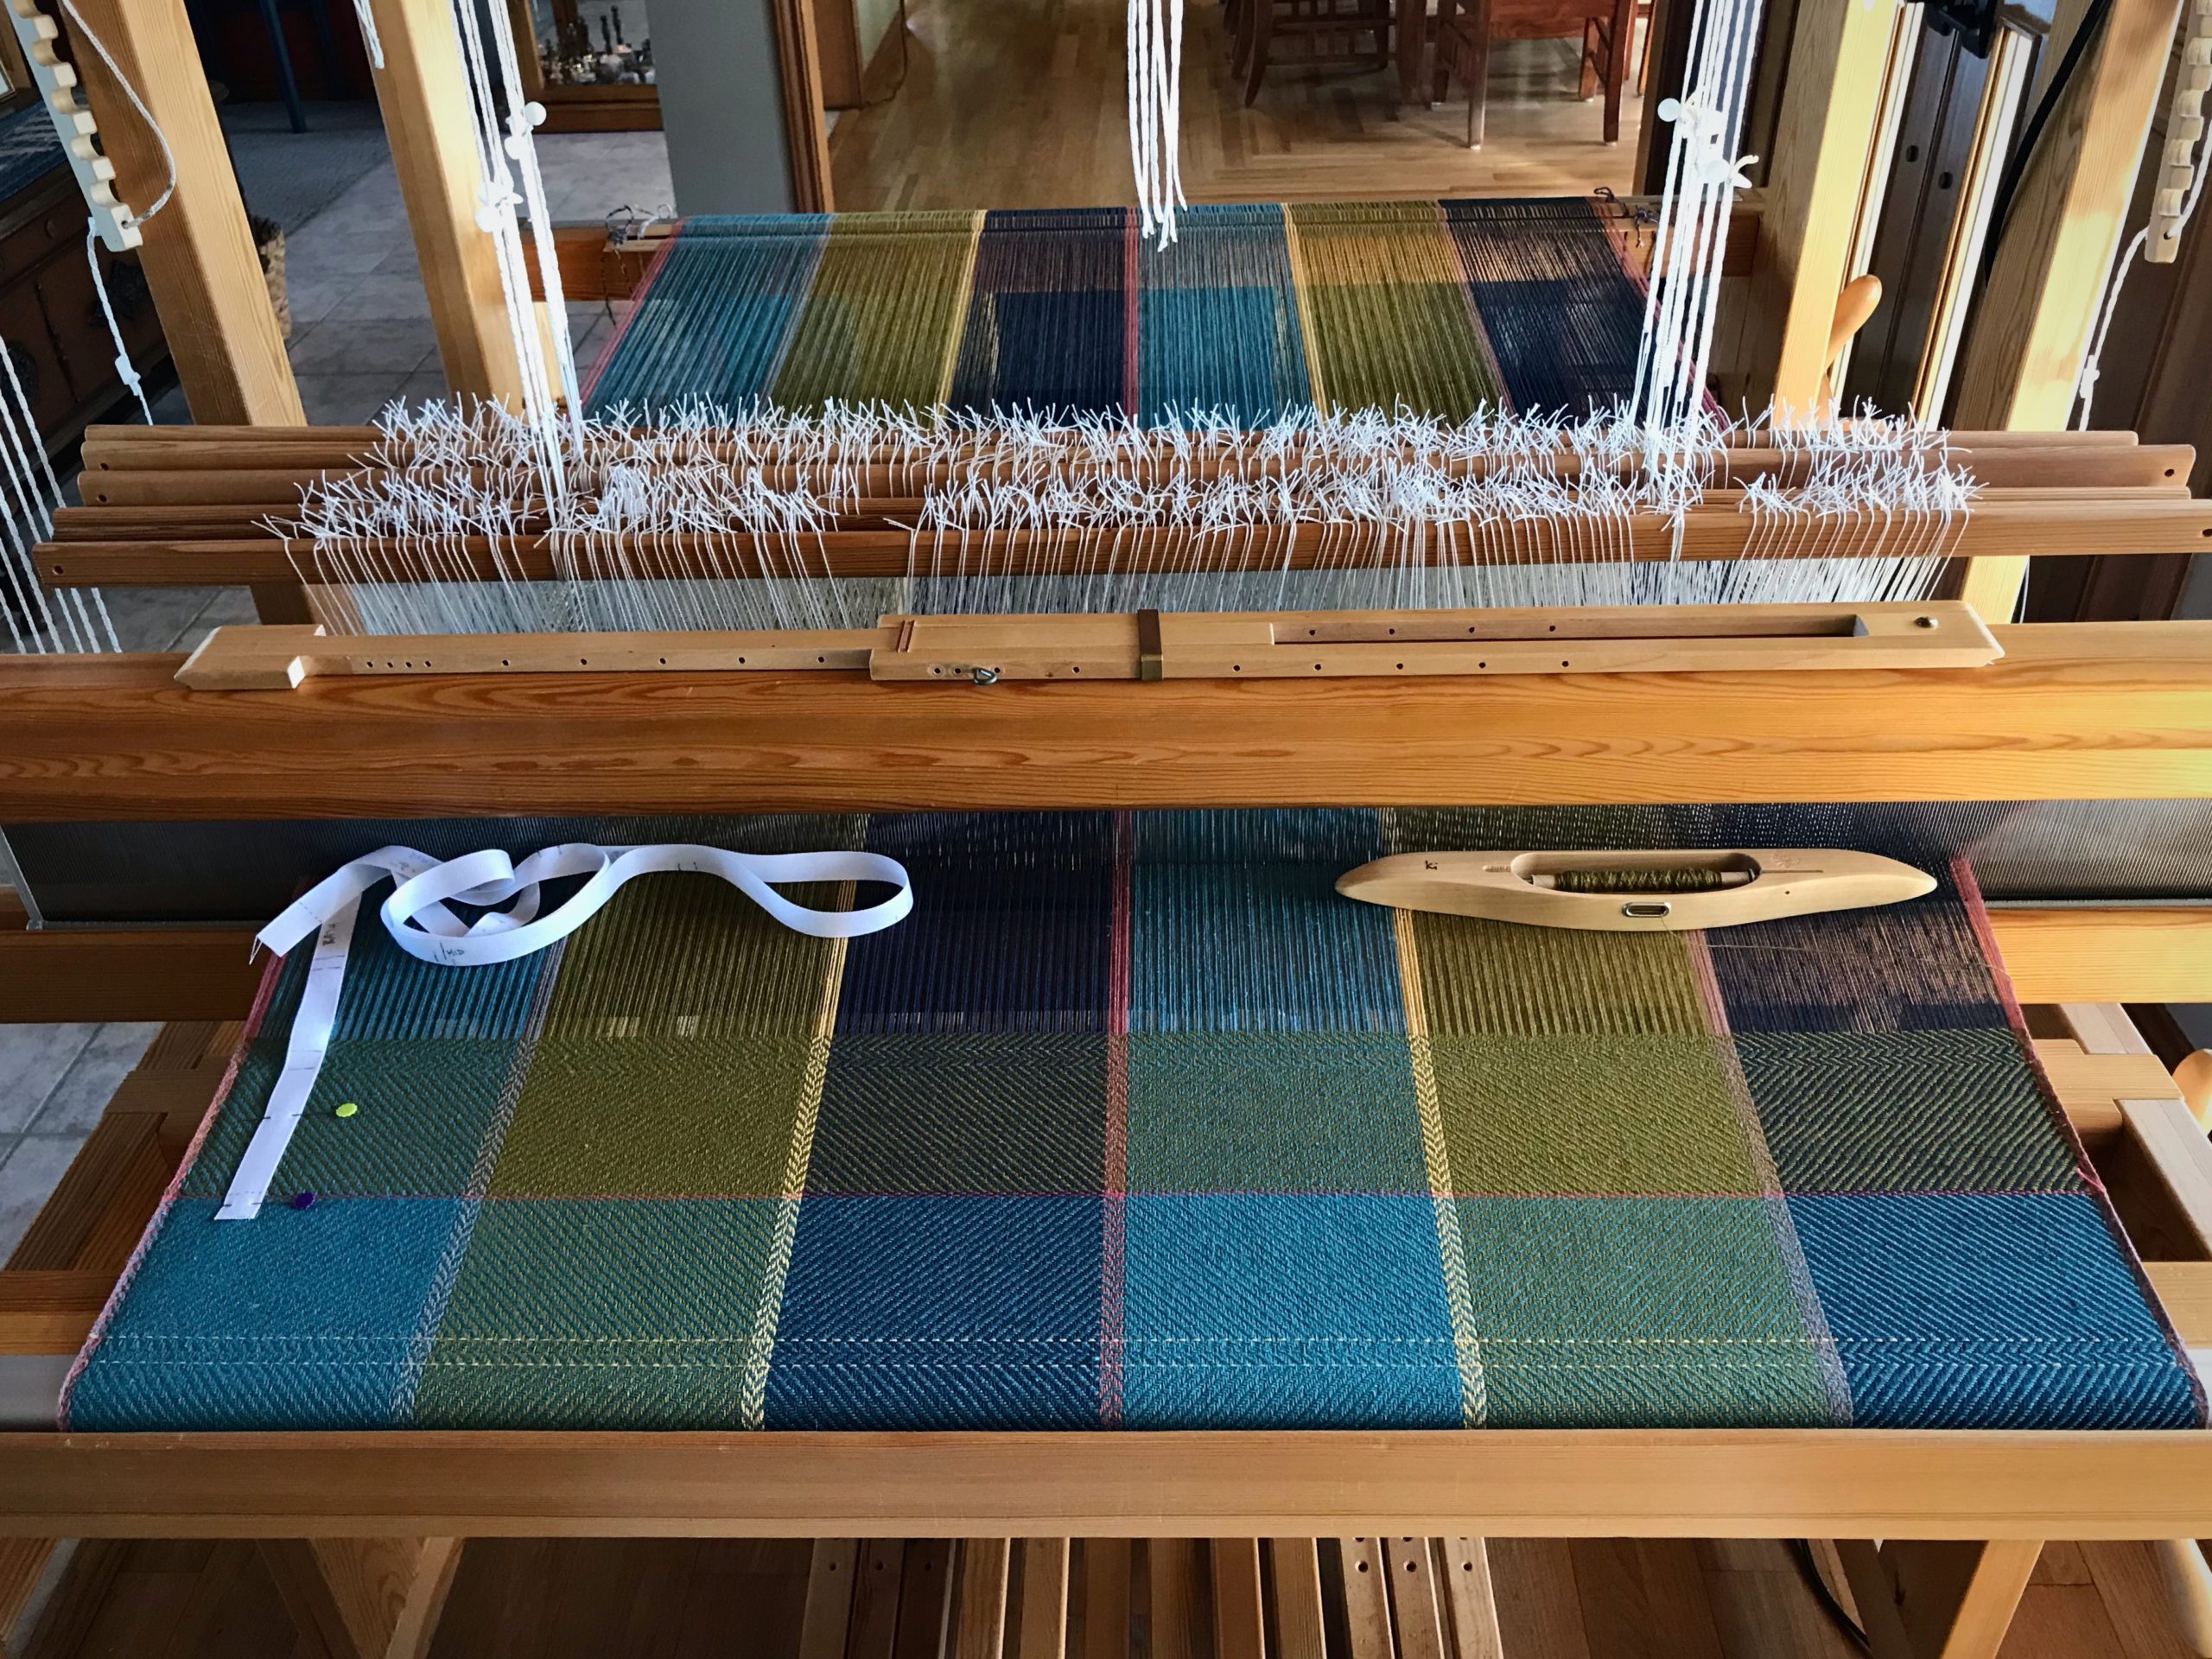
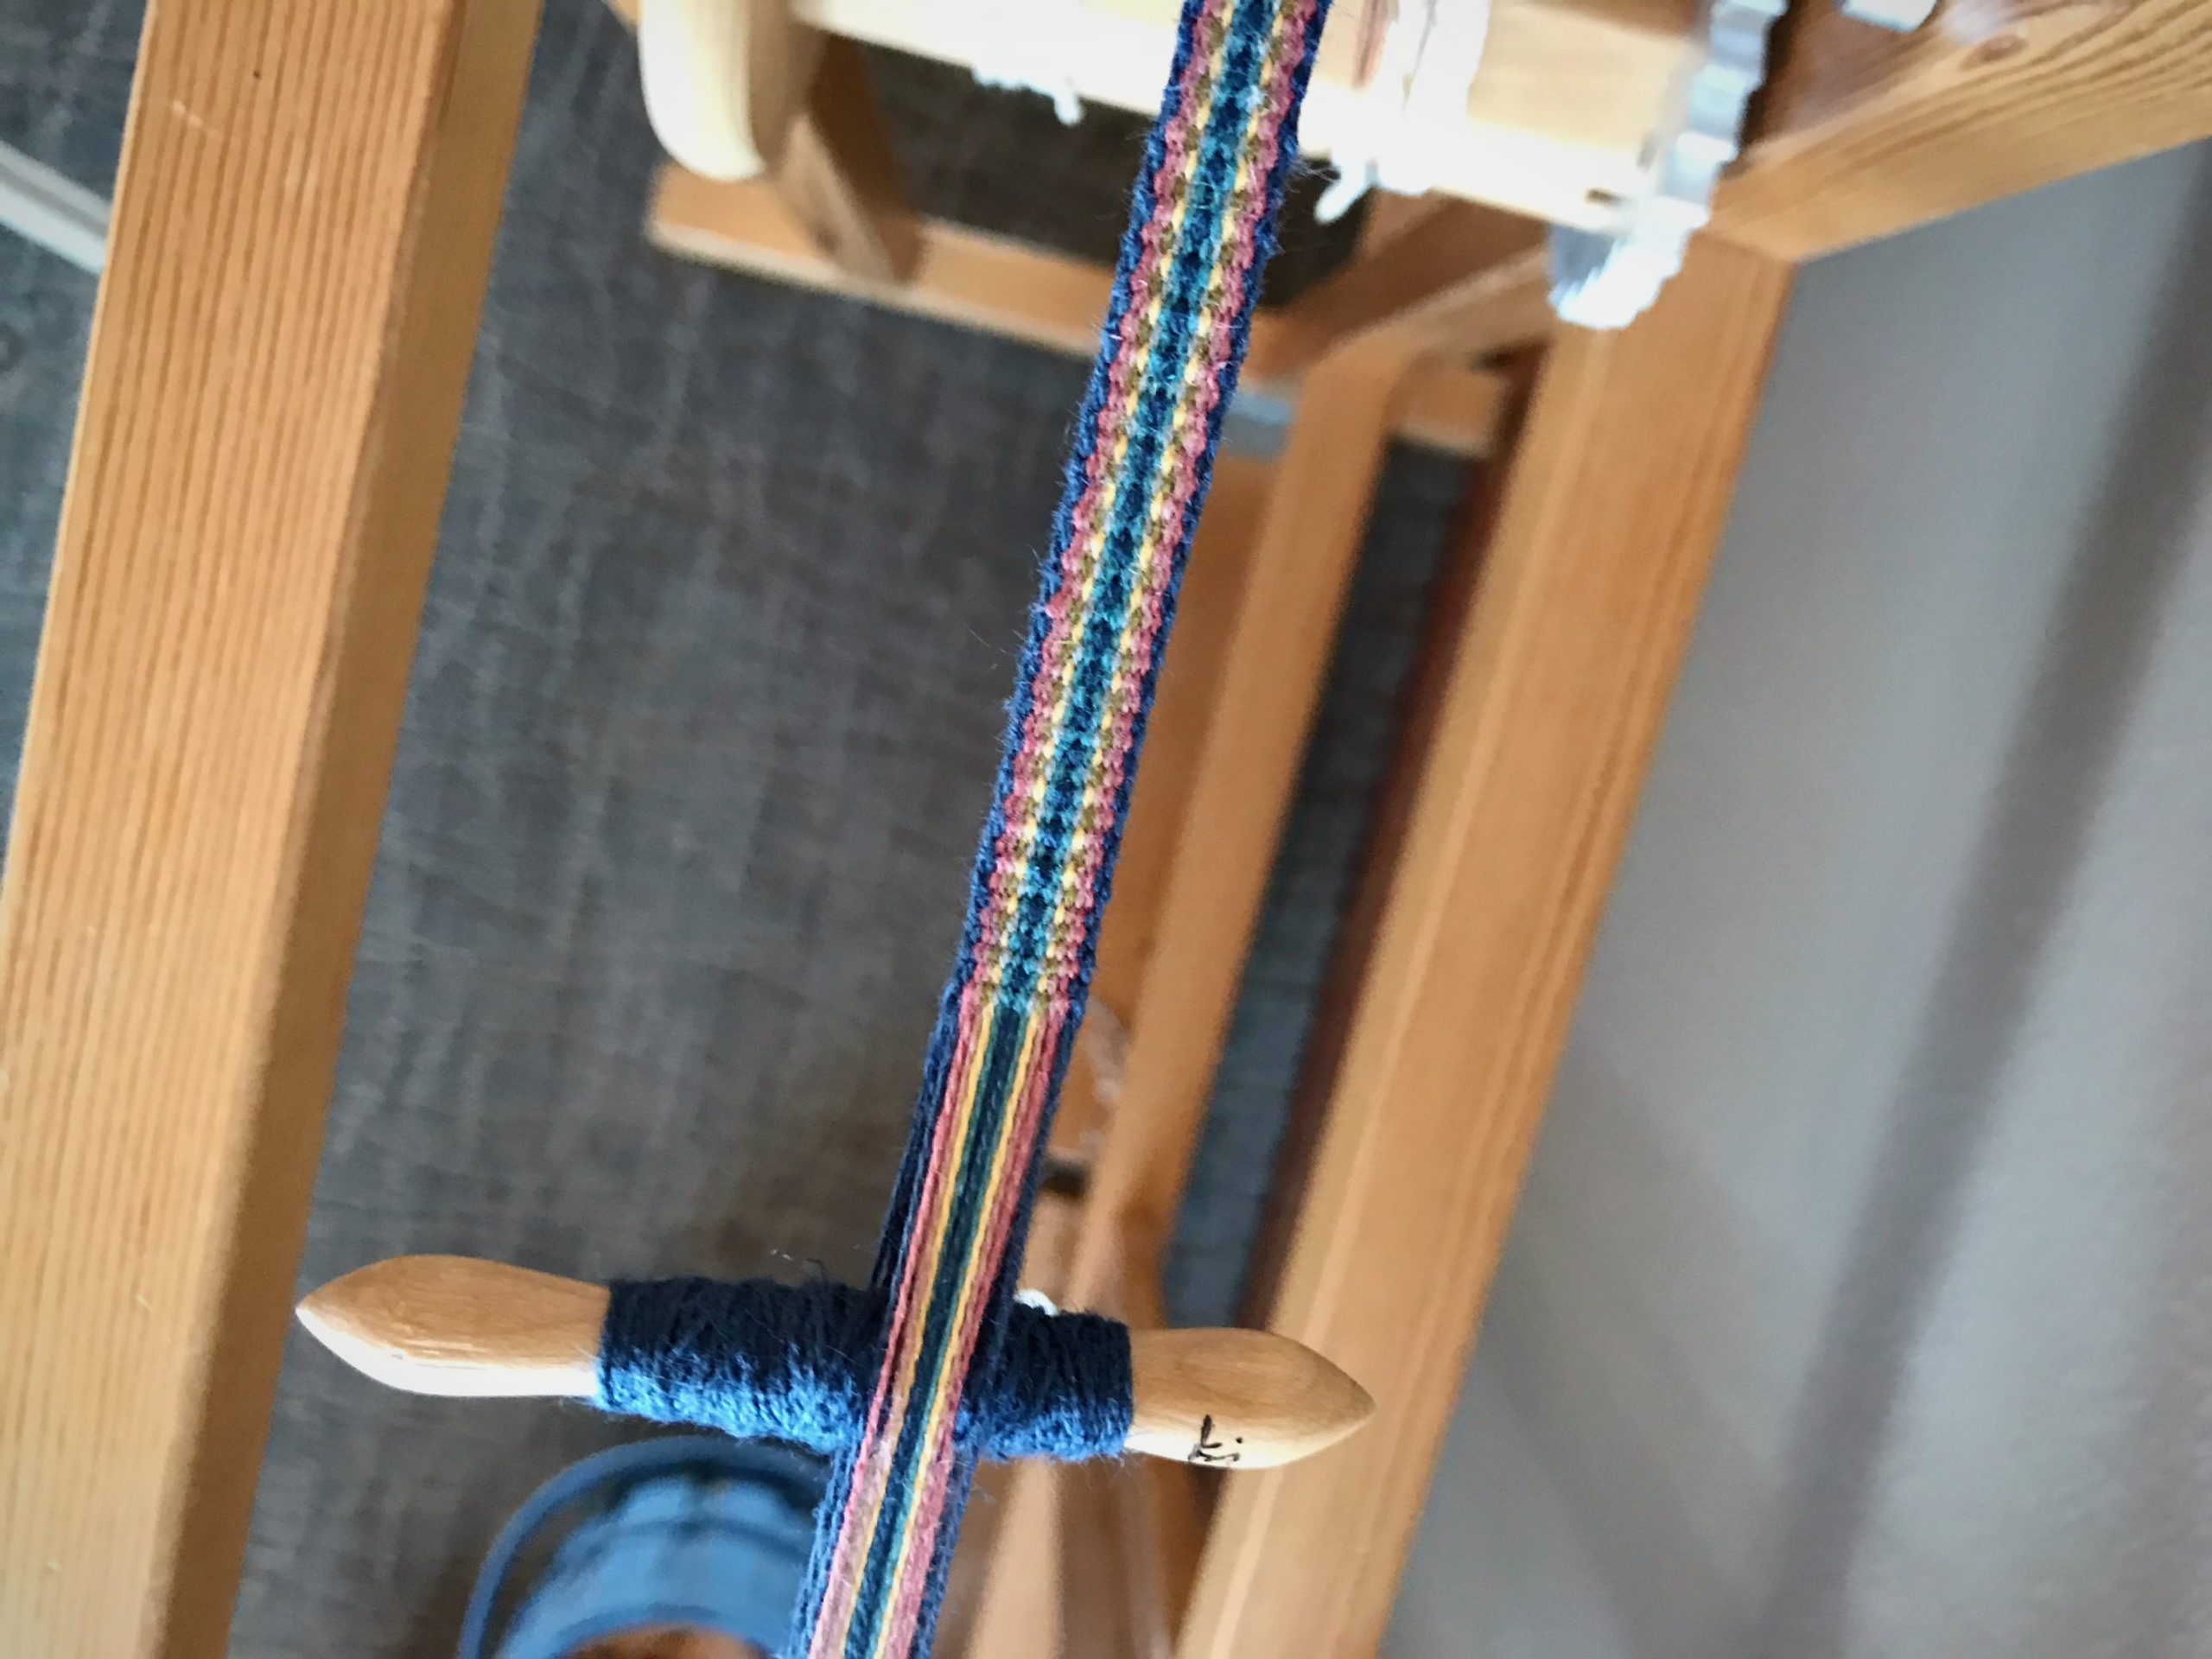
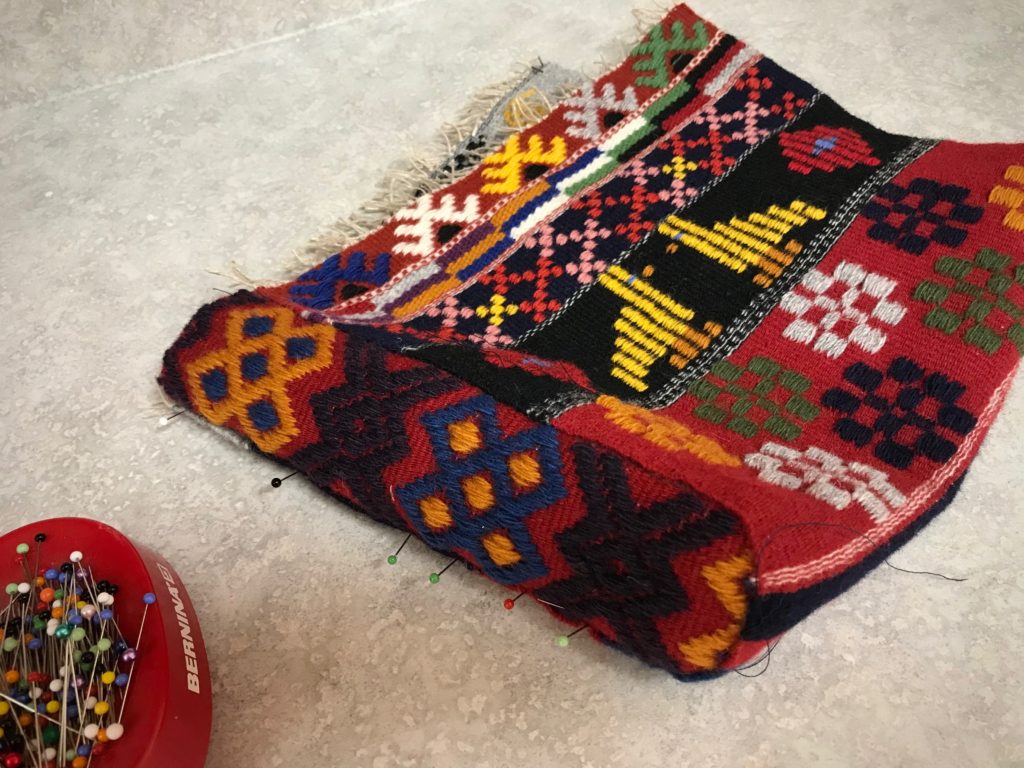
Documenting your work for repeatability is valuable for any any step-by-step process. With the Lizard tapestry I learned how to do the finishing, including the backing. By the time I was ready to put a backing on the Siblings tapestry, I had limited recall of that first experience. Now that Eye of the Beholder is ready for backing, I need help again. Fortunately, I made note of every detail while constructing the backing for the Siblings tapestry. So, this time I have the benefit of written and photo documentation. No guesswork!

How to Document Your Steps

How to document your process steps.
Photo guidance on the computer corresponds with enumerated steps on my phone. This removes guesswork for the next part of the process.
  1. Do research. Gather your notes, search resources, and get advice from experienced weavers regarding the process you want to document.
  2. Outline the steps. Write out and number all the steps as you understand them. Doing this before you start helps you think through the entire process.
  3. Refine the steps. Begin working through the steps in order. Adjust the steps as you go. You may need to add or eliminate steps, or change the order in which they are done.
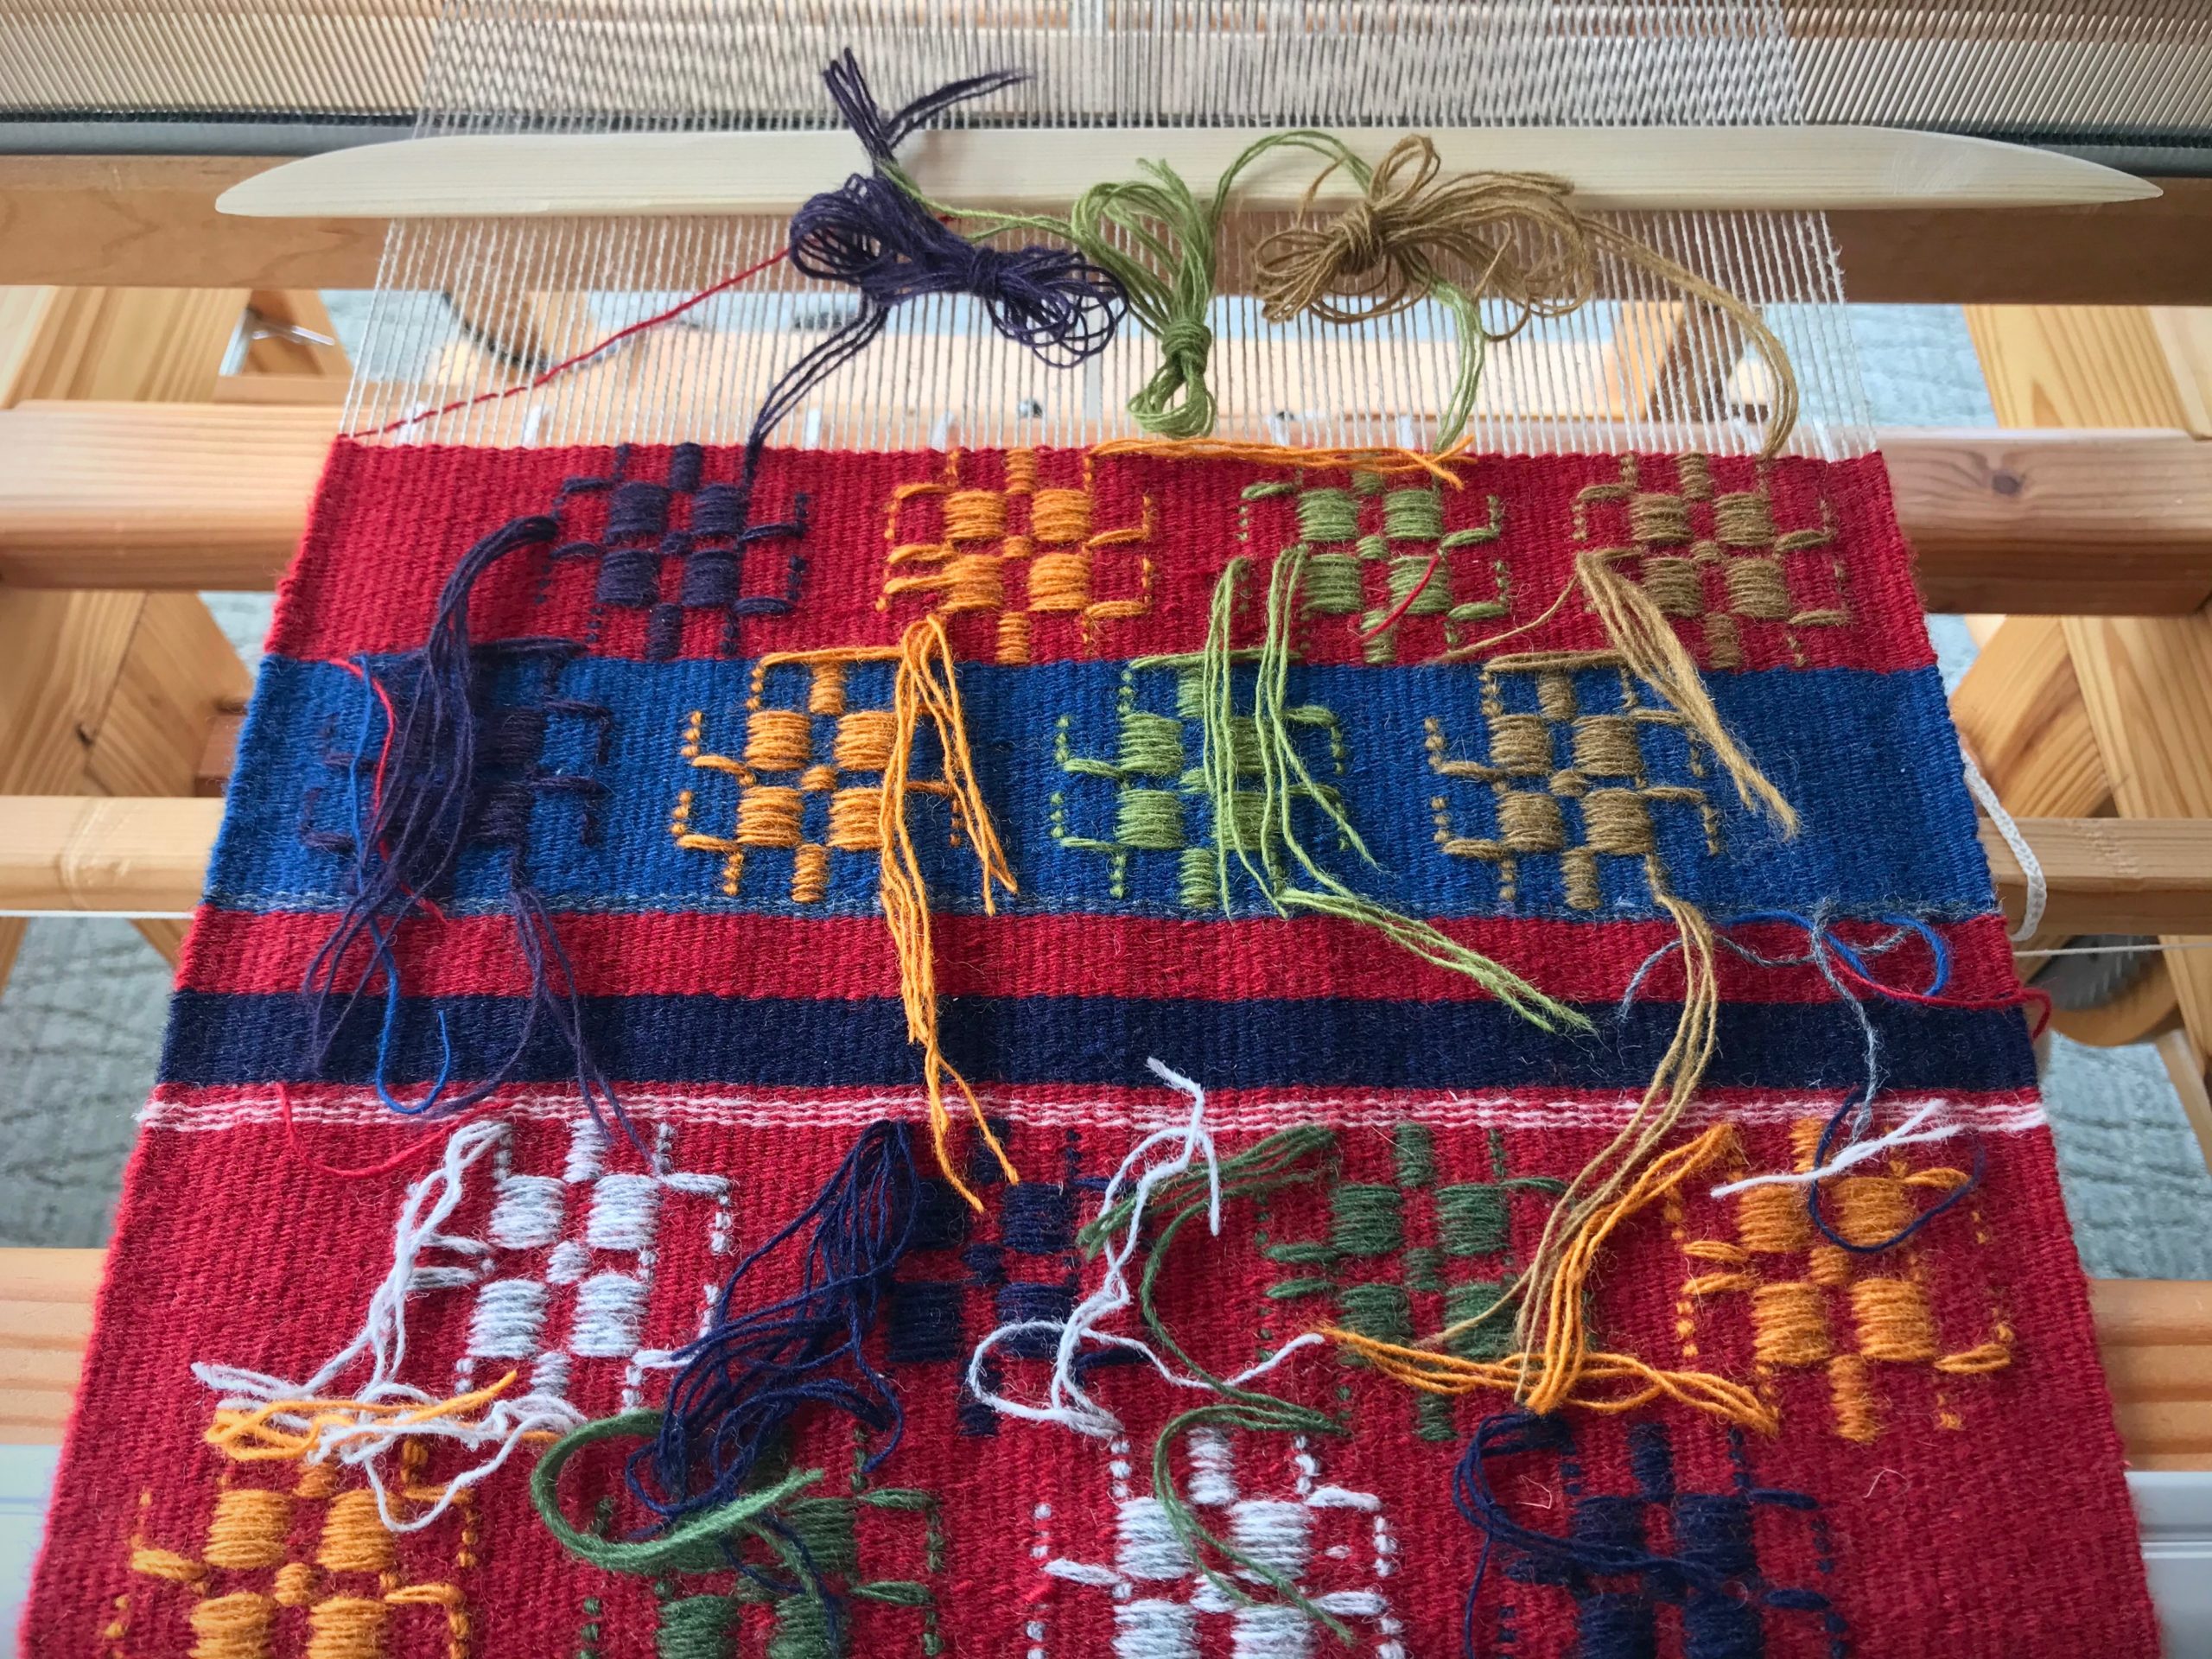
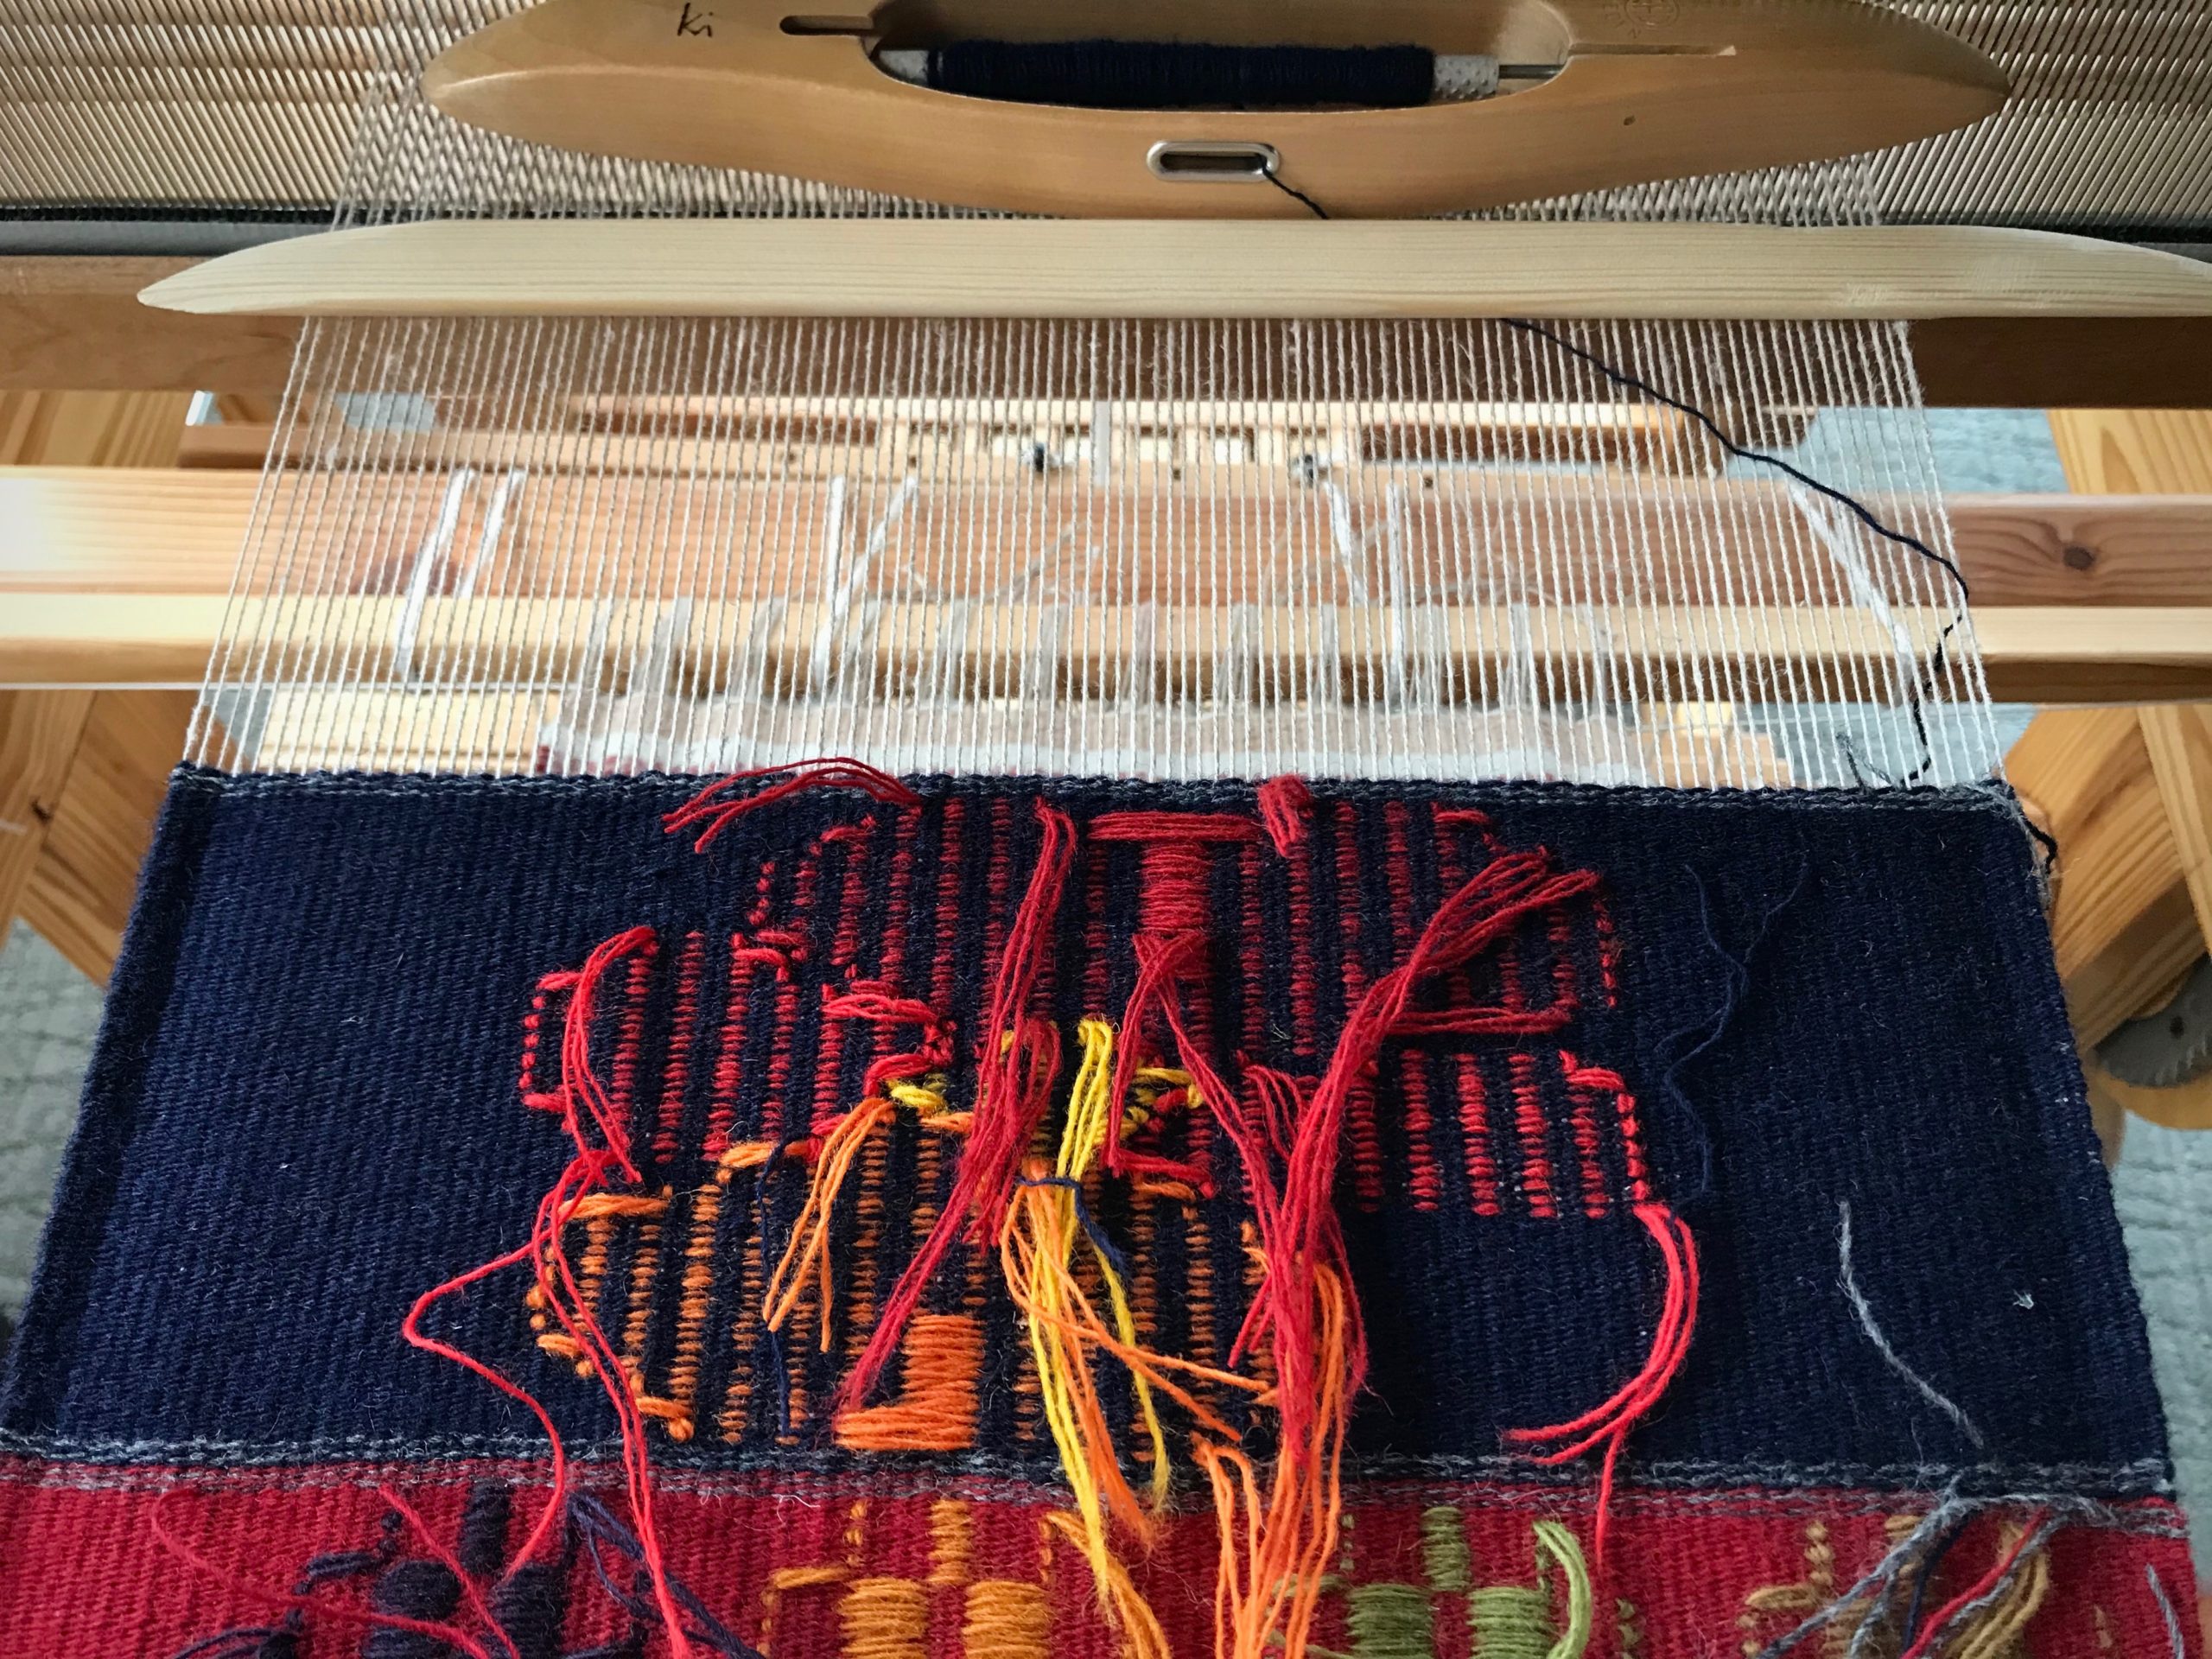
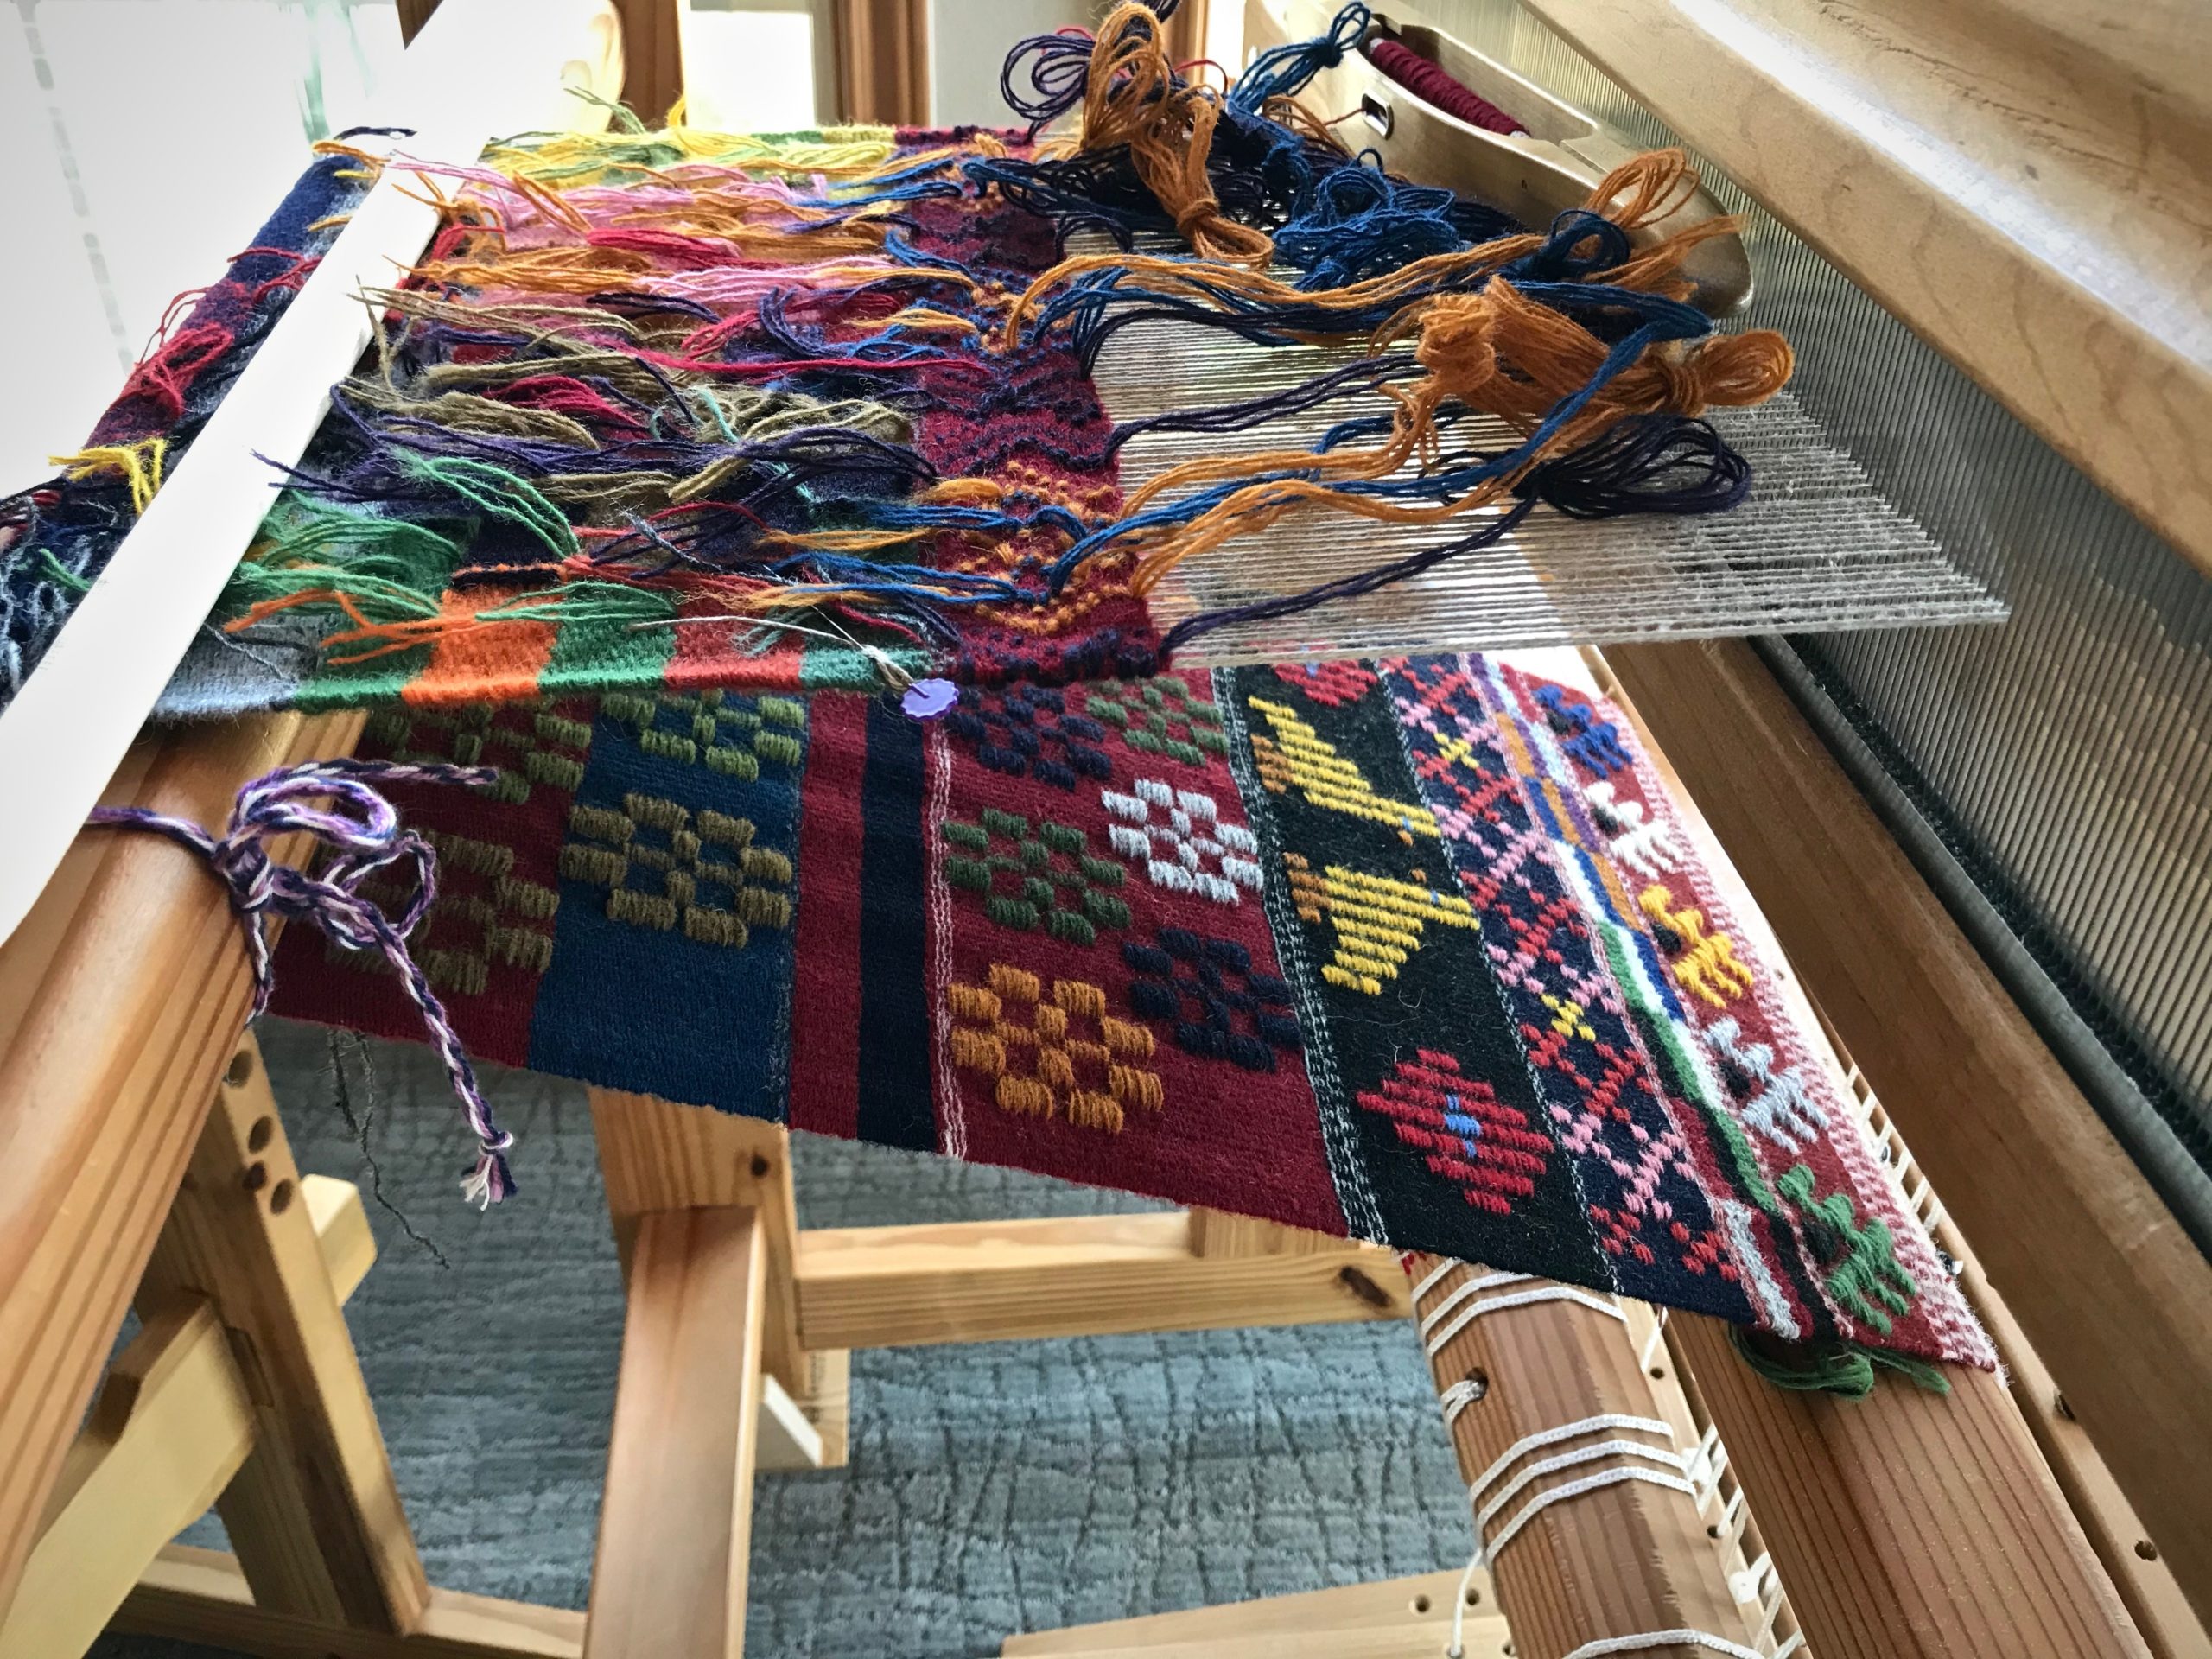
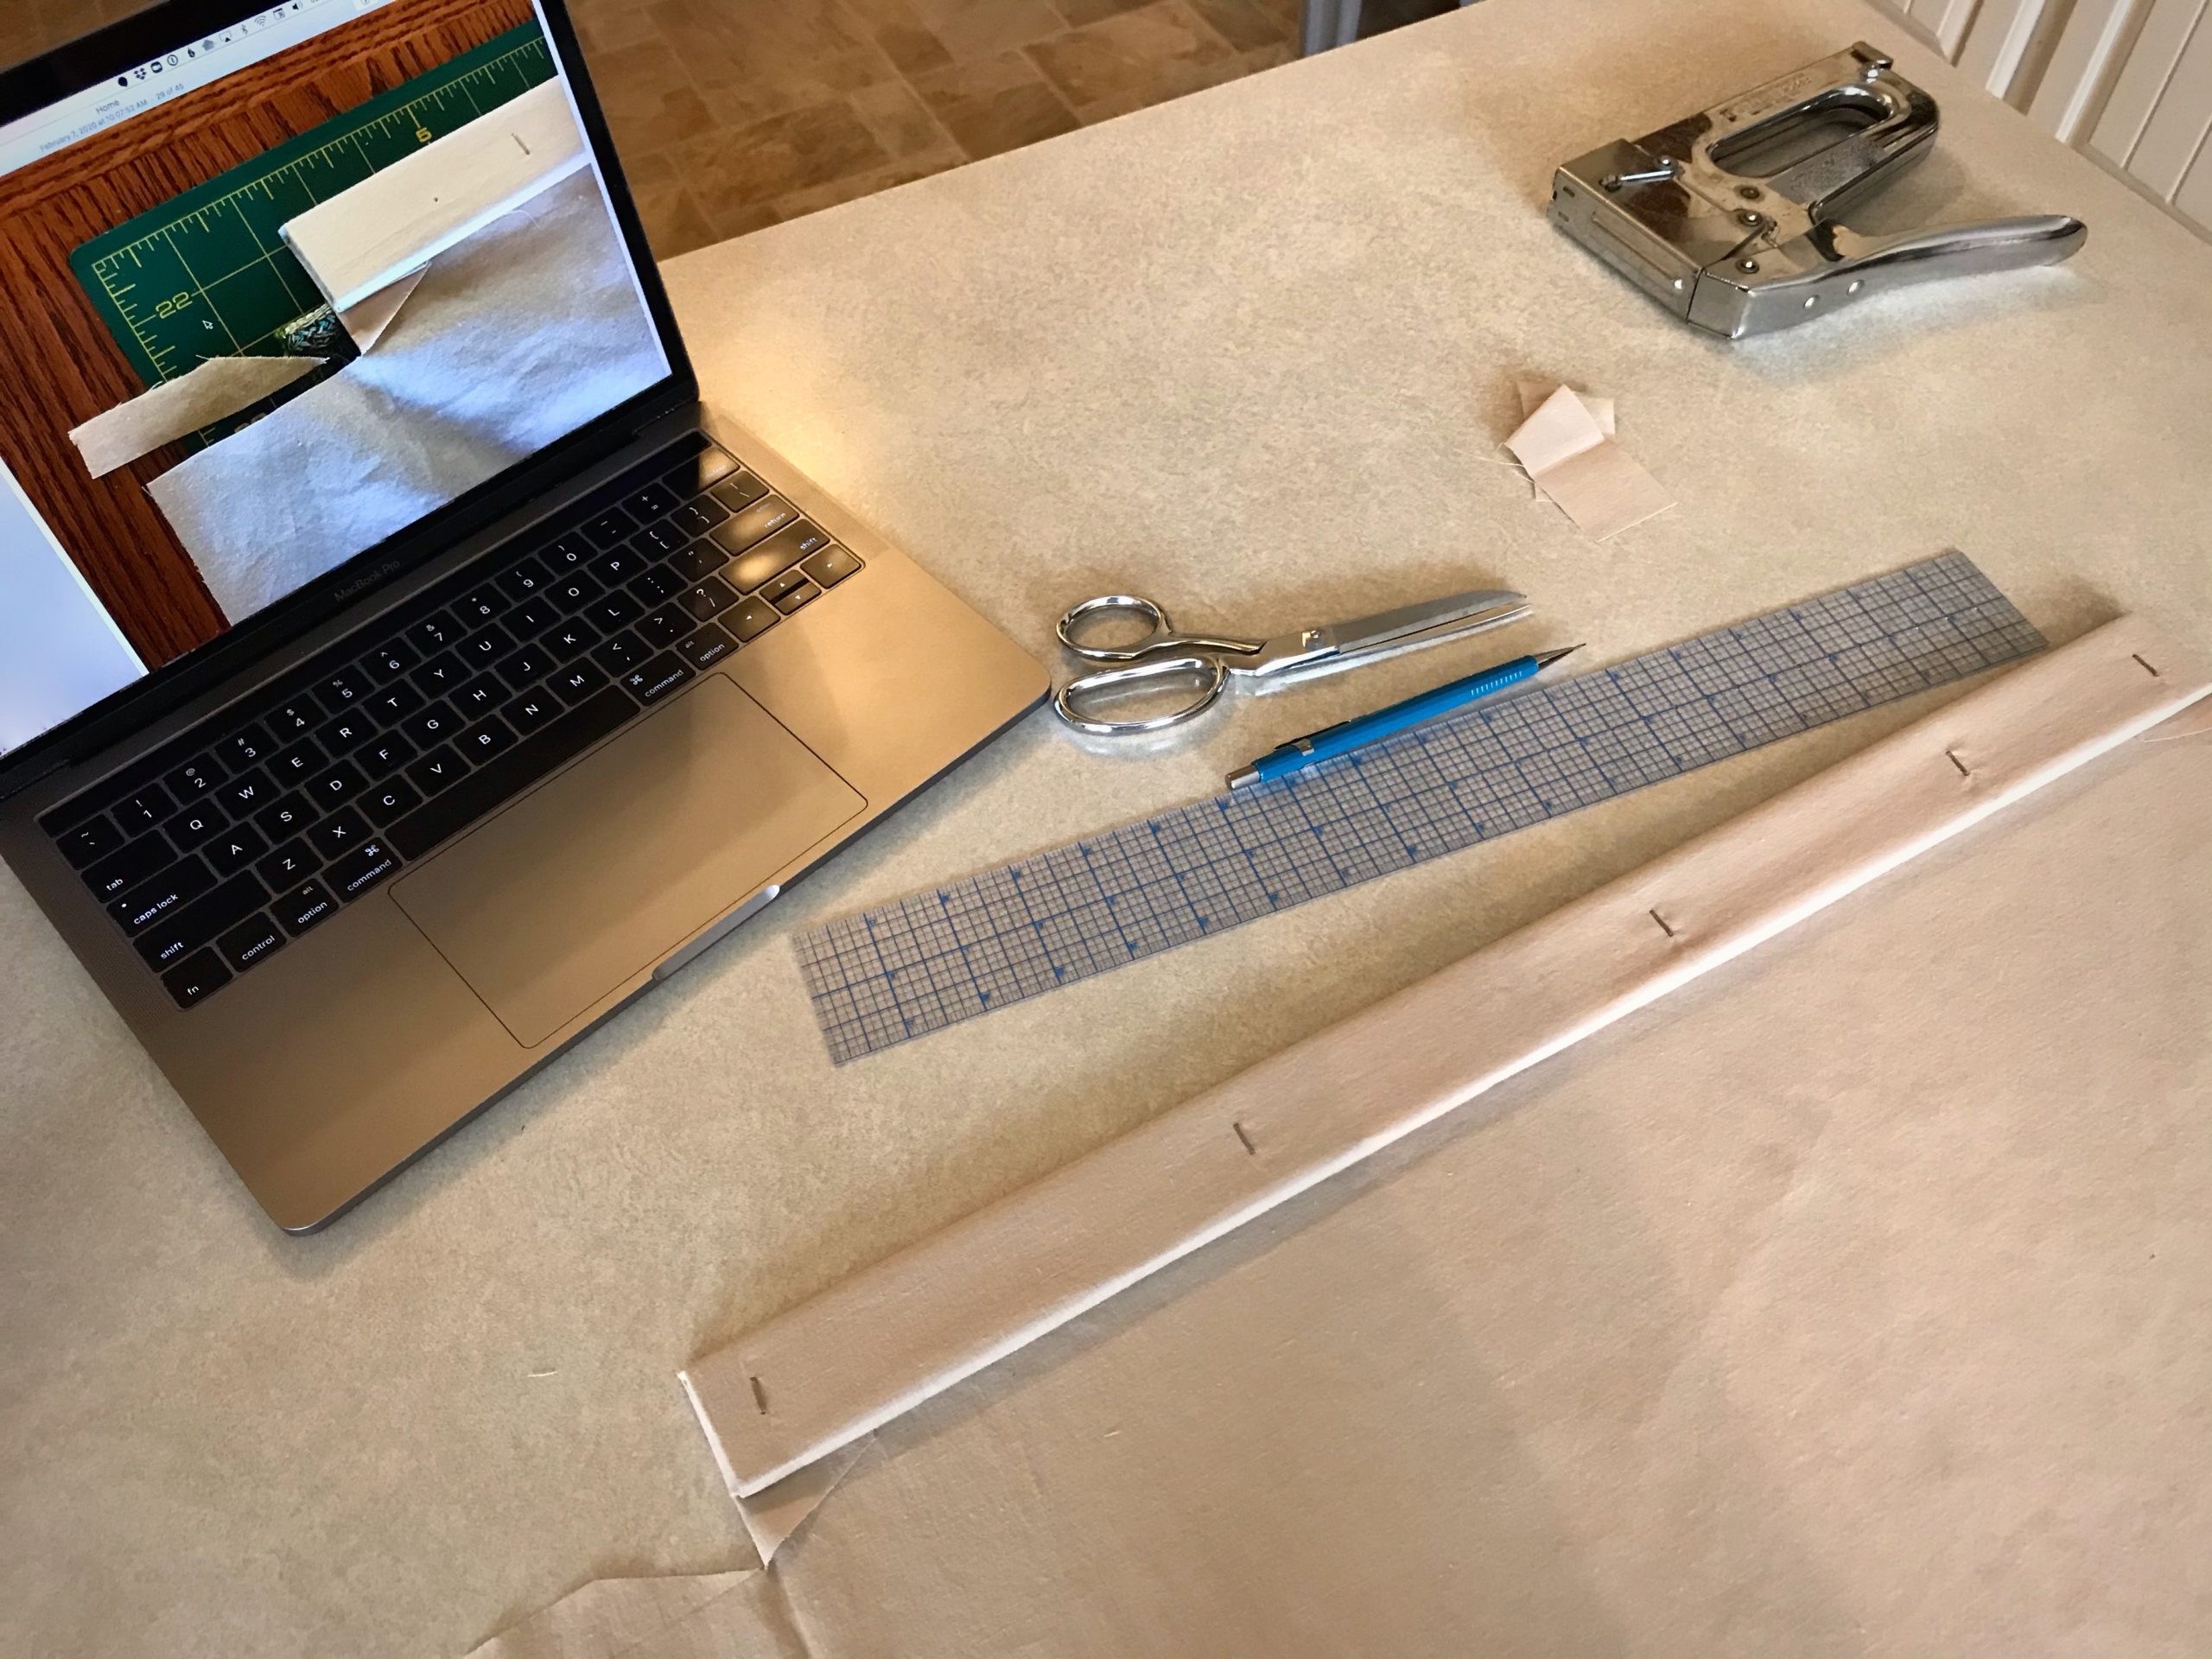
  4. Make it visual. Take a photo of any step that benefits from visual clarification.
  5. Finalize. Simplify and clarify the instructions in every step as if they are meant for someone who knows less about this process that you do. Remove redundant and/or unnecessary photos.

May you remove guesswork as much as possible.

All the best,
Karen

Tapestry Making

This may be the most difficult thing I’ve woven so far. It has been compelling, rewarding, and especially difficult to weave this tapestry. I can’t tell you how many times in this process I have said to myself, “What was I thinking?!” Yet, at the same time, I can truthfully say it’s been a joy.

Cutting off a tapestry from the floor loom.
Cutting off Eye of the Beholder tapestry.

How does one weave a portrait of her mother? With many hours of reflective thinking — a play on words, since I probably reflect my mother’s attributes more than I know. At long last, as the maker of this portrait tapestry, I am cutting the warp ends to release the cloth from the loom. I still have finishing work to do, and then comes rest.

Finishing the ends of tapestry just cut from the loom.
Finishing the ends.

The Lord God is your Maker. We worship him by allowing his master-weaver hands to do the weaving, and we willingly conform to his ways. When he is finished, his hands finally rest. And then we hear the invitation we’ve been waiting for. Enter your Maker’s rest. And the Kingdom of Heaven welcomes another tapestry Master-piece.

May you allow yourself to be woven.

With reflection,
Karen

Process Review: Weaving Rhythm

“With so many looms, how do you decide what to weave every day?,” I was asked. The answer lies in my Weaving Rhythm. I have five floor looms. I happily aspire to meet the challenge of keeping all of them active.

Glossary

Weaving Rhythm ~ A pattern created across time, through a regular succession of weaving-related tasks.

Arrange individual tasks to keep each loom consistently moving forward in the weaving continuum.

Weaving Continuum ~ The cycle for each loom that is continually repeated.

When the first few centimeters are woven on a new project, begin planning the next project. When finishing is completed for the current project, wind a new warp and dress the loom for the next project.

First Things First ~ Prioritize daily tasks to maintain the Weaving Rhythm.

  1. Finishing
  2. Dressing
  3. Weaving

Do some finishing work first. Do some loom-dressing tasks next. The reward, then, is sitting at one of the dressed looms and freely weaving for the pleasure of it.

Weaving bath towels on the Glimakra Standard.
Glimåkra Standard, 120cm (47″), vertical countermarch. My first floor loom. Weaving the third of four bath towels, 6-shaft broken and reverse twill, 22/2 cottolin warp and weft.
Weaving hanging tabs for bath towels.
Glimåkra two-treadle band loom. Weaving hanging tabs for bath towels. 22/2 cottolin warp and weft.
Glimakra 100cm Ideal. Sweet little loom.
Glimåkra Ideal, 100cm (39″), horizontal countermarch. My second floor loom. Dressing the loom in 24/2 cotton, five-shaft huckaback, for fabric to make a tiered skirt. Ready to start sleying the reed.
Hand-built Swedish loom.
Loom that Steve built, 70cm (27″), horizontal countermarch. My third floor loom. Weaving the header for a pictorial tapestry sample, four-shaft rosepath, 16/2 linen warp, Tuna/Fårö wool and 6/1 tow linen weft.
Sweet little Glimakra Julia 8-shaft loom.
Glimåkra Julia, 70cm (27″), horizontal countermarch. This is my fifth (and final?) floor loom. Weaving the first of two scarves, eight-shaft deflected double weave, 8/1 Mora wool warp and weft.
Weaving lettering on the drawloom.
Glimåkra Standard, 120cm (47″), horizontal countermarch, with Myrehed combination drawloom attachment. This is my fourth floor loom. Weaving some lettering for the seventh pattern on this sample warp, six-shaft irregular satin, 16/2 cotton warp, 16/1 linen weft. 35 pattern shafts, 132 single unit draw cords.

Give Thanks ~ Live with a thankful heart.

Every day I thank the Lord for granting me the joy of being in this handweaving journey. And I thank him for bringing friends like you along with me.

May you always give thanks.

With a grateful heart,
Karen

One More Swedish Art Weaves Bag

A warp is finished when the woven cloth has been taken to completion. At that point, the loom is free for a new warp. That is the rule I’ve given myself. If I ignore the rule and put on a new warp before its time, the unfinished cloth has a way of staying unfinished for too long.

Joanne Hall's Swedish Art Weaves workshop in San Antonio, Texas.
Ready to pack up after the Swedish Art Weaves workshop and take my loom back home. The Joanne Hall workshop was sponsored by the enthusiastic San Antonio Handweavers Guild a few months ago.
Monksbelt woven with pick-up.
Monksbelt pattern continued at home.
Swedish art weaves - dukagång.
Woven from the back, this dukagång pattern came from a Swedish publication I borrowed from the San Antonio Handweavers Guild library.
Weaving krabbasnår and other Swedish art weaves.
Krabbasnår, just behind the fell line, is from a pattern in Heirlooms of Skåne, Weaving Techniques, by Gunvor Johansson.

Thanks to that completion rule, I have a new bag. This fabric includes the various patterns that I wove in Joanne Hall’s workshop on Swedish Art Weaves several months ago. You will also see that I explored some patterns on my own at home. I gained two excellent outcomes from this finishing pursuit—a new bag to use, and a loom that is free for the next warp! (See the first bag here: Monksbelt Flowers on a Shoulder Bag)

Making a bag from Swedish art weaves.
Side piece, krabbasnår, is hand-stitched in place. From the top of the bag to the bottom – krabbasnår (krabba), rölakan, halvkrabba, dukagång, munkabälte (monksbelt), each section separated by plain weave stripe variations.
Handwoven bag made from Swedish art weaves.
On this side of the finished bag, from top to bottom – halvkrabba, dukagång, munkabälte. I made the hard decision to take out a section of rölakan I had woven in order to be able to put the knots from the linen warp at the top of the bag.
Handwoven bag made from Swedish art weaves.
Bag is lined and has pockets, and has a magnetic snap closure. The 6/2 Tuna wool shoulder strap was woven on my Glimåkra band loom.
Handwoven Swedish art weaves bag just finished. Now, on to the next warp!
Now, on to the next warp!

Left to myself, I’d rather do what I want. I’d rather start a new project than bring an “old” one to completion. I’m glad my Lord is faithful with me. He completes the work that he began. The Good Shepherd tends his sheep. He leads us to the still waters of peaceful perseverance, saving us from the regret of going our own way. And we have his perfect outcome to look forward to.

May you resist doing what you’d rather do.

With you,
Karen

Process Review: Jämtlandsdräll with Julia

My intention is to weave fabric for a couple of cushy throw pillows. But after just one pattern repeat, I realize that this cloth on my brand new Glimåkra Julia is something I would like to wear! No pillows this time. Instead, here is my new autumn/winter shoulder wrap, embellished with frisky swinging fringes. Miss Julia has proven her worth on four-shaft Jämtlandsdräll (crackle) in 6/2 Tuna wool. Her next adventure will be something that explores all eight shafts. (See My New Glimåkra Julia Loom.)

Jämtlandsdräll Wool Wrap - woven on Glimåkra Julia.
Finished wrap. Ready for cool weather!

This project starts with the draft for the Jämtlandsdräll Blanket on p.59 of Simple Weaves, by Birgitta Bengtsson Björk and Tina Ignell. Tuna yarn samples, along with Fiberworks Silver for Mac, help me jazz up the color. I settle on three colors for the warp, with burnt orange as the anchor. Six different colors are used for the pattern weft, plus dark teal for the tabby.

Planning my next weaving project on Fiberworks.
Paint chips, Tuna yarn samples, and Fiberworks Silver for Mac aid my planning process.
Colors! Let's see how they work together on the loom.
Colors! Let’s see how they work together on the loom.
Beaming the warp on my new Julia.
Beaming the warp.
Weaving Jamtlandsdrall (Crackle) on my new Julia.
Daylight, plus colorful yarn. As summer is warming up outside, Julia is dressed warmly inside.
Weaving Jamtlandsdrall (crackle) on my new Julia.
There is something about weaving with a double-bobbin shuttle that I especially enjoy.
Color gradation in the pattern.
Some color gradation in the pattern.
My new Glimakra Julia!
Miss Julia, filling up her cloth beam.
Crackle (Jamtlandsdrall) in Tuna Wool.
Ending with a few picks of plain weave.
End of warp on my new Glimakra Julia.
Thrums at the end of the warp will serve as fringe.
Cutting off Jamtlandsdrall (crackle)!
Cutting off, giving a view of the back side of the cloth. Front and back have reverse images.
Jämtlandsdräll, just off the loom.
Twisting fringe on Jamtlandsdrall wrap.
Much to my pleasant surprise, after removing (unweaving) my short sample weaving at the beginning, and untying the front tie-on knots, I had the EXACT same length of fringe–to the centimeter–on both ends of the woven wrap.
Chunky, frolicky fringe.
Overhand knots secure the weft. Two groups of four warp strands each form each chunky fringe. Now, this wrap is ready for wet-finishing.

This is one of those times when the weaving is so satisfying that I truly don’t want the warp to come to an end. (…except that I’m excited to start on Julia’s second adventure!)

Jämtlandsdräll Autumn/Winter Wrap

May your adventures never cease.

Happy Weaving,
Karen