Tools Day: Measured Weaving

How far will you travel? How will you know when you have arrived? Do you wish you could know when you are halfway there? Applied to weaving, I like to have the answers to these questions before I begin the “journey.” A pre-measured tape gives me consistency, especially important for multiple pieces in a set. The tape also acts as my “trip odometer.” I can see how far I’ve gone, and exactly how much is left to weave. It satisfies my insatiable need to know how close I am to the end. Are you like that, too?

How to Make and Use a Pre-Measured Tape

Supplies

  • Roll of 3/4″ or wider twill tape (or any cloth tape or ribbon that does not stretch, and that pins easily)
  • Tape measure with inches and/or centimeters
  • Fine tip permanent marker
  • Flat head pins
  1. Use the permanent marker to place markings on the twill tape, as measured with the tape measure. Mark the start line 1/2″ from the end of the twill tape, so that the tape can be pinned in front of the mark.
  2. After drawing a line for the starting point and ending point, draw a line at the midway point, labeled MID.
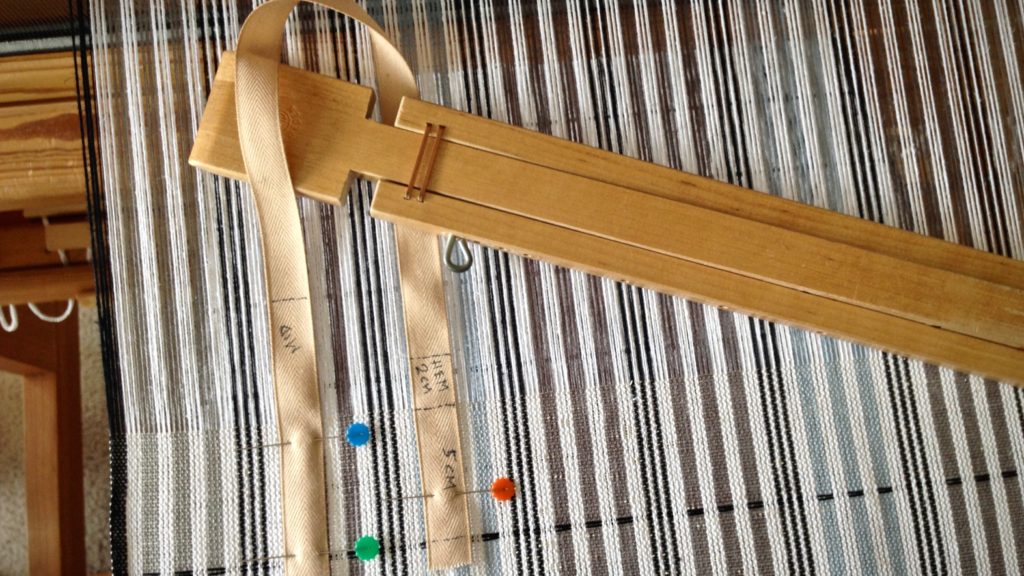
  3. Include dotted lines for hem measurements, if applicable. Write the hem measurement on the twill tape; i.,e., 3/4″ or 2 cm.
  4. Write the weaving length measurement on the twill tape. Include calculation for takeup, if desired; i.,e., 25″ + 3″.
  5. Write the project or item description on the twill tape, if desired, for ease of repeat use; i.e., handtowel.
  6. Add other lines or marks, as needed, for borders, placement of weft colors, or other design elements.
  7. 1/2″ after the final marking, cut pre-measured twill tape from the roll of tape.

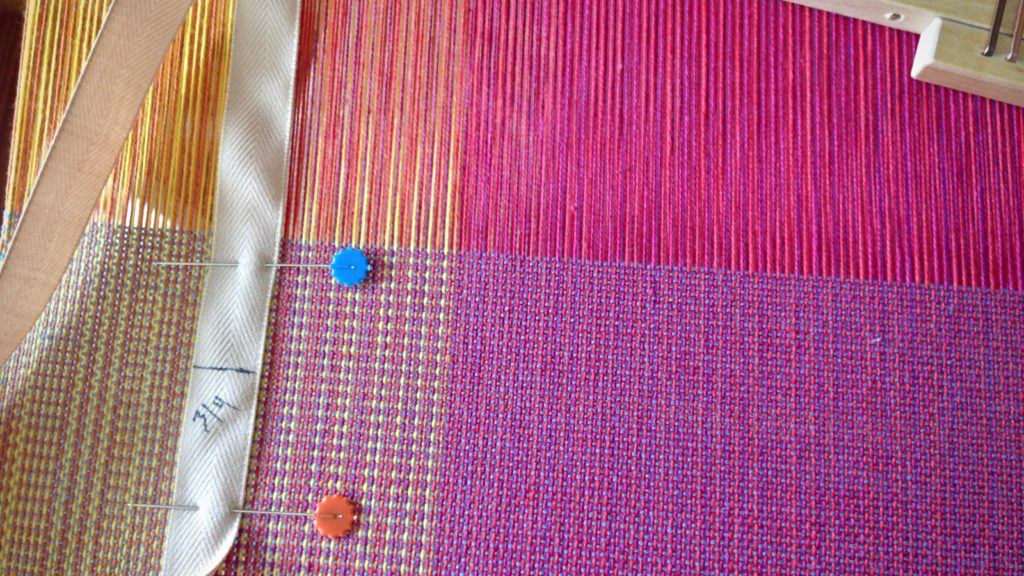
With the warp under tension, pin the pre-measured twill tape near the right or left selvedge with two flat-head pins. Match the start line of the tape with the beginning of the weaving.
Before each advancement of the warp, move the pin closest to the breast beam to a point near the fell line. In this way, have the pins leapfrog each other, moving only one pin each time. Always keep the warp under tension when moving the pins.
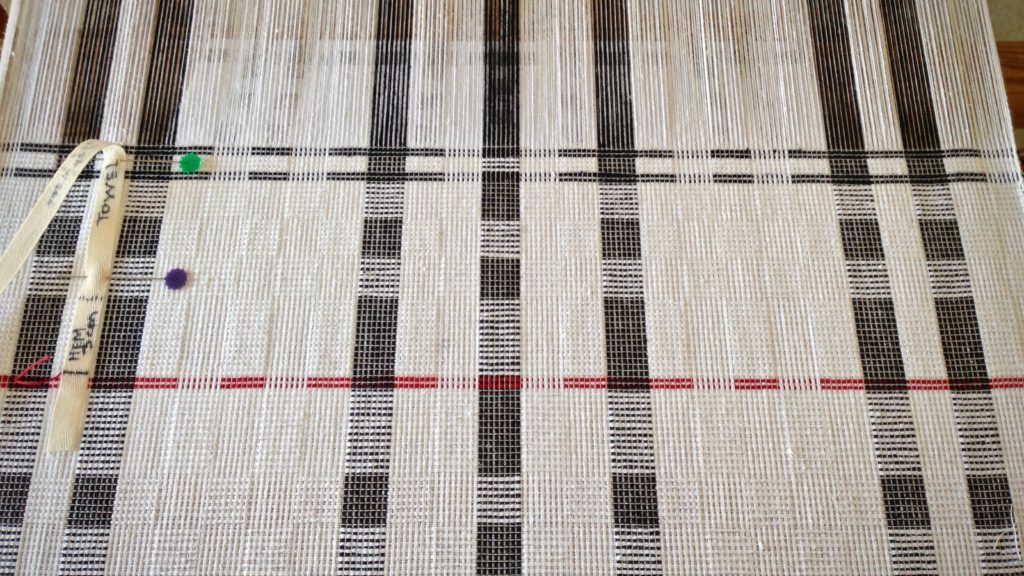
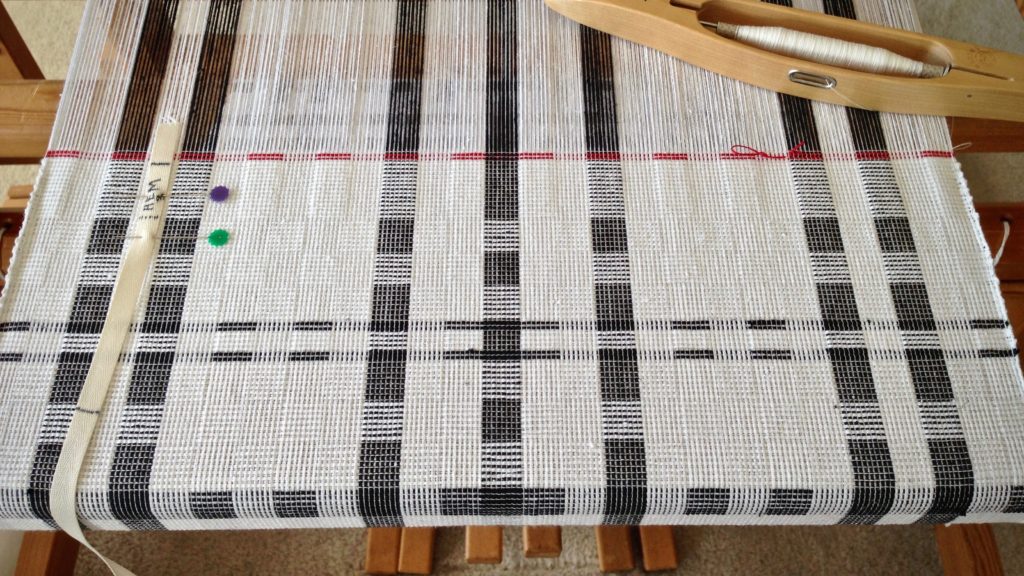
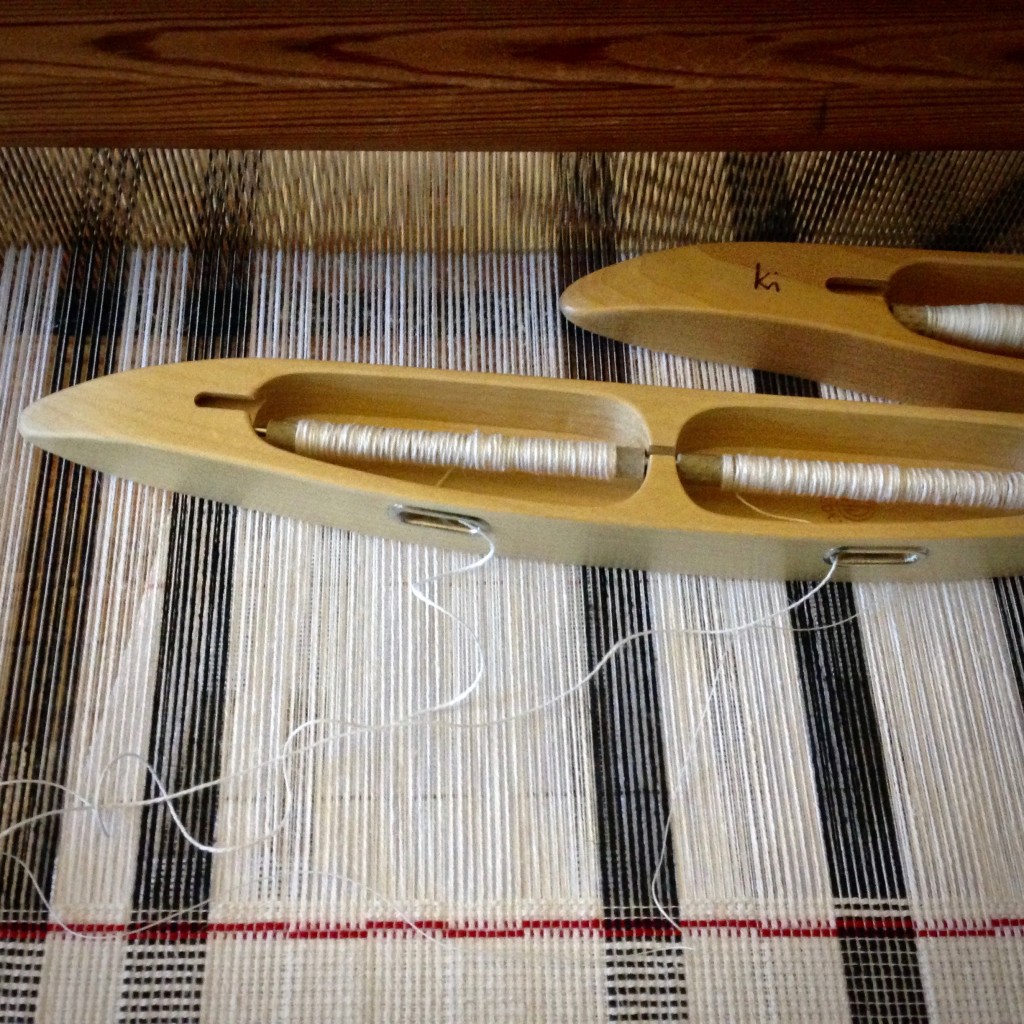
Red cutting lines between black and white towels.
Beginning hem, after red cutting lines between towels.
Ending hem is followed by two red picks that will become the cutting line between towels.
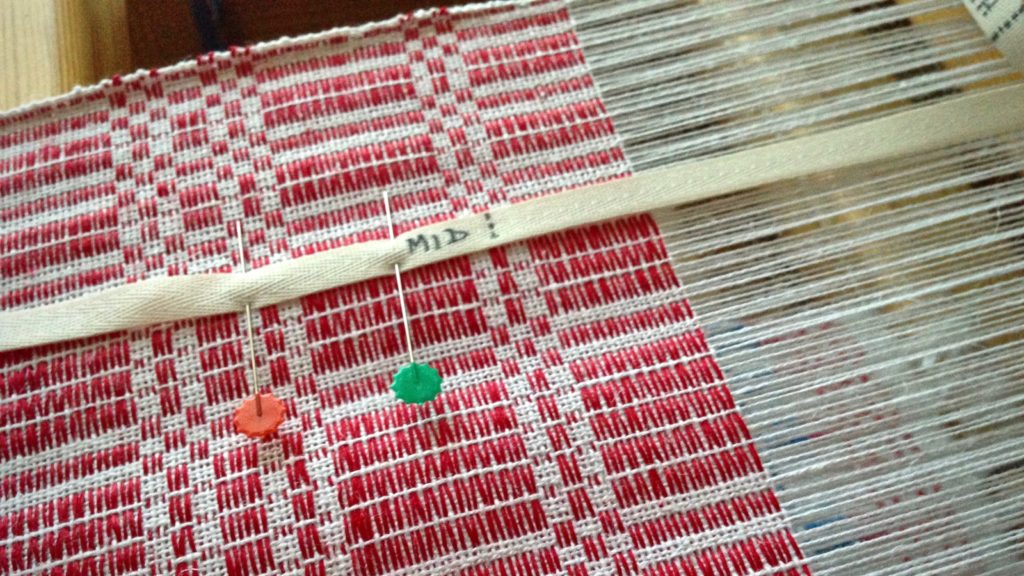
When the "MID" point hits right where it should!
When the “MID” point hits right where it should! Mid point marking helps to confirm that the halvdräll pattern is centered and balanced in its length.
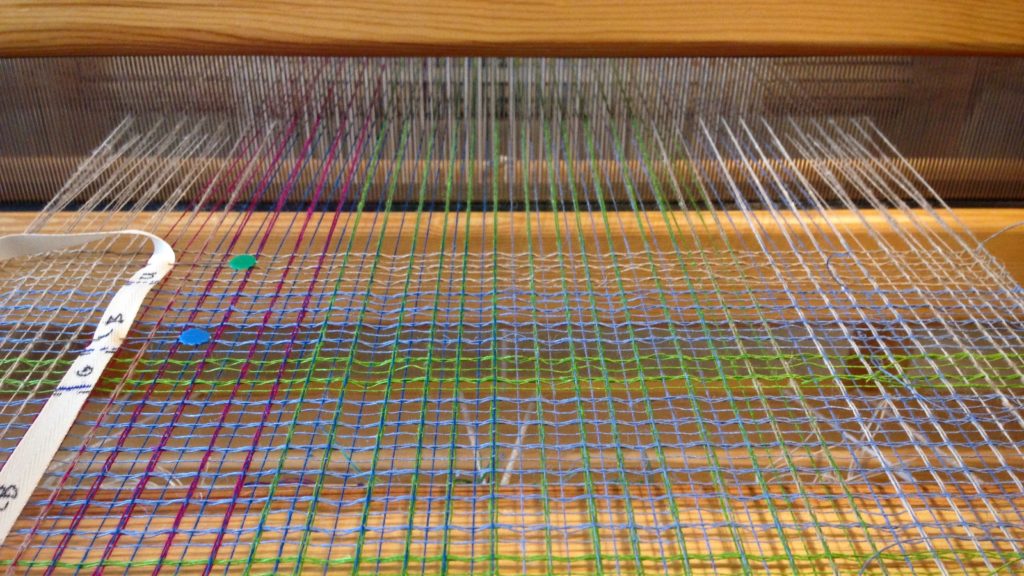
Pre-measured twill tape marks weft color placement on linen scarves.
Weft color placement is marked on the twill tape for these linen lace scarves.
Tricks with pre-measured tape for weaving.
Five centimeters, marked at the end of the twill tape, is a handy reference for spacing the weft pattern floats in these plattväv towels.
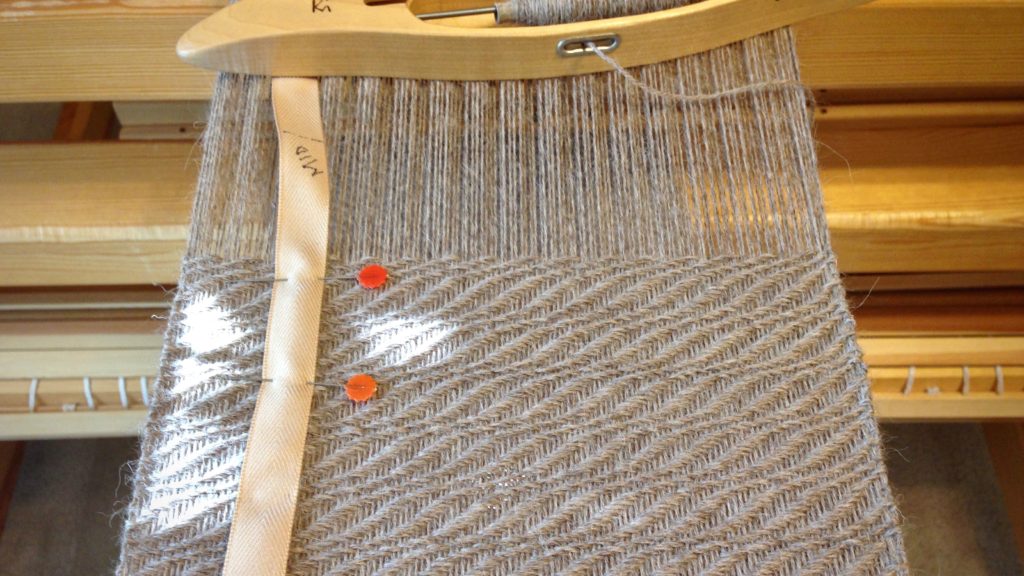
Alpaca scarf in an interesting 8-shaft twill.
I love seeing the “MID” point on a long piece, such as this 8-shaft twill alpaca scarf.
Pre-measured twill tape helps set the pace for the weaving project.
Breaking up the length into quarters helps to set a pace for the weaving project. This baby wrap was on a time crunch, so it was helpful to know when I was getting close to the end.

May you accurately measure your ways.

Truly yours,
Karen

Quiet Friday: Halvdräll

Halvdräll is one of those Swedish weaves that takes your breath away. How can I describe the exquisite simplicity and stunning splendor of this fascinating cloth? With halvdräll, every moment at the loom is pure joy. I keep thinking, I get to weave this! And every weaver knows no comparison to the delight of pulling beautiful just-woven fabric off the cloth beam.

Enjoy the journey with me now as I reflect on the halvdräll fabric from beginning to end.

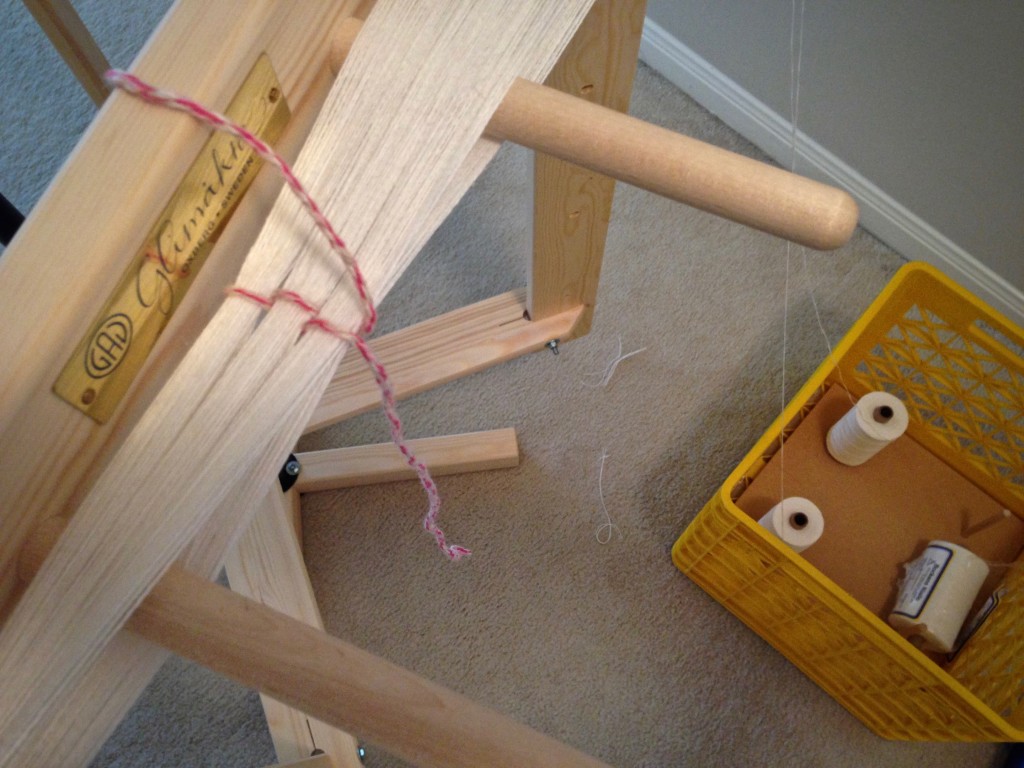
Choke tie serves as a counting thread as the cottolin warp is wound.
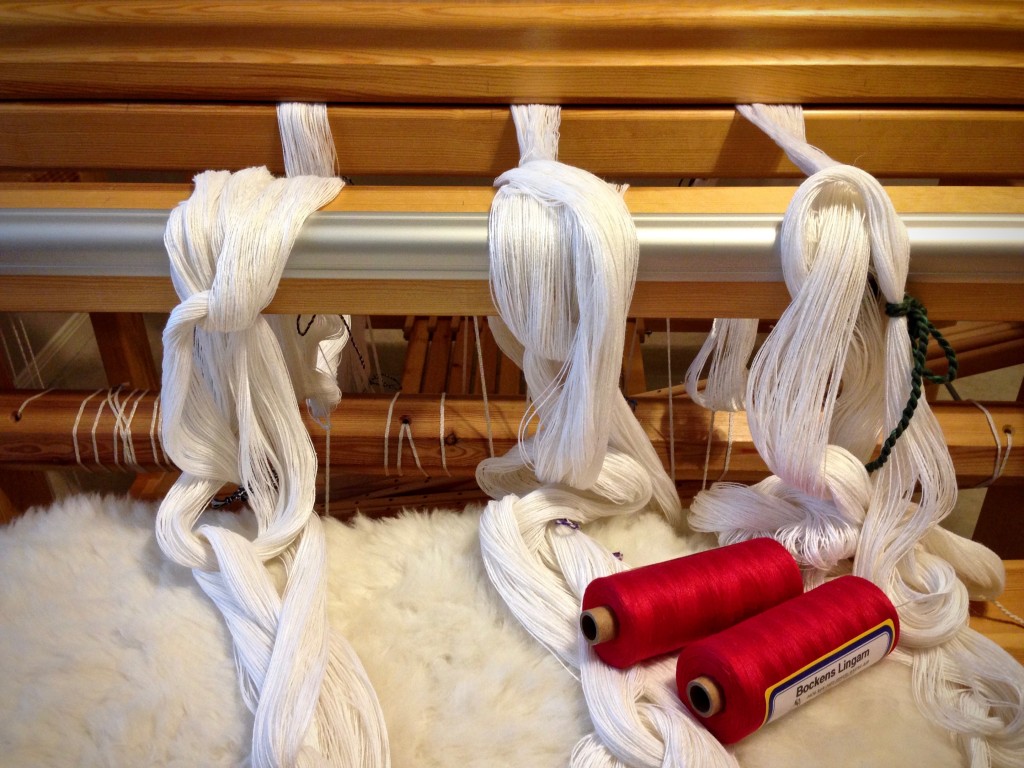
Red linen to be used as pattern weft on white cottolin warp.
Red linen is anticipating a starring role as pattern weft.
Sampling various linen color options for halvdräll table squares.
Sampling various color options for the pattern weft. Red may be one star among several.
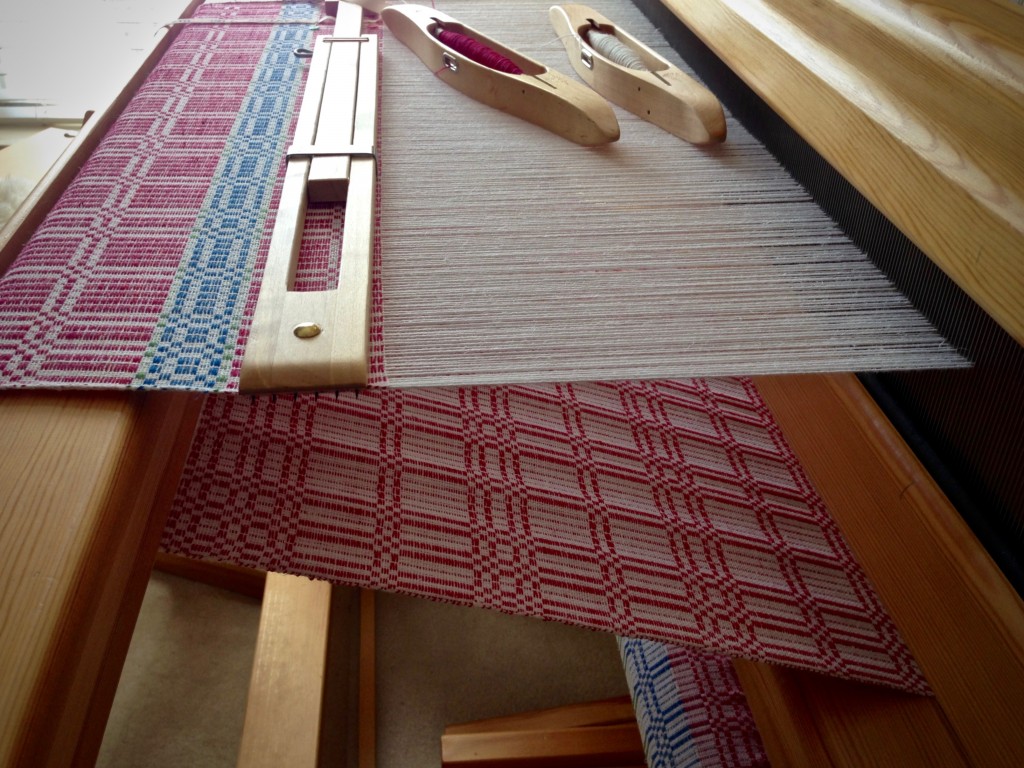
Halvdräll table squares on the loom. Karen Isenhower
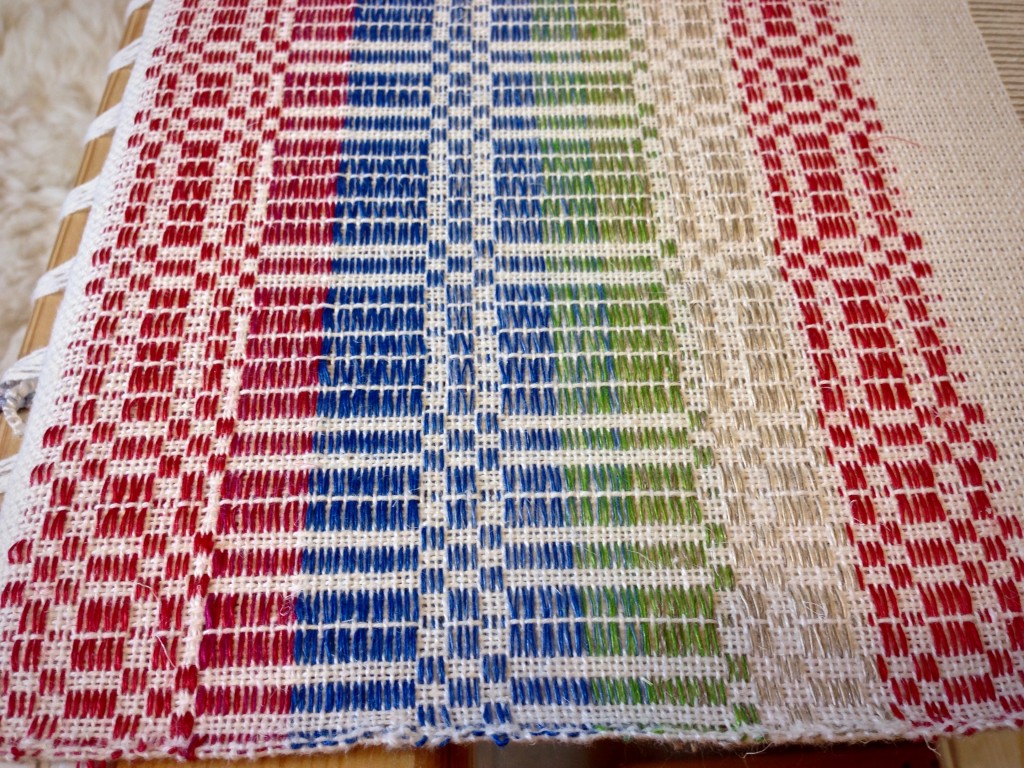
Second table square has blue and green for block I and red for block II. The back of the first table square, with all red pattern weft, is seen between the breast beam and the knee beam.
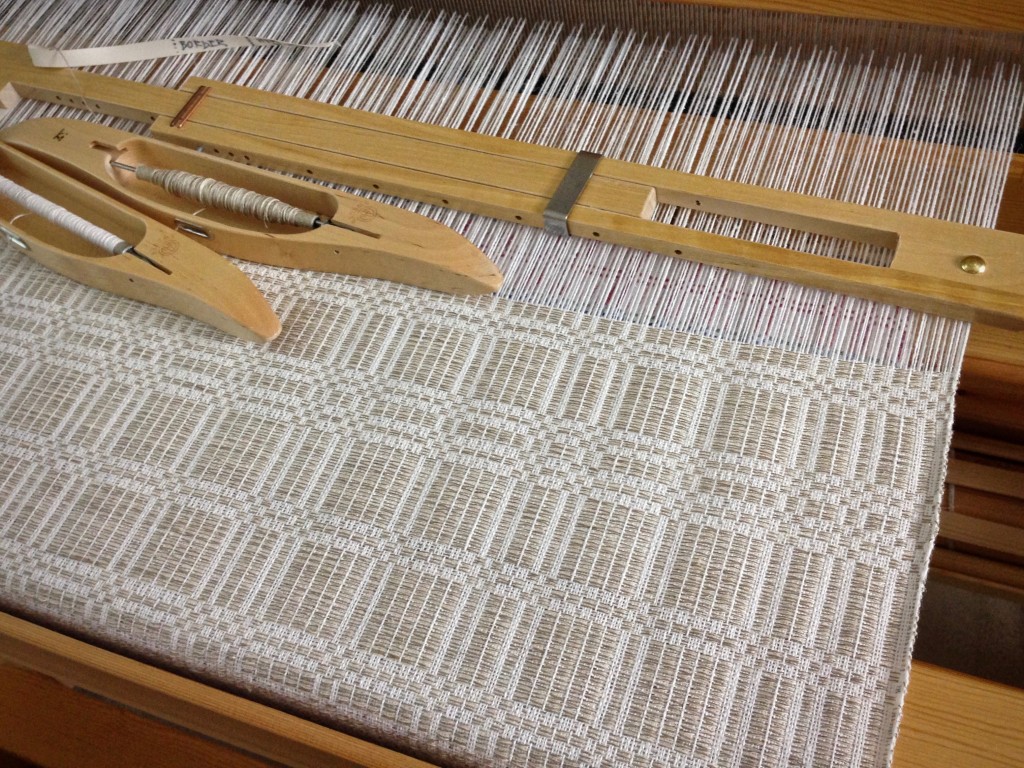
Halvdräll table squares on the loom. Elegant neutral tones.
Neutral tones with subtle elegance.
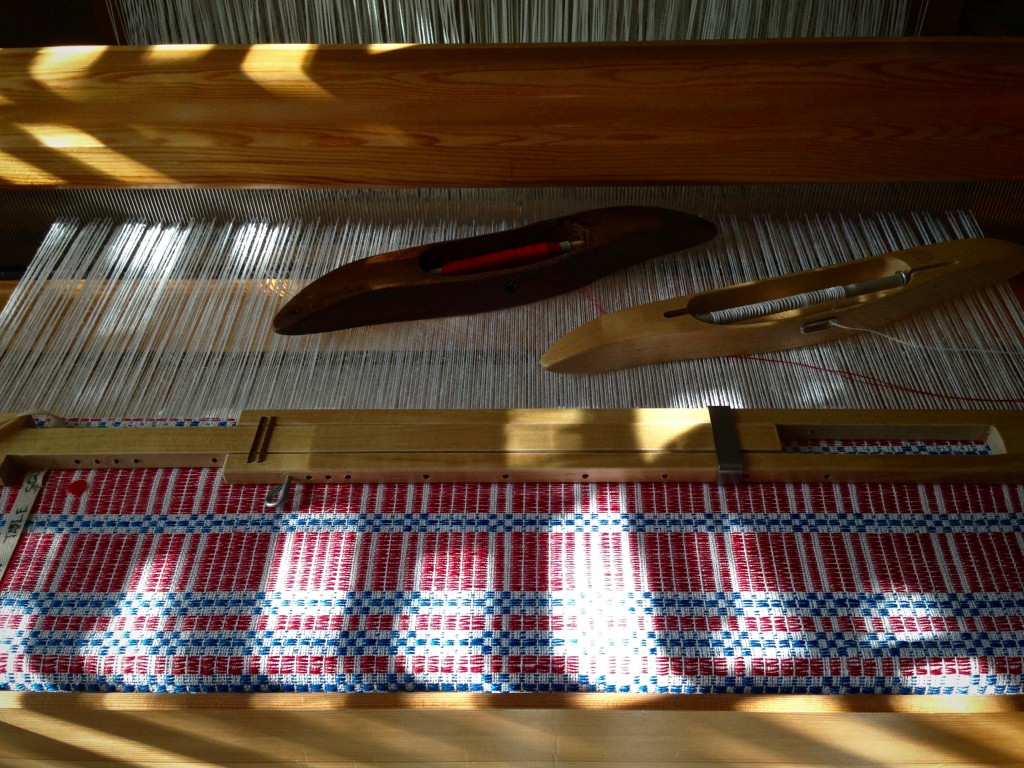
Weaving in the afternoon sunlight.
Light play dances on the colorful woven fabric.
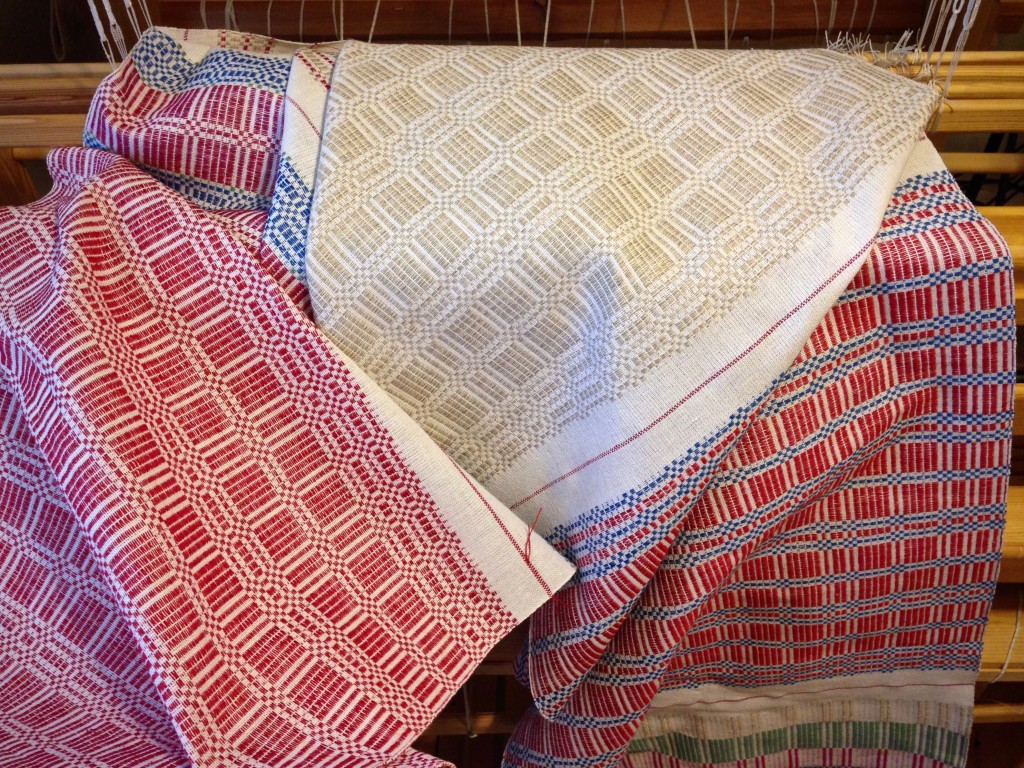
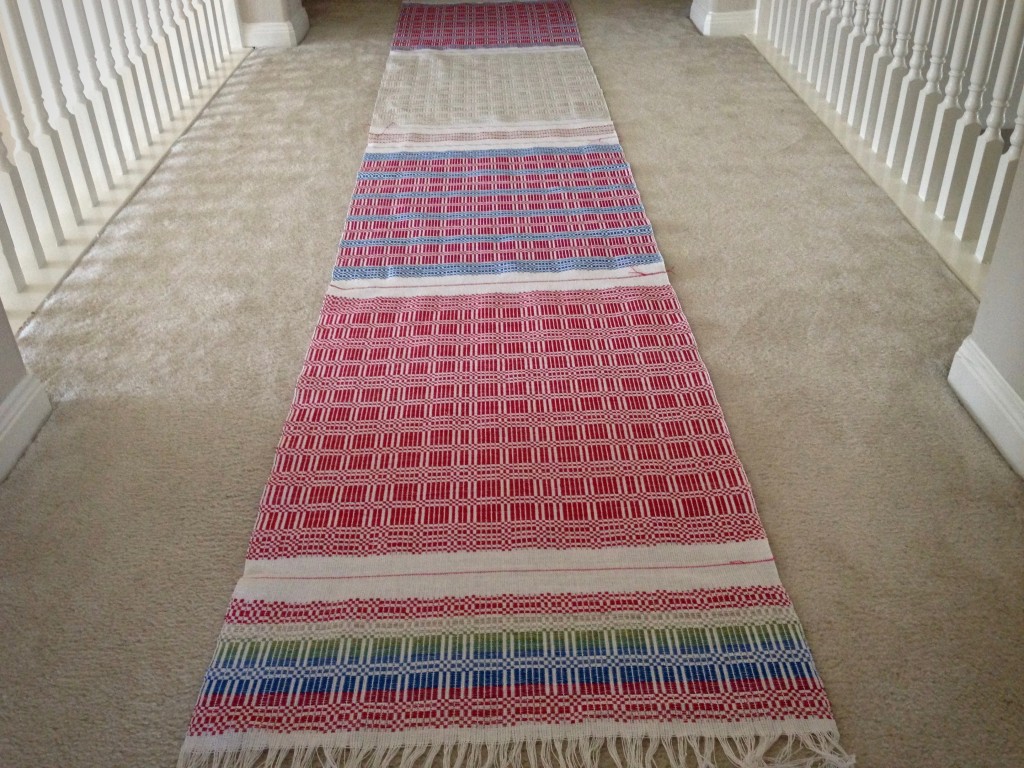
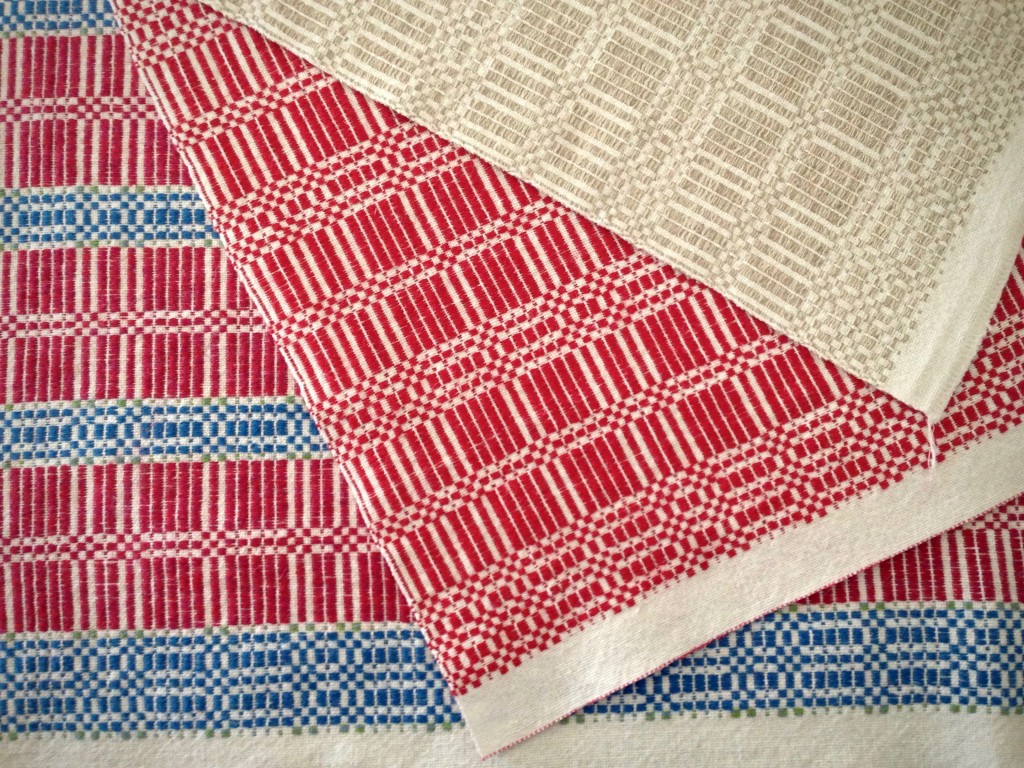
Halvdräll table squares, with linen pattern weft, just off the loom!
Celebration time! When the cloth is cut from the loom the weaver is able to see a complete view of the woven fabric for the first time. Woo hoo!
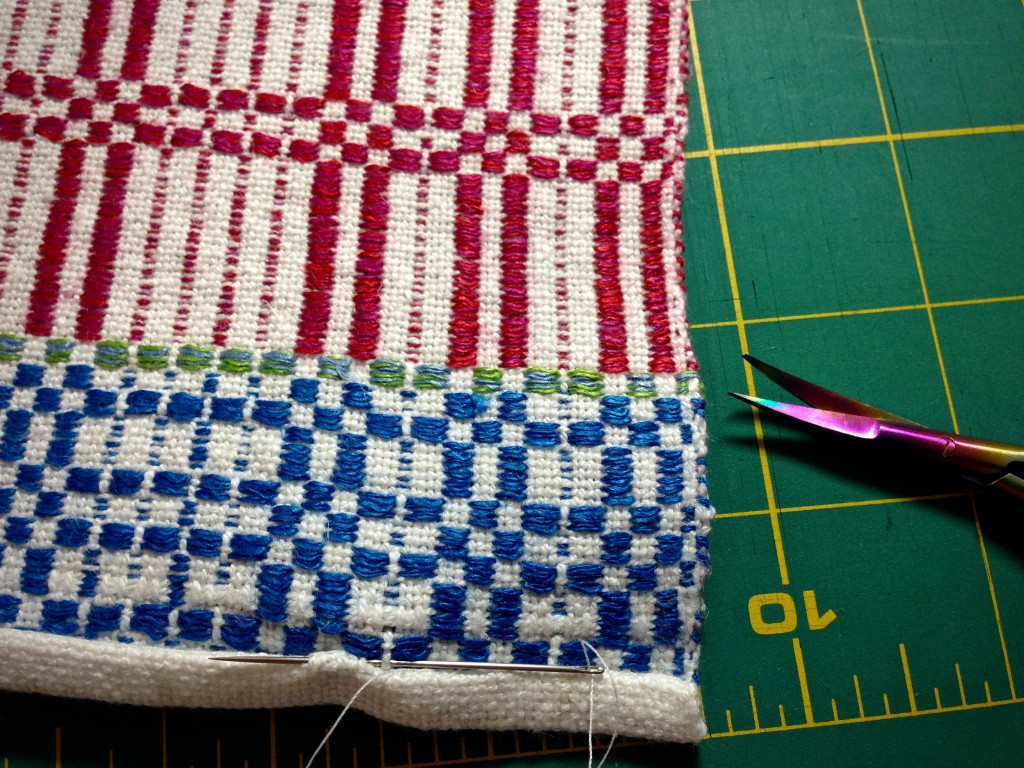
Folding edge under for hemming. Handwoven table squares.
Wet finished and pressed. Ready for hemming.
How to do a blind hem. Very simple for handwovens.
Blind hem, with sewing needle and thread. Needle goes under one warp end, and is inserted through folded edge of hem for 1/4 inch. Continued stitching across the hem is virtually invisible when complete.
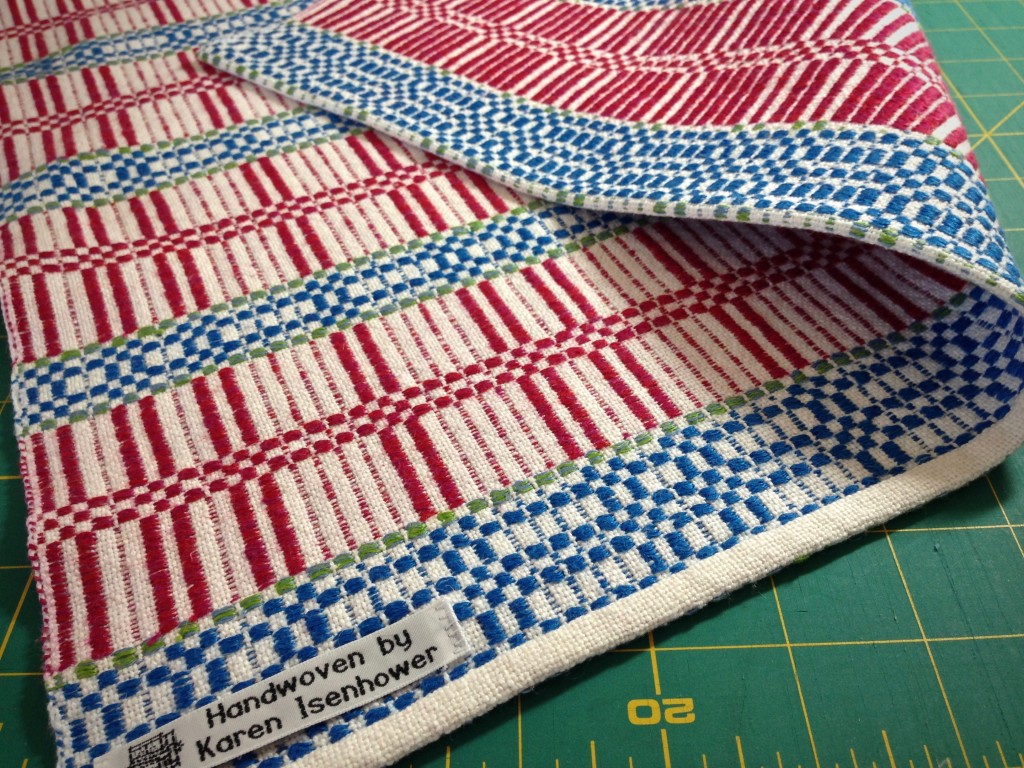
Label added.
Label added.
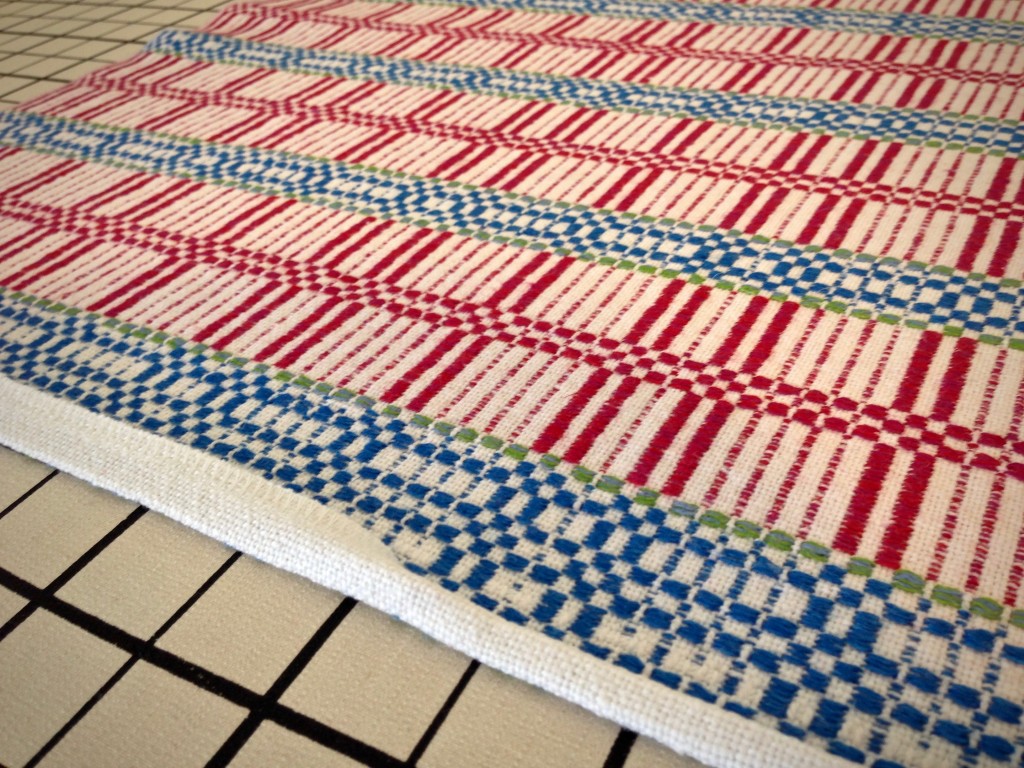
Hemmed, pressed, and ready to make a statement!
Hemmed, pressed, and ready to dress up a table.

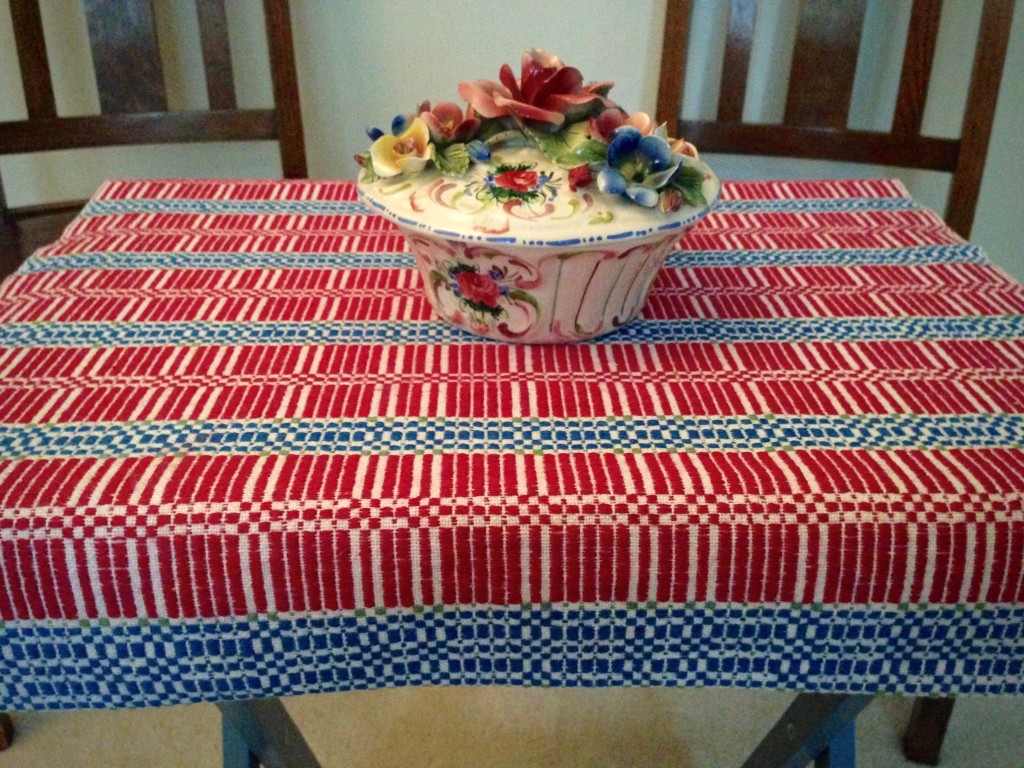
Handwoven halvdräll table square. Karen Isenhower

May you find delight in your journey.

Happy Weaving,
Karen

Weaving Experience

It is possible to ruin hours and hours of handweaving efforts with a careless or ignorant misstep after the cloth is cut from the loom. Wet finishing intimidates me for that reason. Besides my own limited experience, I rely on instructions from advanced weavers, and any other research I can find. In the end, I take the plunge and hope for the best. If the worst happens, I take notes and chalk it up as a learning experience.

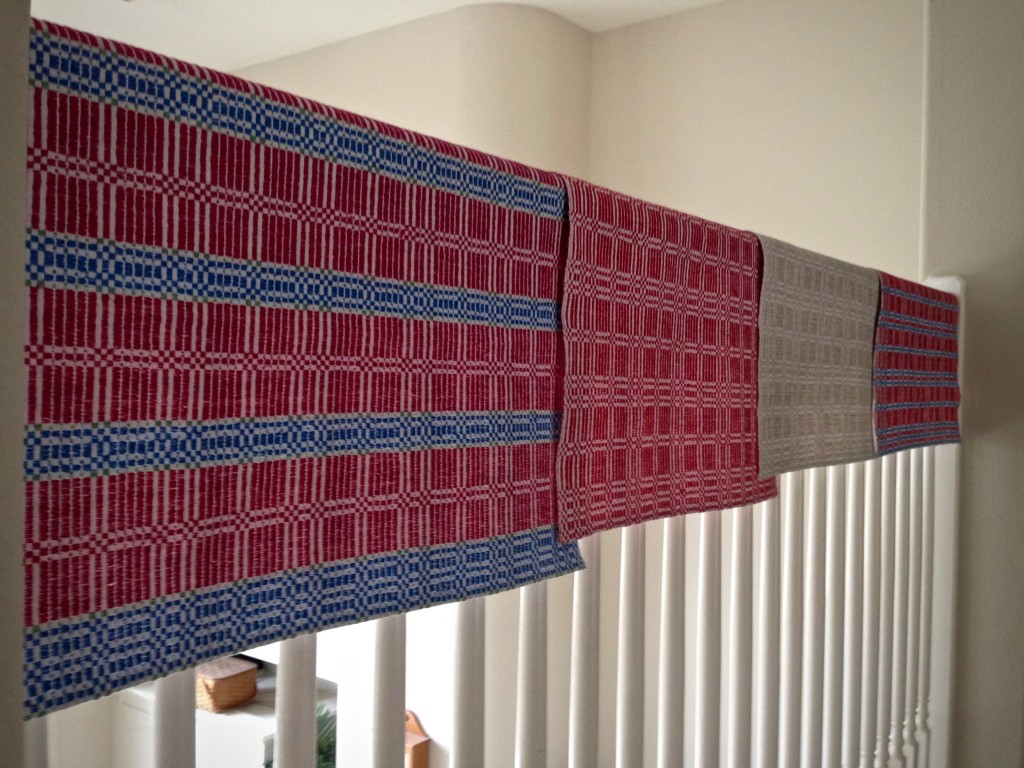
Halvdräll table squares just off the Glimakra Standard loom.
Just off the loom, four halvdräll cottolin and linen table squares await measuring for record keeping.
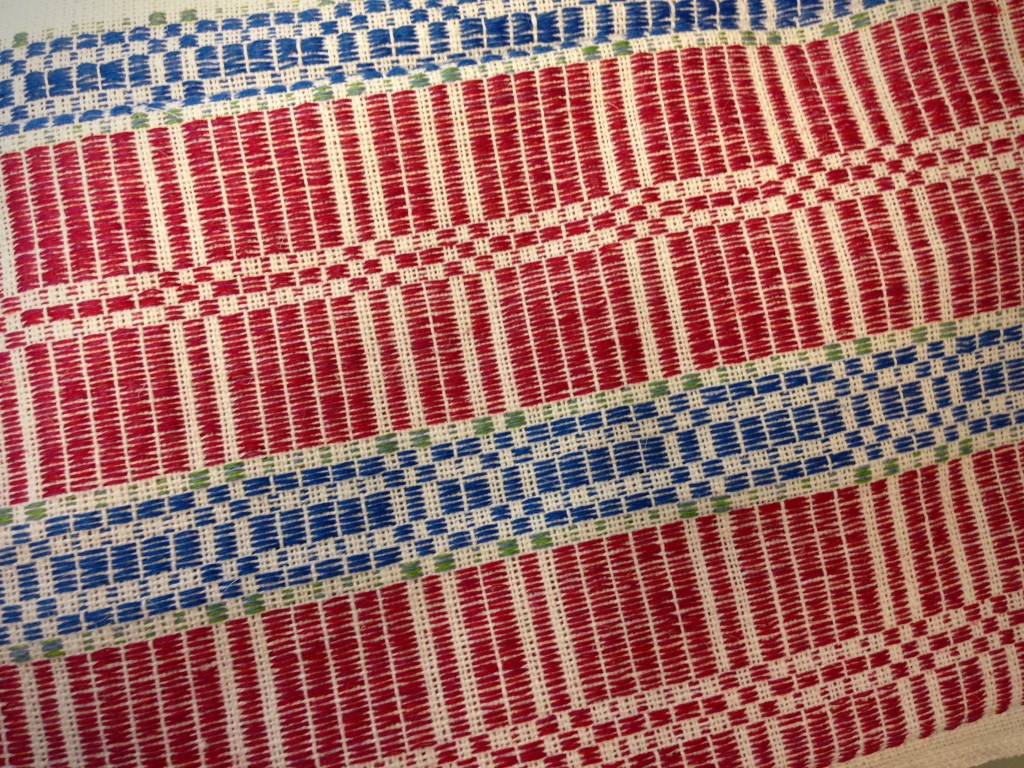
Linen pattern weft is characteristically wiry before wet finishing.
Linen pattern weft is characteristically wiry before wet finishing. Cottolin warp and background weft is somewhat stiff before it gets washed.
Halvdräll table squares with linen pattern weft. Karen Isenhower
Pieces are separated at the cutting lines, and cut ends of the cloth are secured with the serger. Then the cloth is placed in the top-loading washing machine, gentle cycle, with Eucalan delicate wash, with warm wash and cold rinse settings, adding several Color Catchers, and omitting the spin cycle. After rolling the wet pieces in clean towels to remove moisture, they are laid flat to dry. While still damp, they are pressed with a hot iron on the back side. And the linen comes out showing its true beauty!
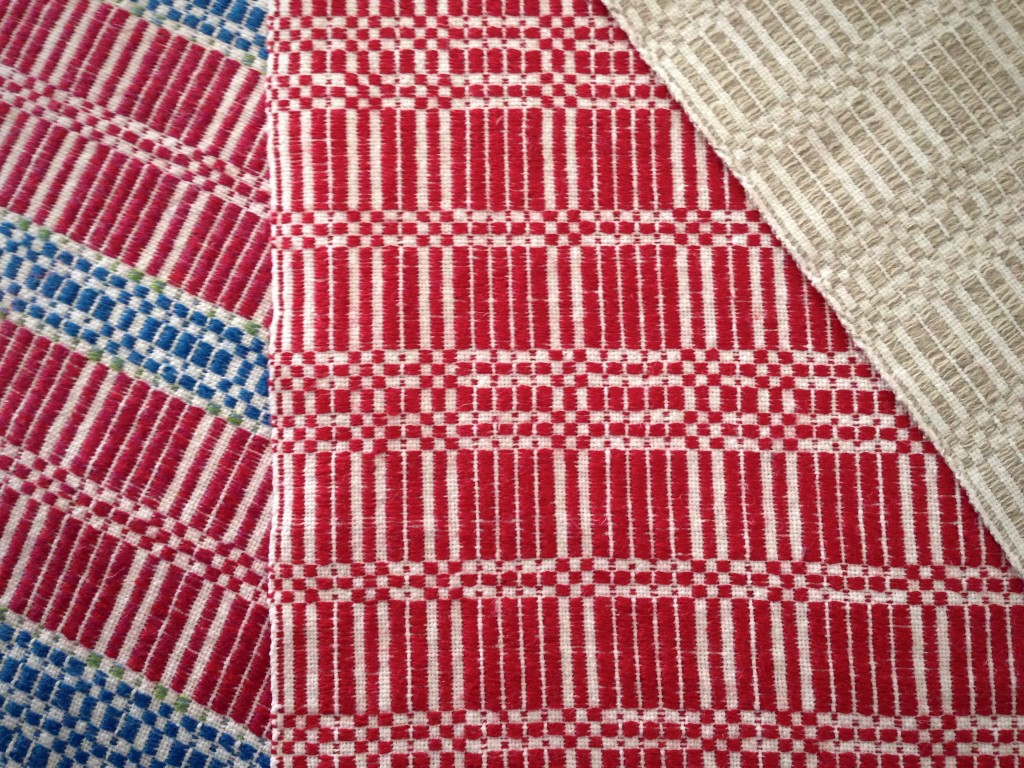
Halvdräll table squares with linen pattern weft.
Waiting to be hemmed.

Wisdom is gained by those who pursue it. What is wisdom? Wisdom is truth being applied to real life situations. The wise become wiser still by listening with the intent to hear the meaning. Listening and learning. And then wisdom leads you to take action, often irreversible, because you believe the outcome will be right and good. How delightful when the wet-finished fabric exceeds your highest hopes!

May you become wiser than you are today.

In pursuit,
Karen

Happy Weaving New Year!

January 1st is more than just another day, isn’t it? It’s a time to review the past year and bring new dreams into the year ahead. This pivot point calls for gratitude. I am especially grateful for friends like you who walk with me on this weaving journey!

Thick and thin cottolin towels on this warp. One towel to go!
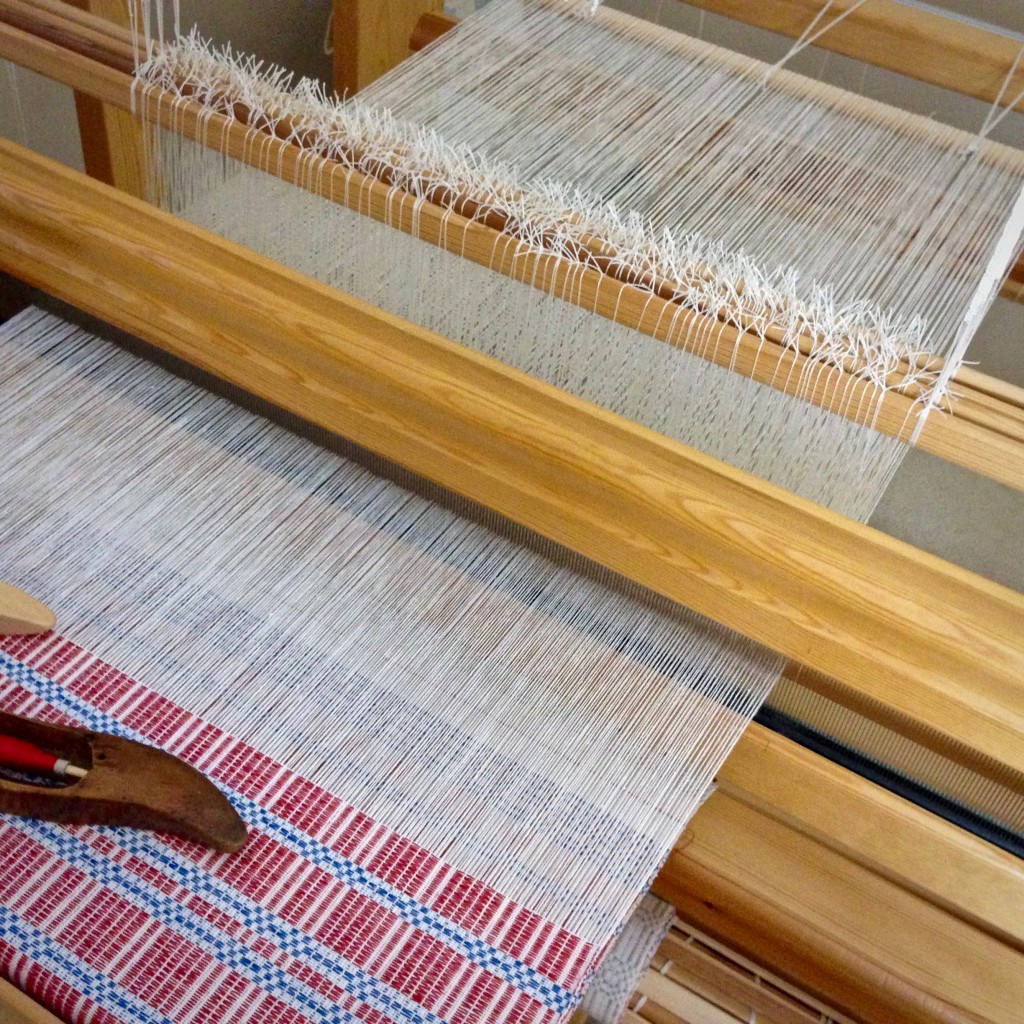
The end is near! The end of the warp, that is. Halvdräll on the loom.
The end is near! The end of the warp, that is. Almost ready for the final border of the halvdräll table square. There will be just enough warp left for a short sample piece.

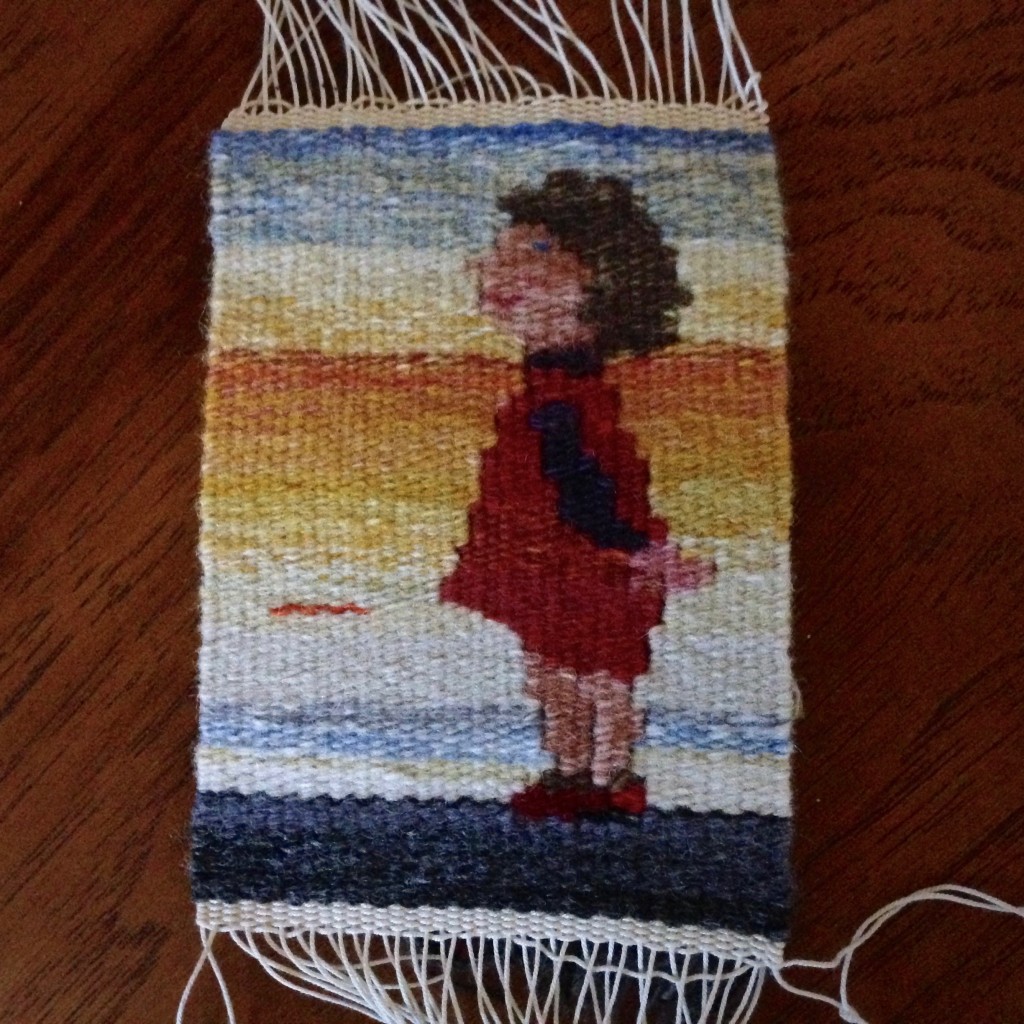
First up in the new year I have thick and thin towels to finish, and the halvdräll is oh so close to the end of the warp (didn’t quite make it for Christmas). And one little girl is off the small tapestry loom, waiting for final finishing, mounting, and framing.

Little girl small tapestry.
Little girl small tapestry. After finishing the ends, the piece will be mounted on linen-covered foam board and placed in a frame.

Thank you for walking with me through 2015!

May you bring big dreams into the new year!

Joyful New Year,
Karen

Three Out of Four

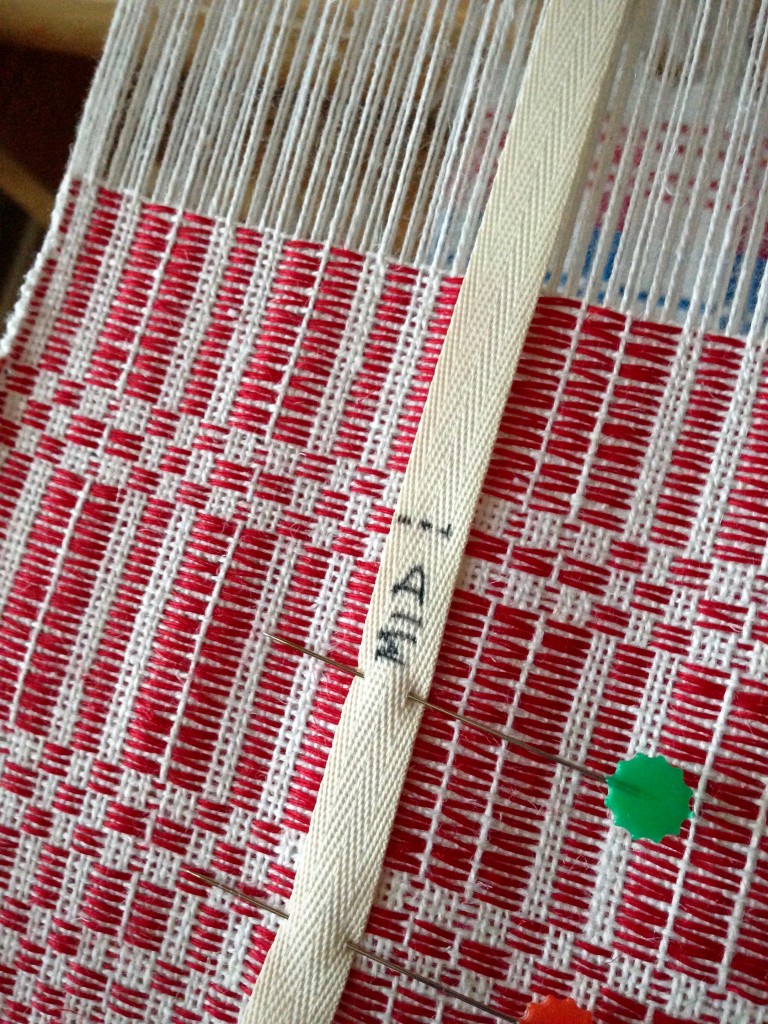
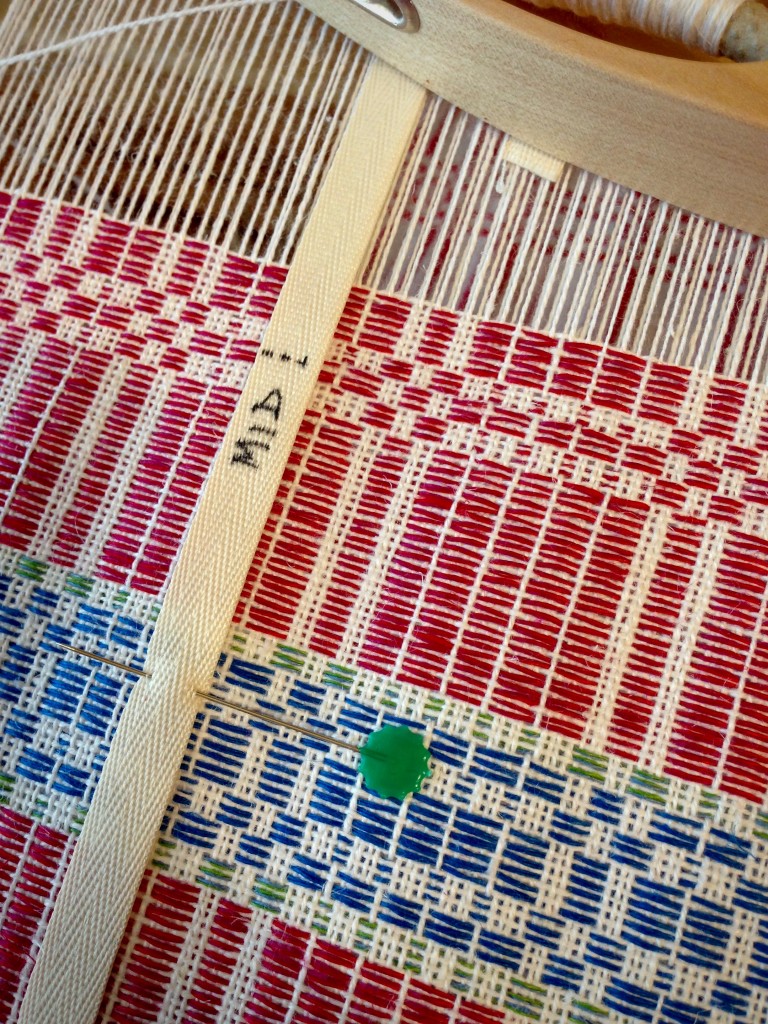
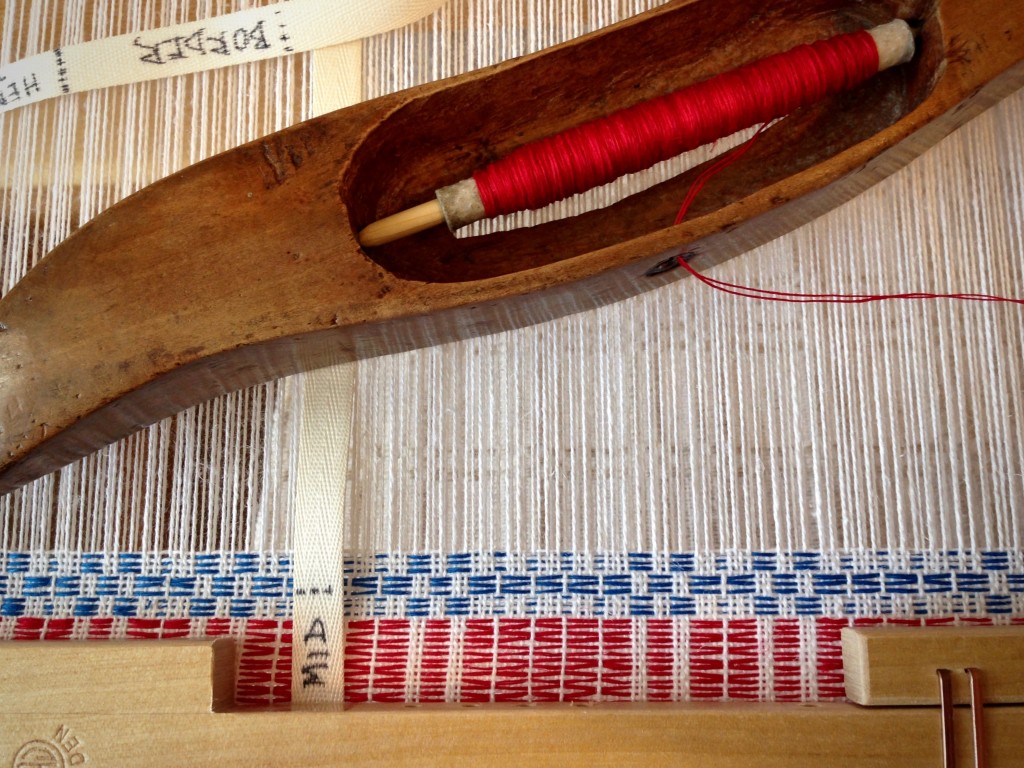
I mark “mid” on my measuring ribbon. The ribbon is held in place on the fabric with two flat-head pins that I leap-frog up the ribbon as the warp advances. Imagine my surprise when the mid mark touched the exact halfway point of the table square being woven! The linen halvdräll pattern has a specific number of repeats for each of two blocks, with the halfway point of the table square at the center of the middle block II. How did I get that kind of precision for three of the four table squares on this warp? Honestly, it surprised me each time. I think it is the loom. Maybe I am finally learning to weave without interfering with the streamline functioning of this Swedish loom. (To see the one table square that didn’t make the mid-mark precision, look carefully at the first photo in Embedded with Elegance.)

Precisely hitting the midway mark!
Center of the block II pattern hits the mid mark with precision.
Middle of the table square hits the mark!
Second time to hit the mid mark on the dot!
Midway exactly! Halvdräll with linen pattern threads.
Halfway on the measuring ribbon. The border and hem are marked at the end of the ribbon.

A promise fulfilled is like a treasure unearthed. You hope for it, and might even expect it; but it’s a joyful thing when you experience it. We wait for a promise like we wait to see the “mid” mark on the ribbon. The Lord’s promise is a vast treasure. It’s a treasure worth watching for.

May you unearth splendid treasures in the new year.

Happy year end,
Karen