I want to weave two floor runners for a specific location in our home. I could do some figuring and guessing. Instead, I am weaving one repetition of this spaced rep rag rug. Now, I have a reference point. All I have to do is measure and see how many repetitions to weave for the length I need. Measuring removes the guesswork. Let the runners begin!
Spaced rep rug warp, right before cutting off the preliminary sample.Rug is ready to be hemmed.Hand hemming the rug with 12/6 cotton warp thread.Finished!
I’m at fresh starting place. After finishing another double binding rag rug, I have tied the rug warp back on. I’m ready for a new variation in this rag rug series of block designs. Rug warp lets me stop and start. Cut off and tie back on. It’s as simple as that.
Hem at the end of the second rug is woven in plain weave with narrow fabric strips for weft.Off the loom for a first glance.Warp ends have been tied in knots and trimmed. Hand hemming fini\shes the rug.Second rug of the series.After tying the warp back on, I start the third rug in the series.
May your progress be observable over a span of time.
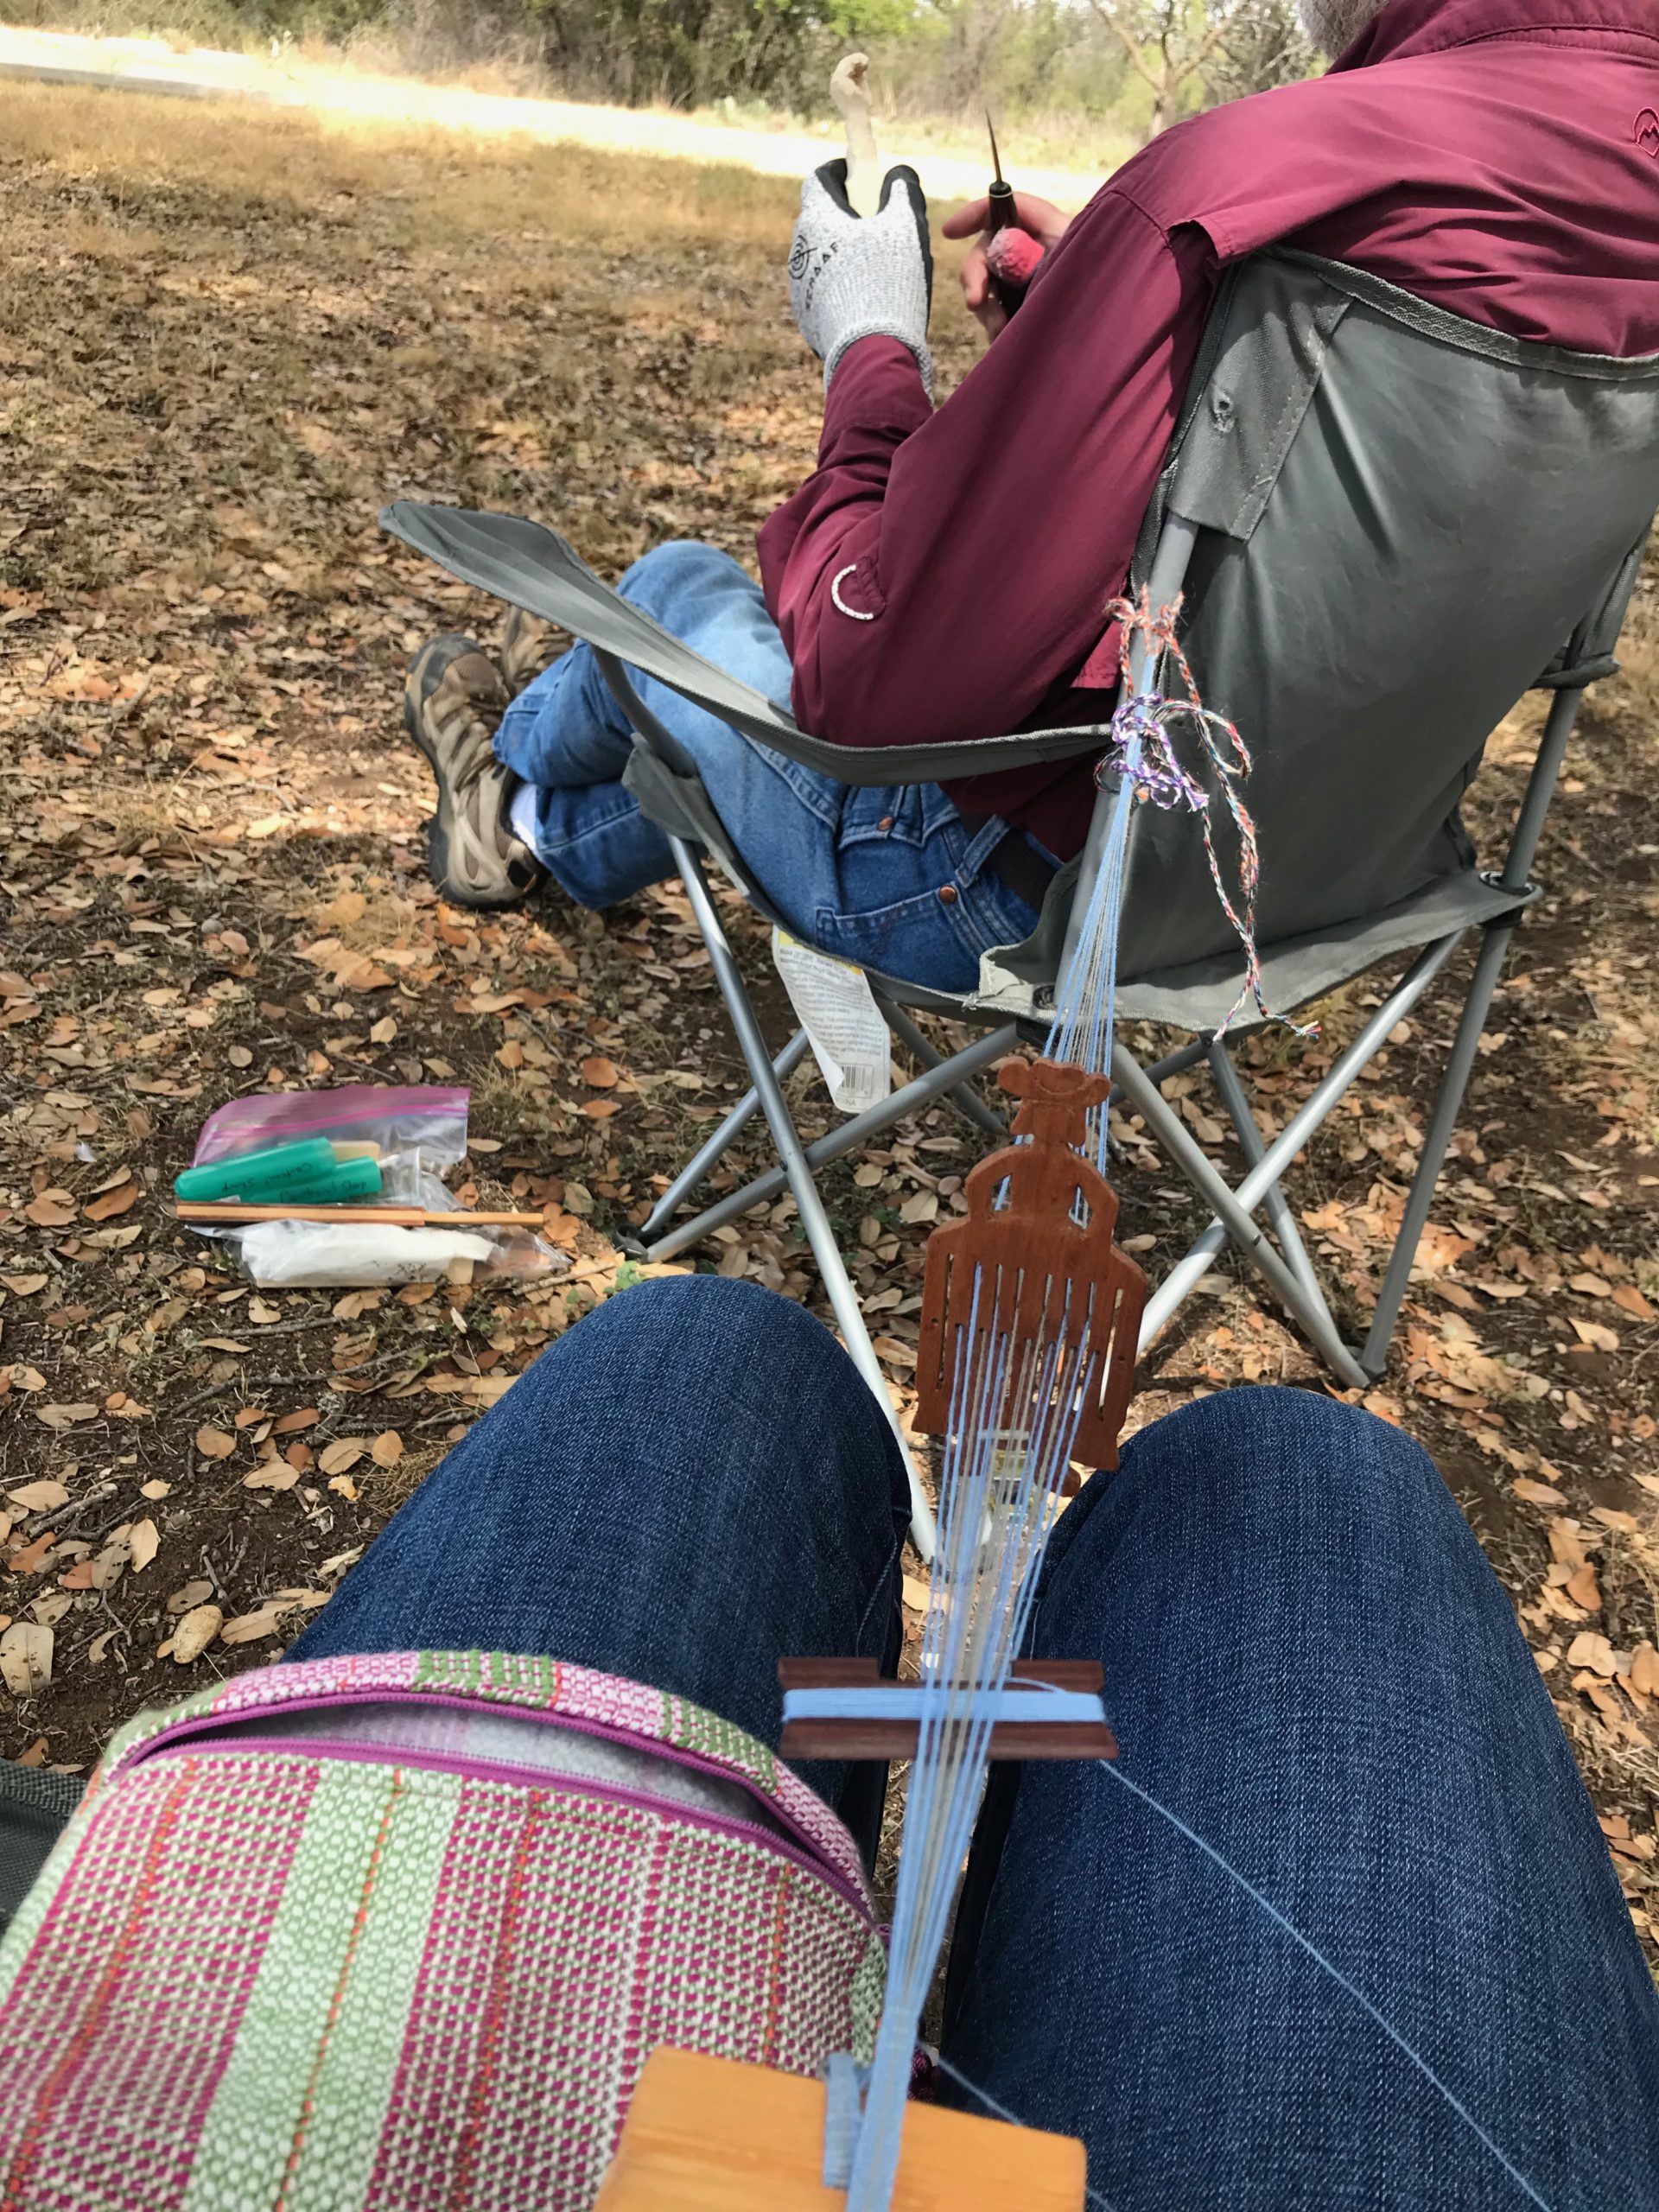
I reached the end of the drawloomwarp on Tuesday evening. Wednesday morning, before Steve and I finished loading up the Casita travel trailer, I cut the warp off the loom. I grabbed a handful of thrums, chained them so they wouldn’t tangle, and threw the bundle into a small bag along with my cowgirl band heddle. And off we went for a short little getaway!
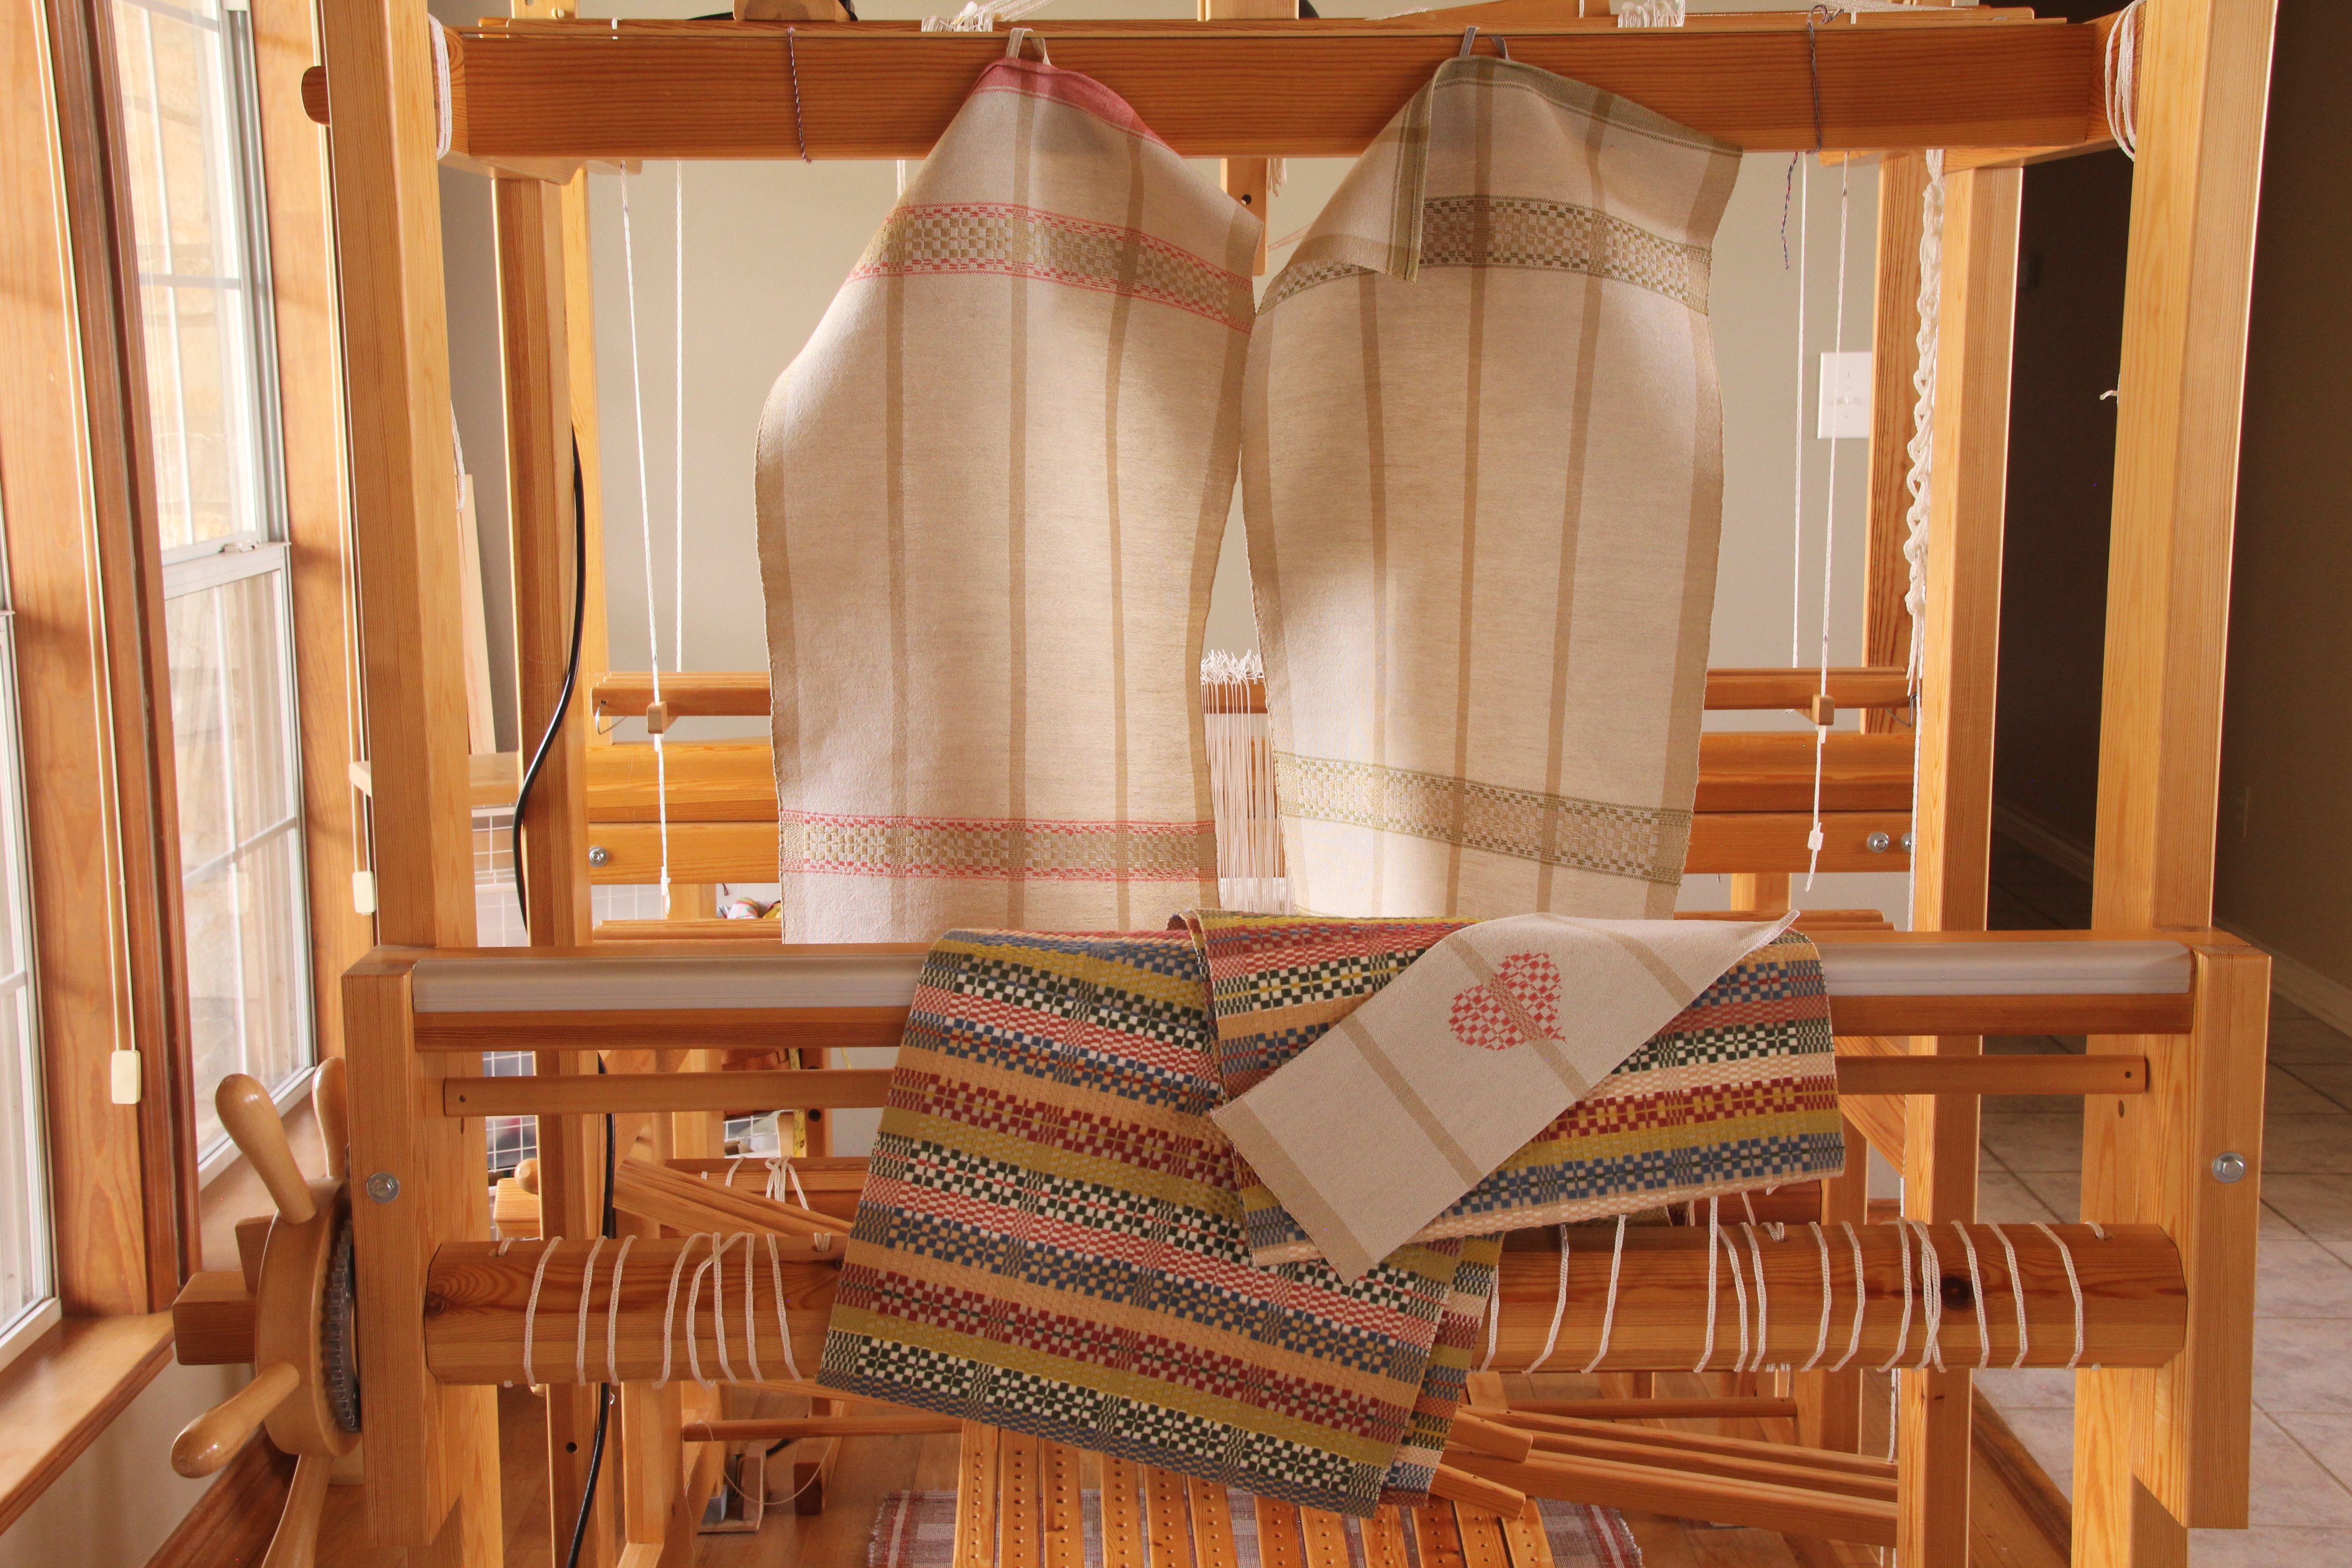
Relaxing under shade trees at the campground, I weave what I need for the four towels’ hanging tabs.
Steve is doing some wood carving. I tied my bandwarp to his chair. I doubled the 16/2 cotton warp threads in the cowgirl band heddle to make the band wide enough for towel hanging tabs.
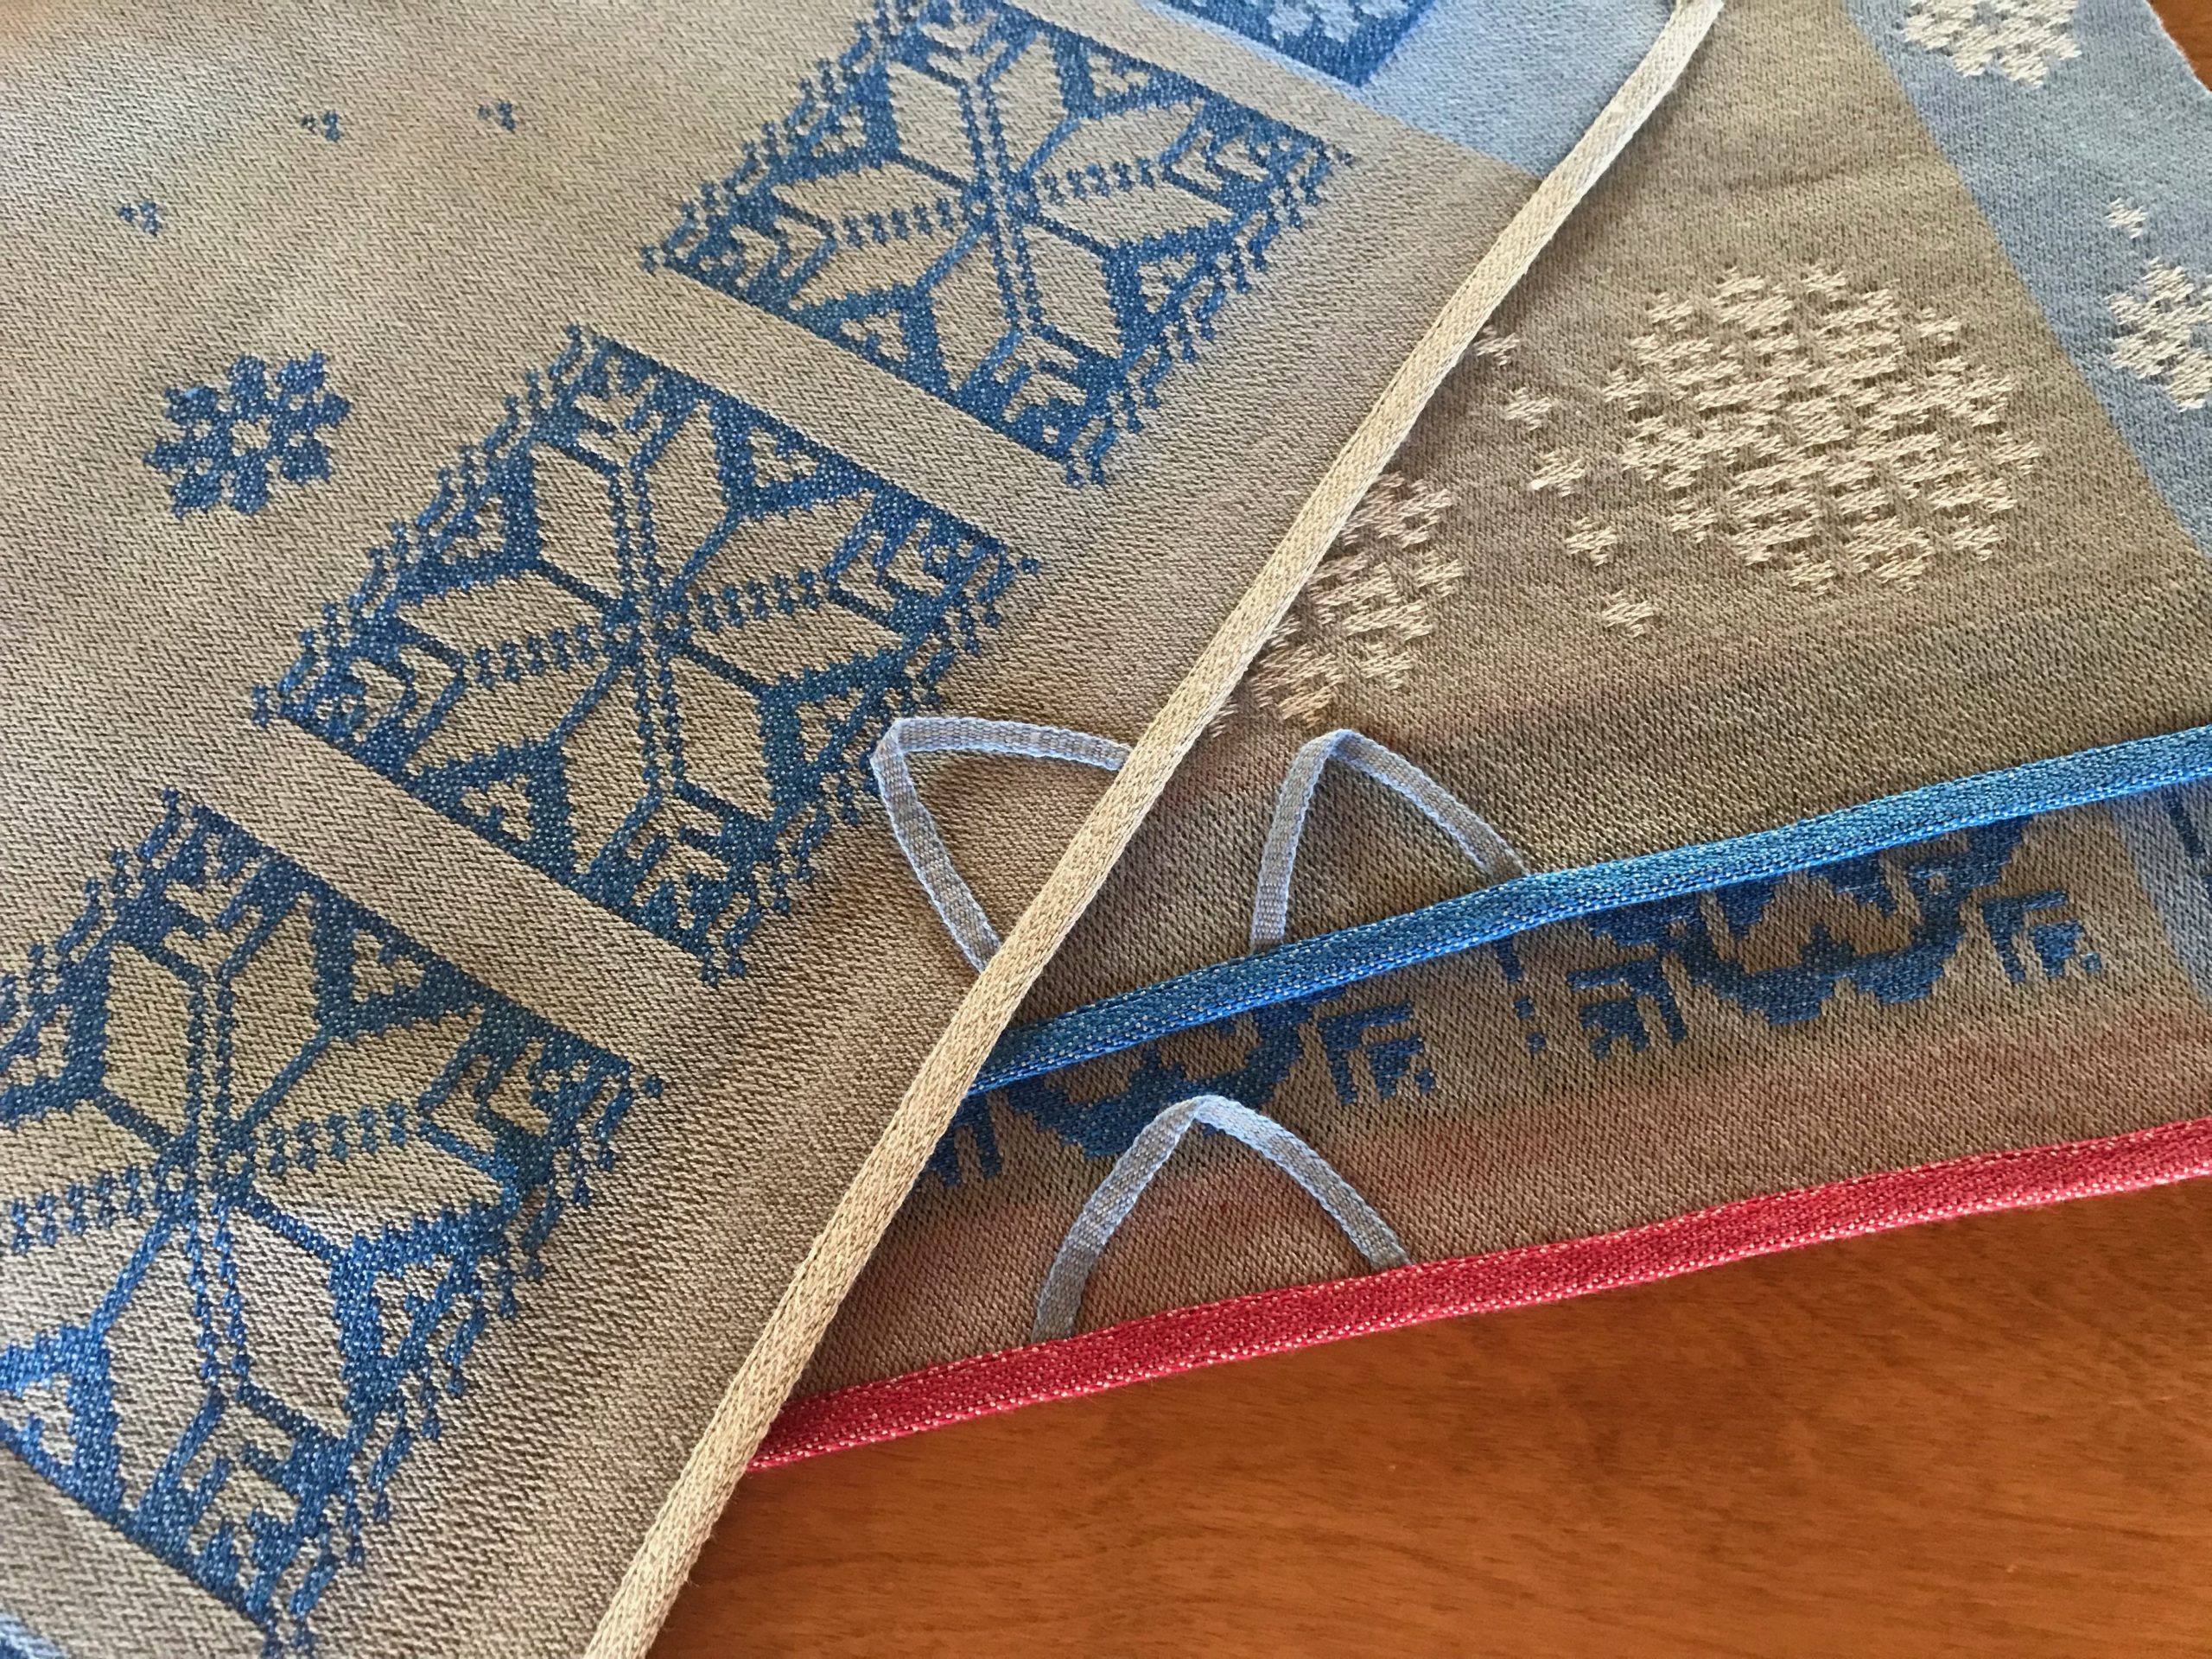
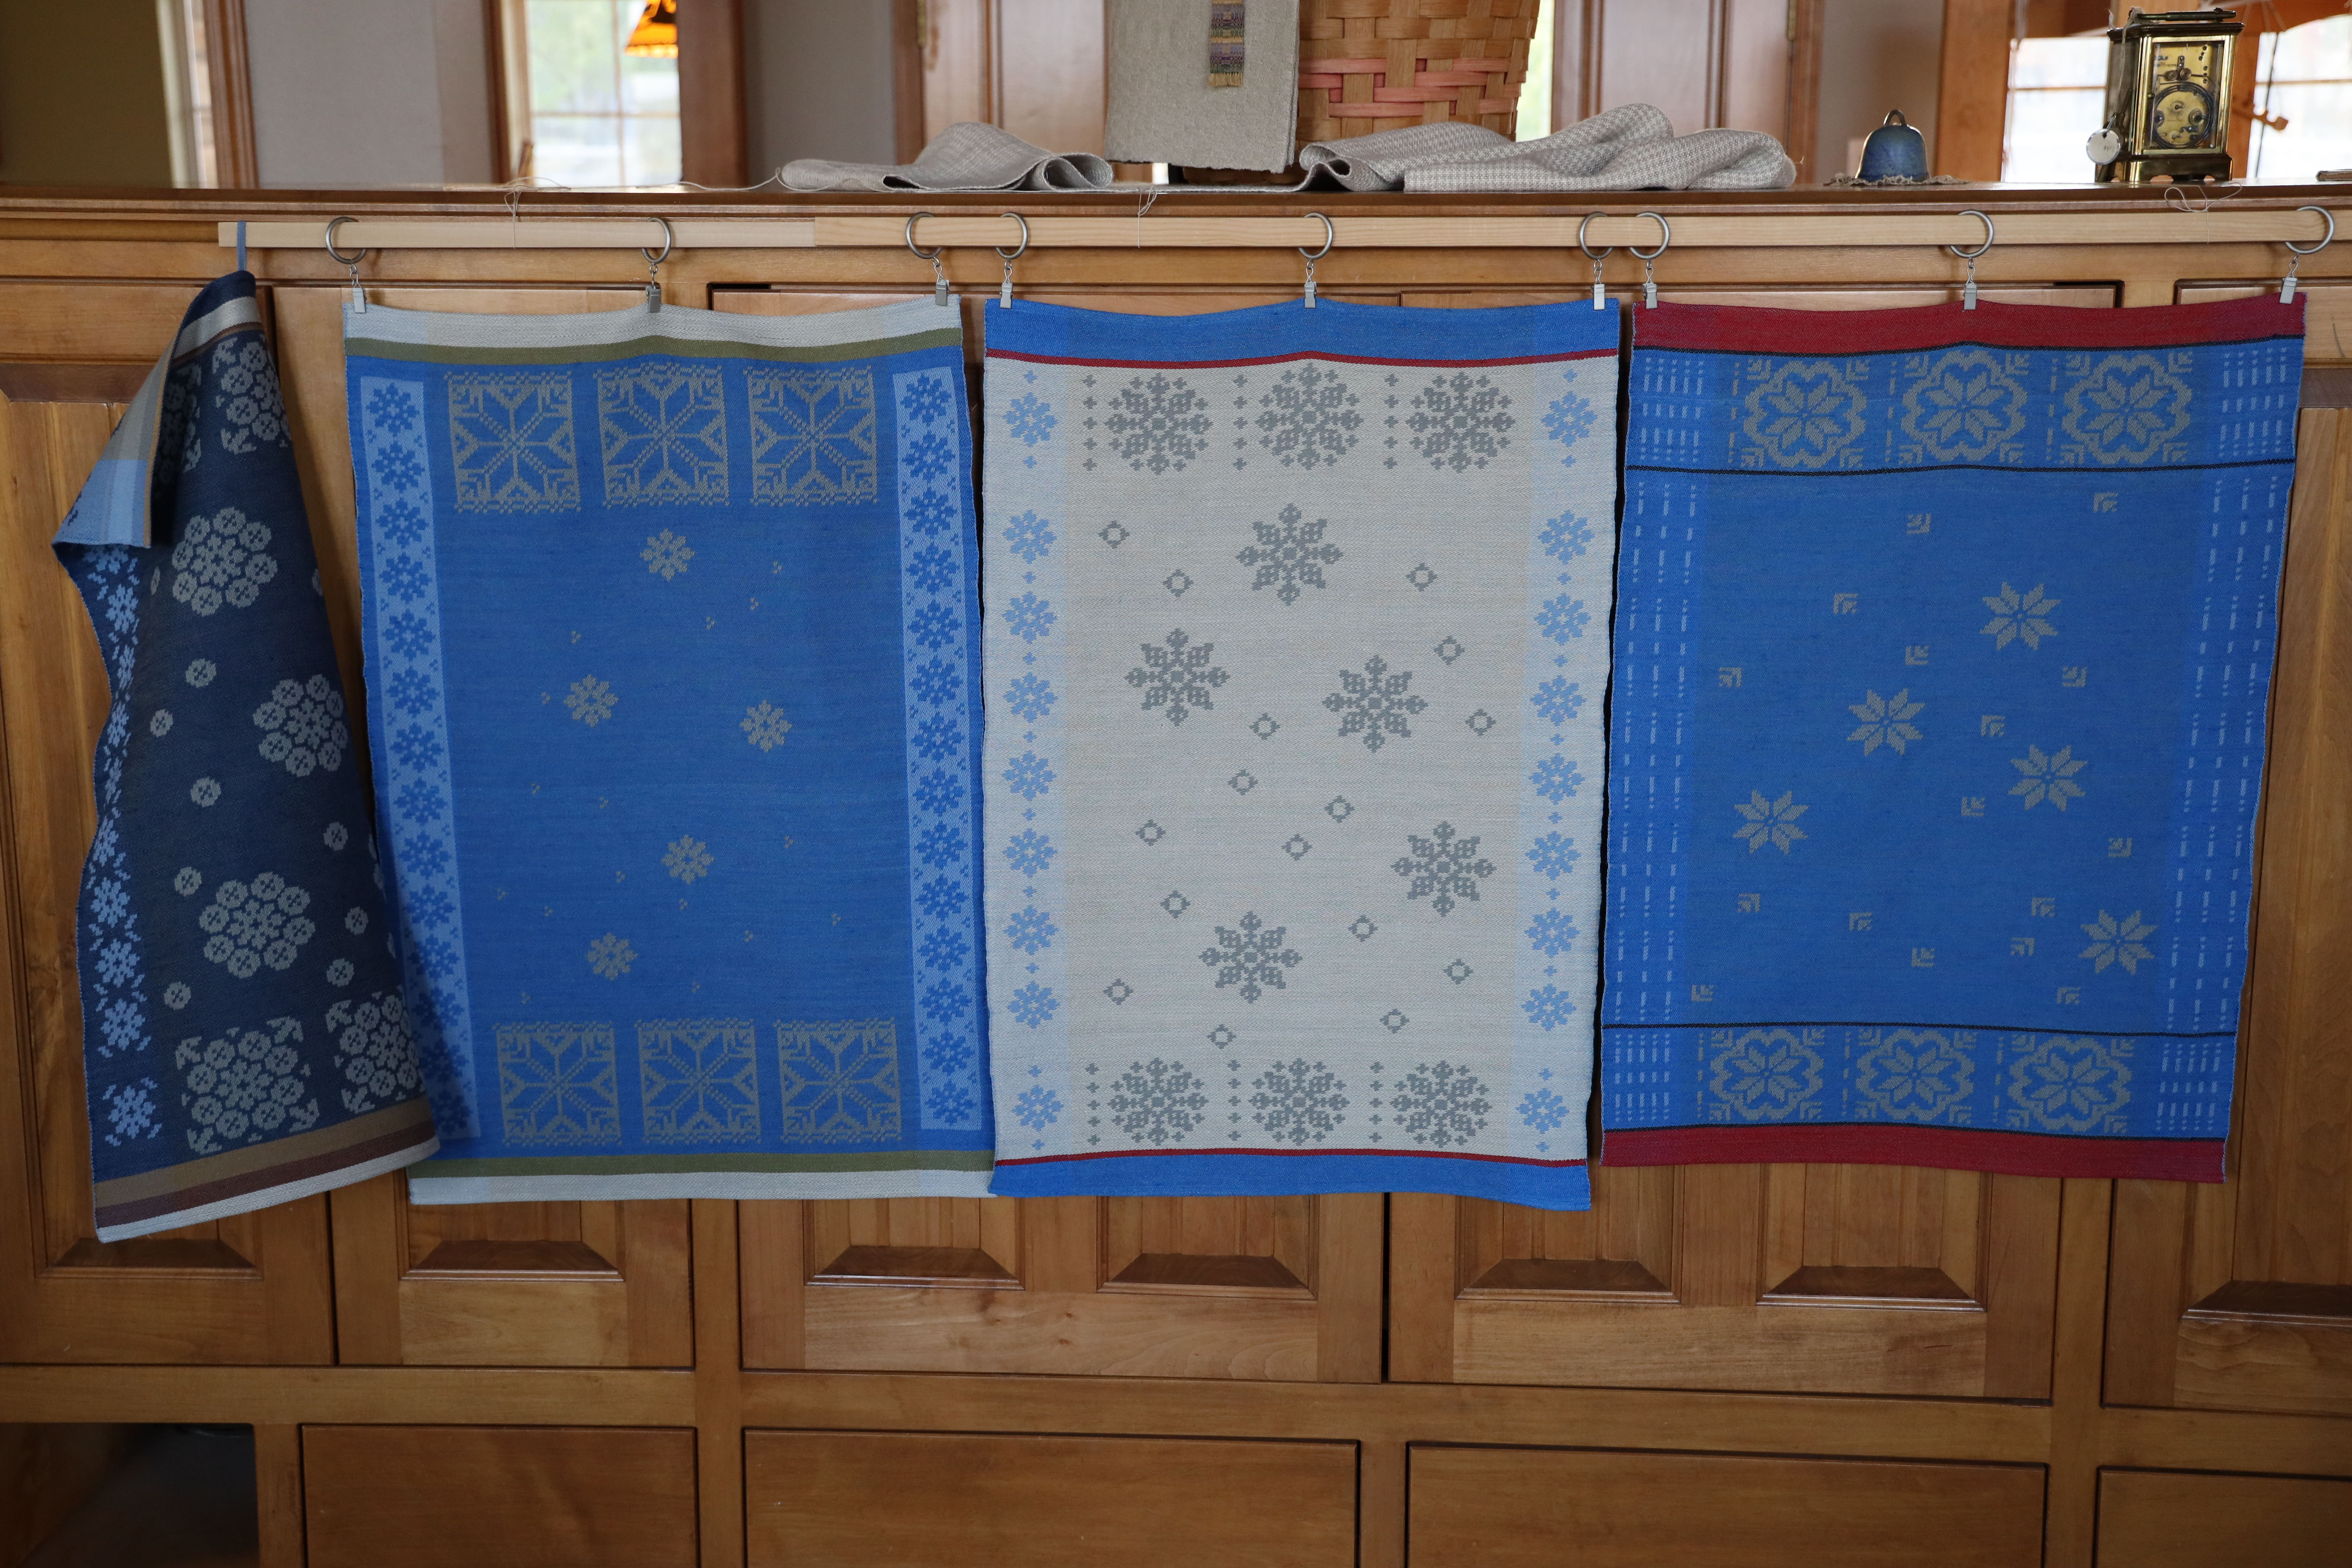
Back home, after the towels are wet finished and hemmed, I have an “a-ha!” moment: Only one of these cloths shall be used as a towel. The other three cloths will serve as Christmas Snowflake banners.
There is some irony in the fact that I wove hanging tabs for these three cloths that have since been given an alternate purpose as celebratory Christmas banners.
Christmas Snowflake banners. Revisit the process with me, start to finish:
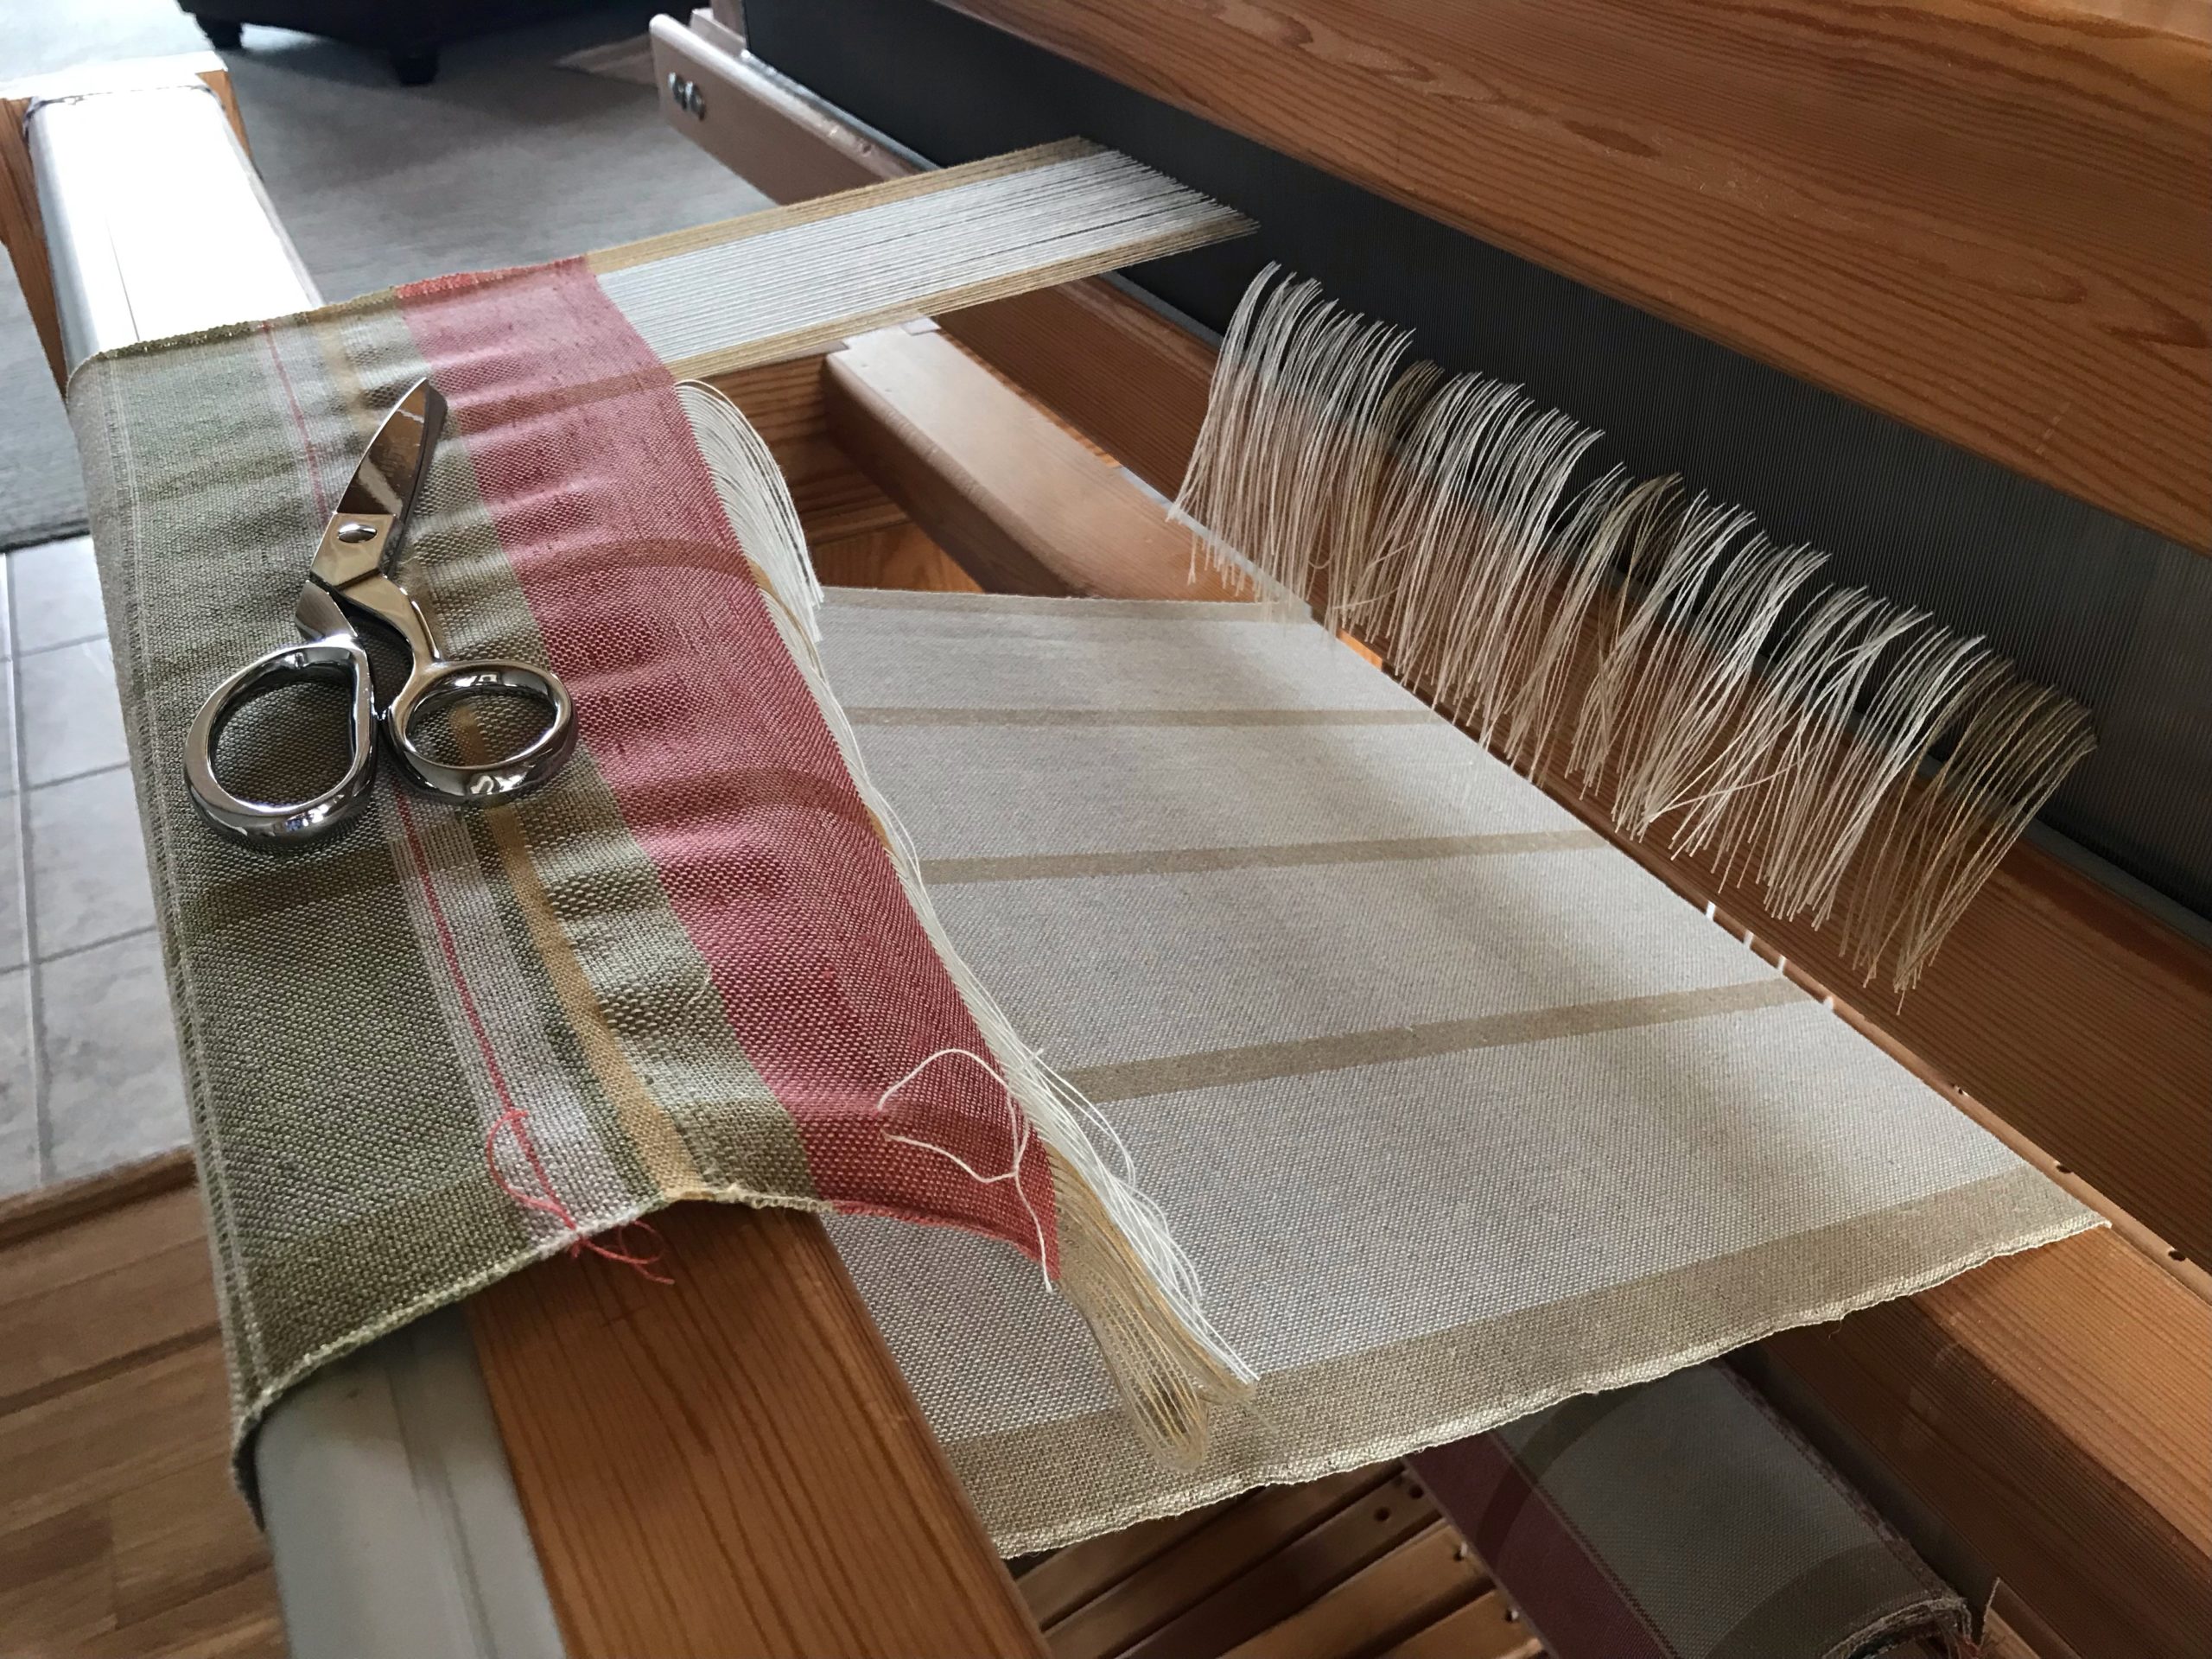
Talk about exciting! When something has been on the loom this long it is indeed exciting when the back tie-on bar comes over the back beam. I finish weaving the final “bonus” towel. And then, I use up all the quills to make a little piece of scrap fabric (because scrap fabric is always better than leftover quills). And then! Then, I start my cutting-off checklist.
After all this time, the moment we’ve been waiting for is here!
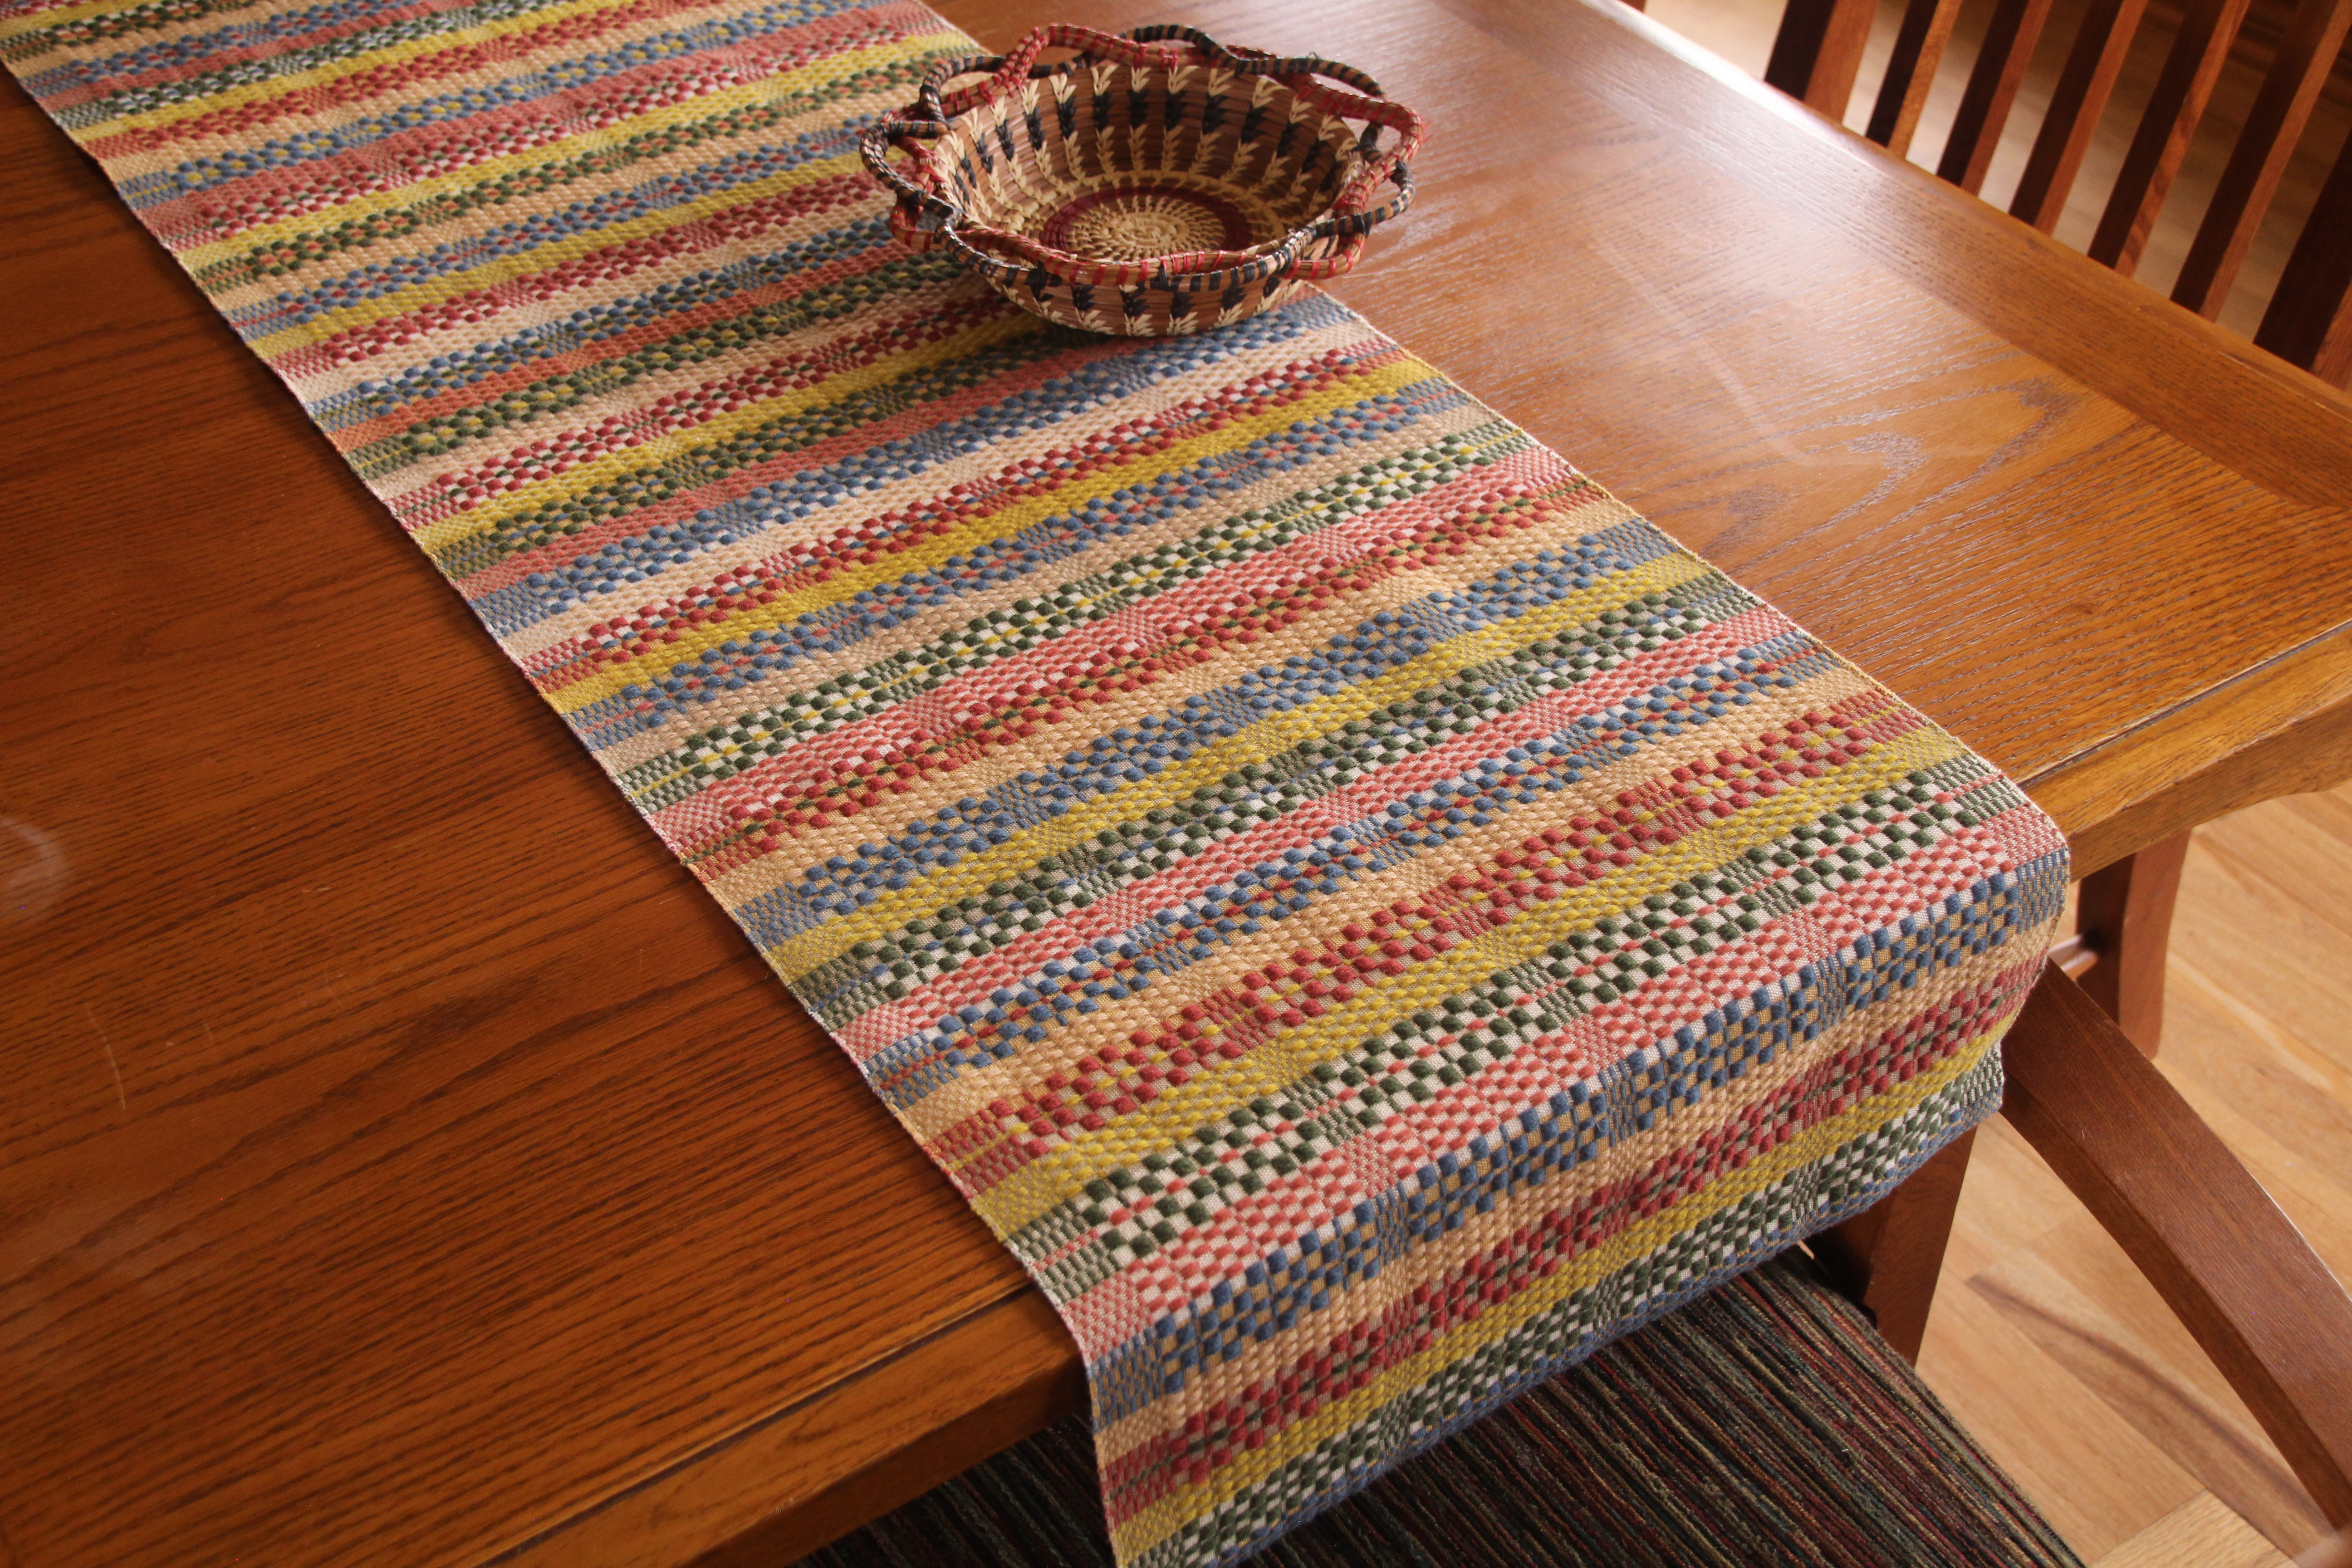
After weaving a short scrap fabric with thread left on quills, it is time for cutting off the long monksbelt runner and two bonus towels.
I cut off the warp. And as I unroll the cloth, I am mesmerized by the tactile intricacy that passes through my fingers–Fårö wool for the pattern weft, and 16/2 cotton for slow-as-molasses weft repground cloth. Finishing proves to be the easiest and quickest part of this project. I like the crisp pristine state of the monksbelt runner, so I am not going to wet finish this article. I examine for errors (none found!), wet finish the two towels, hem the table runner and towels, and press. The Priceless Monksbelt Runner now graces our dining room table.
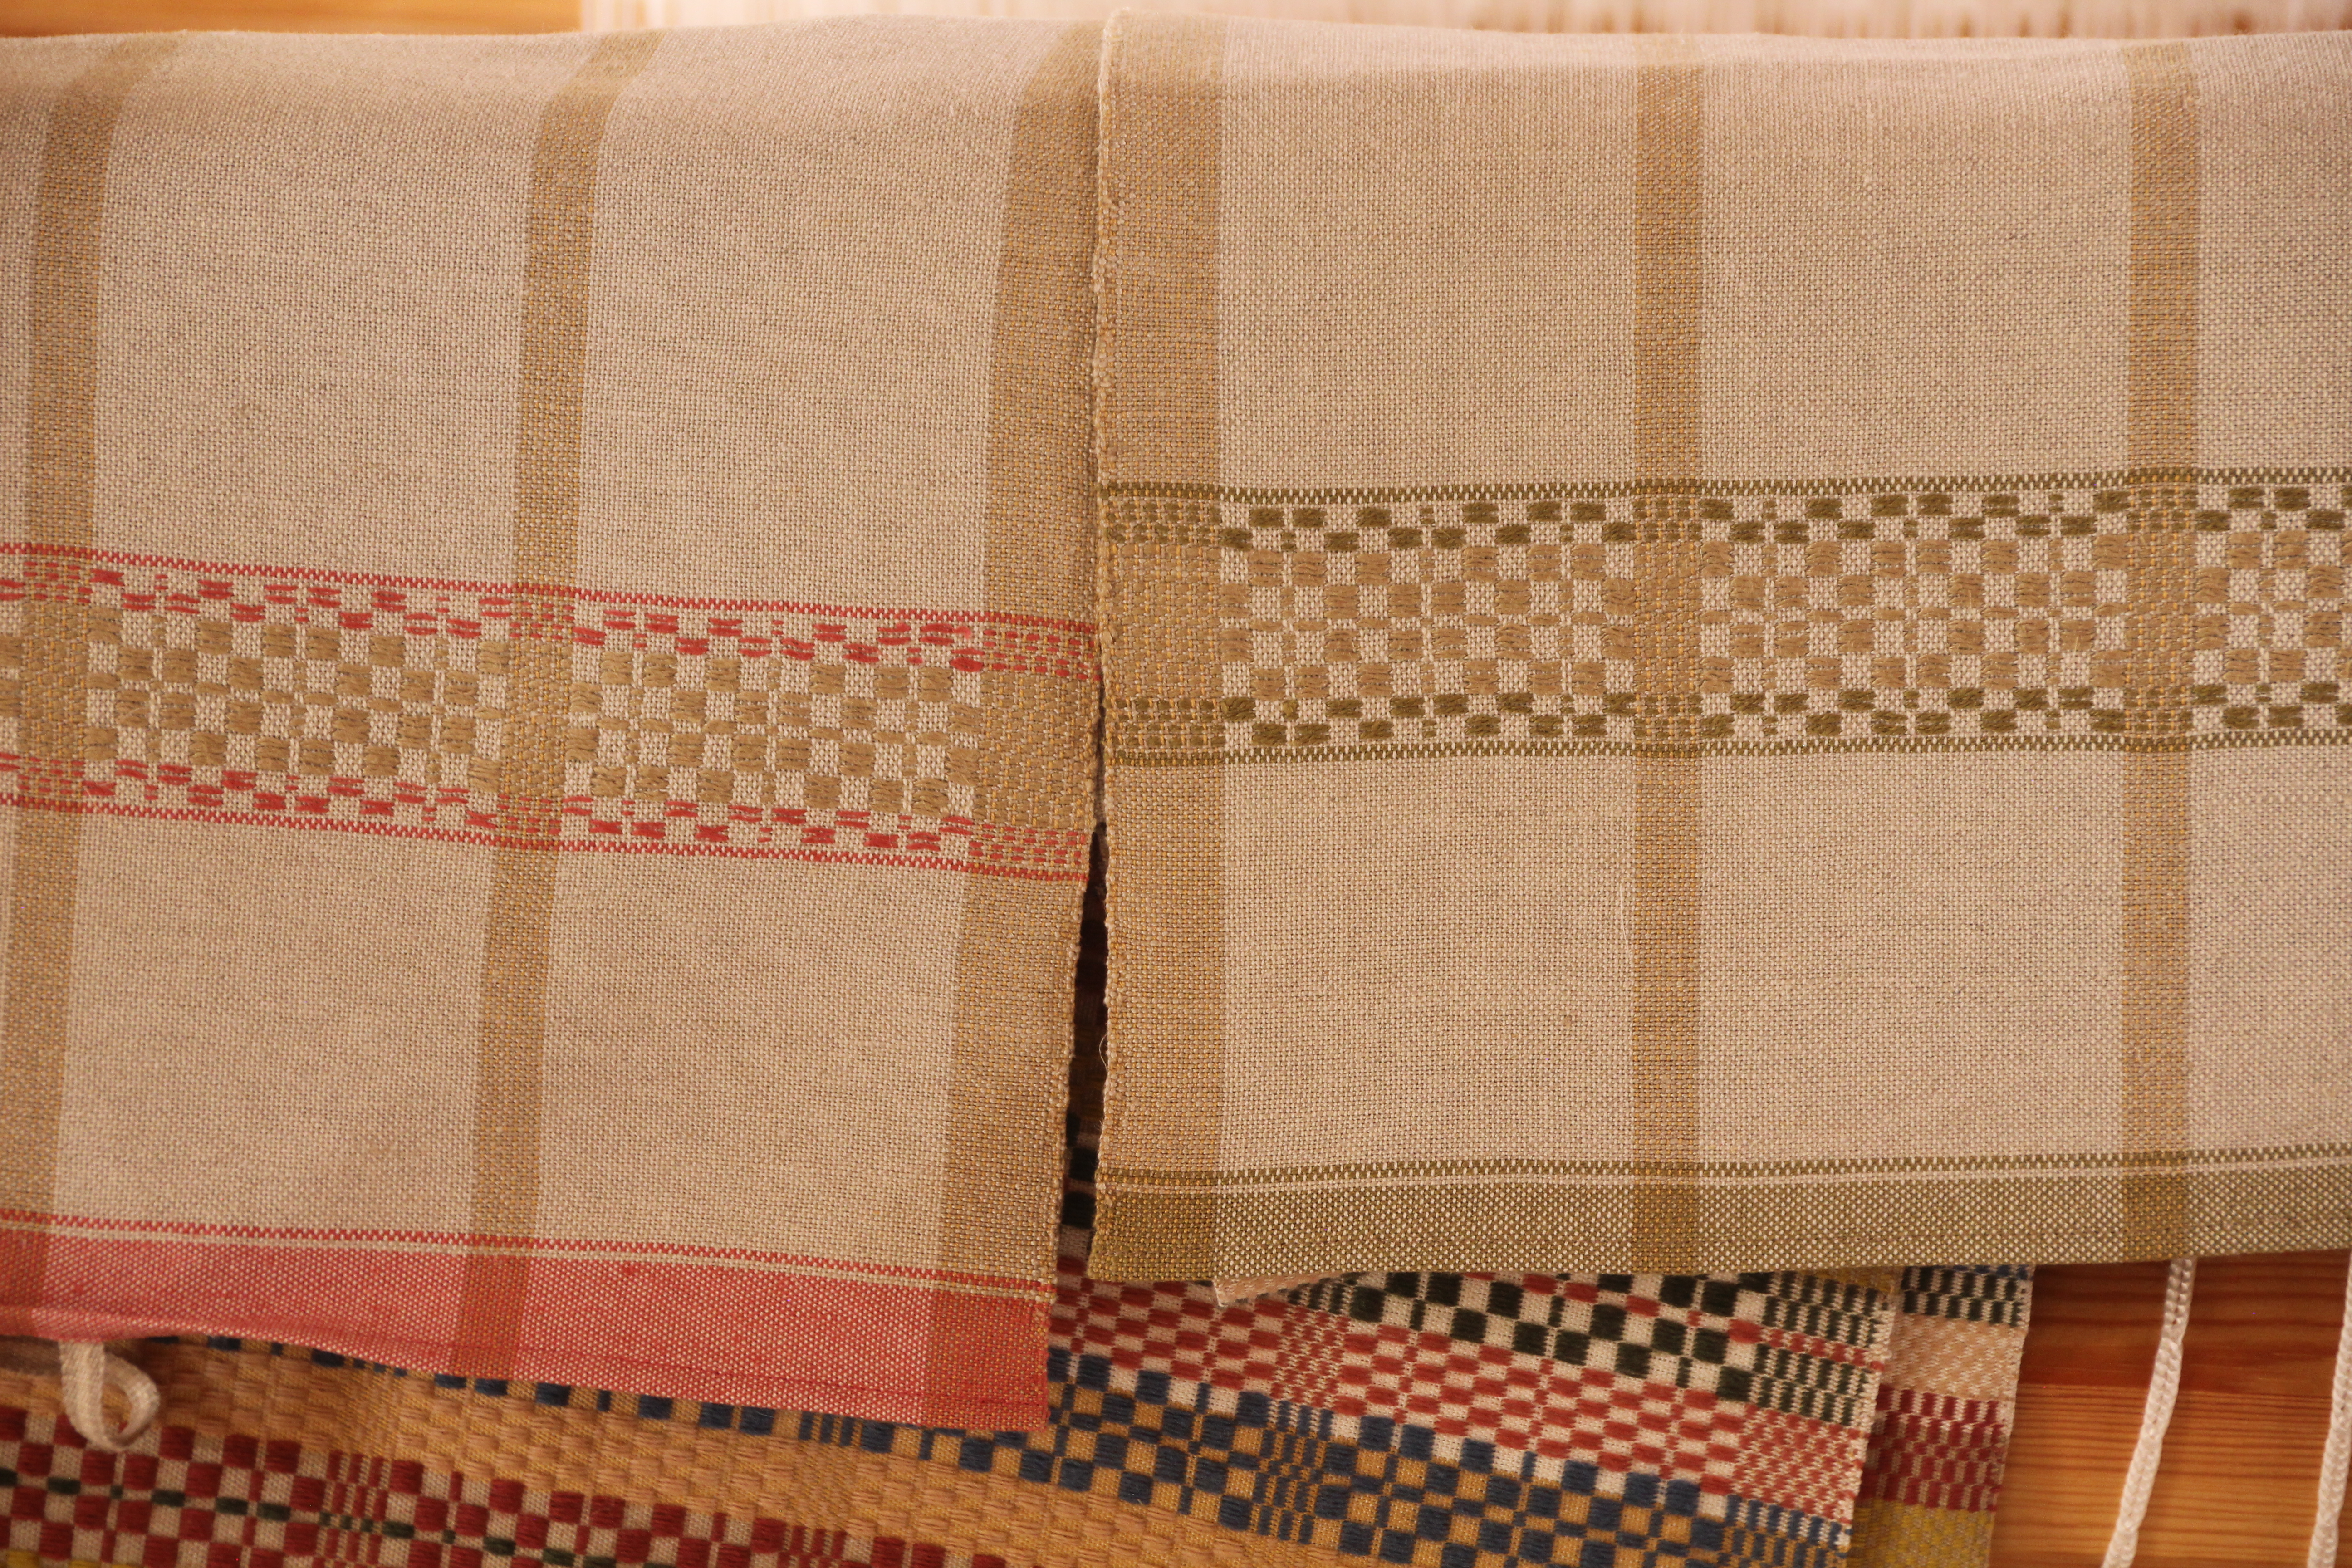
After the Priceless Monksbelt Runner I had enough warp to weave two bonus towels with monksbelt borders. In between the towels I did a small heart-shaped inlay just for play.Two simple plain weave towels, with monksbelt borders. The tabby weft is 16/2 golden bleached linen. The coral pattern weft and green pattern weft is doubled 16/1 linen. The ecru center pattern weft is doubled 6/1 tow linen. Warp is 16/2 cotton. With only one washing so far, the towels still have a wonderful crisp linen hand.
The exceptional value of handwoven textiles makes your home a welcoming place. Time is one of our most valuable assets. That makes the textiles we create priceless!
Our dining table is just to the right as you walk through the front door of our home. May all who enter know they are welcome here!
Please enjoy this video review of weaving the Priceless Monksbelt Runner.
May the works of your hands bring exceptional value to your home.
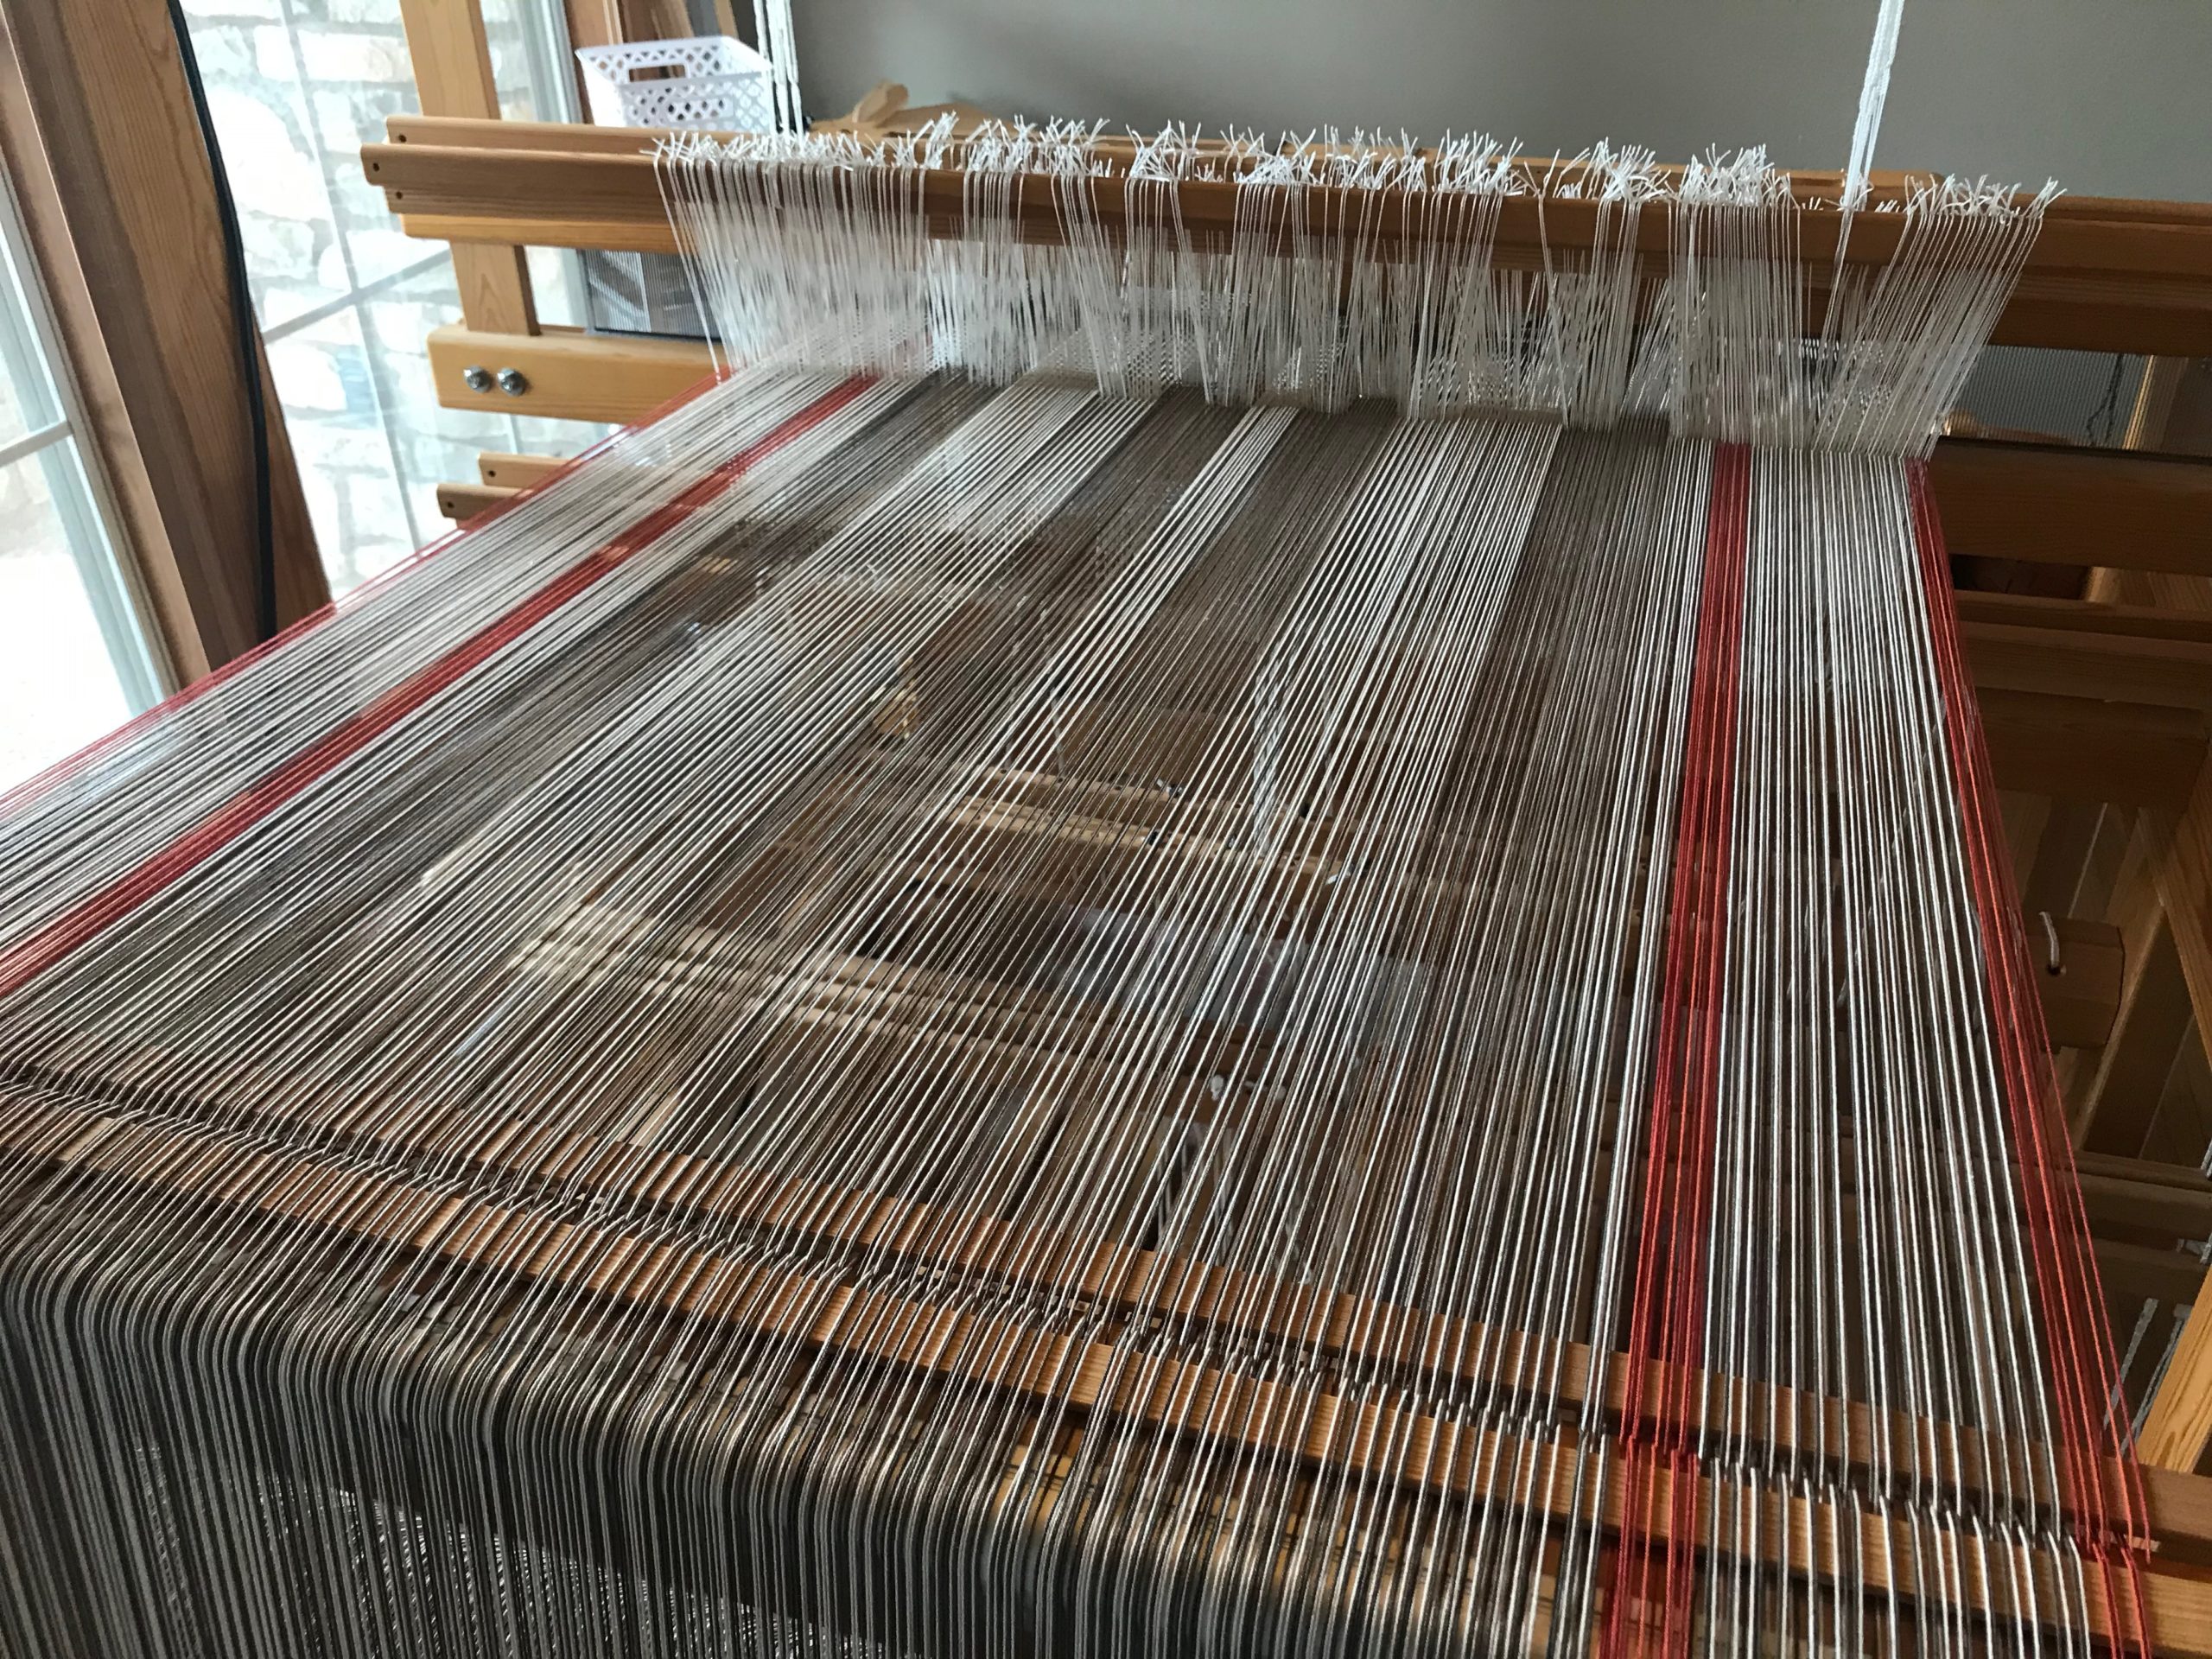
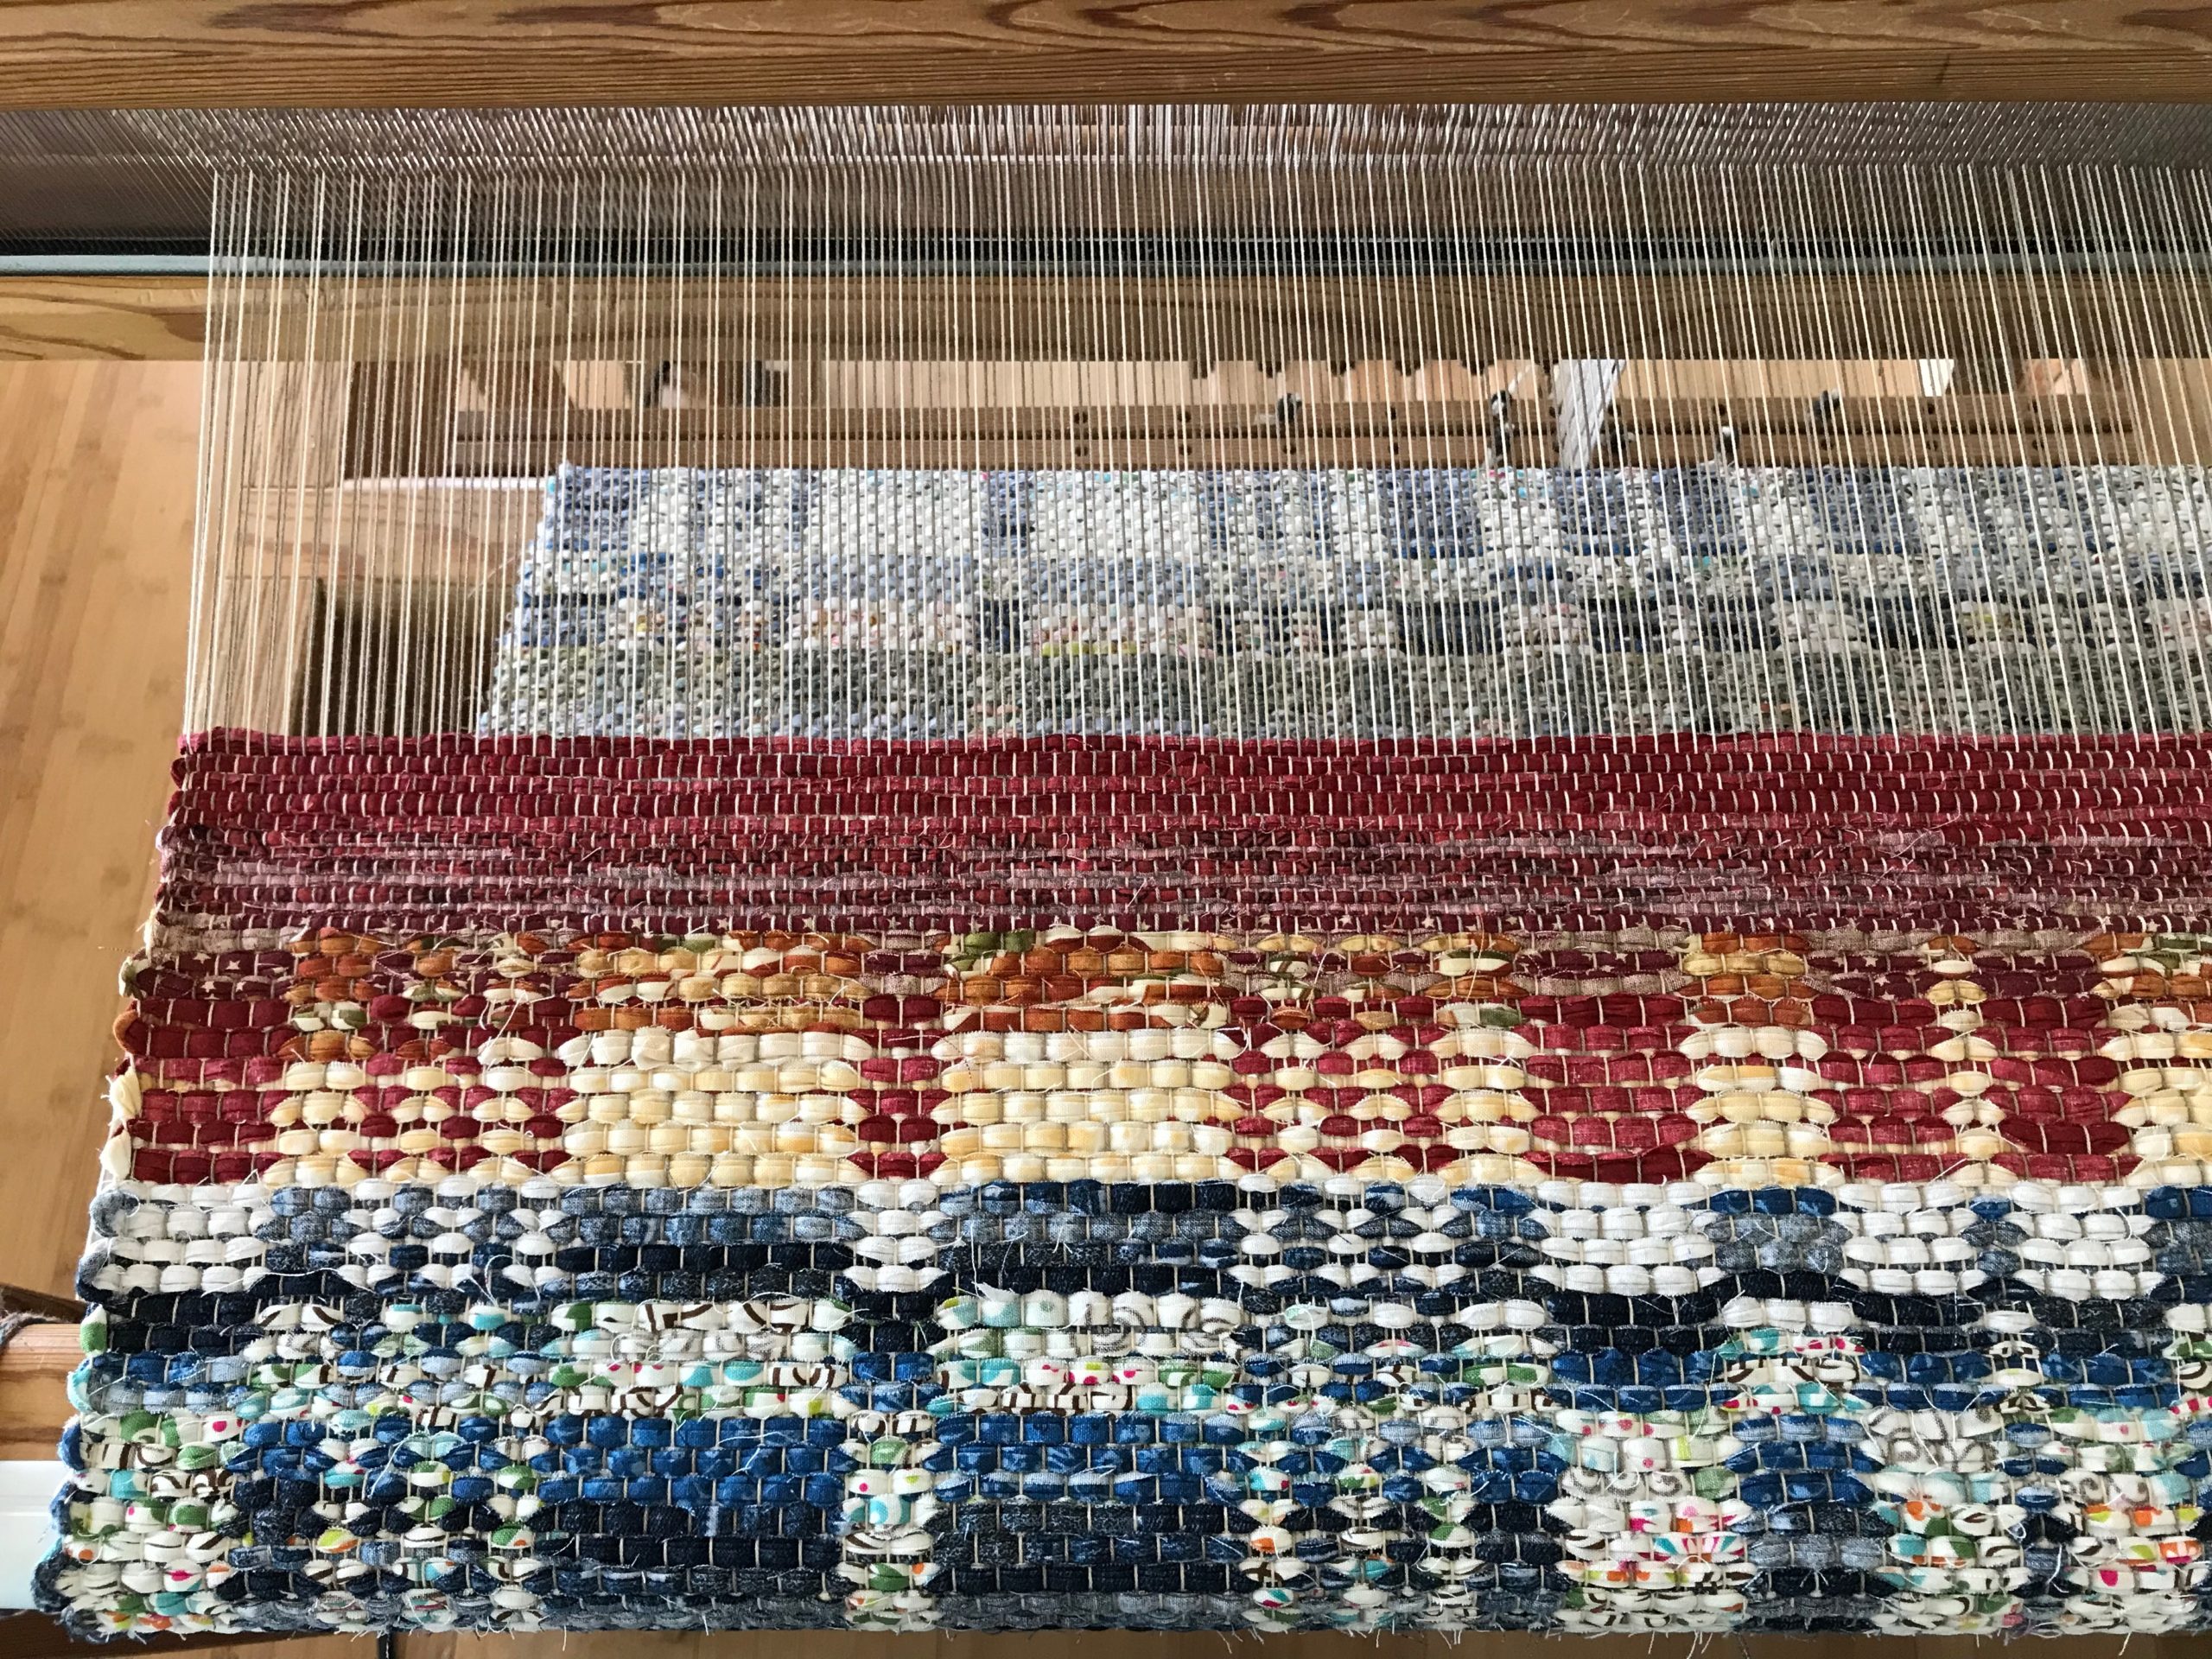
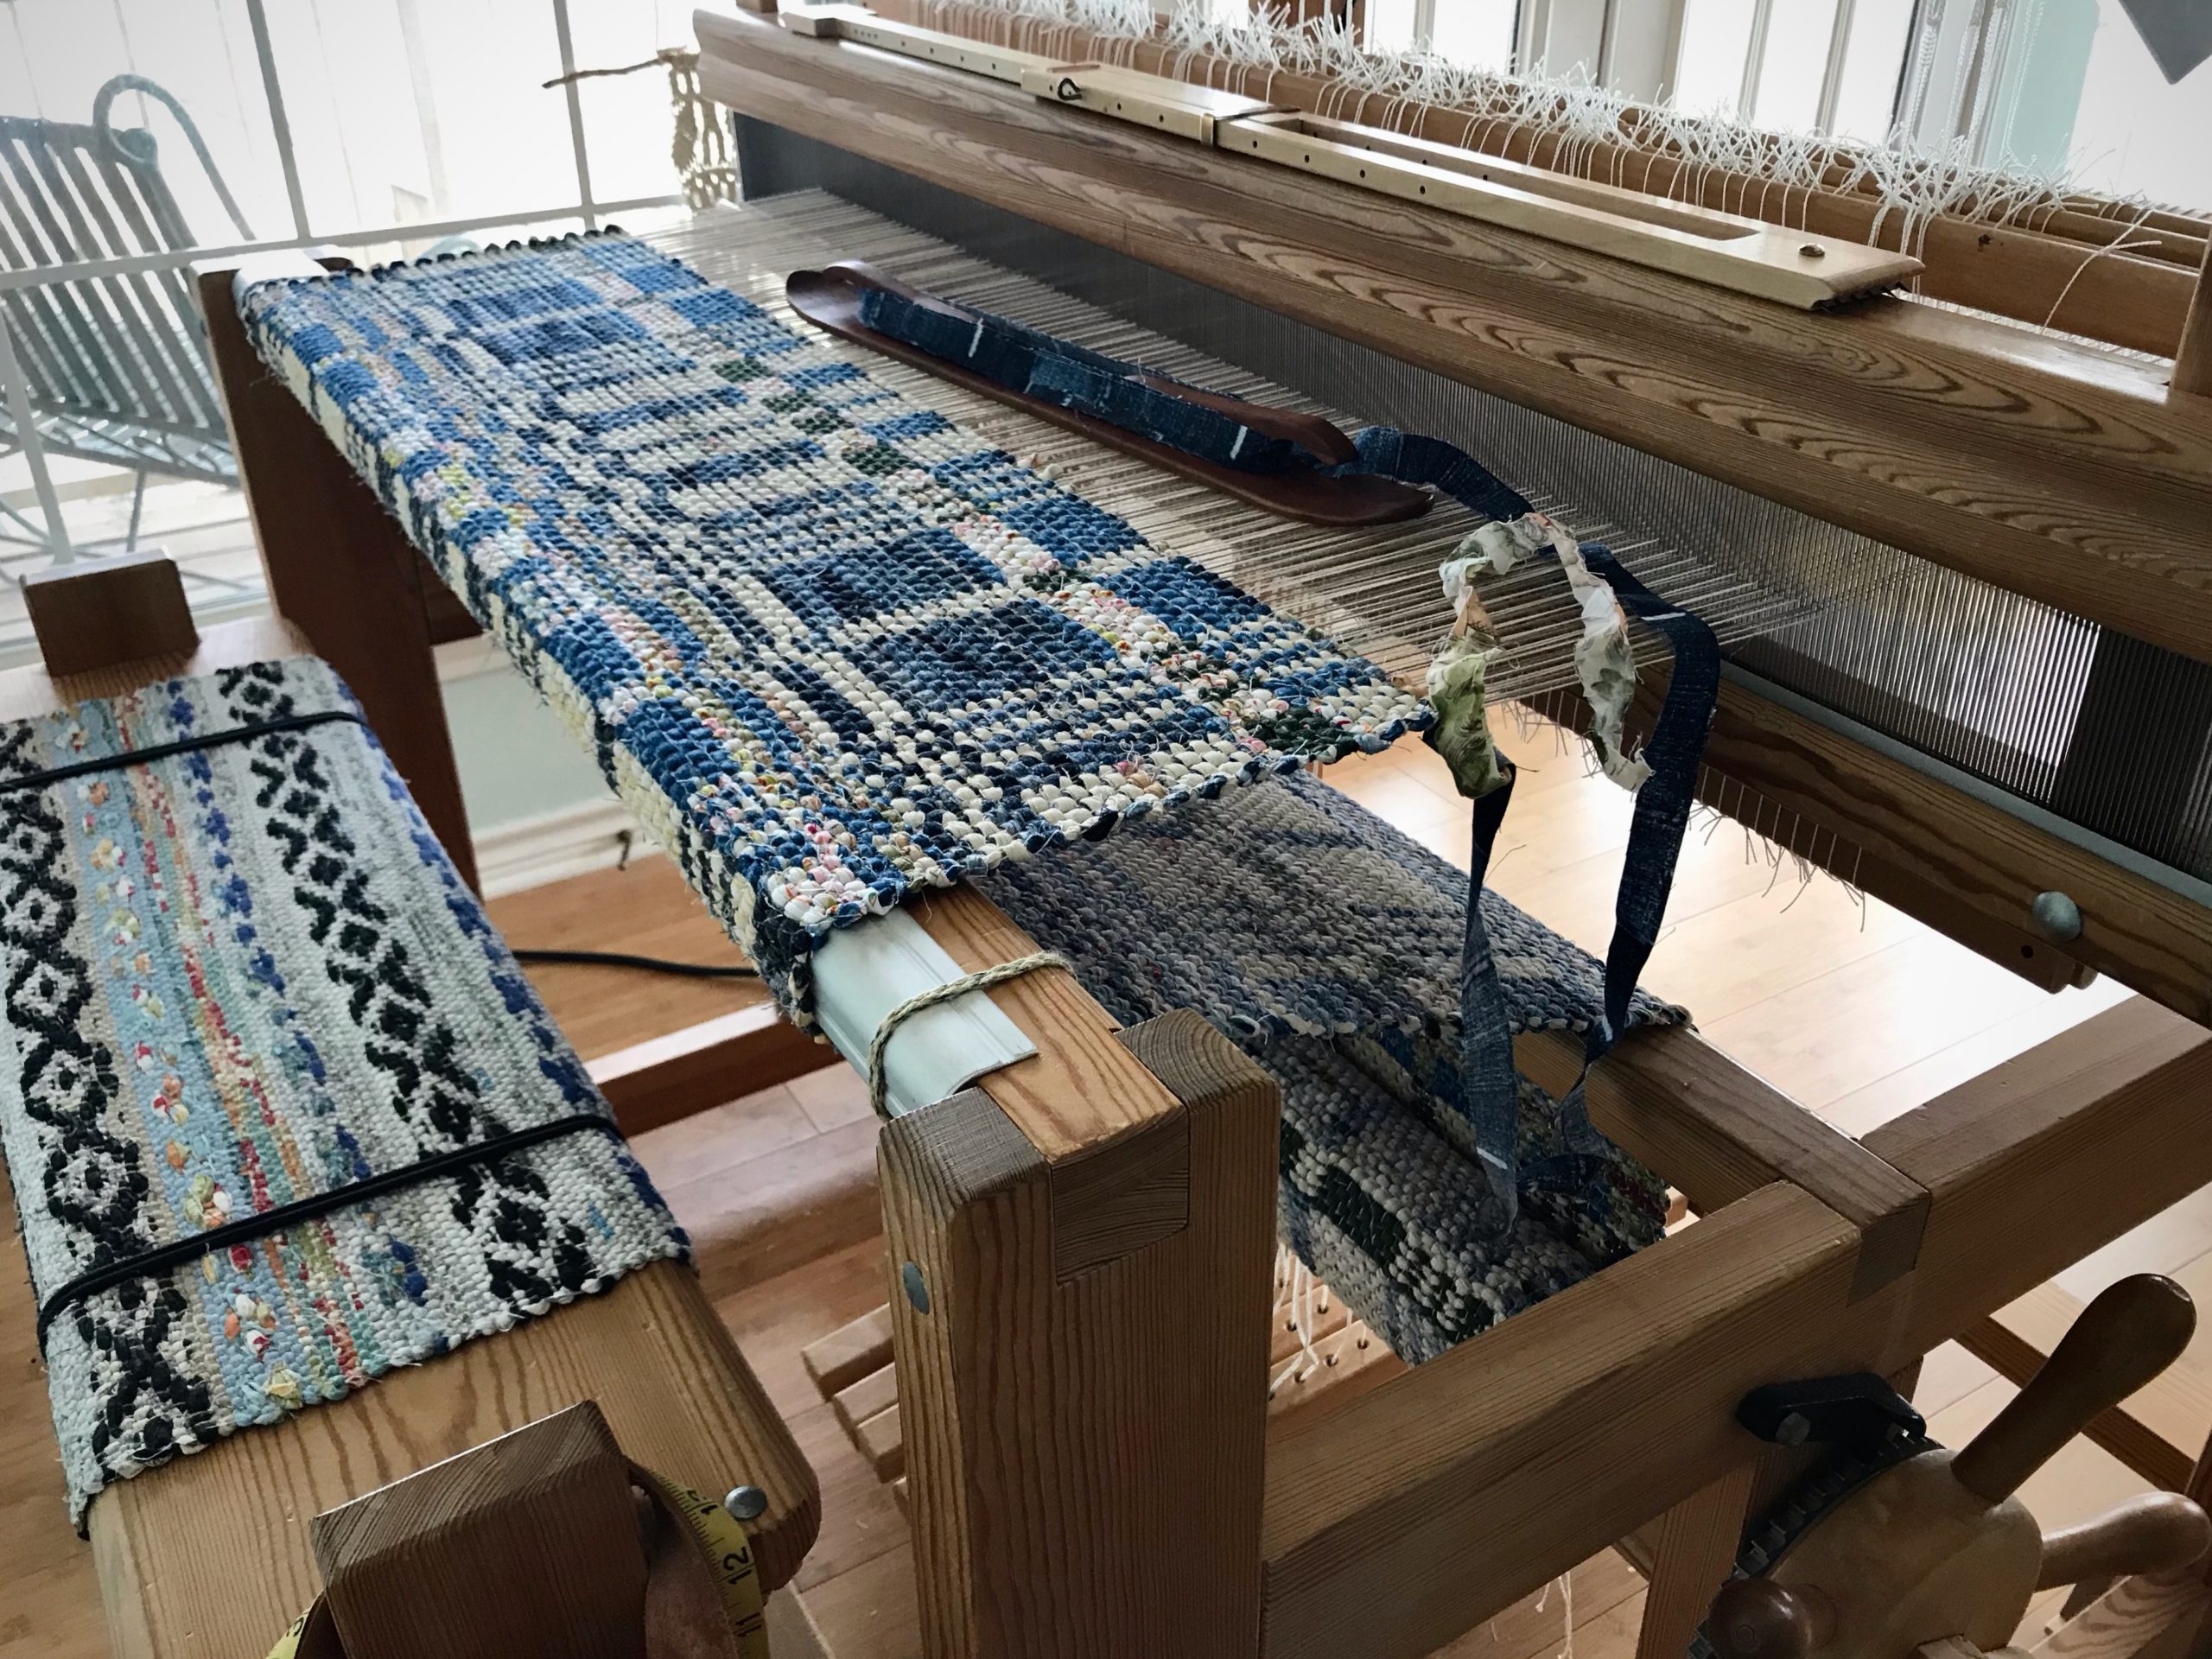
I have good reasons for cutting off this first double-binding rag rug before proceeding with the rest of the warp. This pause and reset ensures happy weaving to the end. Cutting off gives me a fresh start for the next rug.
Reasons for cutting off rag rug before end of warp
Uneven warp tension. I can improve the warp by tying back on.
Large rag rag. I can get a tighter warp tension by removing the rug’s bulk from the cloth beam.
New design. It helps me to see the completed rug before starting the next one, since this is a brand-new design.
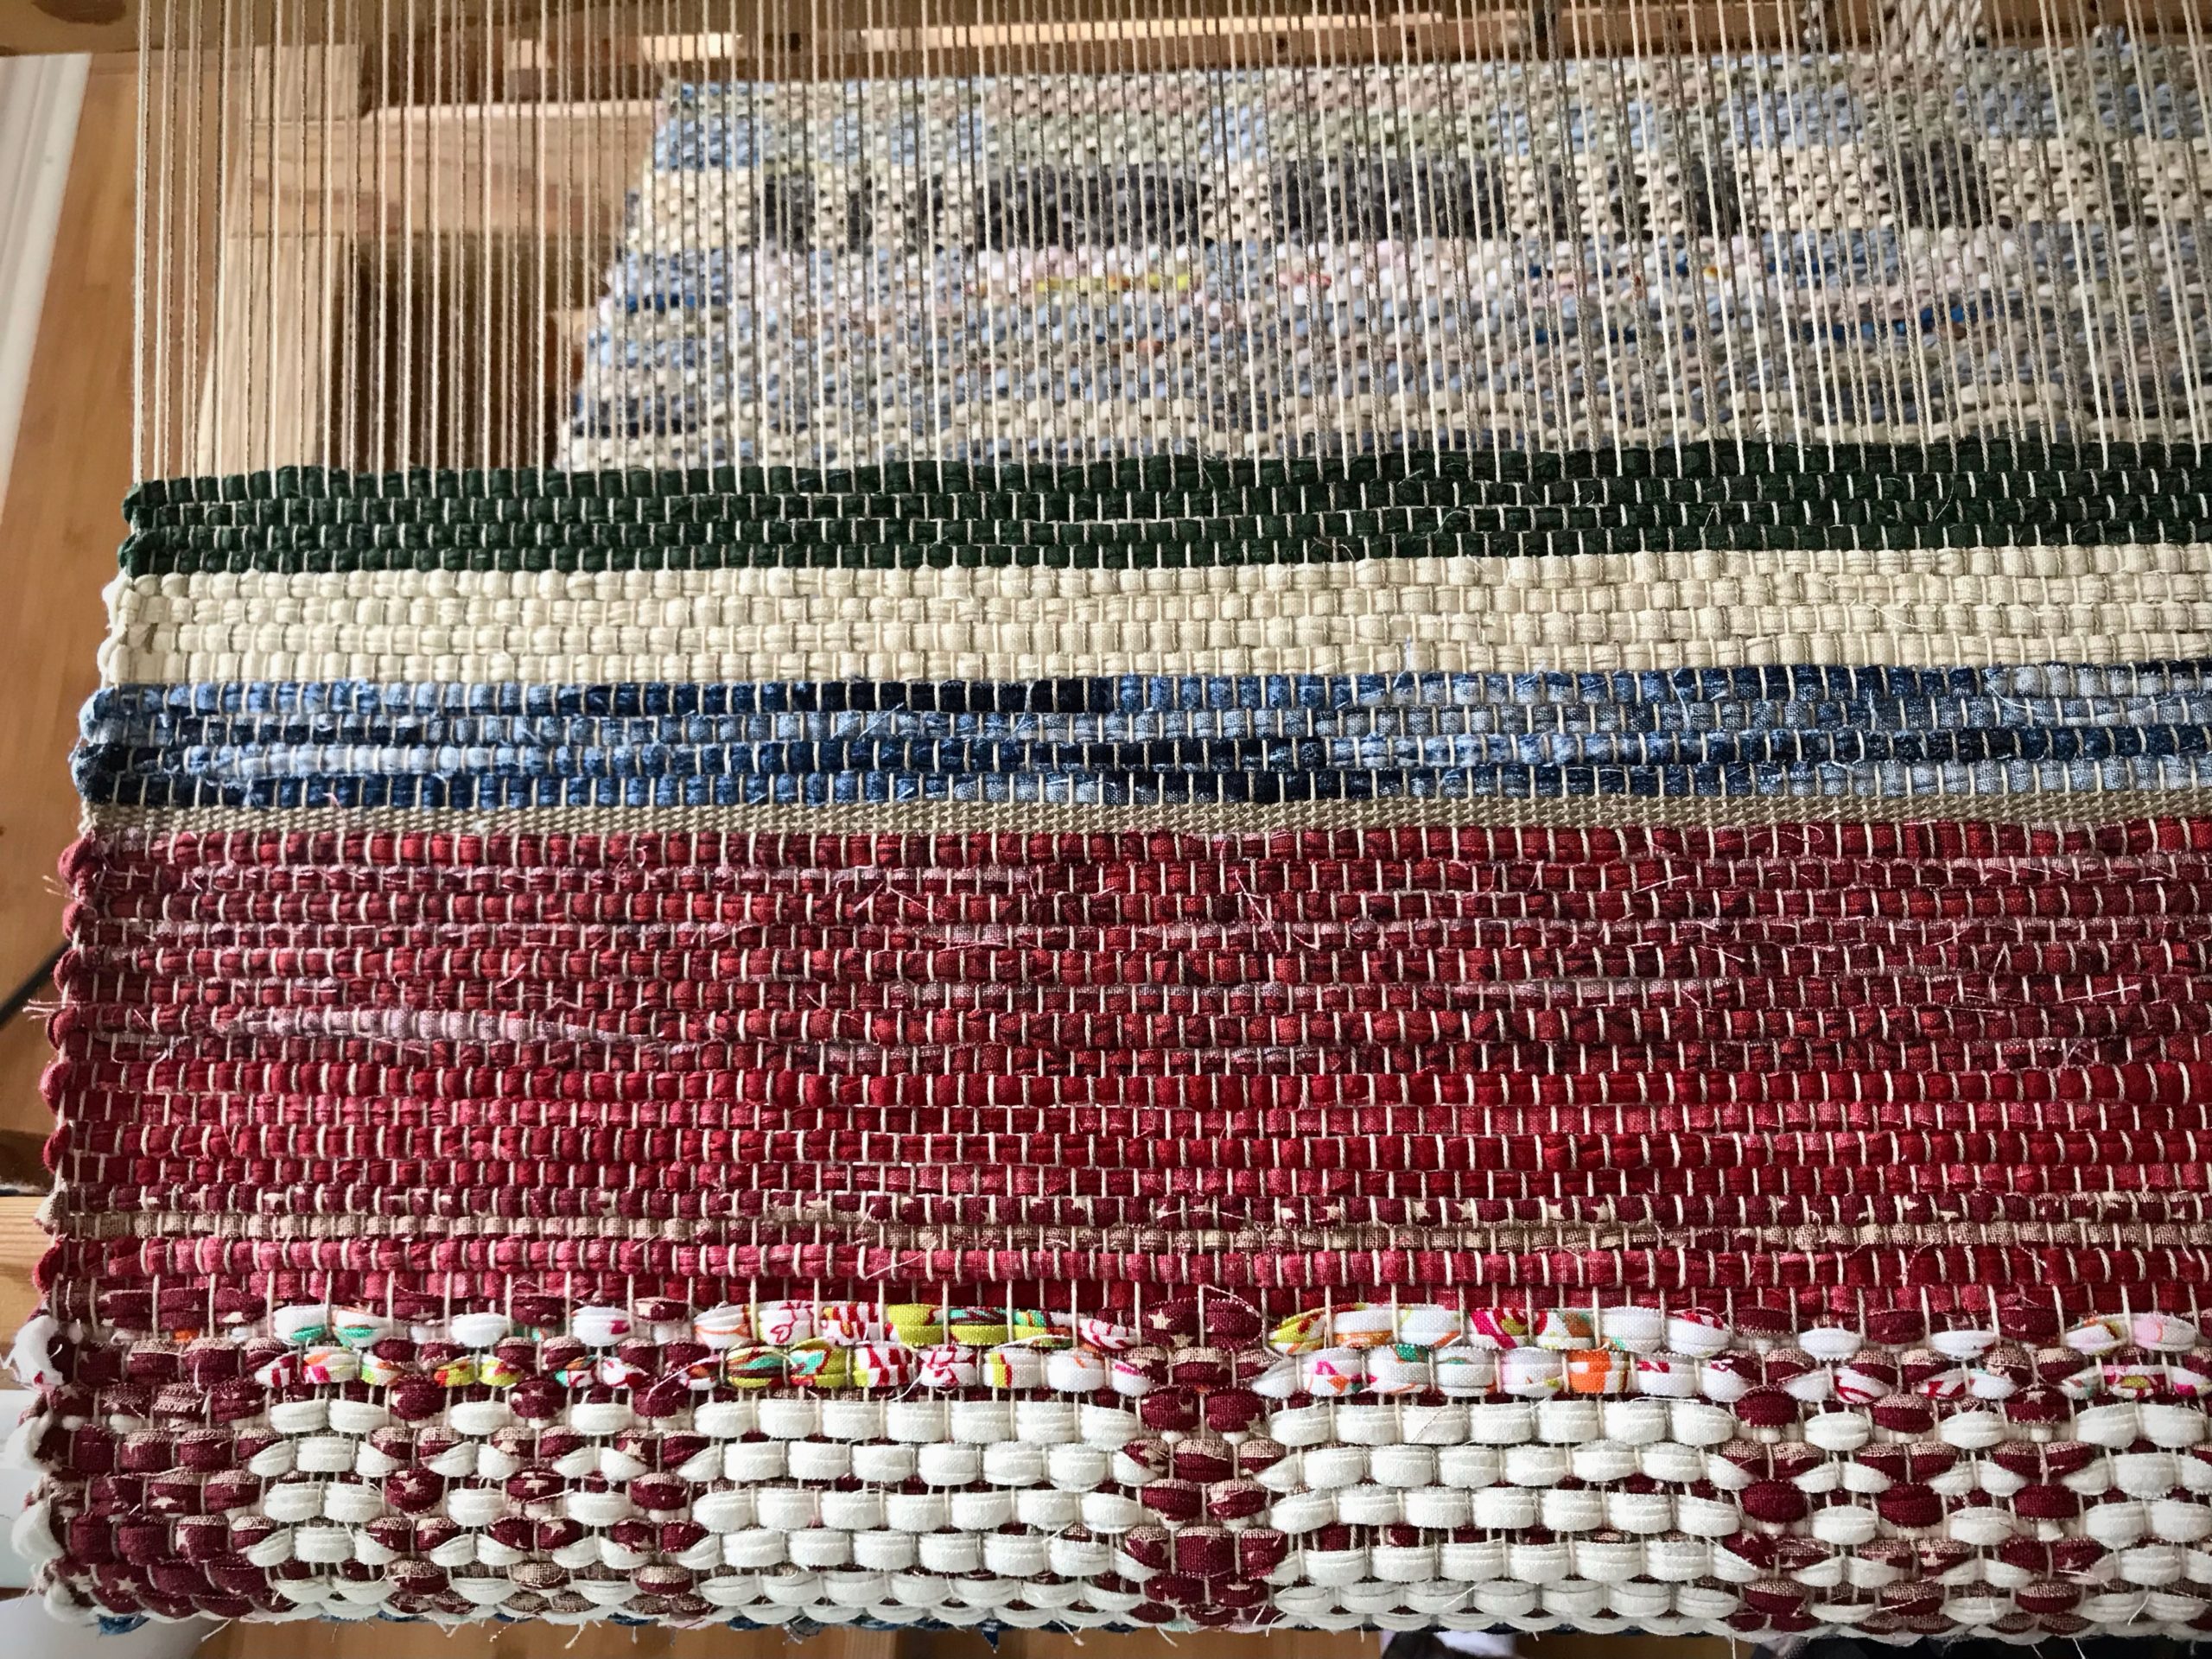
Rug comes to an end with a red border/hem. A warp-thread header follows, and then a few rows of scrap header to help secure the weft until finishing knots are tied.
Steps for cutting off rag rug before end of warp (countermarch loom)
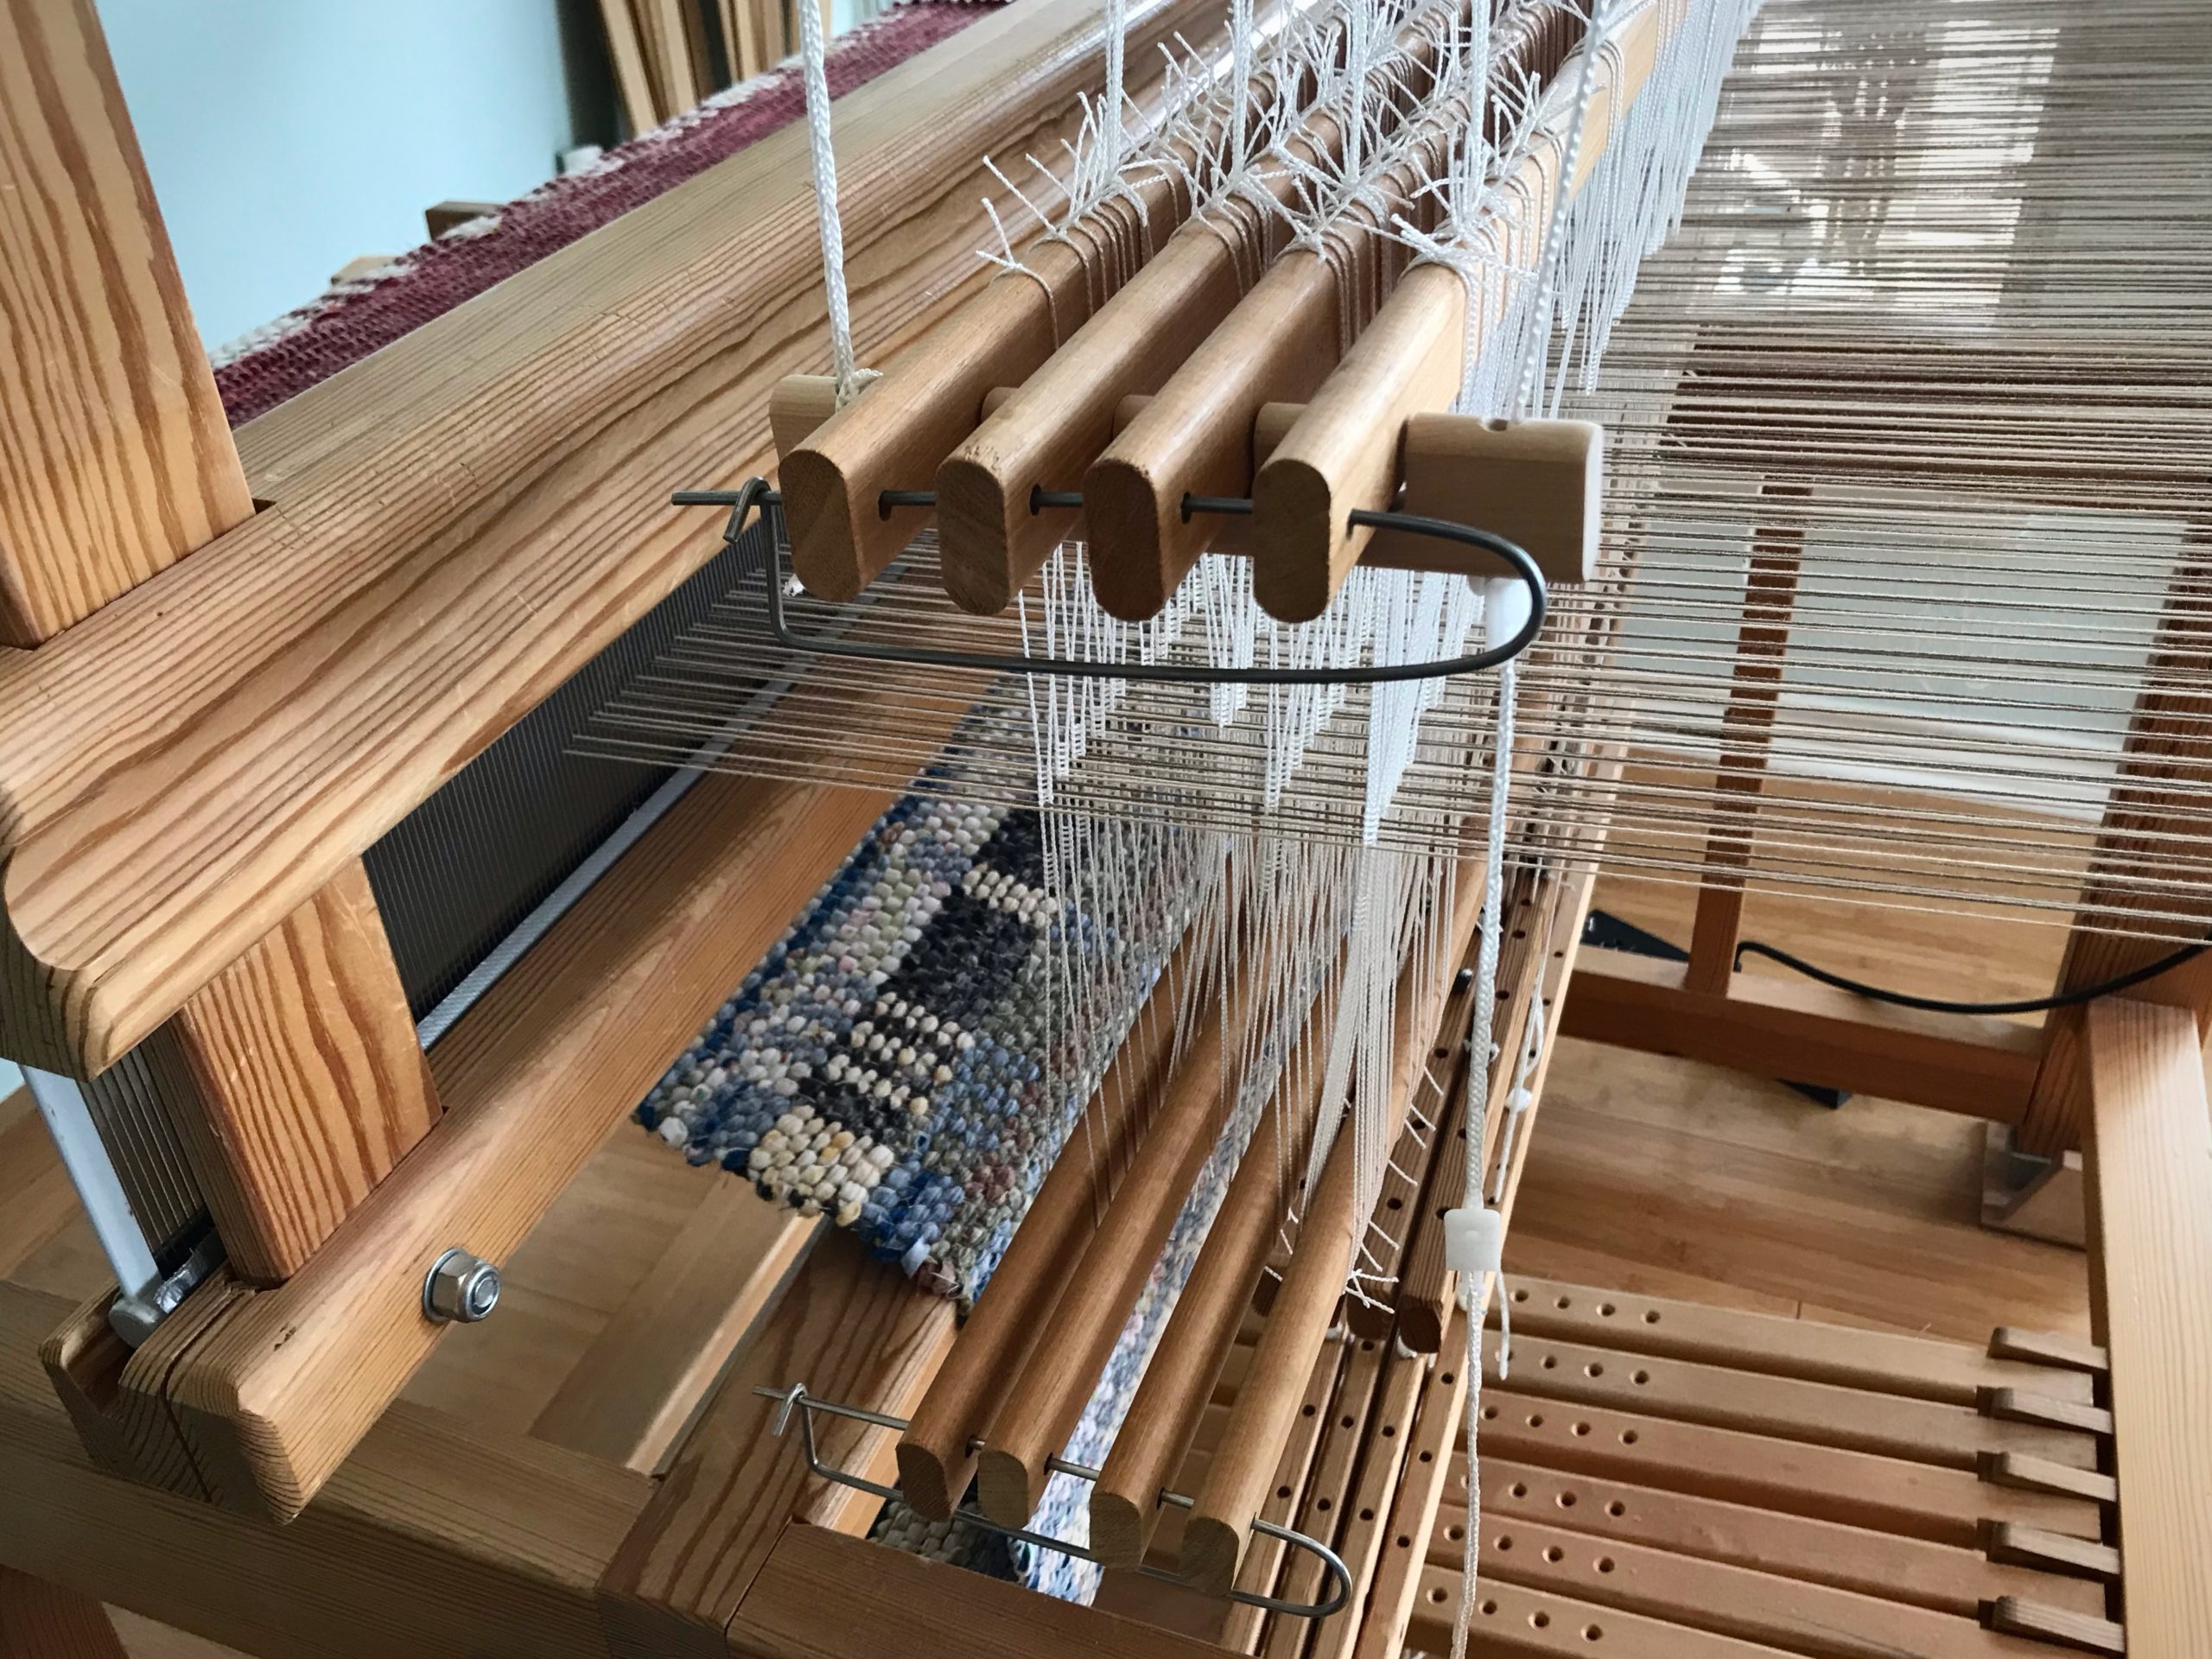
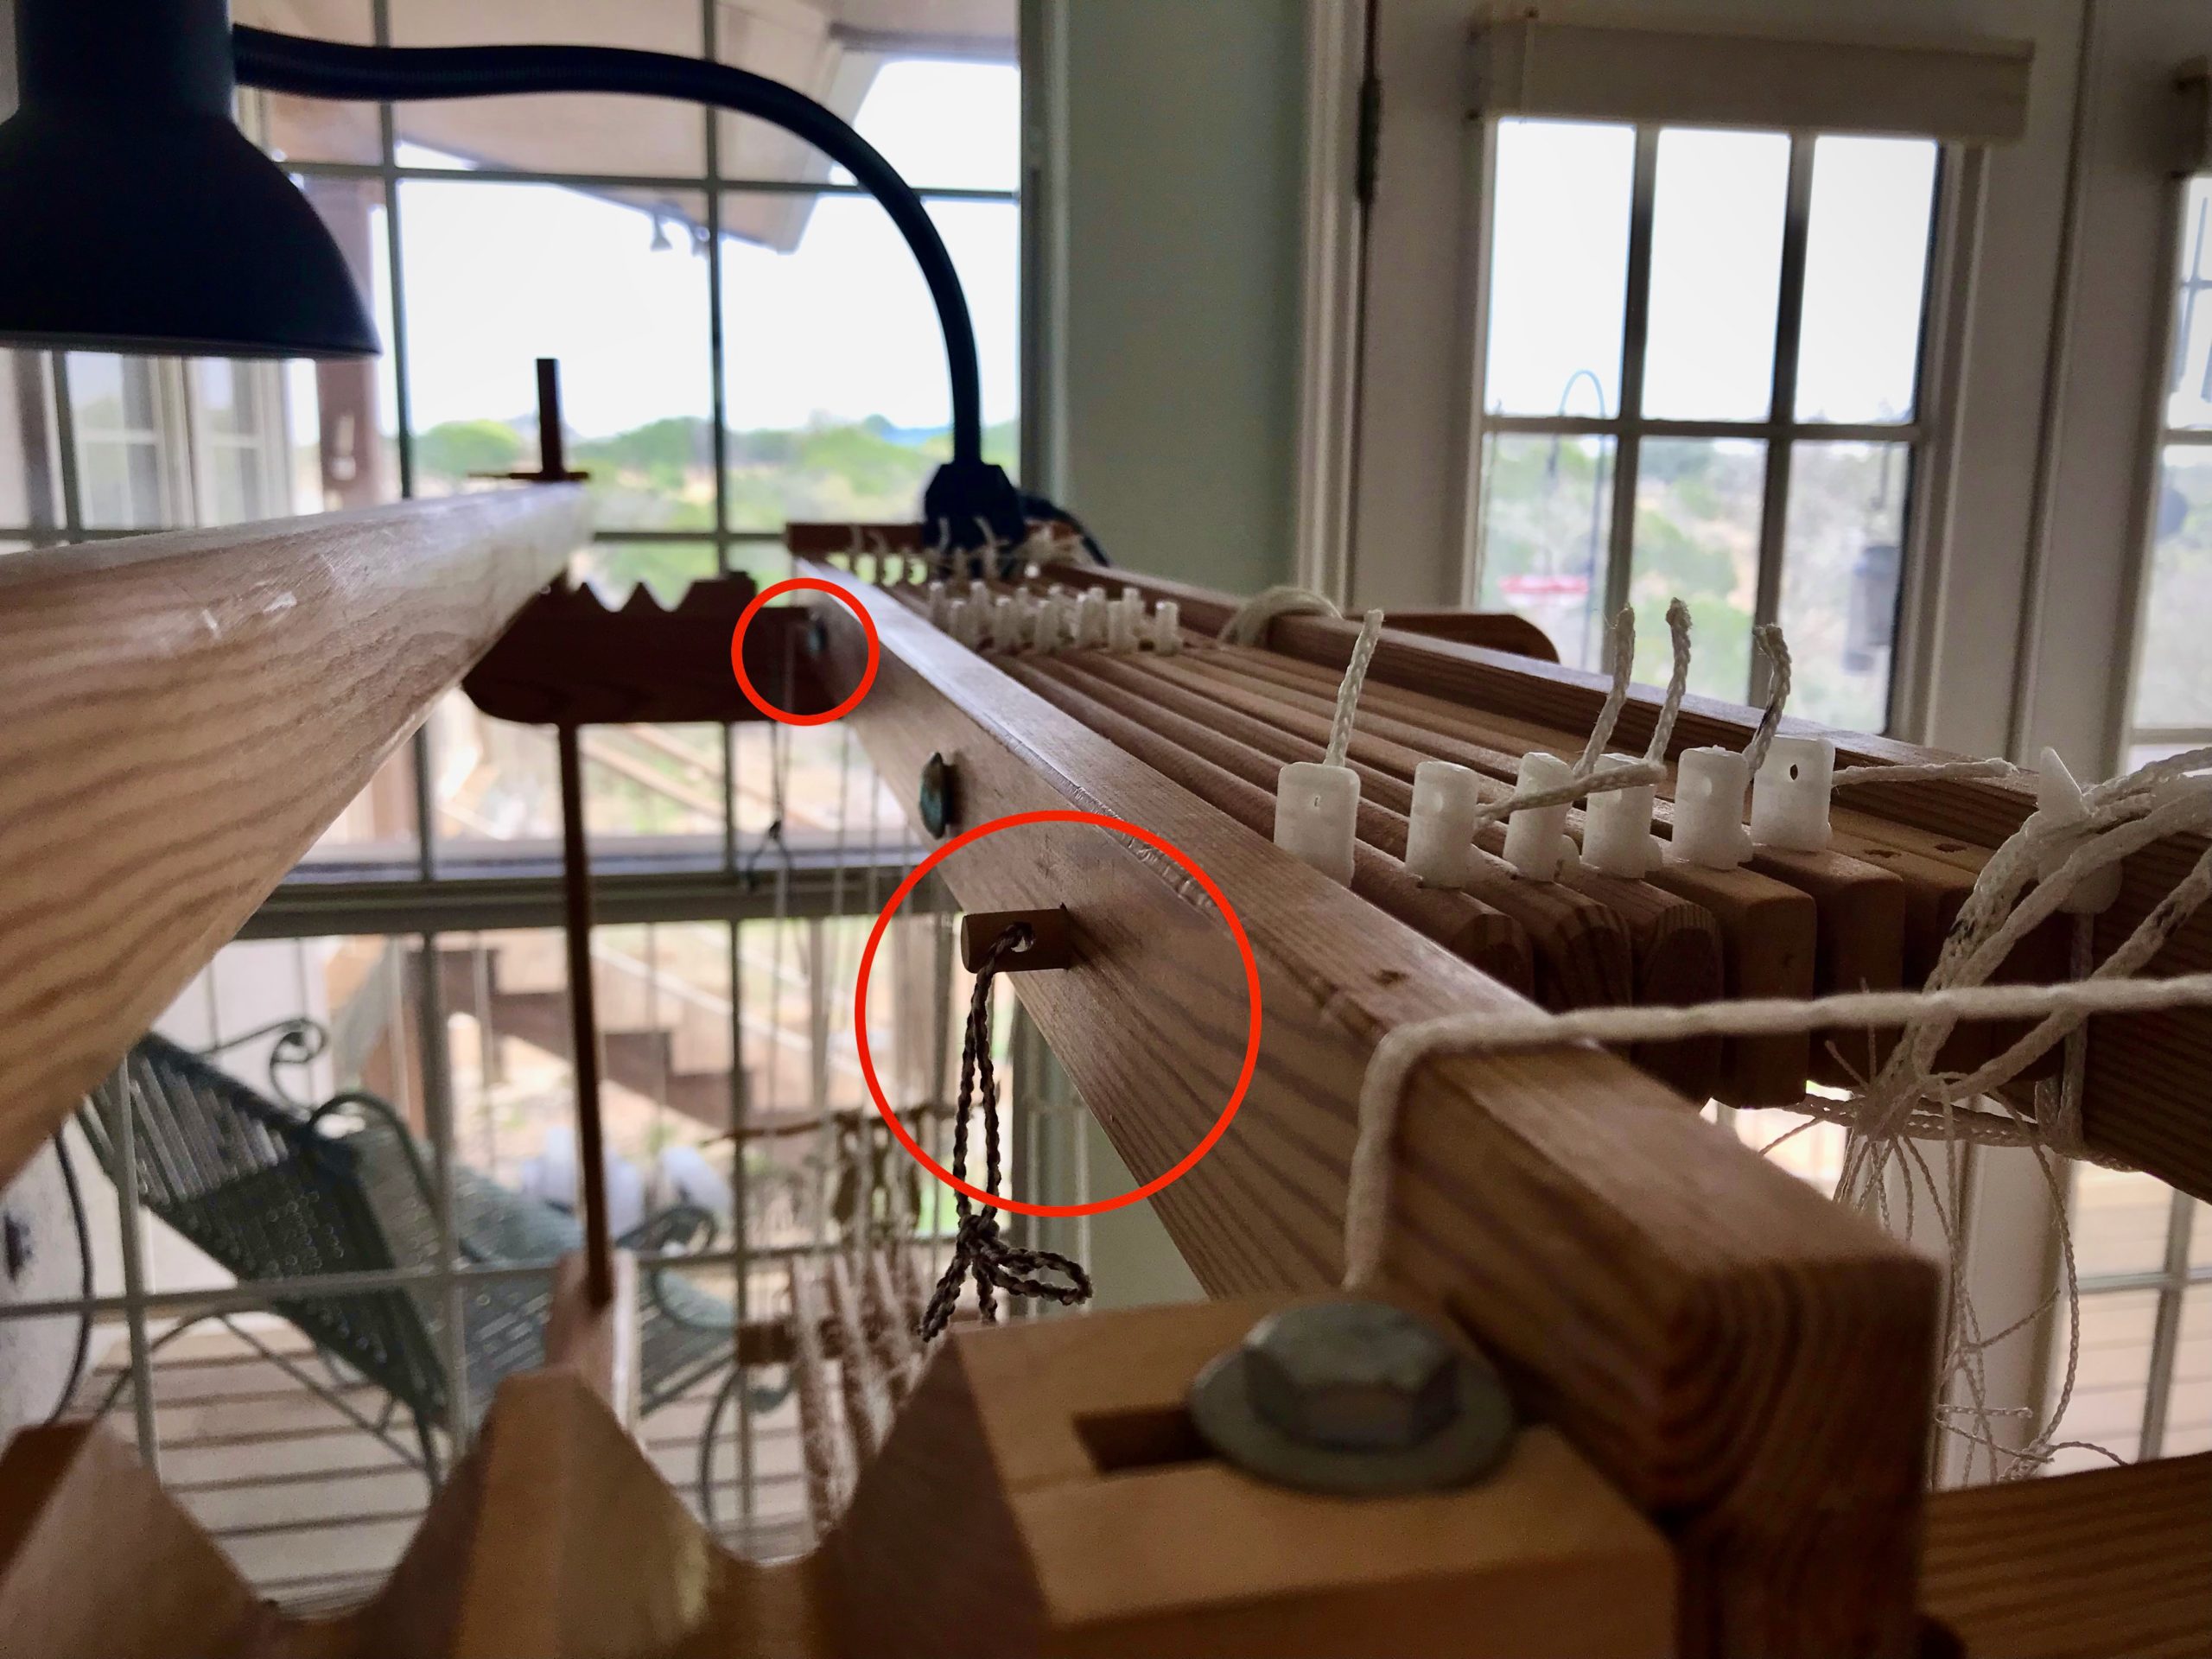
Tension on the warp is released at the back ratchet and front ratchet.
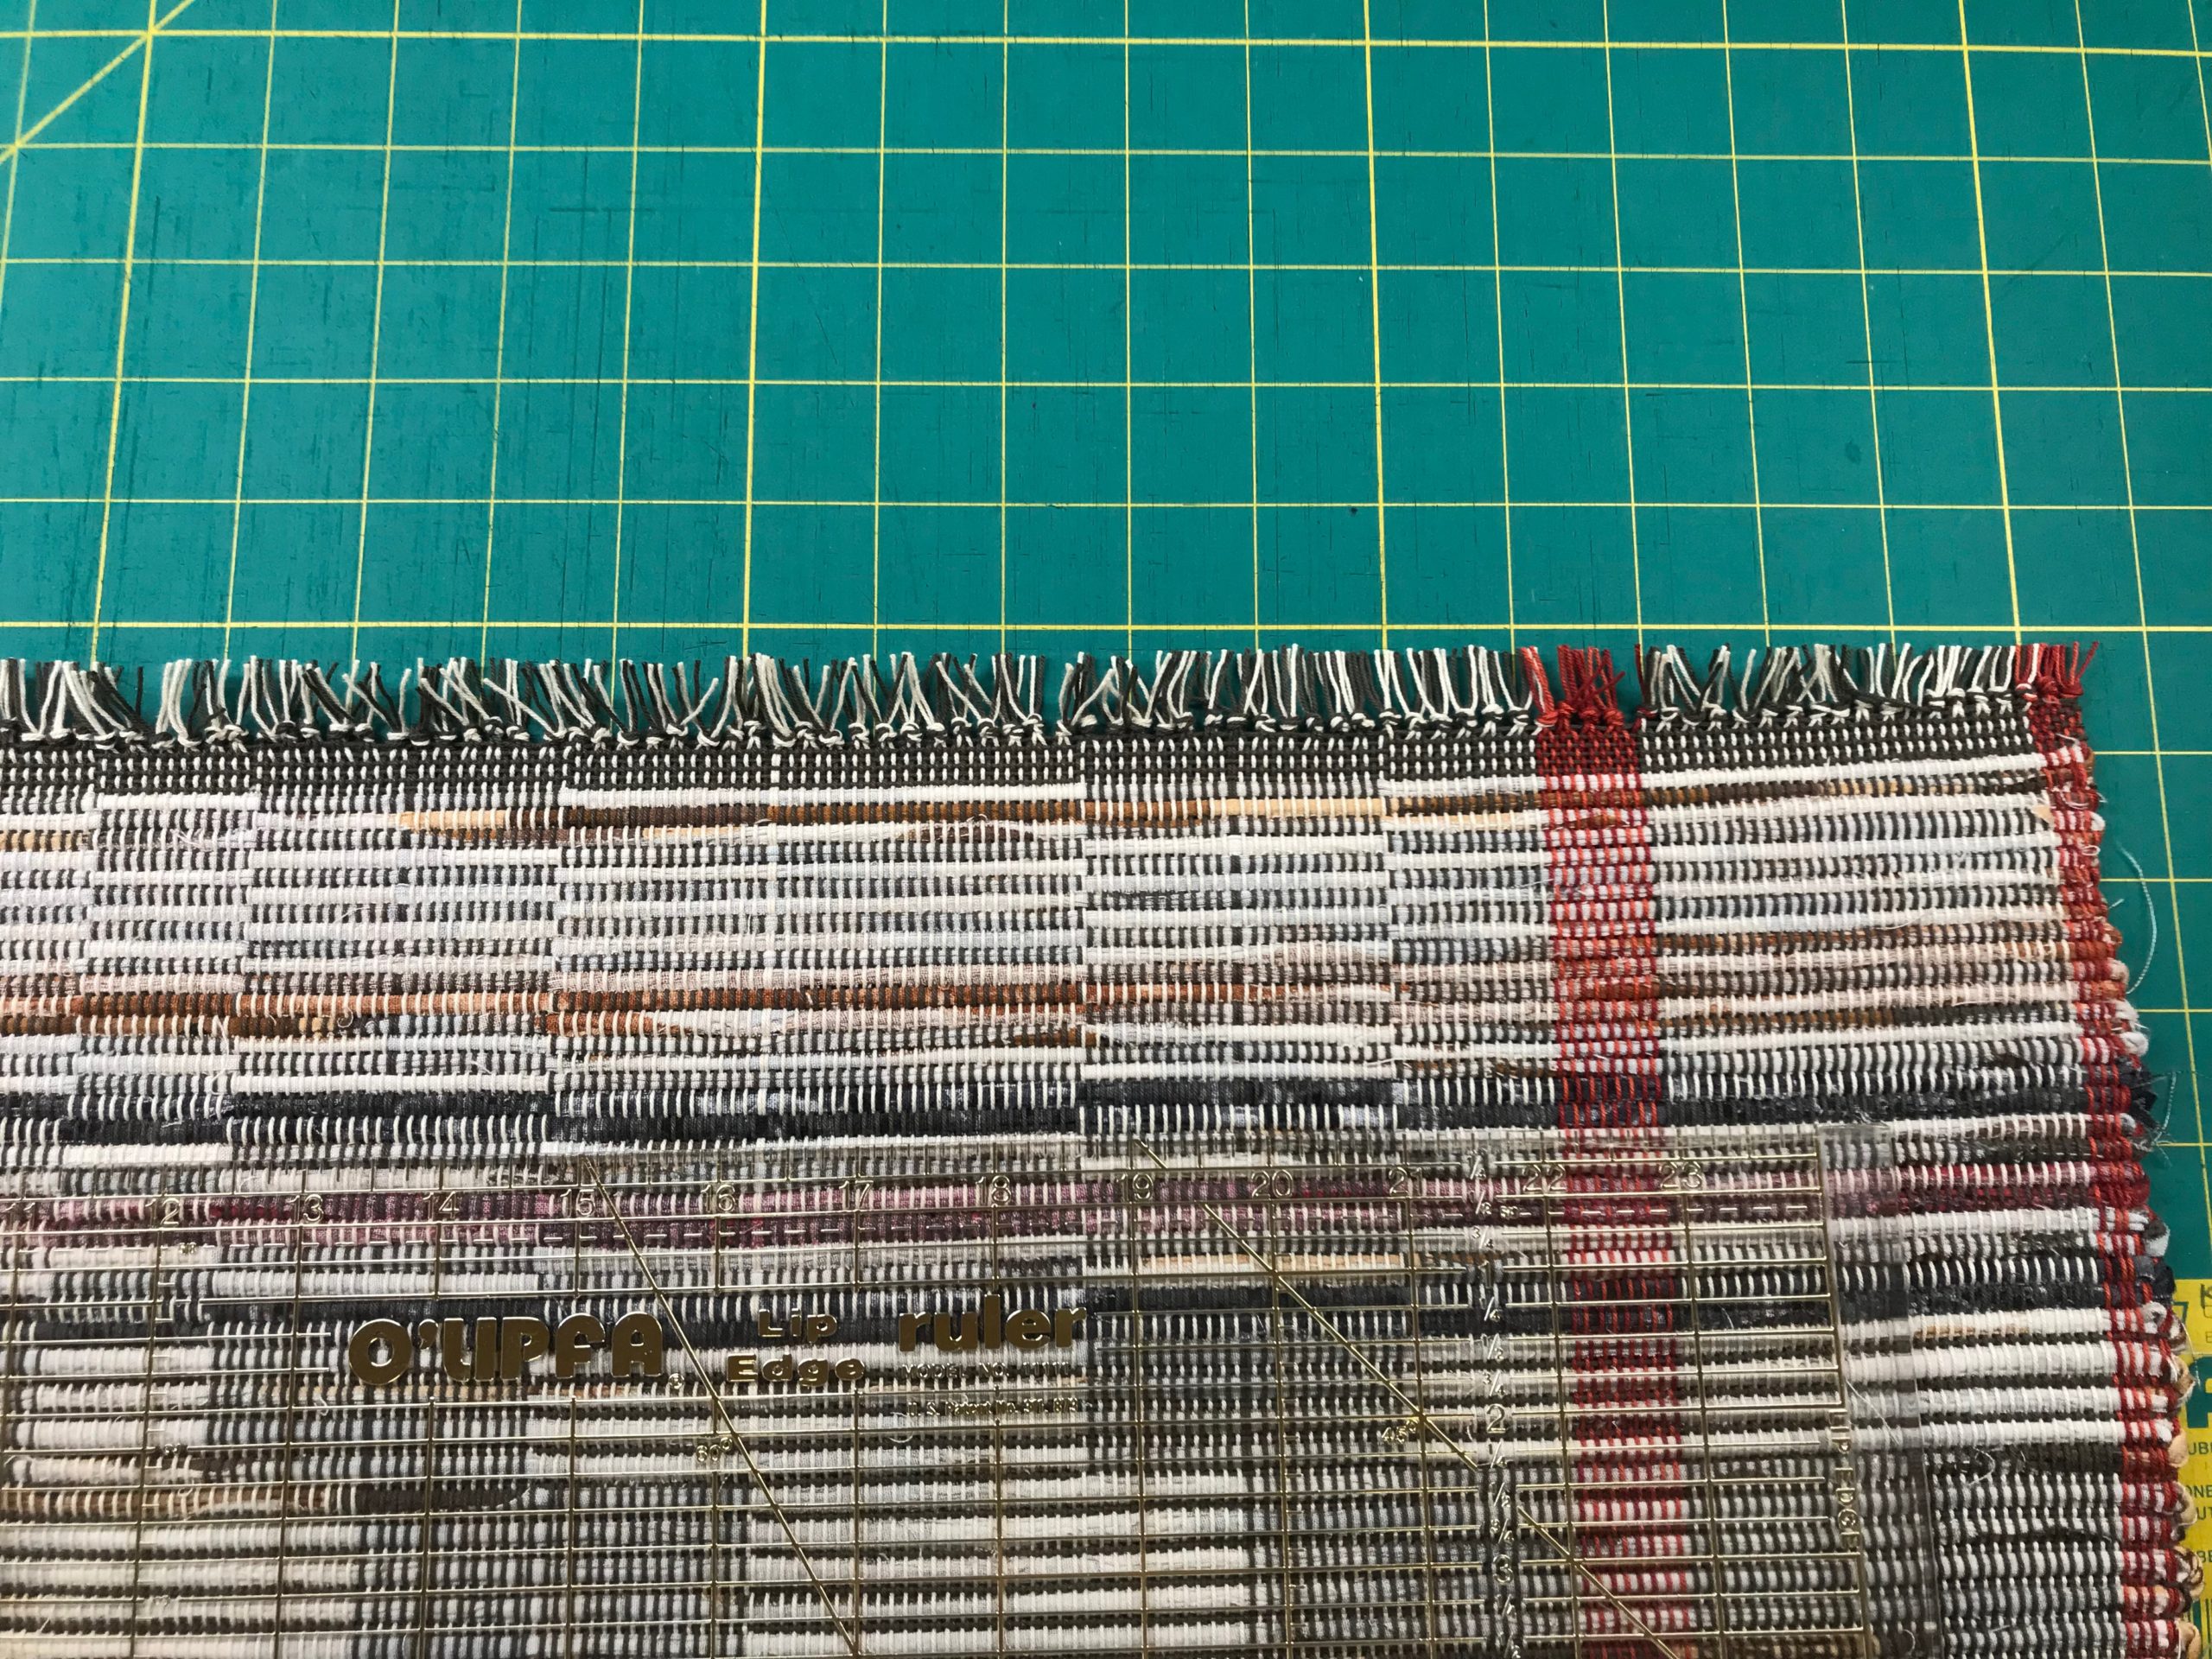
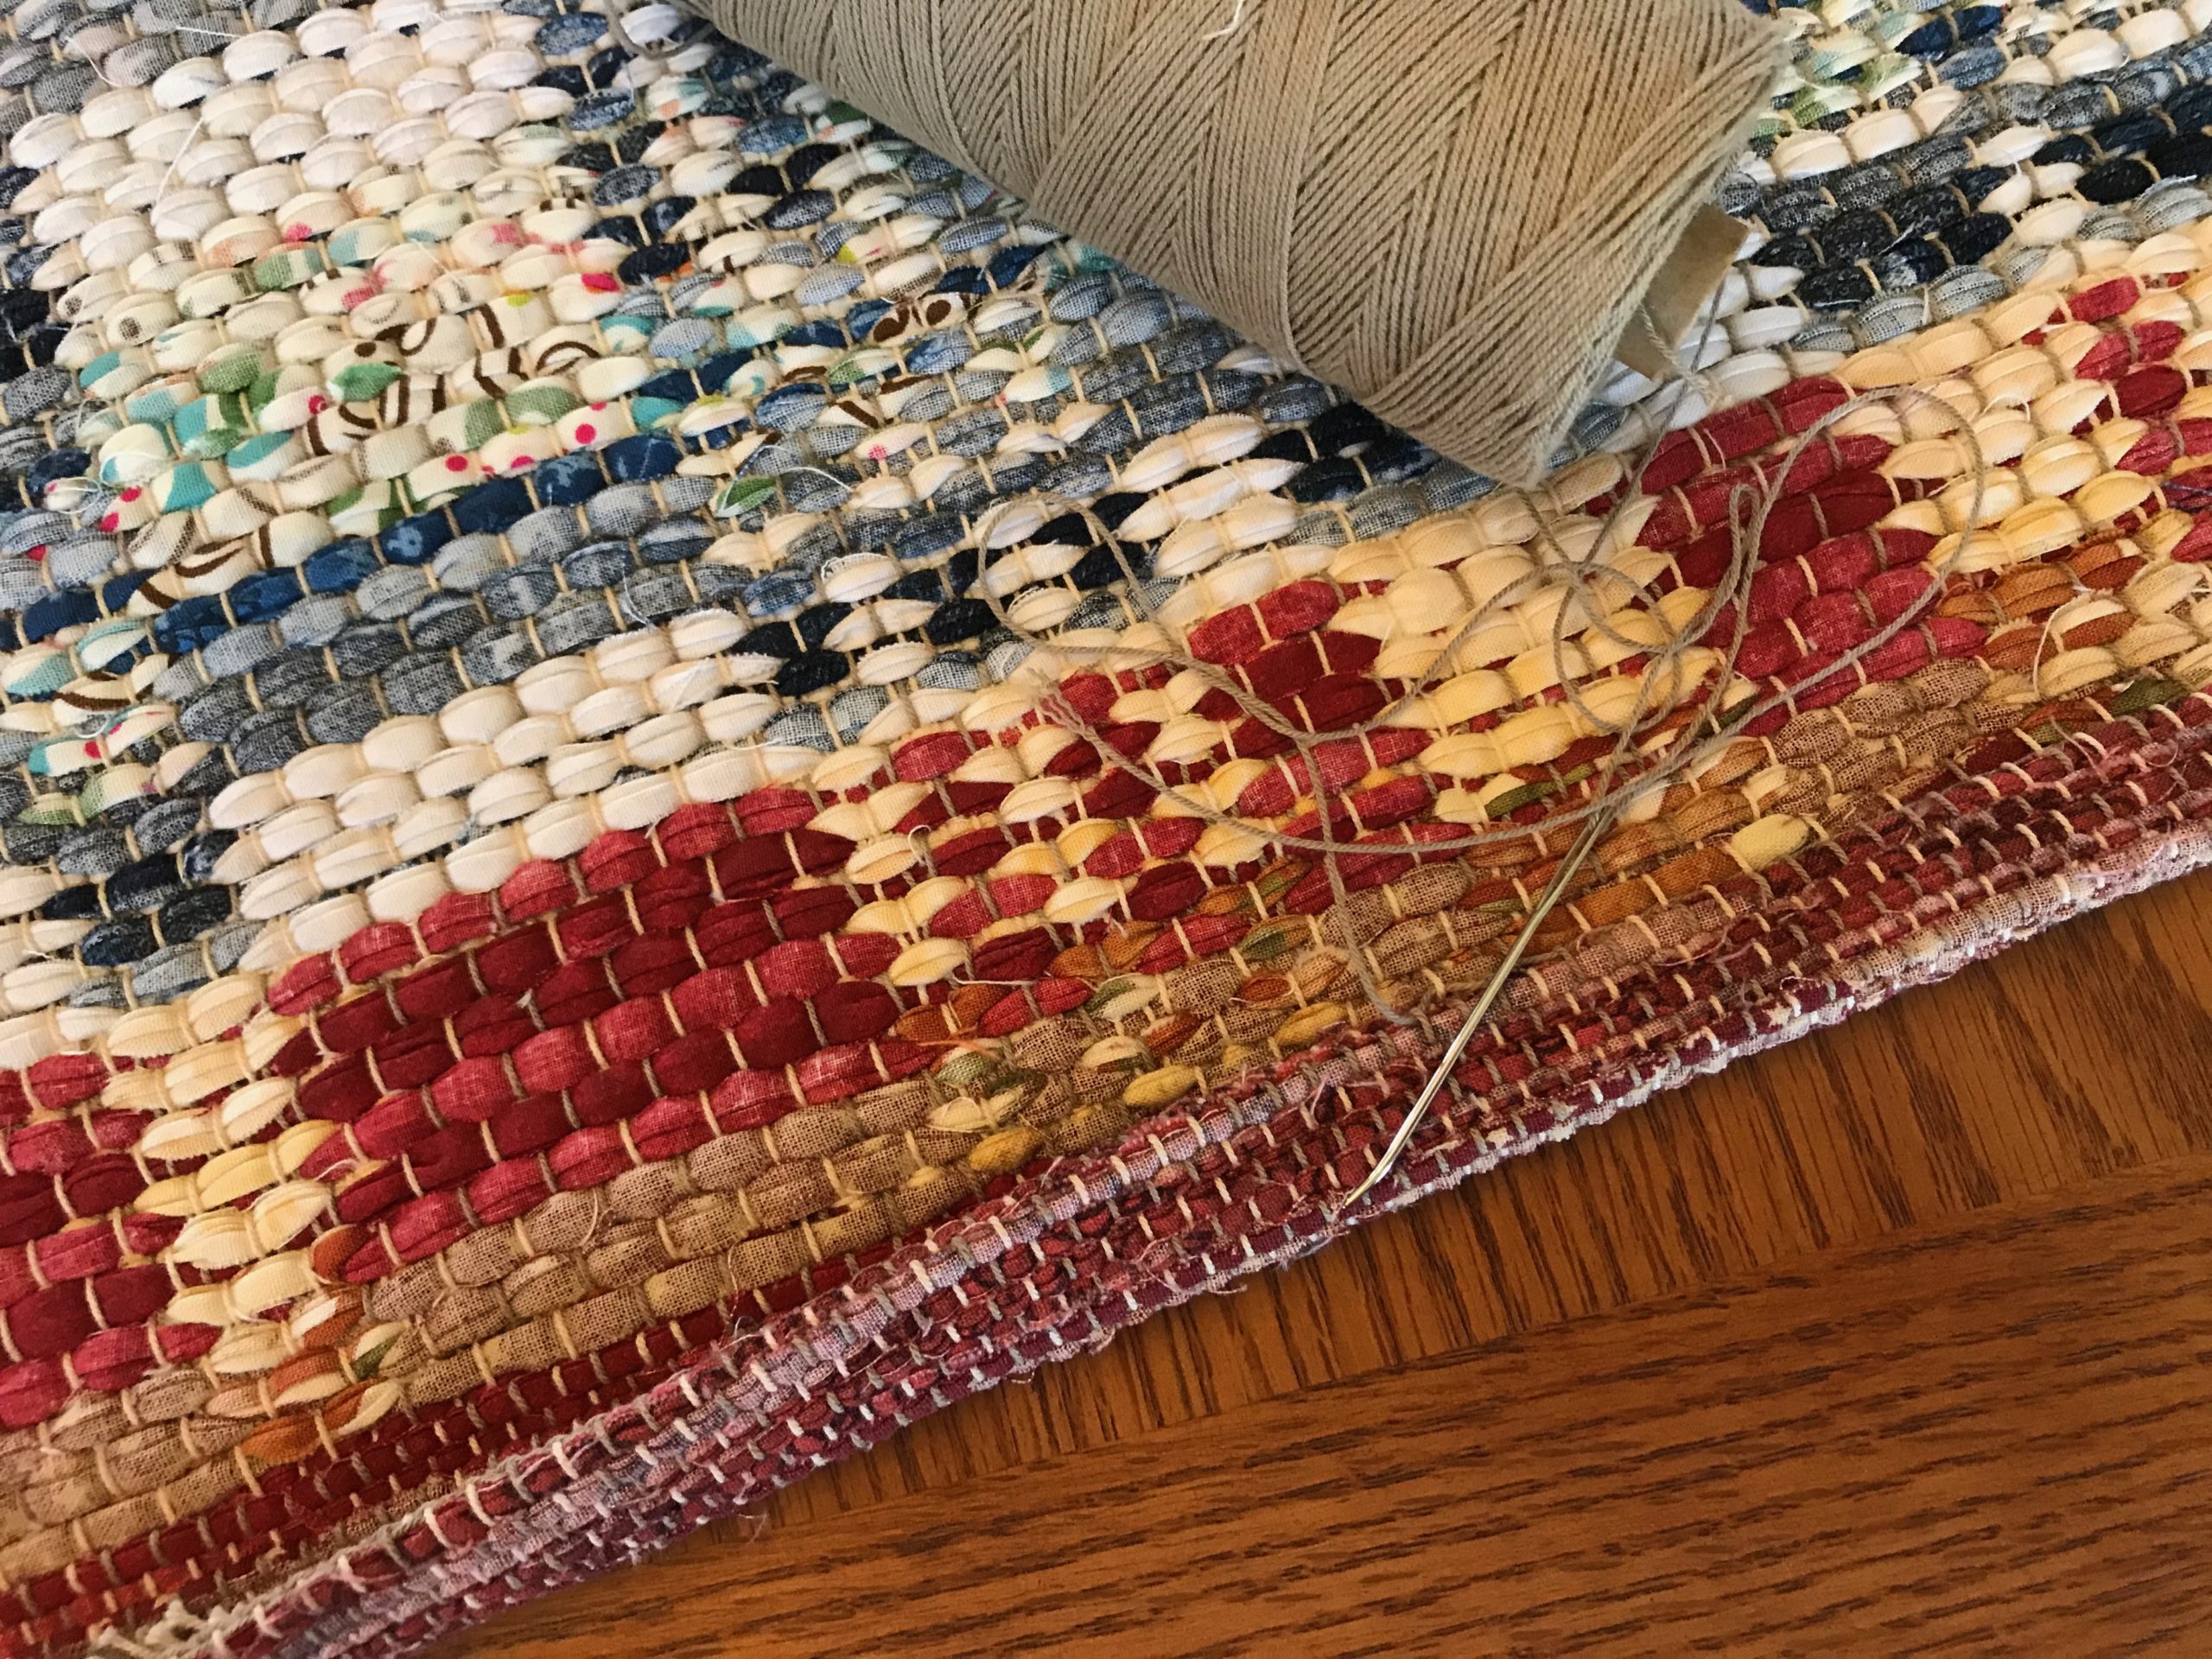
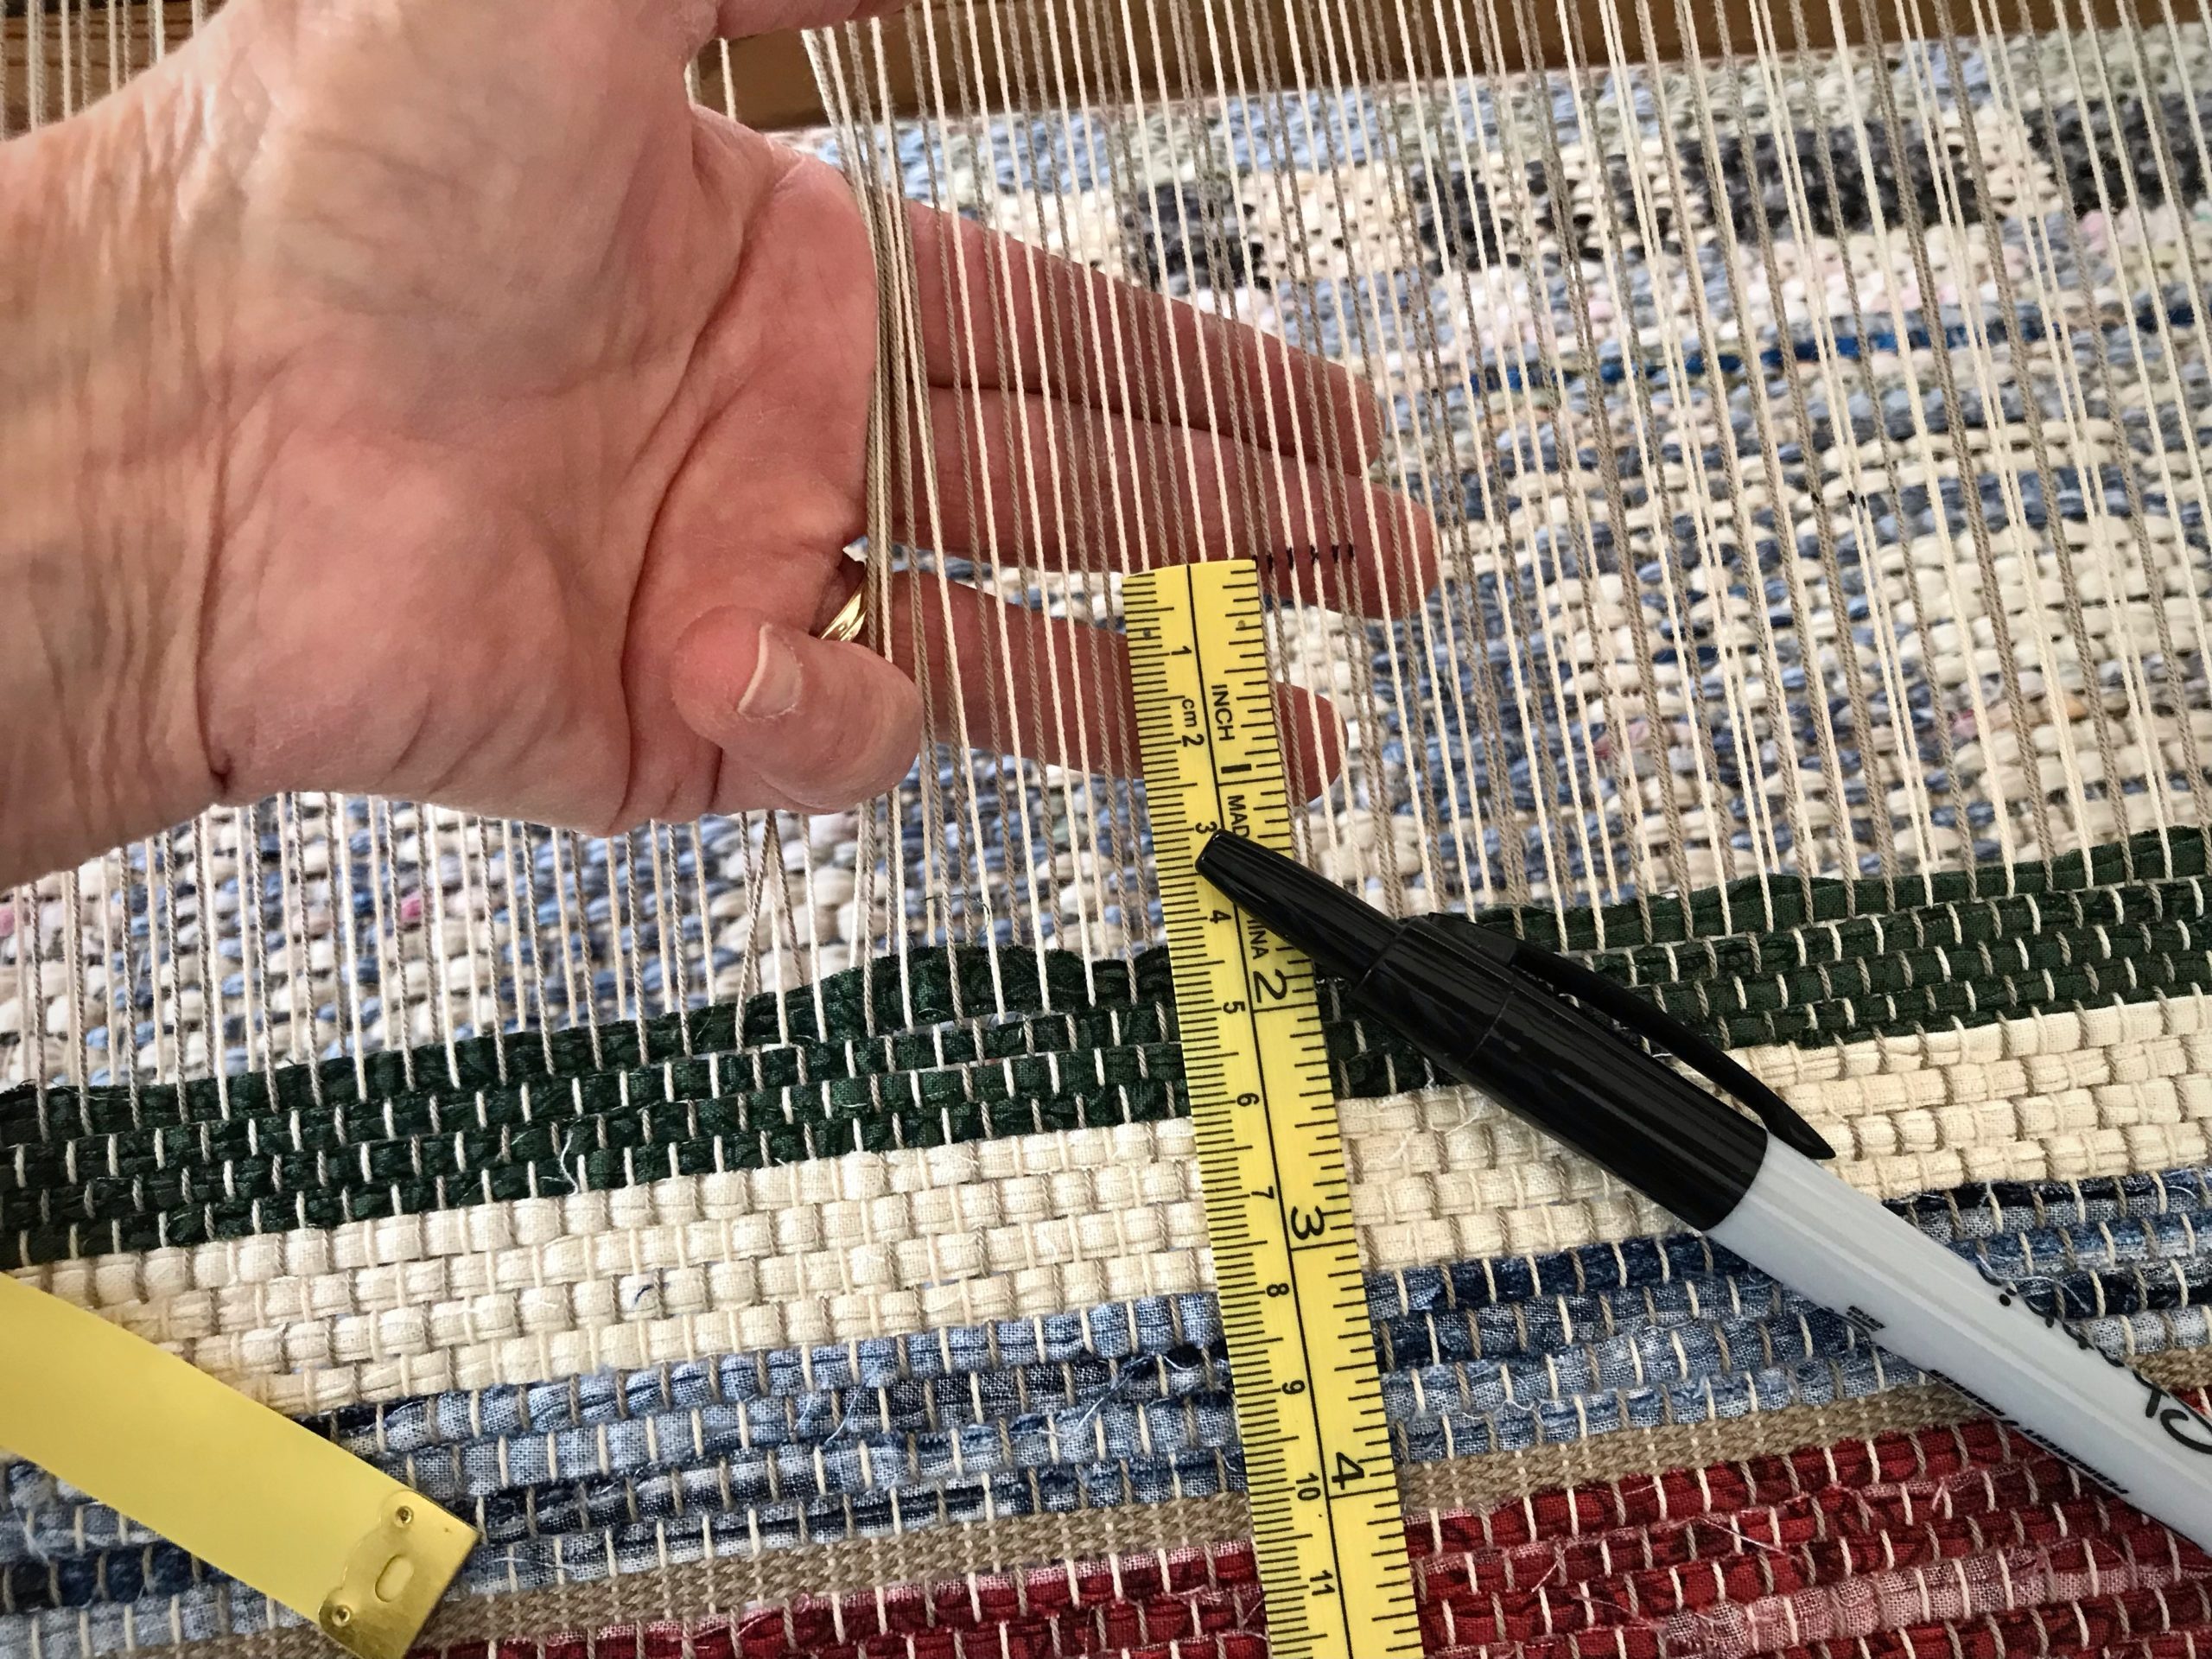
Mark a cutting line across the warp with a black marker. Allow at least 10 centimeters (4 inches) beyond the rug’s warp-thread header for tying knots later that will secure the weft.
Mark a cutting line across the warp. Leave enough warp at the end of the rug to tie overhand knots to secure the weft.
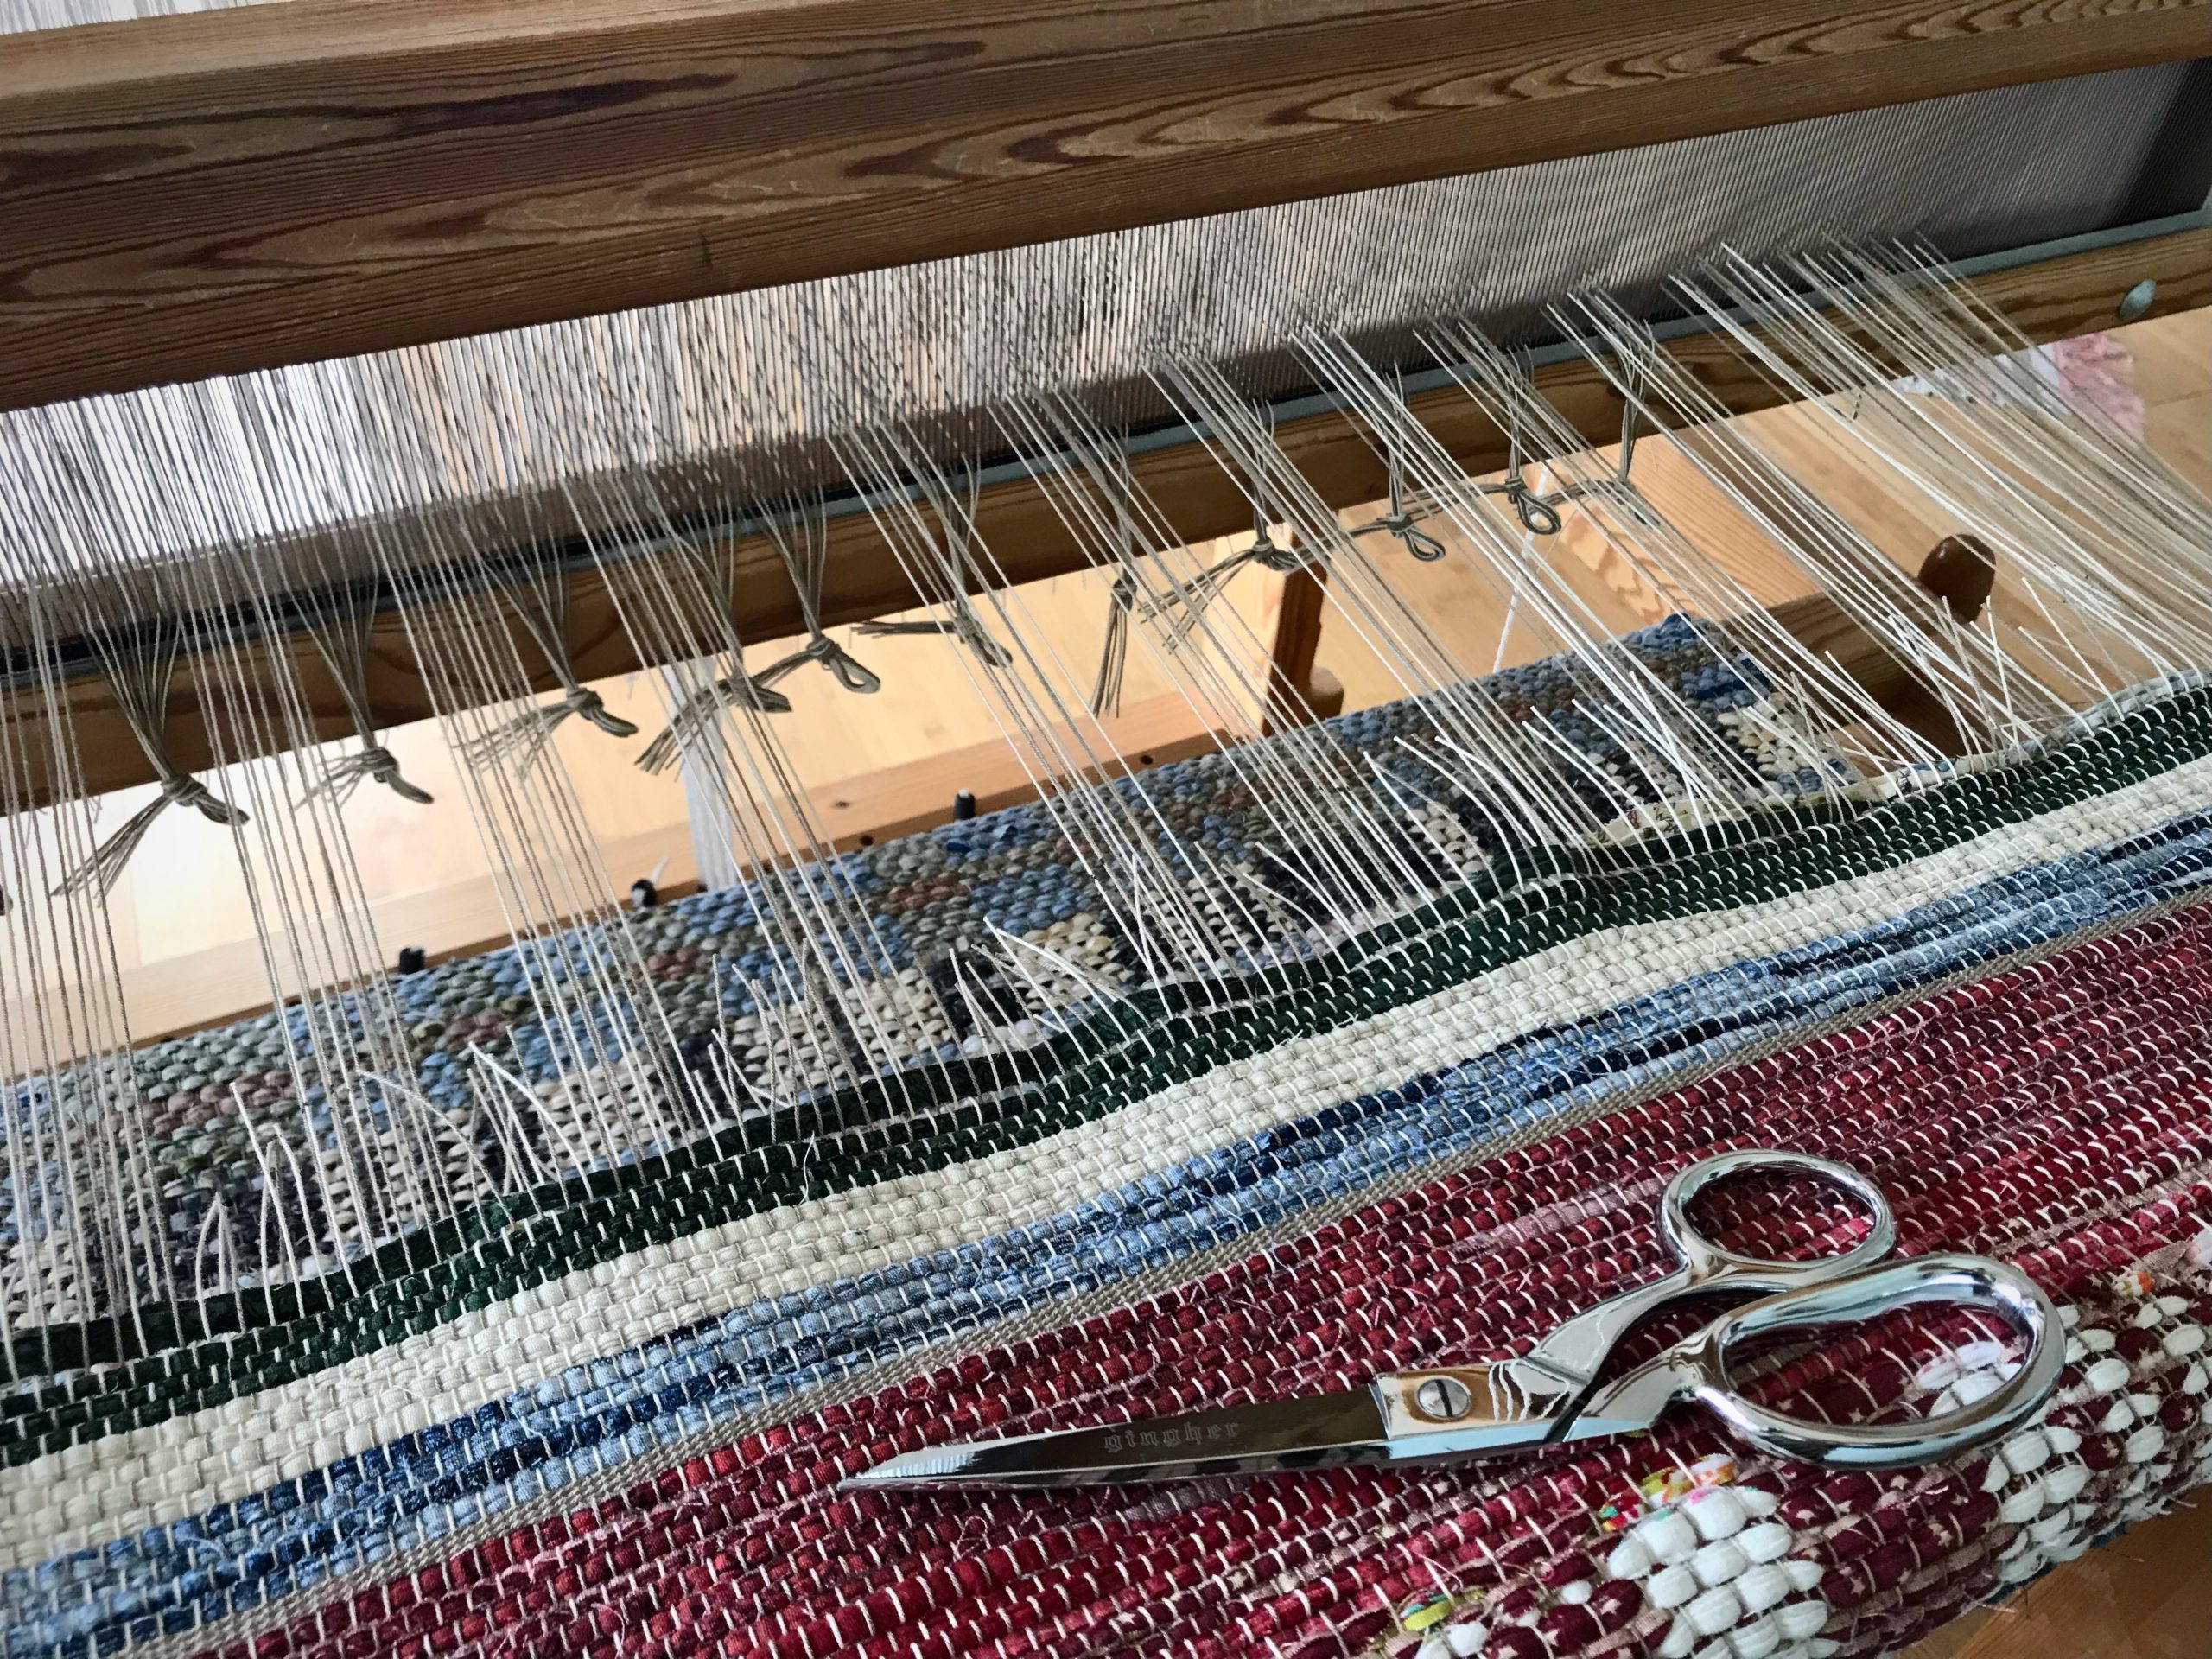
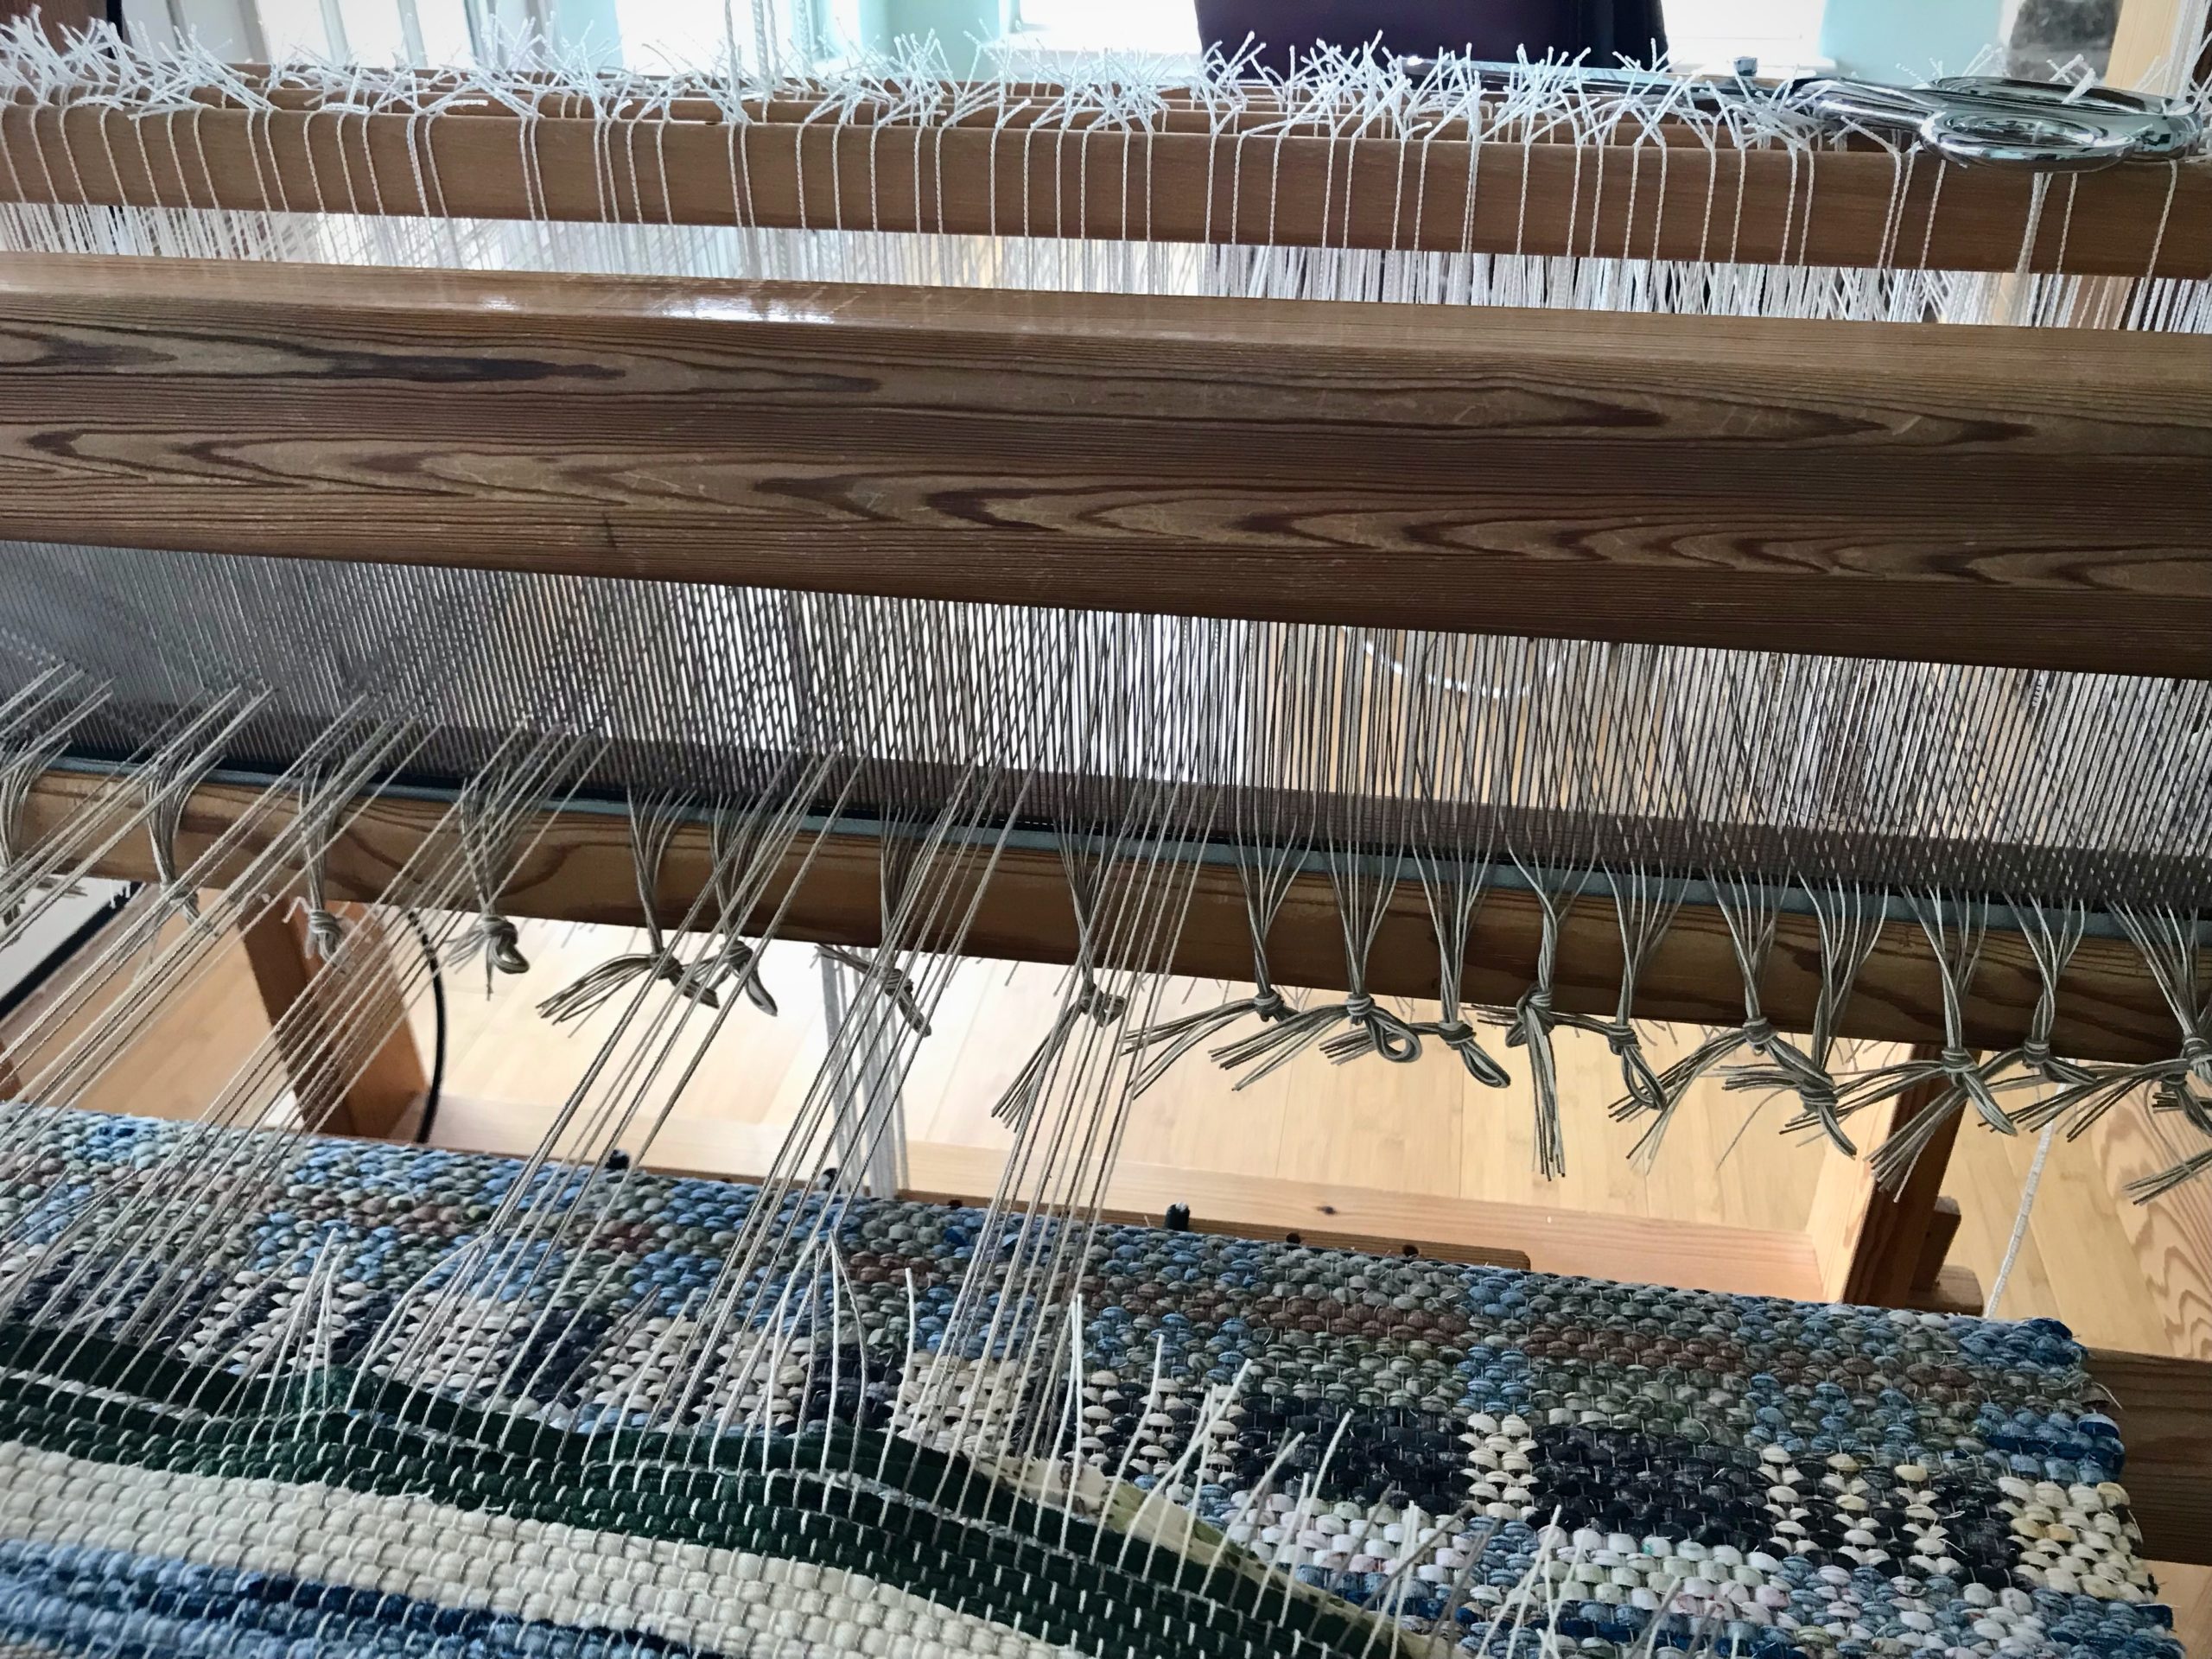
With tying back on in mind, cut one group of ends and skip the next group of ends. Continue across the warp, alternating cut and uncut groups of ends. Tie groups of cut ends in slipknots as you go.
By spacing out the cut ends, the weight of the rug is evenly distributed. There is less pulling and distortion while cutting off. At the same time I am preparing groups of ends for tying back on.
Make a second pass, cutting the remaining groups of ends, and tying them in slipknots.
Continue cutting off groups of ends.
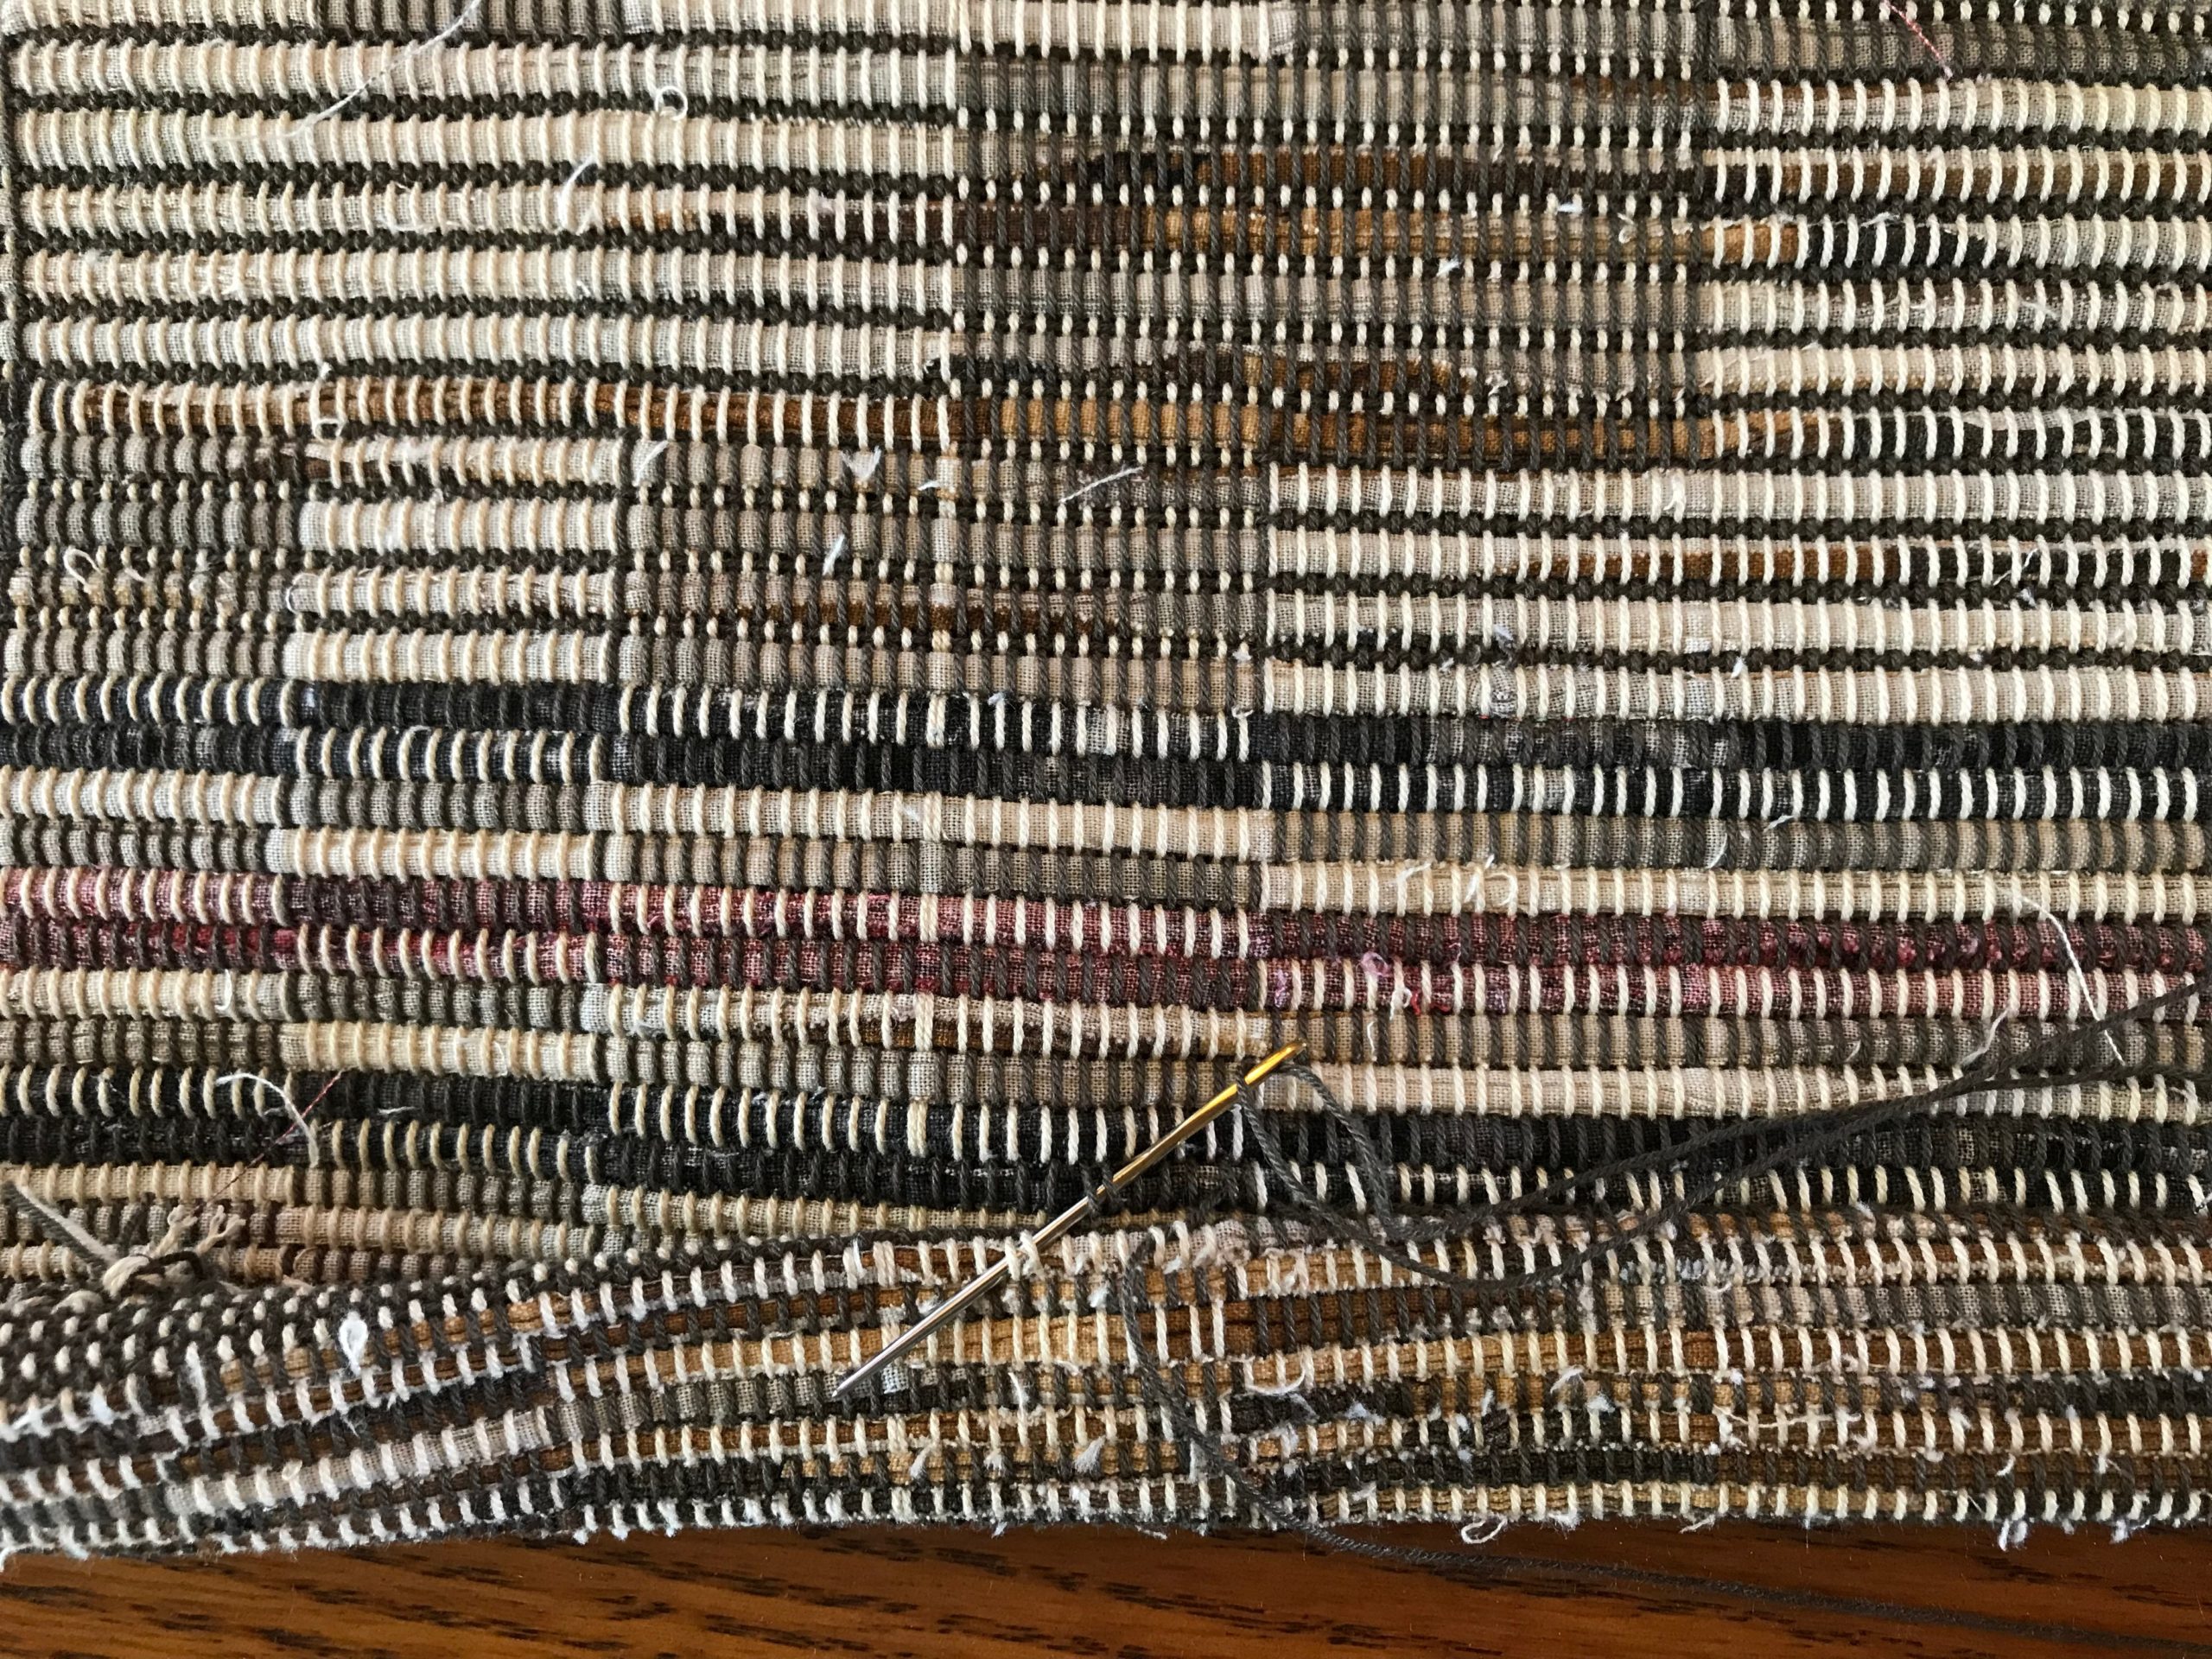
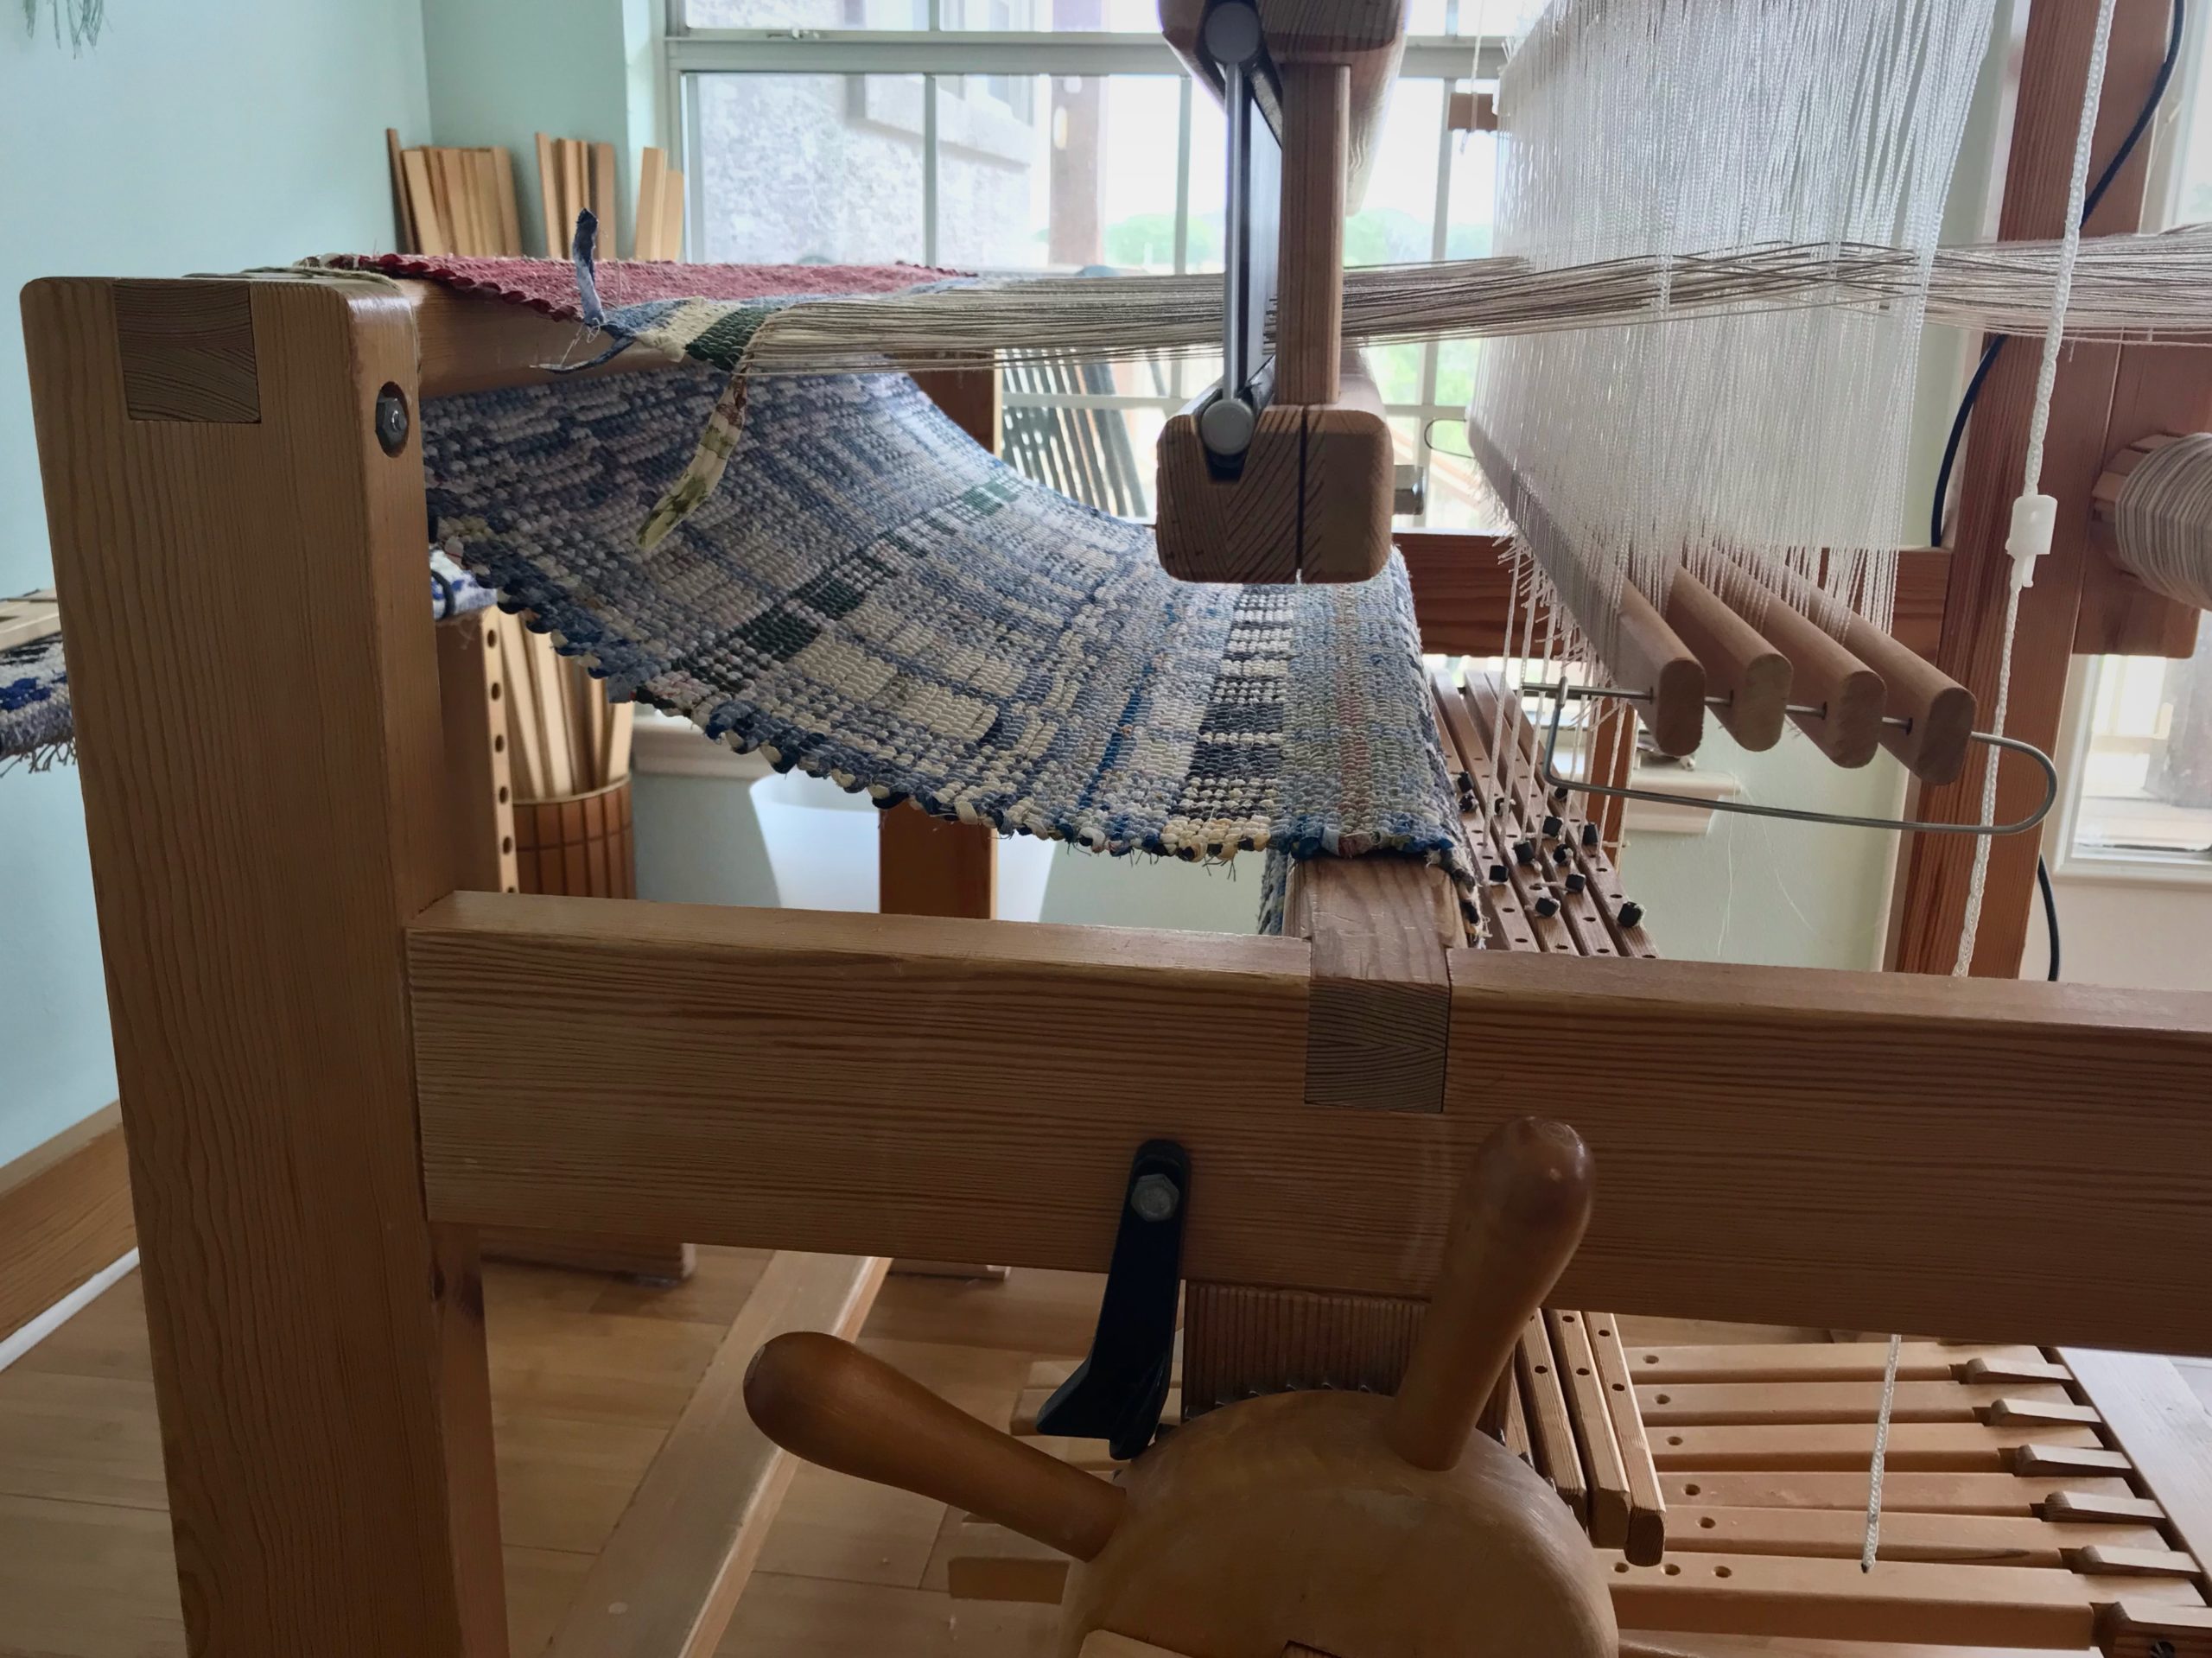
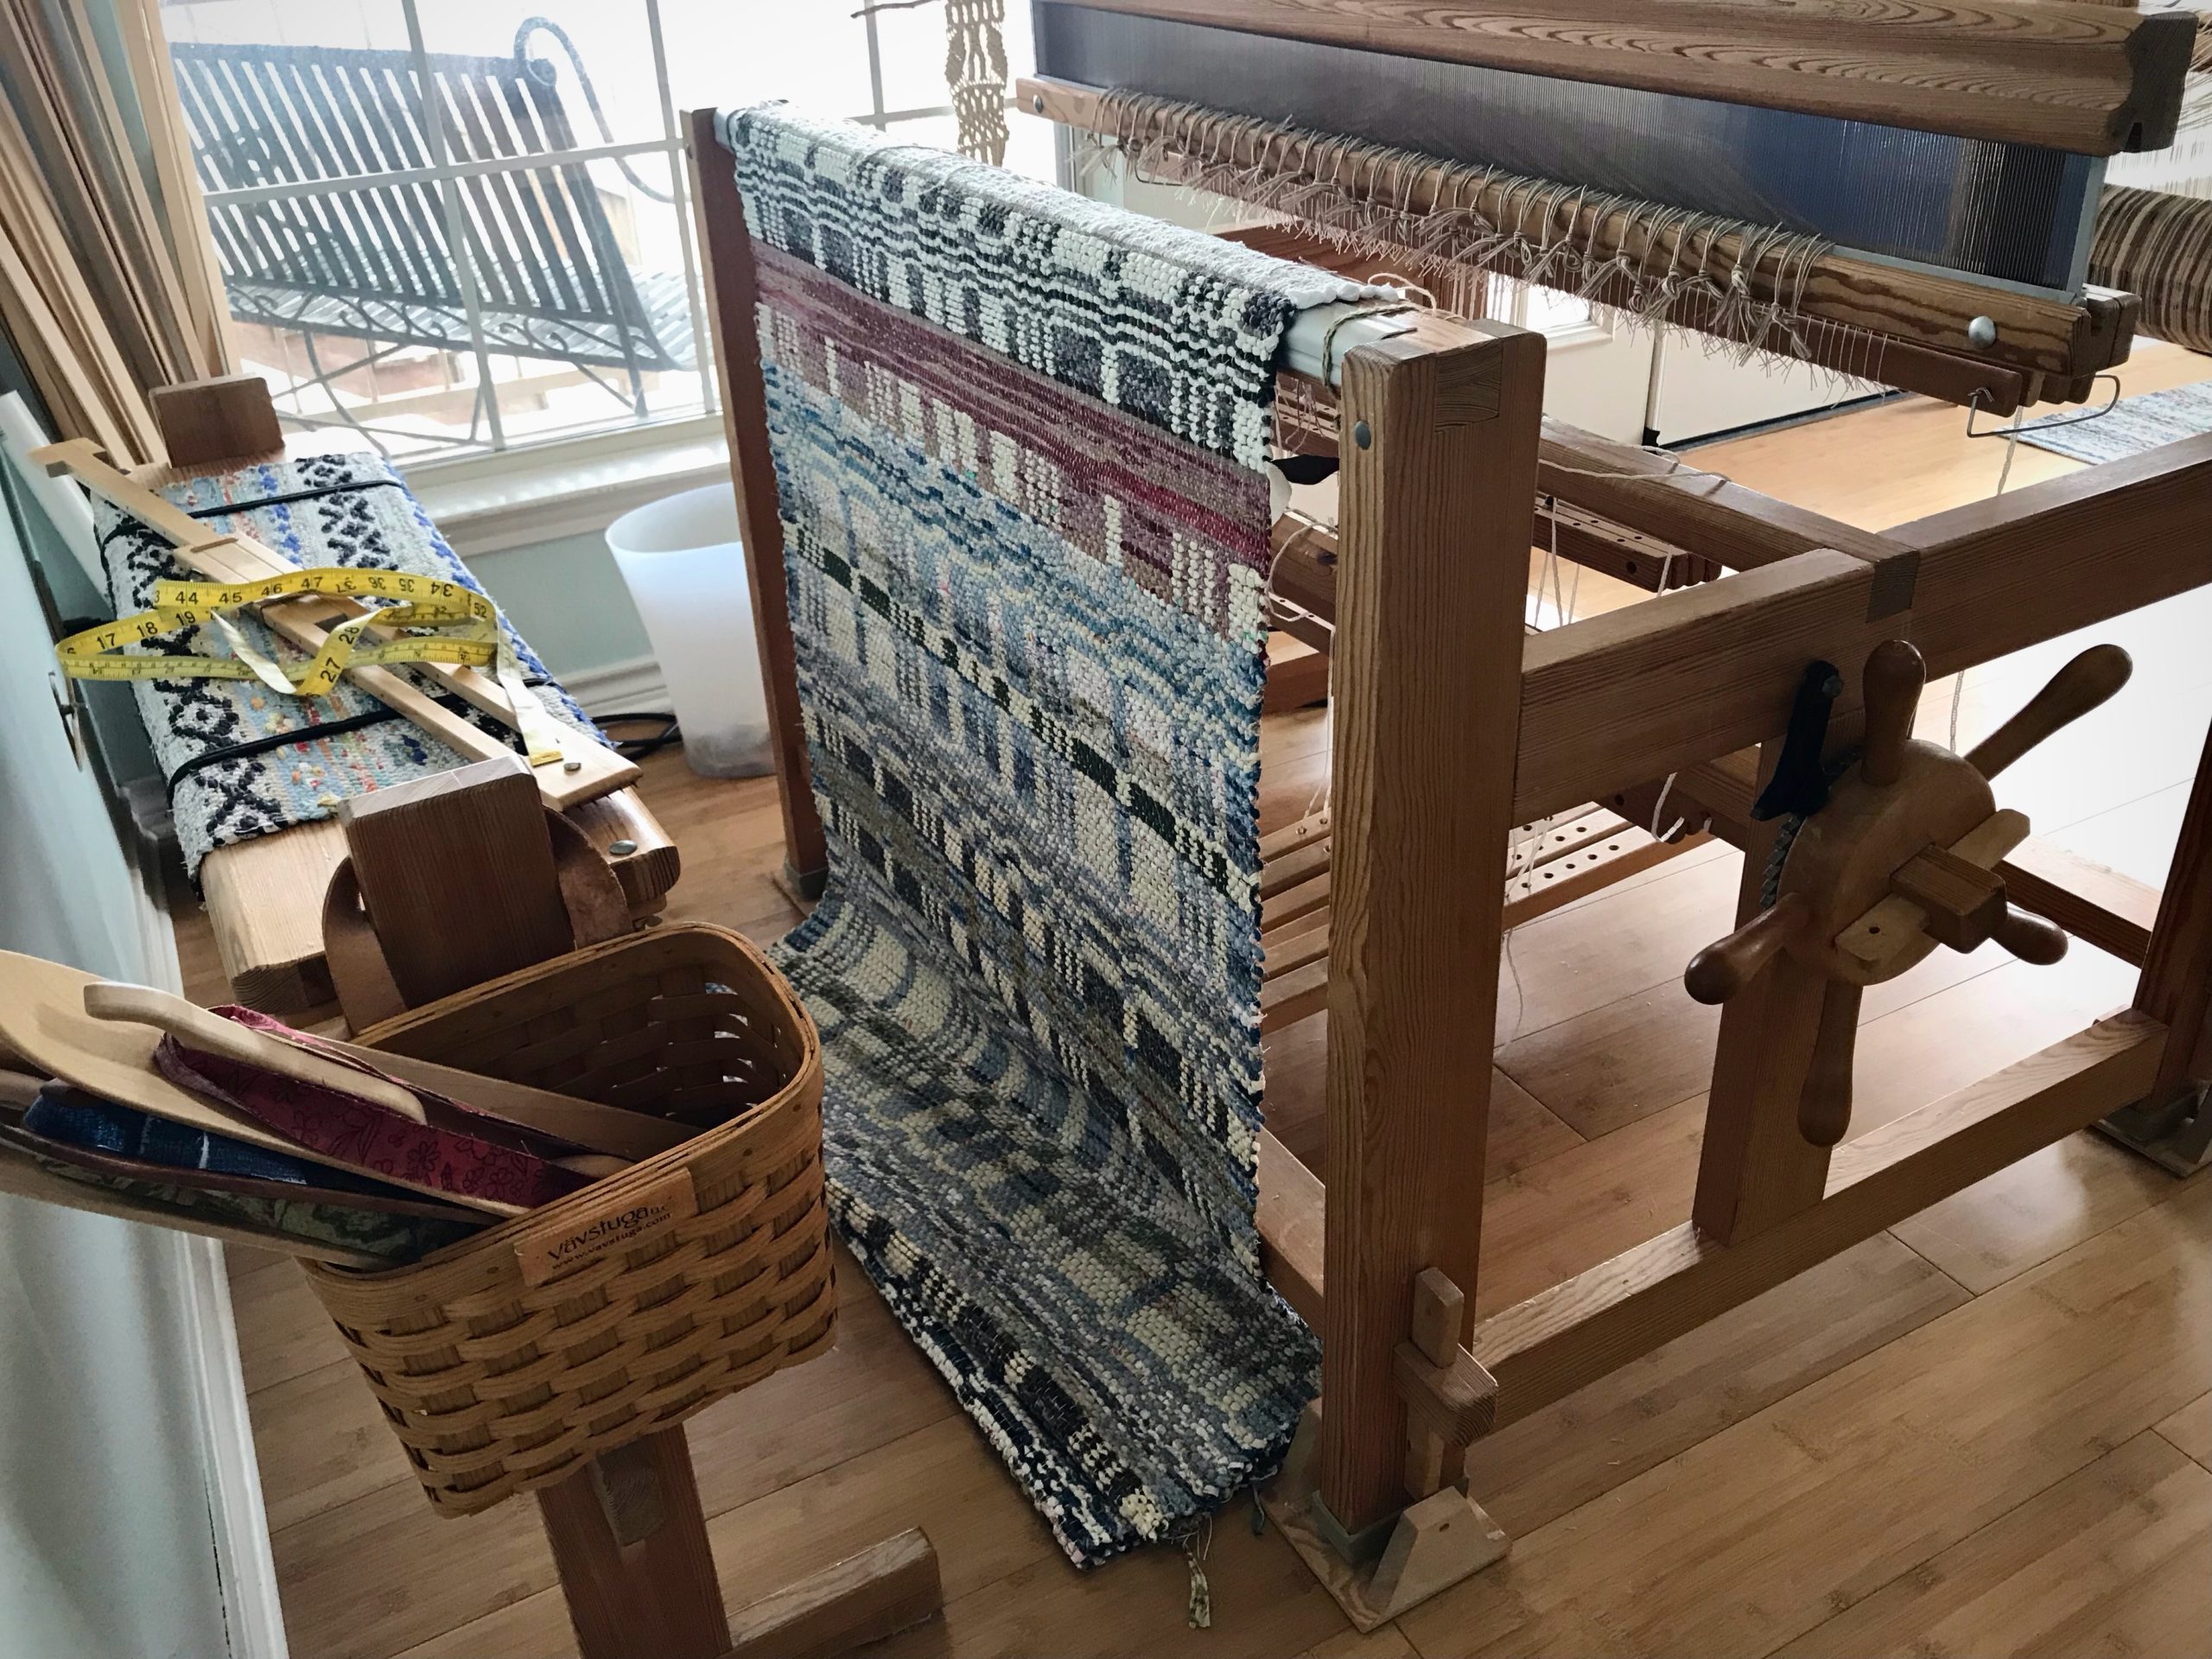
Unroll the rug from the cloth beam. Take a photograph.
First look at the back of the rug.
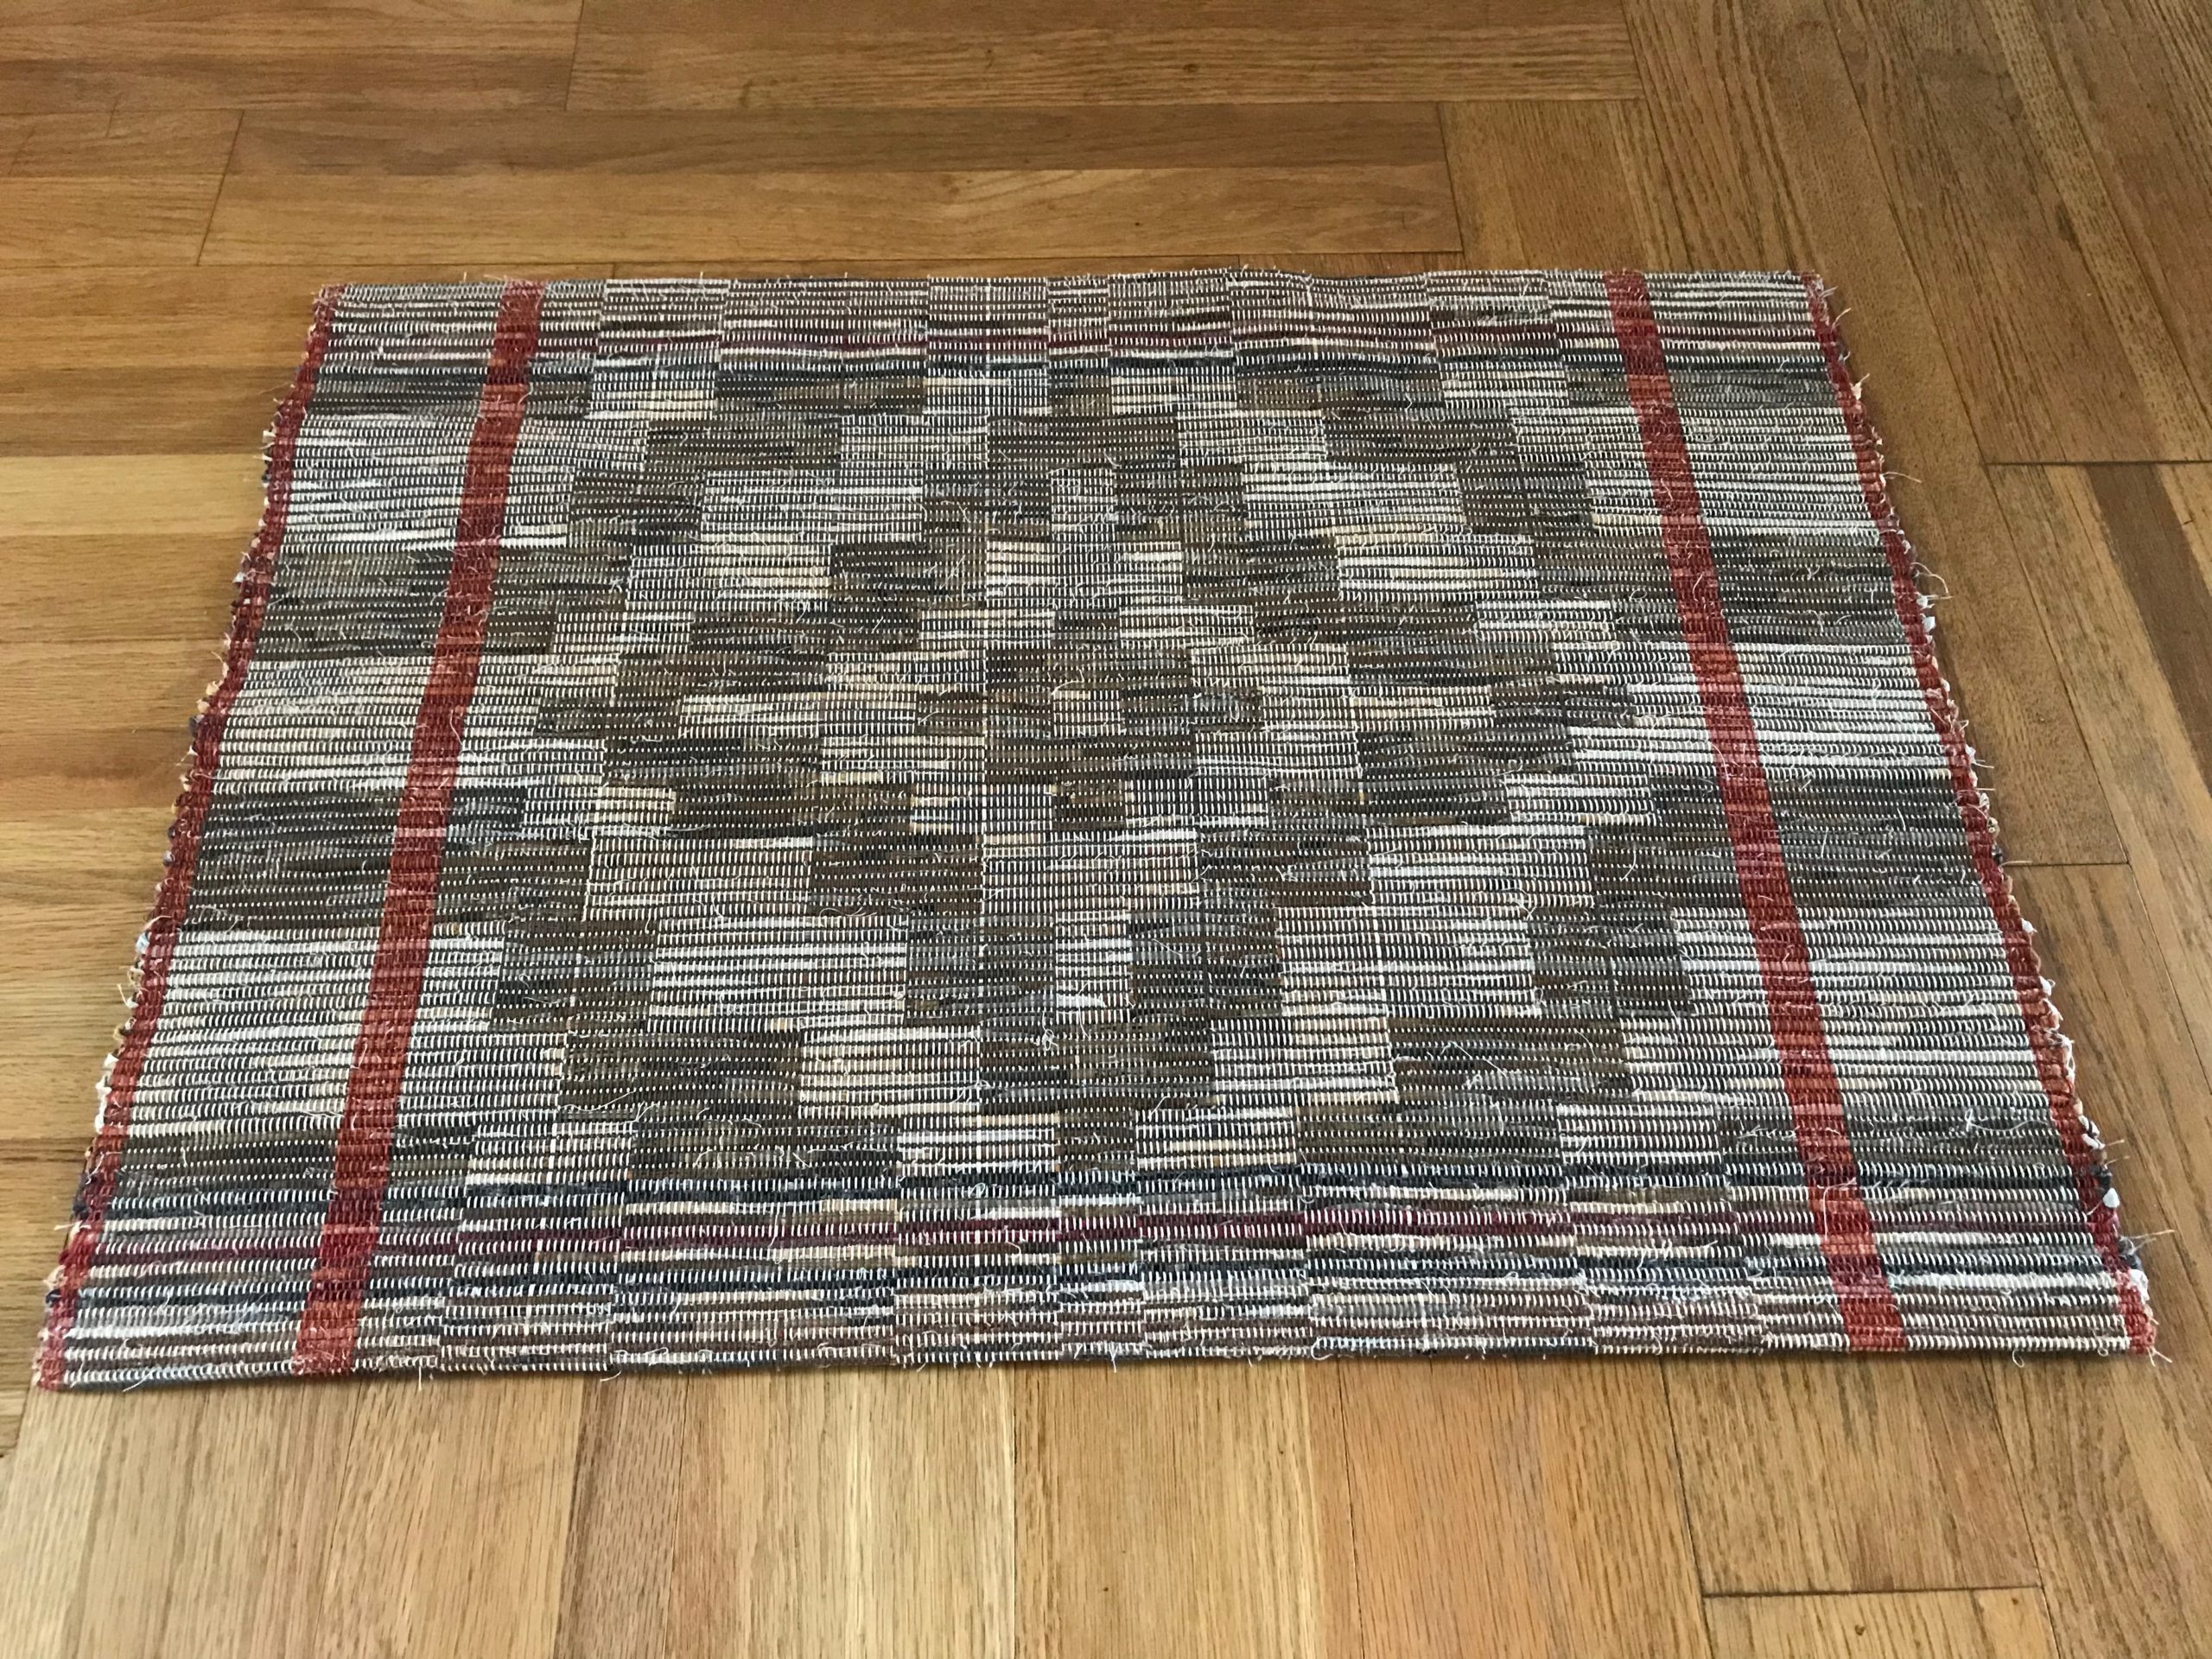
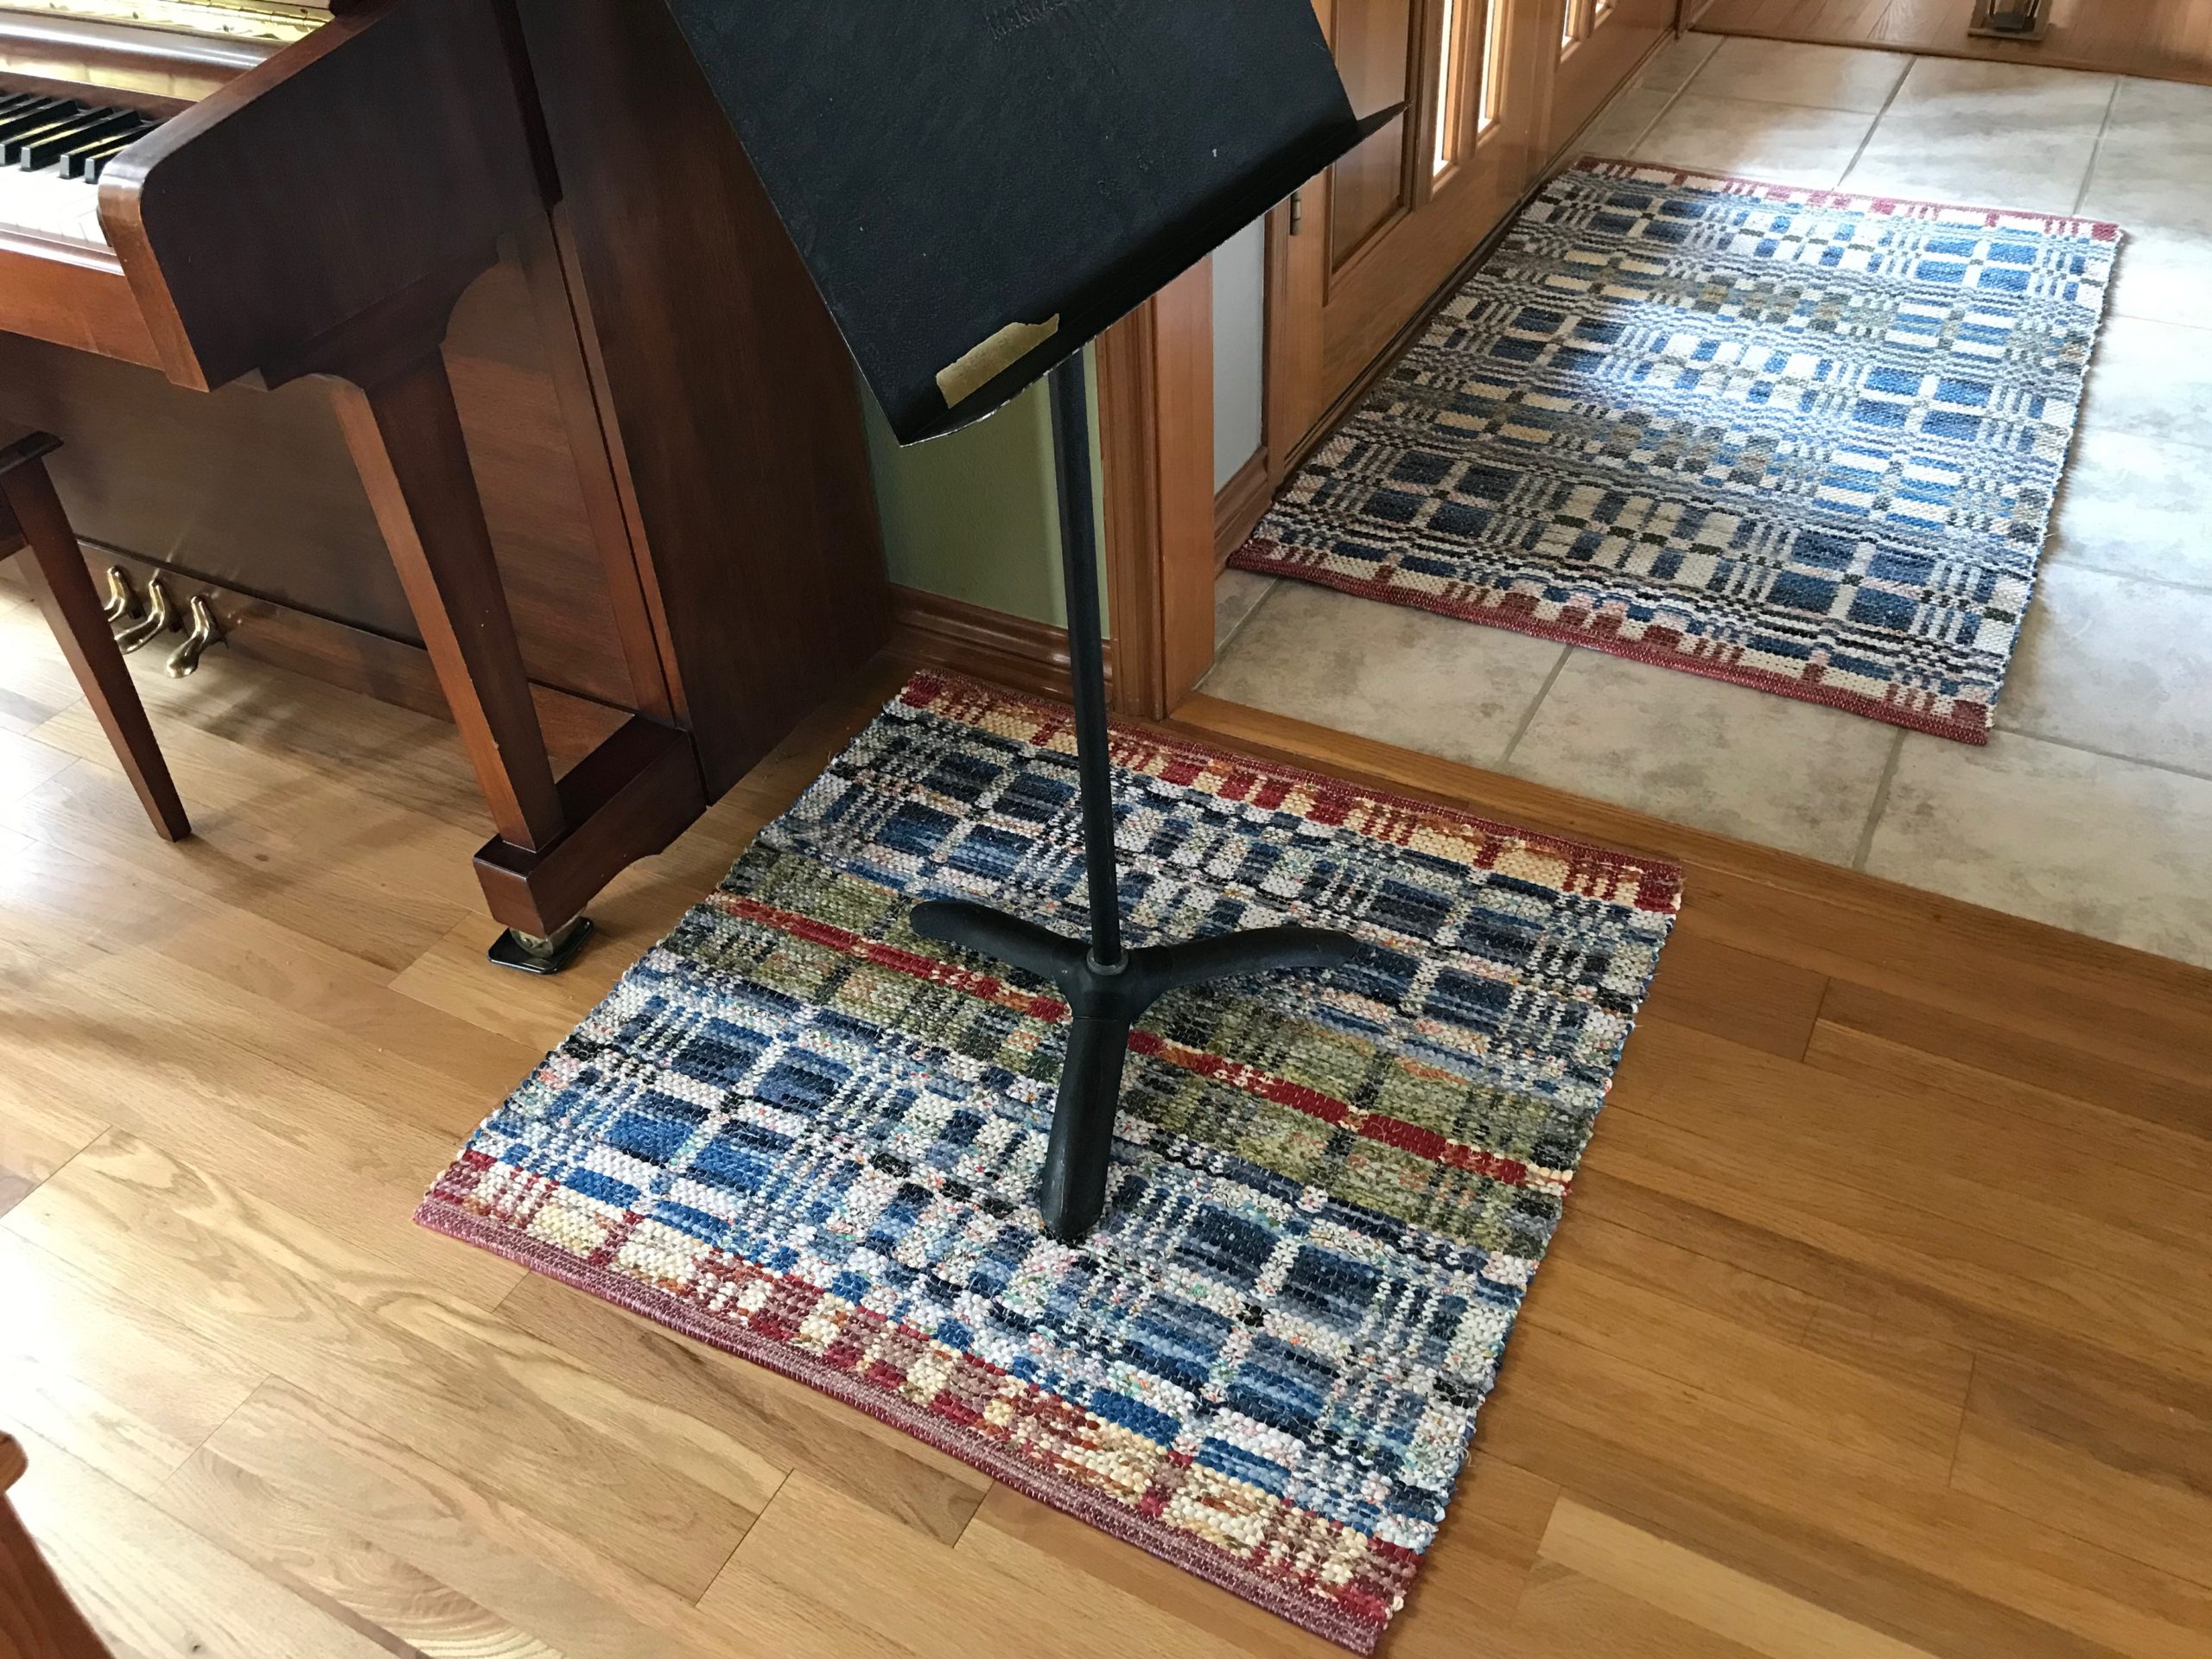
Lay the rug out on the floor. Ooh and aah.
Double-binding rag rug, ready for finishing and hemming! I let the rug rest on the floor for a couple days to let the warp and weft relax. Next step is to tie ends into overhand knots.