Tools Day: Cartoon Trials

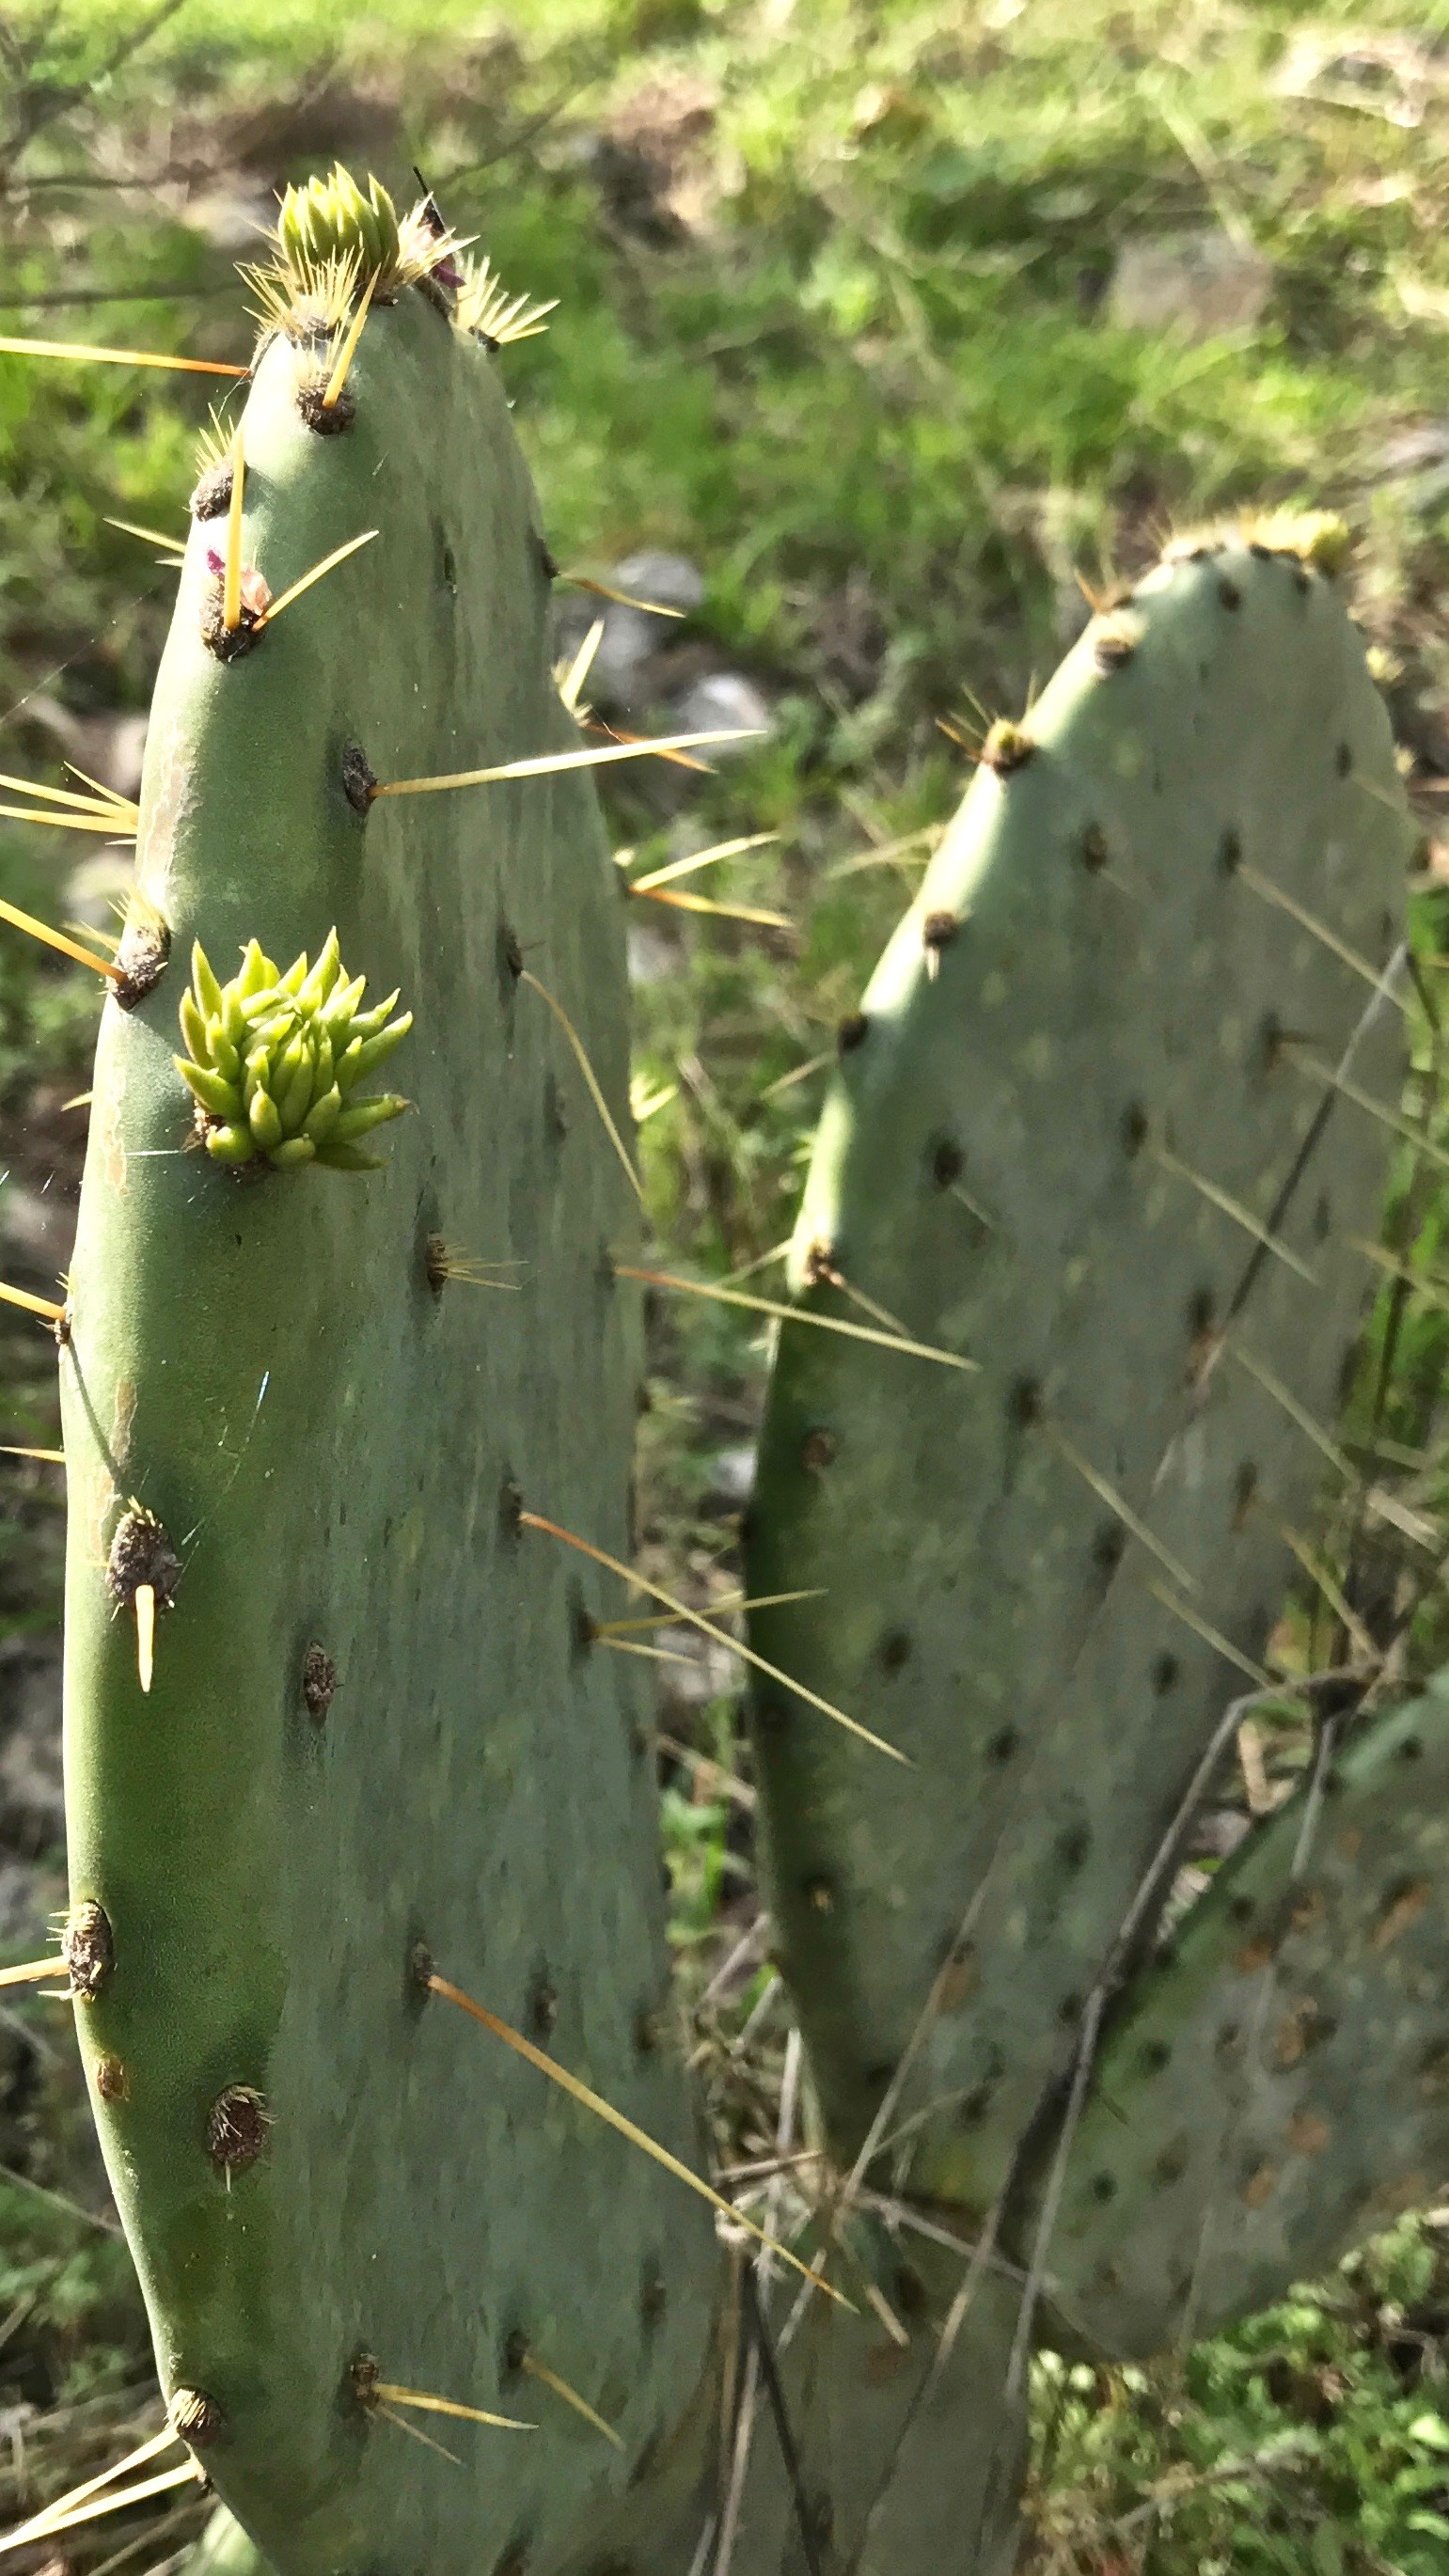
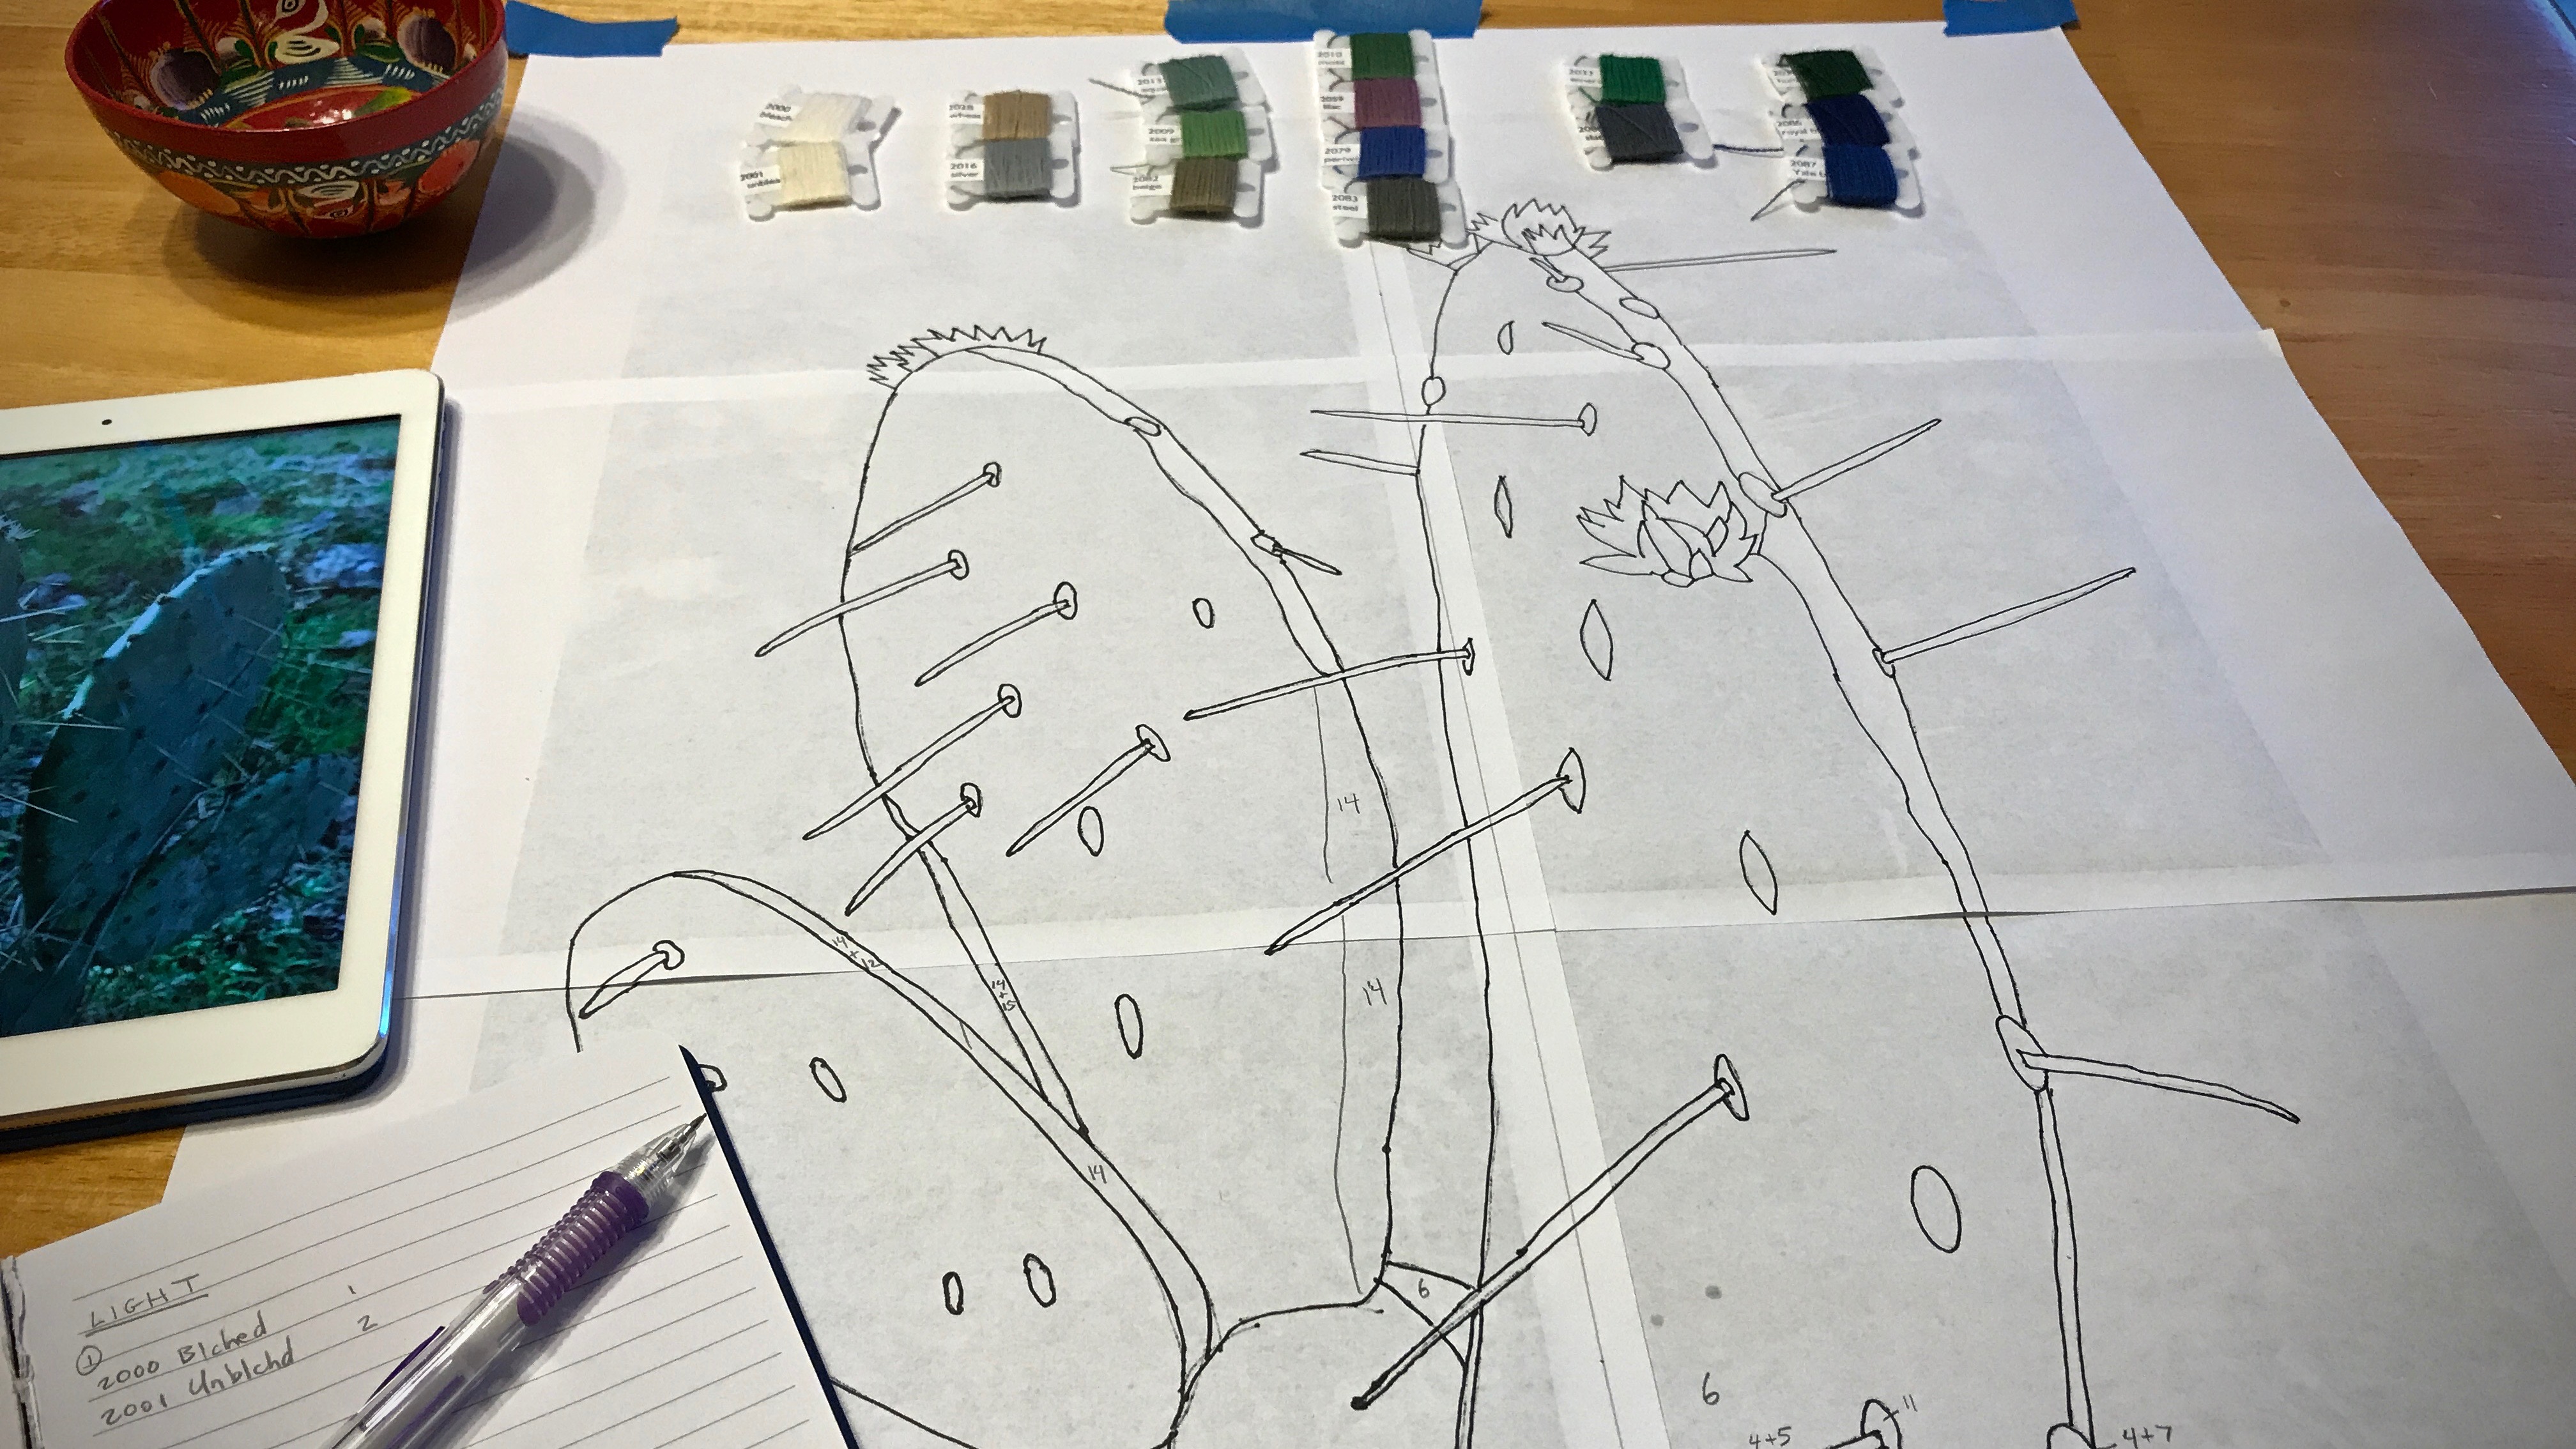
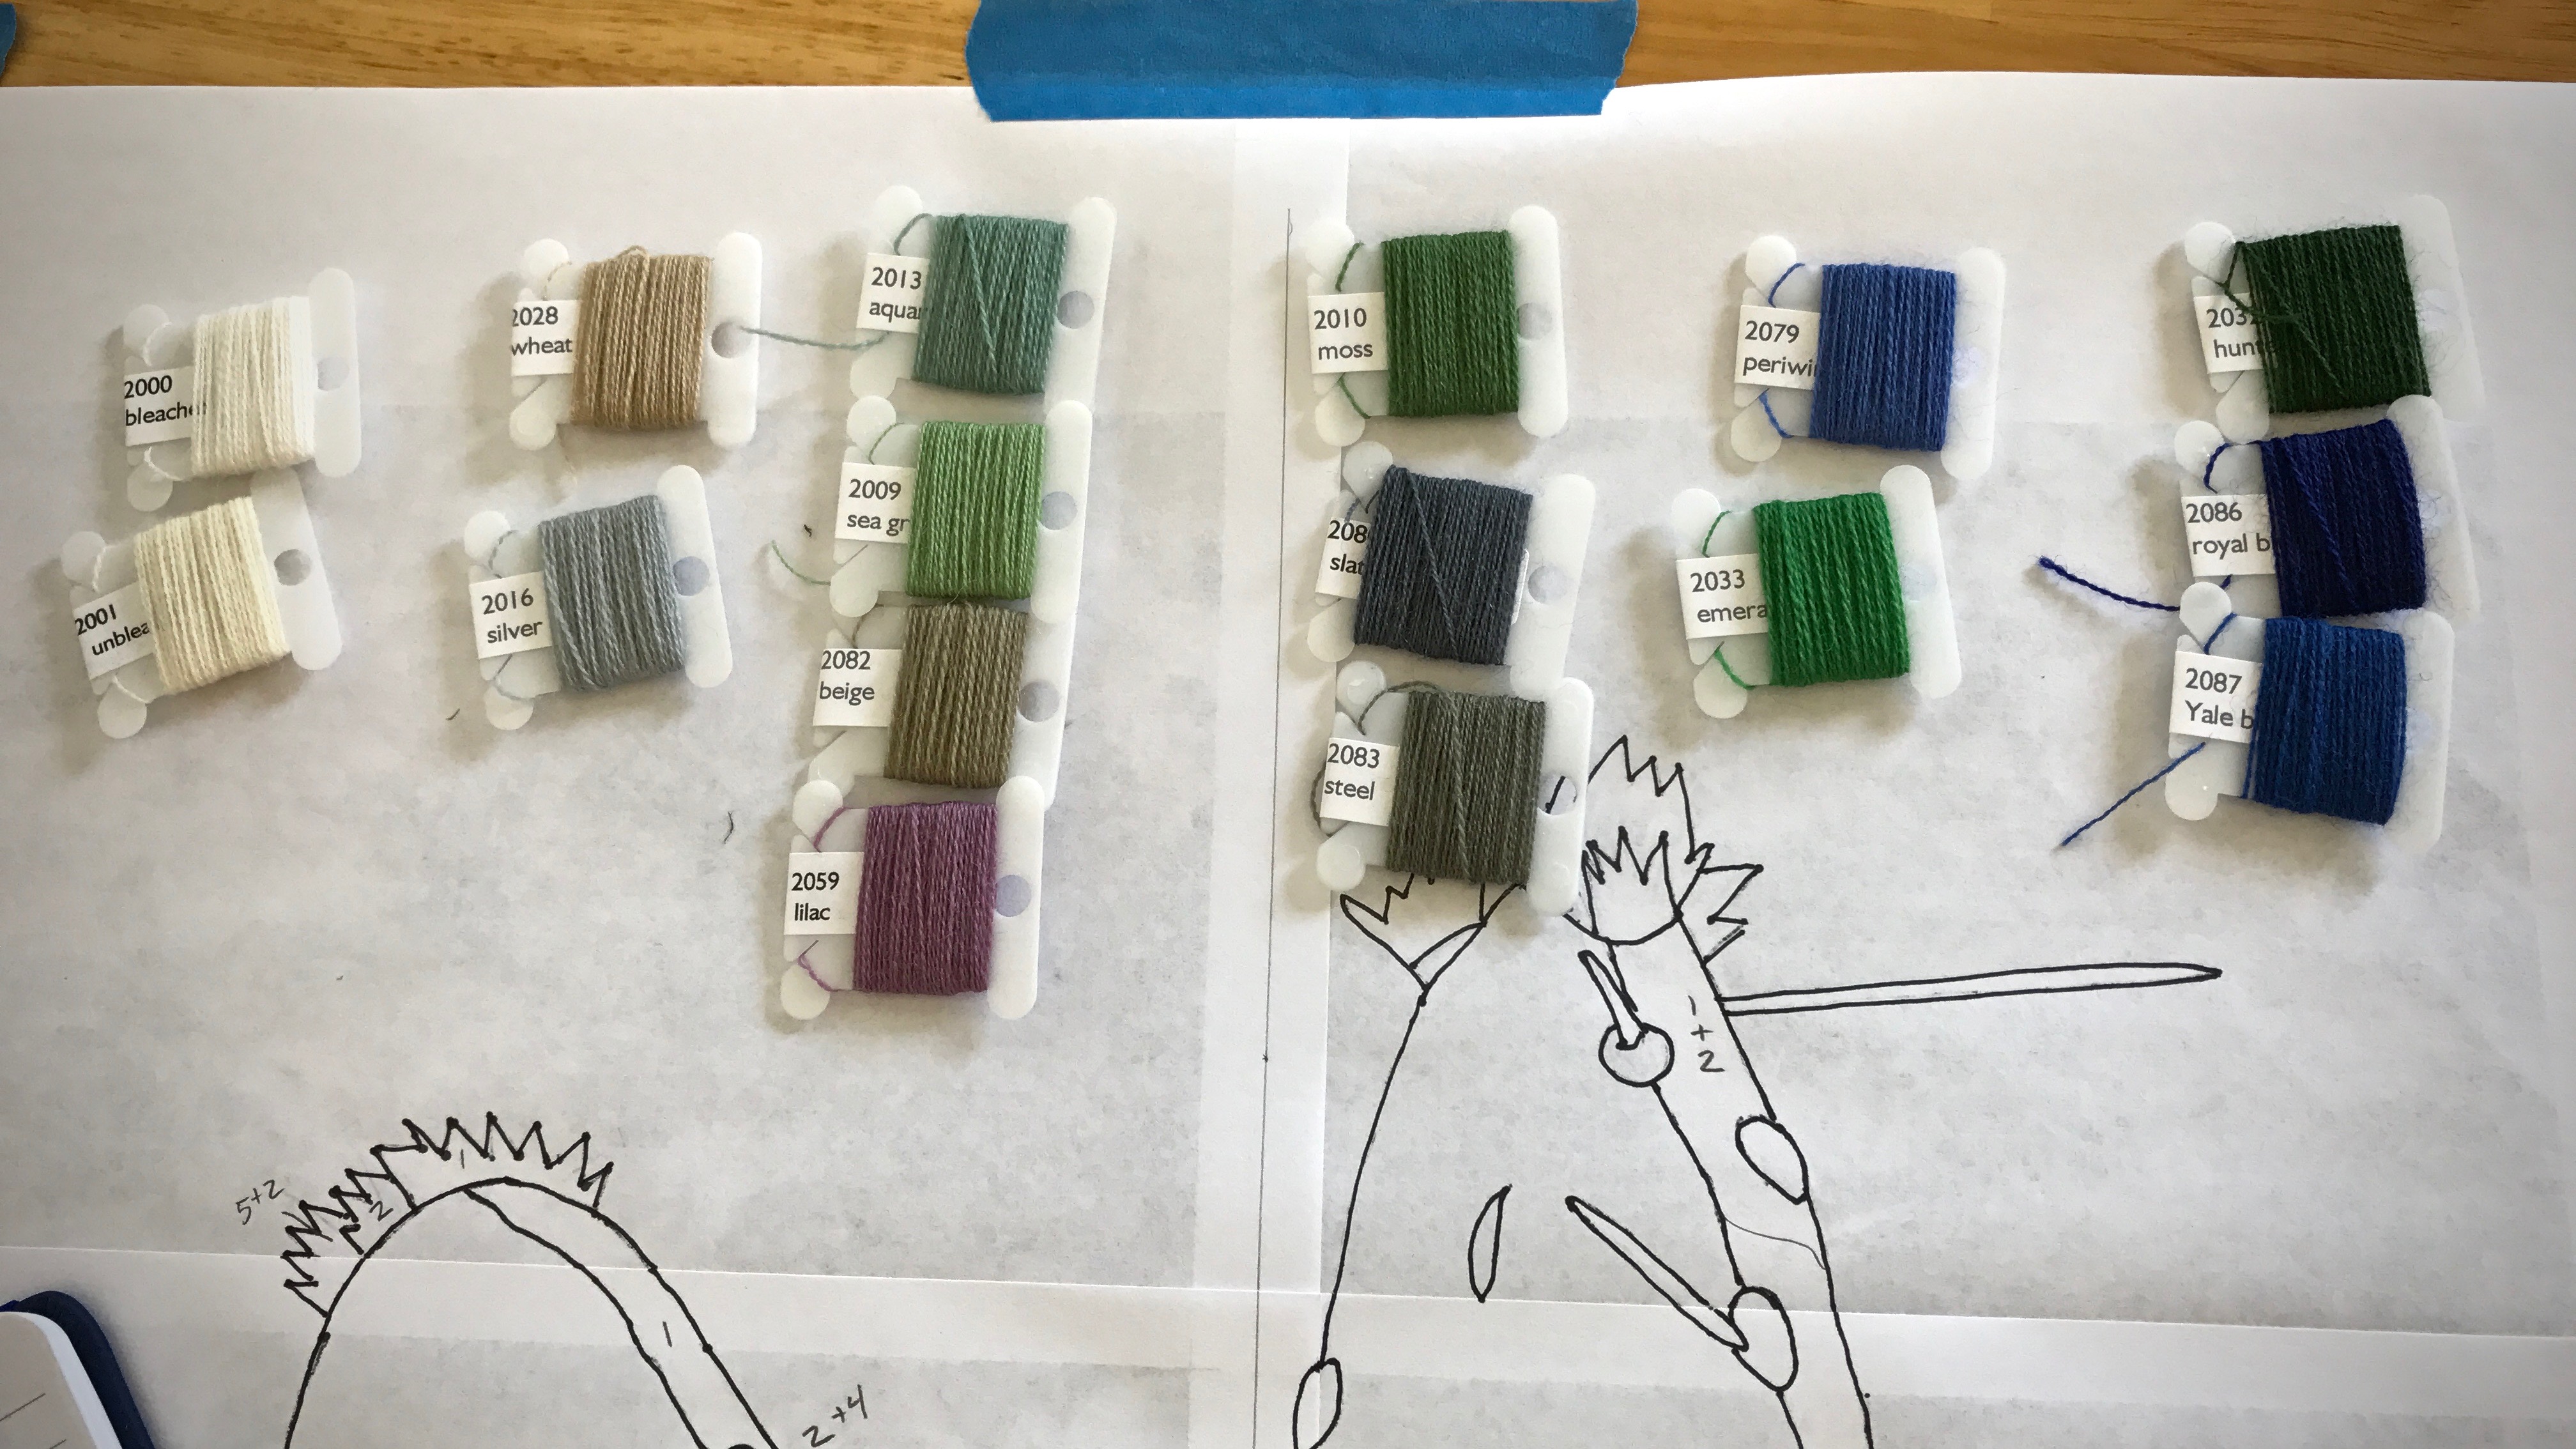
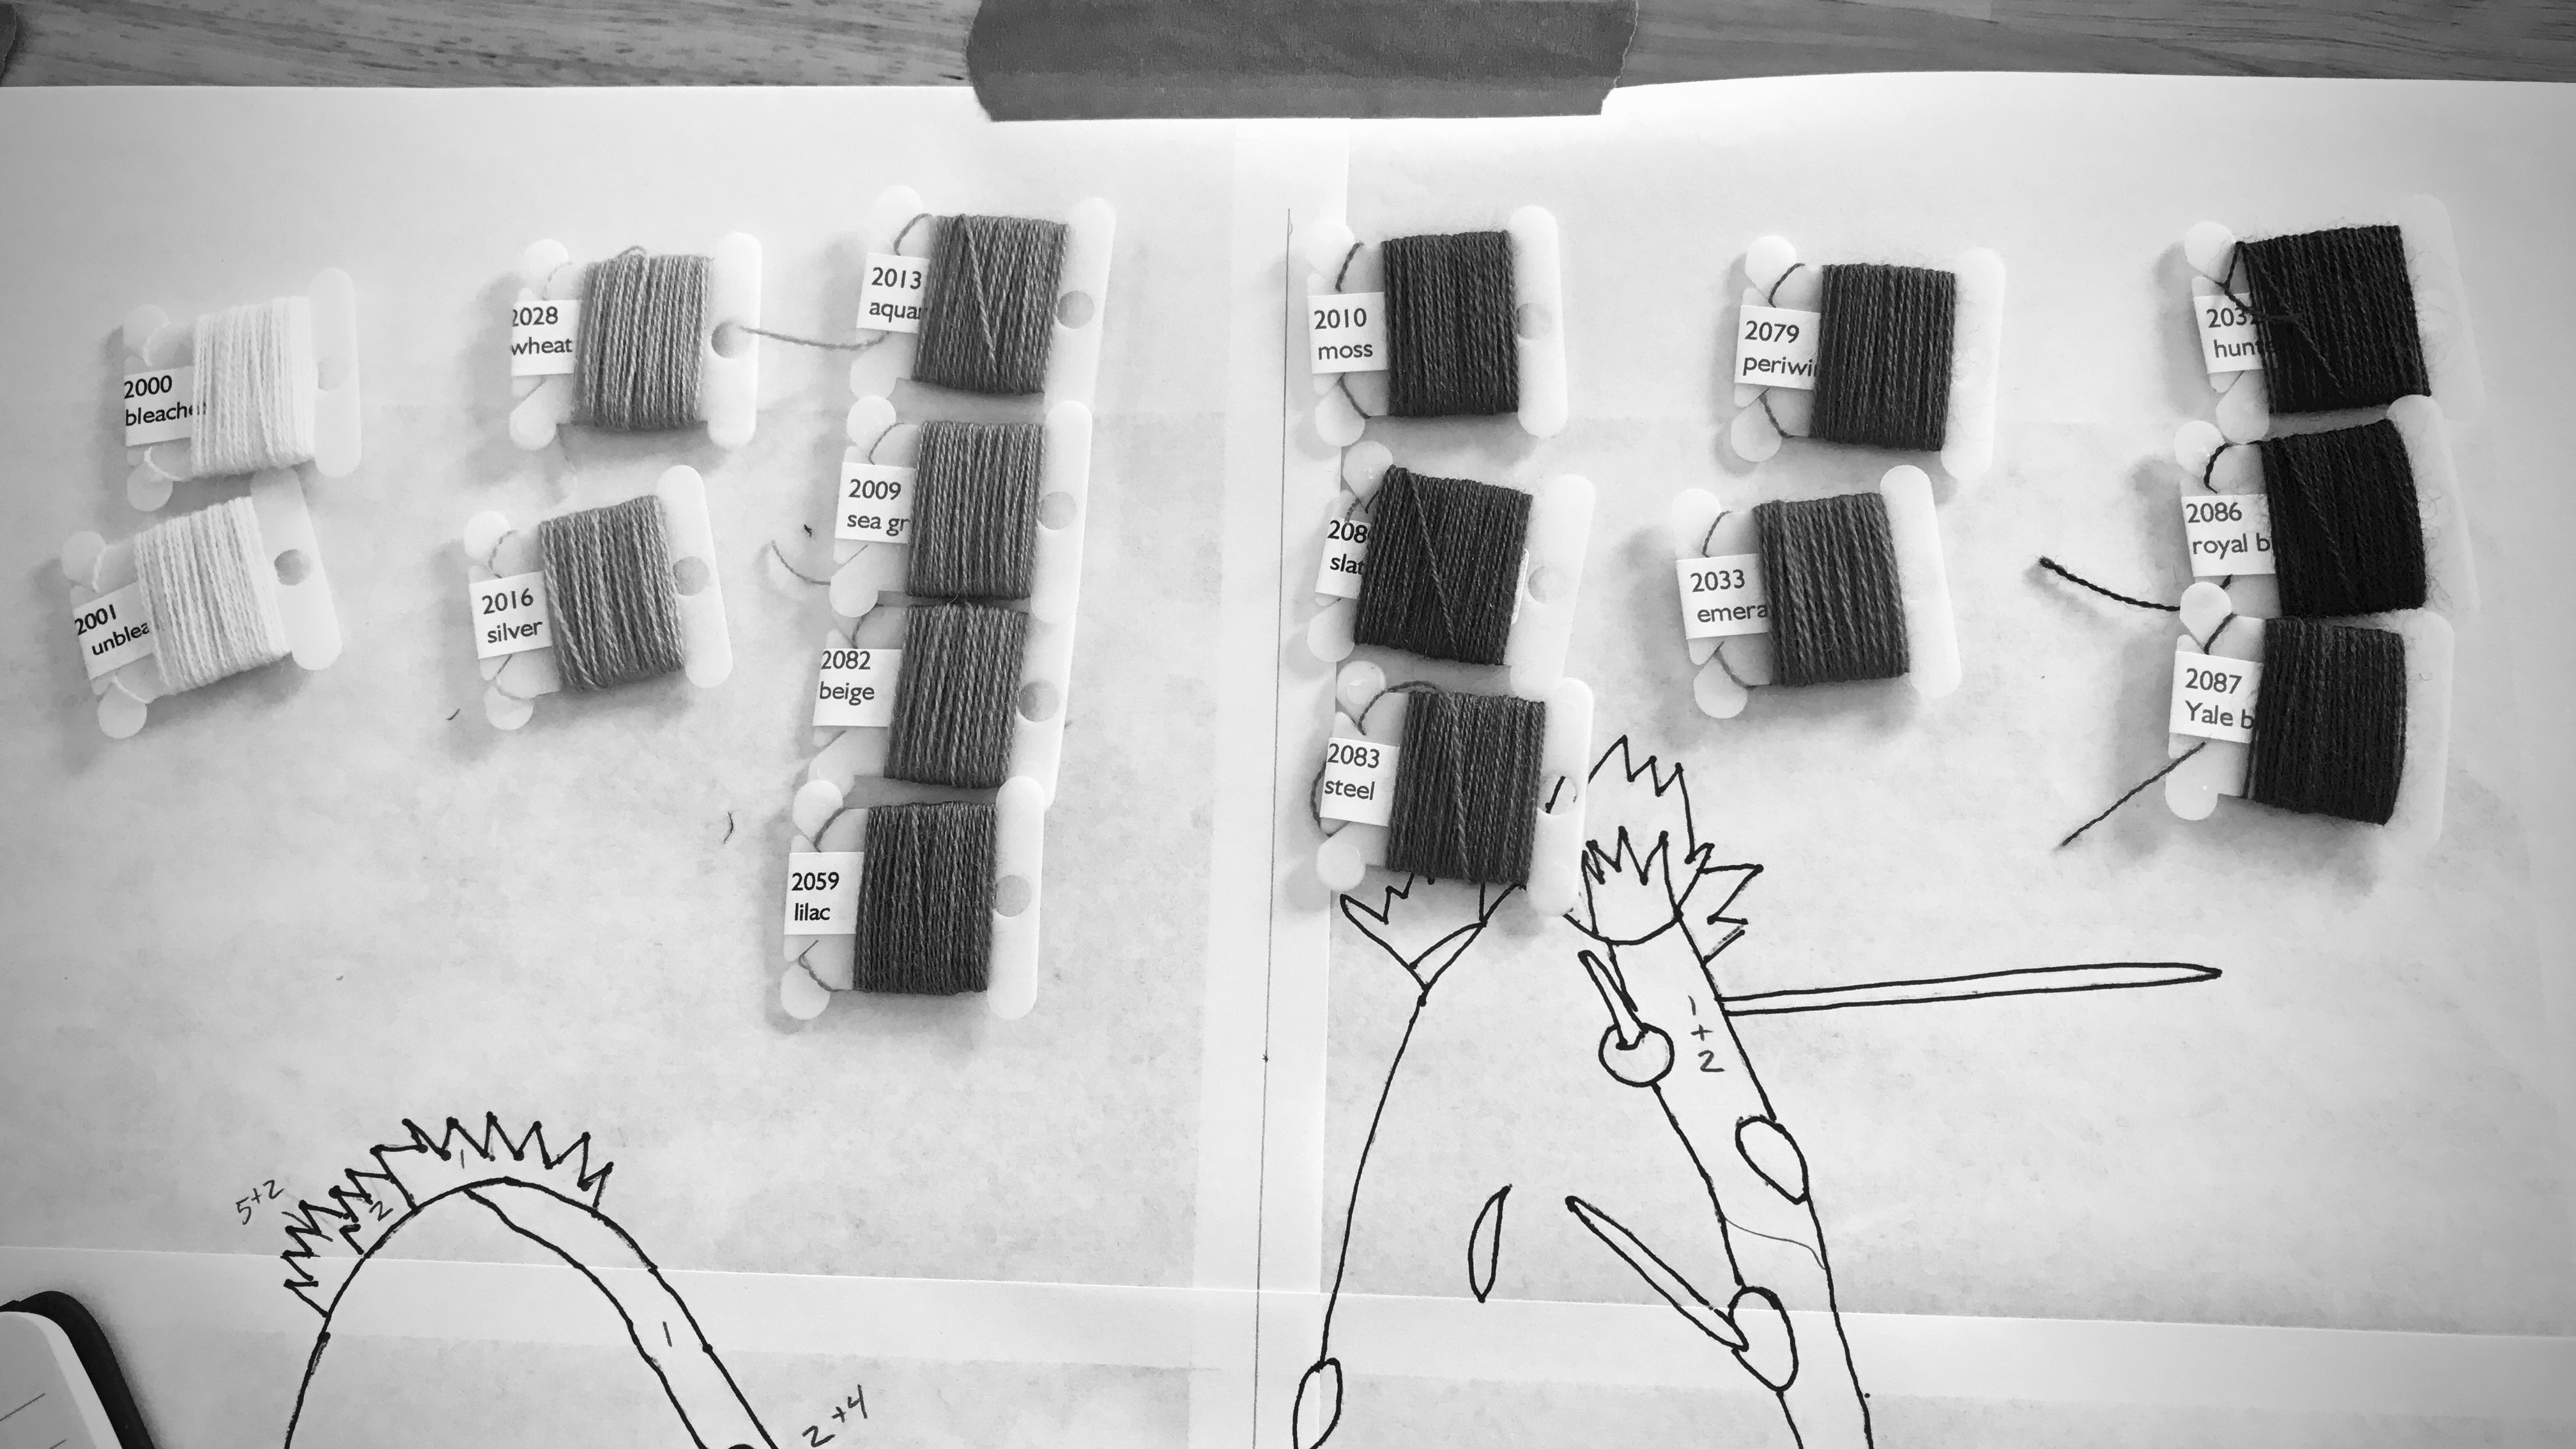
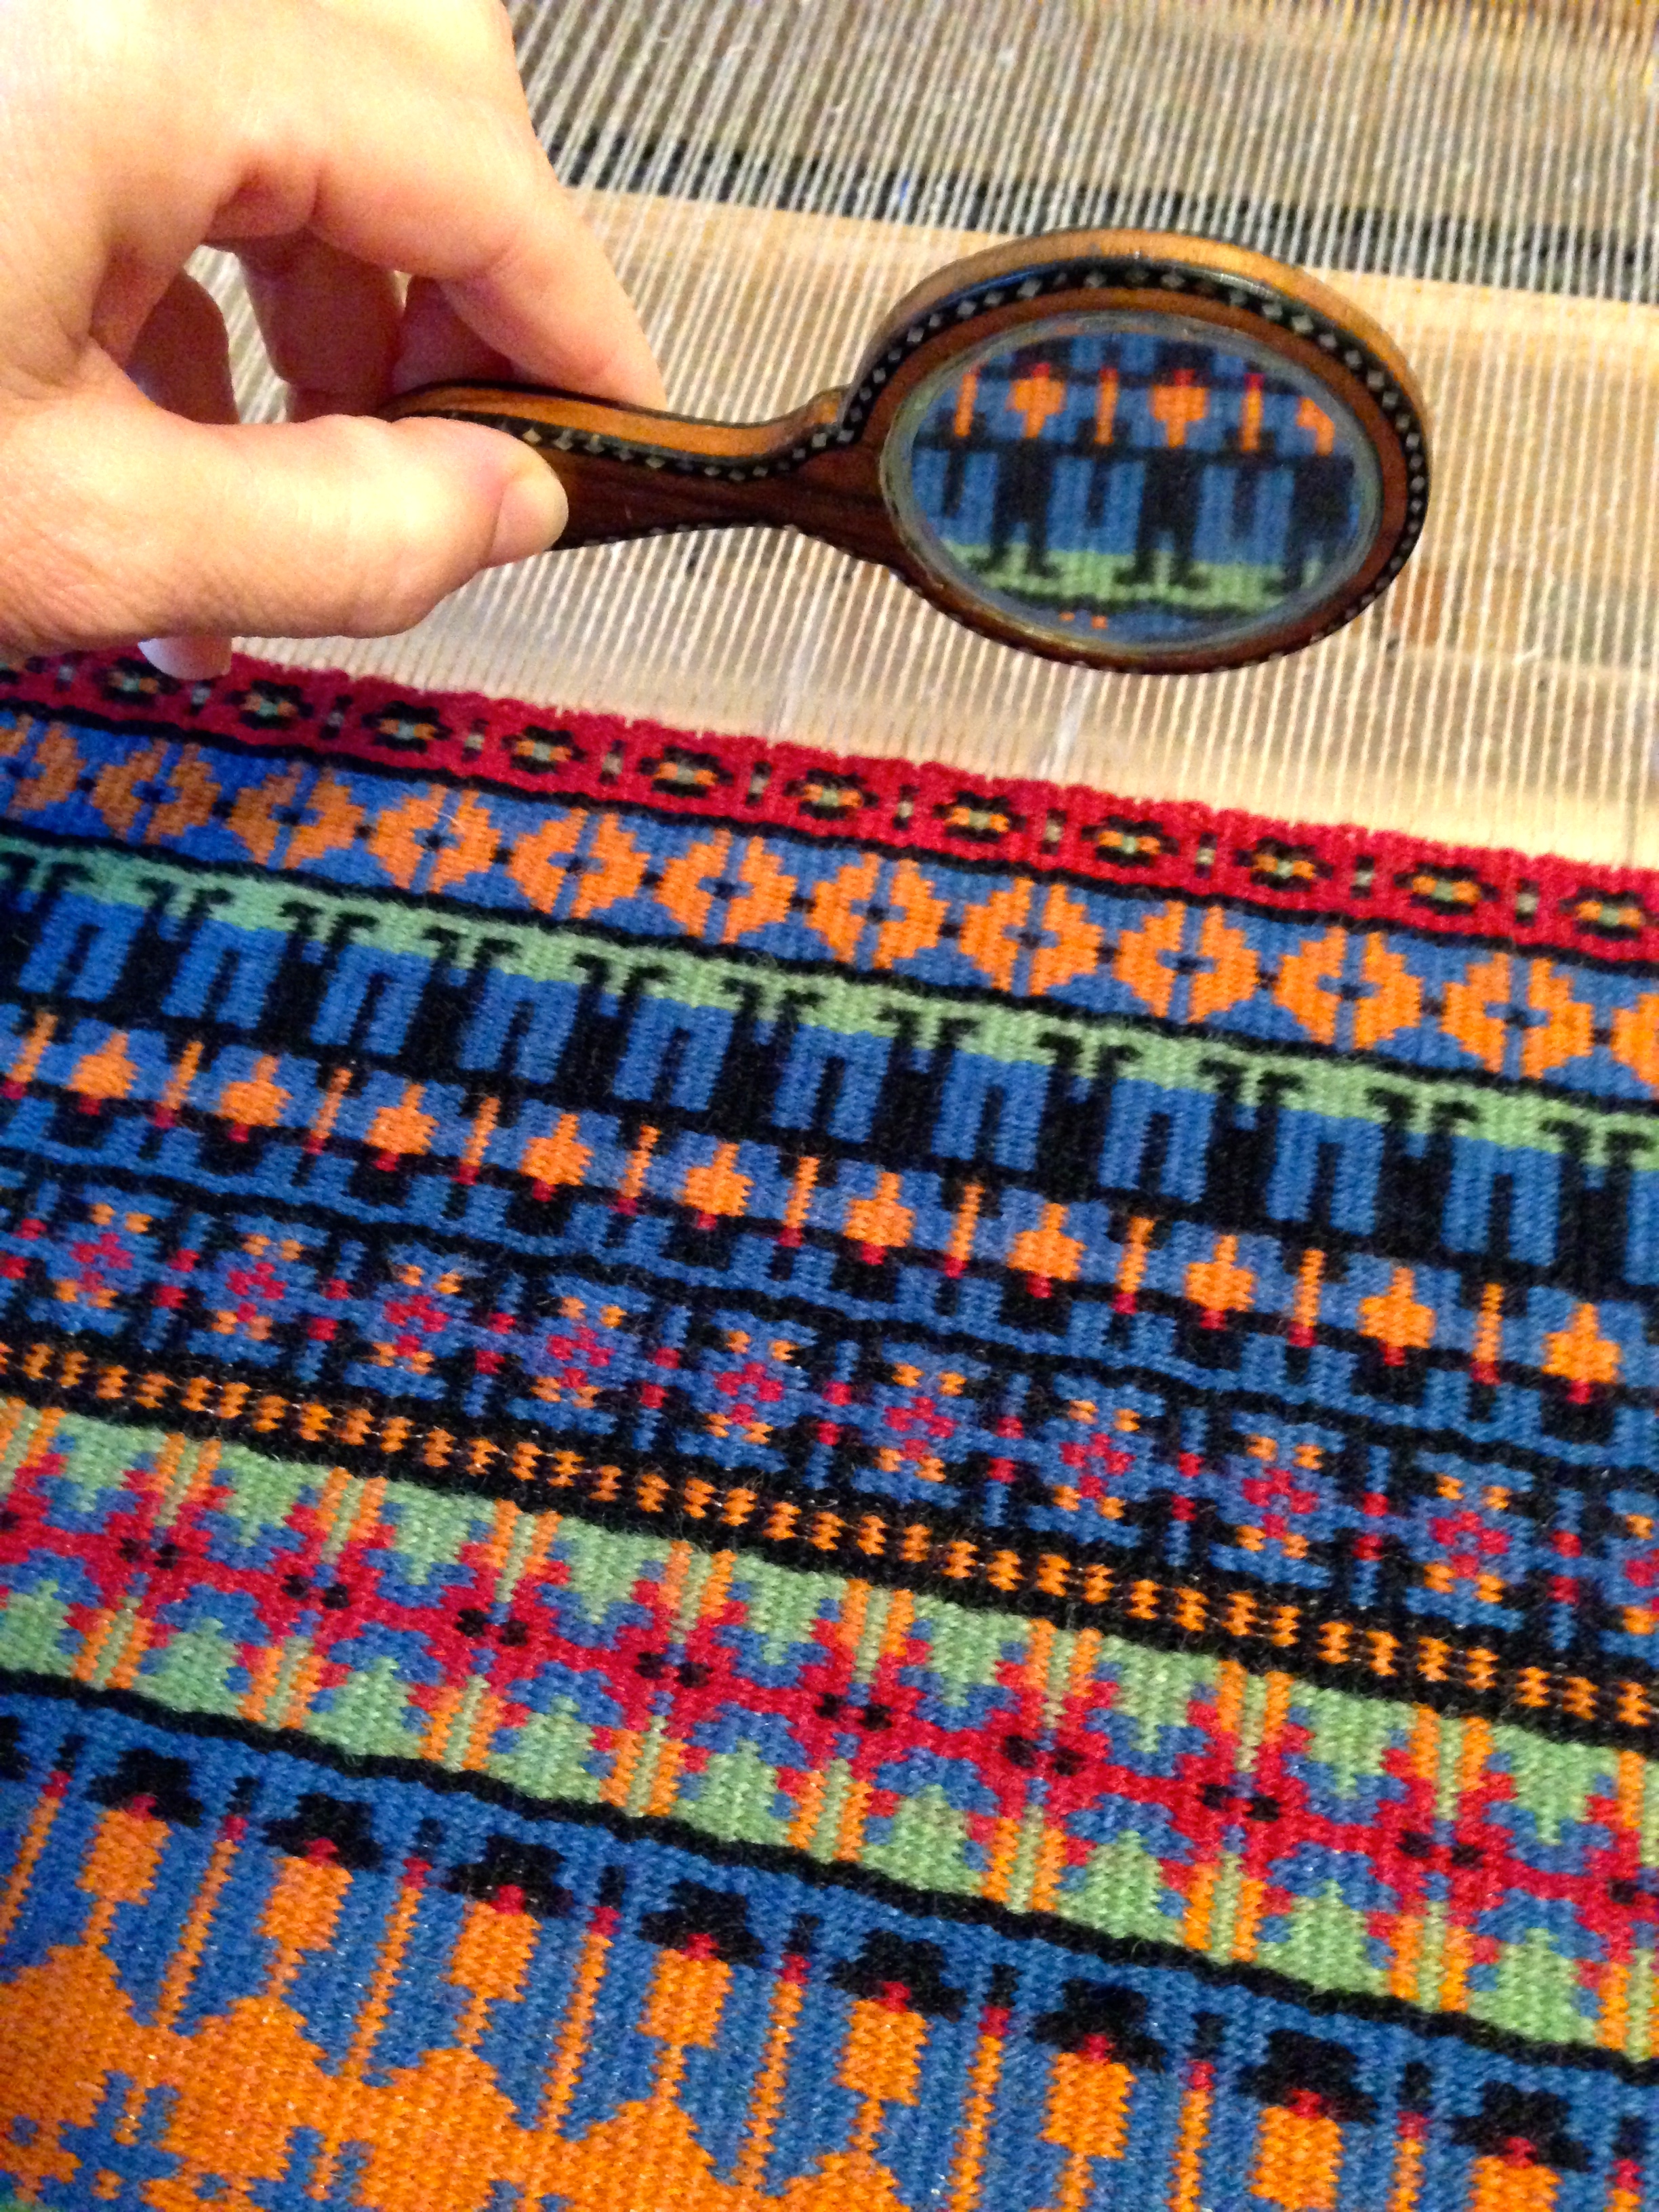
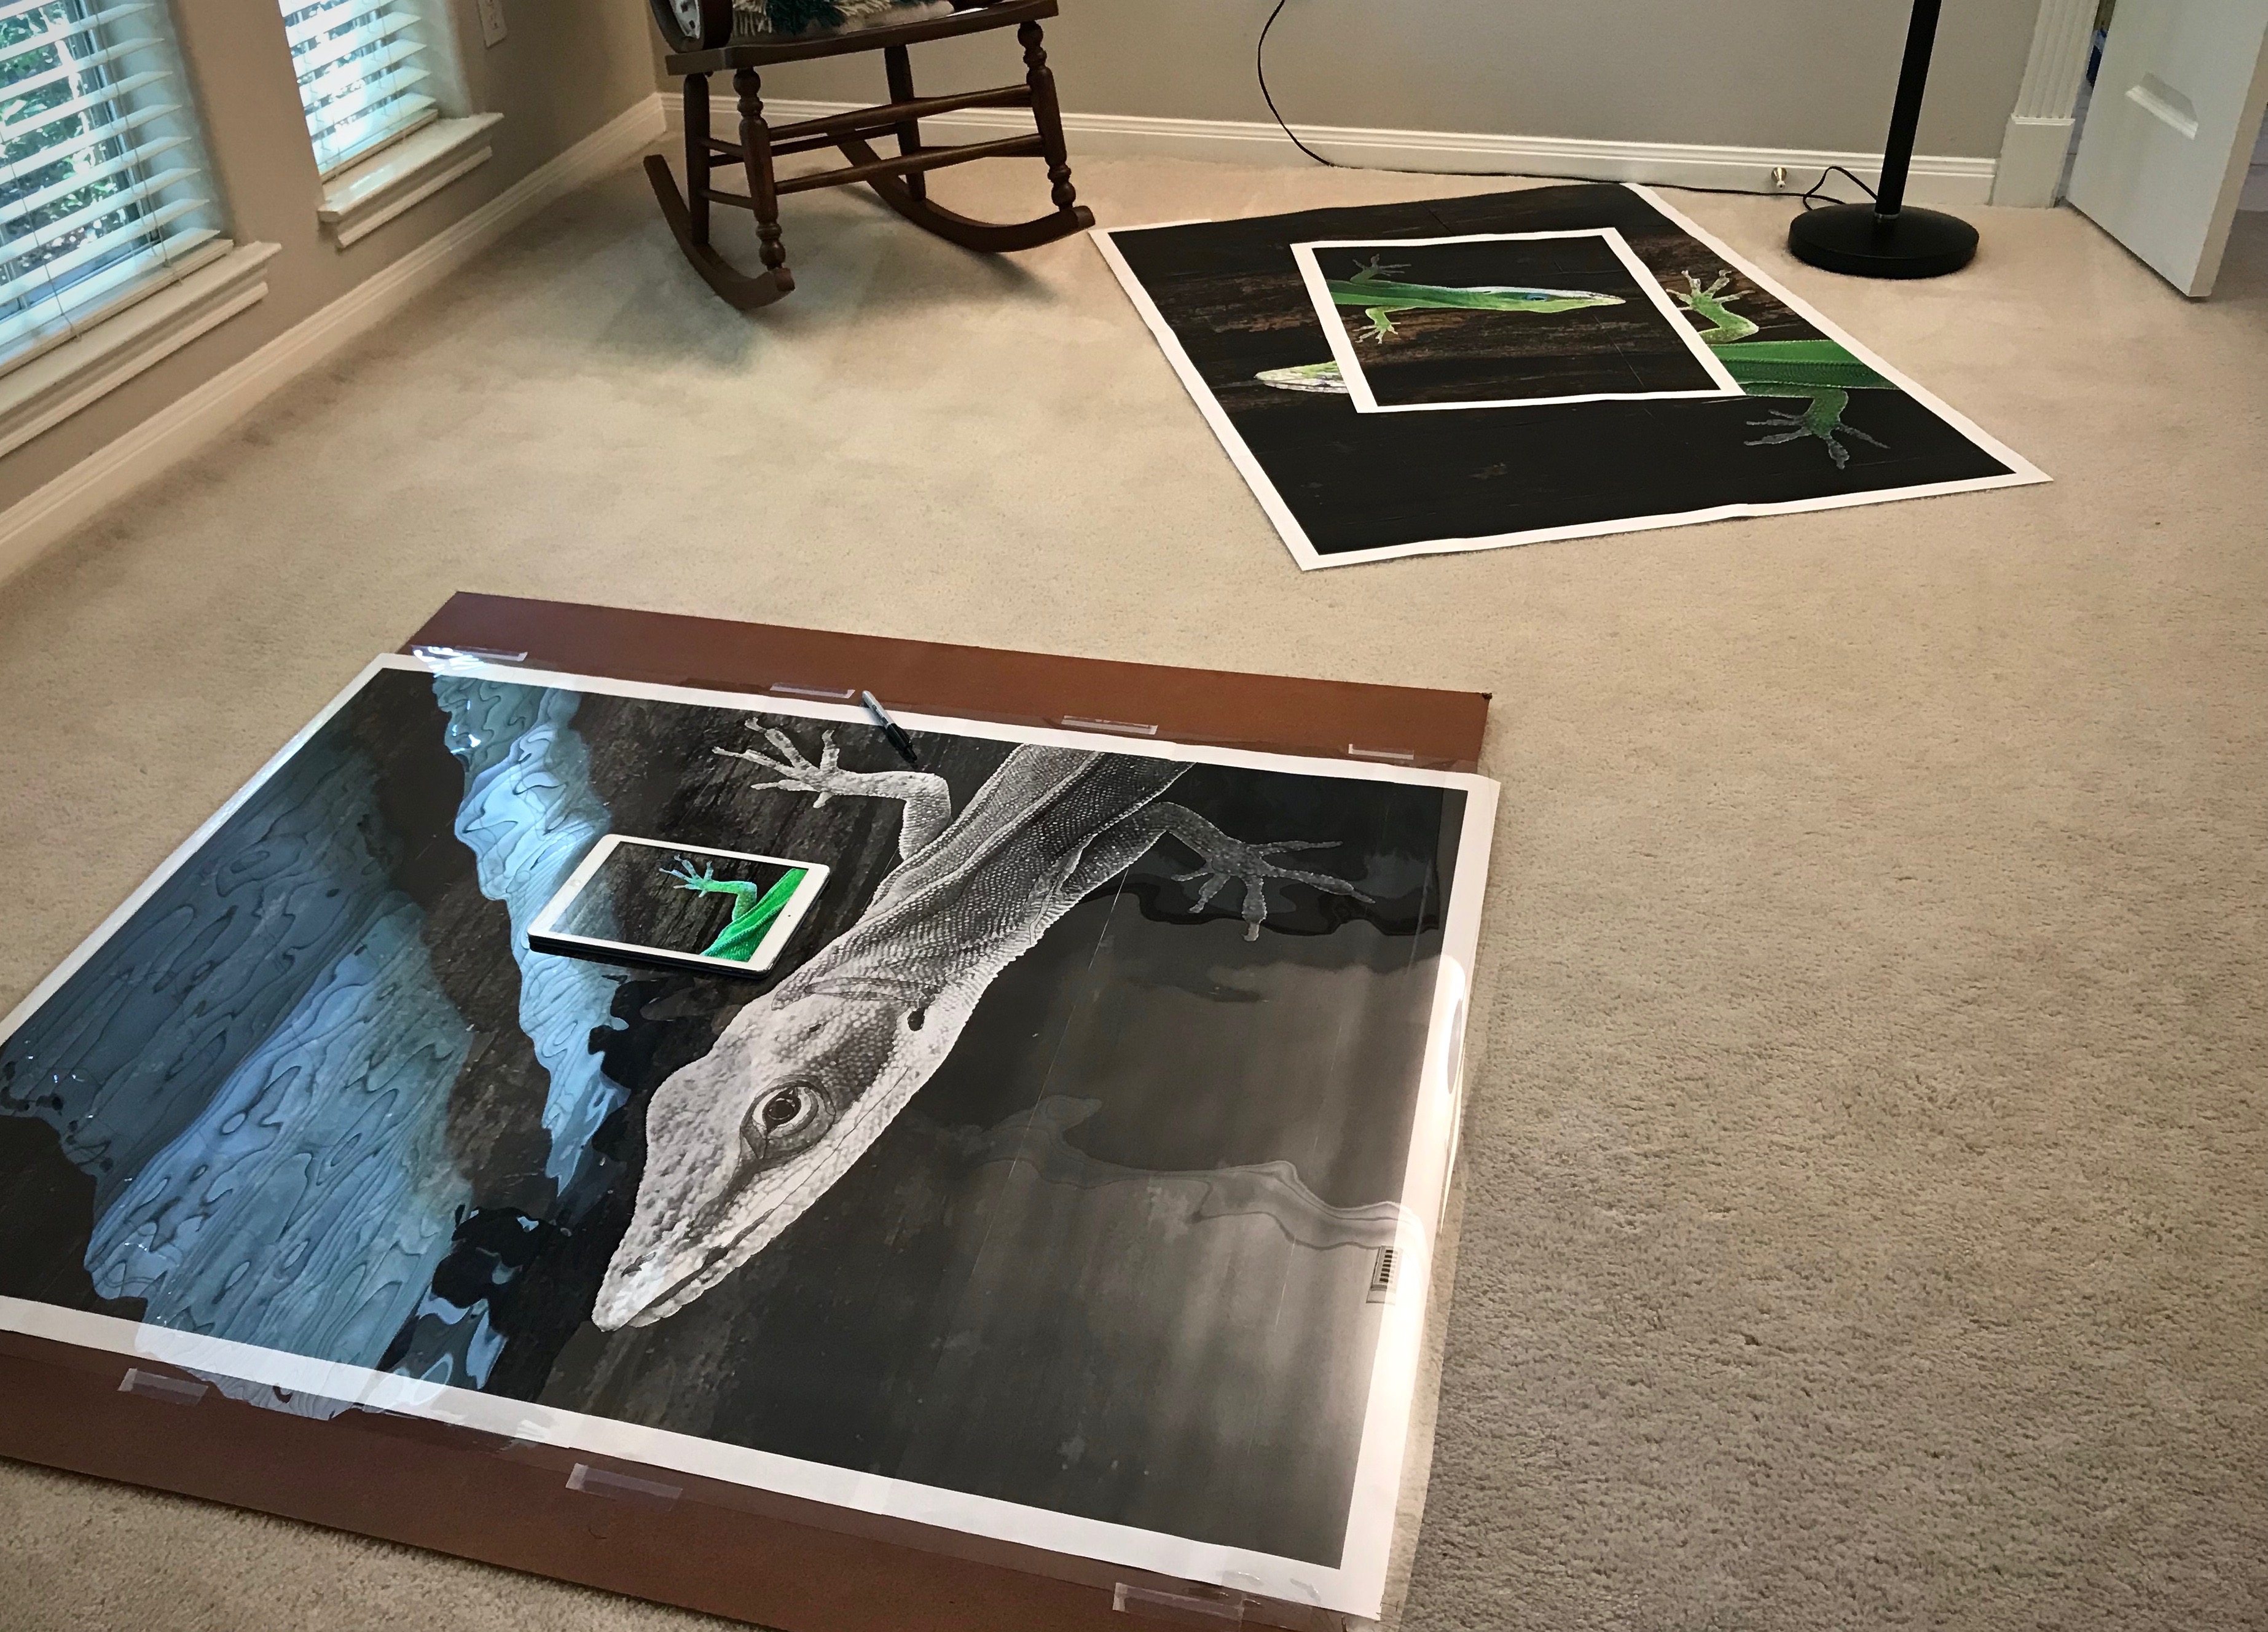
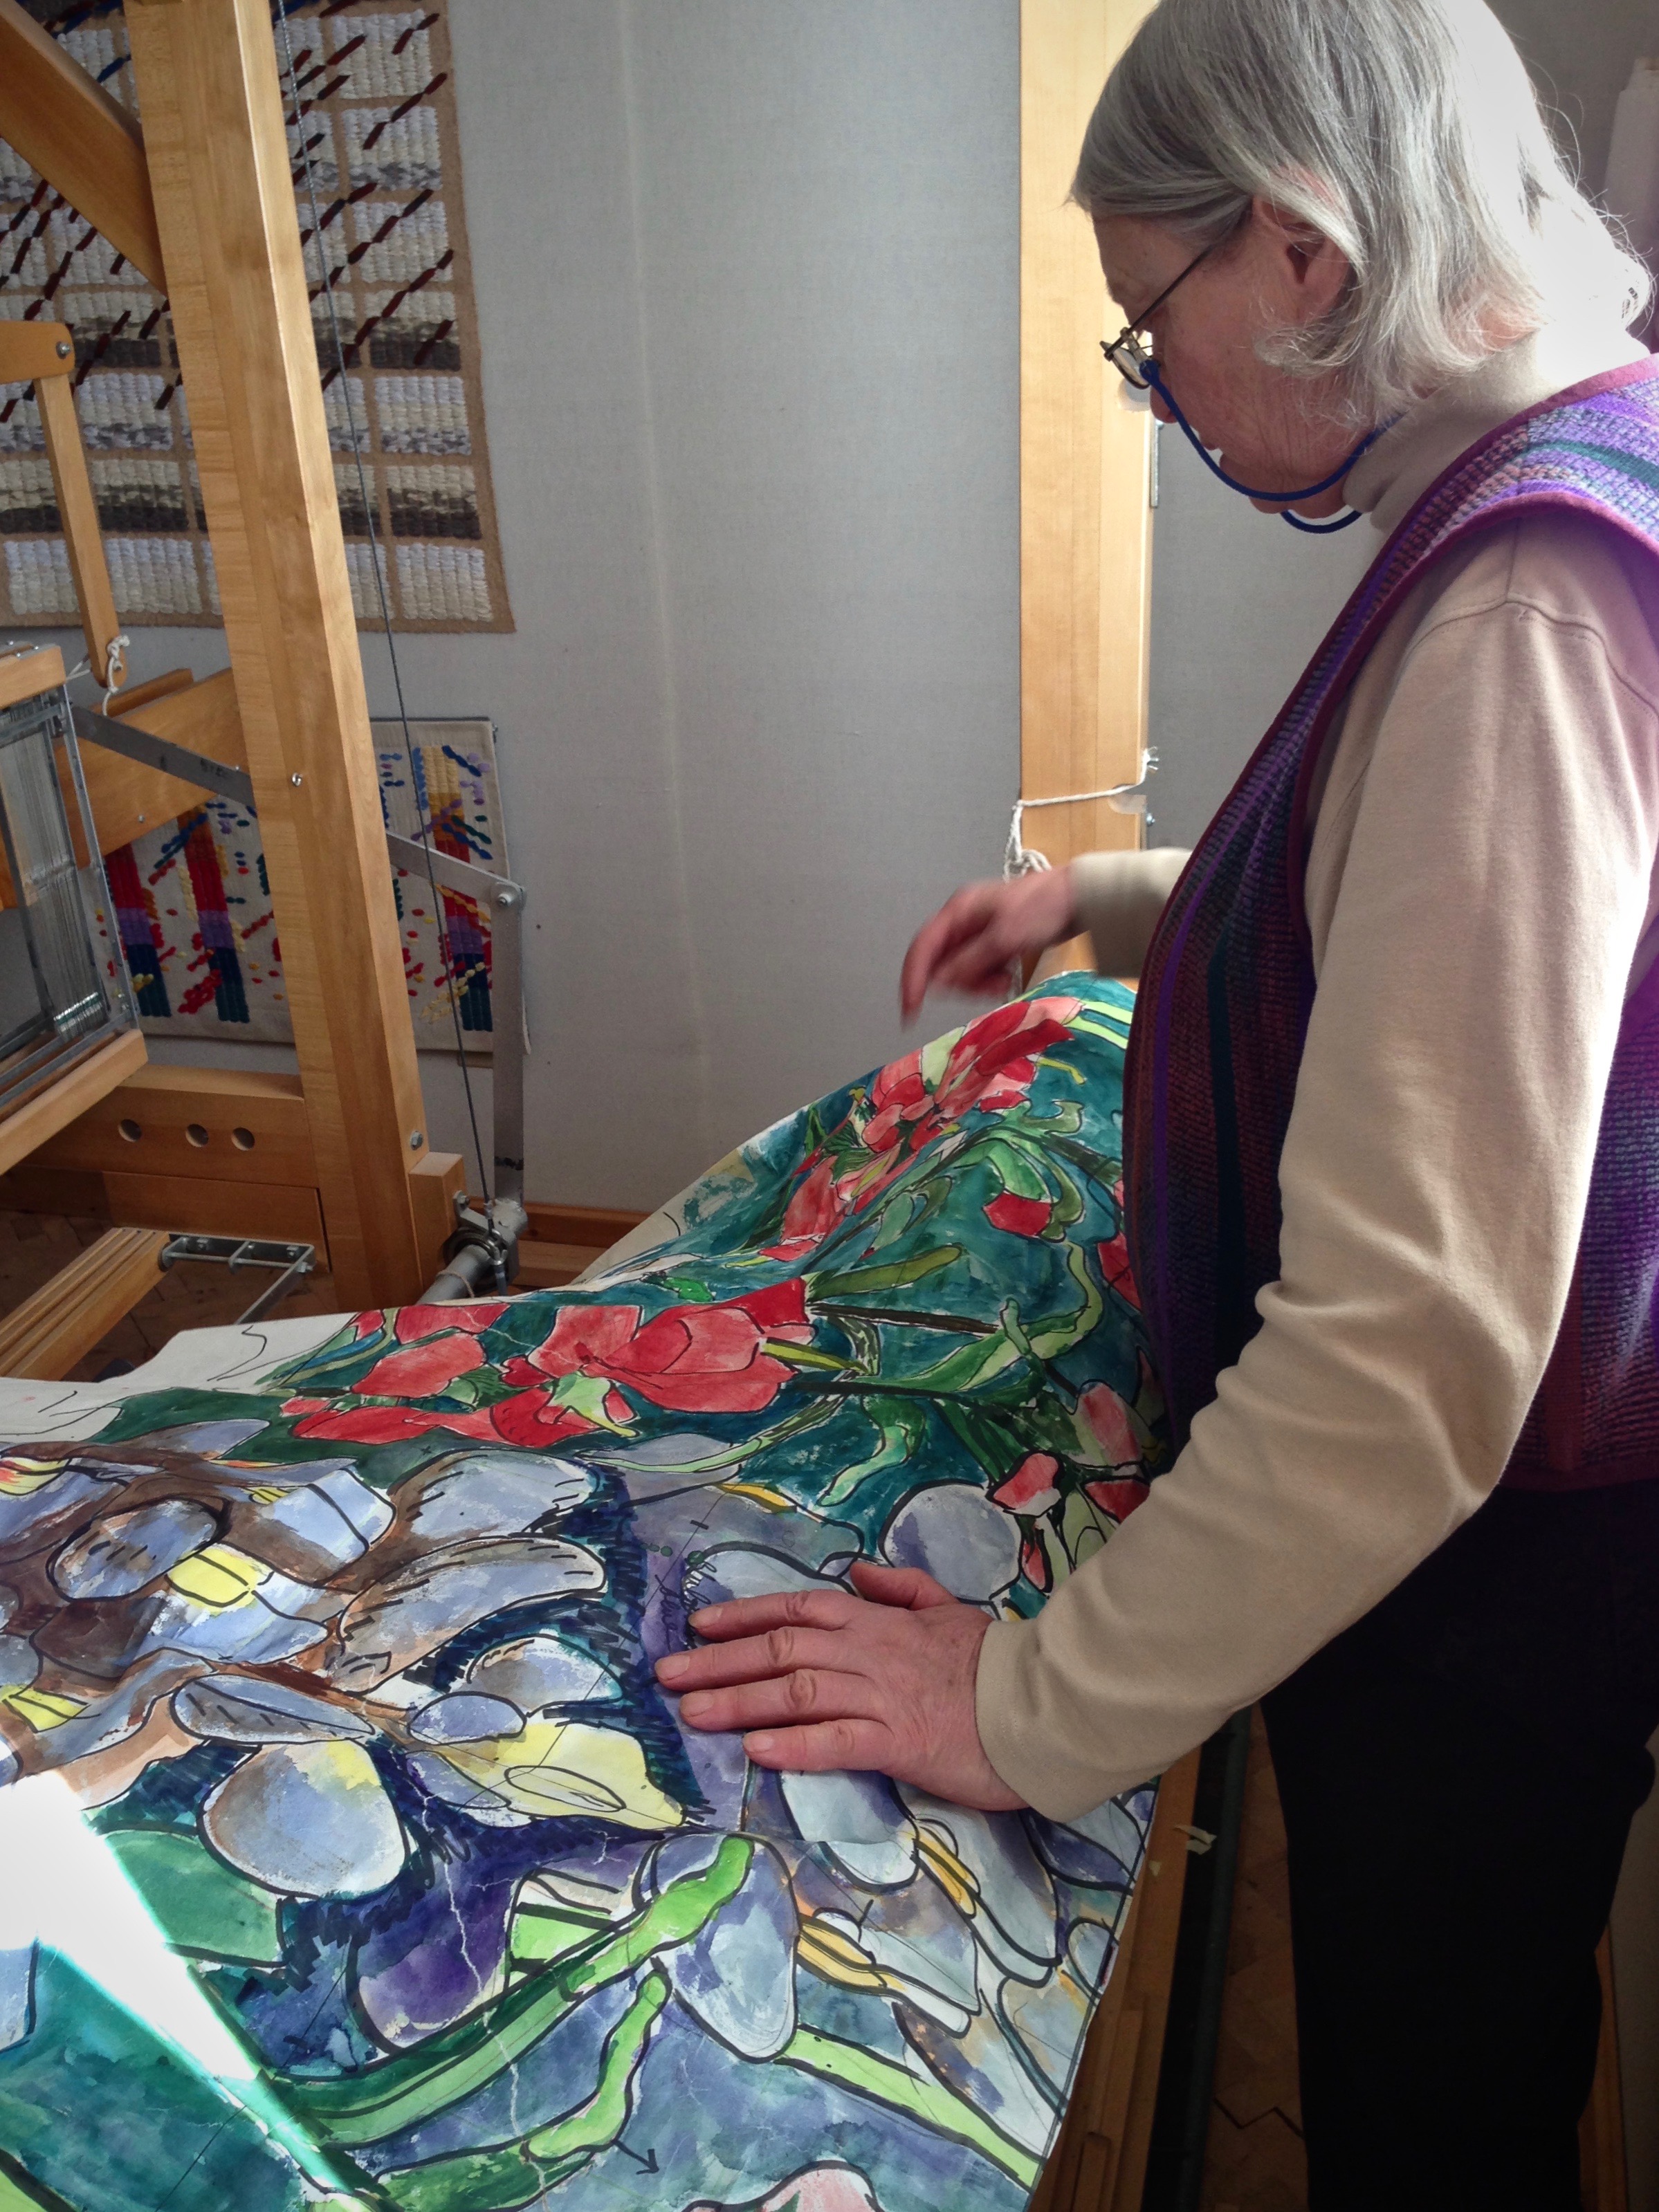
Making a cartoon for a lizard tapestry this size is quite a process. First, I enlarge the photograph. Then, I trace the outlines of the details onto a sheet of clear acetate. Next, to make the cartoon, I trace the bold Sharpie lines of the acetate image onto interfacing material meant for pattern making. But next time, it will be different.

Tracing photograph to make a tapestry cartoon.
Tracing outlines from the enlarged photograph onto the sheet of acetate. Photo image on the iPad helps clarify which distinctive lines to draw.
Making a tapestry cartoon.
White poster board under the acetate makes the Sharpie lines visible. The interfacing material lays on top of the acetate so I can trace the lines to make my cartoon.

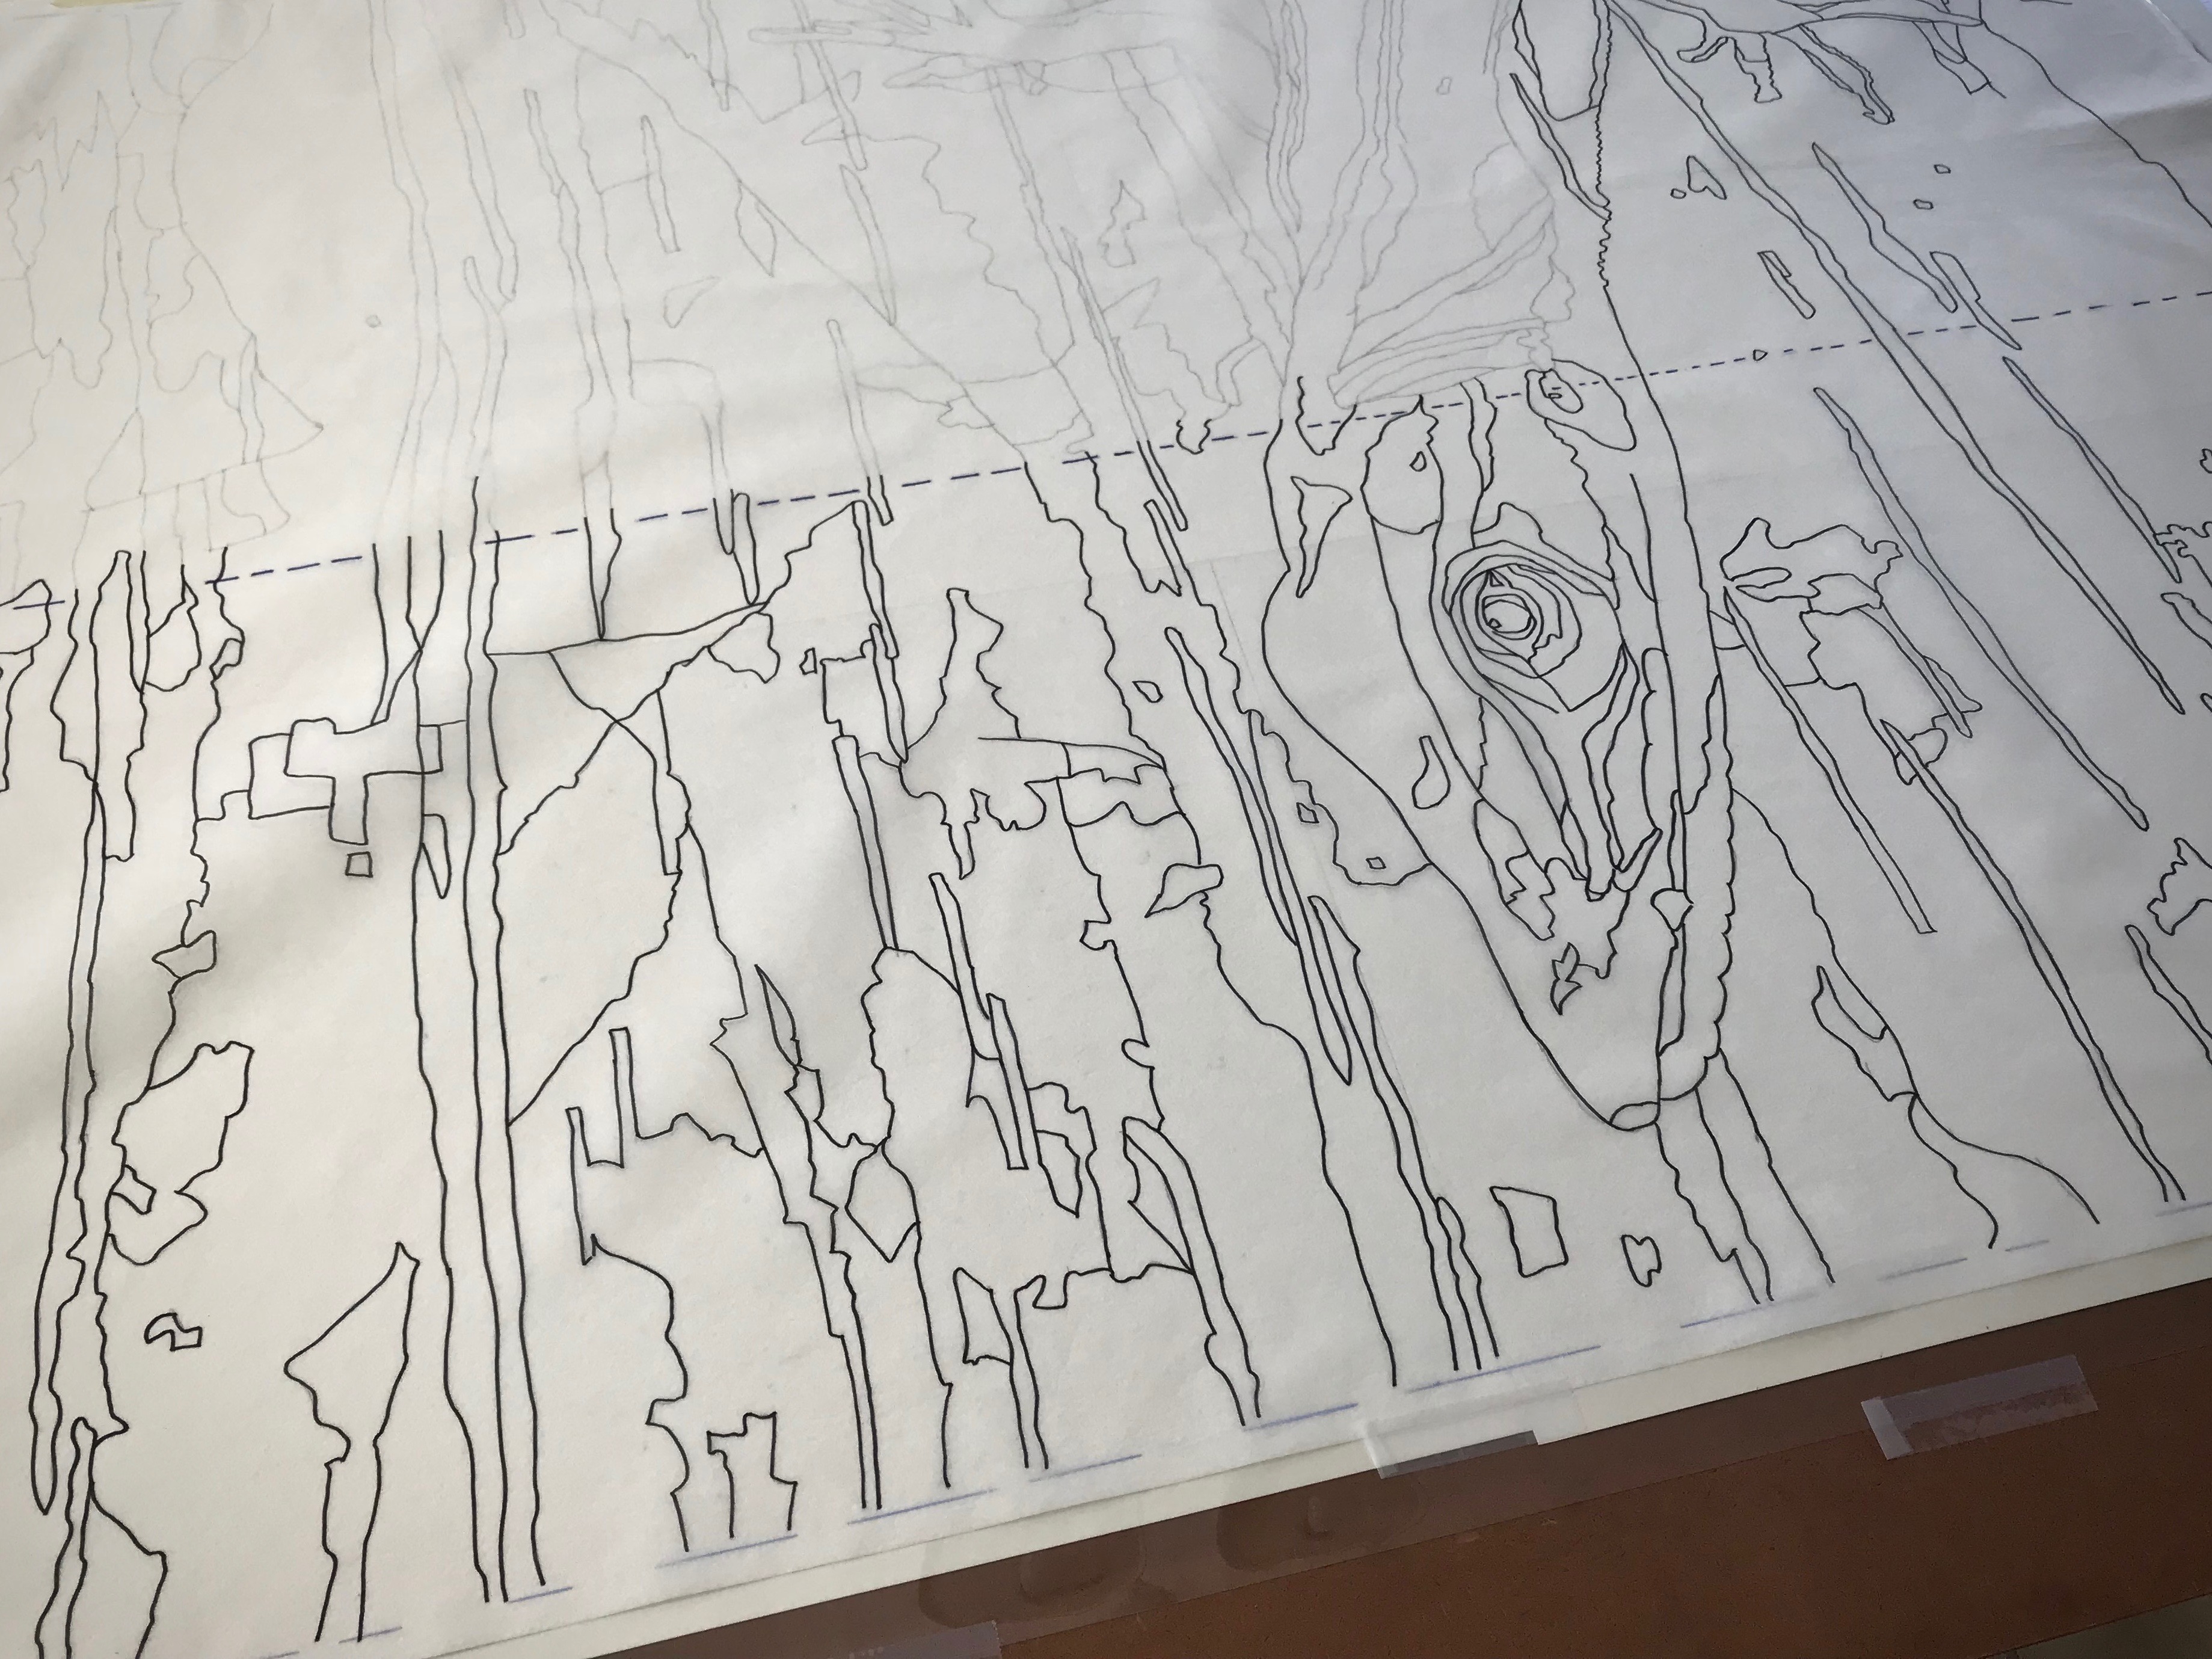
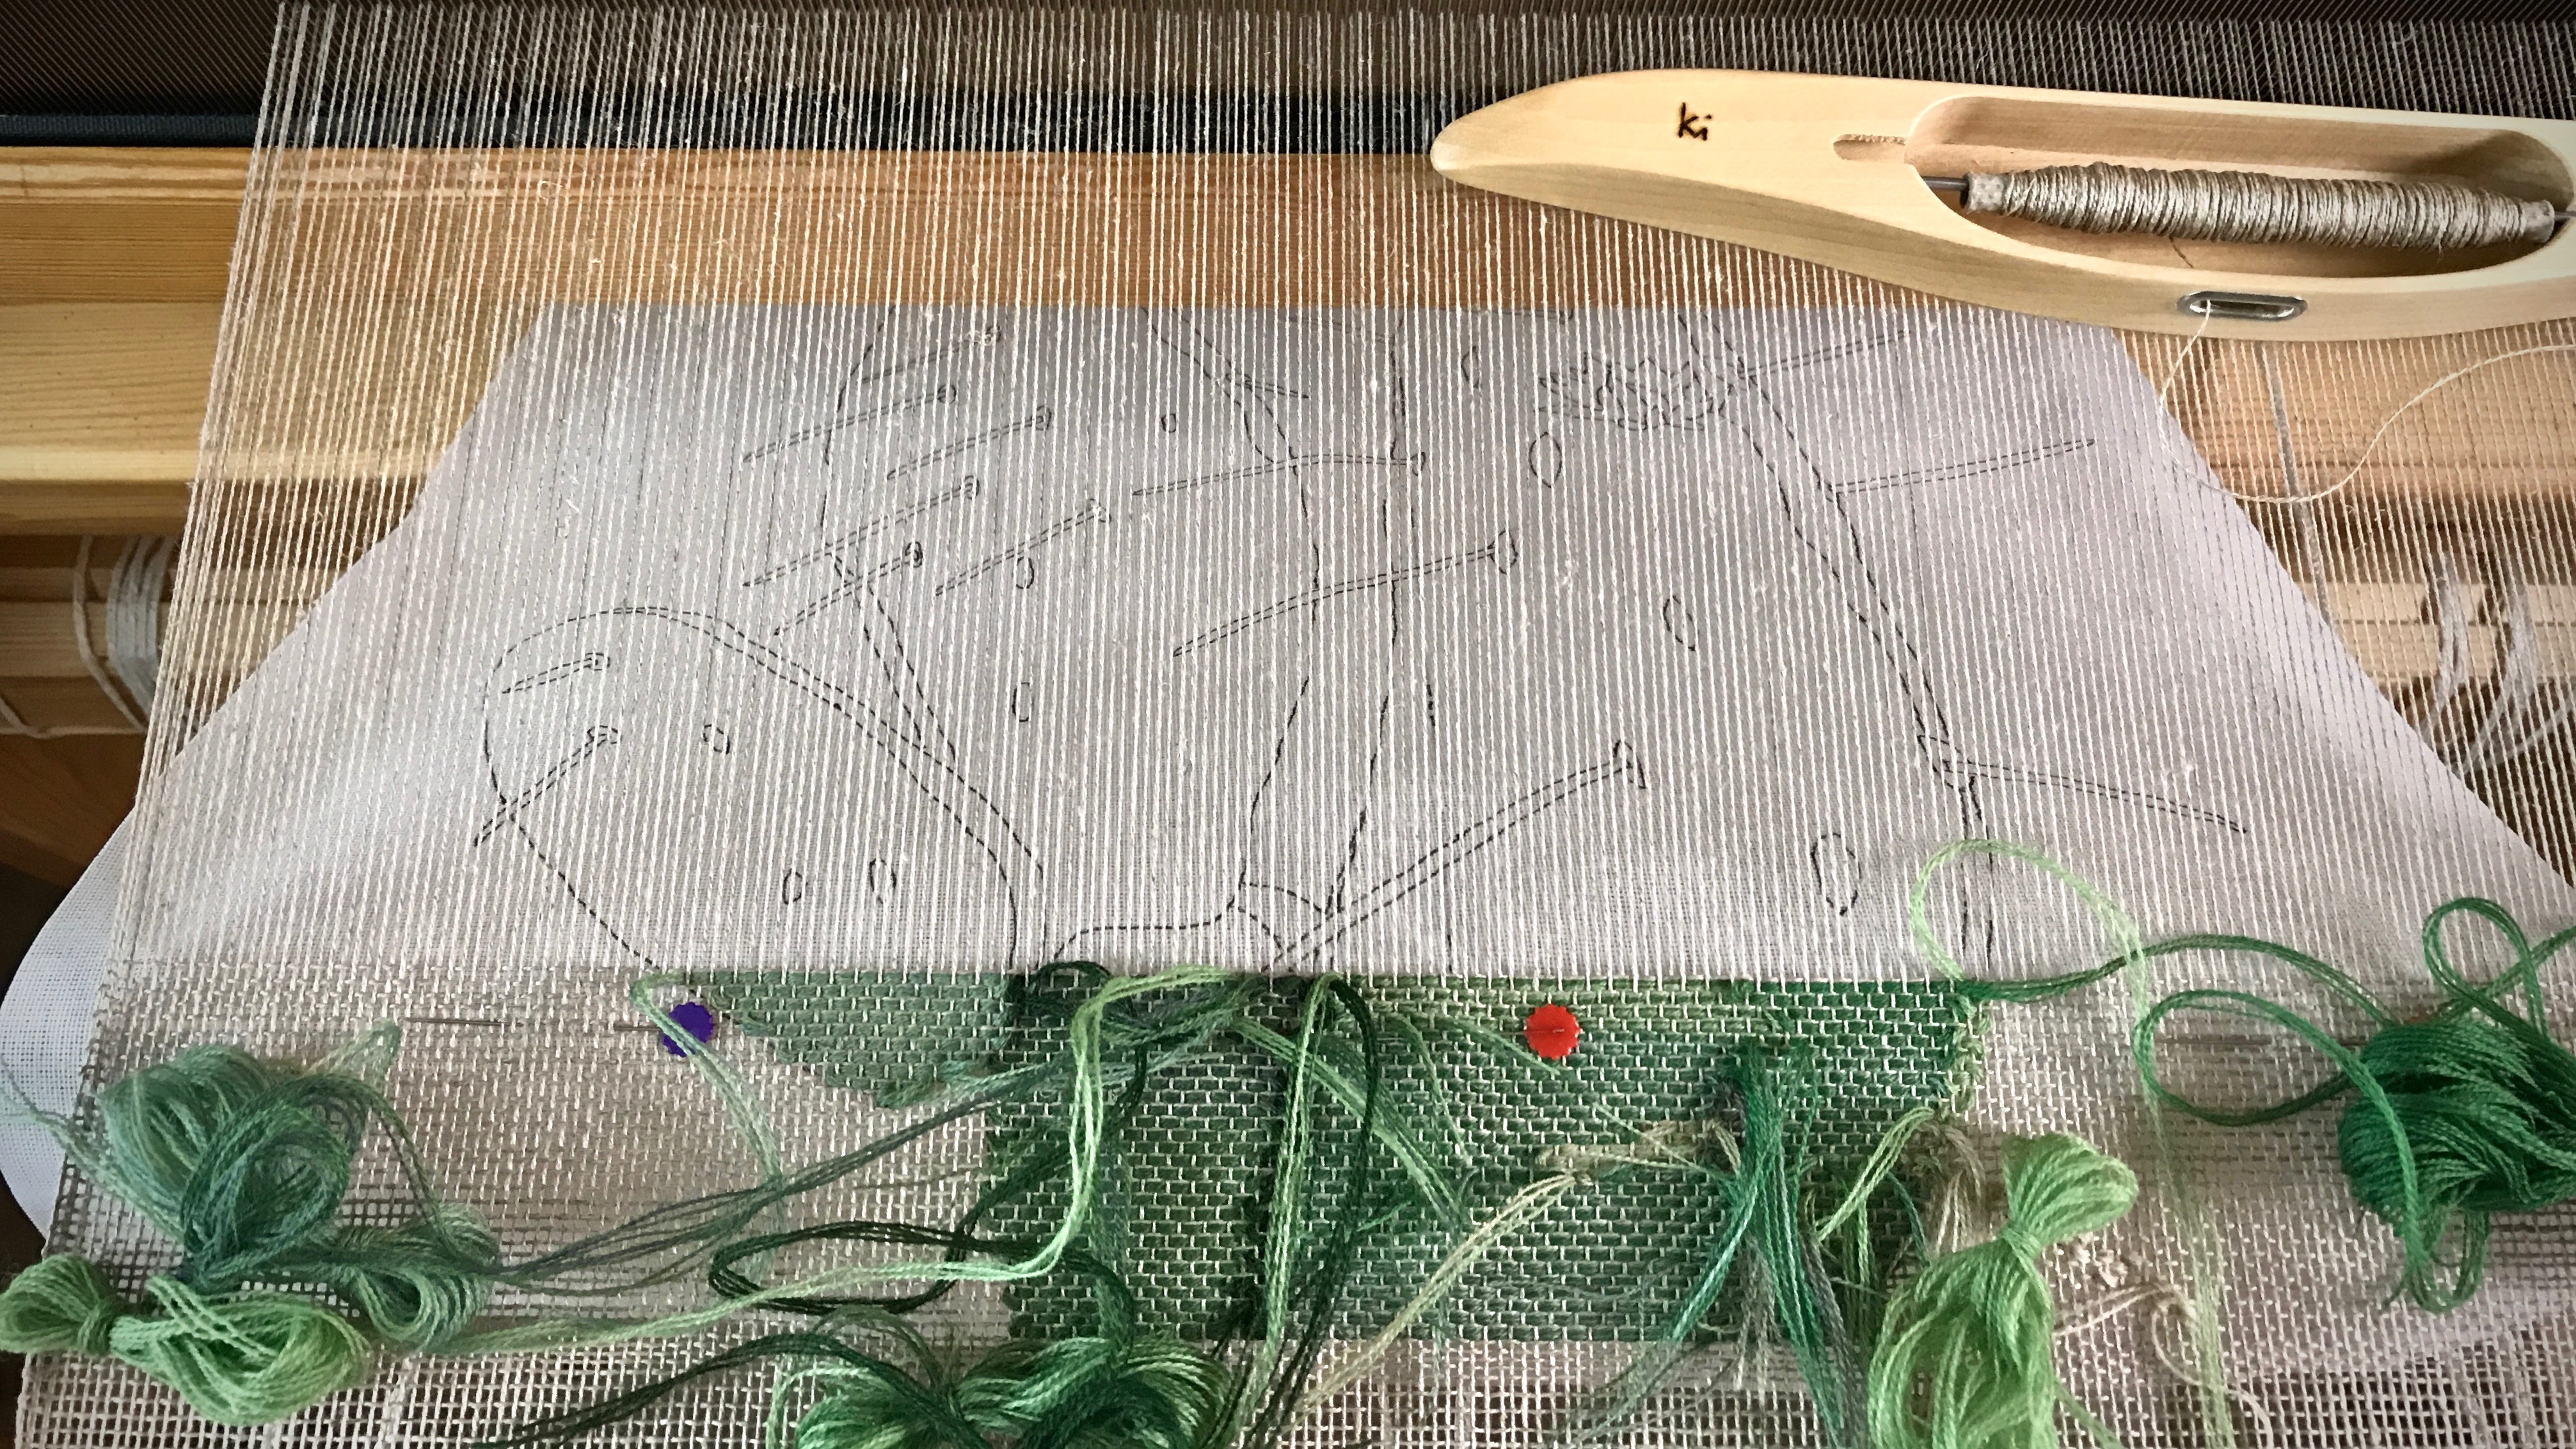
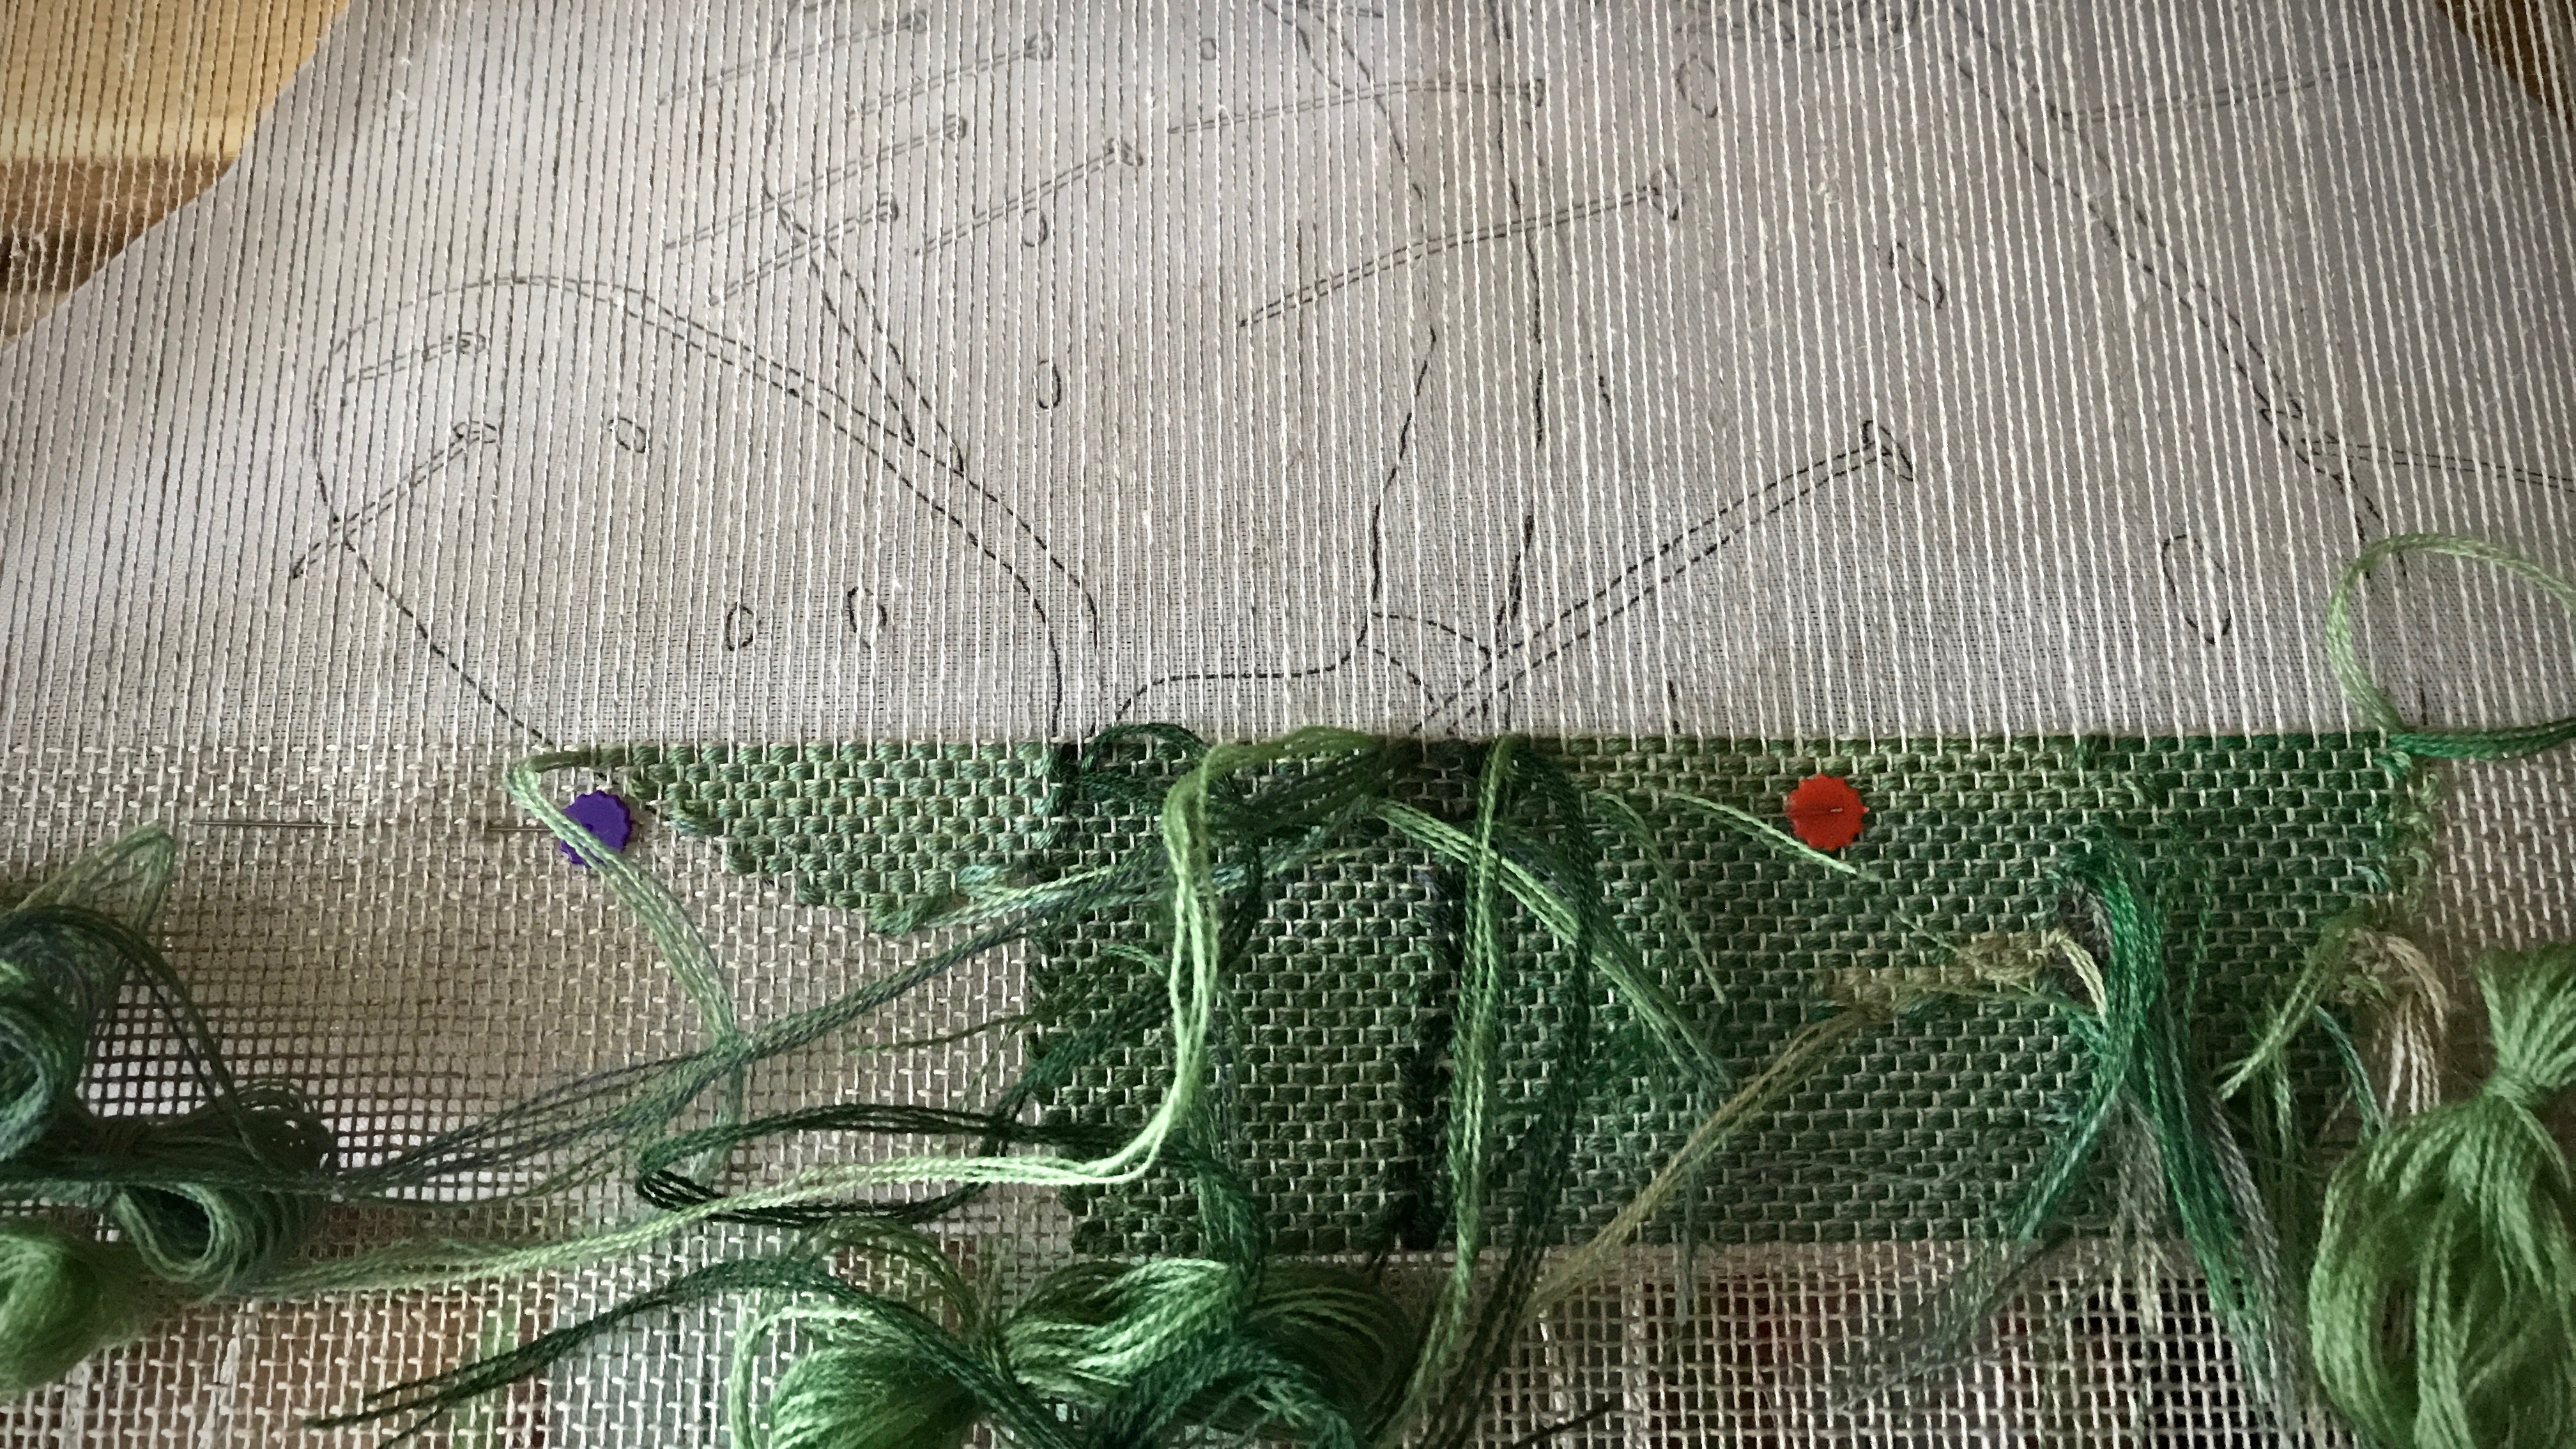
I don’t plan to use this interfacing material again for a cartoon. It is not stiff enough. As the tapestry progresses it becomes more and more difficult to keep the cartoon from puckering and creasing in places. A better option would have been stiffer buckram, like I used for my transparencies. (See – Quiet Friday: Painting with Yarn and Animated Images.) But I am not able to find buckram in sufficient width.

Unwanted creases in the tapestry cartoon.
Interfacing material is susceptible to puckers and creases. Unevenness in the cartoon can result in a distorted woven image on the tapestry.

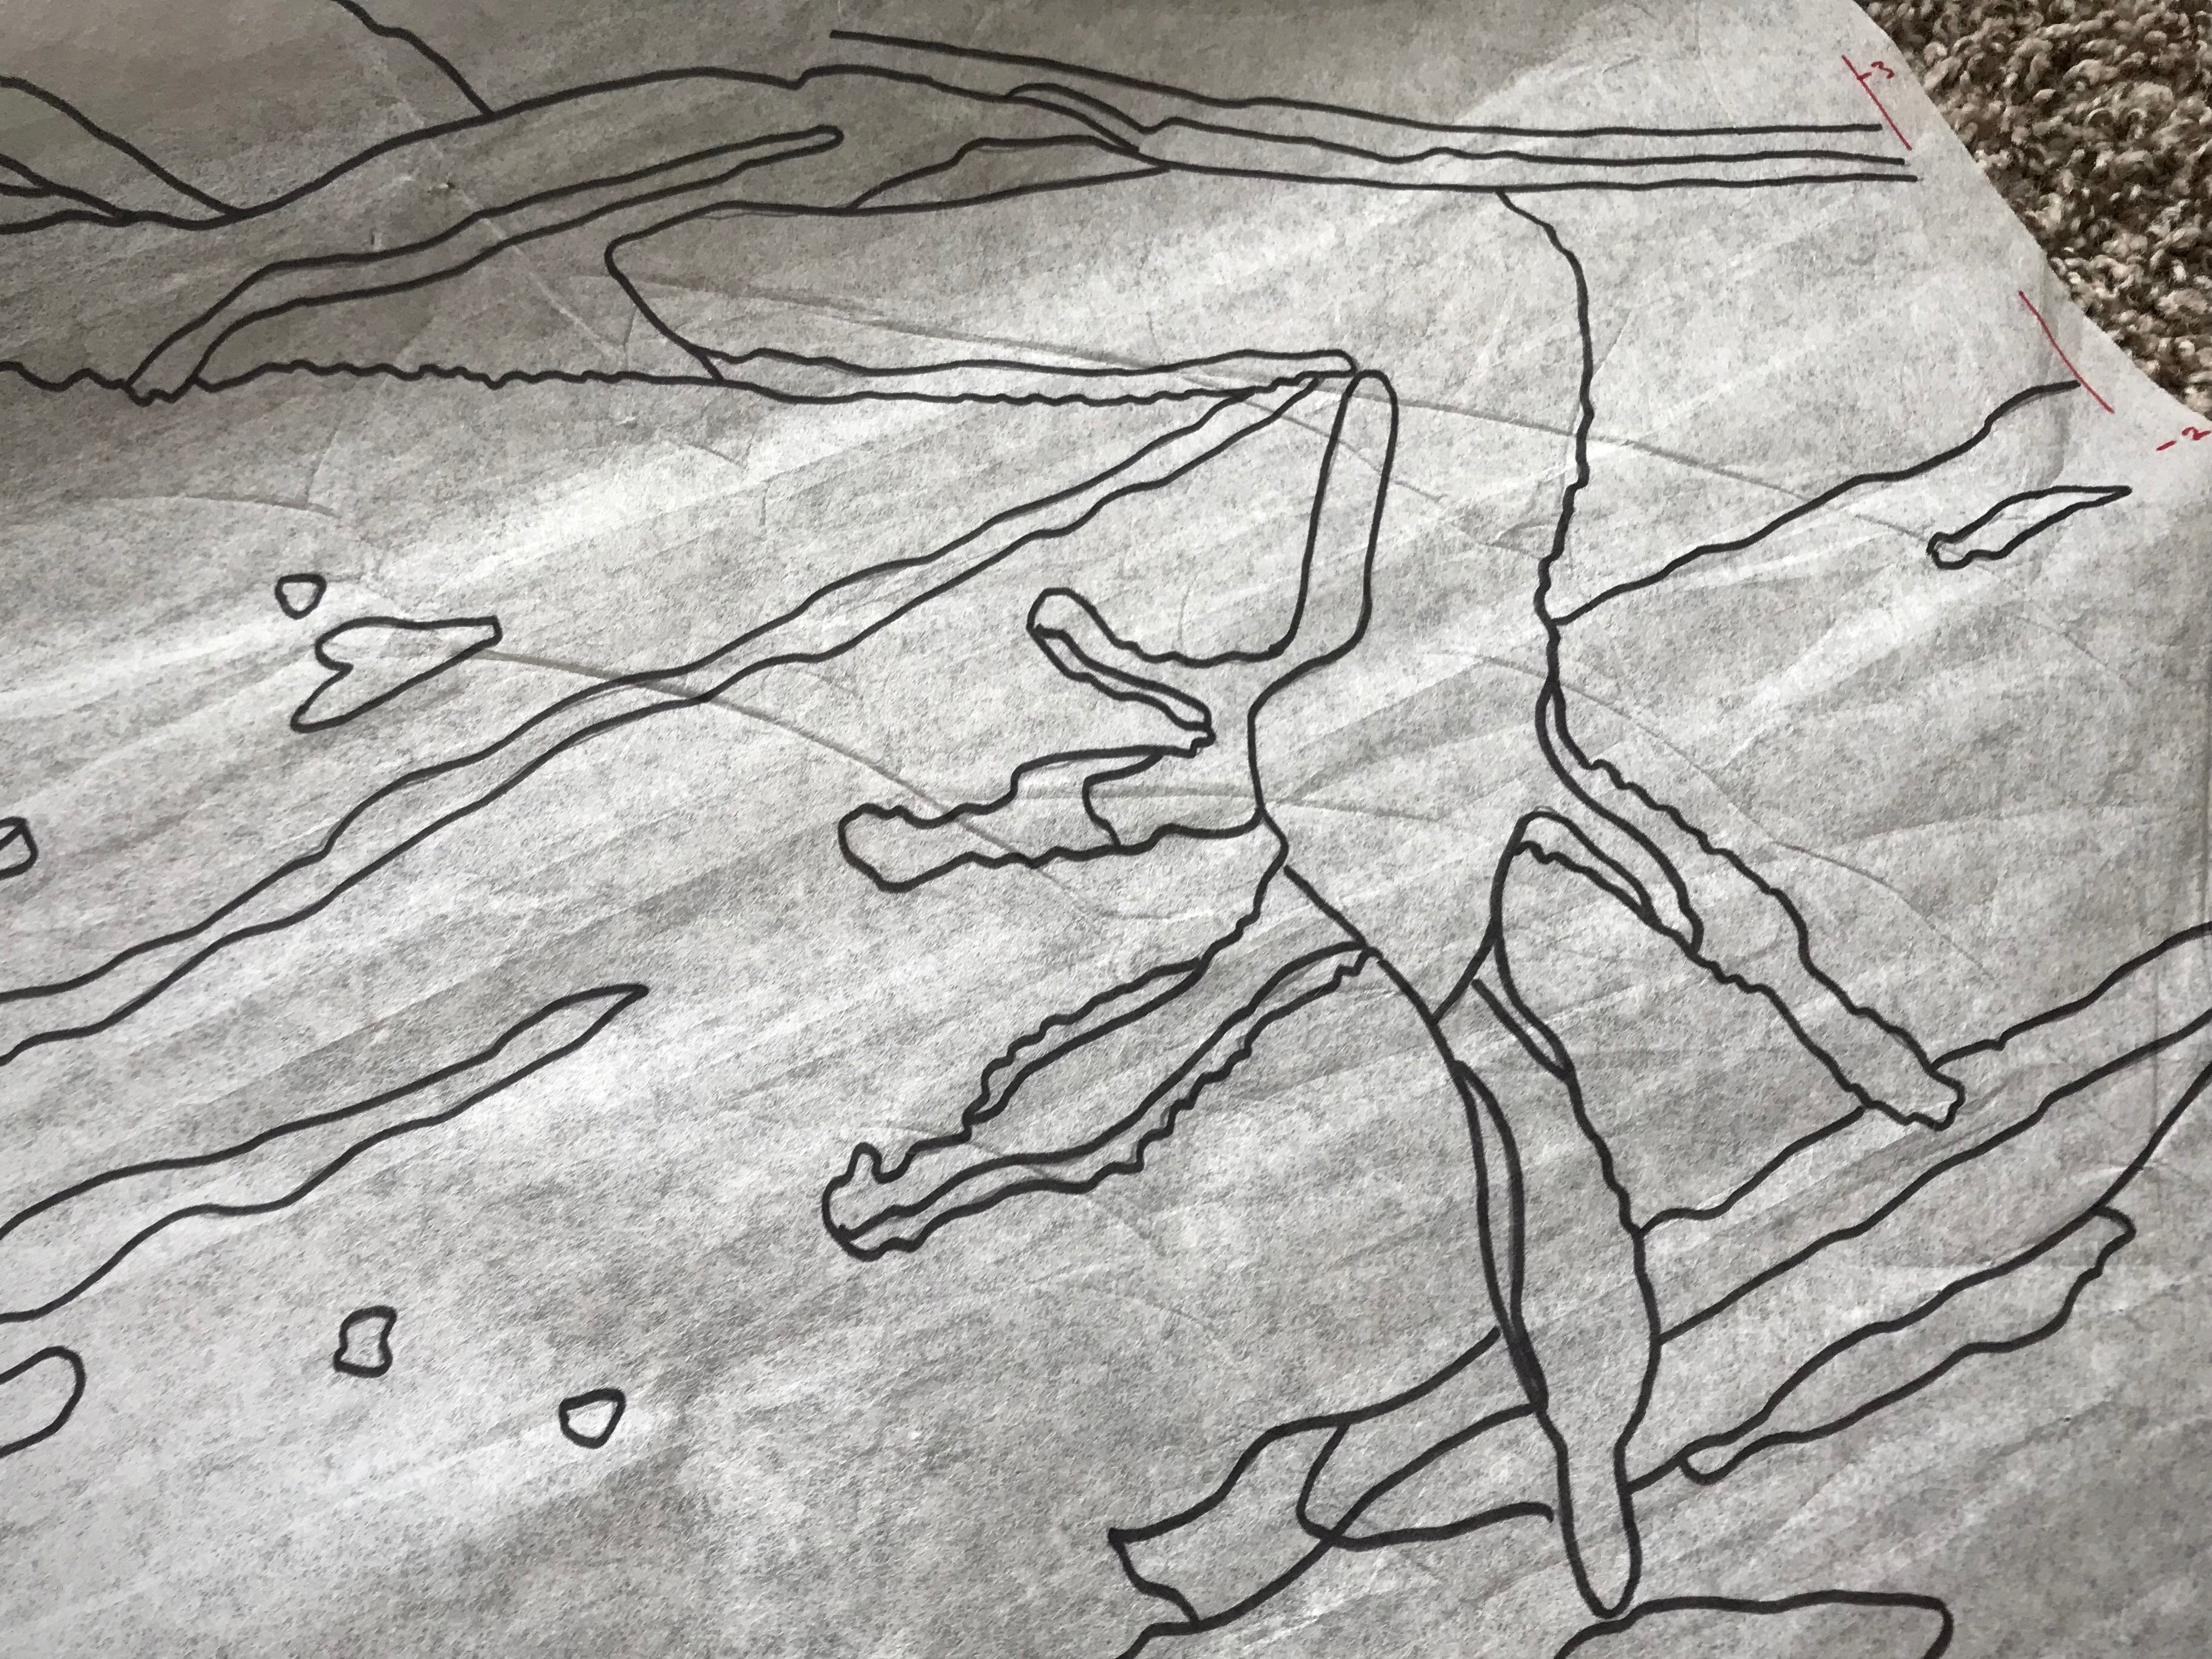
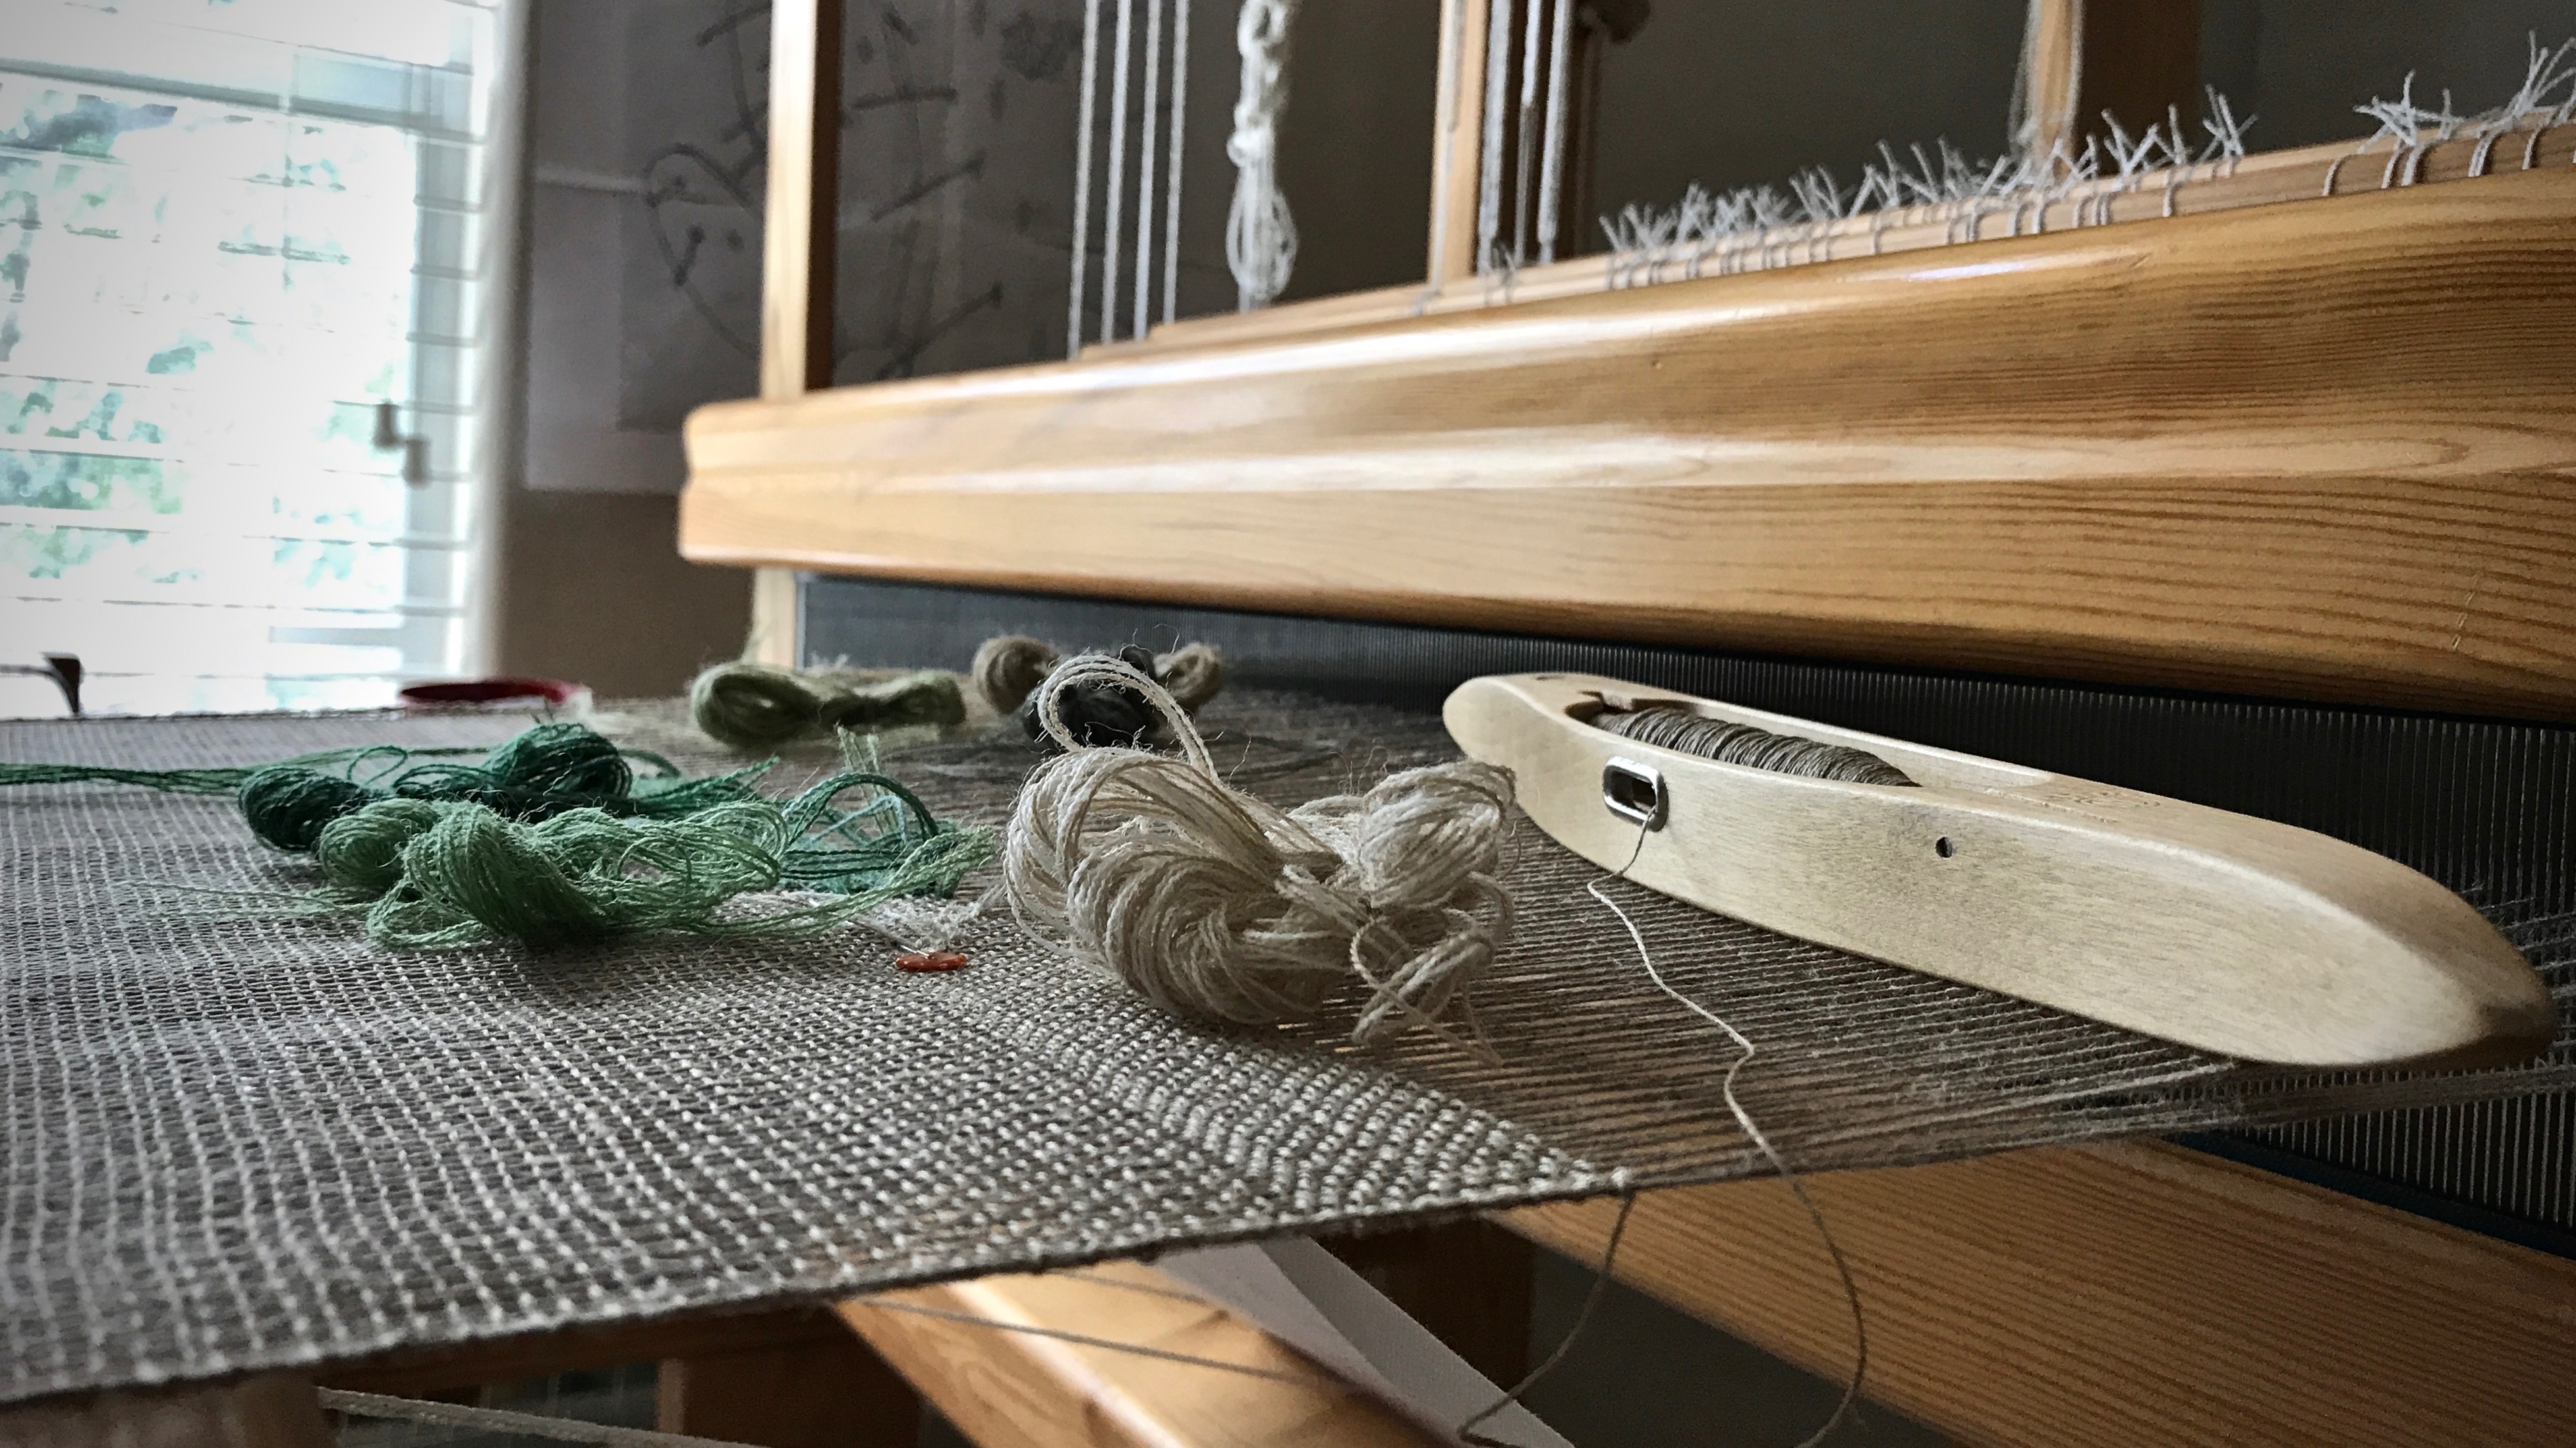
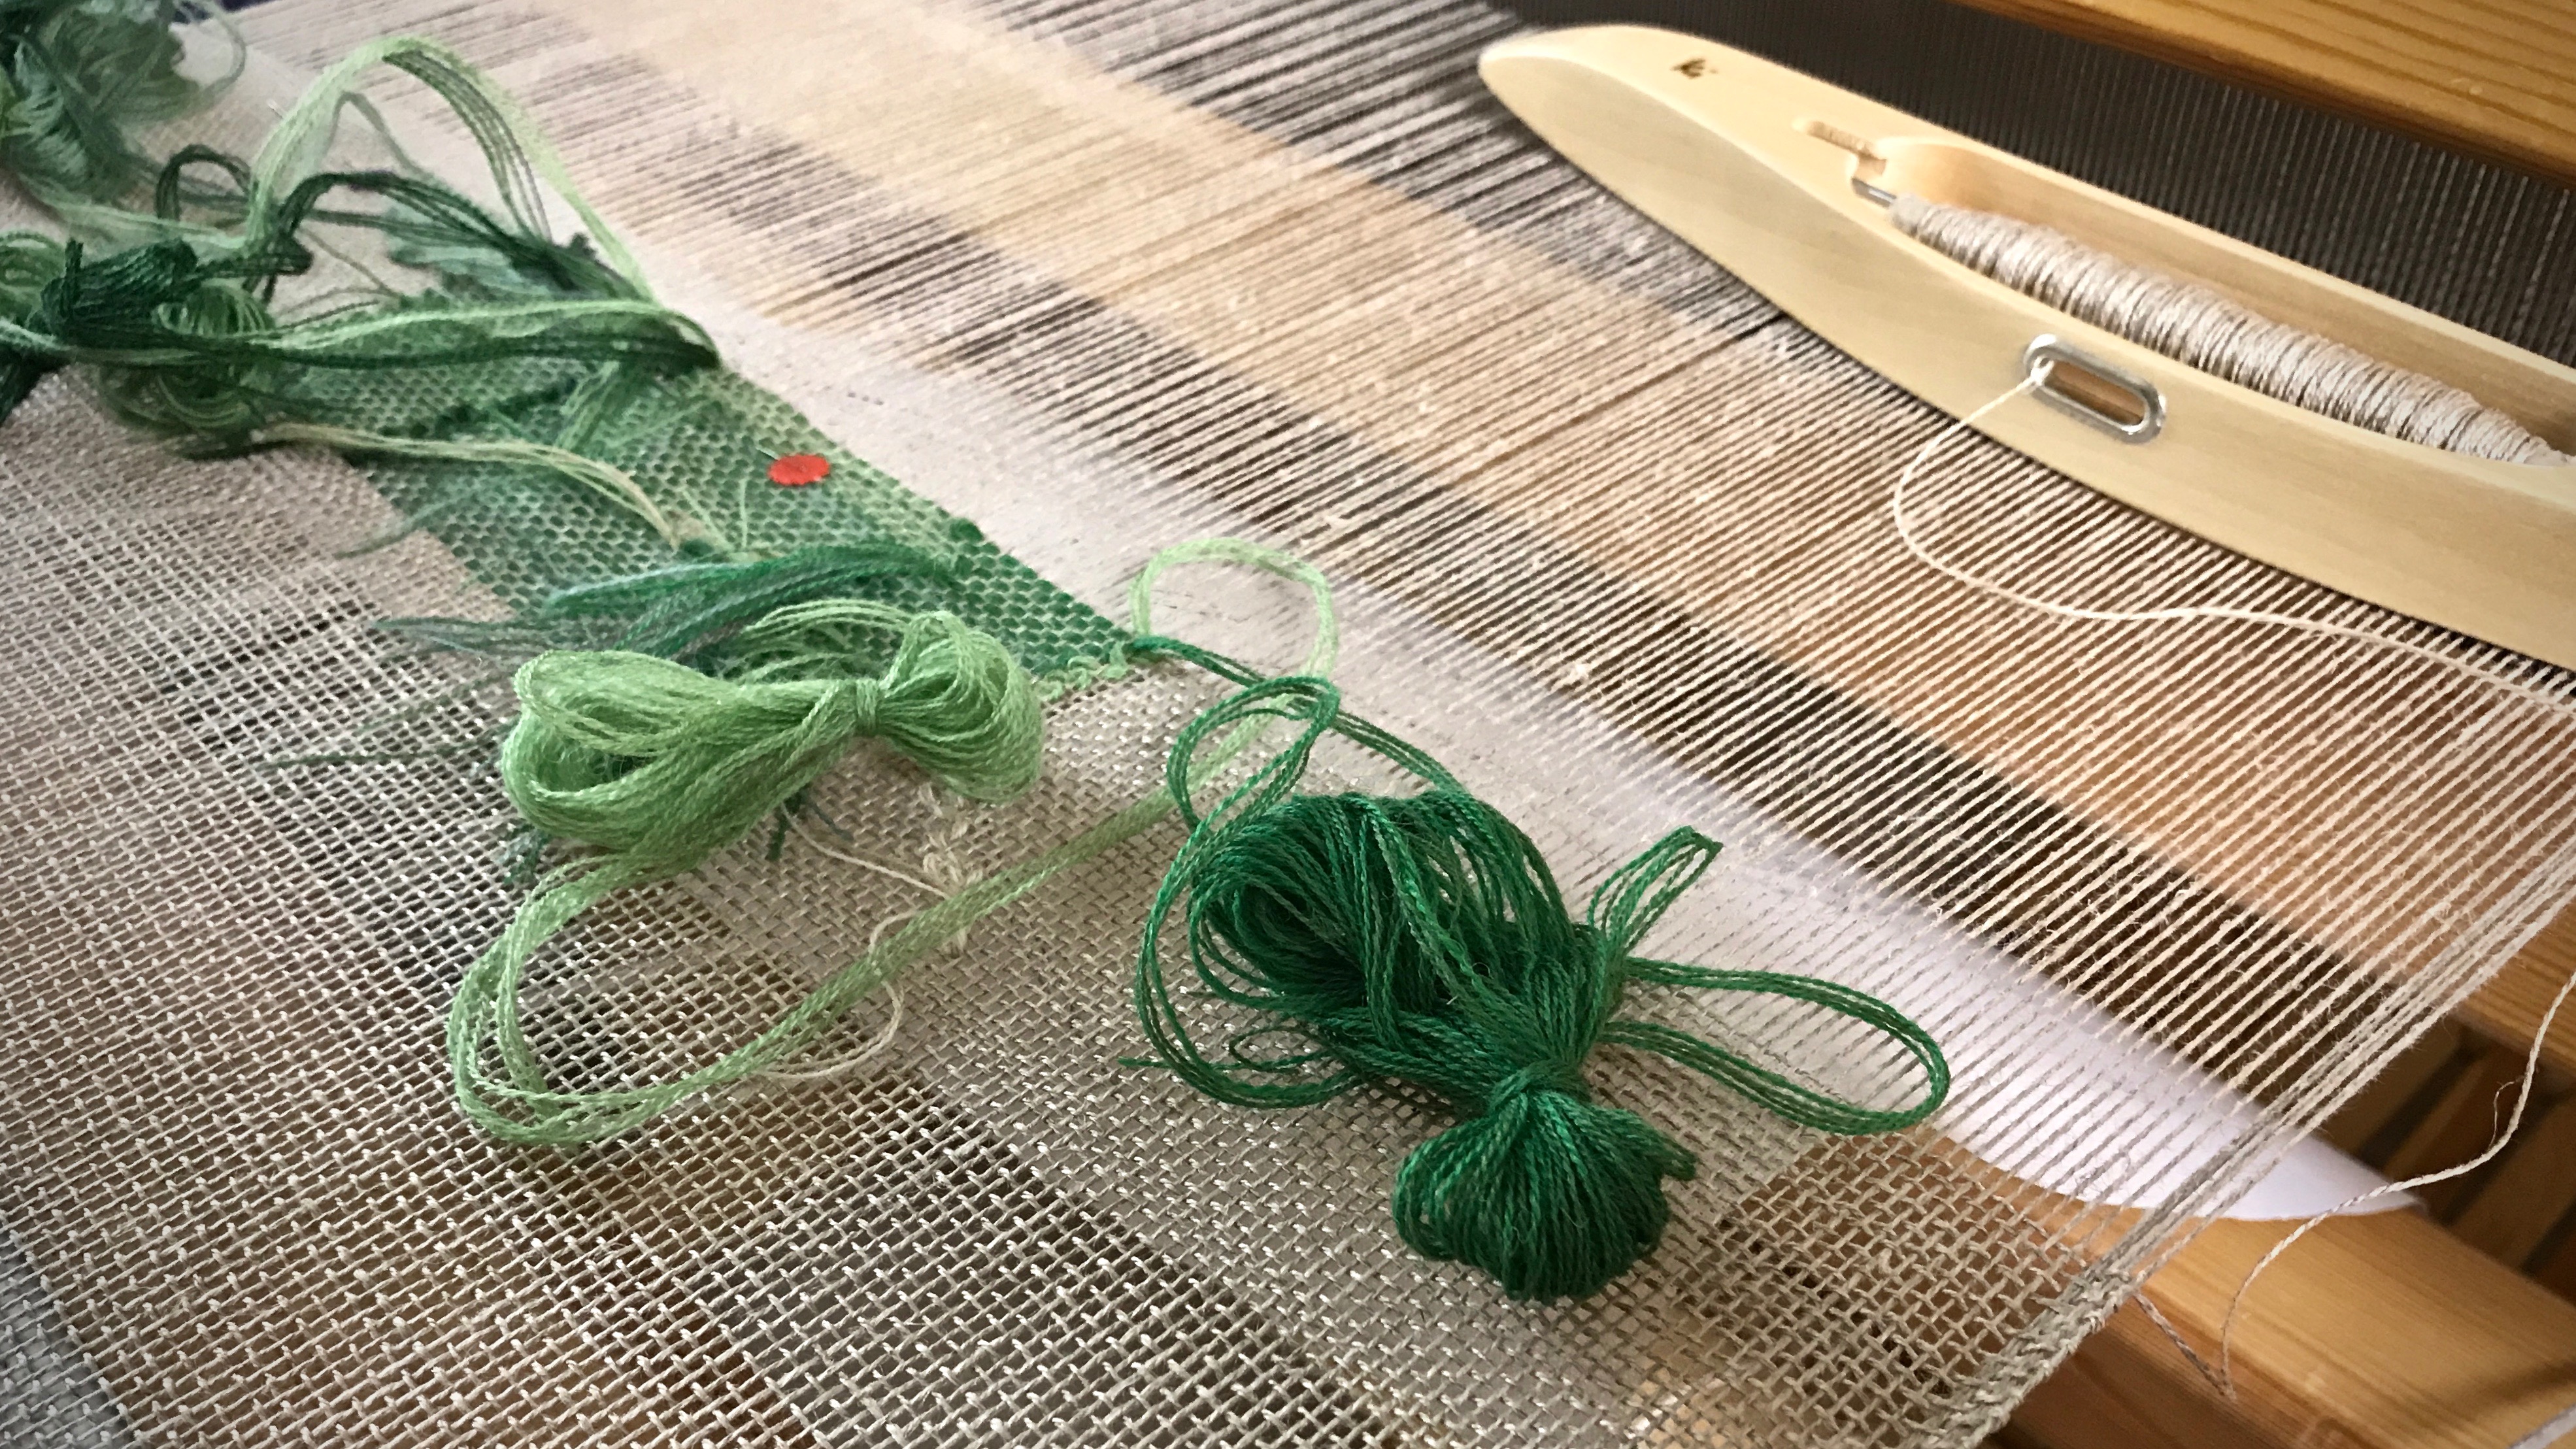
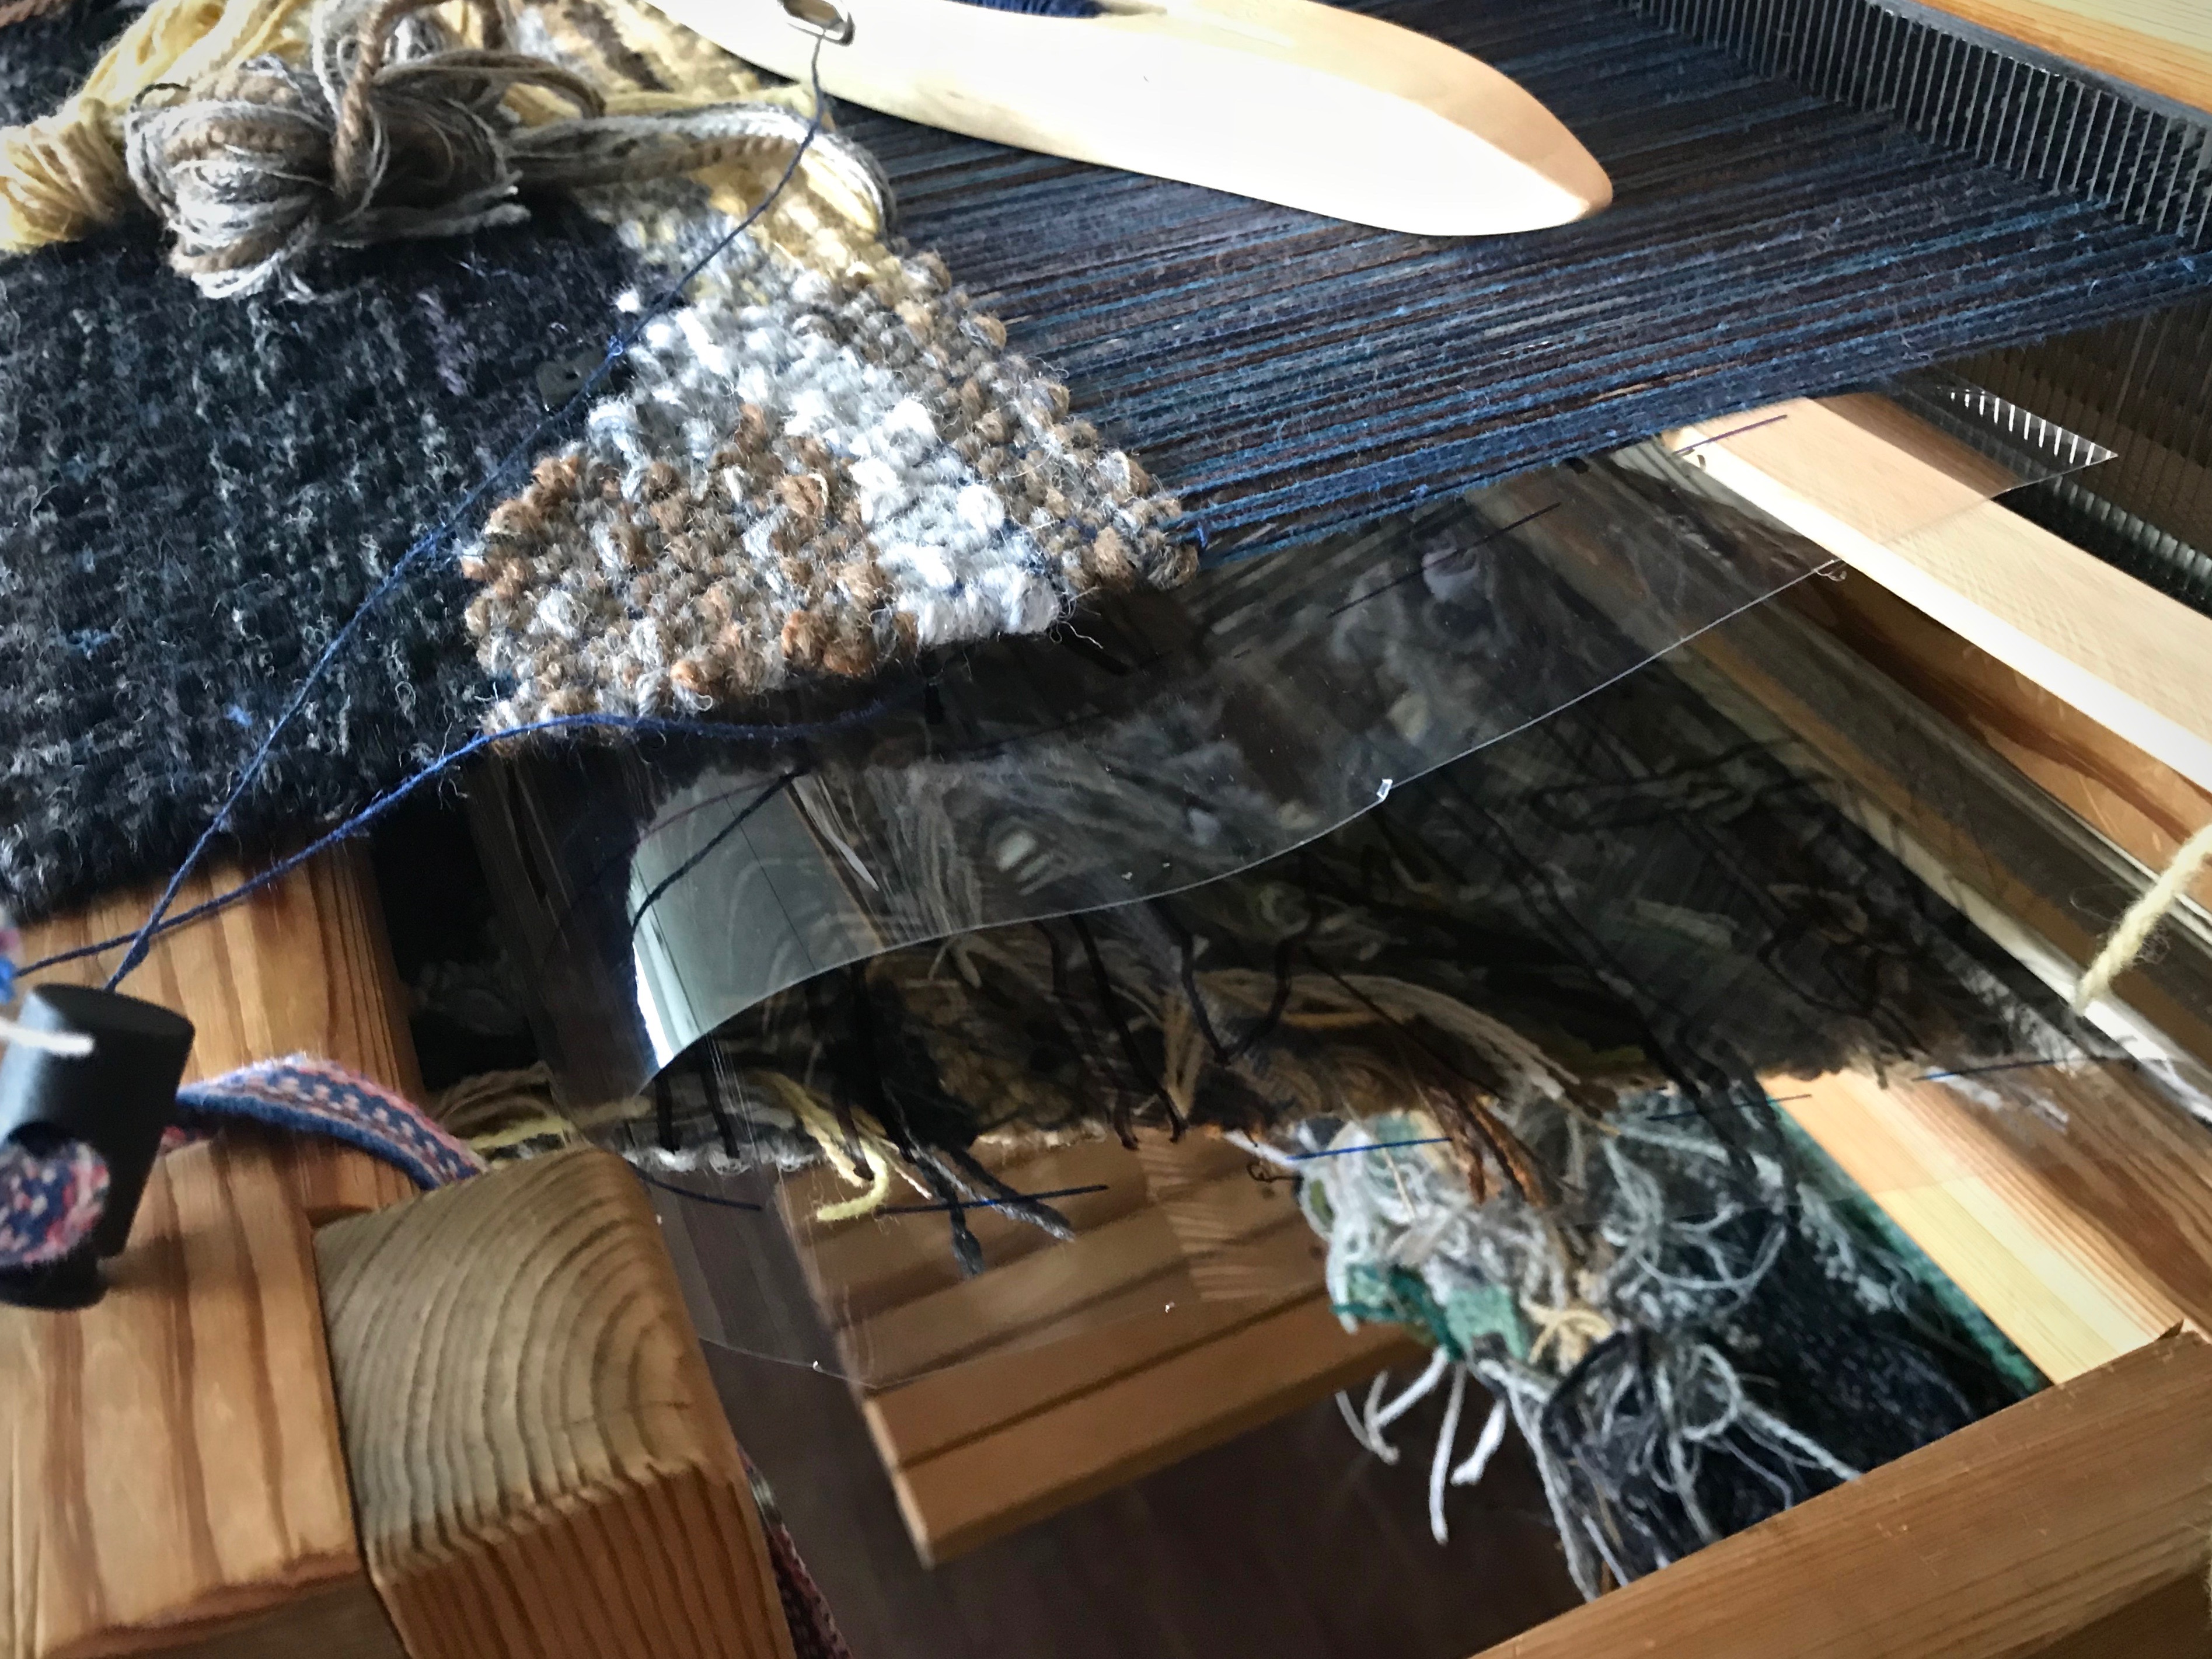
After I finished weaving the lizard portion of the tapestry, I decided to experiment. I removed the interfacing cartoon and switched to the acetate sheet instead. There’s no puckering with this one! It is much easier to line up the cartoon with the weaving. It has drawbacks, though. Noisy! When I beat in the weft it makes thunderstorm sound effects. (Not so great for our temporary apartment life.) It’s also harder to see the cartoon lines. And the magnets I use to hold the cartoon slip out of place too easily.

Using a sheet of acetate for a tapestry cartoon.
Slat holds the cartoon up to the warp. To beat the weft, I move the slat out of the way of the beater, just under the fell line. The sheet of plastic would be a good prop for making sounds effects for a film about a thunderstorm.

Next time... White paper, like the gorgeous tapestry cartoon I have seen in Joanne Hall’s studio. That’s what I’ll use. Next time

Joanne Hall and her tapestry cartoon!
Joanne Hall in her Montana studio. This is the cartoon she made for her impressive Bluebonnets tapestry that hangs on display in a Dallas hospital.

May you learn from your experiments.

All the best,
Karen

Woven Transparency Cactus

I found a subject for my next transparency. It’s a prickly pear cactus in Texas hill country. Weaving this cactus is a fantastic experience! I started with a photograph, from which I made a cartoon. And I have an outline that shows where to place each color. It’s all based on the timeless beauty of colors in nature. I’m hopeful that when light shines through the final woven transparency we will see a likeness of the original cactus.

Prickly Pear Cactus in Texas hill country.
Prickly Pear Cactus in the front yard of our Texas hill country home.

Make a Cartoon

  • Crop and enlarge the photo. (I use Acrobat Reader to enlarge and print in multiple pages, and then tape the pages together.)

Prickly Pear Cactus in Texas hill country.

  • Outline the main lines of the picture.
  • Turn the enlarged picture over and draw the traced lines on the back to have the reverse image. (This transparency is woven from the back.)

Photo to sketch to cartoon for woven transparency.

  • Trace the line drawing onto a piece of buckram to use as the cartoon.
  • Draw a vertical dashed line down the center of the buckram cartoon.
  • Pin the cartoon under the weaving, lining up the center line on the cartoon with the center warp end. Move the pins, one at a time, before advancing the warp each time.

Buckram used for transparency cartoon.

Color Selection

  • Use the photograph to select yarn colors for the transparency. (I used the iPad to view the photo, and selected sixteen shades of 20/2 Mora wool.)
  • Sort the yarn by hues. (I used my iPhone camera black-and-white setting to help in the sorting.) Sorting by hues helps me blend similar-hued colors, and shows me the contrasts that will help define the picture.

Color selection for woven transparency. Sorting by hues.


Sorting colors by hues for woven transparency.

  • Assign a number to each yarn color.
  • Make the enlarged outline into a color-by-number sheet by designating a color or blend of colors for each section. (I taped this sheet to the wall beside my loom, to use as a color guide. The iPad photo also serves as a reference.)

Butterflies of Mora wool for woven transparency.

Virtues are timeless. Virtues are like colors that blend together to weave a masterpiece. When we let the Grand Weaver lay in the weft, these are the colors that appear as light shines through His woven transparency: love, joy, peace, patience, kindness, goodness, faithfulness, gentleness, self-control. And when this occurs, it shows that we are made in His image.

Making a transparency cartoon. Tutorial.


Woven transparency from a photo. How to.

May the next leg of your journey be a fantastic experience.

I’ll meet you back here on Tuesday, August 1st, 2017.
In the meantime, I hope you investigate claims of Jesus. Take time with people. Keep weaving. And the same for me.

Head over to Instagram to stay in touch with my daily journey.

Love,
Karen

Do You See What I See?

Thanksgiving 2013 is over and the house is quieter now. I am back to weaving bound rosepath (rosengång). This piece will be a table mat for next year’s Thanksgiving dinner, with the turkey pilgrims facing one side of the table. (Click HERE to see more about weaving the turkey pilgrims.) It makes sense, then, to have pilgrim men facing the other side. This means weaving the pilgrim men upside down. As I am weaving, it is difficult to determine if the upside down image is forming properly. I courageously weave on, hoping I am correctly interpreting the diagram. Faith takes courage like that.

Bound Rosepath Pilgrims on Thanksgiving table mat
A small hand mirror gives an upright view of the woven pilgrim men that are facing away from the orange pilgrim turkeys.

I used Numbers on my iPad to design the bound rosepath pilgrim motif. The image is only seven squares across the graph sheet, and must be entirely symmetrical from side to side. This mere-seven-pixel-wide picture is a design challenge because of its narrow limit.

Bound Rosepath Diagram using iPad Numbers app
iPad screen shot of pilgrim diagram in Numbers (spreadsheet) app.

Putting our faith into action when we don’t know all the answers takes courage. It is like following the diagram when the picture doesn’t make sense. I imagine that kind of faith courage pleases our creator. It was only after I finished weaving the row of pilgrims that I thought of holding up a mirror to see the upright image. Don’t take the easy way out. Don’t shrink back. When you press into the picture with faith, your life becomes a positive reflection of your maker’s skillful design.

May you live with courageous faith.

Peace,
Karen