Treadle Adjustments on a Countermarch Loom

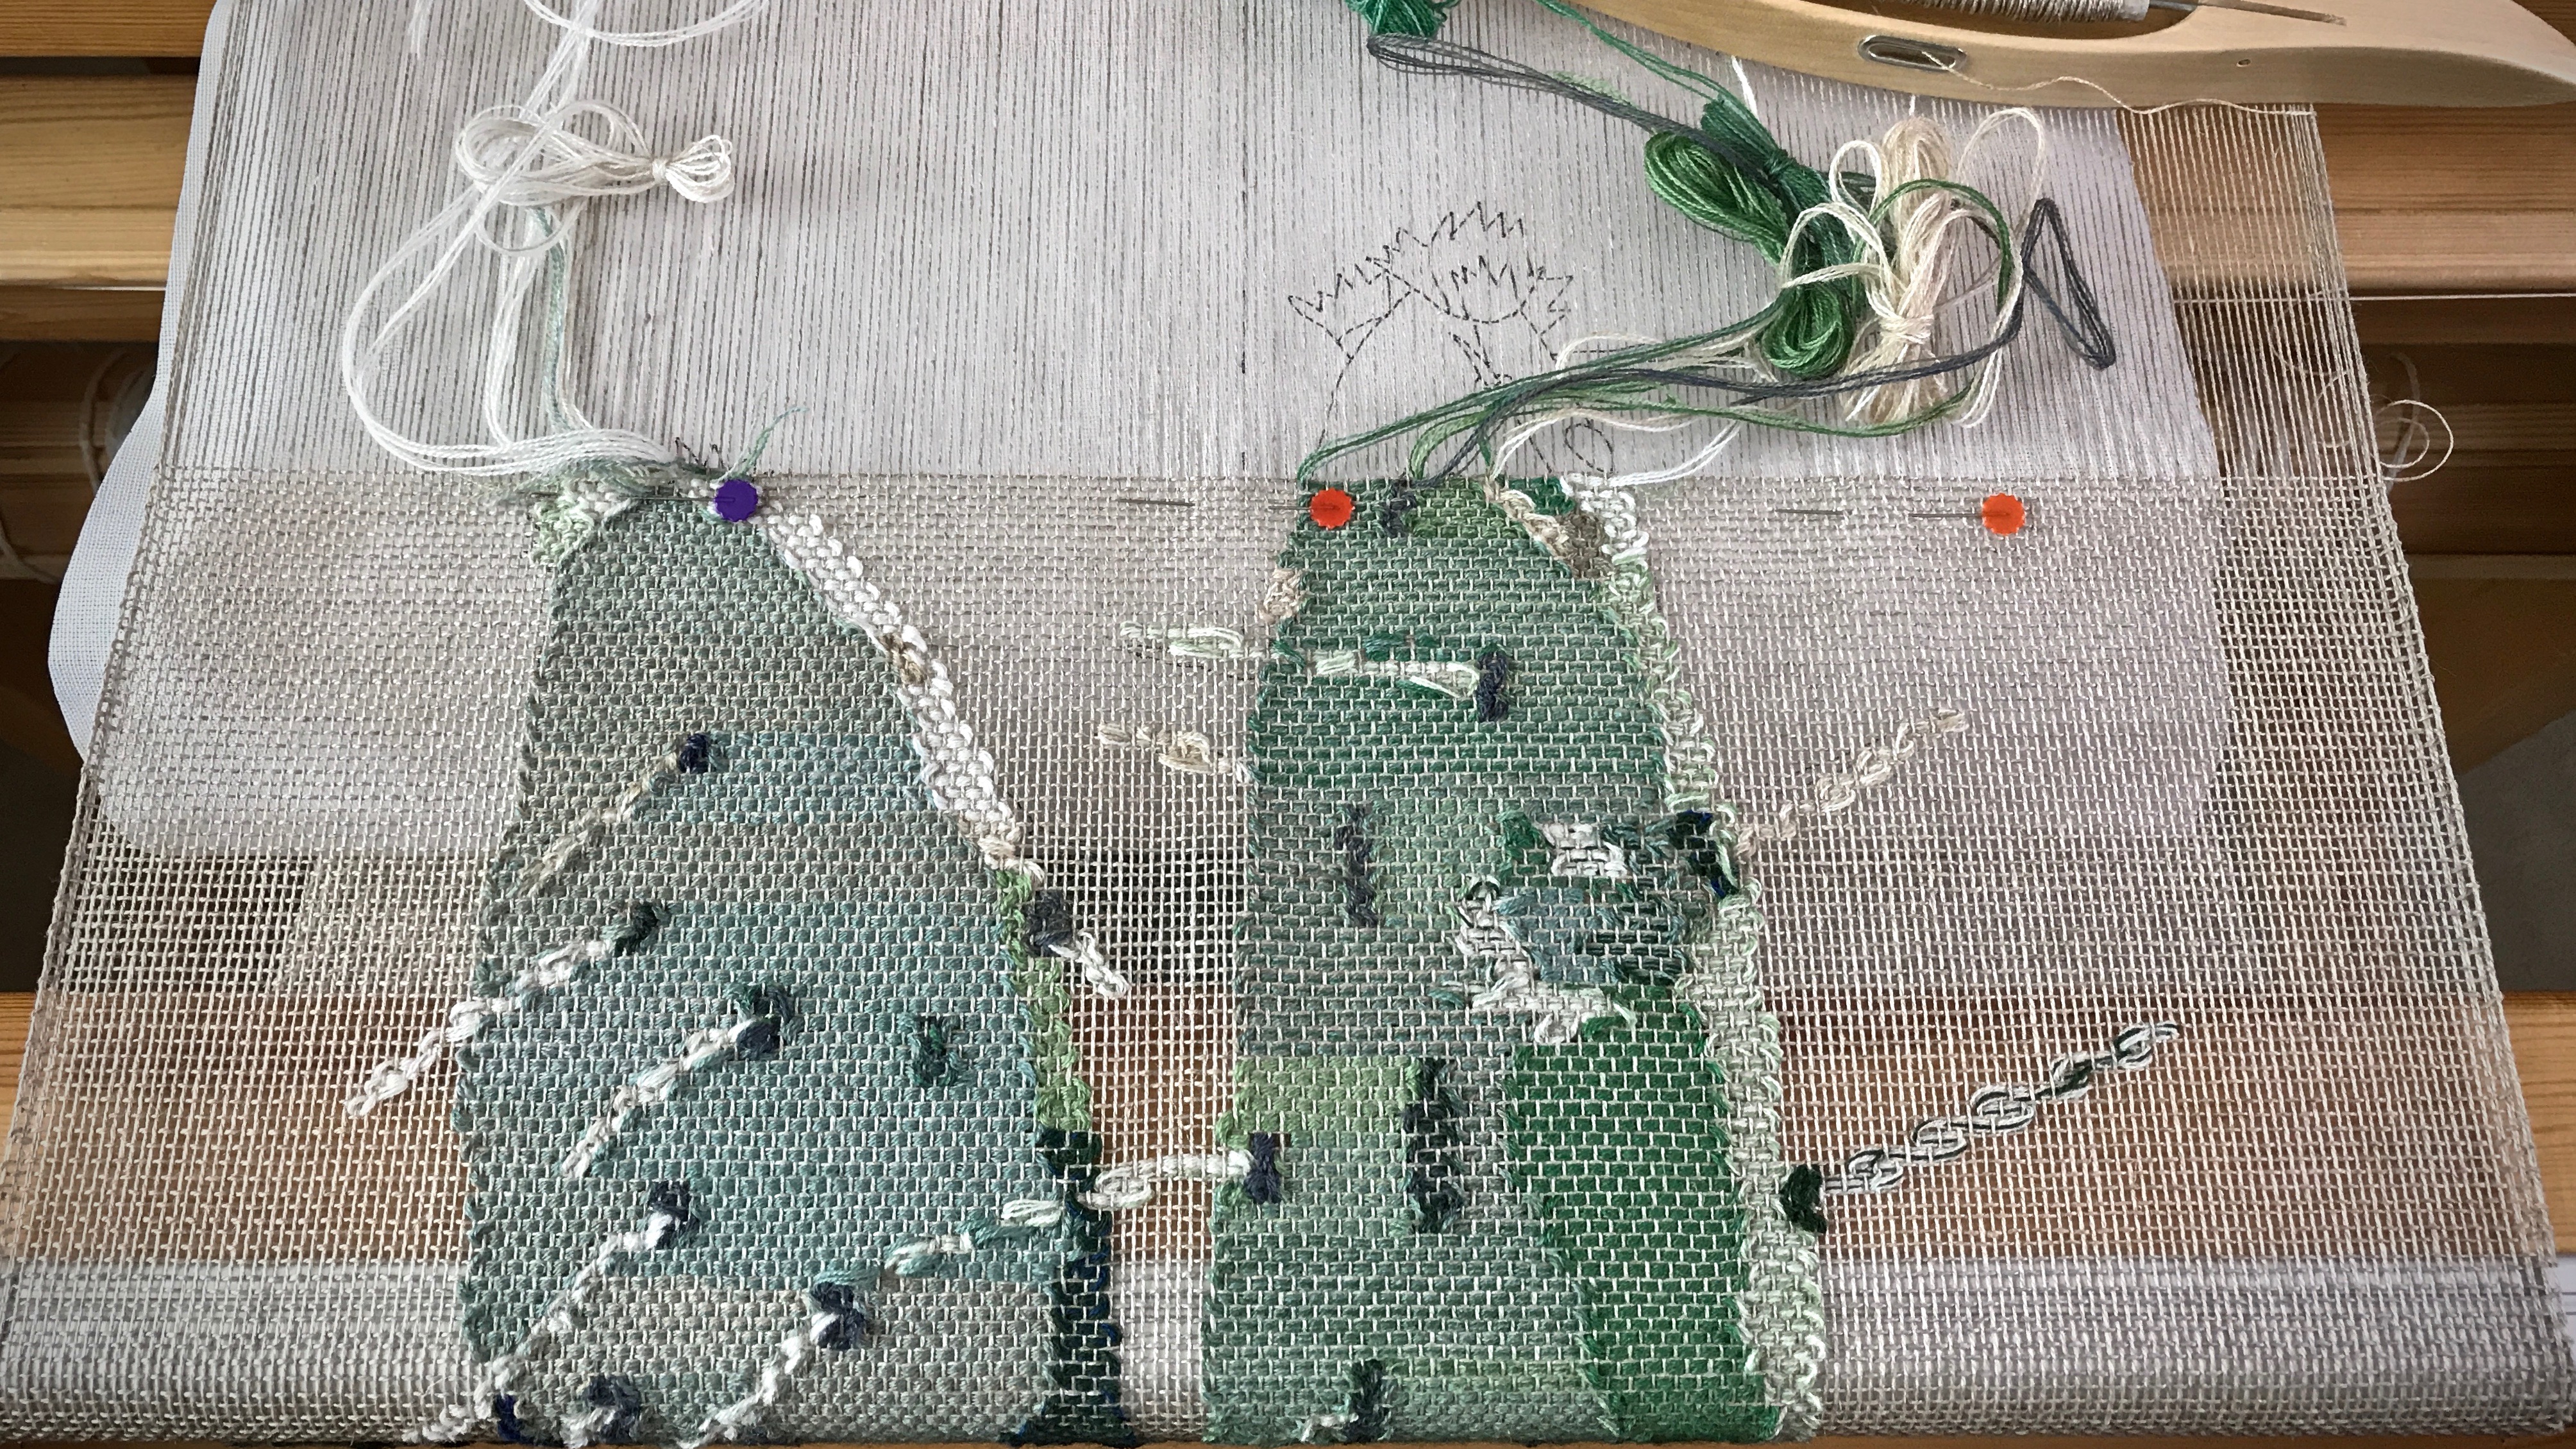
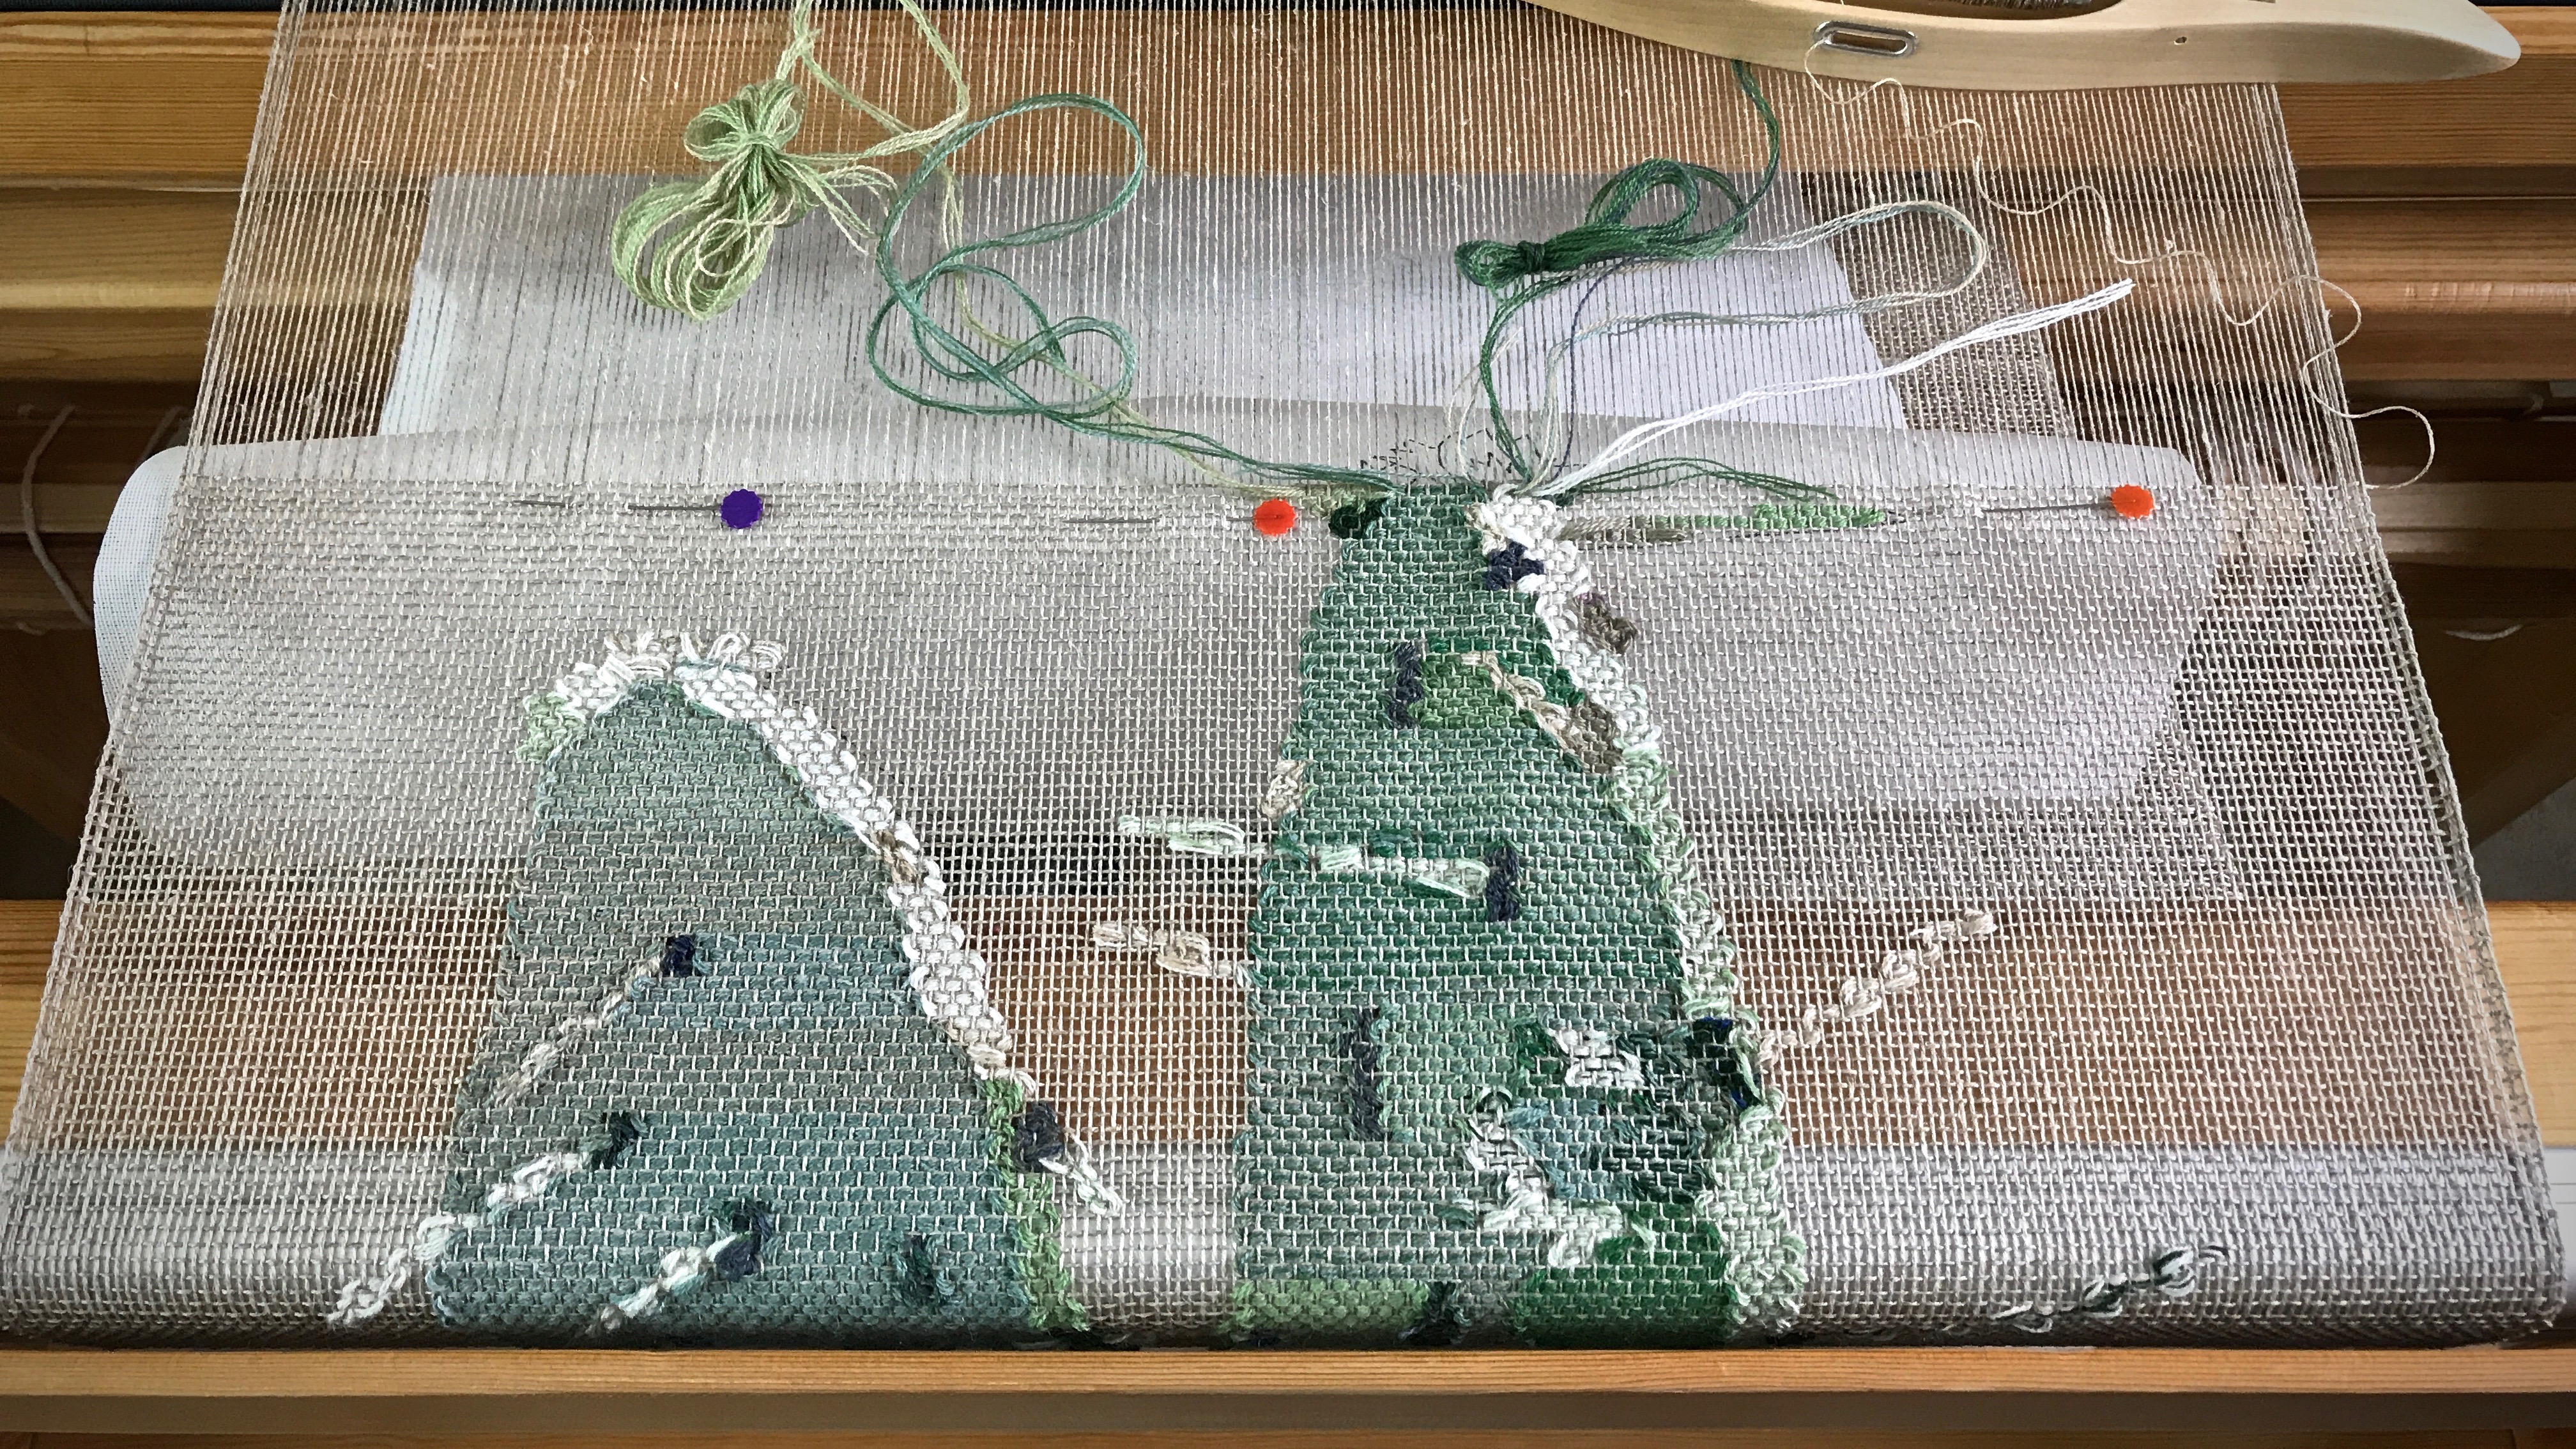
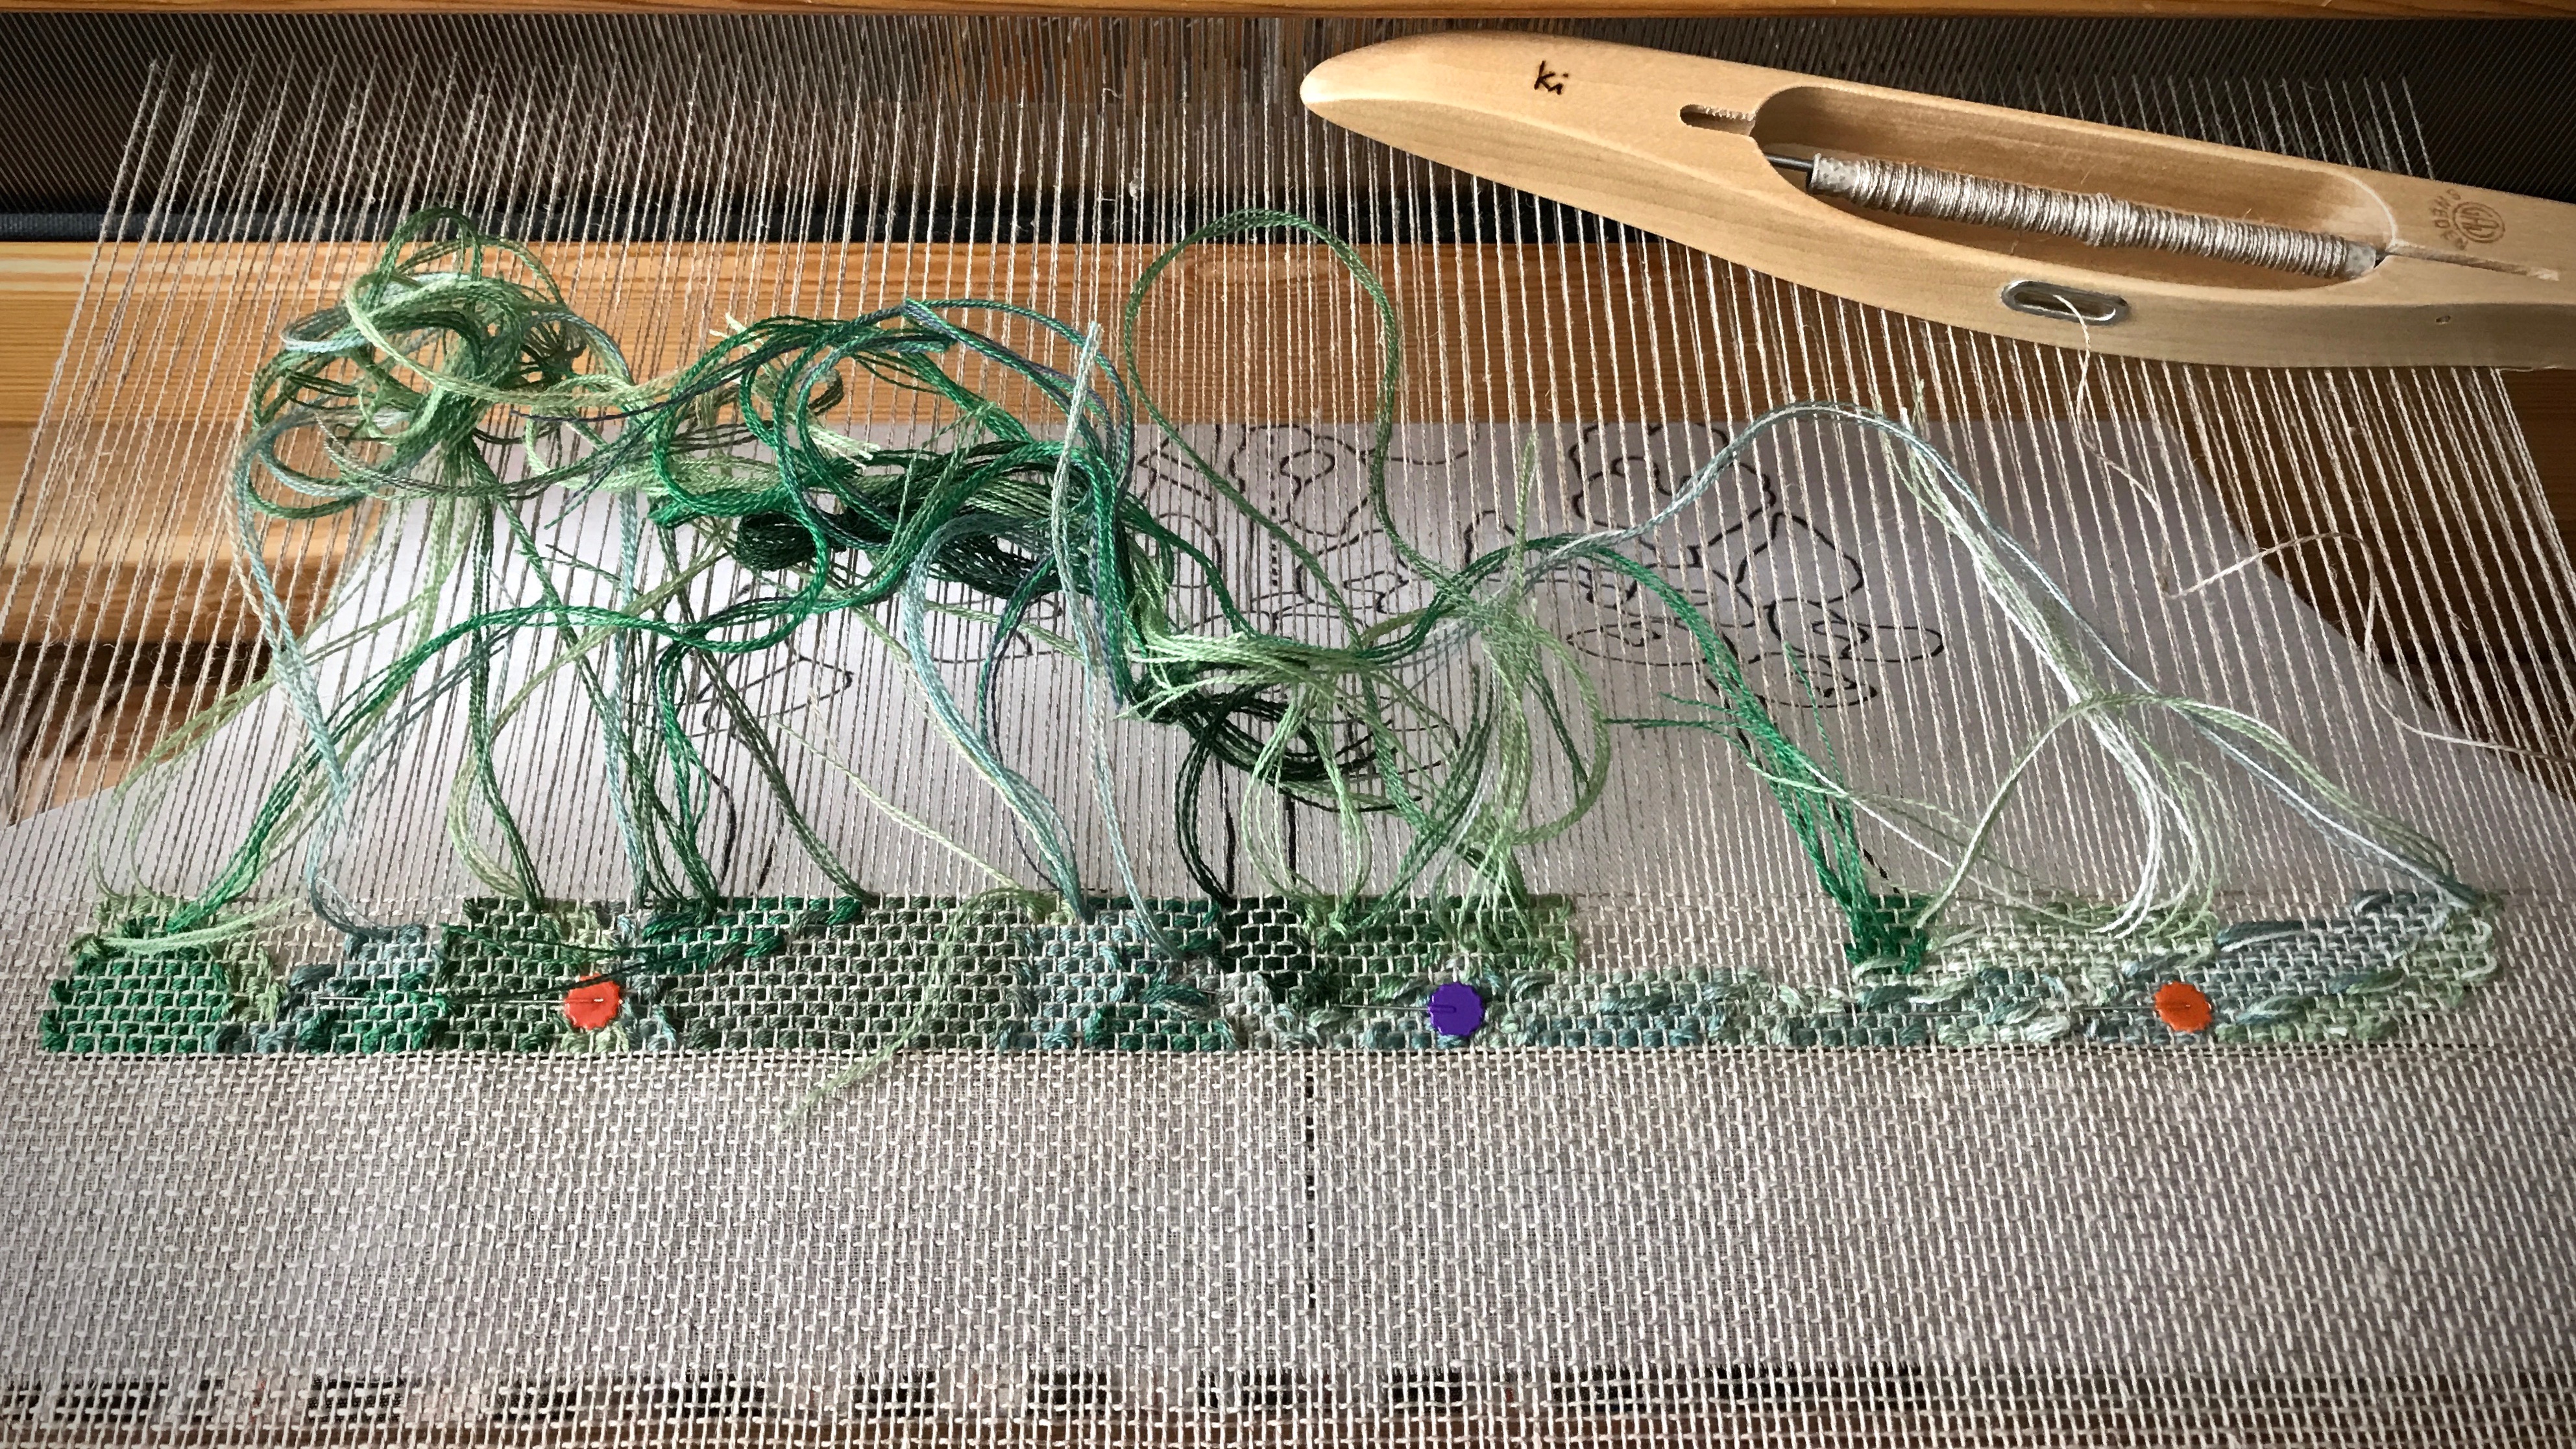
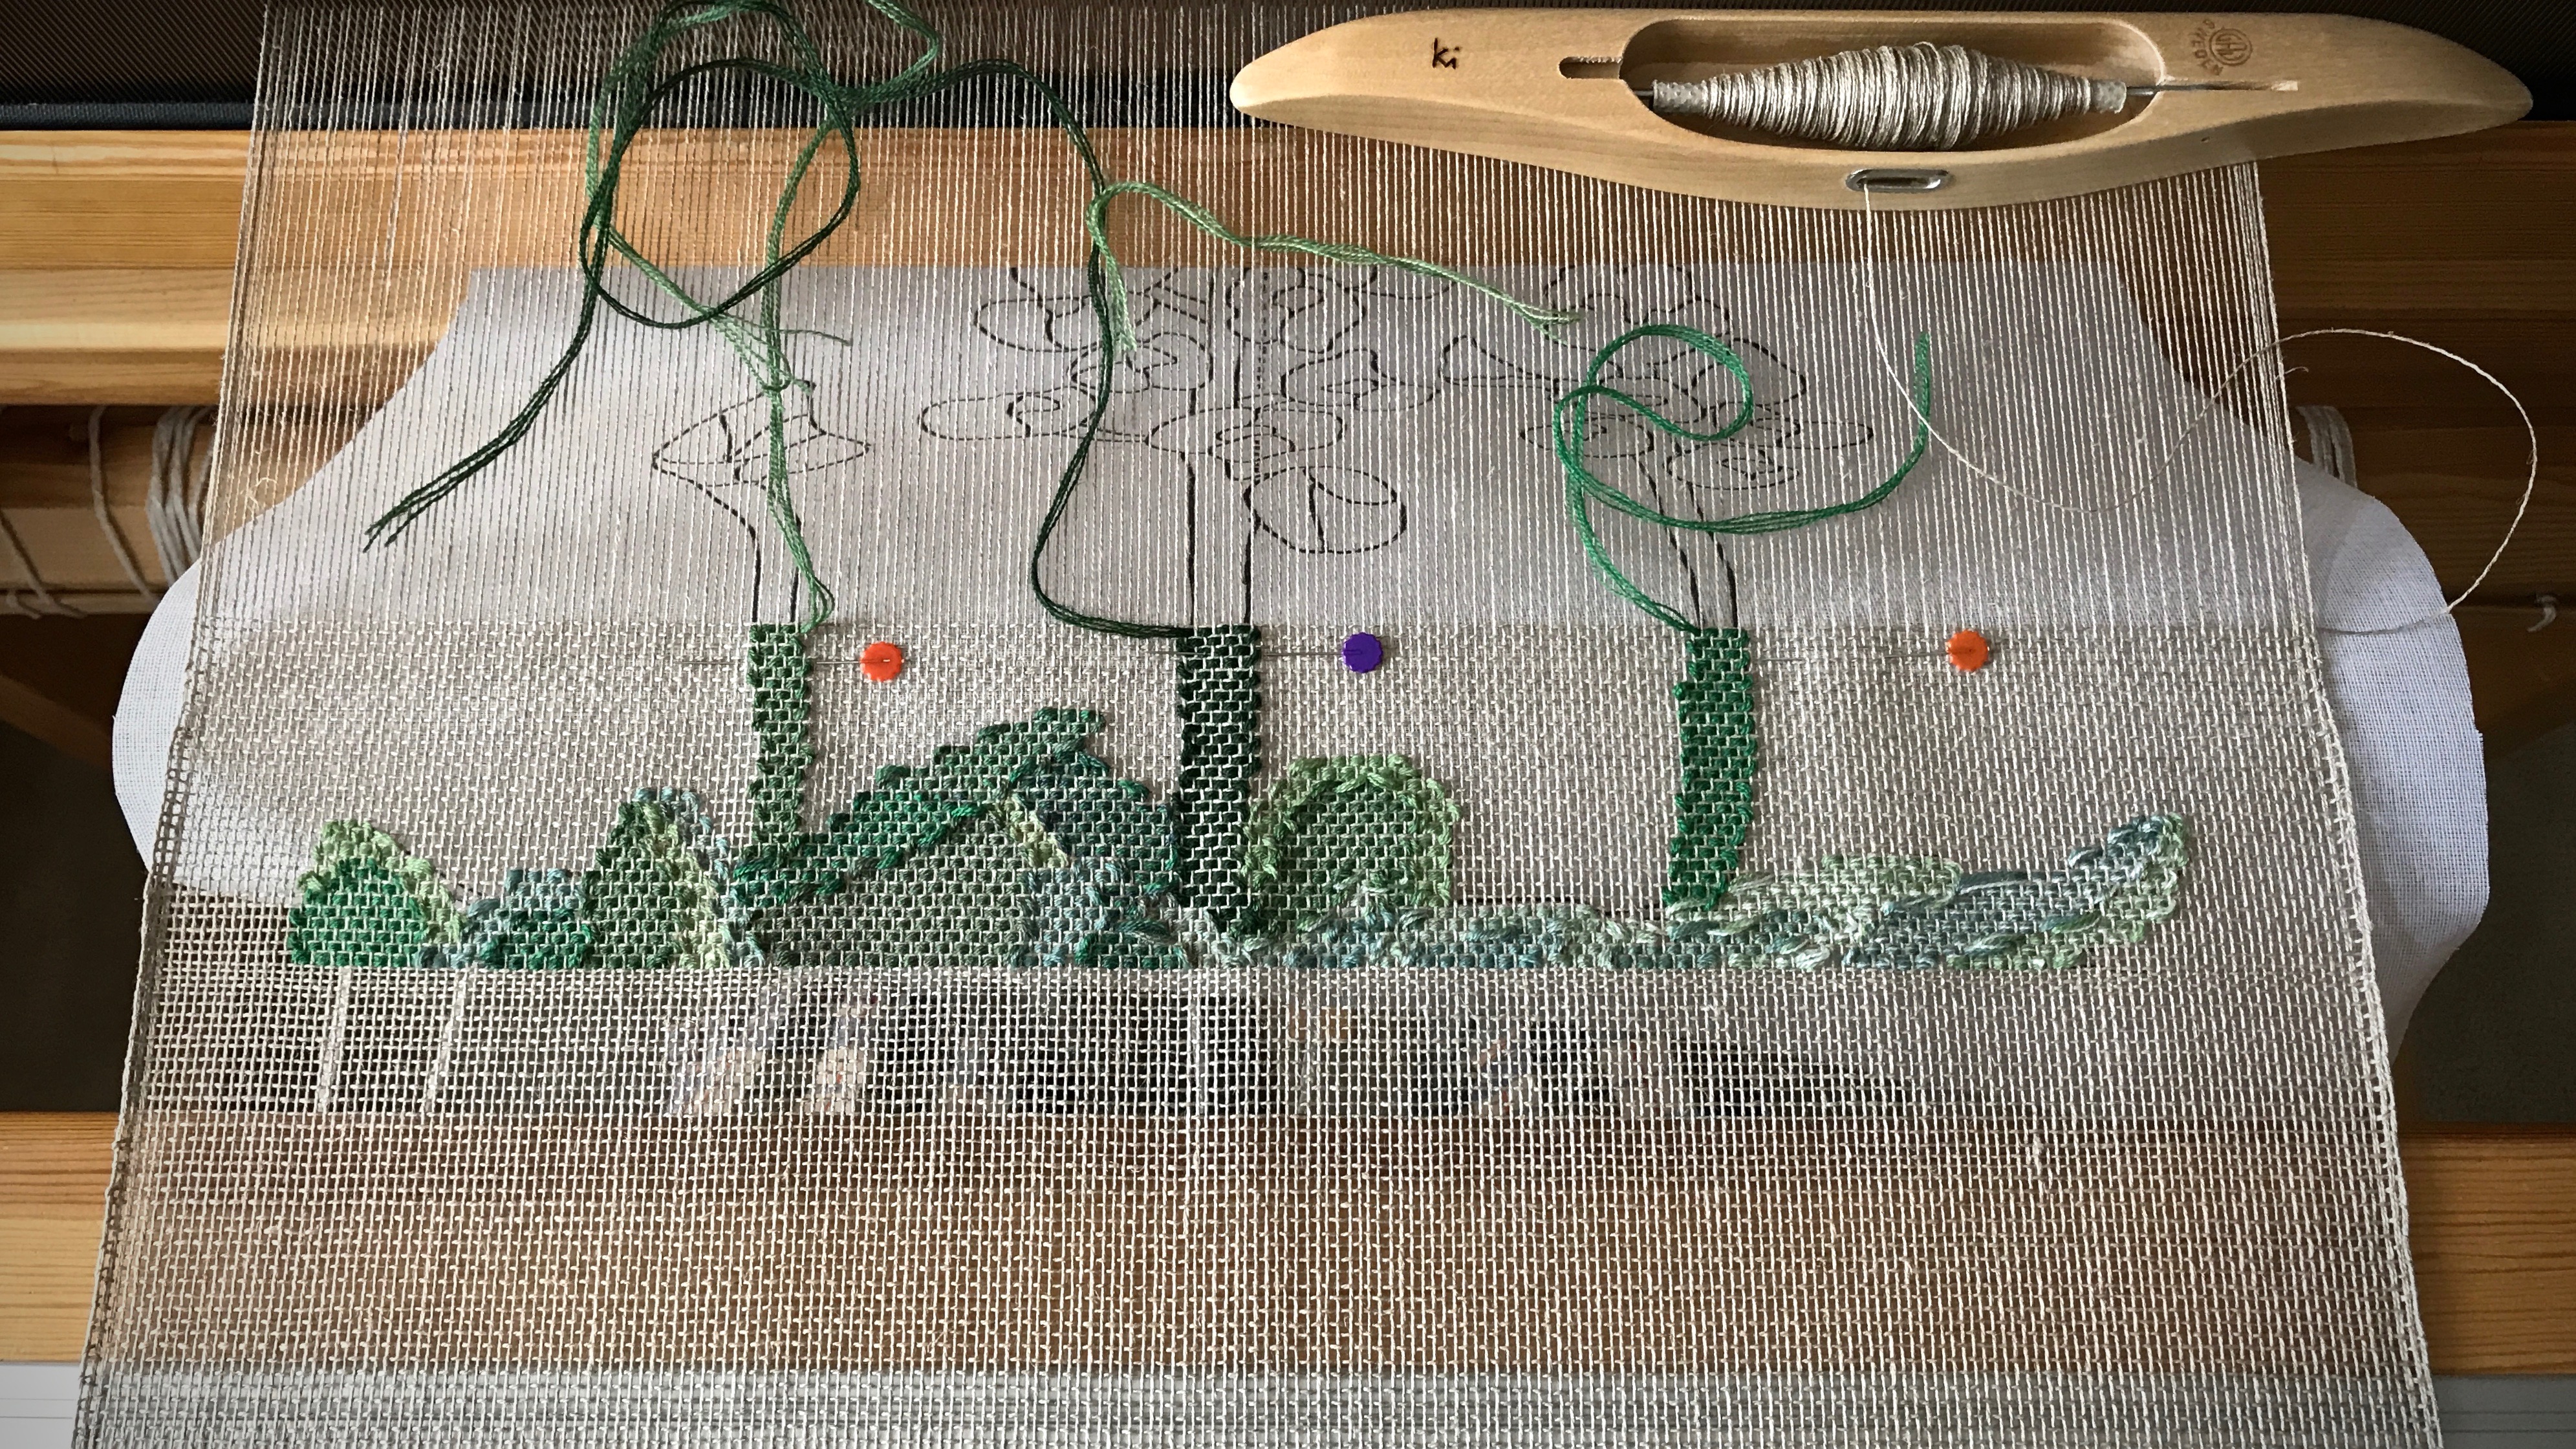
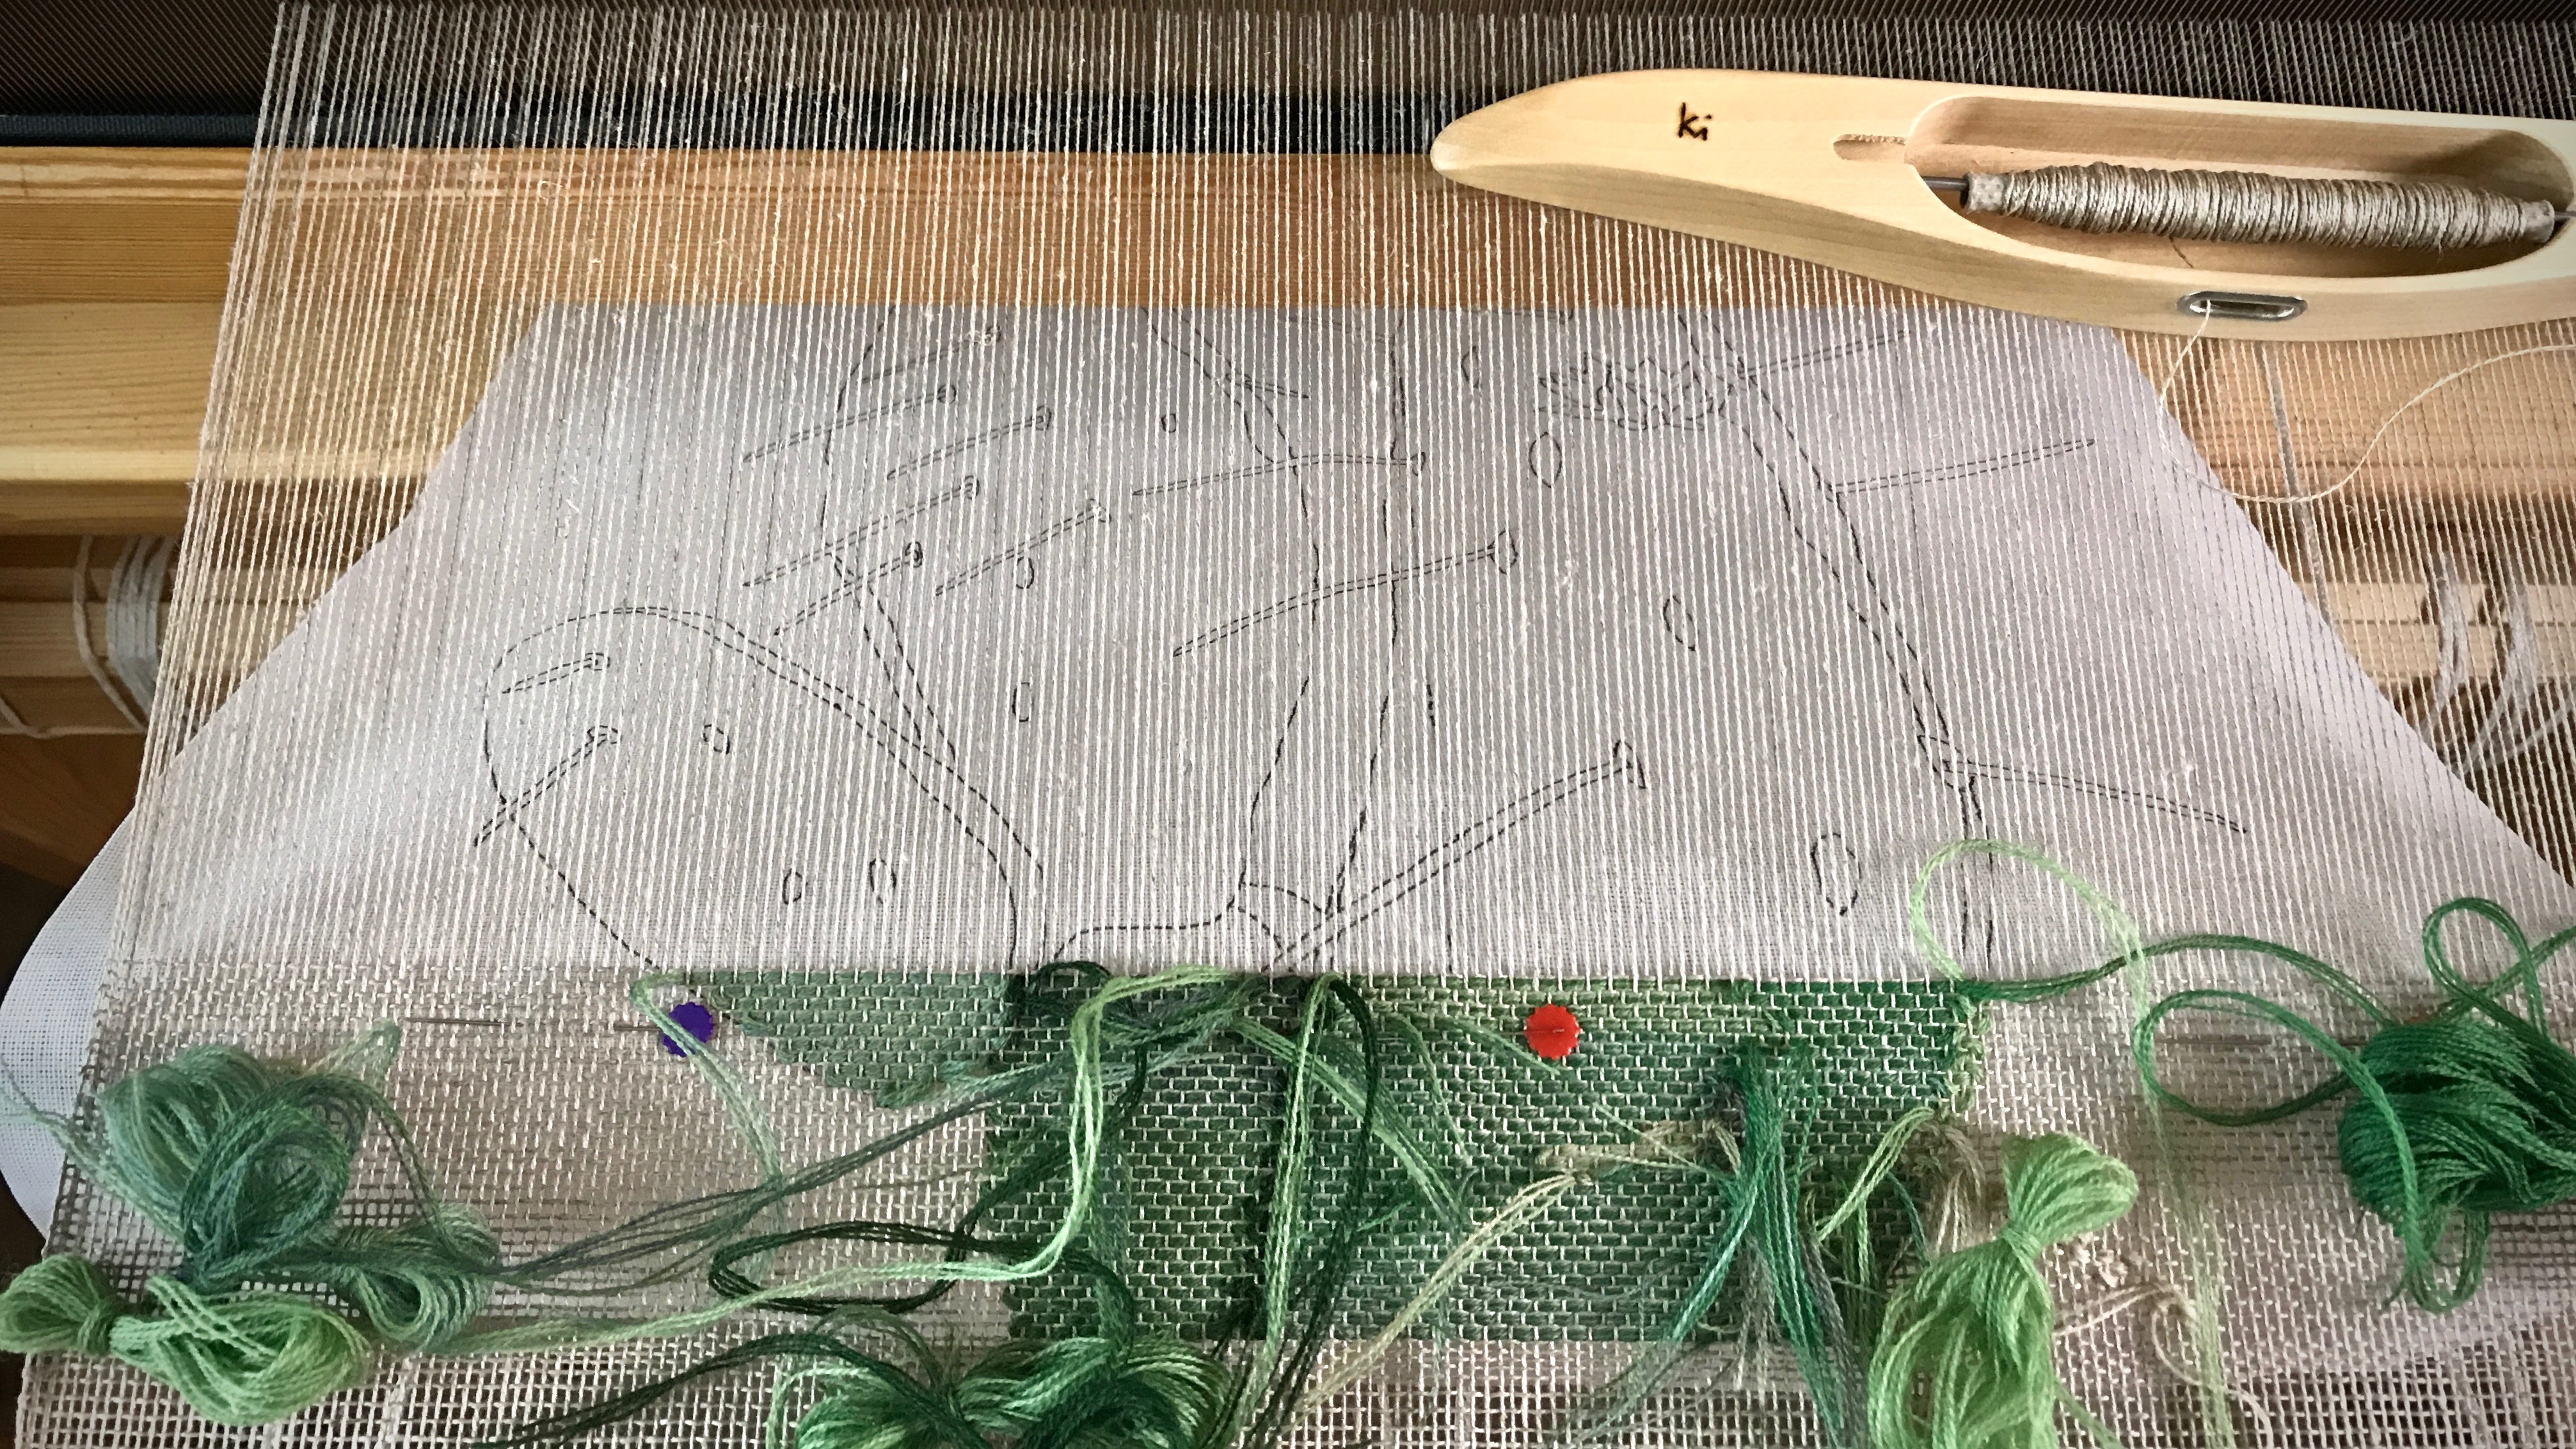
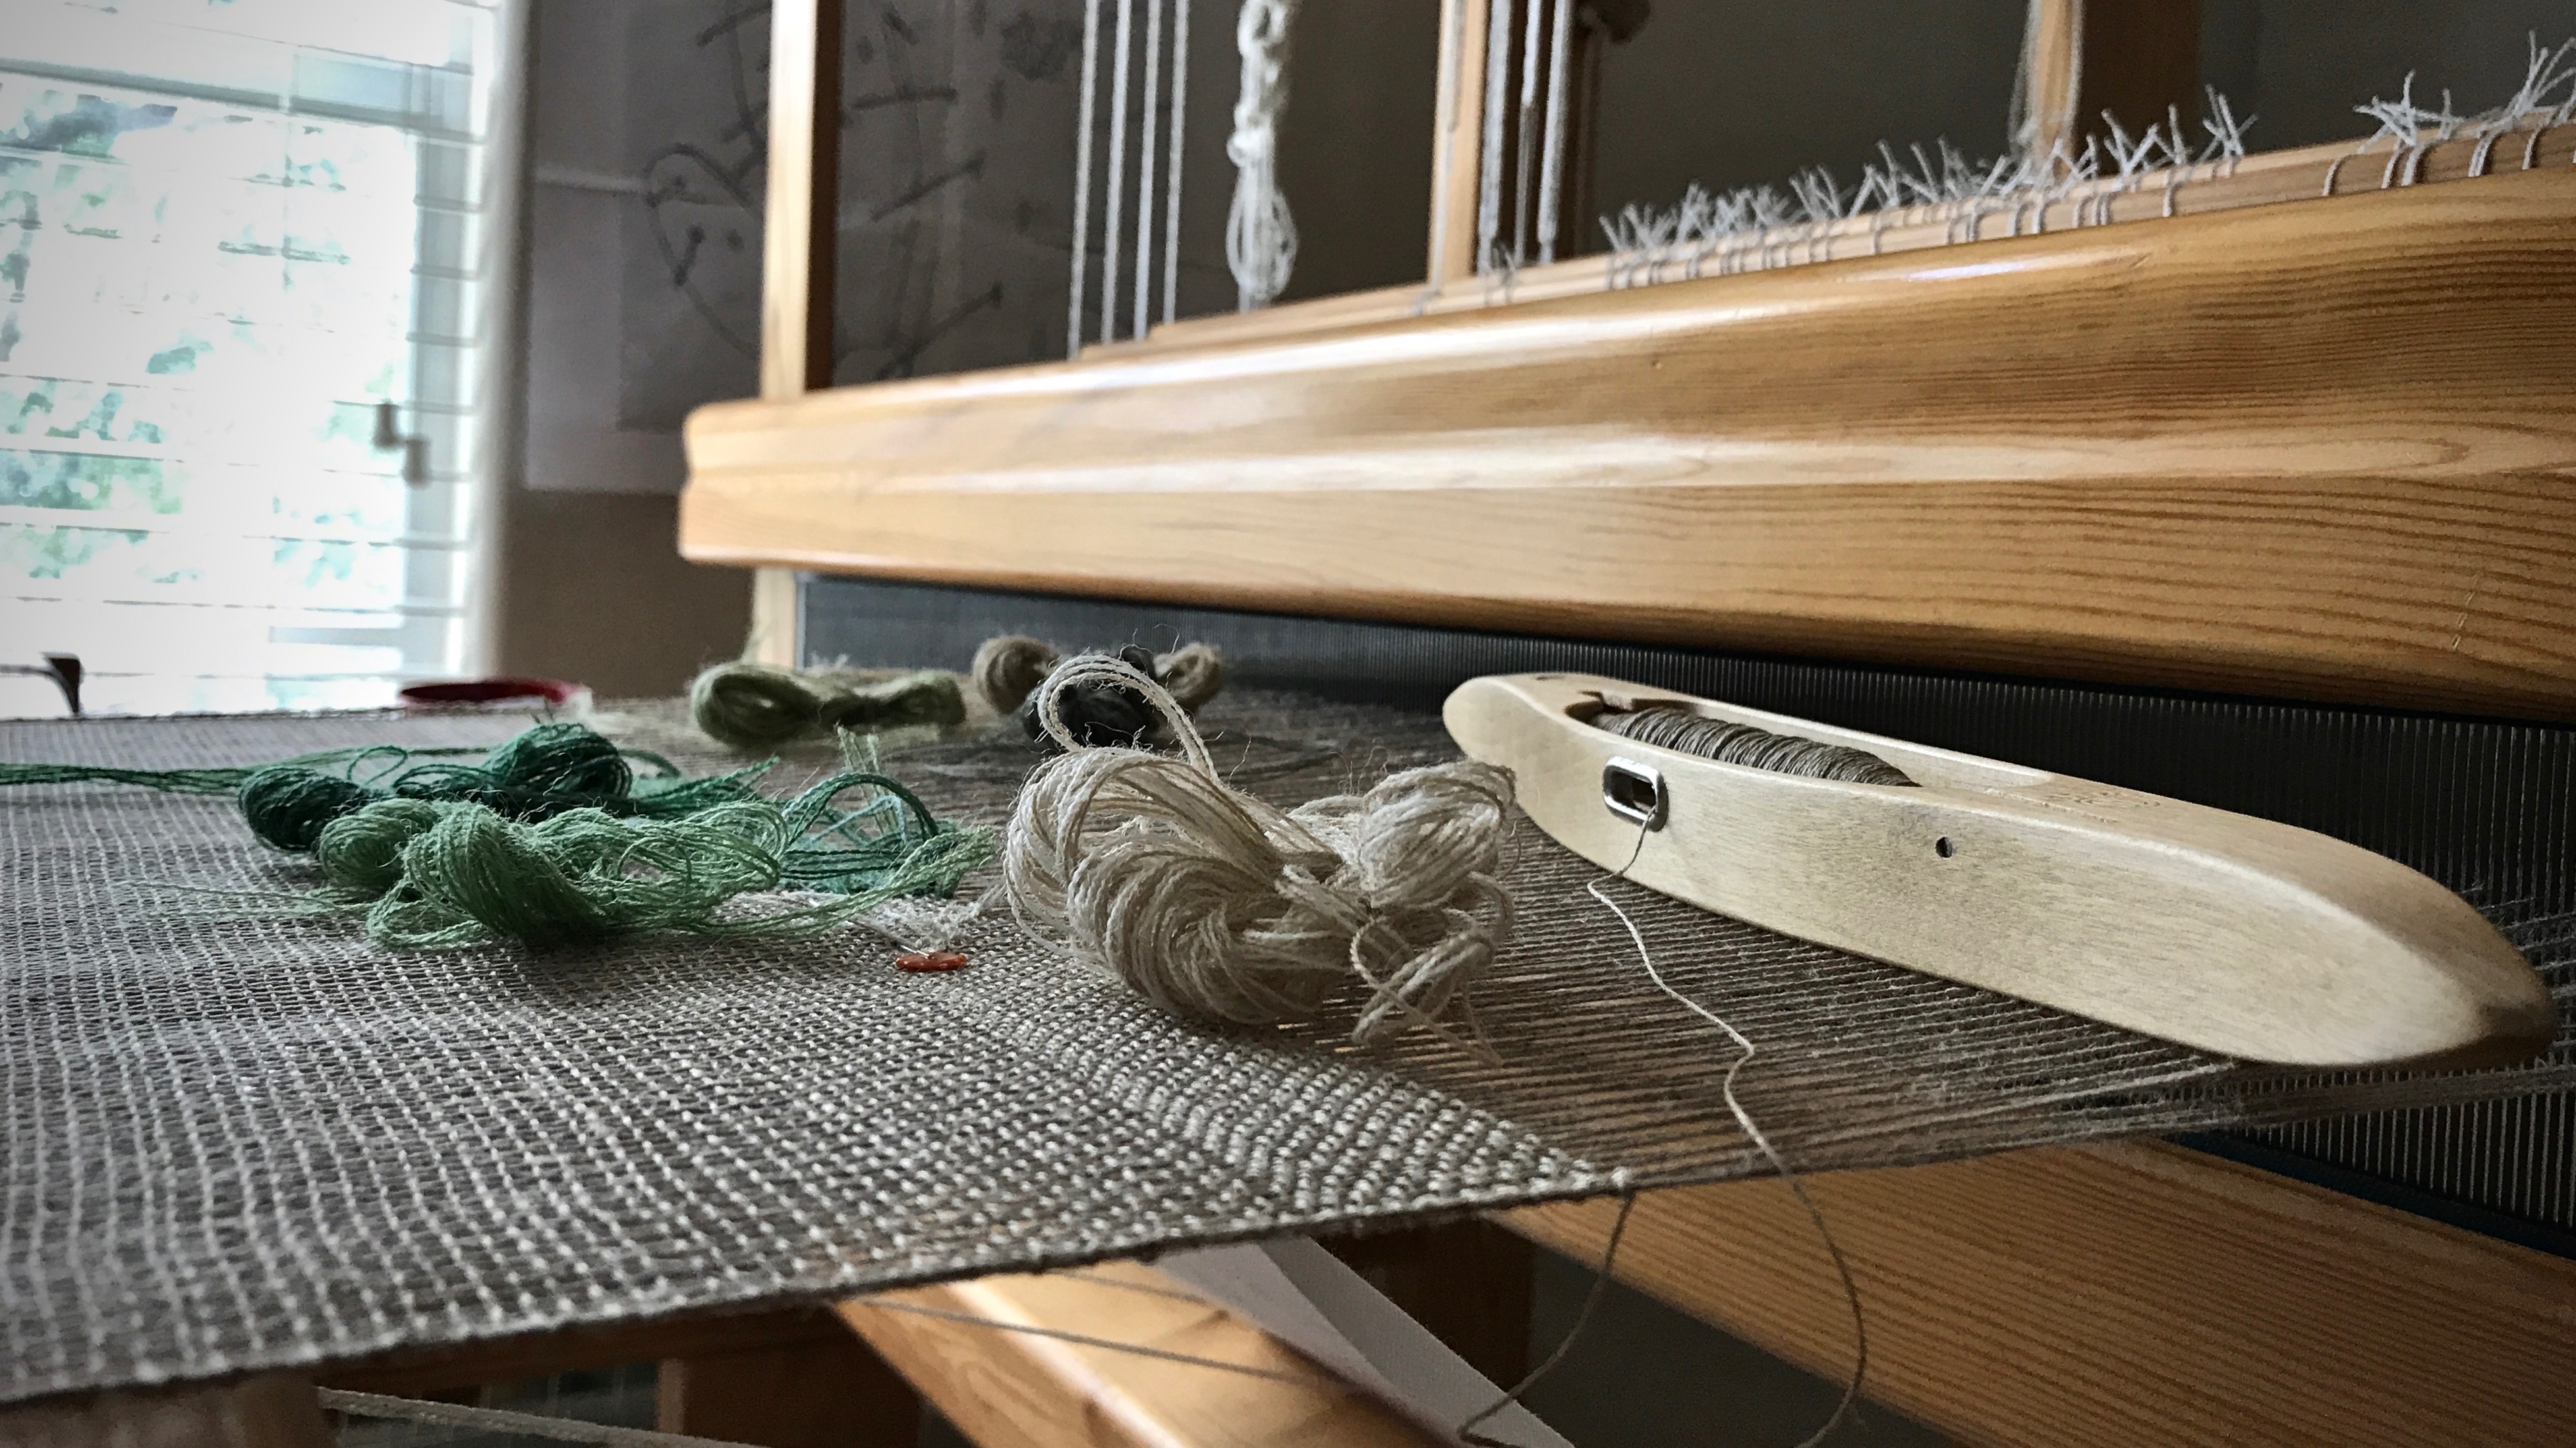
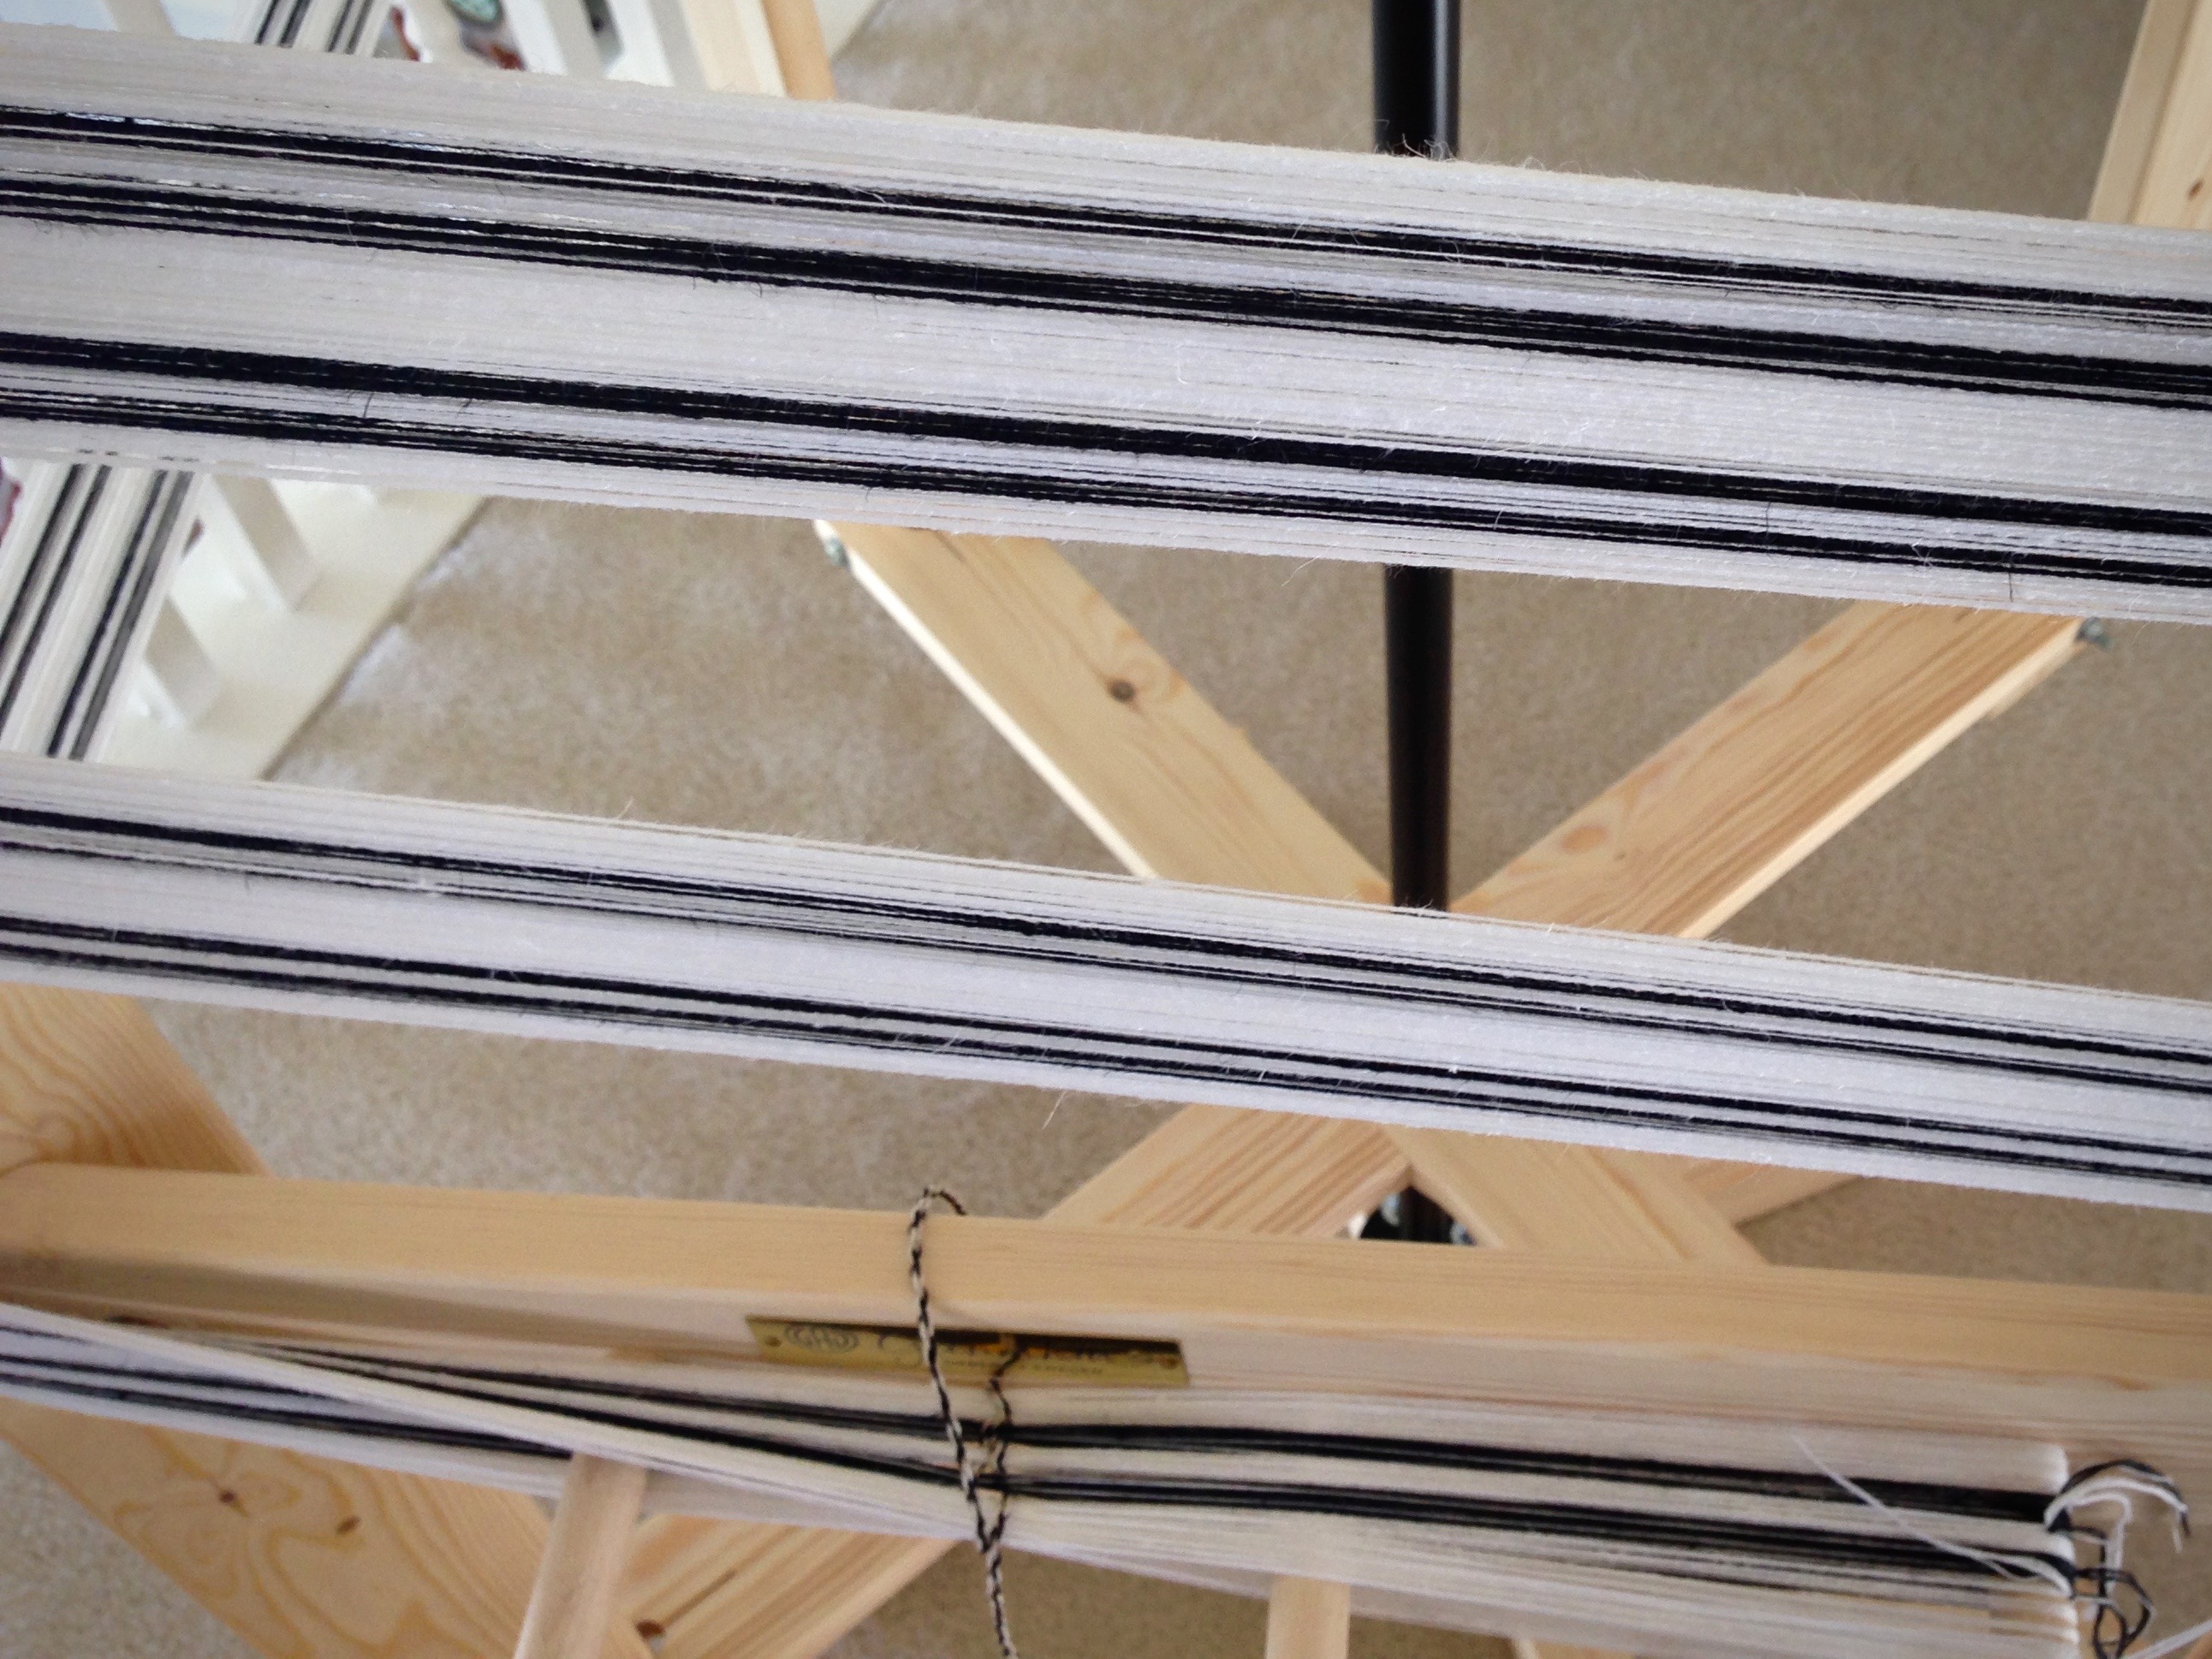
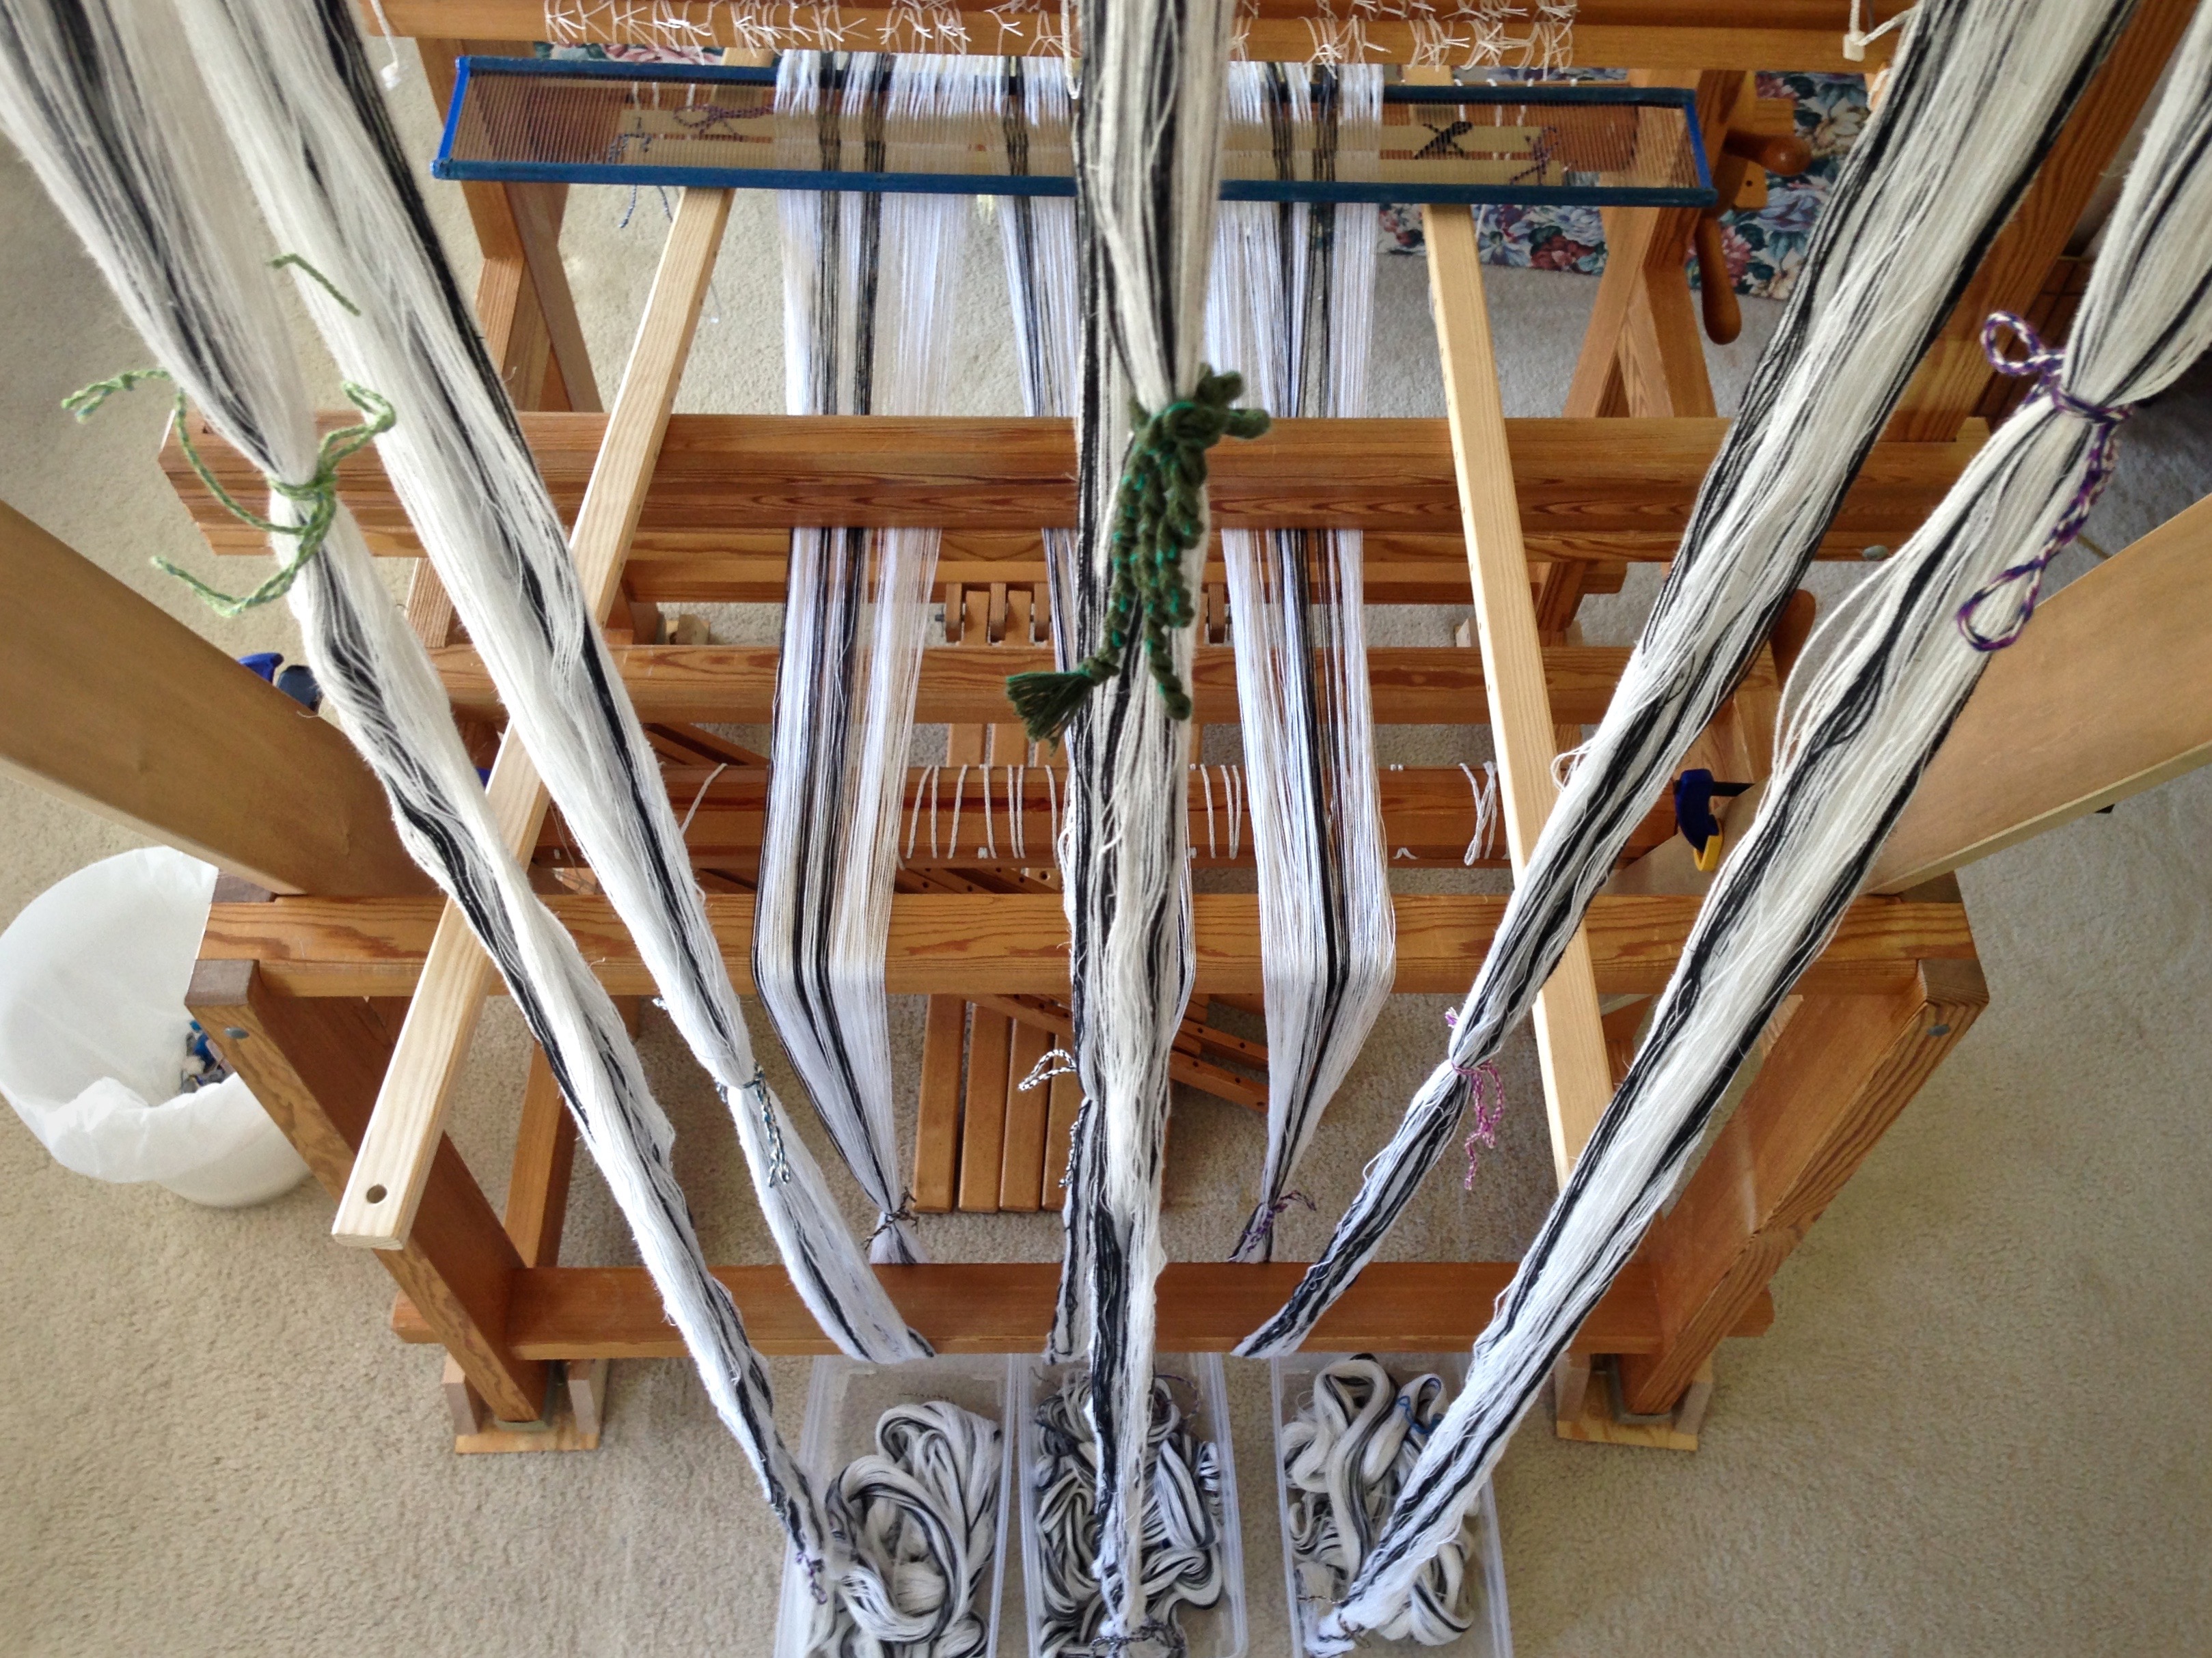
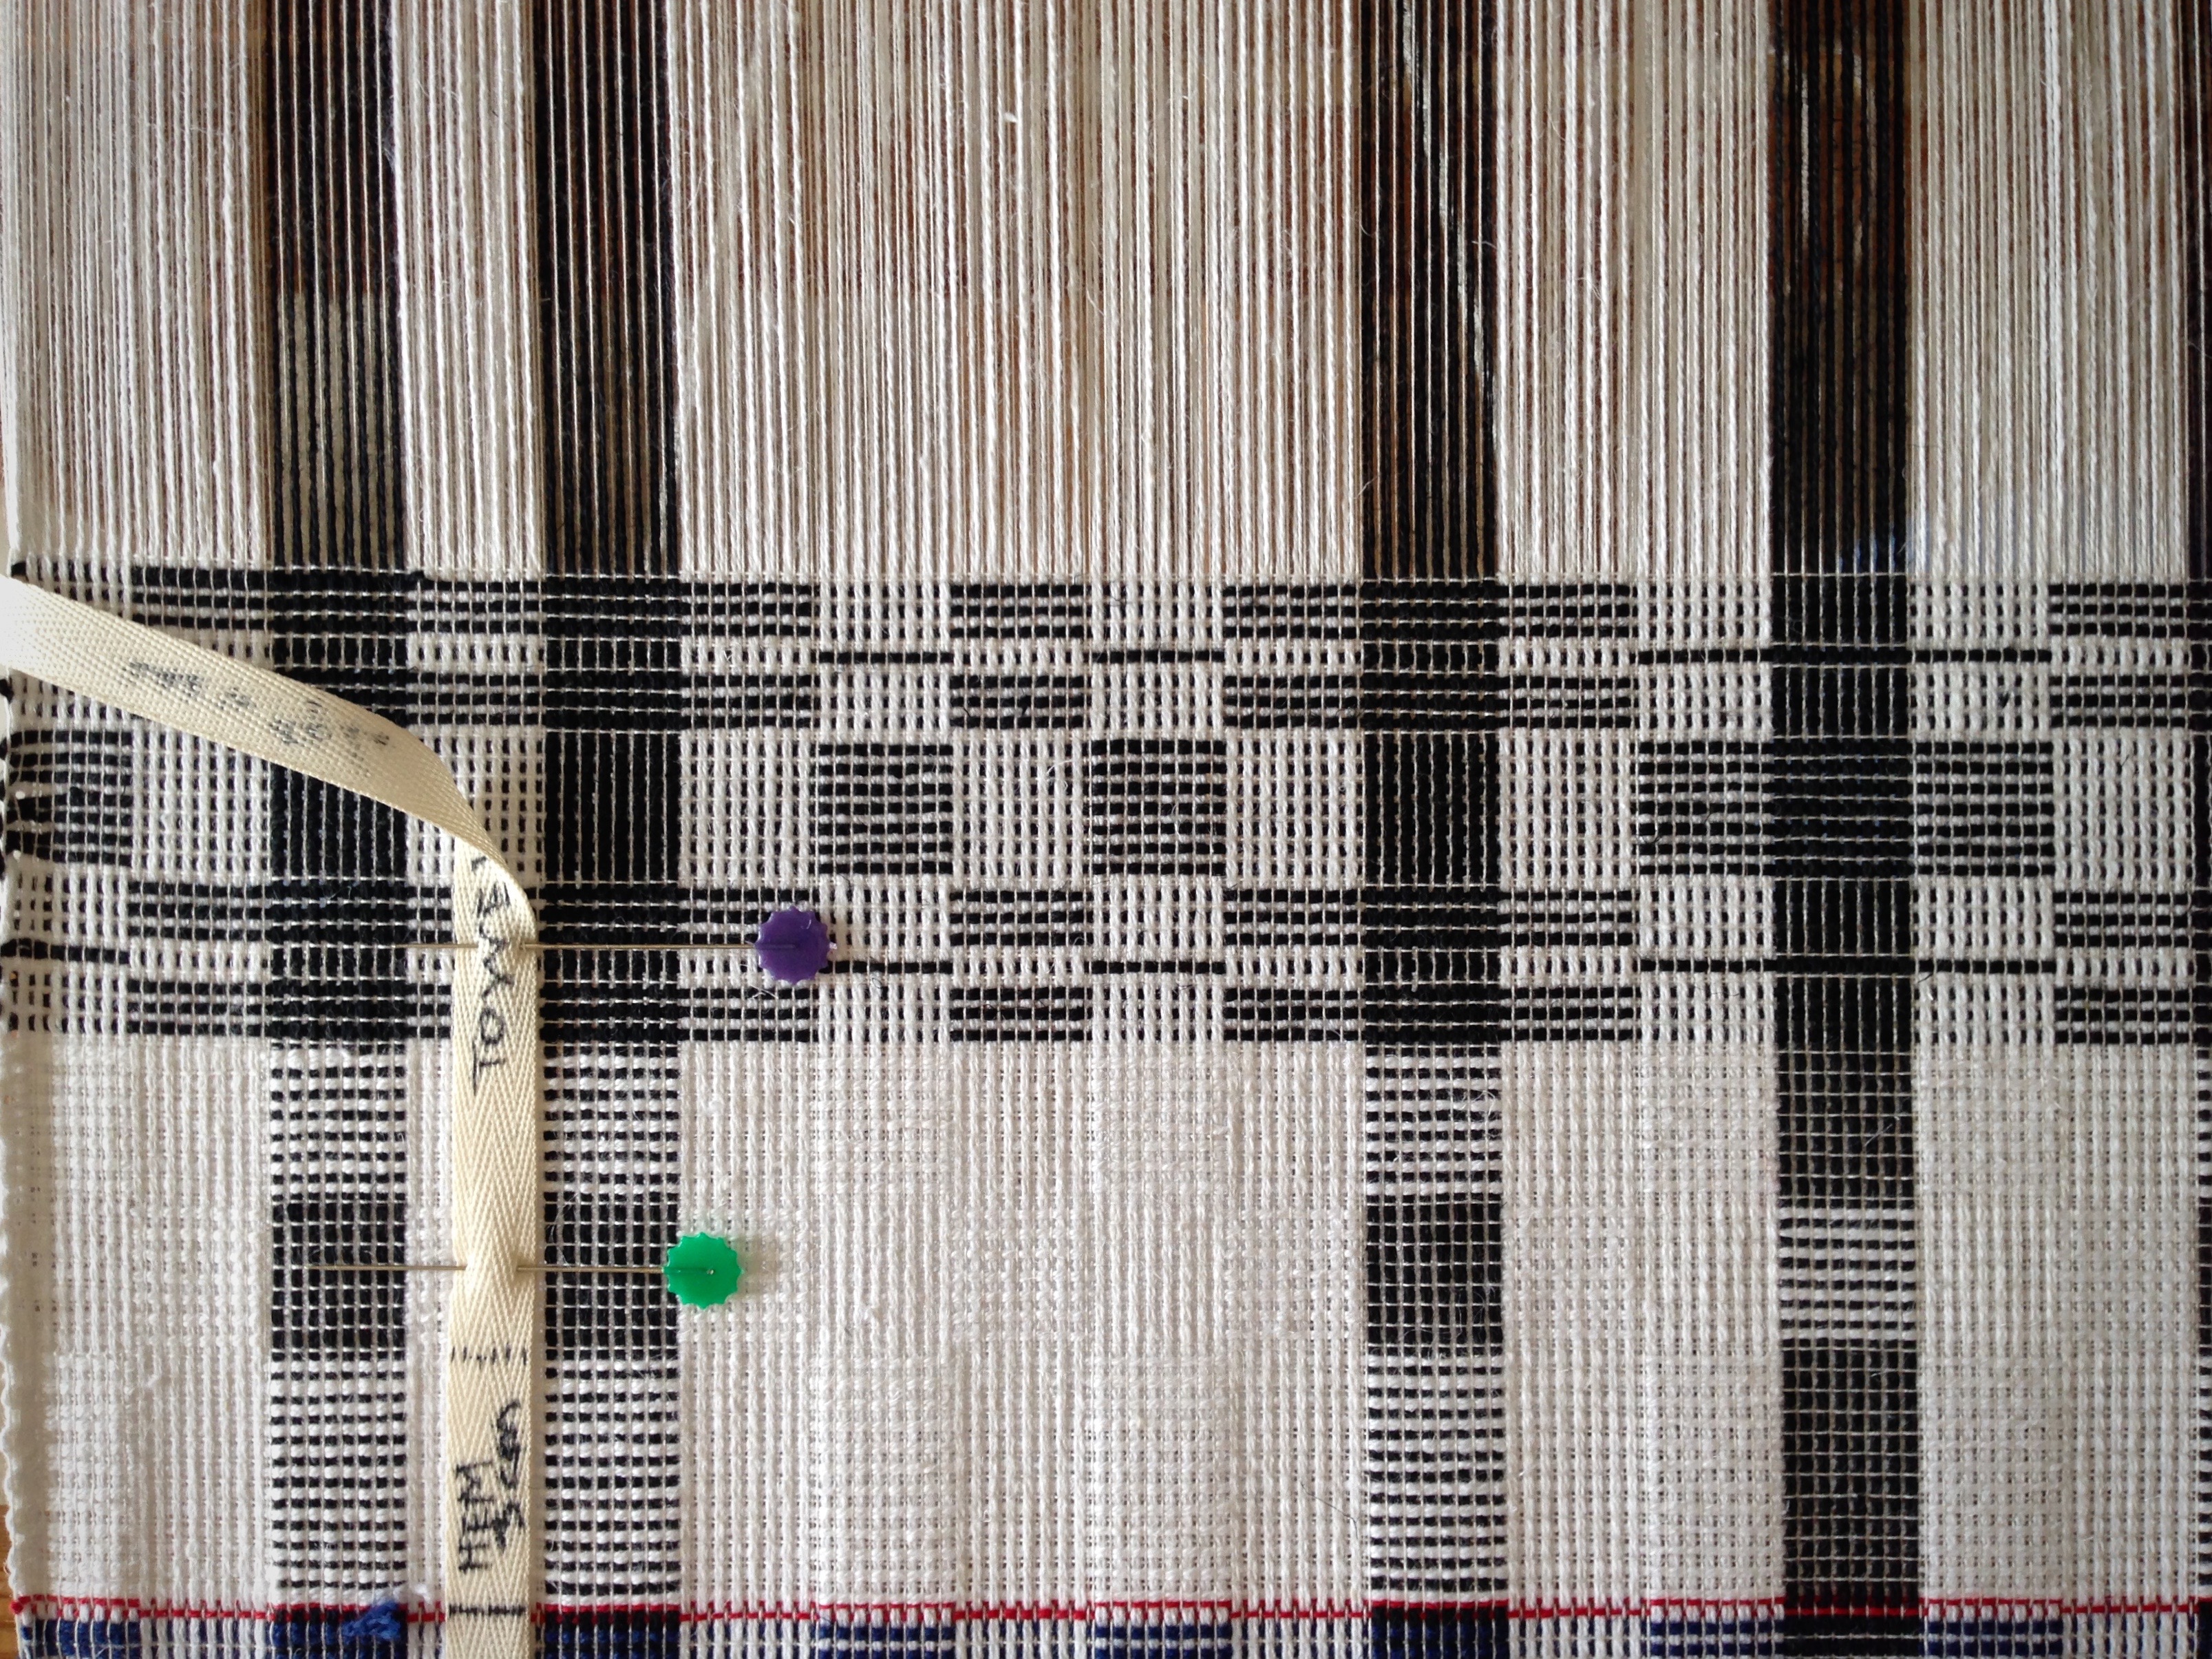
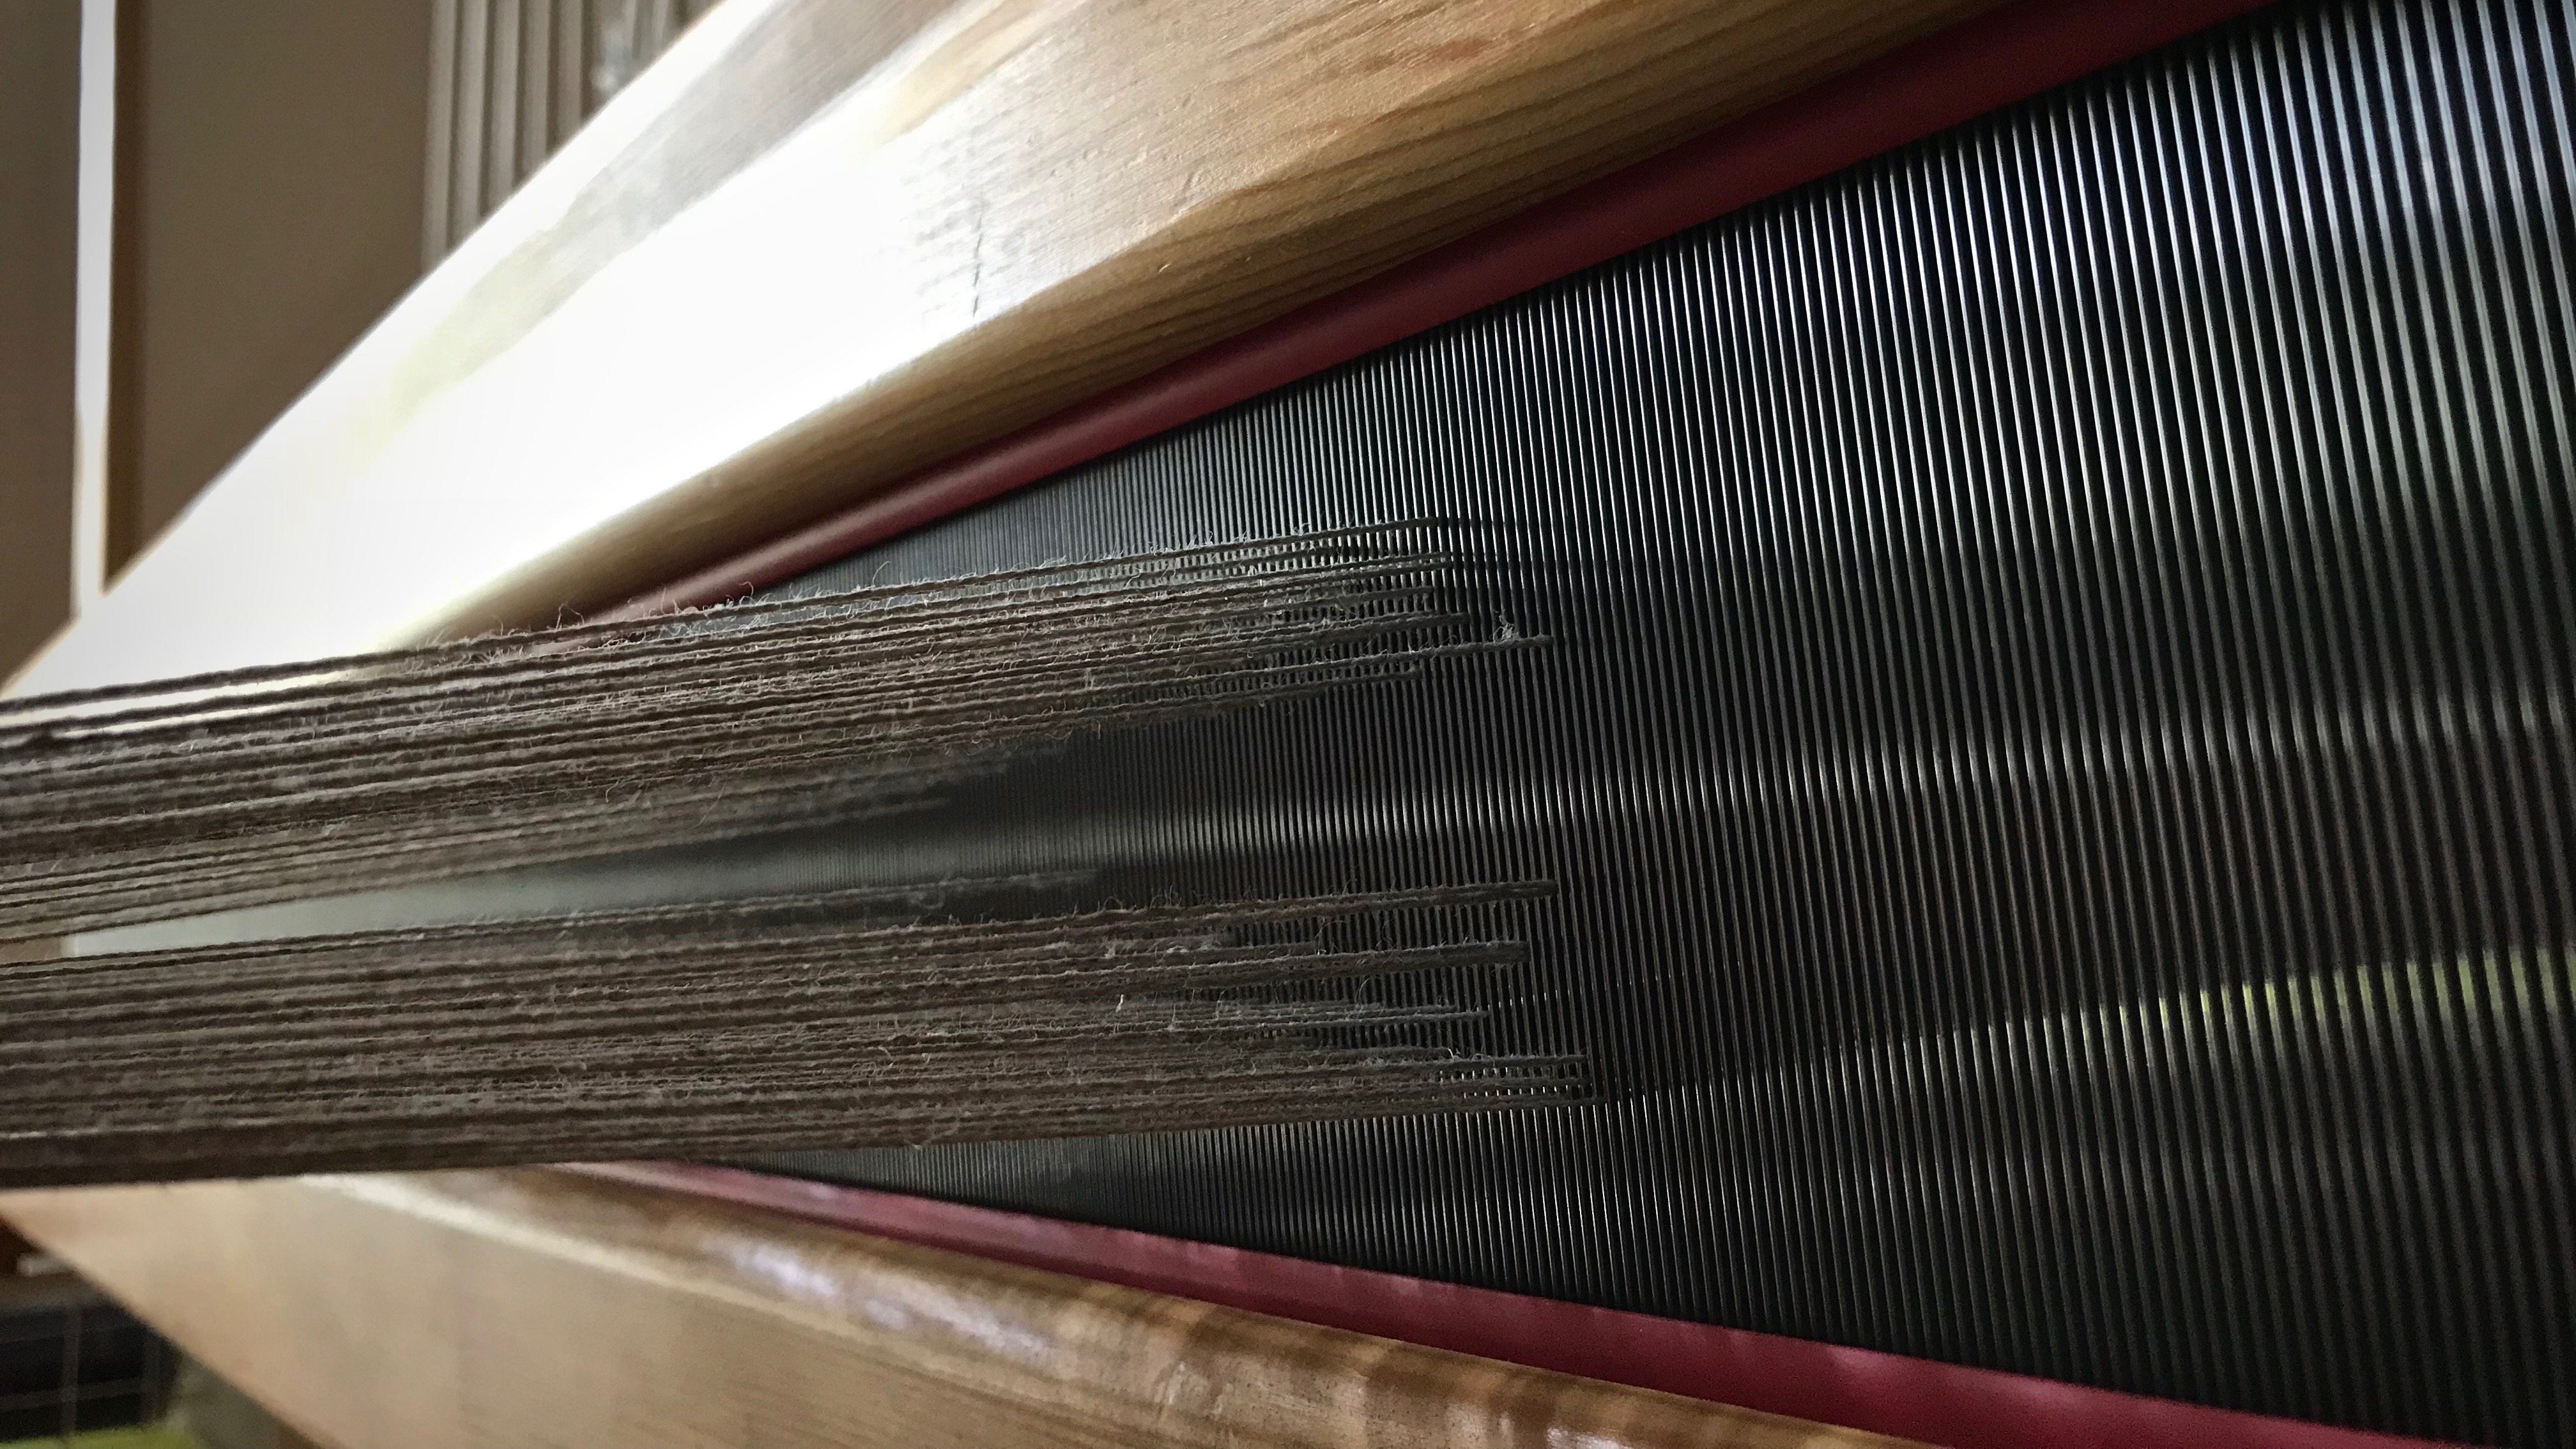
The countermarch loom is known for having a clean shed, so that is my goal. Is that possible for ten shafts and ten treadles? The first treadle I step on reveals that treadle cord adjustments are definitely needed!

How to evaluate the shed and adjust on countermarch looms.
Before making any adjustments, a few of the sheds look impassable, like this one.

I learned the basics of making adjustments to treadle cords from Learning to Warp Your Loom, by Joanne Hall, and The Big Book of Weaving, by Laila Lundell. I also gained valuable experience from Vävstuga Basics, with Becky Ashenden.

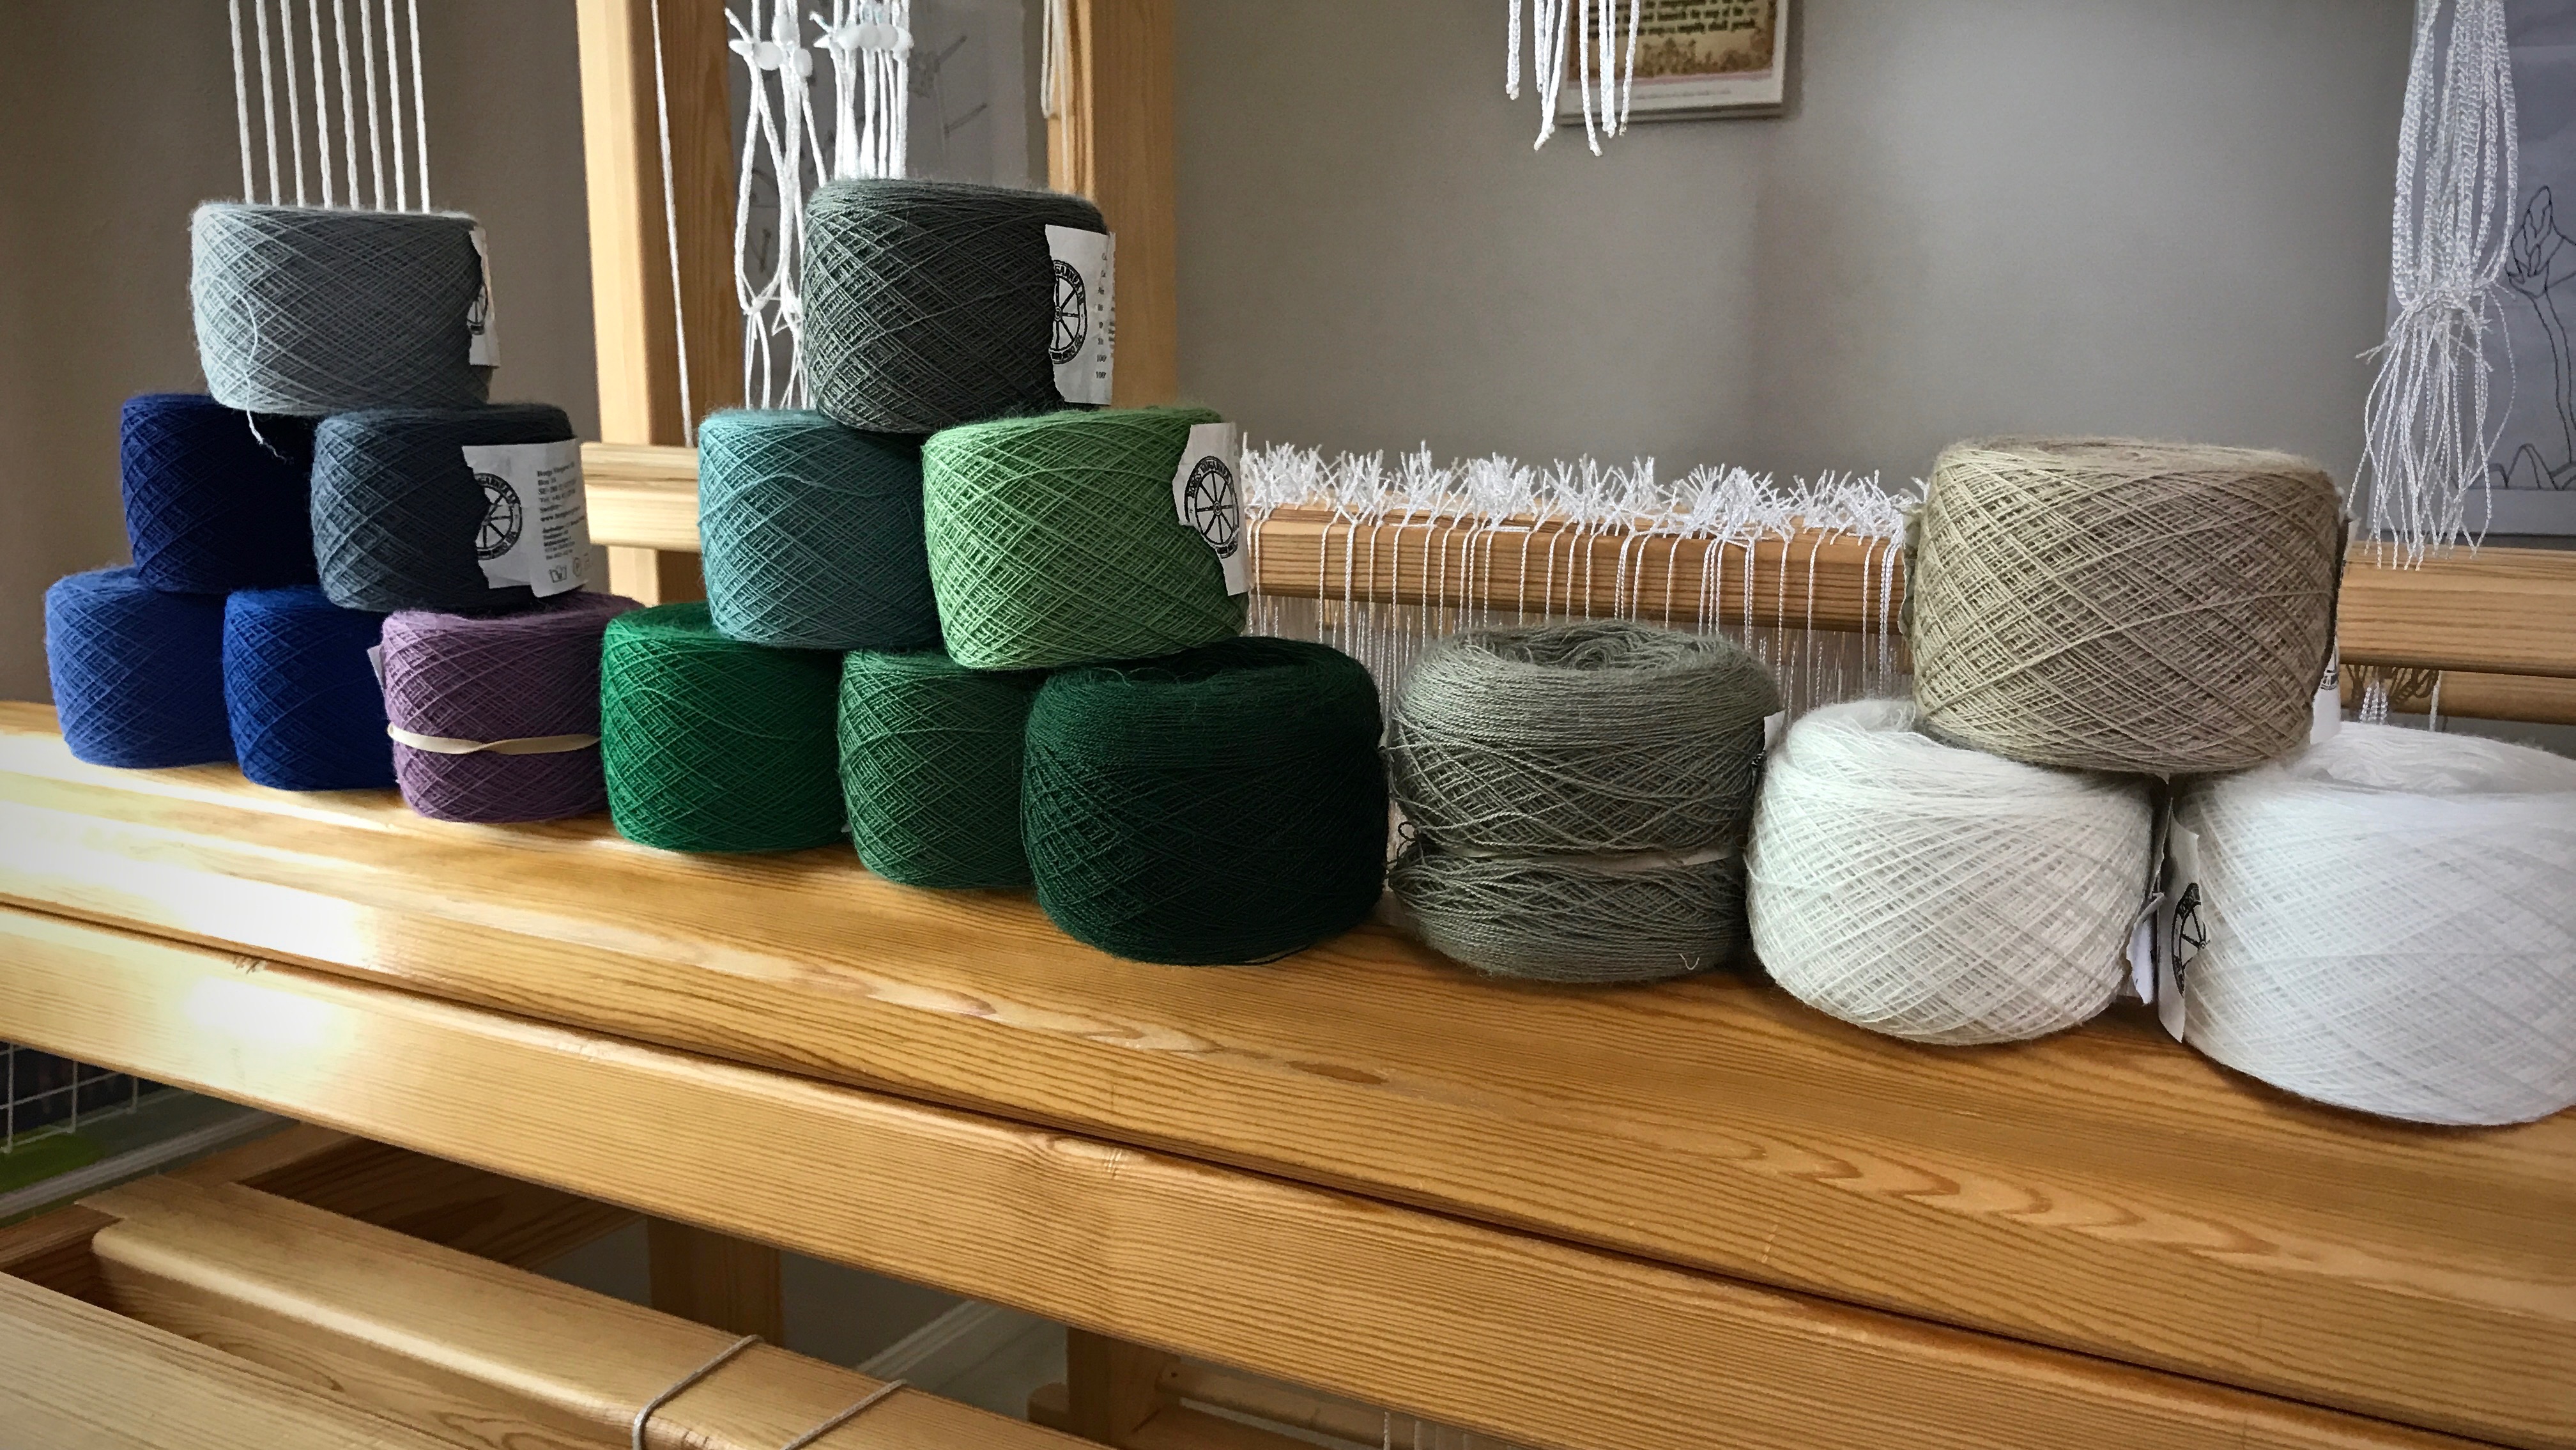
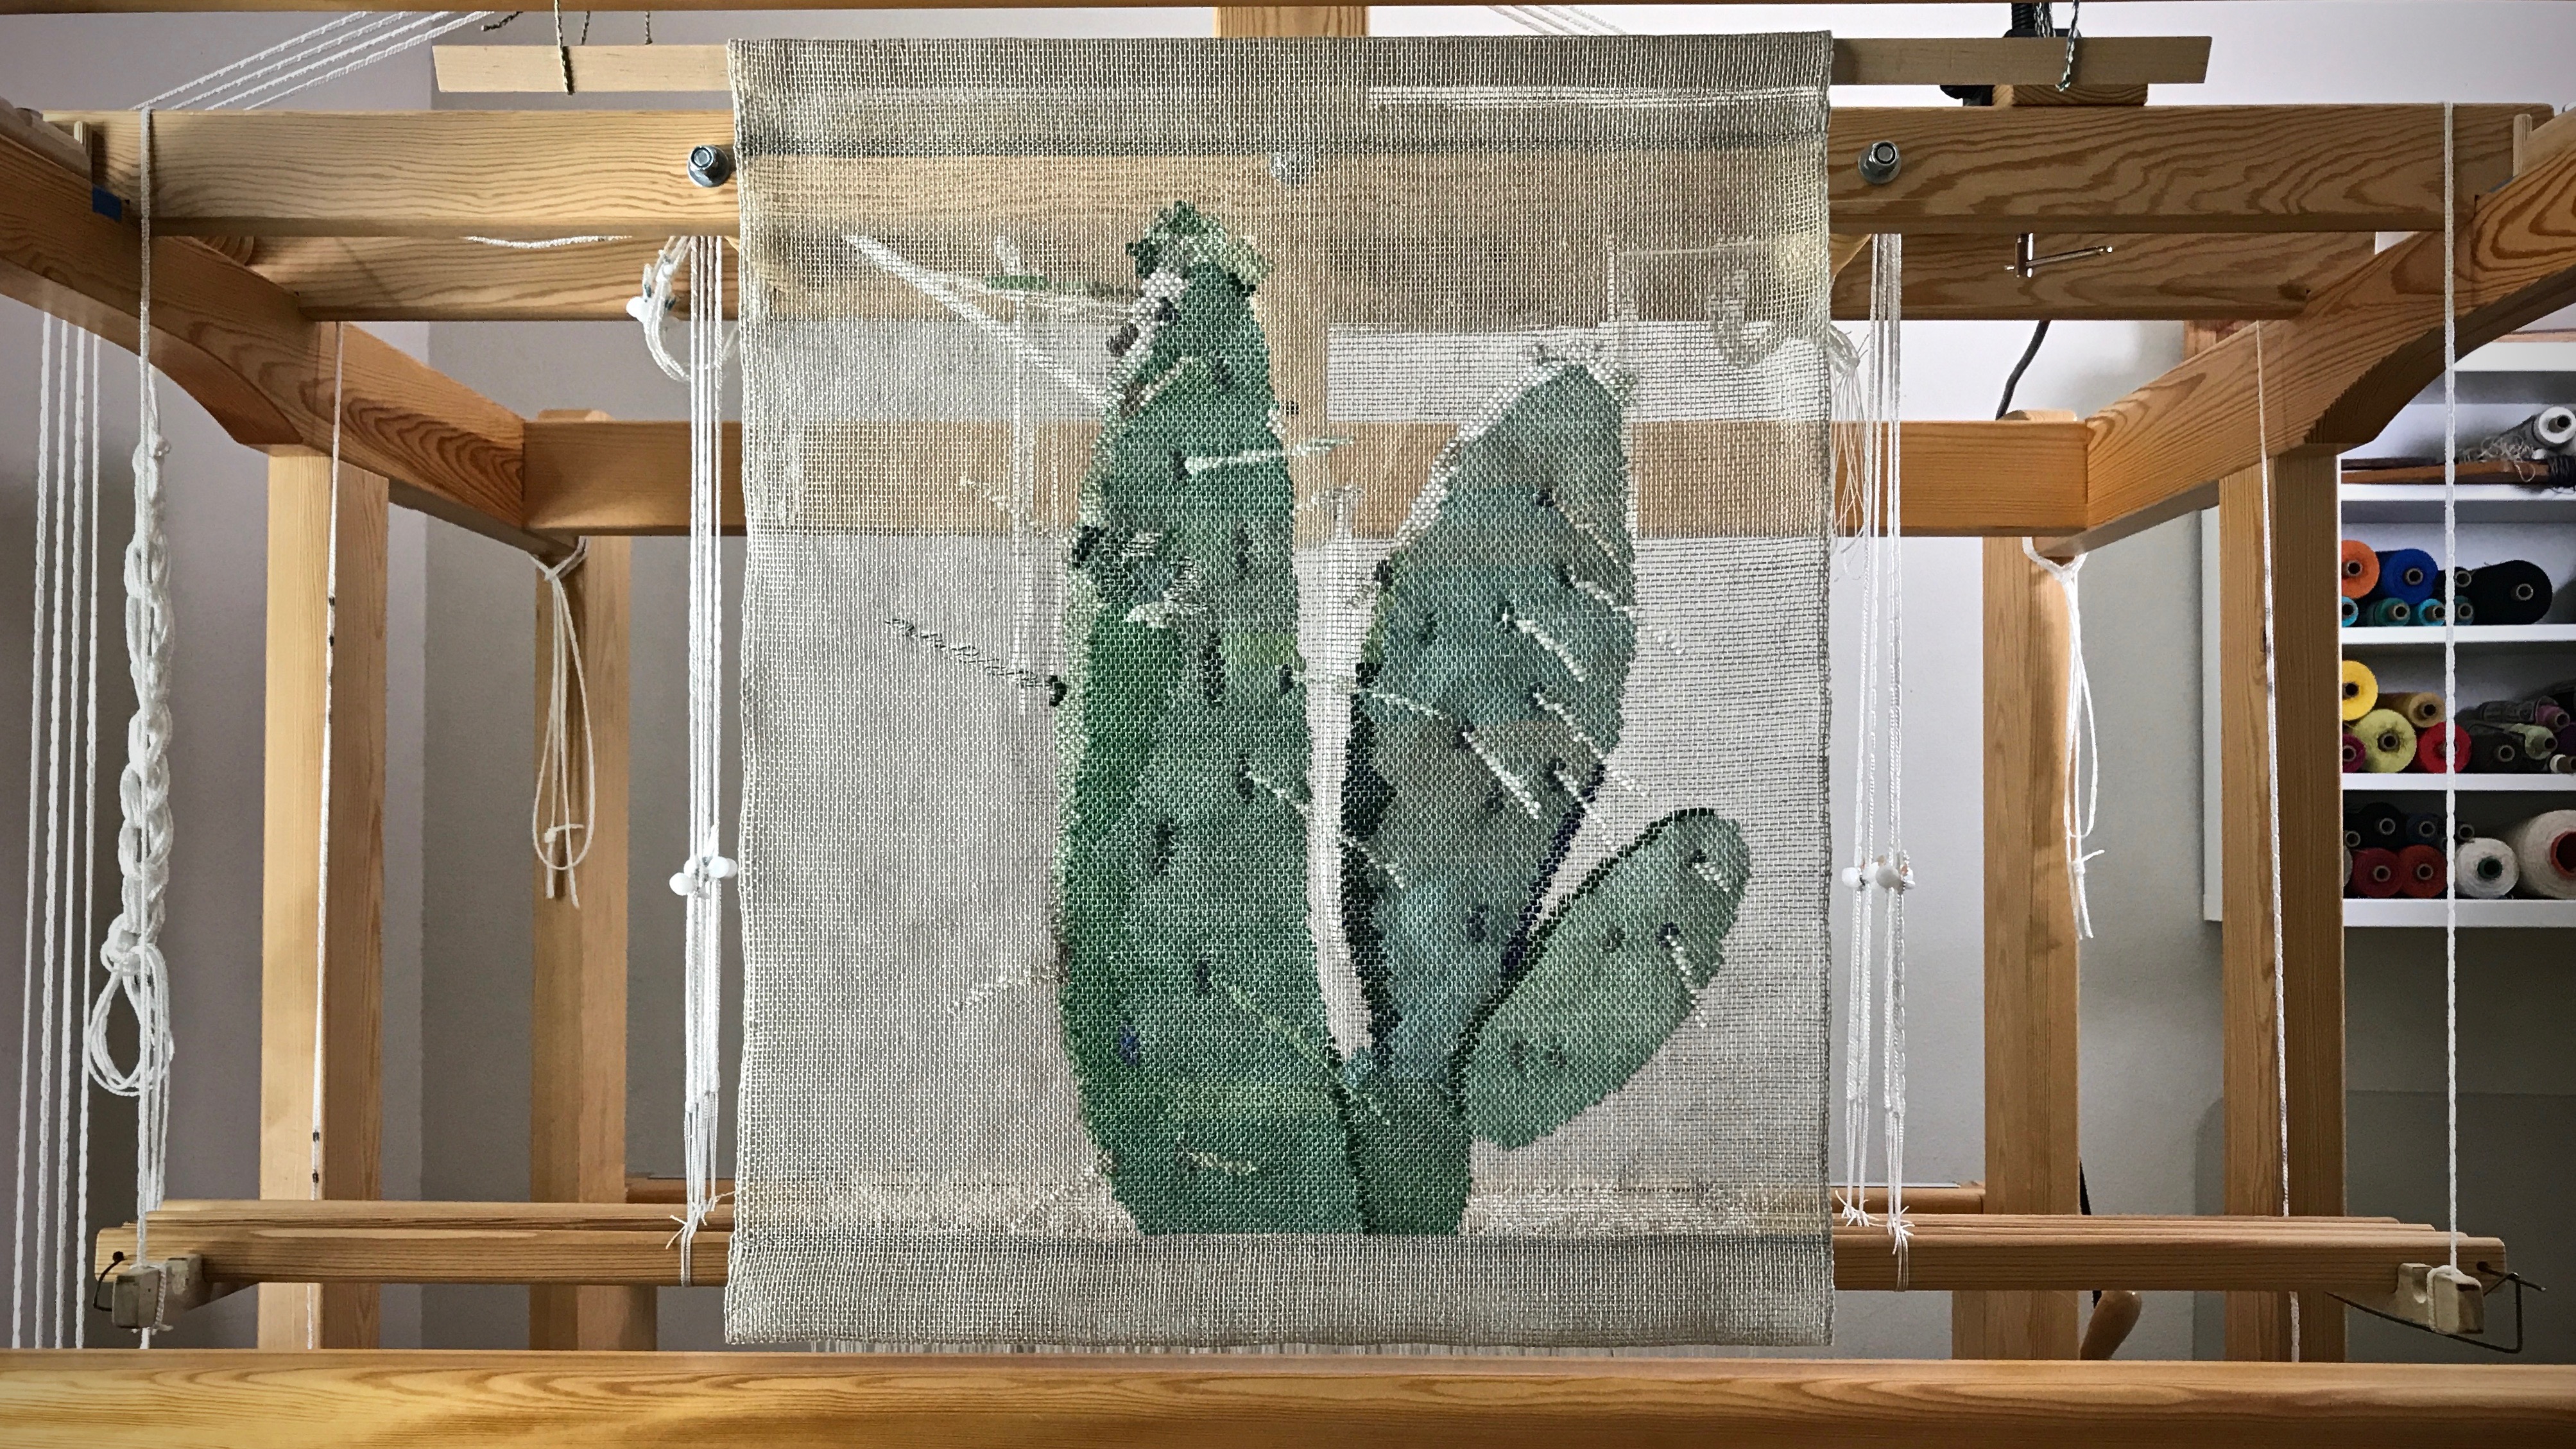
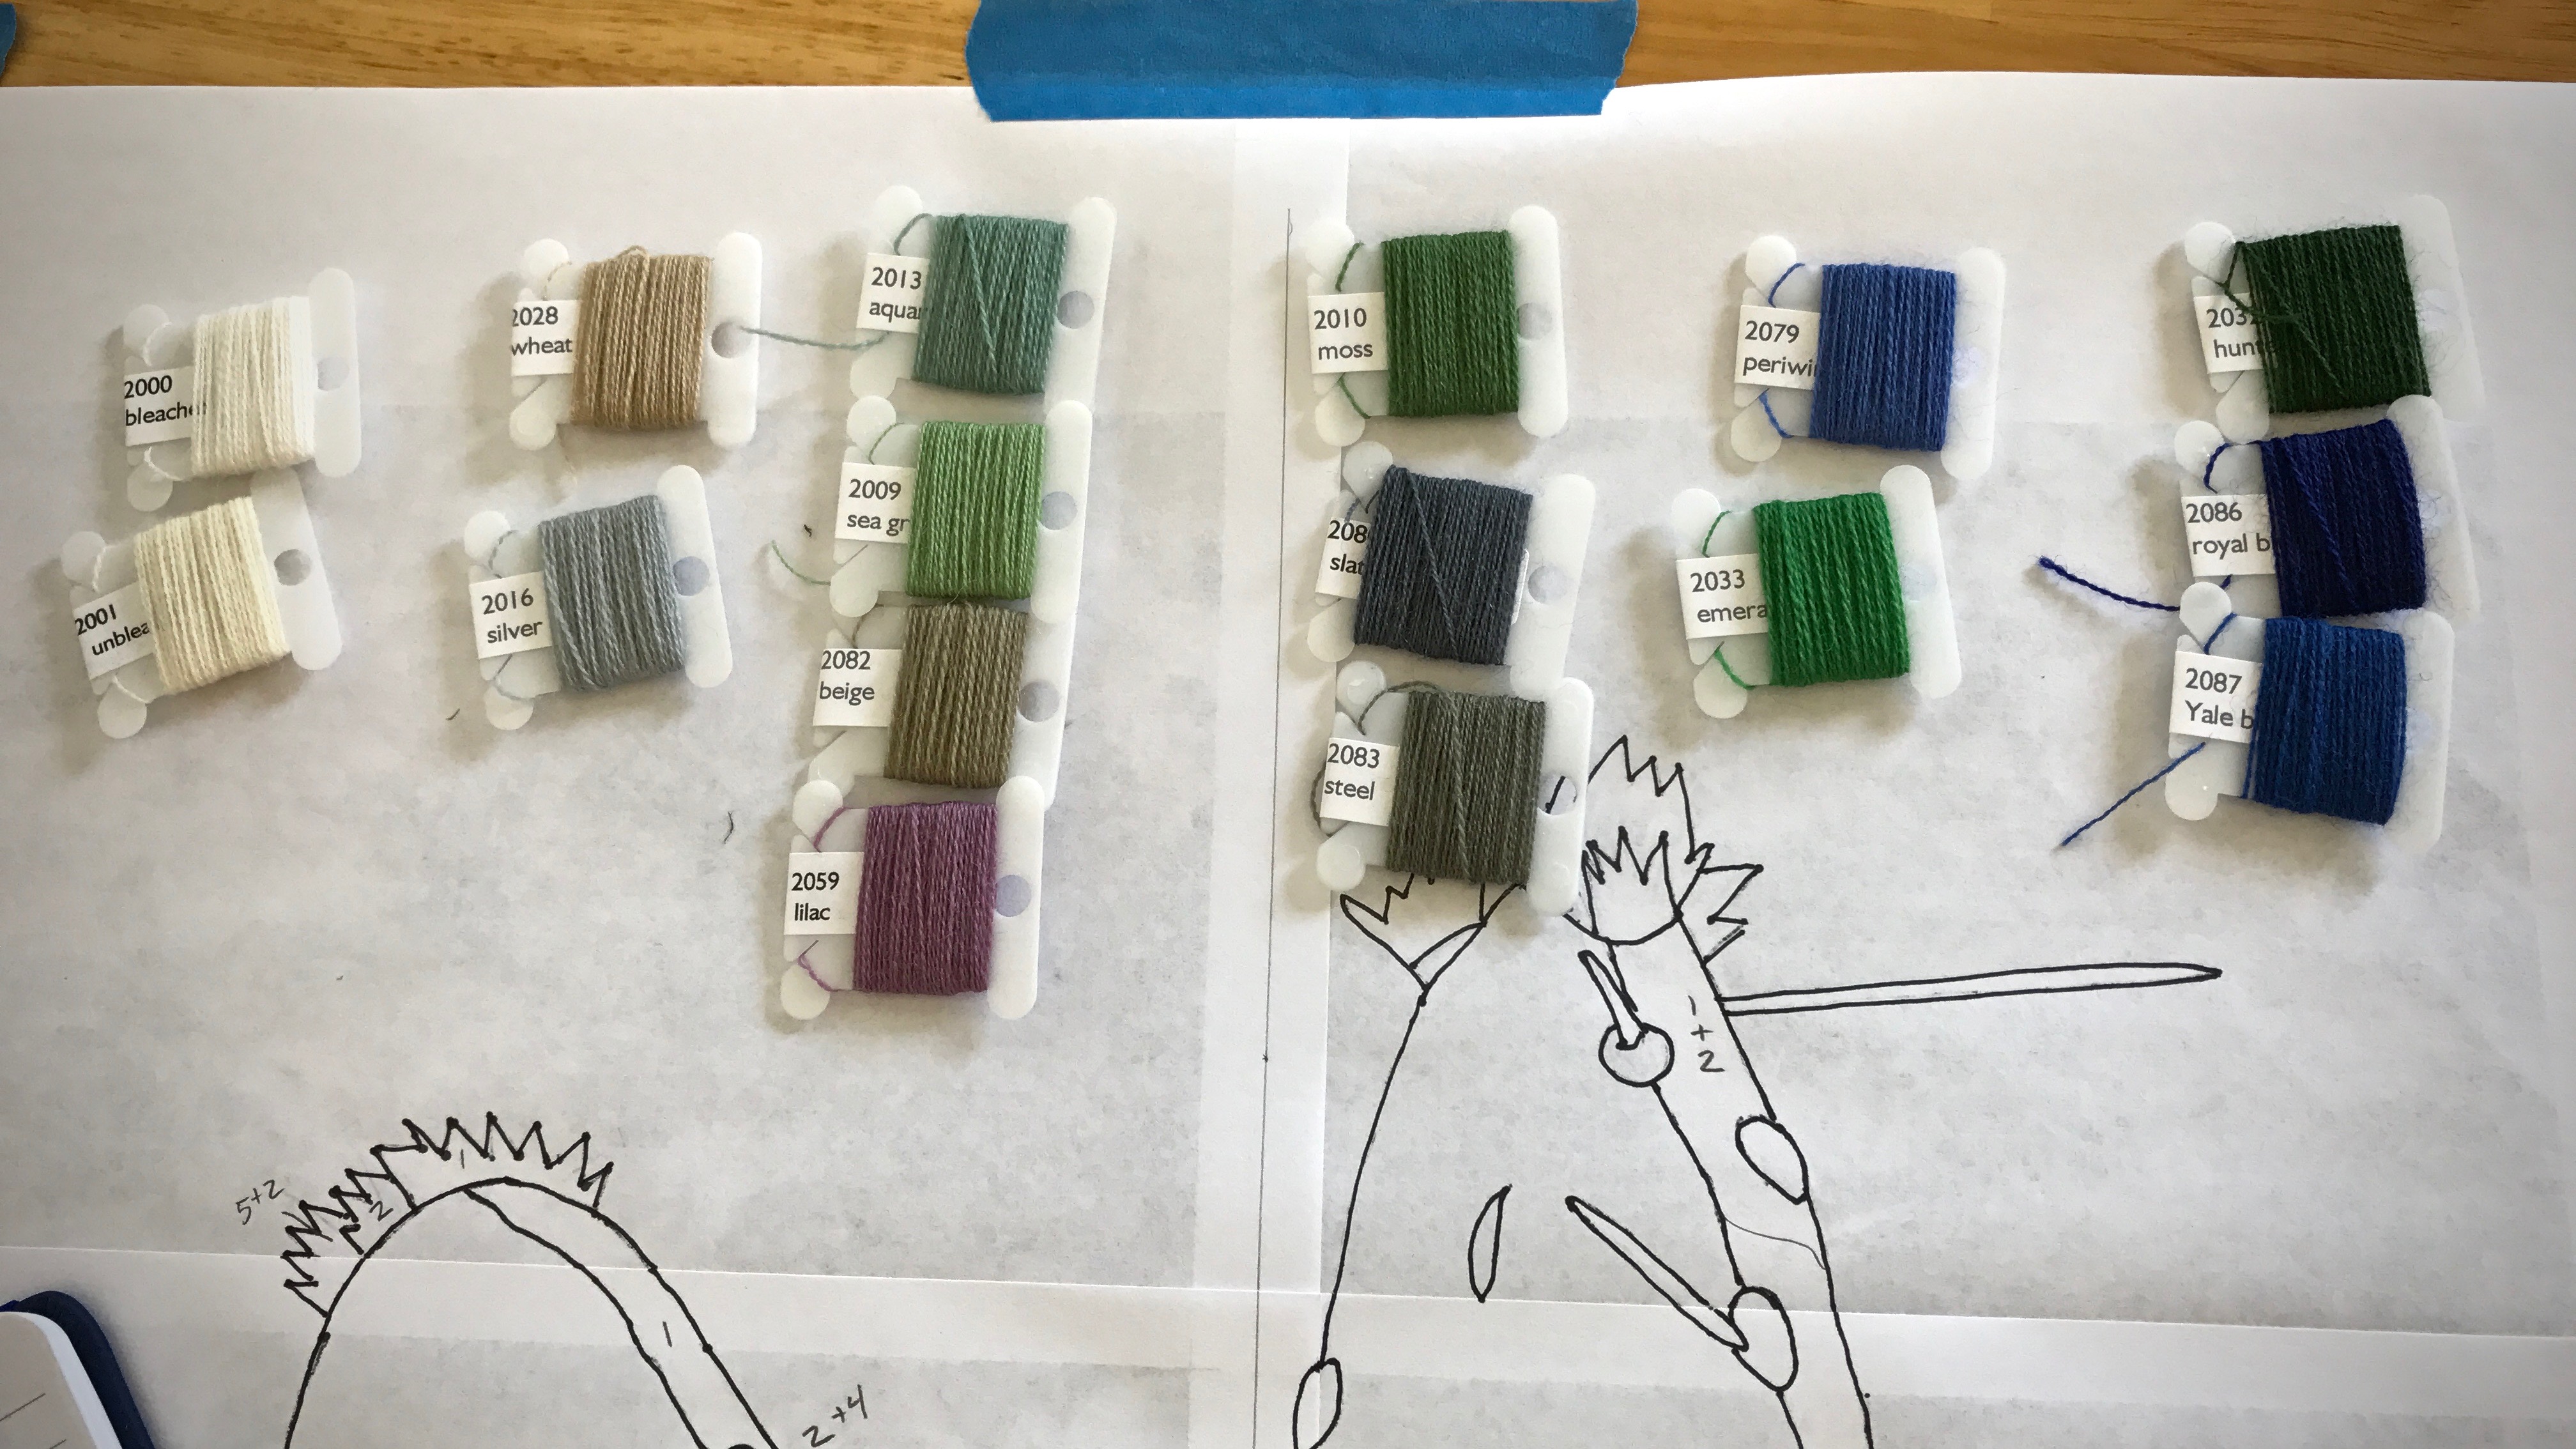
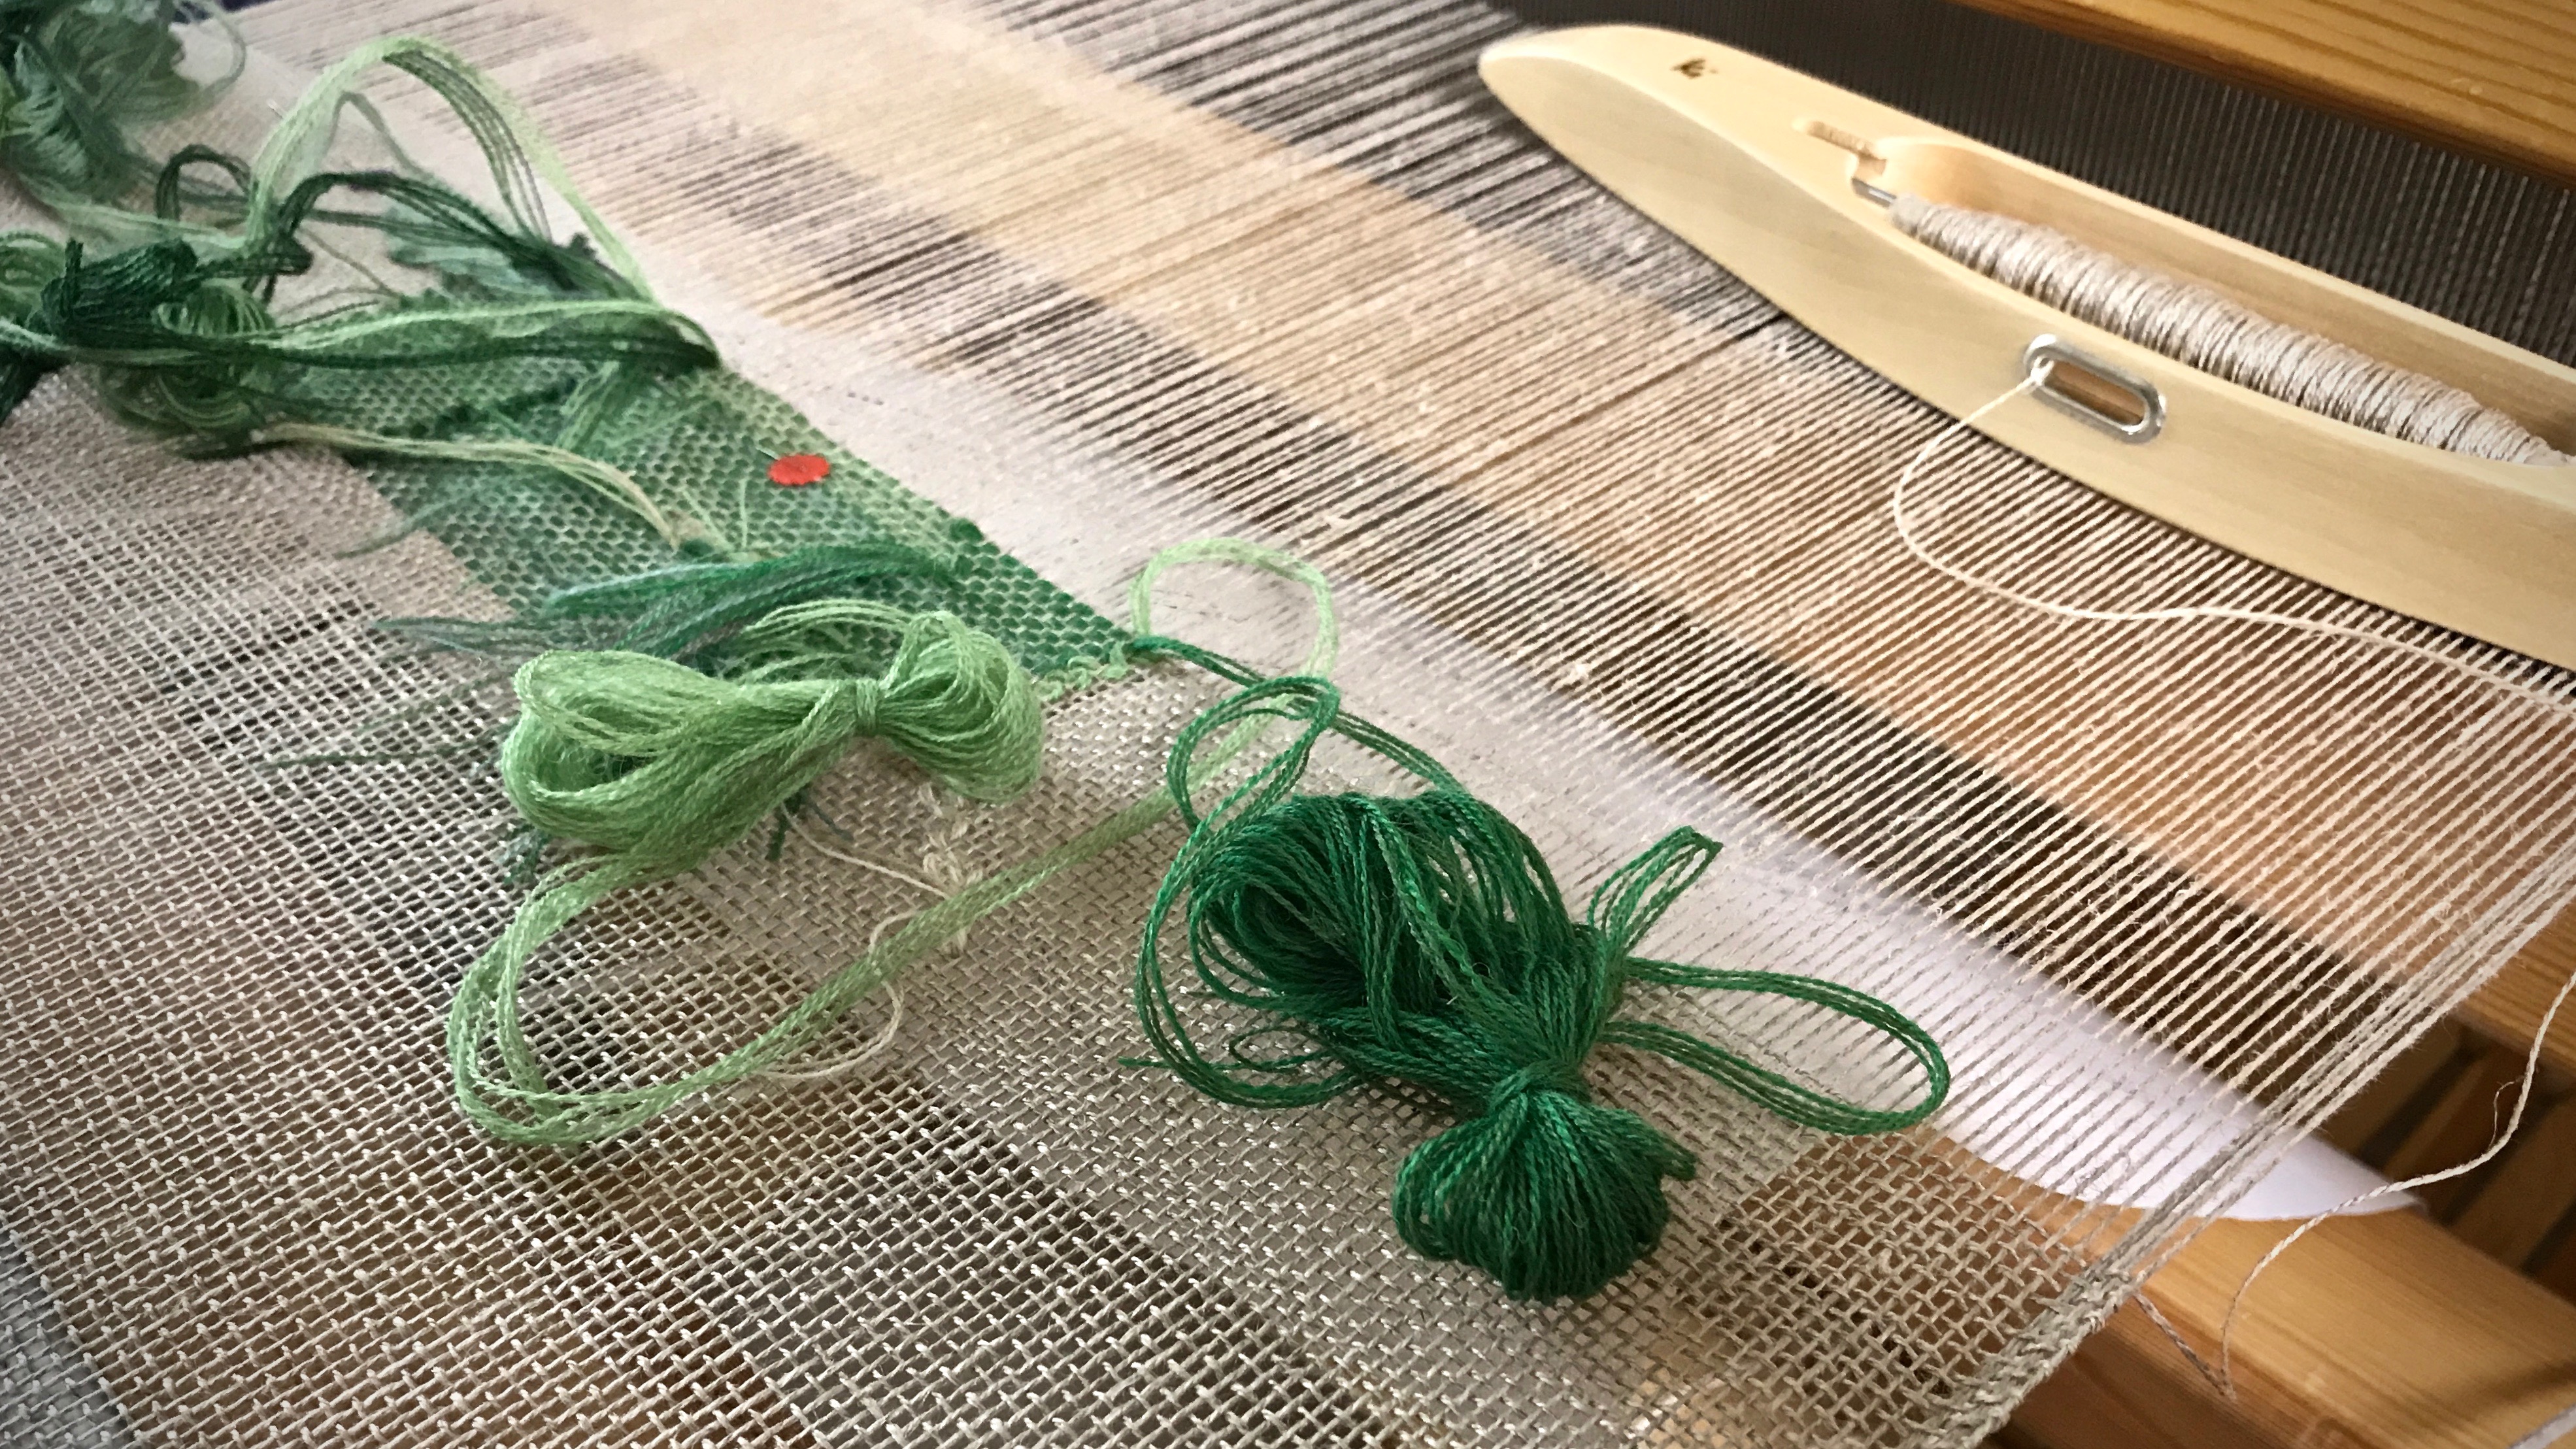
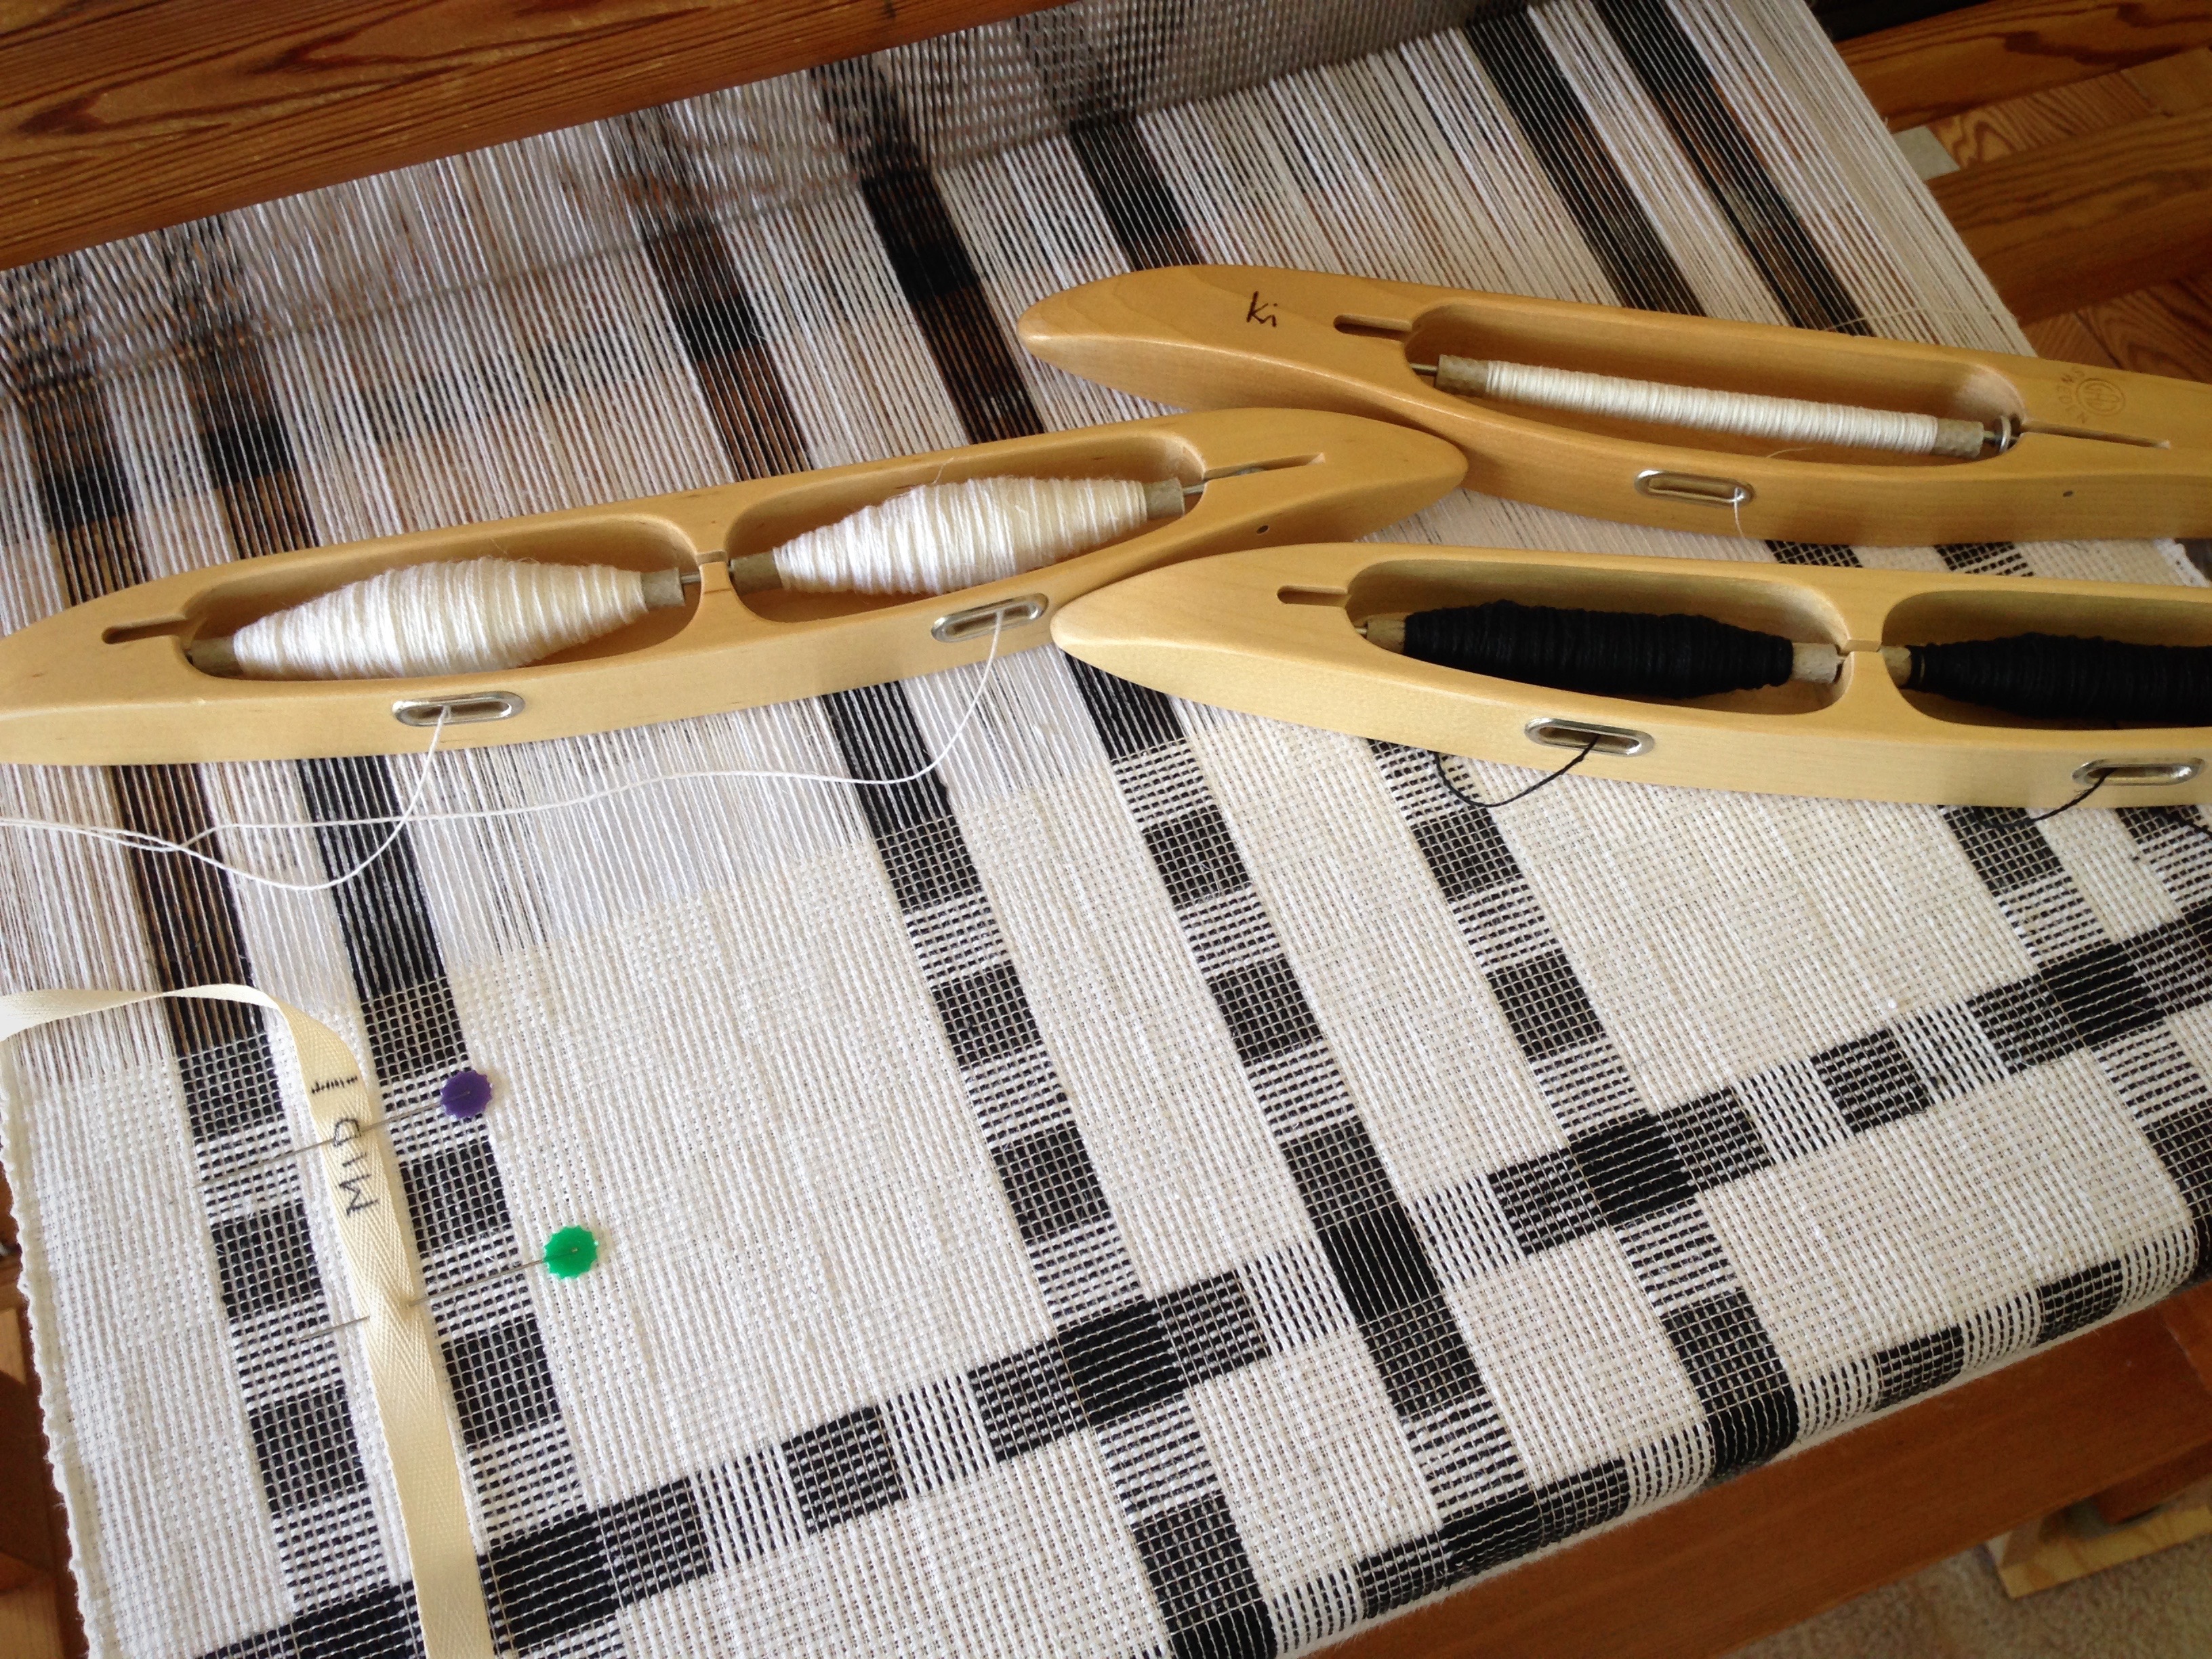
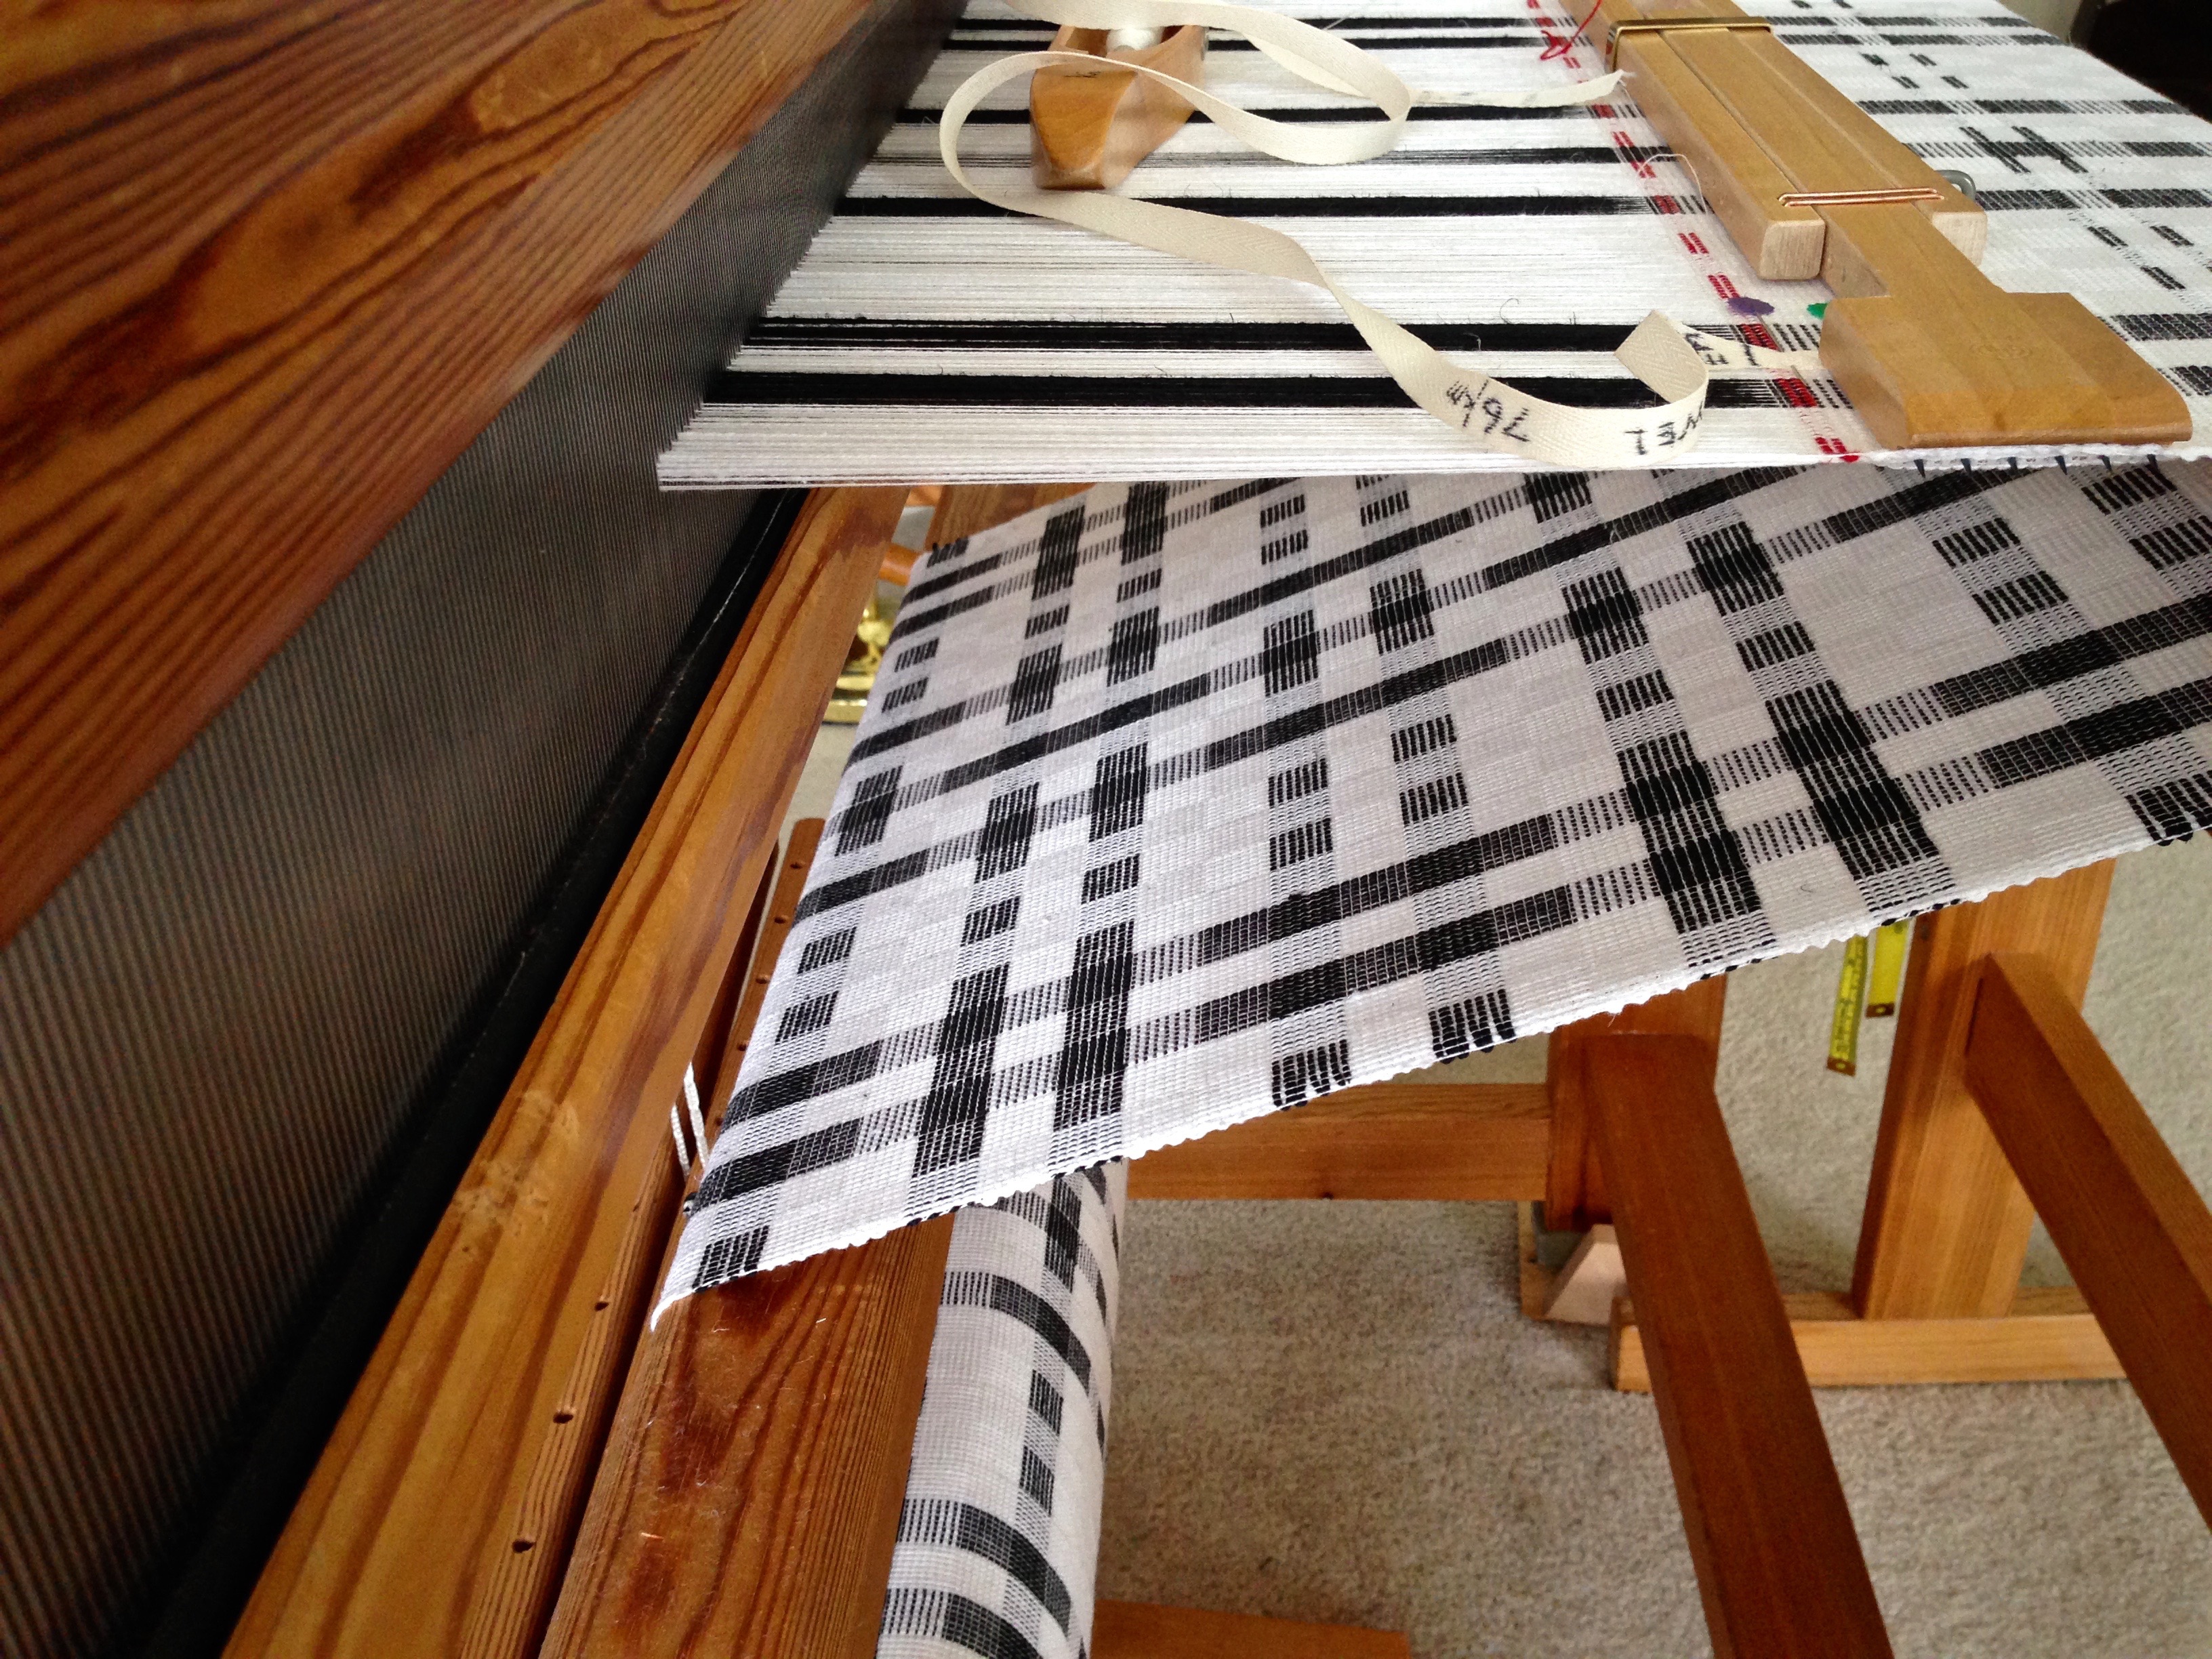
Here’s how the process looks for me, with this ten-shaft, ten-treadle project as an example.

I keep the following note on my iPhone. It helps me remember how things work.
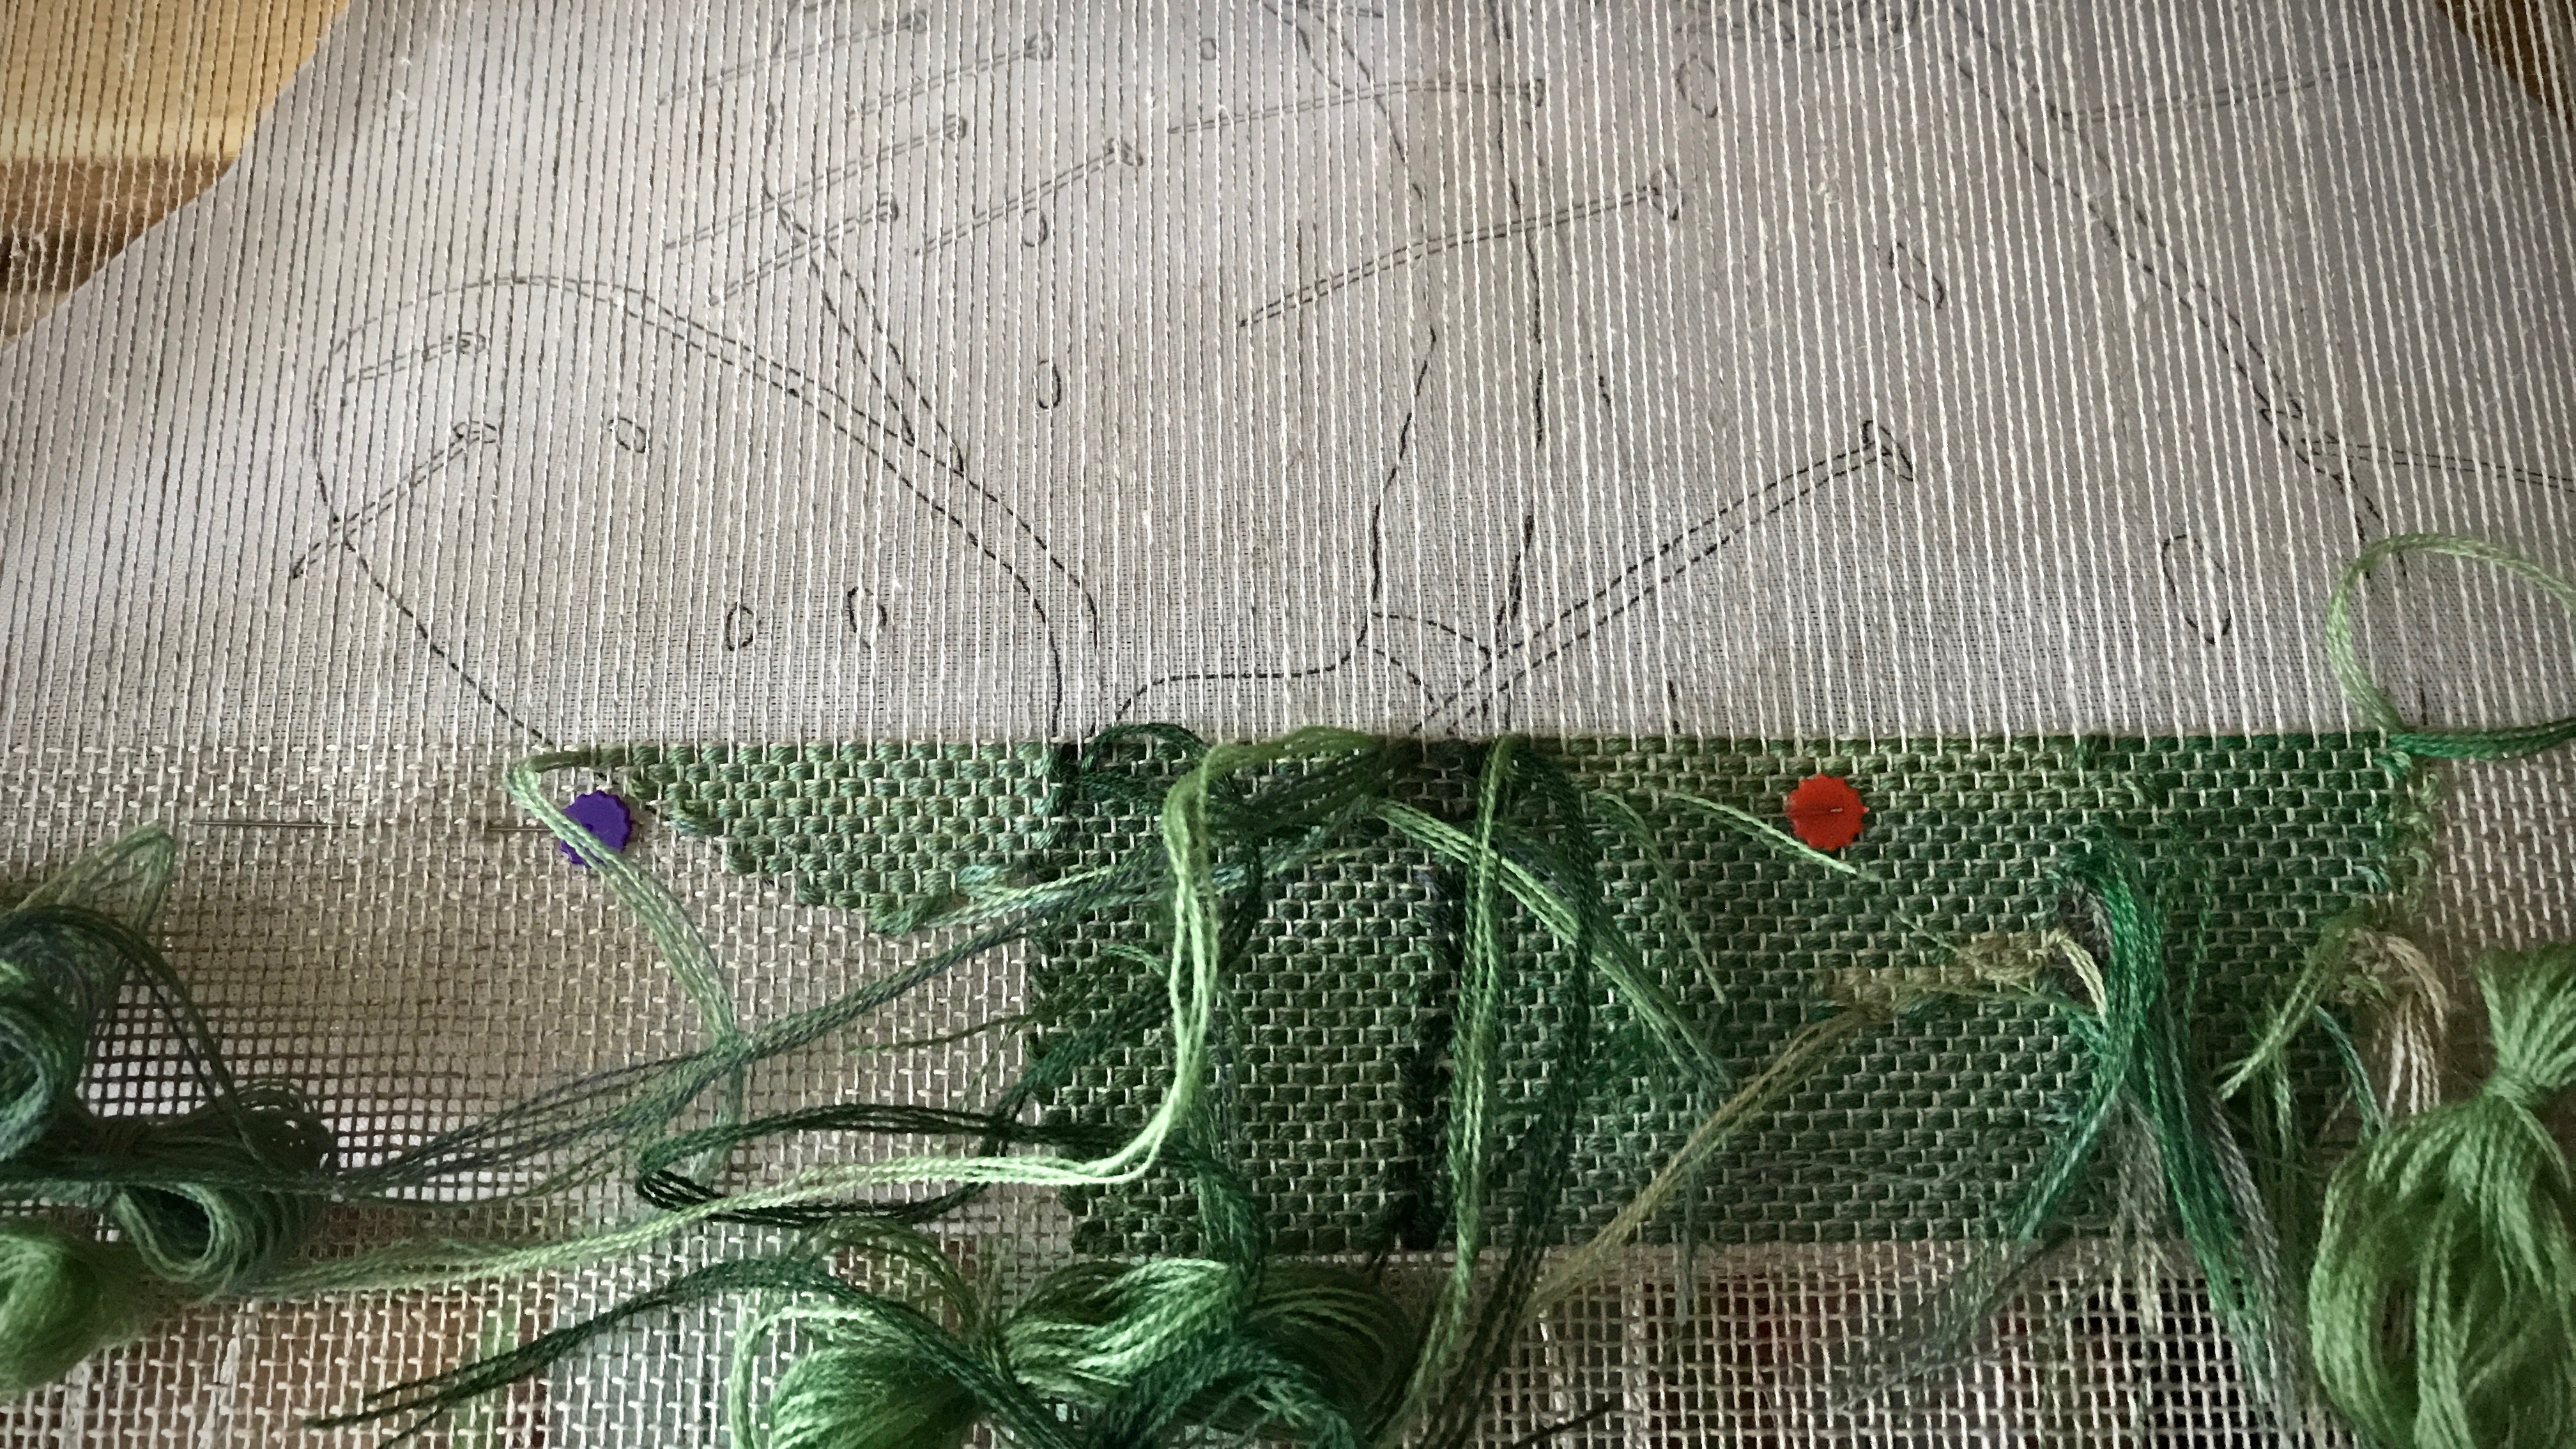
I fill in the blanks for each treadle, noting which shafts are too high or too low. Then, using my iPhone note for reference, I make the needed adjustments.

Note on iPhone for making countermarch treadle adjustments.

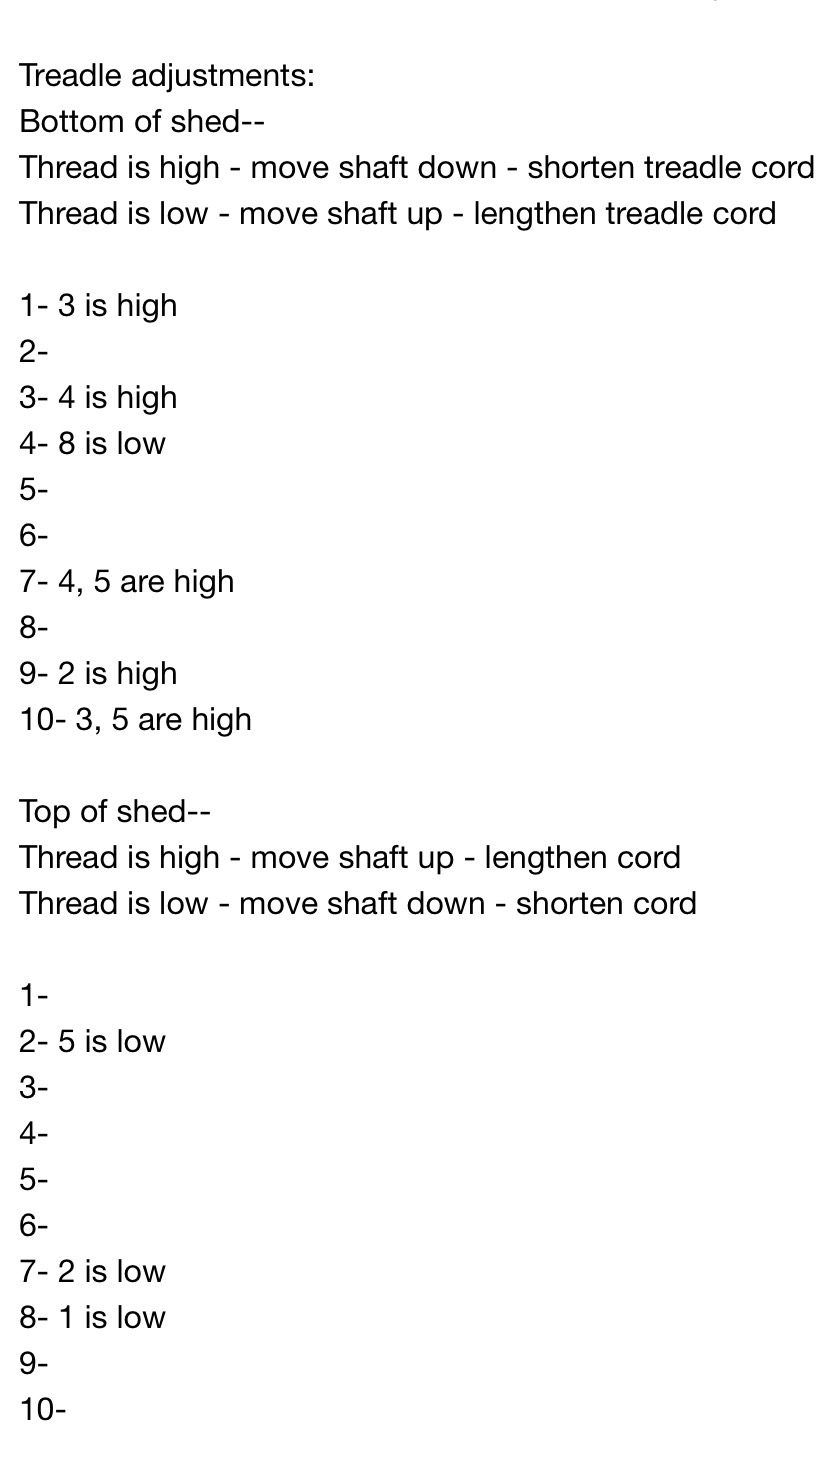
  • The first time through, I am primarily interested in the bottom of the shed. I make adjustments to clear the shed enough to be able to weave a little bit.
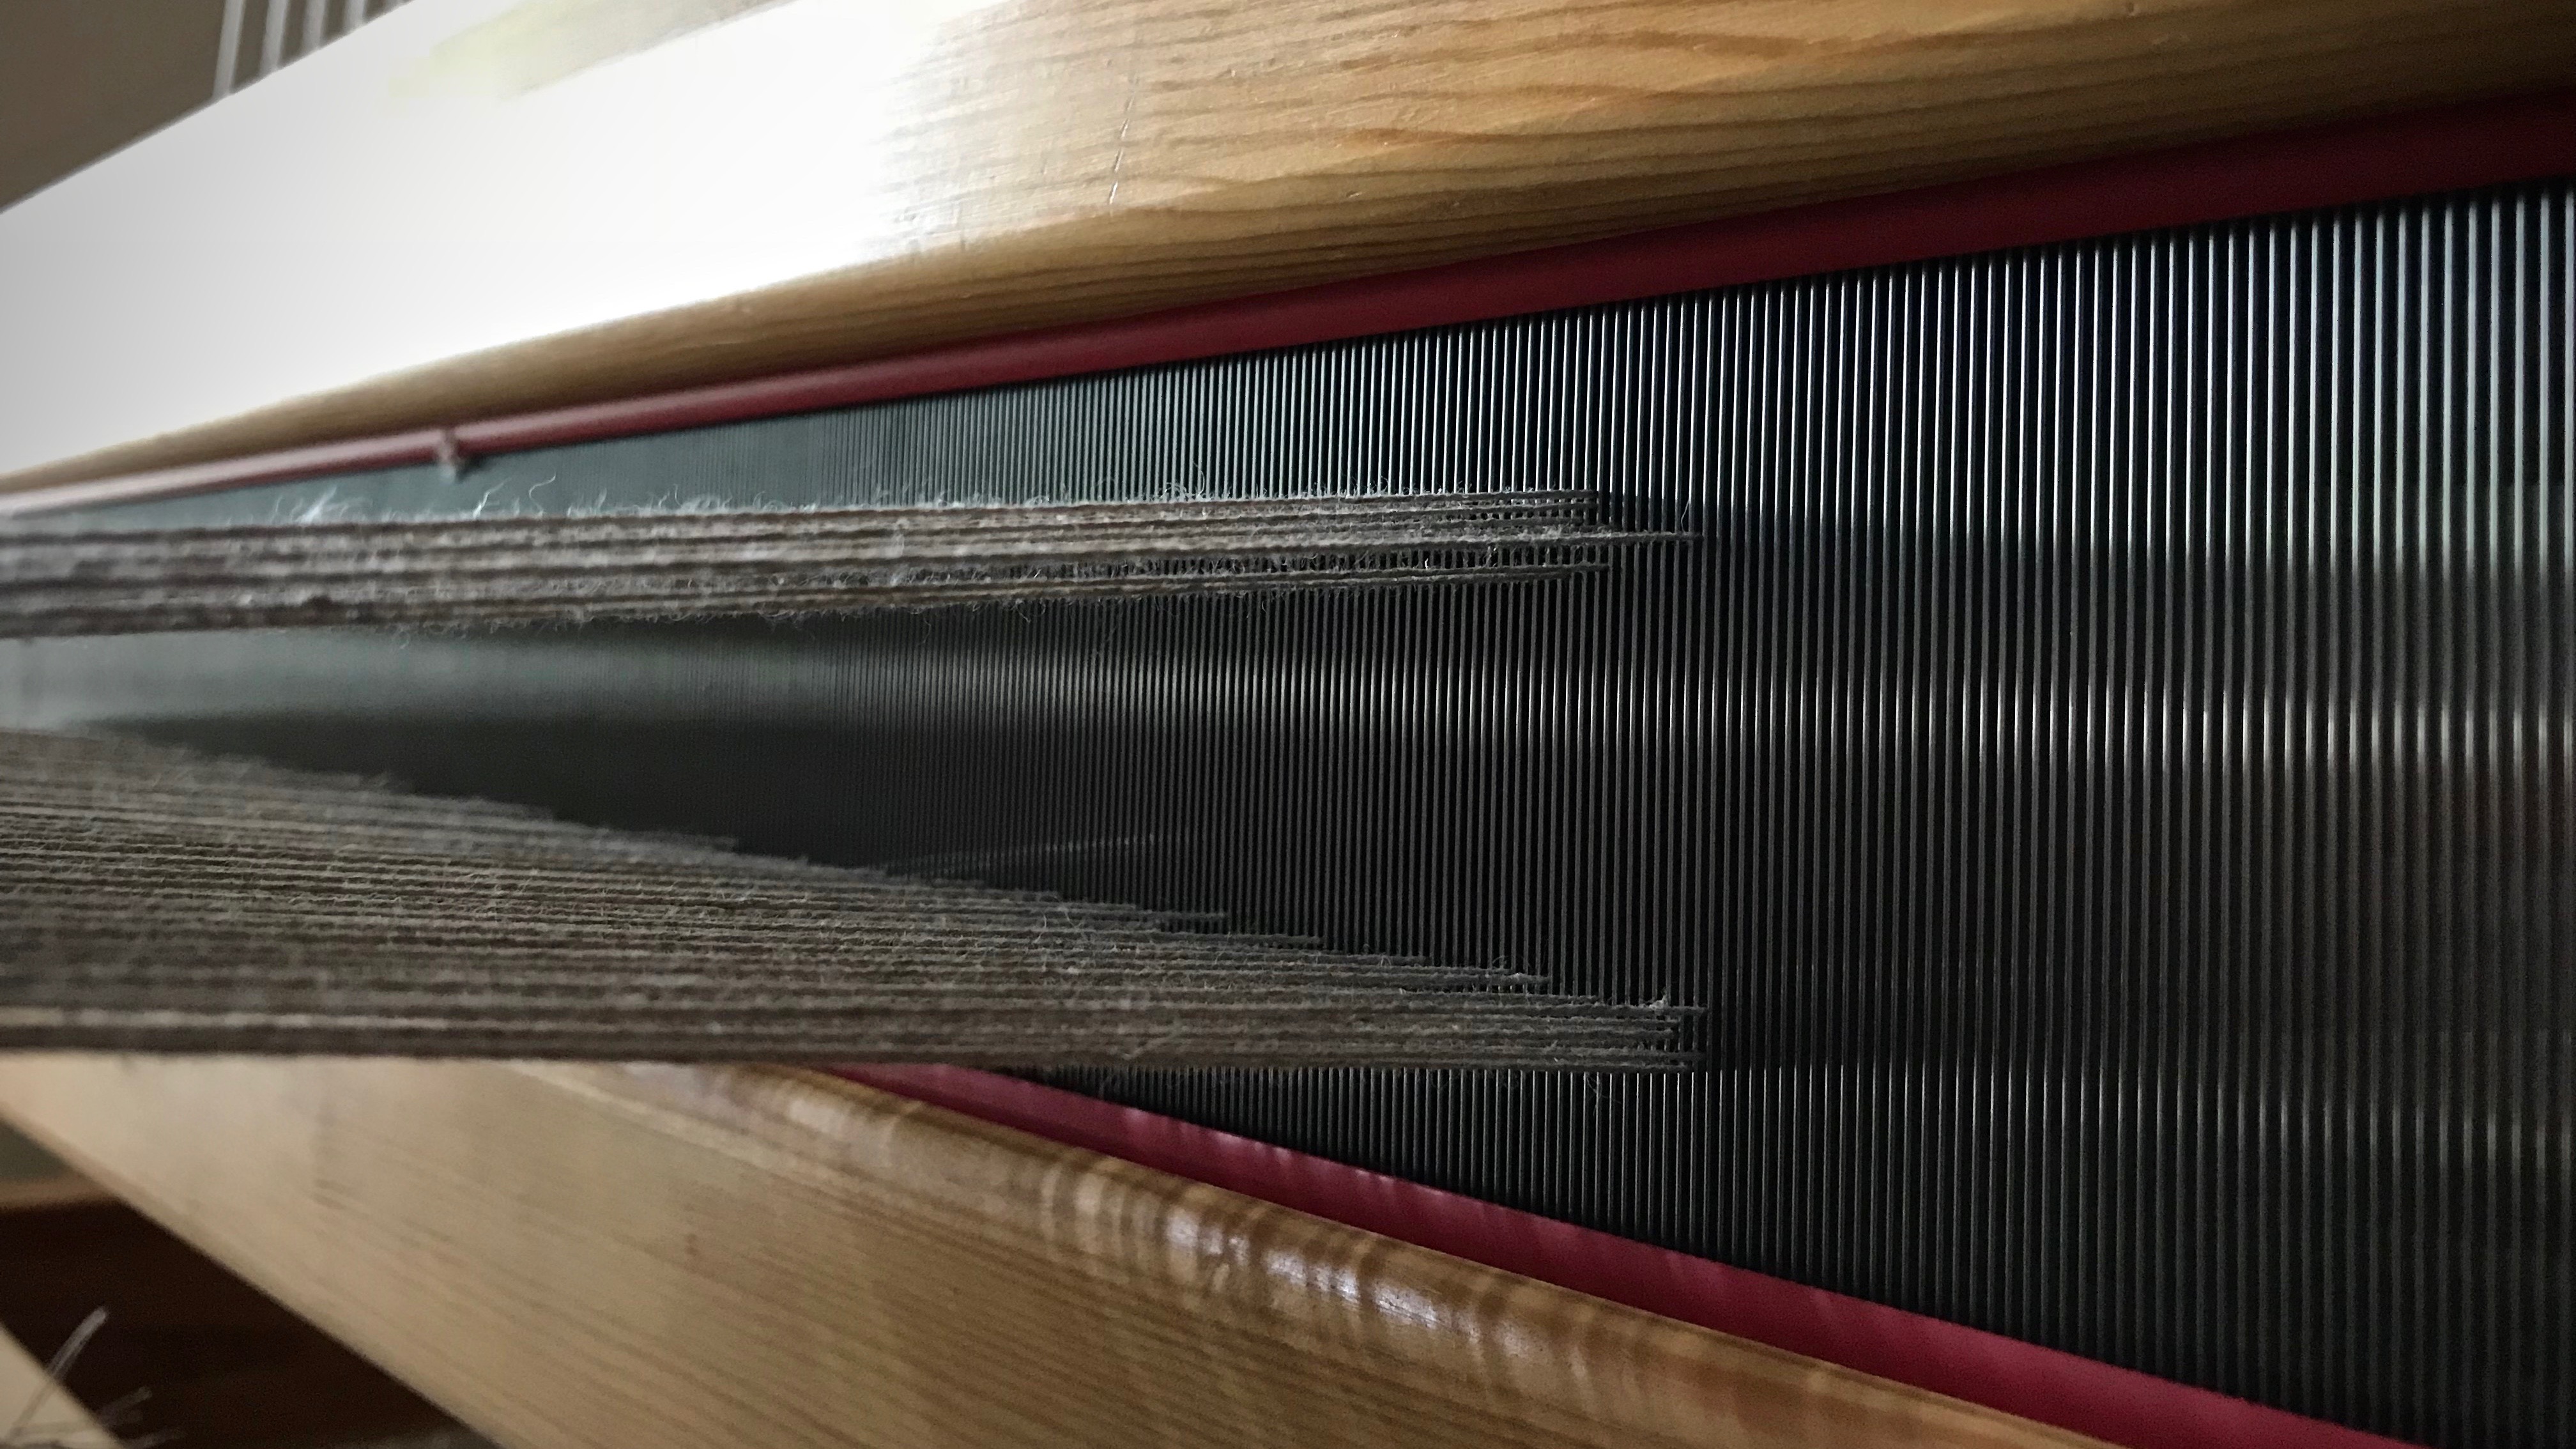
  • Weave an inch or two. It is surprising how the shed cleans up with a little bit of weaving.
Adjusting treadles on countermarch loom.
Bottom of the shed has threads on one or two shafts that need to be lowered. After making those adjustments, this treadle will have a clean shed for weaving.
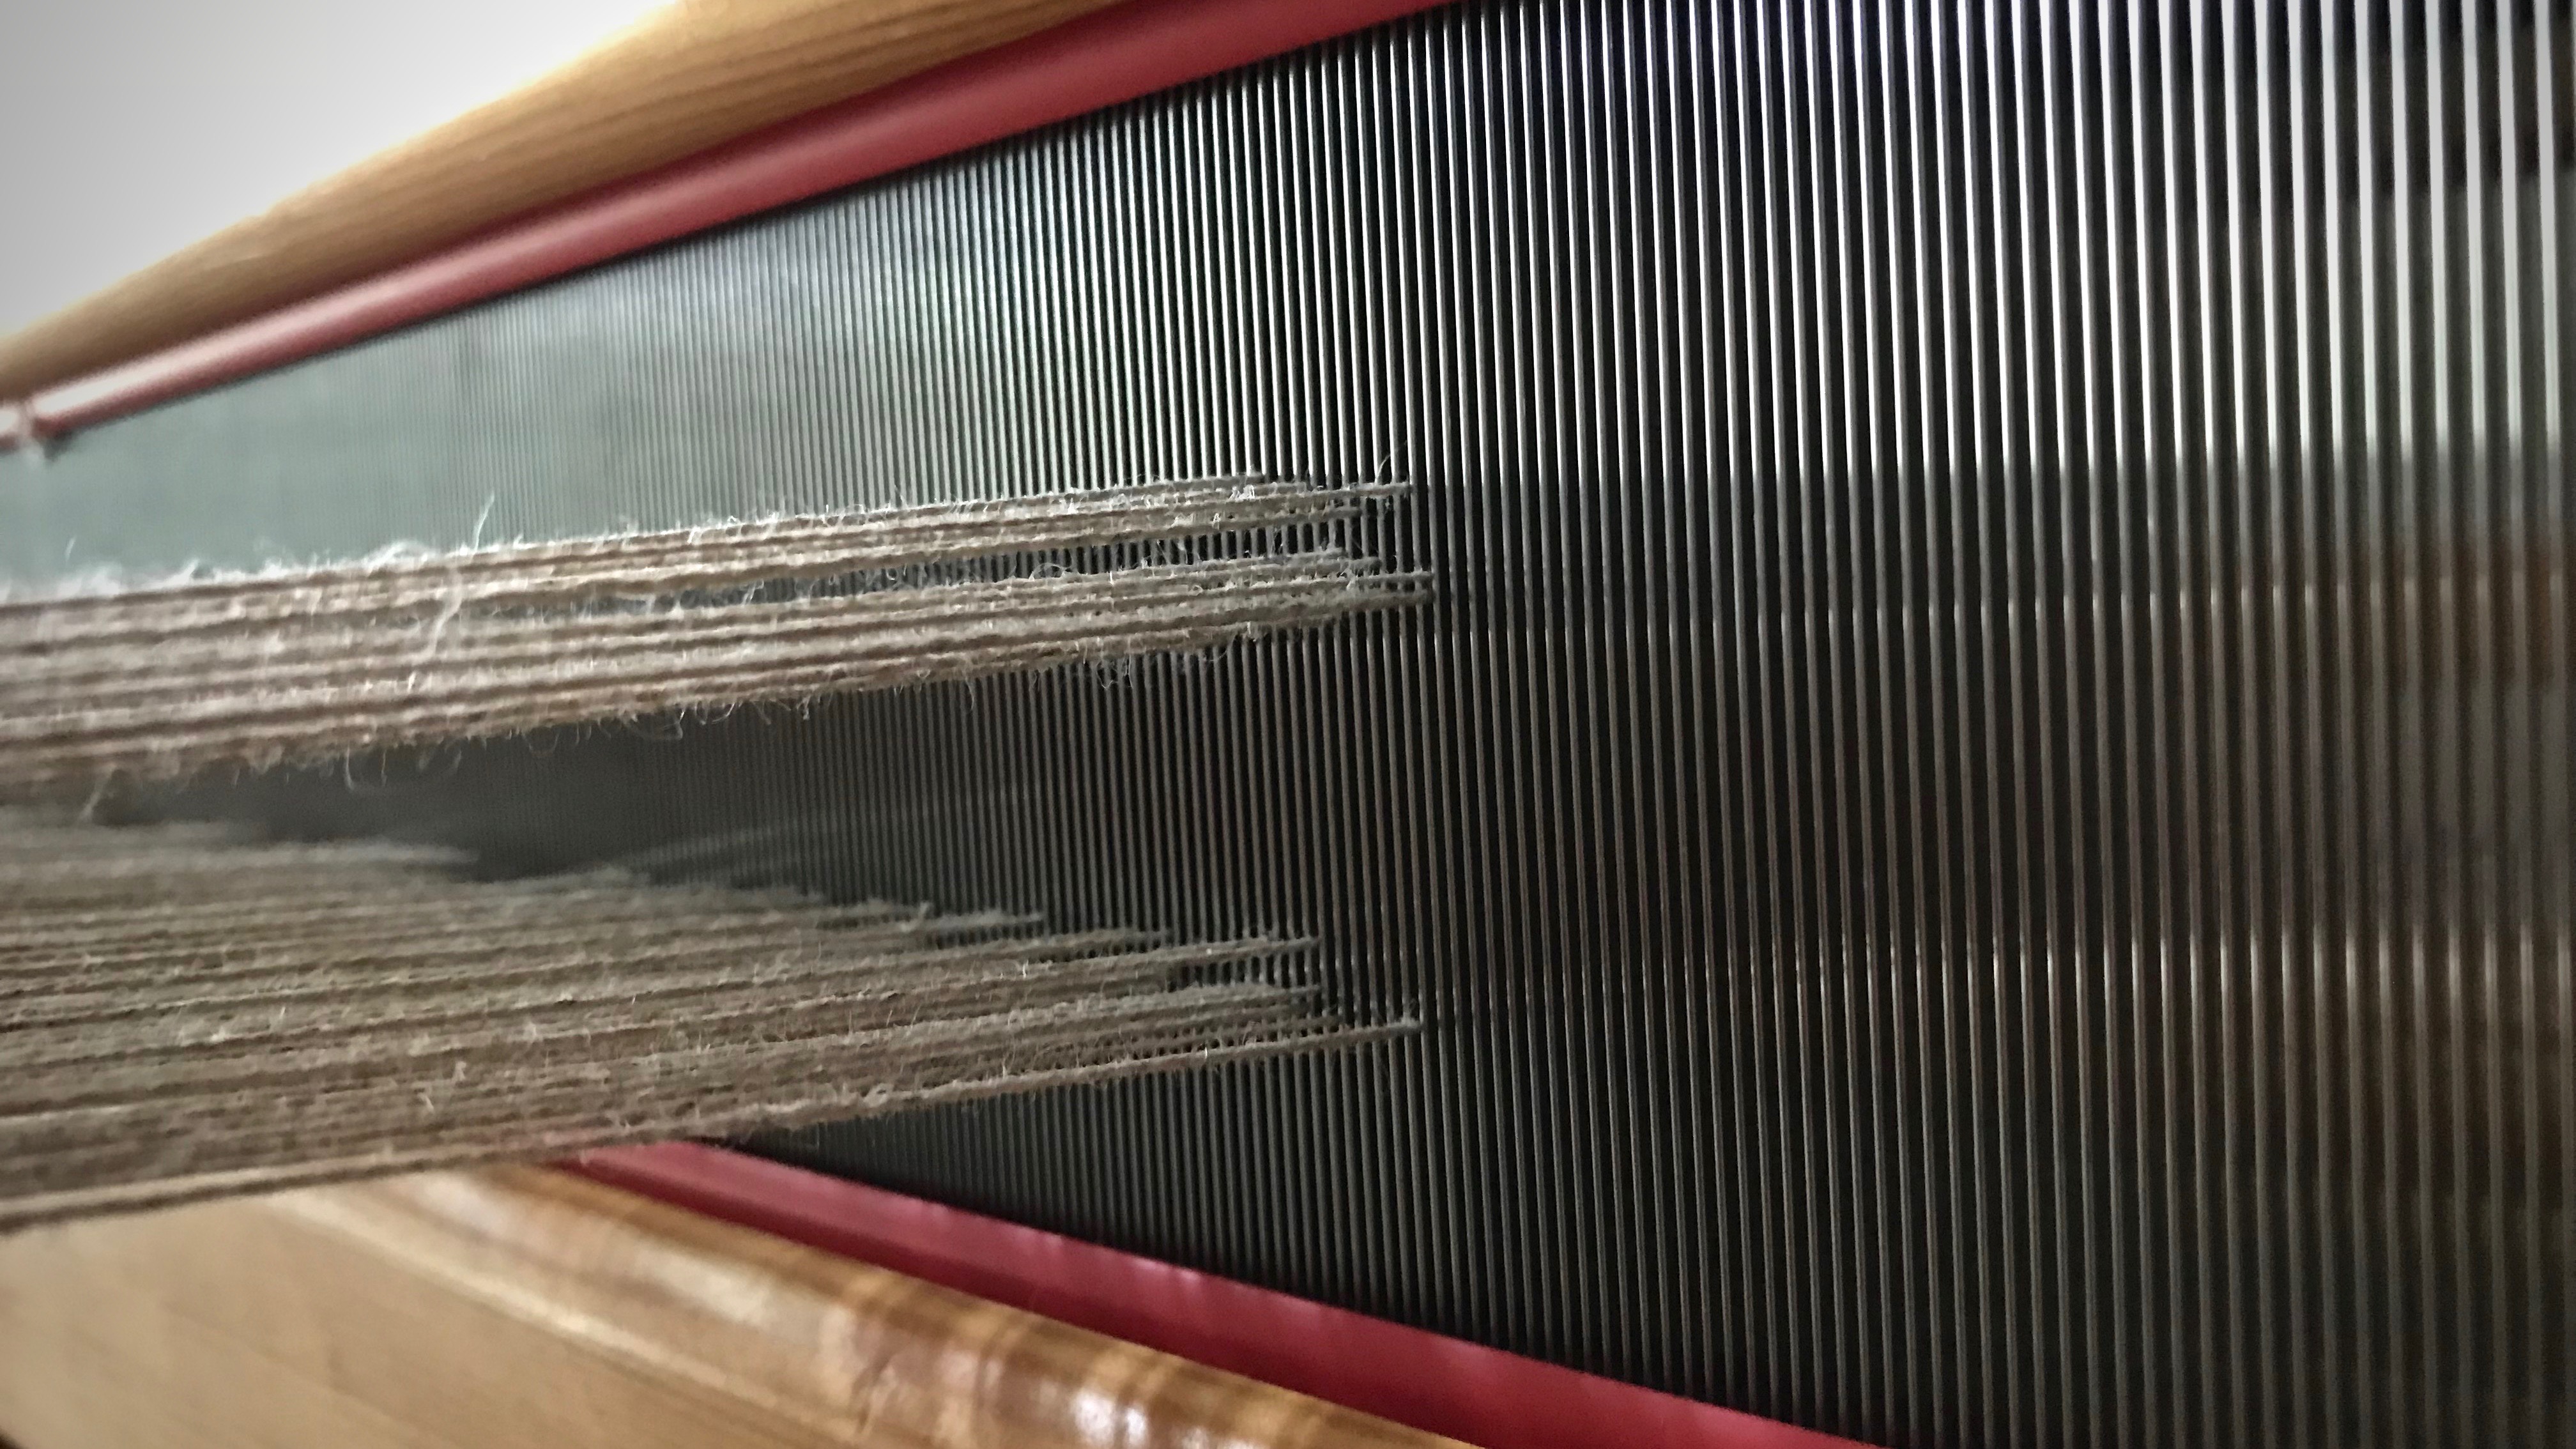
  • After weaving that first inch or so, I go through a second, and a third time, if needed, to get a clean shed on each treadle. Adjustments for the top of the shed are only needed if there are threads that will interfere with the shuttle.
Clean shed of a countermarch loom. Tutorial.
No hindrance for the shuttle here. This is the kind of shed I hope to see on every treadle.

When I first see a messy shed, I think, “How will I ever get my shuttle through that?” But it turns out to be little adjustments here and there. It’s not too difficult if you understand the loom.

Five-shaft satin dräll in linen. How to adjust countermarch treadles.
After all treadle adjustments have been made, the shuttle glides freely through the shed. And pick by pick, linen threads become cloth.

Nothing is too difficult for the one who made heaven and earth. Our Creator knows how to help us. He hears our prayers for help, and little by little, we see what He is doing as the shed clears and the shuttle glides through, unhindered.

May little adjustments clear the way for you.

With you,
Karen

Quiet Friday: Painting with Yarn and Animated Images

I have often wished I had the skill of artistic drawing. How wonderful it would be to portray a slice of creation using pencil lines, or pastels, or with watercolors and a paintbrush. Instead, though, I’ve been delighted to find that I can “draw” and “paint” with threads and yarn. By capturing a slice of creation through my iPhone camera lens, the hard part has already been done. All I have to do is translate the photo into a woven image. And what a joy that is!

Here is a glimpse of my process of weaving the Texas hill country Cactus and Bluebonnets transparencies.

(Don’t miss the amazing animated images at the end of this post that my son, Daniel, made of these woven transparency projects!)

Yarn for a woven transparency.

Planning a woven transparency.

Beginning cactus woven transparency.

Weaving a transparency. Cactus.

Weaving a transparency. Cactus.

Weaving a transparency. Cactus.

Weaving a transparency. Cactus.

Weaving a transparency. Cactus.

Cactus woven transparency just off the loom!

Woven transparency cactus. Karen Isenhower

Planning a woven transparency.

Beginning bluebonnets in a woven transparency.

Woven transparency. Bluebonnets

Woven transparency. Bluebonnets

Woven transparency. Bluebonnets

Bluebonnets woven transparency just off the loom!

Woven transparency bluebonnets. Karen Isenhower

Bluebonnets photo morph to woven transparency.

May you find joy in what you’ve been given to do.

Happy Weaving,
Karen

Woven Transparency Cactus

I found a subject for my next transparency. It’s a prickly pear cactus in Texas hill country. Weaving this cactus is a fantastic experience! I started with a photograph, from which I made a cartoon. And I have an outline that shows where to place each color. It’s all based on the timeless beauty of colors in nature. I’m hopeful that when light shines through the final woven transparency we will see a likeness of the original cactus.

Prickly Pear Cactus in Texas hill country.
Prickly Pear Cactus in the front yard of our Texas hill country home.

Make a Cartoon

  • Crop and enlarge the photo. (I use Acrobat Reader to enlarge and print in multiple pages, and then tape the pages together.)

Prickly Pear Cactus in Texas hill country.

  • Outline the main lines of the picture.
  • Turn the enlarged picture over and draw the traced lines on the back to have the reverse image. (This transparency is woven from the back.)

Photo to sketch to cartoon for woven transparency.

  • Trace the line drawing onto a piece of buckram to use as the cartoon.
  • Draw a vertical dashed line down the center of the buckram cartoon.
  • Pin the cartoon under the weaving, lining up the center line on the cartoon with the center warp end. Move the pins, one at a time, before advancing the warp each time.

Buckram used for transparency cartoon.

Color Selection

  • Use the photograph to select yarn colors for the transparency. (I used the iPad to view the photo, and selected sixteen shades of 20/2 Mora wool.)
  • Sort the yarn by hues. (I used my iPhone camera black-and-white setting to help in the sorting.) Sorting by hues helps me blend similar-hued colors, and shows me the contrasts that will help define the picture.

Color selection for woven transparency. Sorting by hues.


Sorting colors by hues for woven transparency.

  • Assign a number to each yarn color.
  • Make the enlarged outline into a color-by-number sheet by designating a color or blend of colors for each section. (I taped this sheet to the wall beside my loom, to use as a color guide. The iPad photo also serves as a reference.)

Butterflies of Mora wool for woven transparency.

Virtues are timeless. Virtues are like colors that blend together to weave a masterpiece. When we let the Grand Weaver lay in the weft, these are the colors that appear as light shines through His woven transparency: love, joy, peace, patience, kindness, goodness, faithfulness, gentleness, self-control. And when this occurs, it shows that we are made in His image.

Making a transparency cartoon. Tutorial.


Woven transparency from a photo. How to.

May the next leg of your journey be a fantastic experience.

I’ll meet you back here on Tuesday, August 1st, 2017.
In the meantime, I hope you investigate claims of Jesus. Take time with people. Keep weaving. And the same for me.

Head over to Instagram to stay in touch with my daily journey.

Love,
Karen

Tools Day: Reading Swedish

Through my exploration of Swedish weaving techniques, I have acquired several Swedish weaving books. Fortunately, I also found a Swedish-English weaving glossary with pages and pages of translated words. Looking up a word at a time, I slowly made my way through small portions of the books. And then I discovered Google Translate, an app for my iPhone!

A few of my favorite Swedish weaving books.
Ever-expanding library of Swedish weaving books.

Google Translate allows me to type Swedish words or phrases, or try to speak them, and it gives me an English translation in return. The app also allows me to hold the phone’s camera over printed words, and the translation shows on the phone’s screen.

Using Google Translate to read Swedish weaving books.
Multiple ways to enter text for translation. Translations give a general idea of the subject matter, even though some of the wording may be unclear.

I’m the first to admit that Google is unfamiliar with standard weaving terms, and the results can be humorous. “Varp” might be translated as “Puppy,” “Inslag” as “Element,” and “Sked” as “Spoon.” But “Warp,” “Weft,” and “Reed” are easy to understand because of their placement in the instructions. Shouldn’t Google brush up on vocabulary for handweavers? Overall, the Google Translate app is a useful tool for understanding the basics of a Swedish draft and instructions.

Using Google Translate to read Swedish weaving books.
Book titles in Swedish, as seen through the iPhone camera in the Google Translate app.
Using Google Translate to read Swedish weaving books.
Through the app, the Swedish words are seen as translated into English.

Now, all I need are a few more Swedish weaving books!

May you overcome a language barrier.

Vävglädje (Happy Weaving),
Karen

Quiet Friday: Thick and Thin

A vote of confidence from someone you look up to can make a world of difference. When I saw Joanne Hall’s exquisite towel made with thick and thin threads, I asked her, “Do you think I can weave something like that?” “Of course you can;” she replied without hesitation, “it’s plain weave.” Keep in mind that I was a complete novice on the floor loom; and I barely knew how to handle one shuttle, much less two! I plunged into the ambitious project and came out with a winner! The blue and cream towel hangs on the oven door in my kitchen as a daily reminder of the powerful impact of an encouraging word. Thank you, Joanne!

Cotton tea towel, thick and thin. Karen Isenhower
First thick and thin towel, completed as a beginning weaver. This is one of Erica de Ruiter’s designs, found in “The Best of Weaver’s Thick’n Thin,” Edited by Madelyn van der Hoogt.

Thick and thin is just as fascinating this time around. It is delightful to revisit a rewarding experience. Who knew that plain weave could be this much fun?

Zebra warp on Glimakra warping reel.
Zebra warp with thick and thin threads on my new Glimakra warping reel. One of three bouts, 10 1/2 meters.
Warping trapeze in action.
View from the crossbar at the top of the warping trapeze, looking down. Ready to untie choke ties and add weights to the warp bouts.
Threading Texsolv heddles.
Thick ends alternate with thin ends as the heddles are threaded. Left hand separates the shafts‘ heddles for ease of threading.
Ready to weave thick and thin towels!
Weaving begins as soon as the warp is tied on and the leveling string is secured. I use the first few inches to check the threading and sett, and to do some sampling.
Border pattern for cottoln towel on the loom.
First border is captured with my iPhone camera so that I can easily reproduce the pattern at the other end of the towel.
Plain weave with three shuttles creates interesting patterns.
I added a second double bobbin shuttle to make it easier and quicker to switch weft colors. Plain weave gets even more interesting with three shuttles!
Thick and thin cottolin towels on the Glimakra Ideal loom.
End of the third towel.
Black and white towels on the loom. Karen Isenhower
View from under the breast beam. I love to see the fabric rolled up on the cloth beam.
Temple in place for weaving black and white cottolin towels.
Temple keeps the fabric at the optimum width for weaving. Red cutting line serves as the separation between the end of one towel and the beginning of the next. Ready to start another fascinating pattern.

May you give a vote of confidence to someone who needs it.

Happy weaving,
Karen