Two Pictorial Tapestries Finished

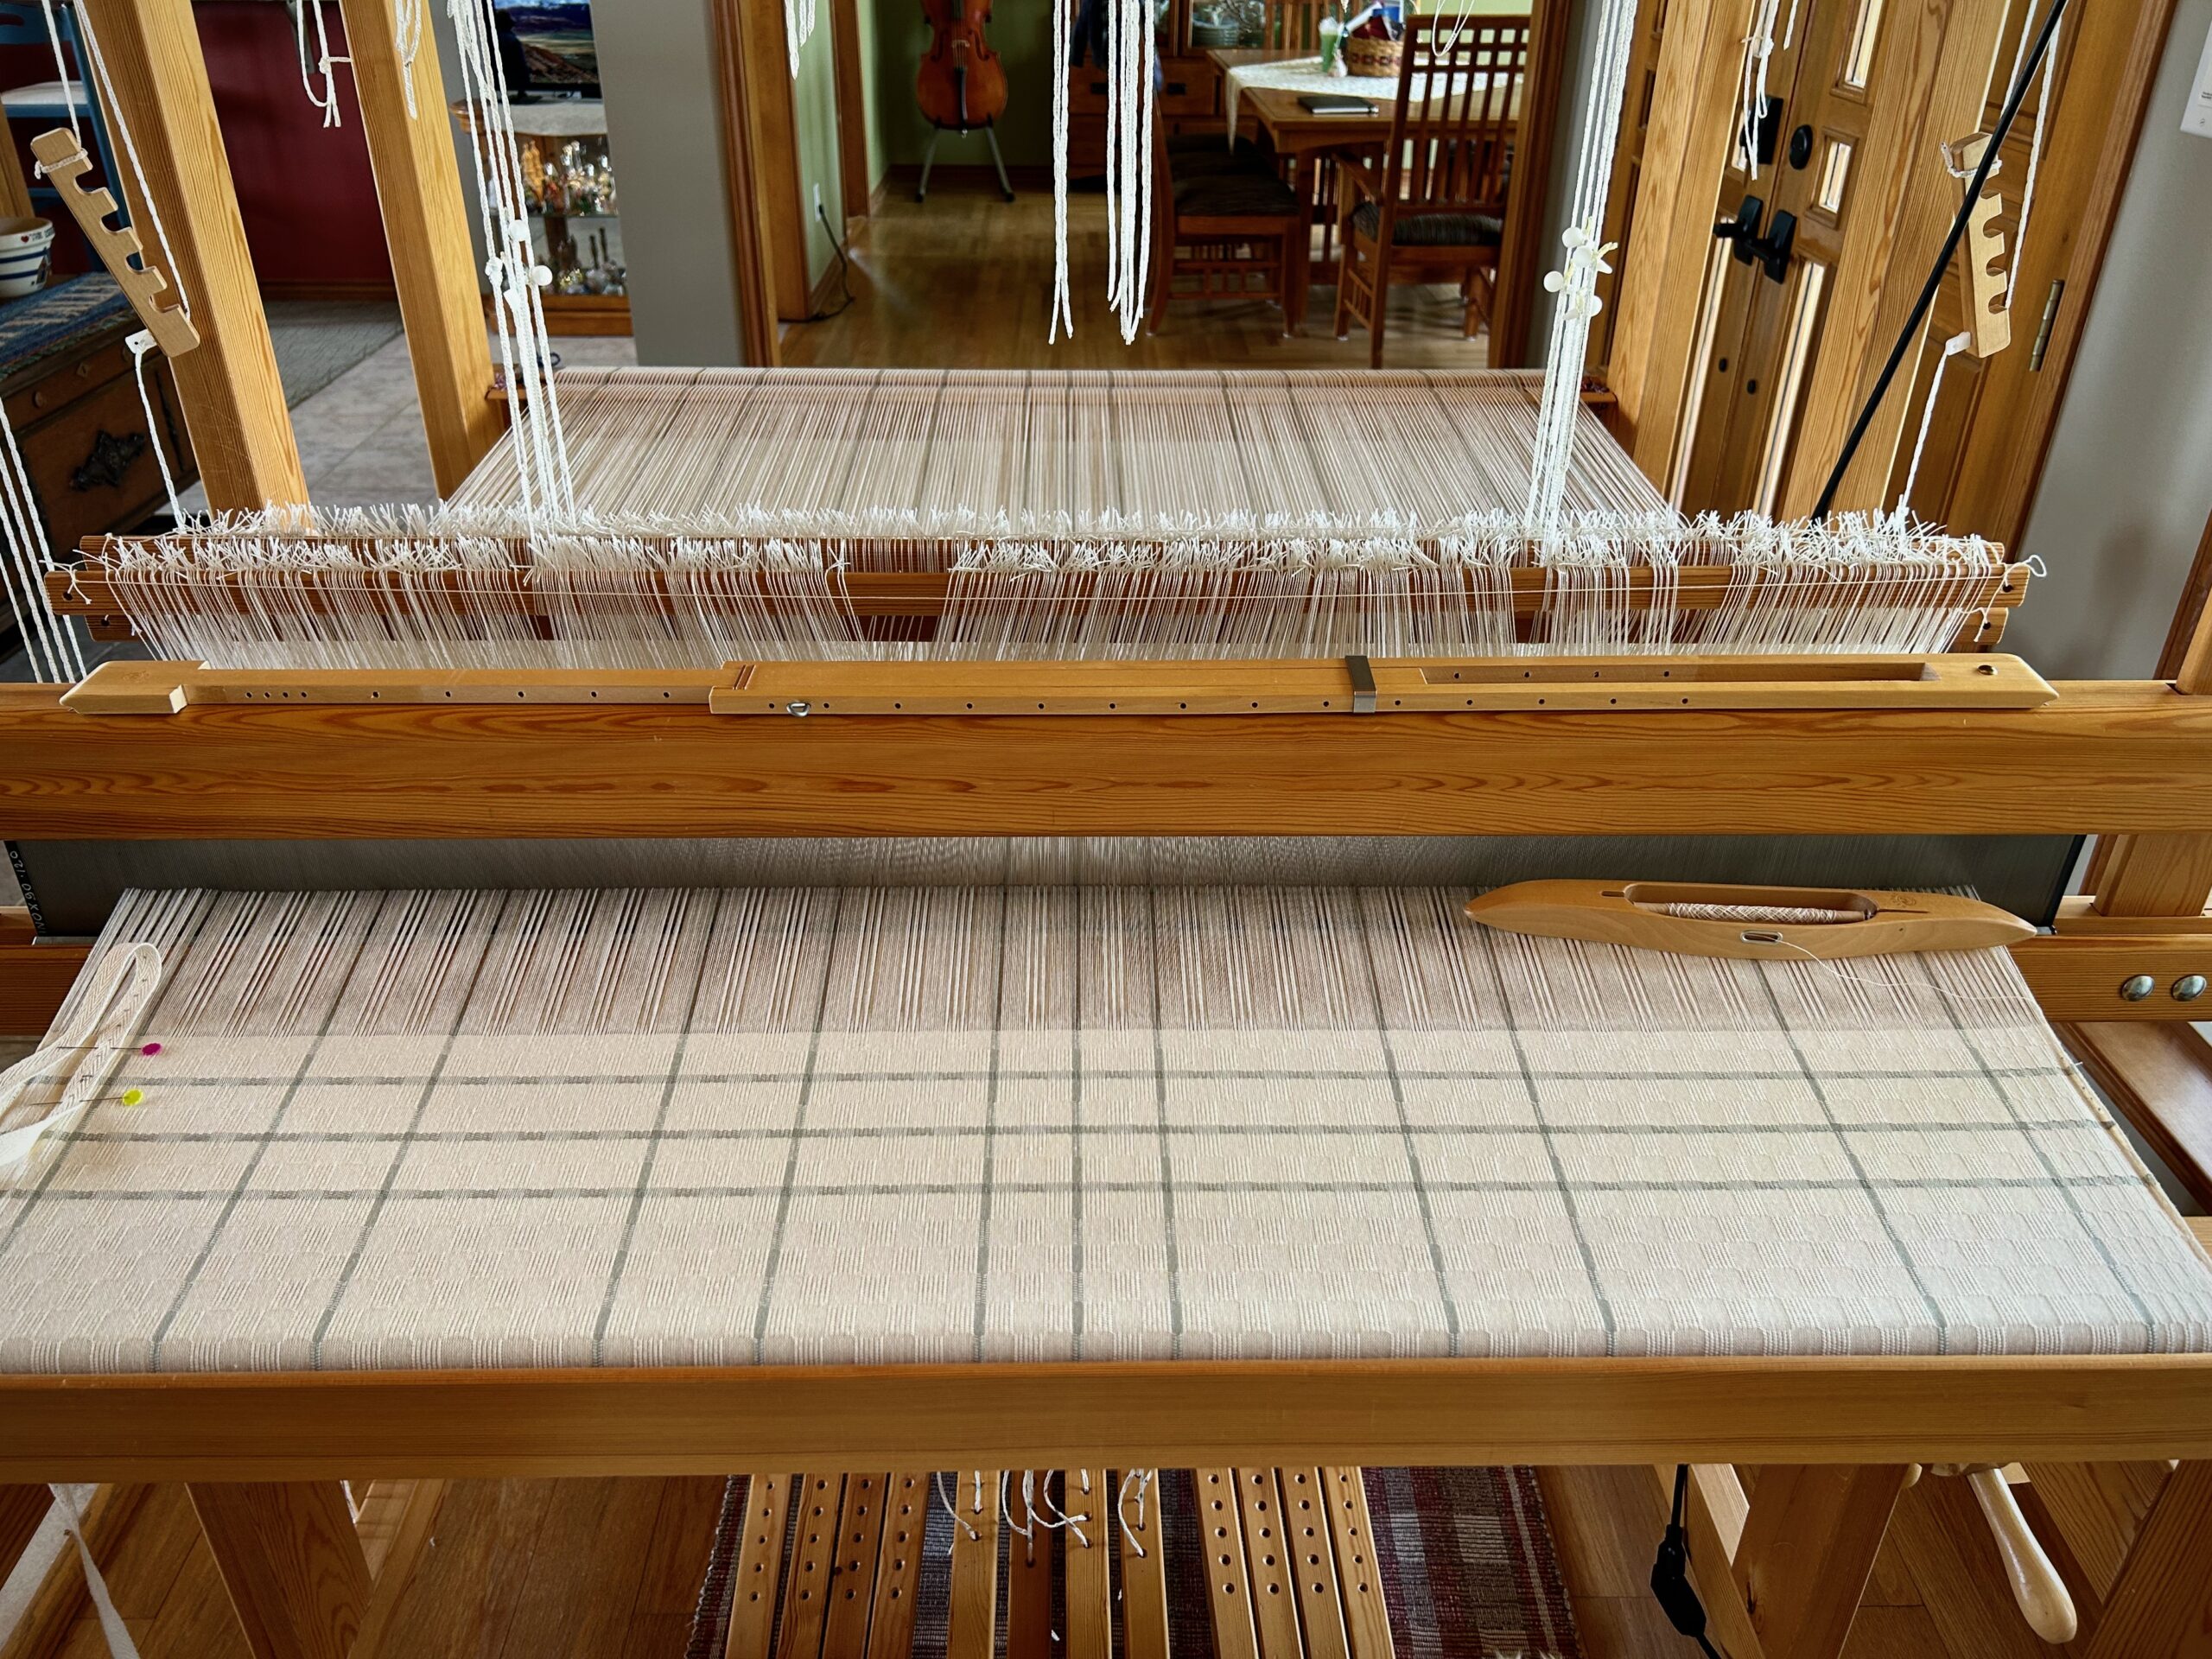
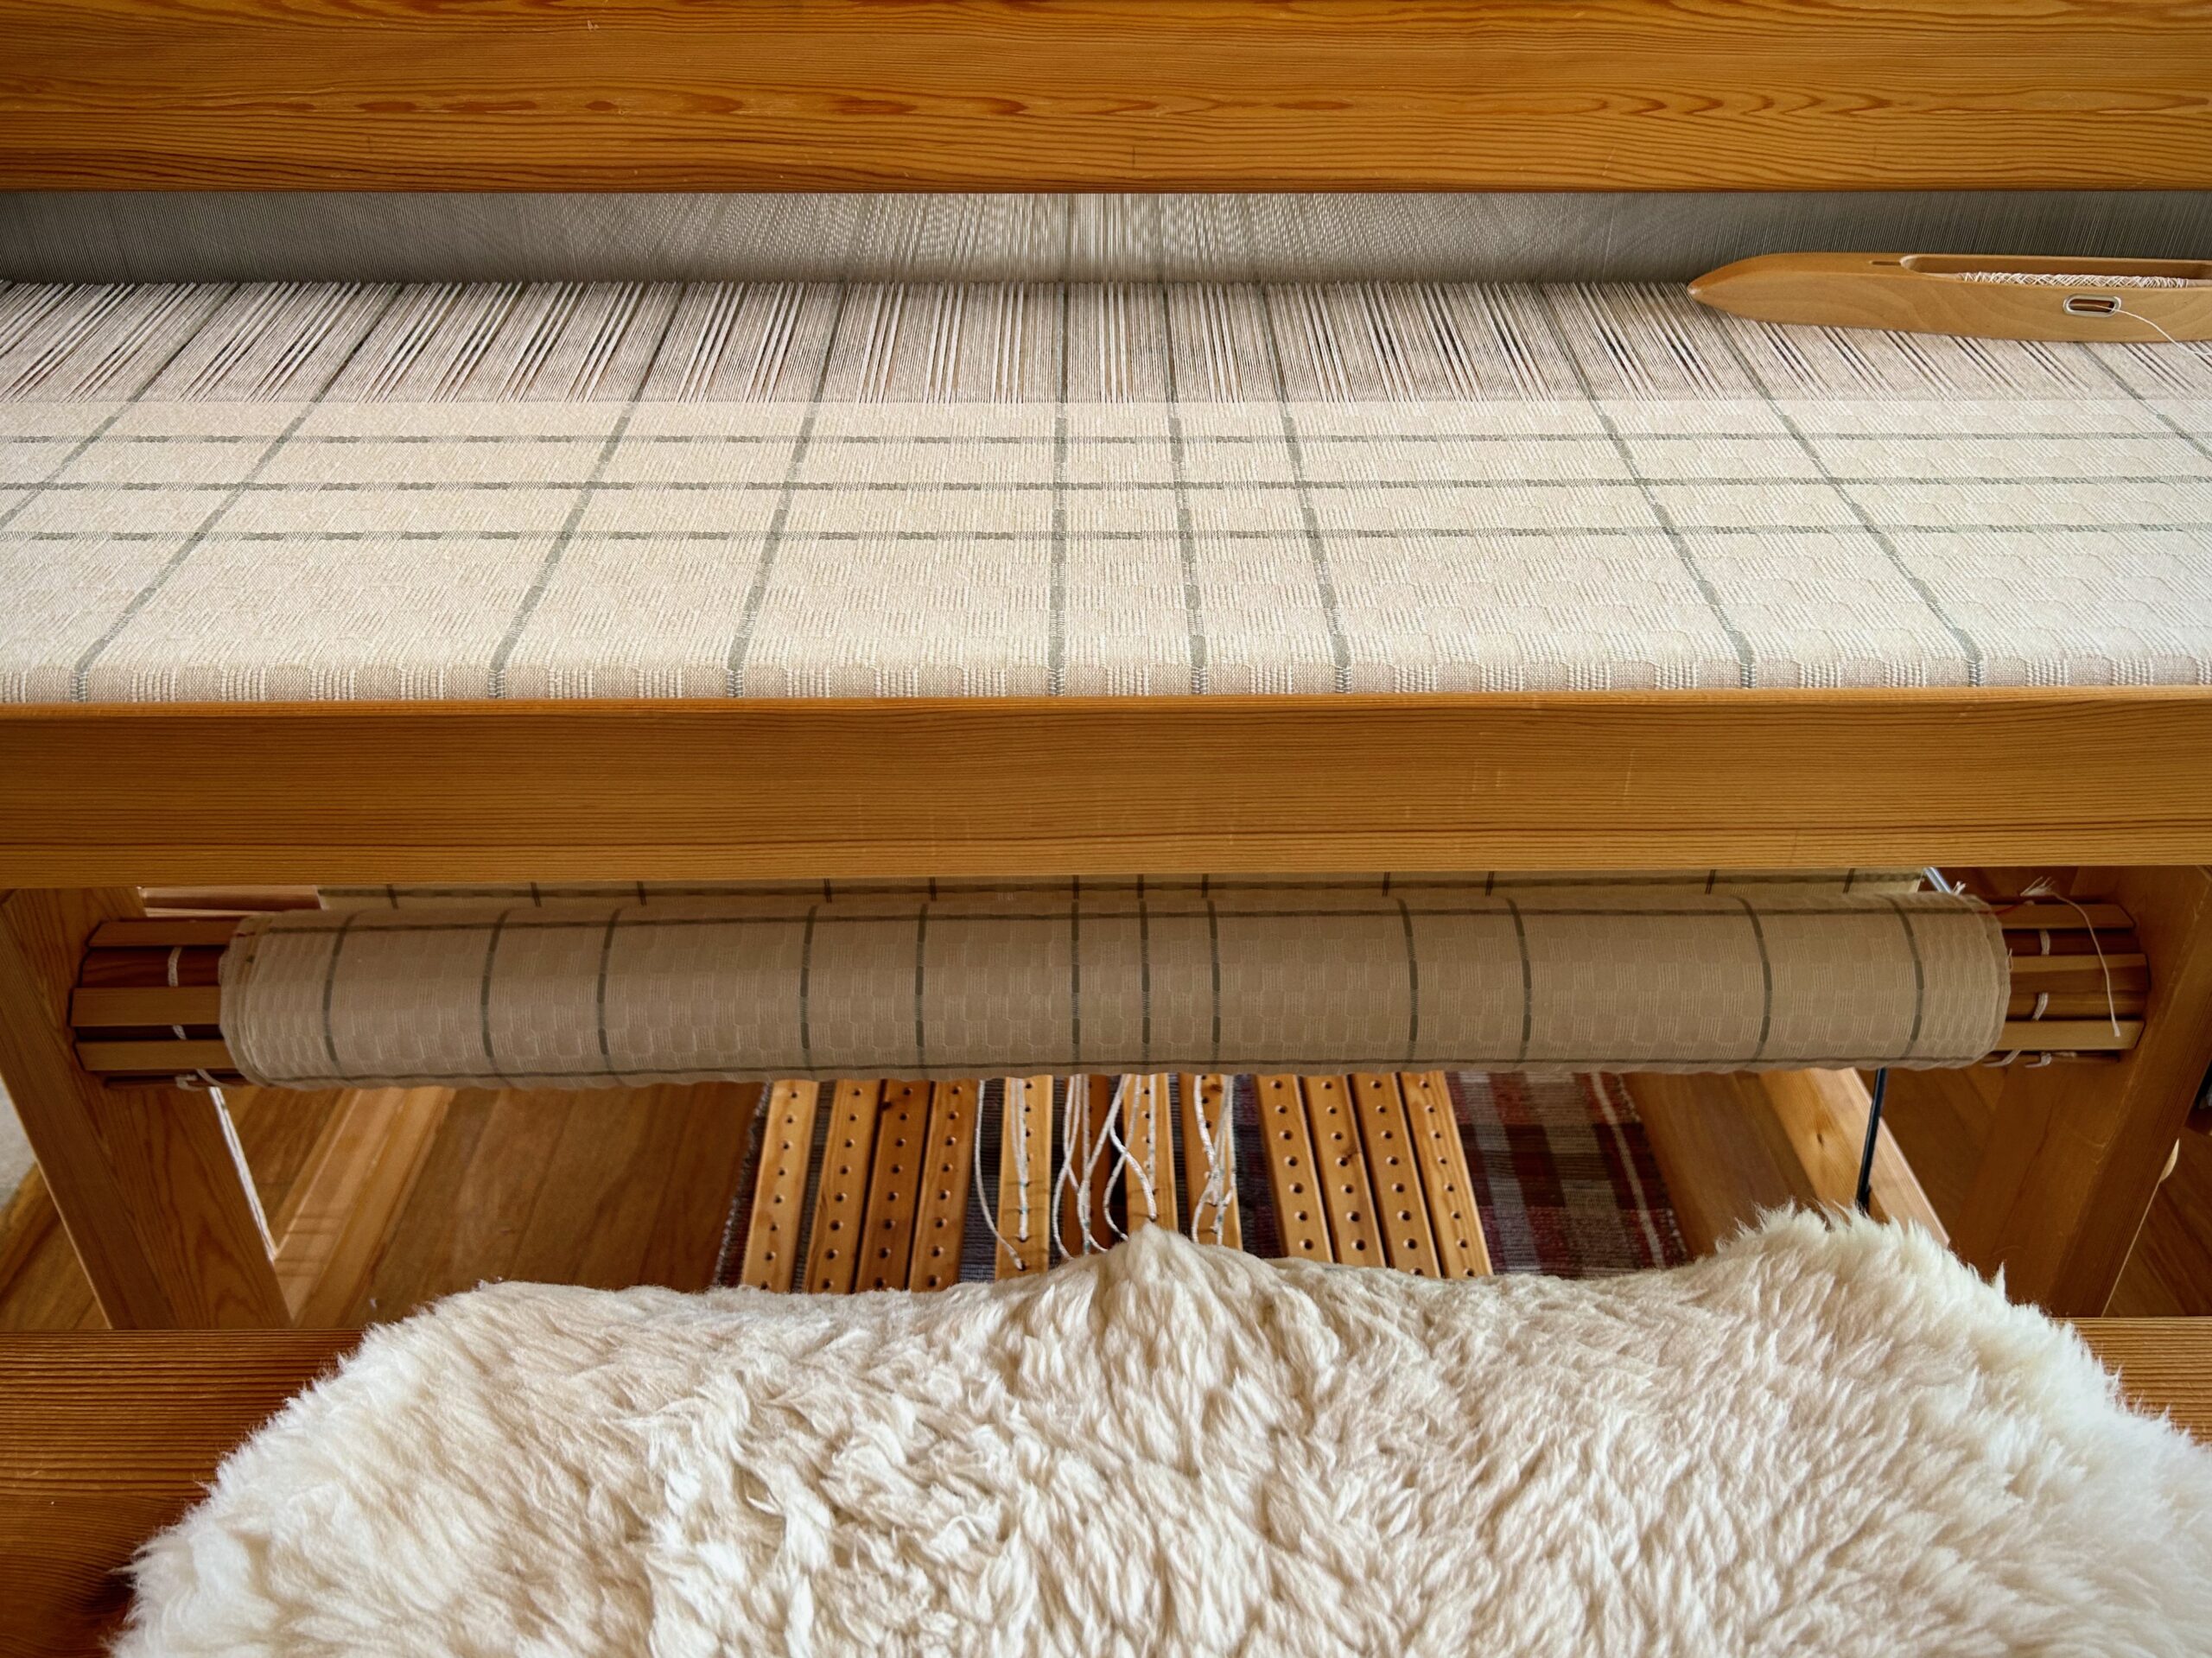
The Glimåkra Standard is where I am most comfortable, even though the reach of the full width is stretching me. The curtains for the bathroom are progressing. No new news, just continuation of adding cloth to the cloth beam.

Still weaving this M’s and O’s curtain yardage. Looking forward to the day the curtains will hang in our remodeled bathroom.
Fabric is adding up on the cloth beam.

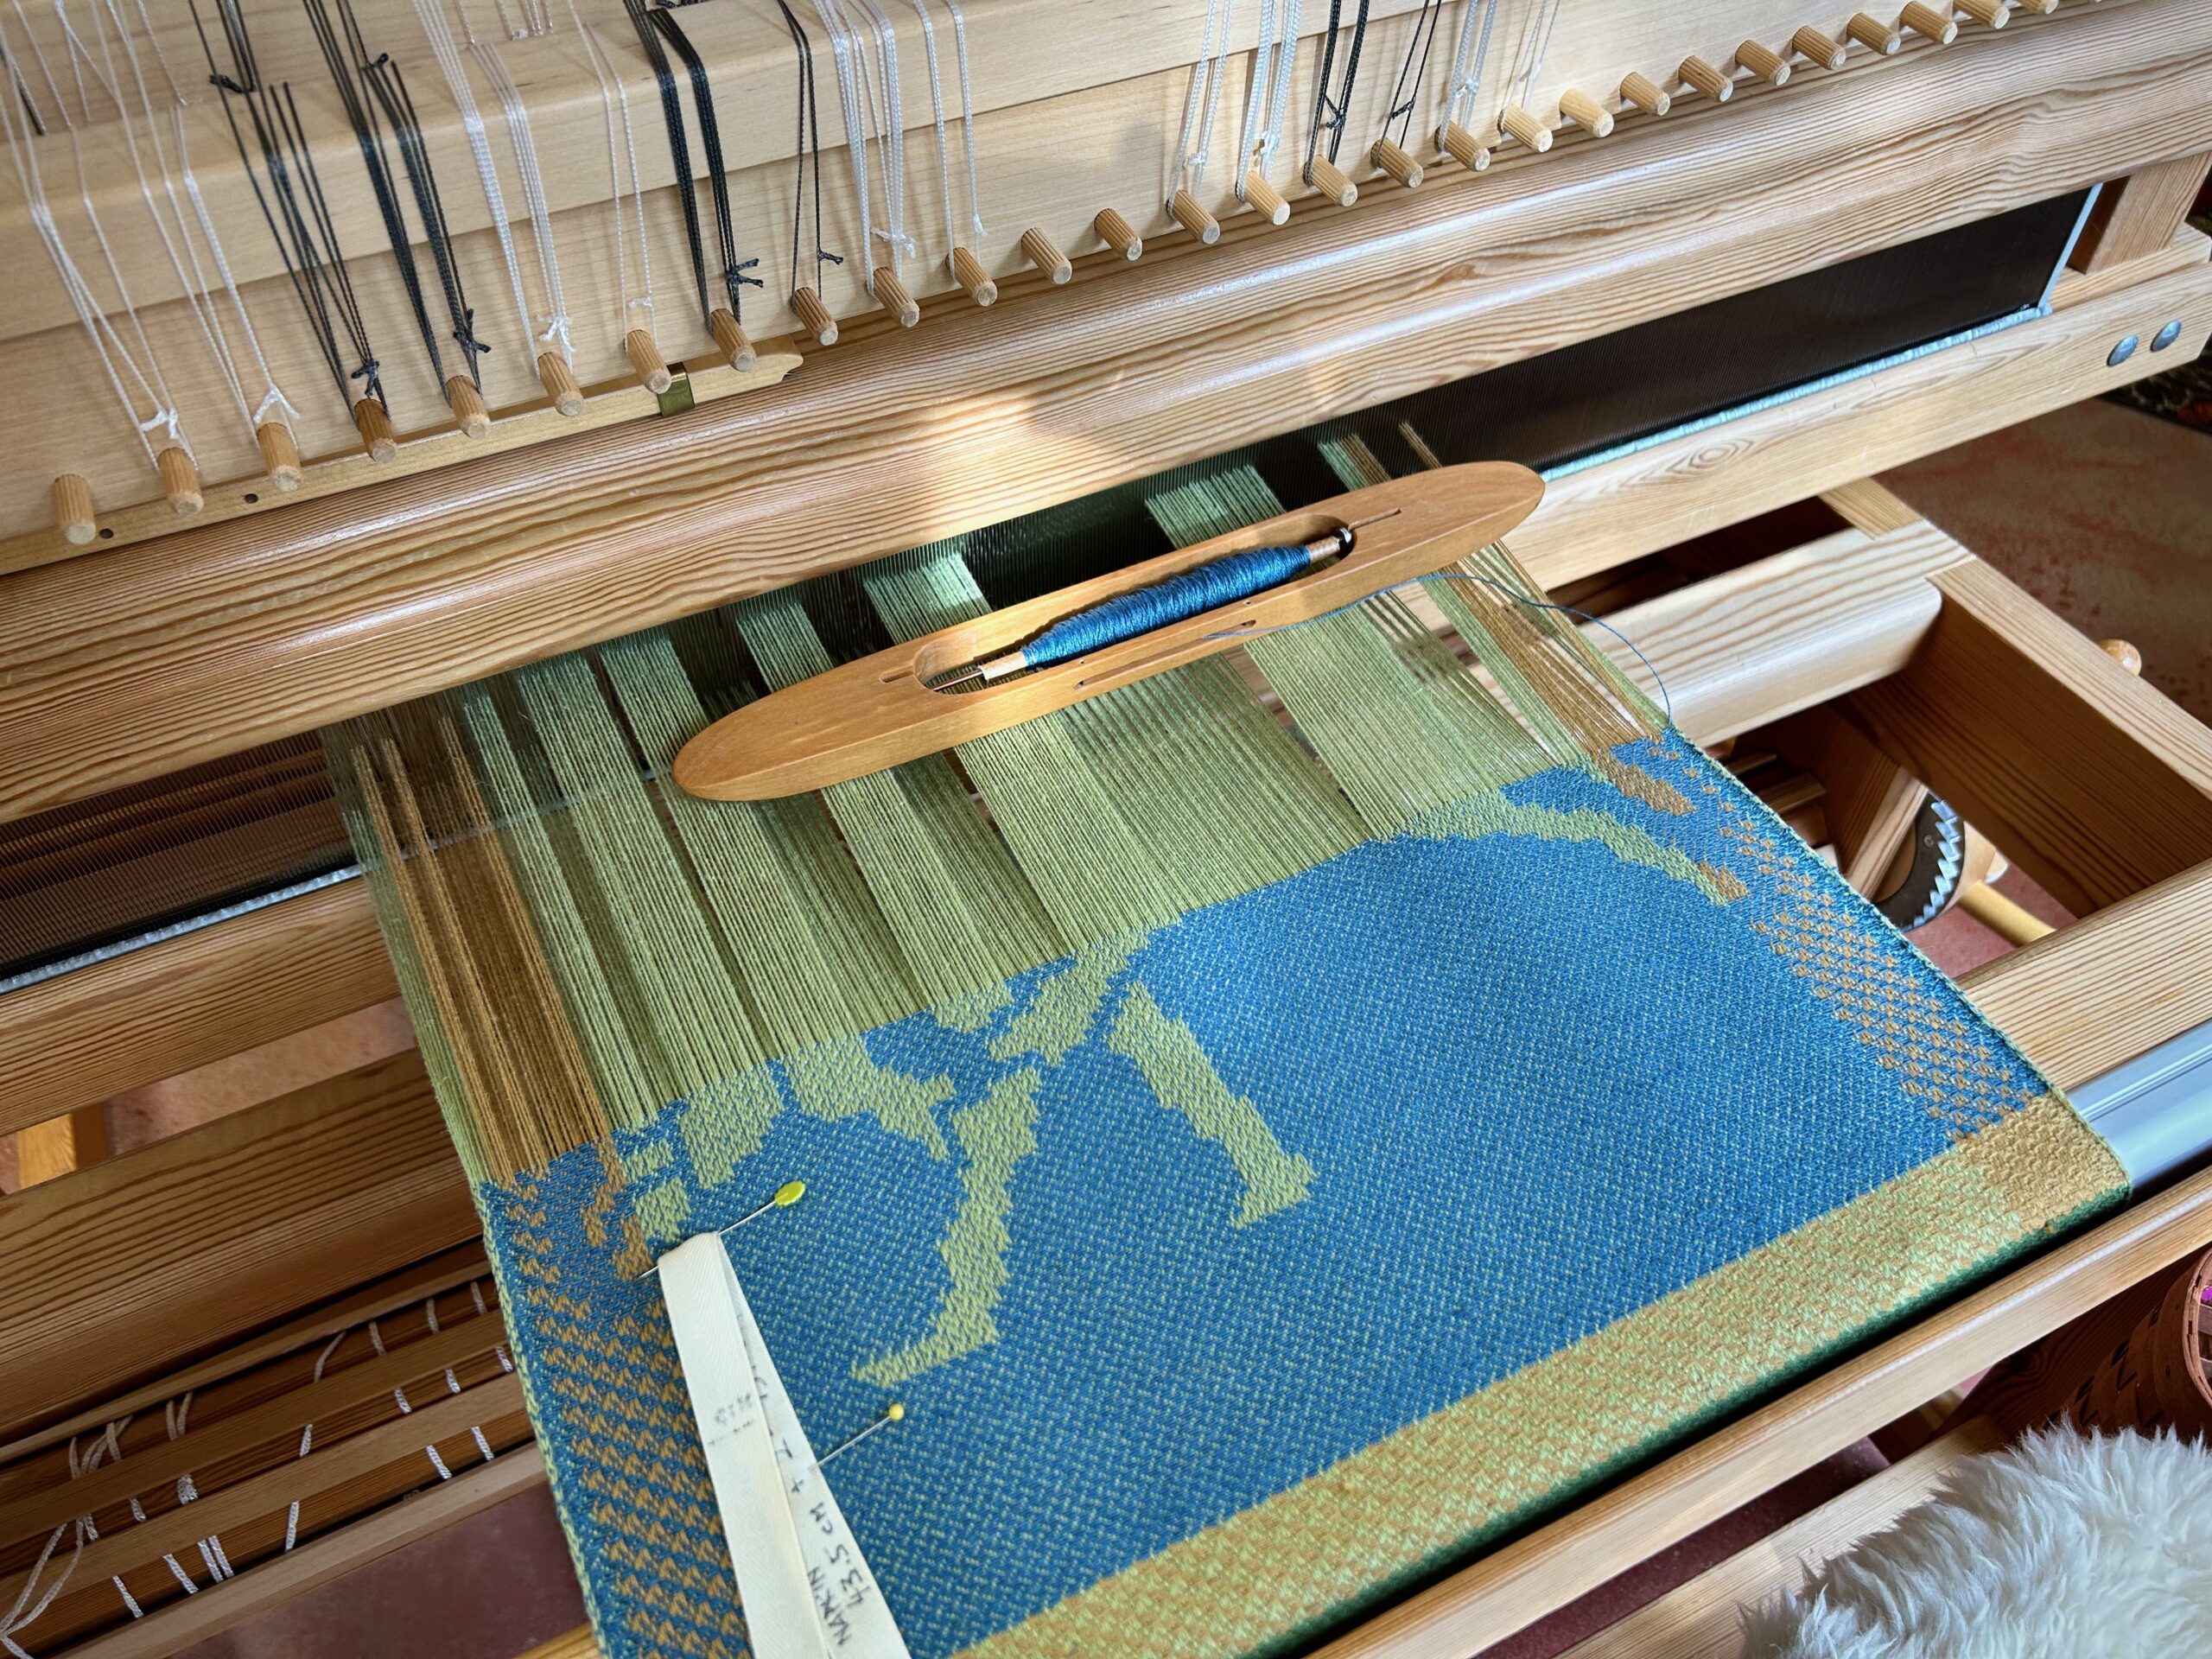
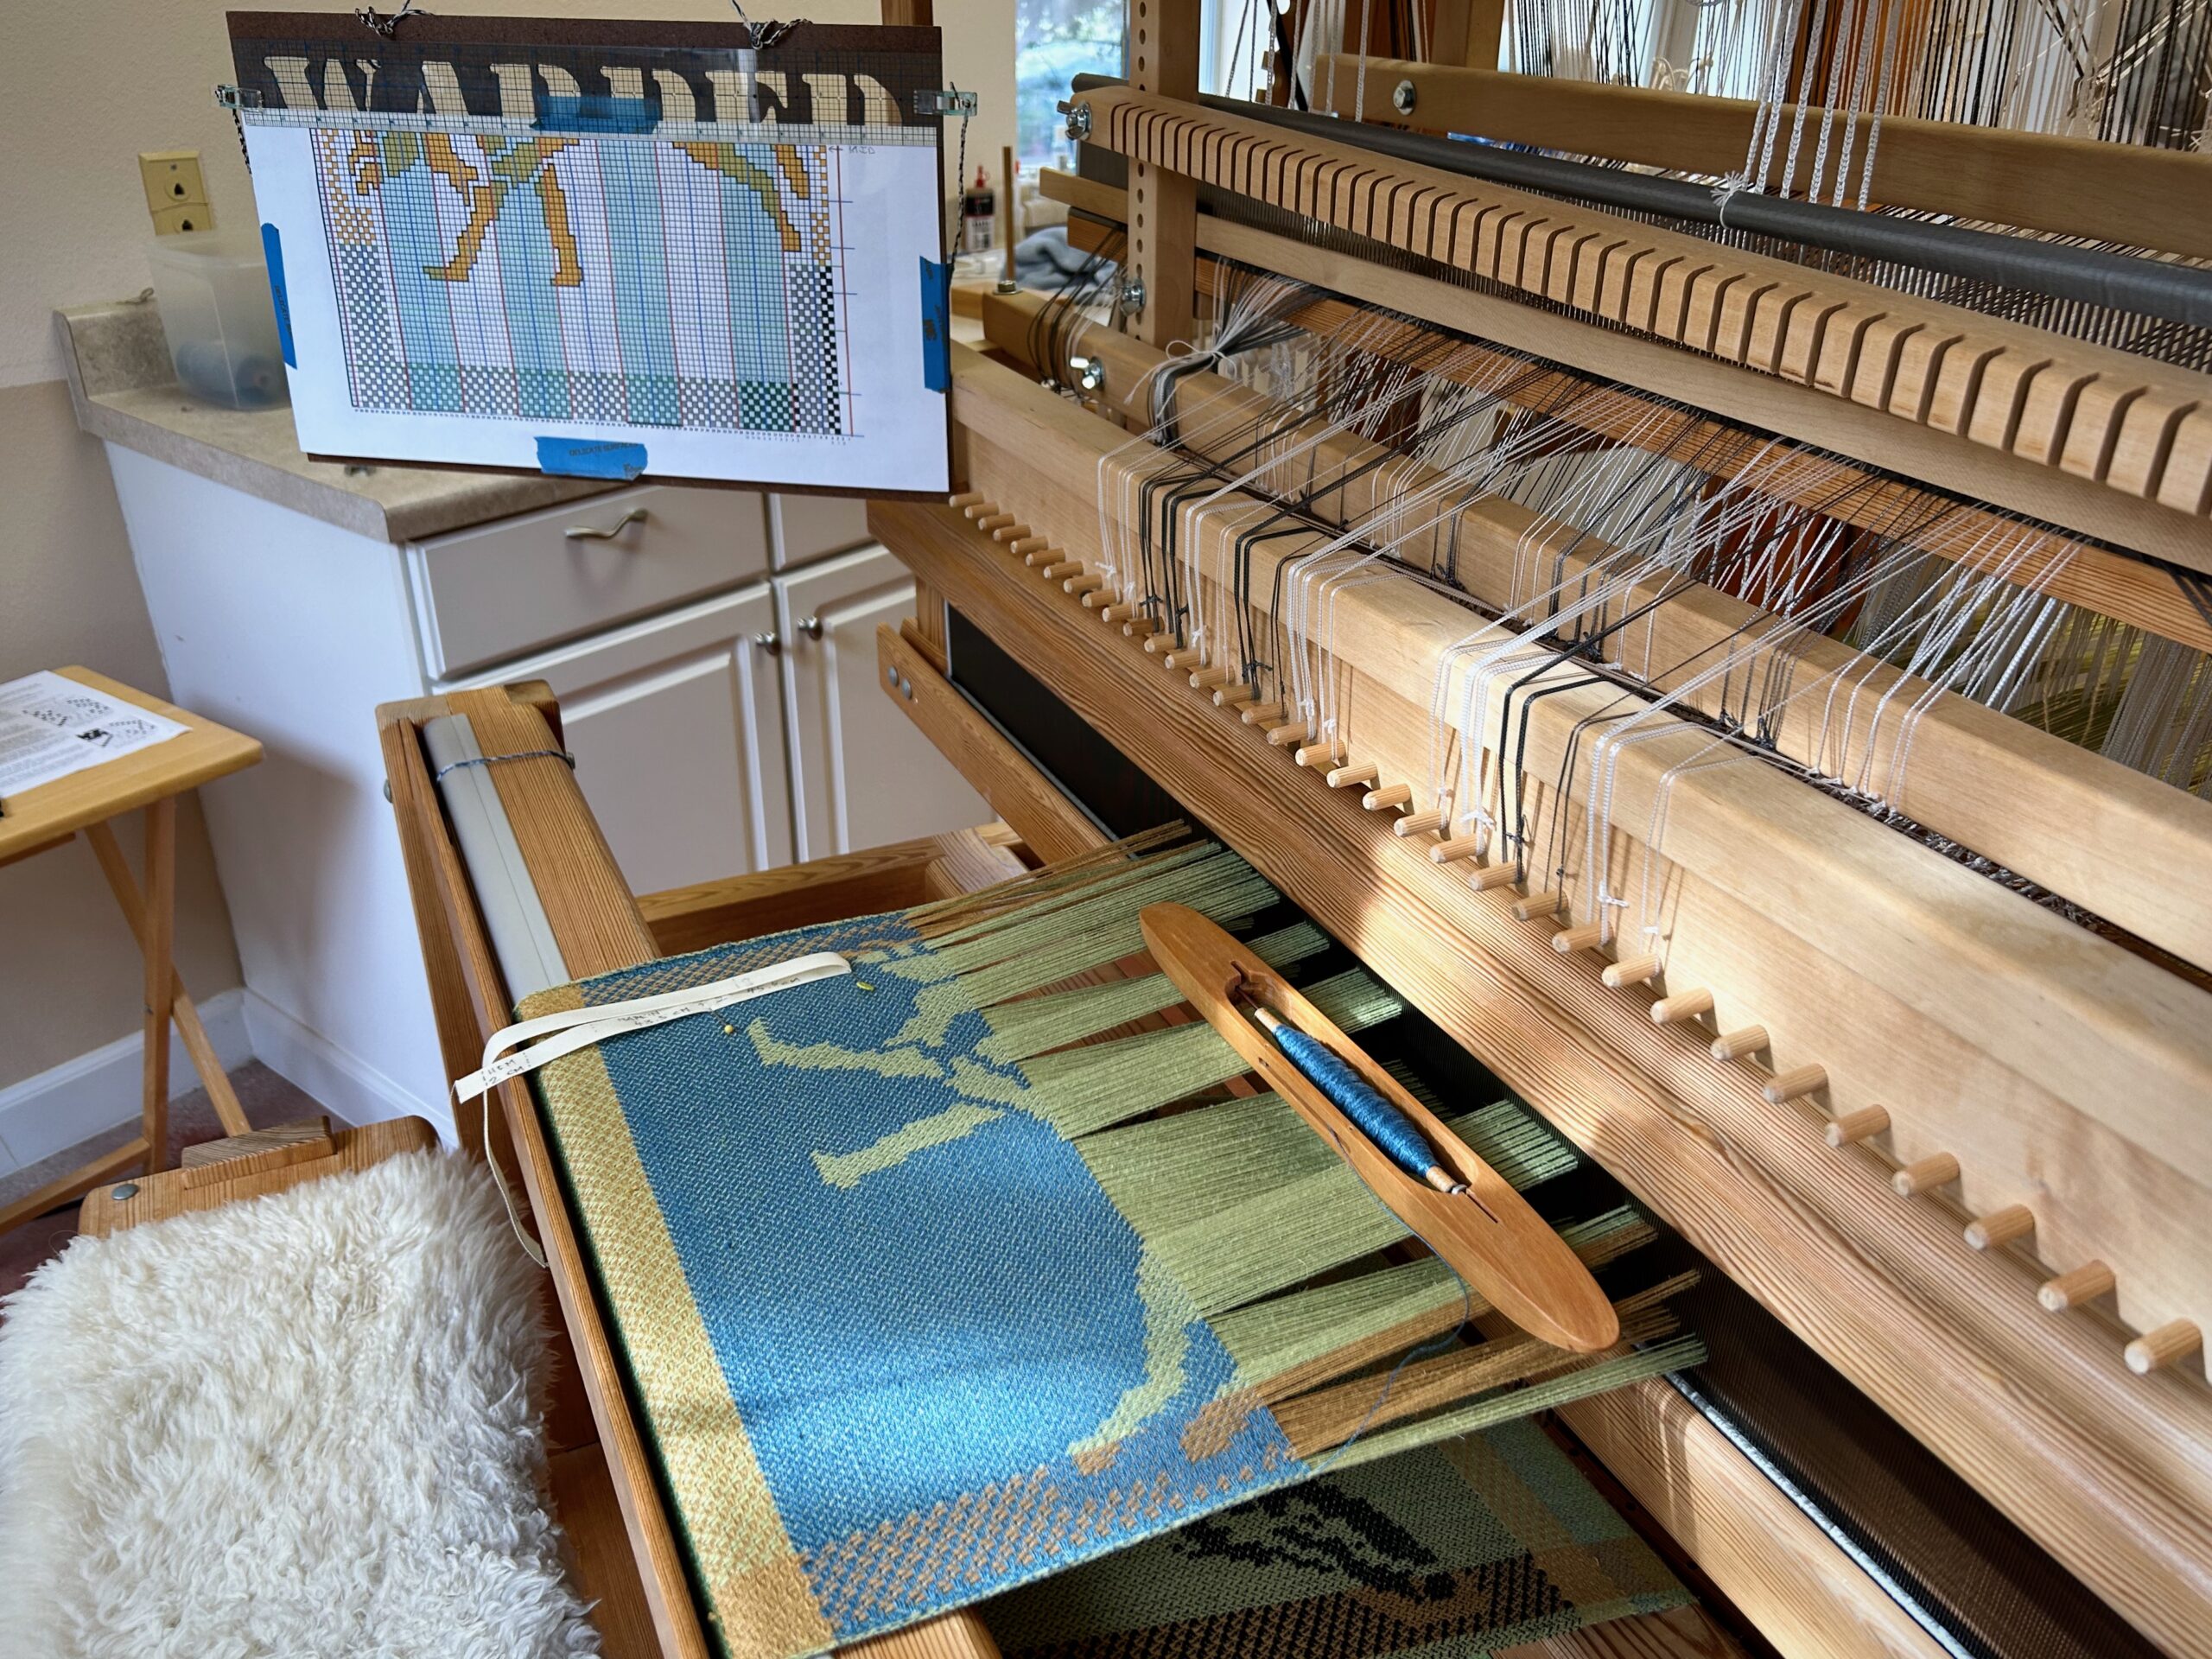
The Glimåkra Ideal is patiently waiting for a new tapestry warp. I have a bit more design work to do on the cartoon, and then I’ll be winding the warp with the 16/2 linen I have set aside just for this project. I’m eager to show the new tapestry idea to you! Soon!!

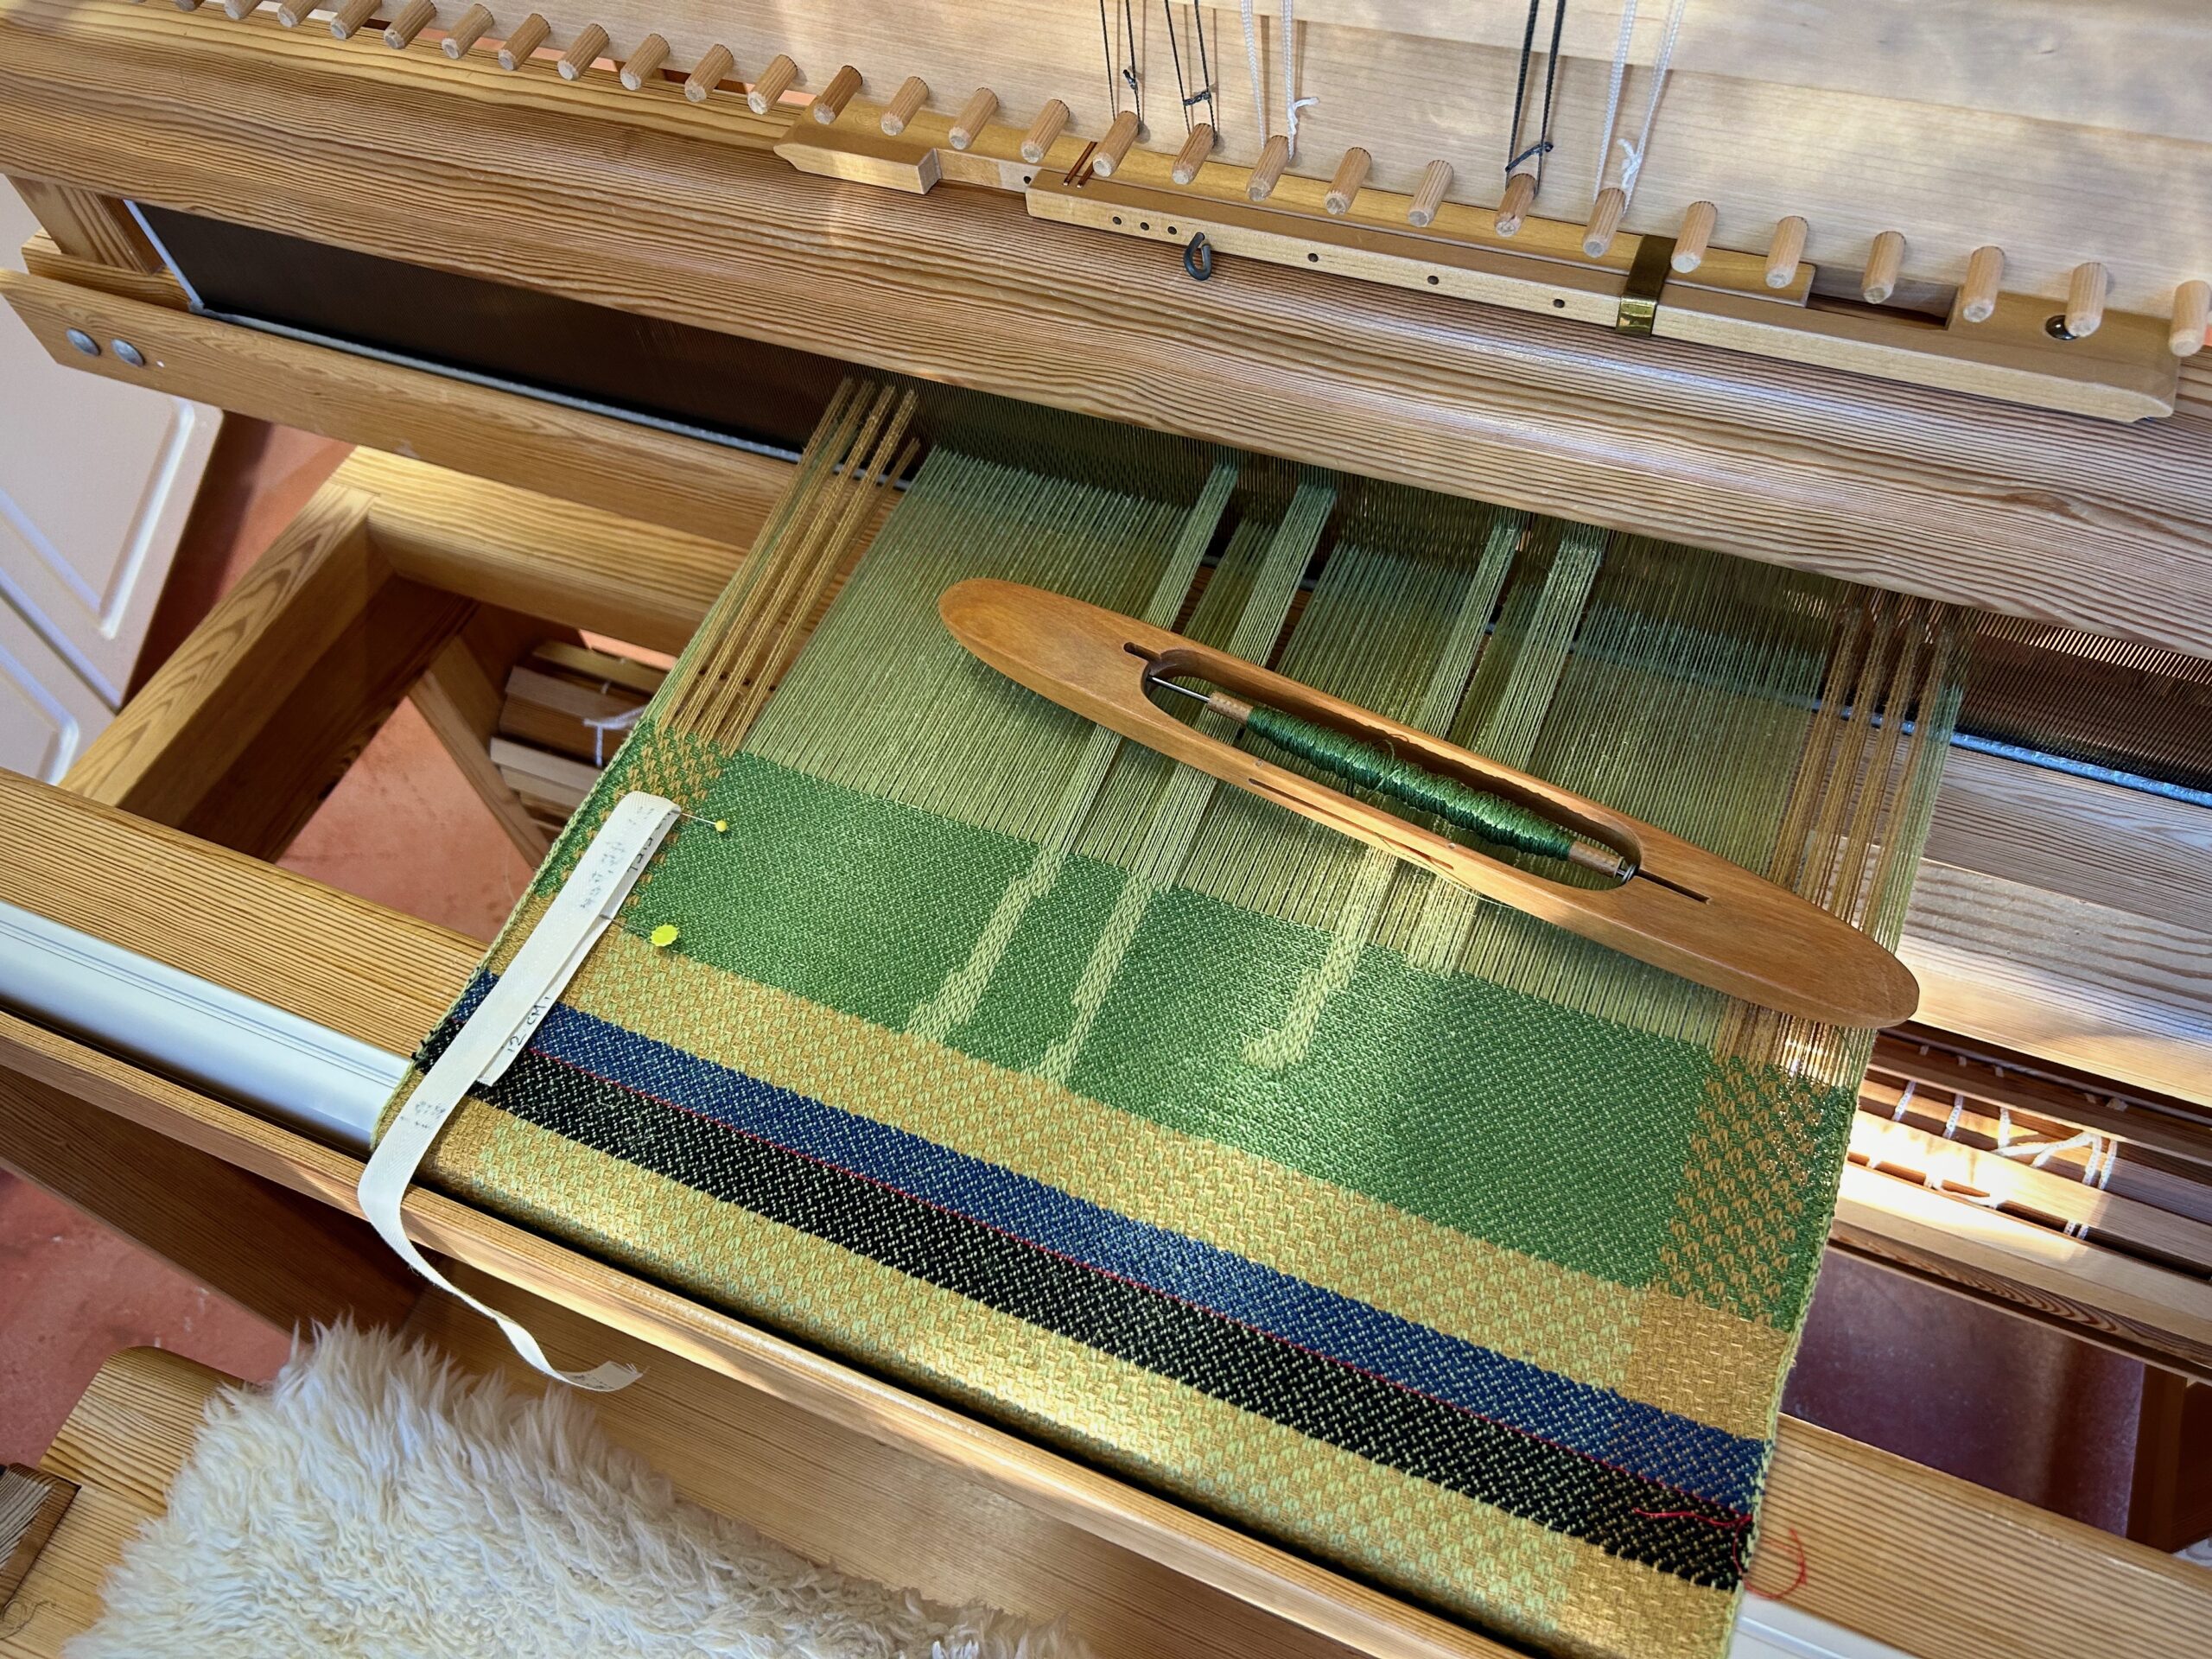
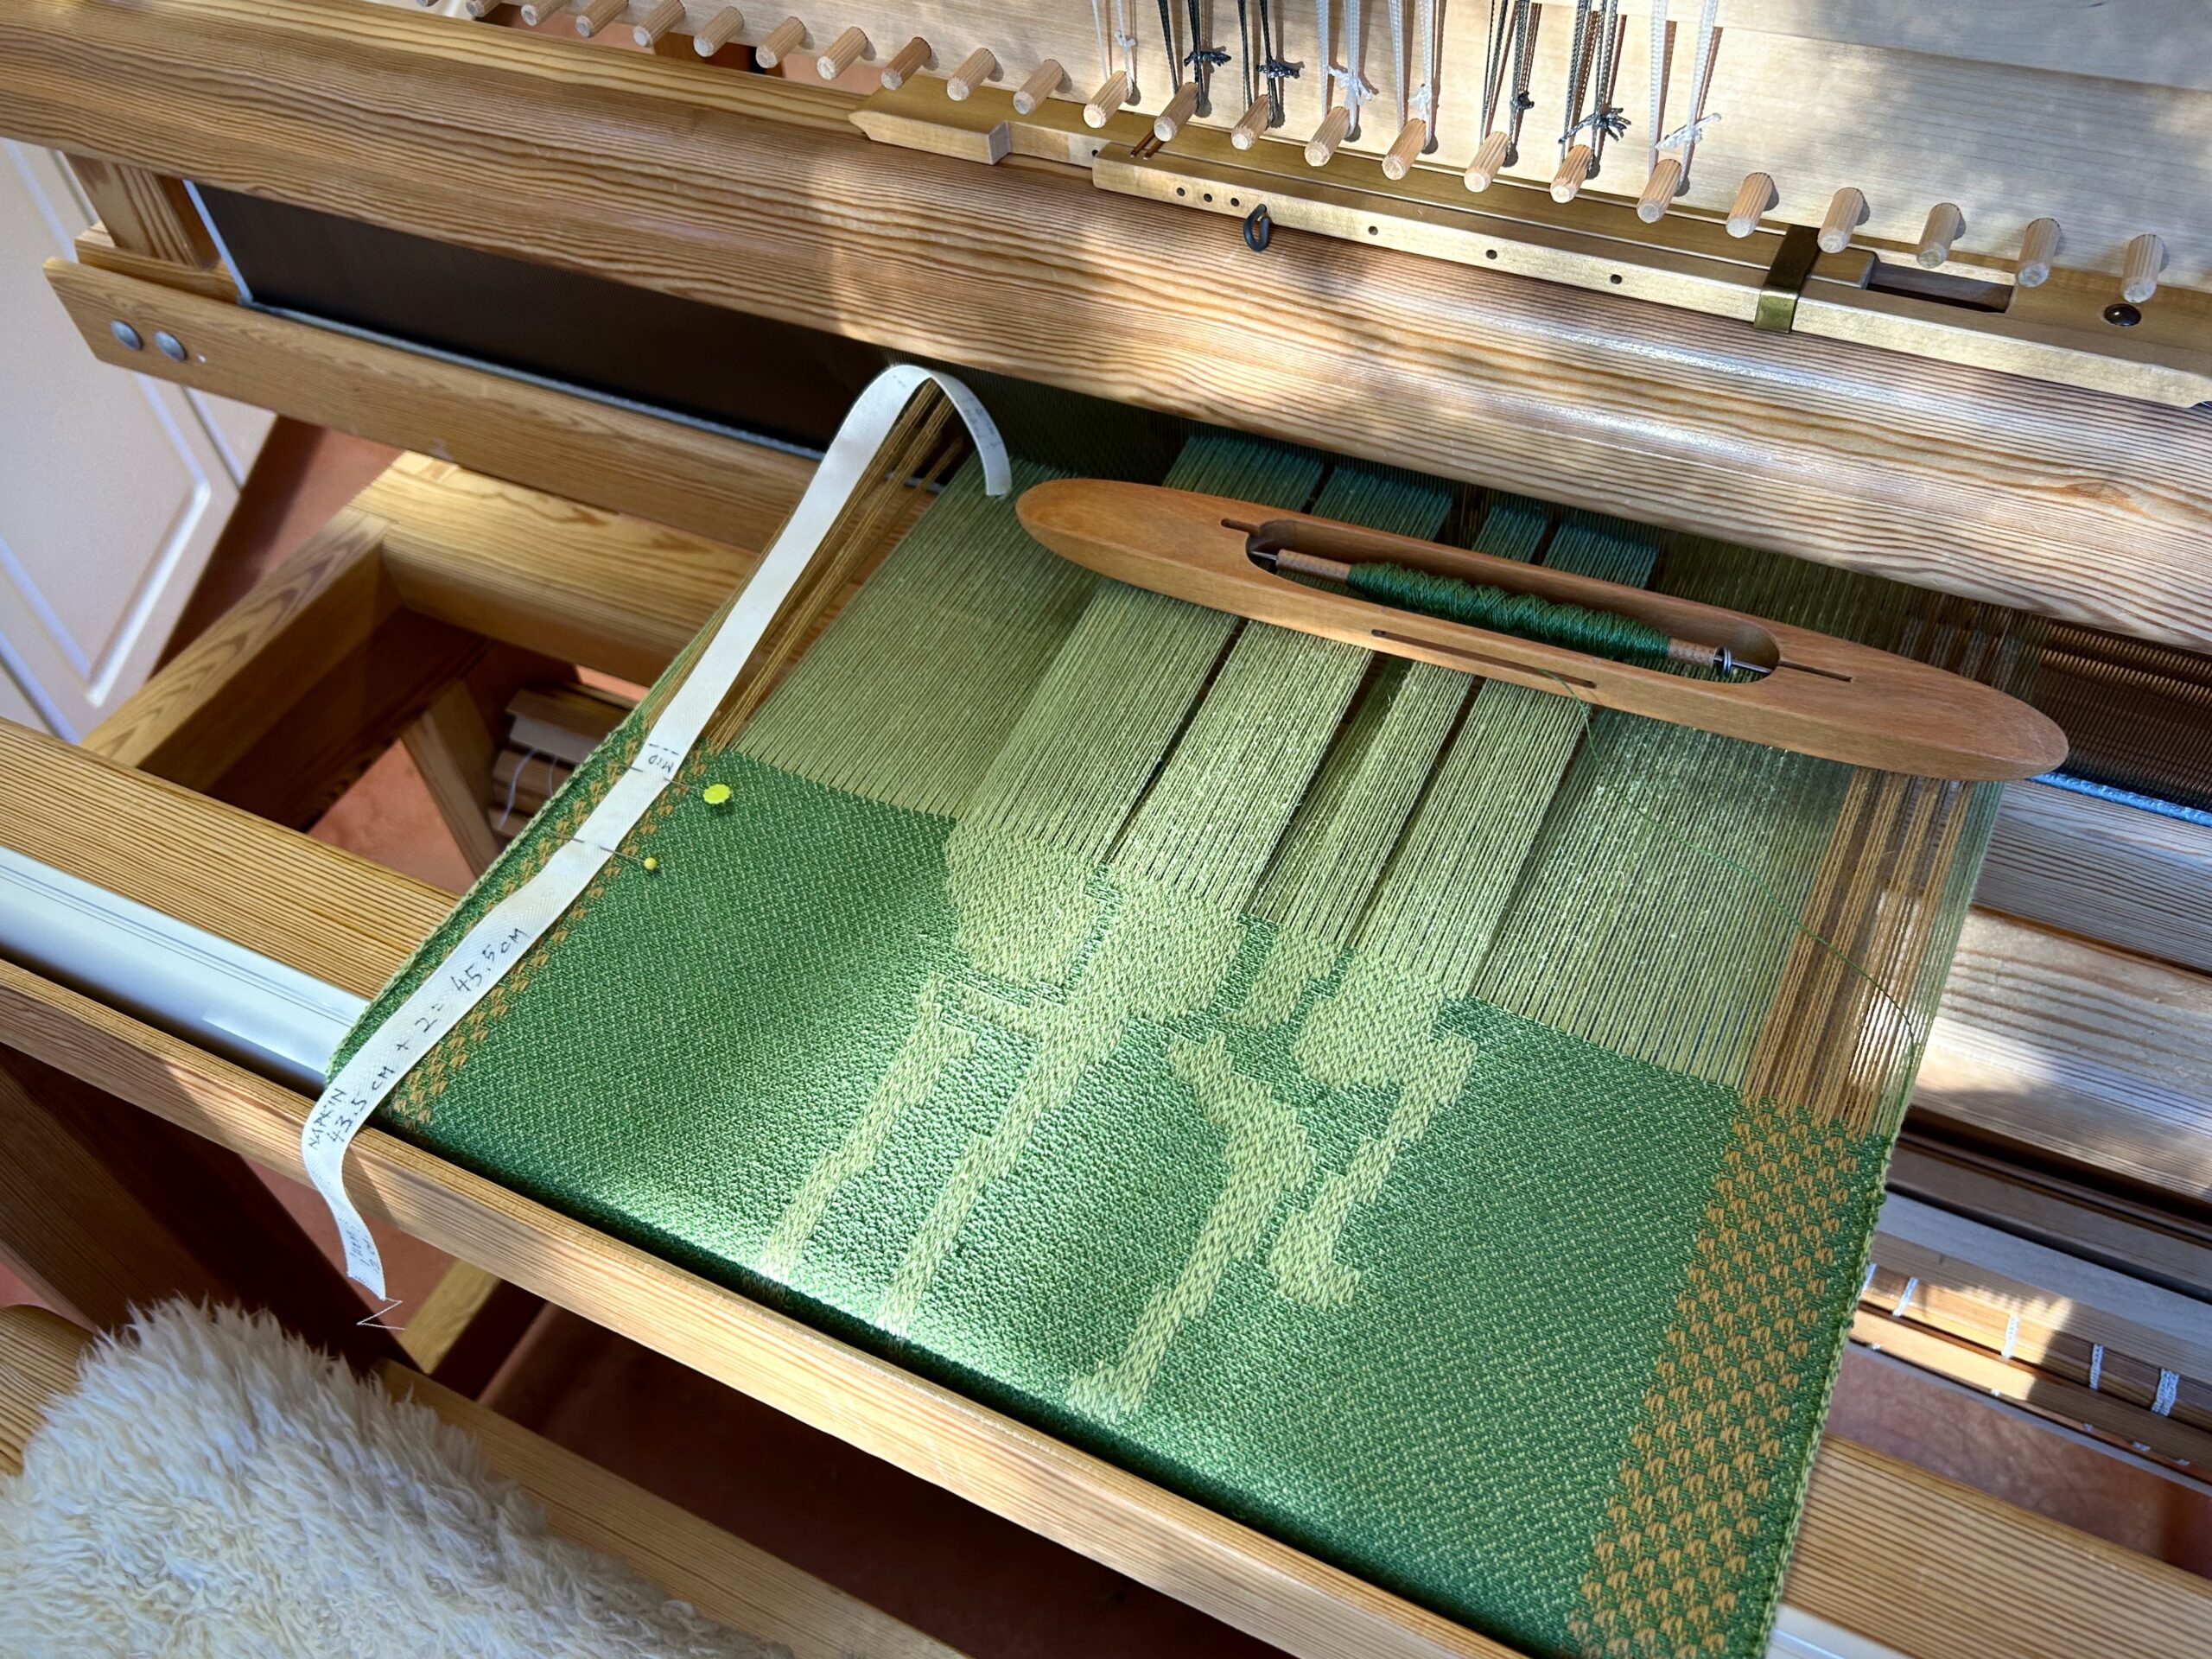
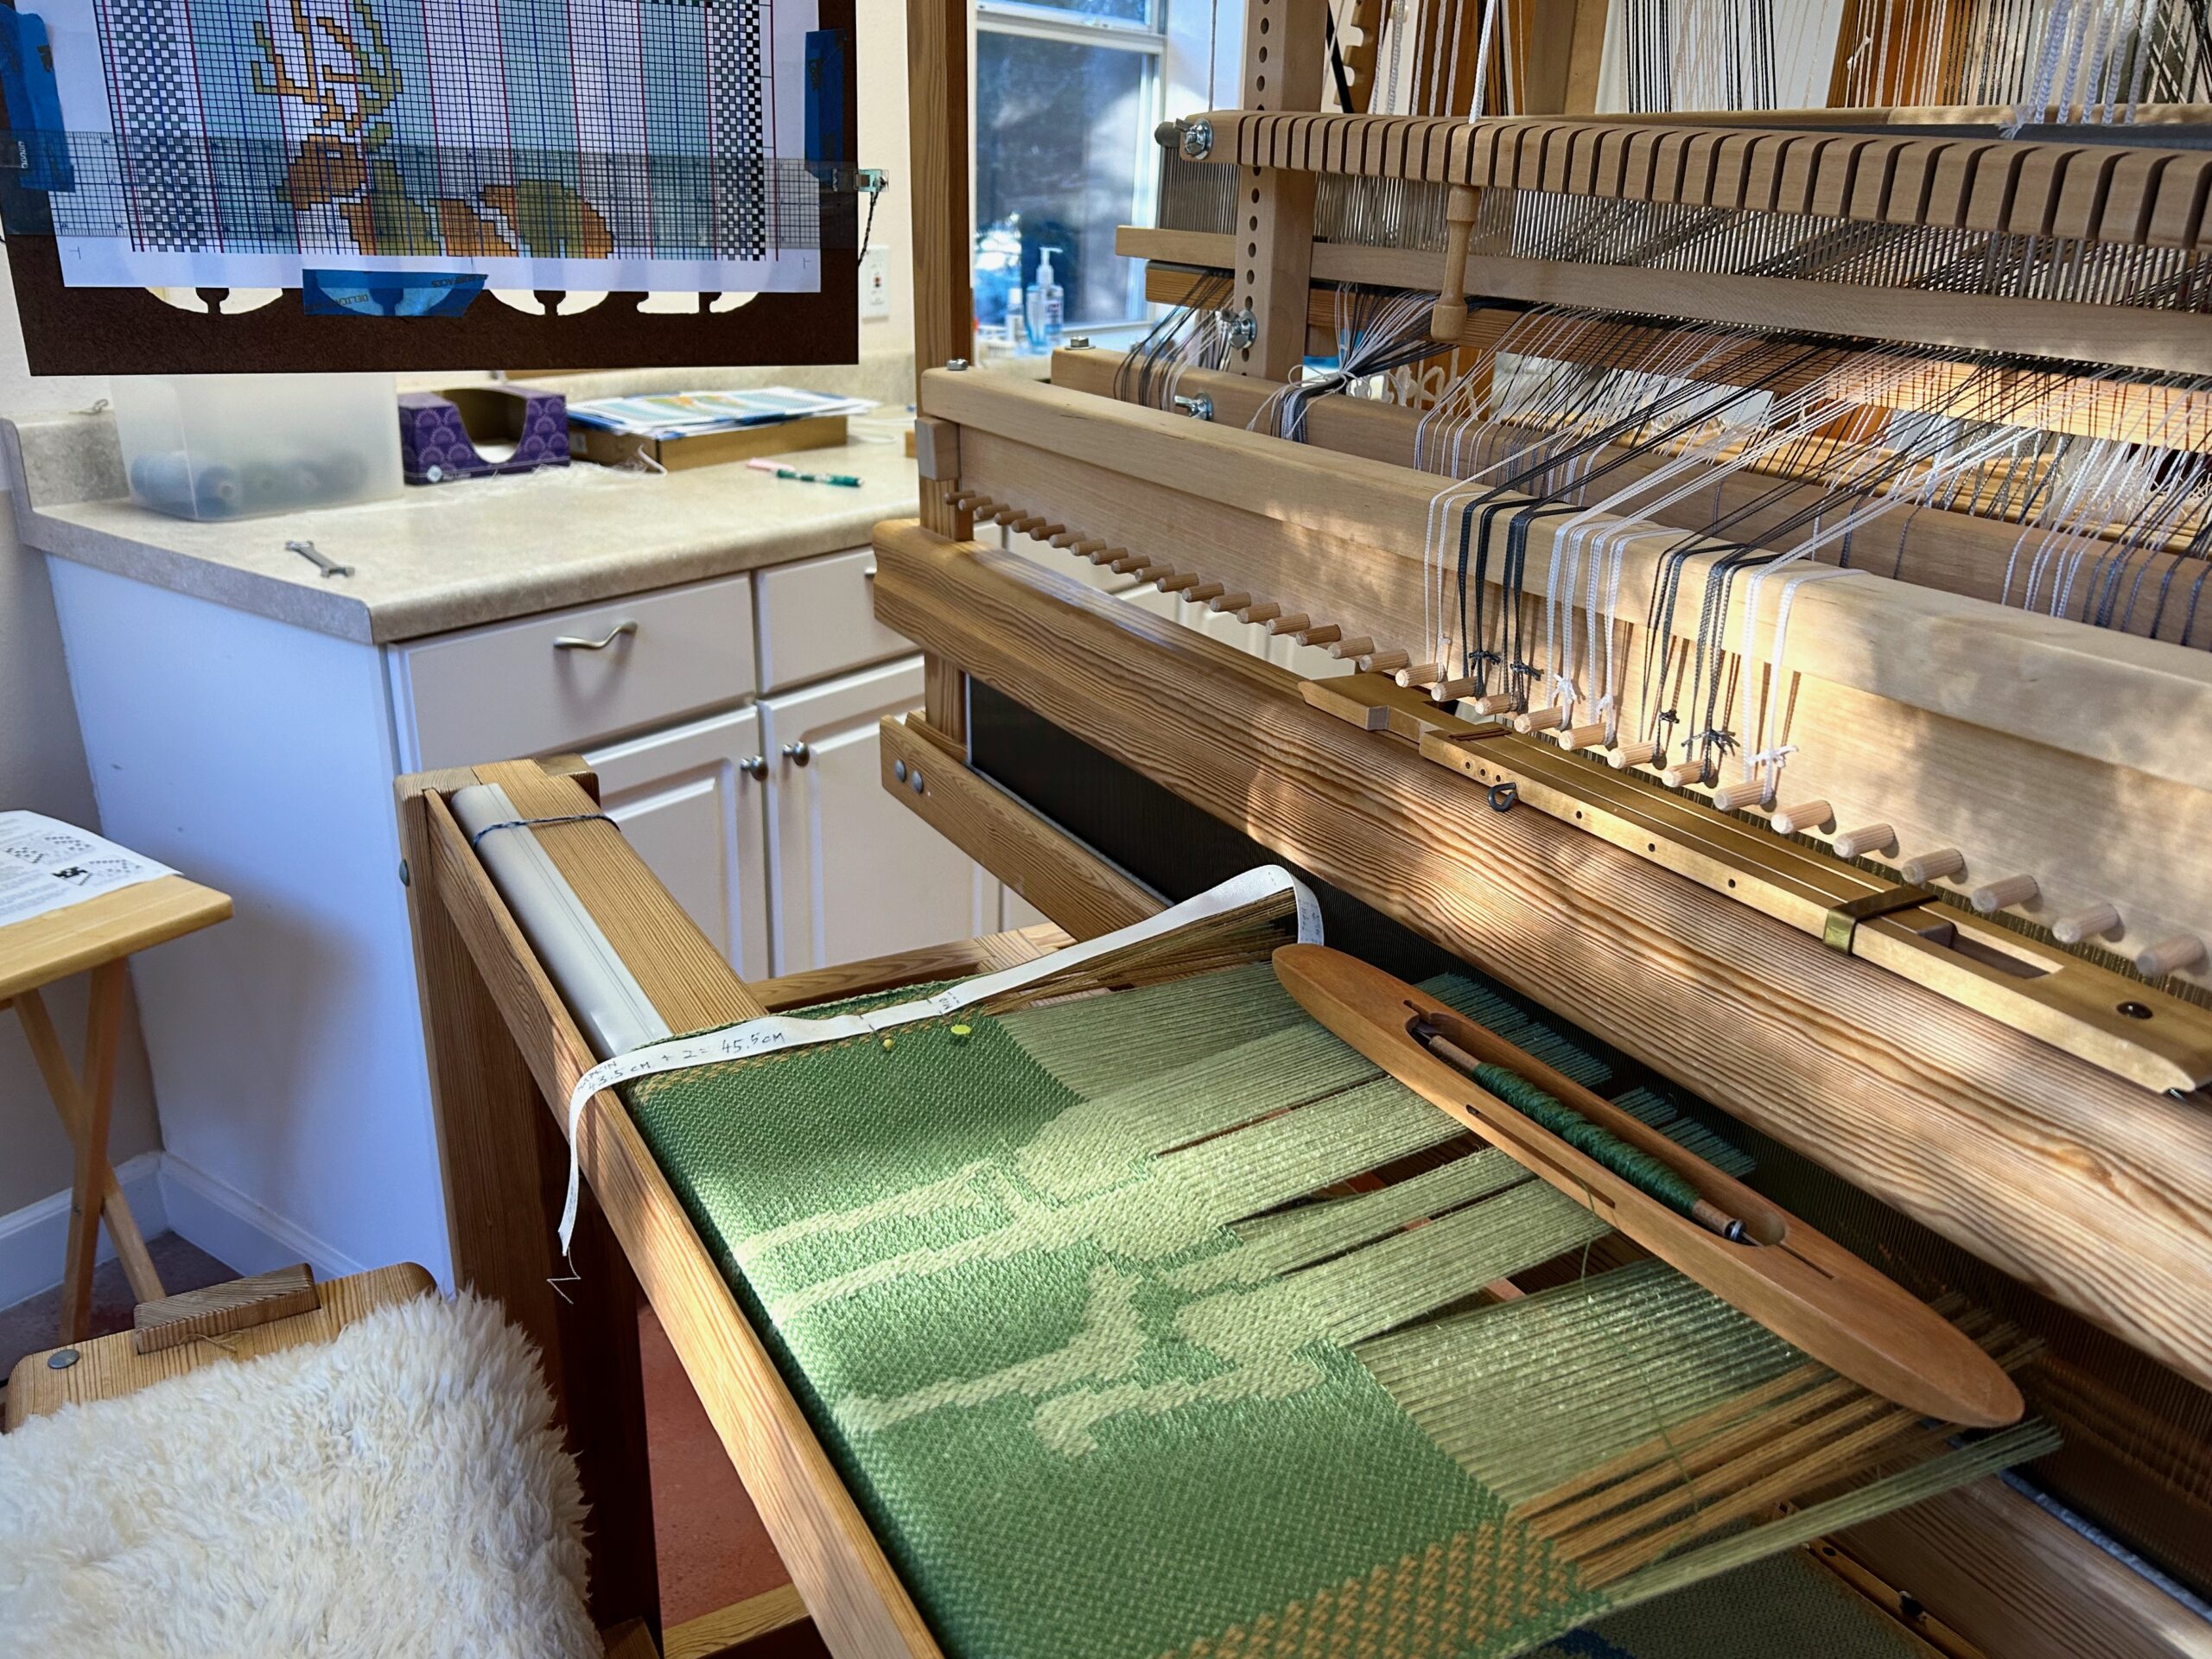
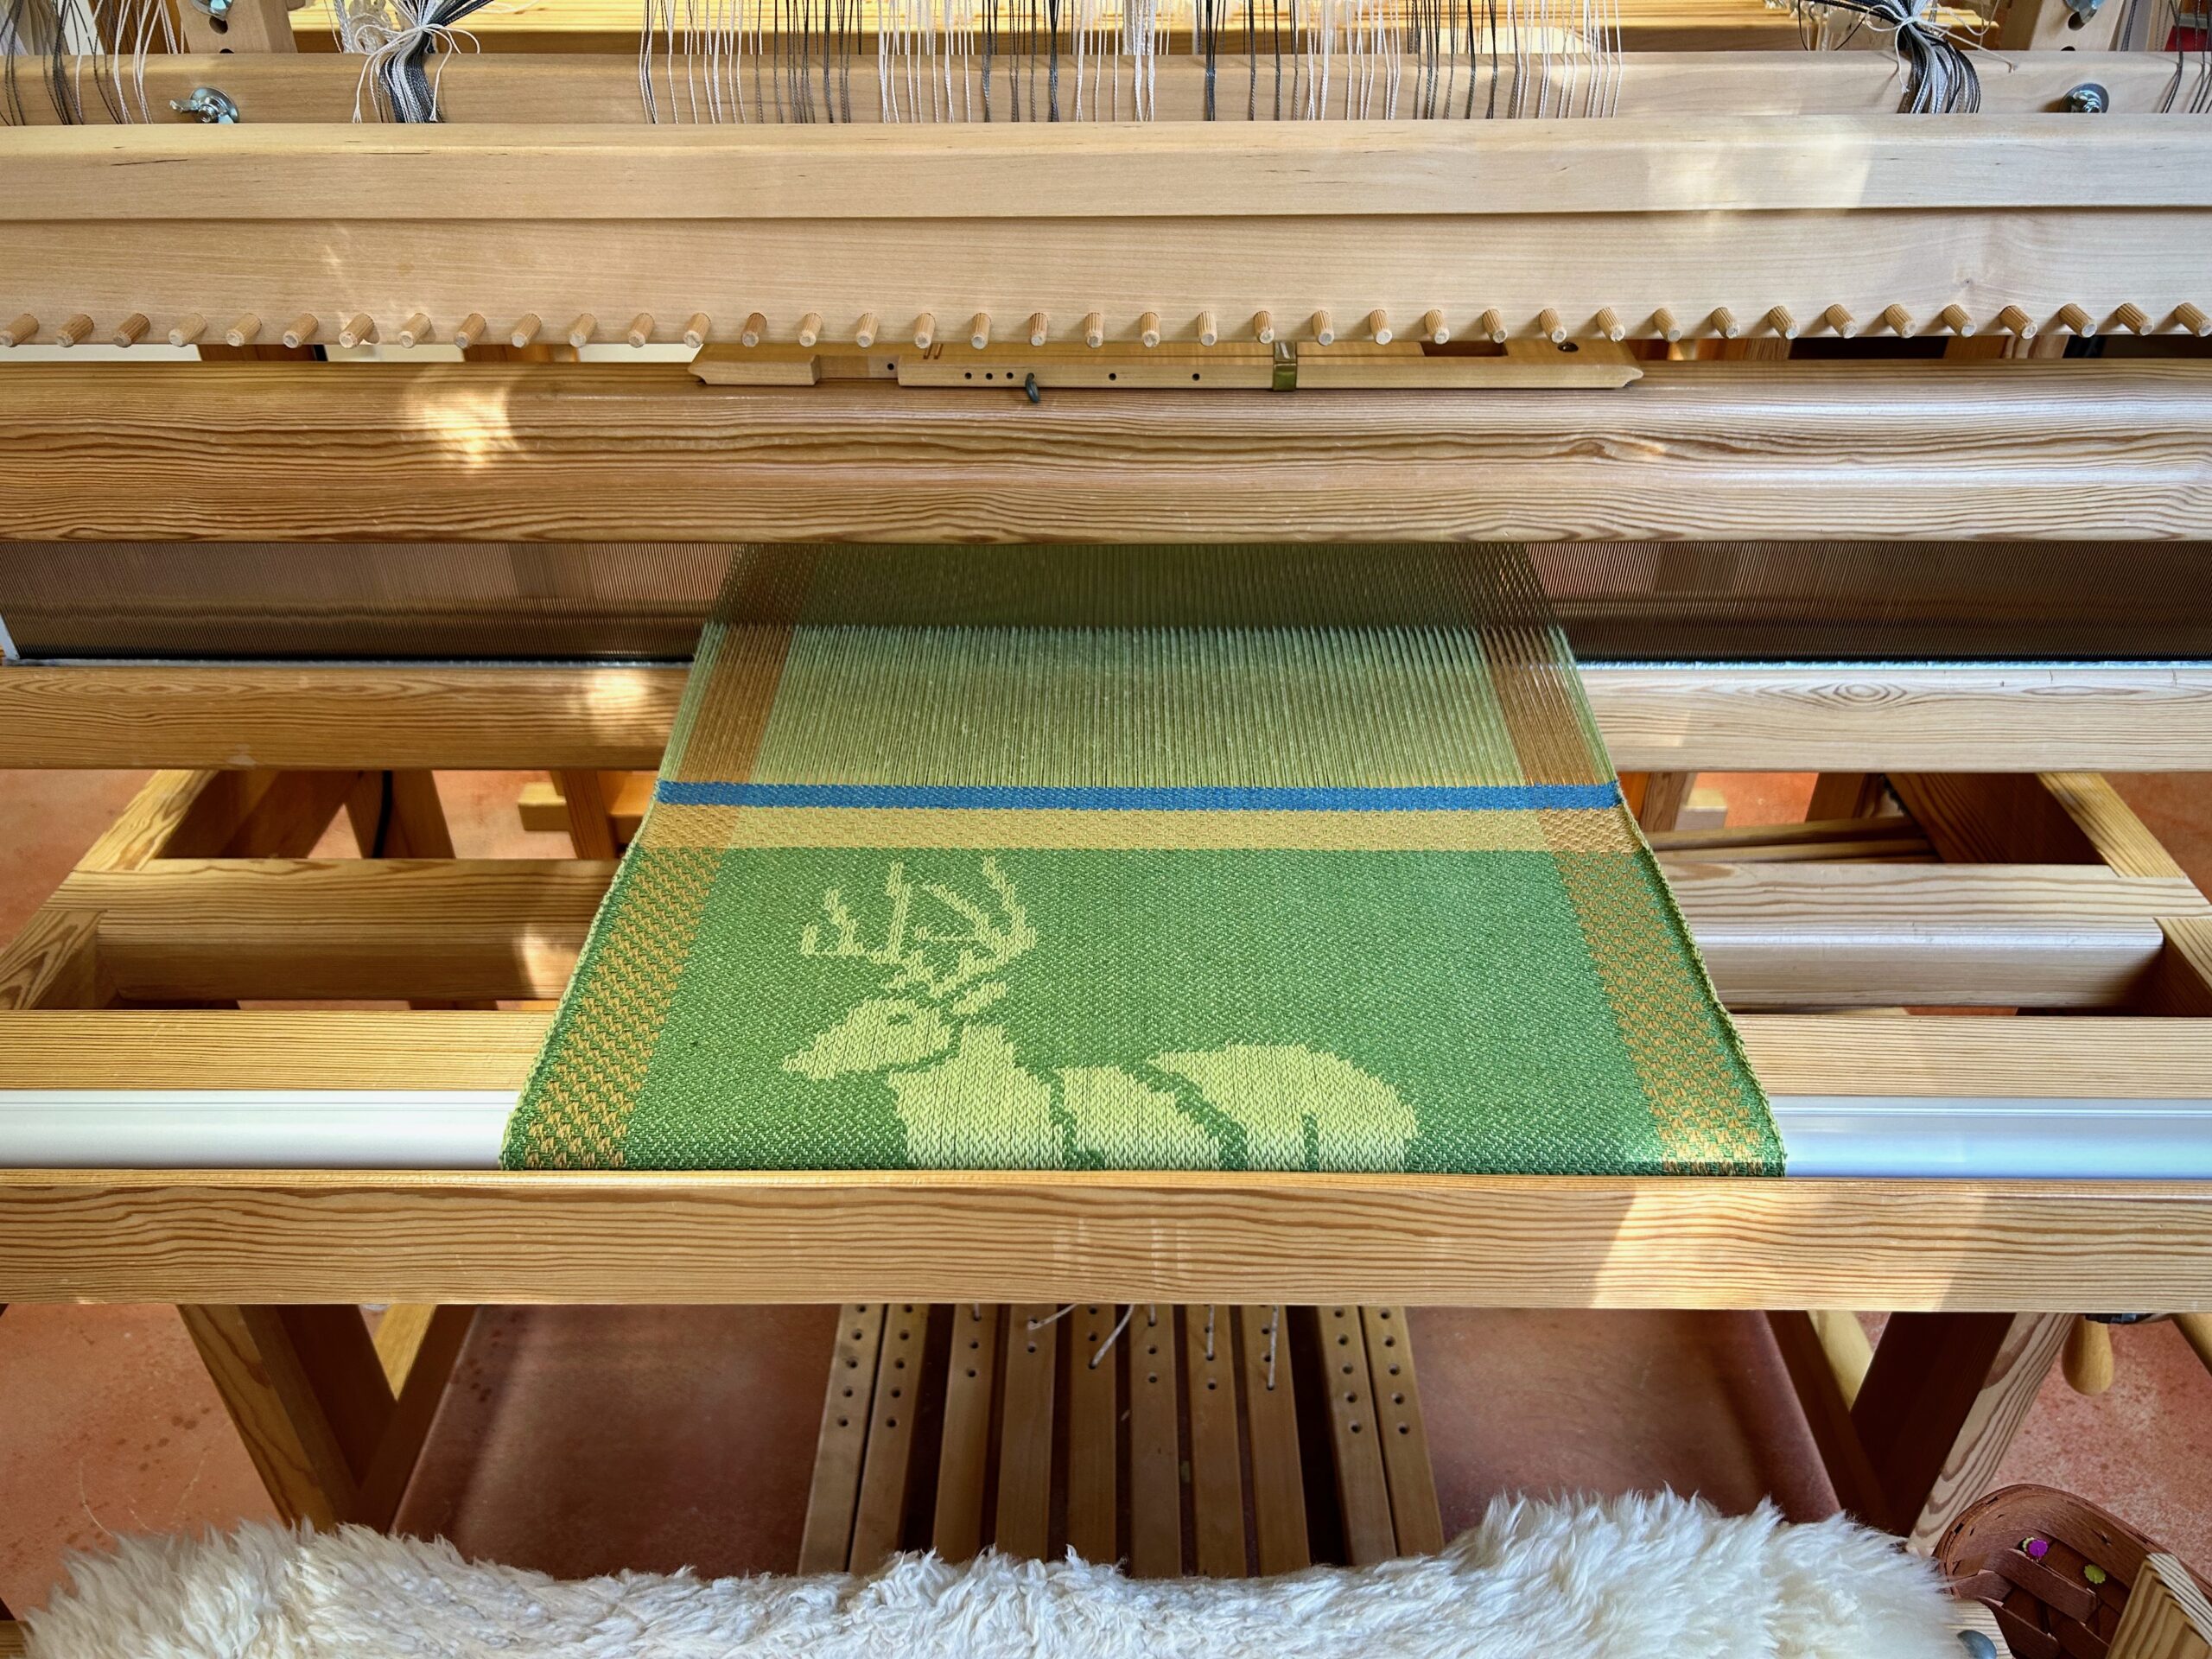
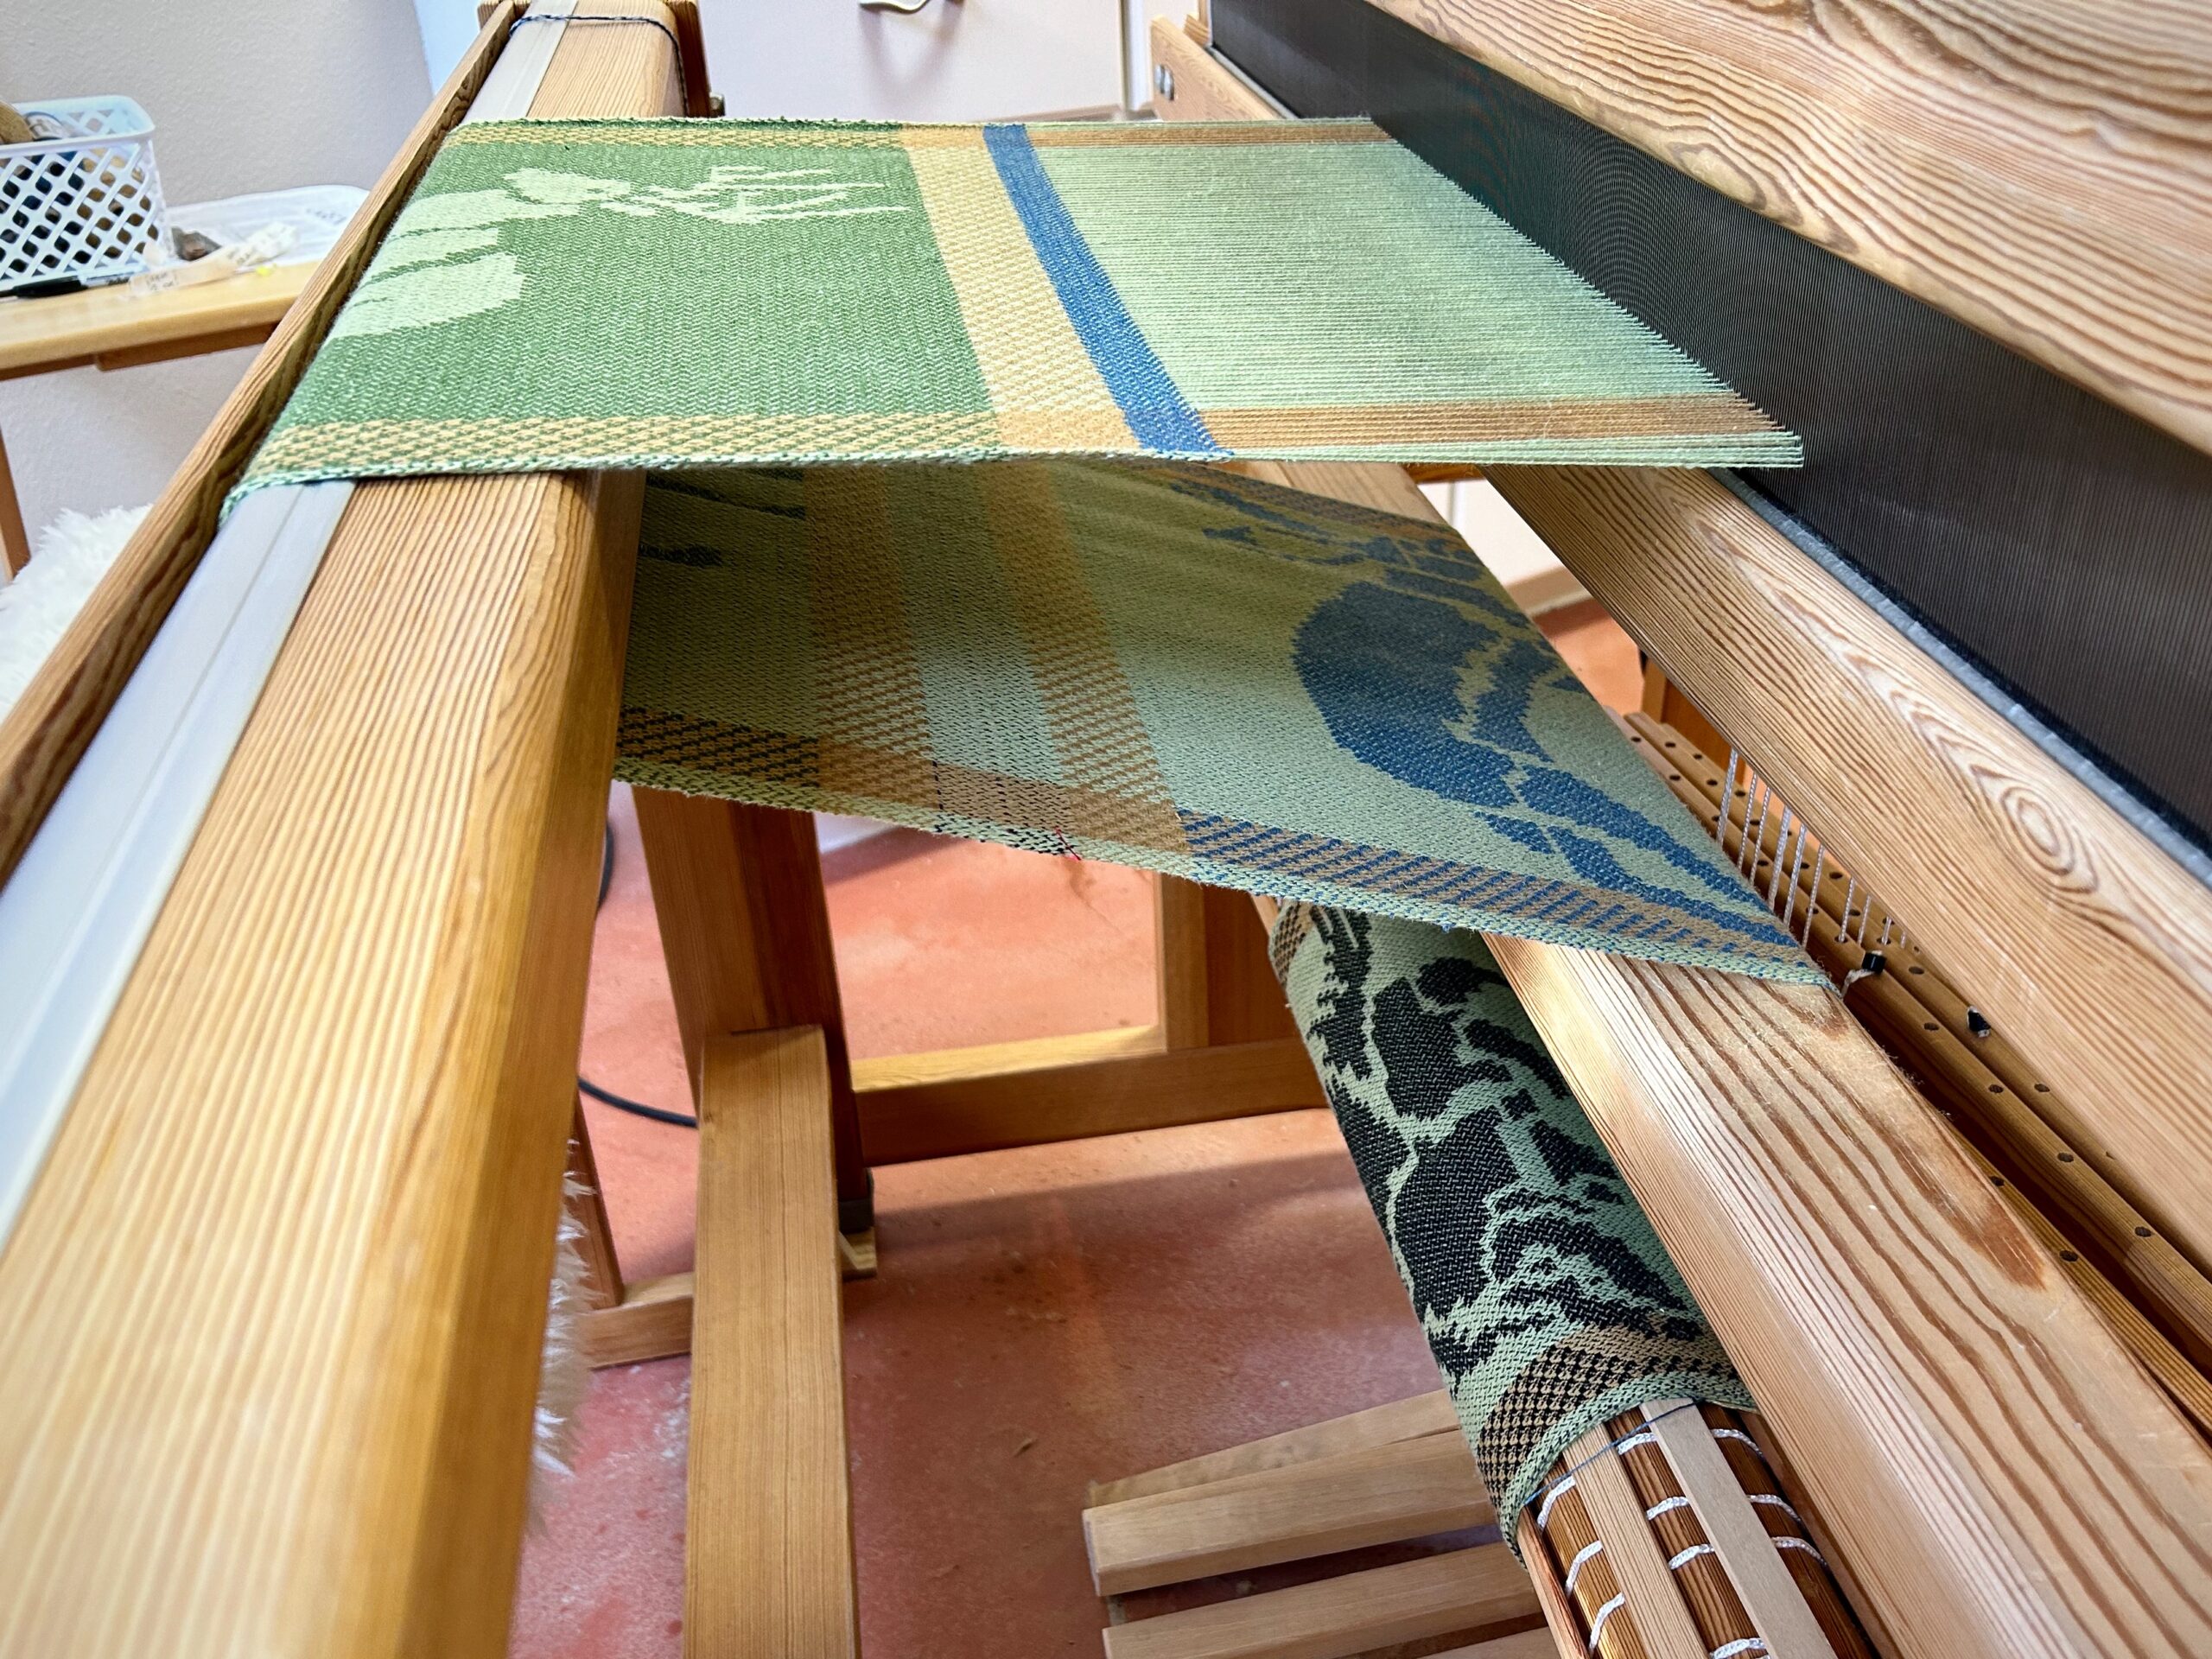
I am finishing up the next critter napkin design for the drawloom. This one is a roadrunner, and it is just…about…ready…to weave.

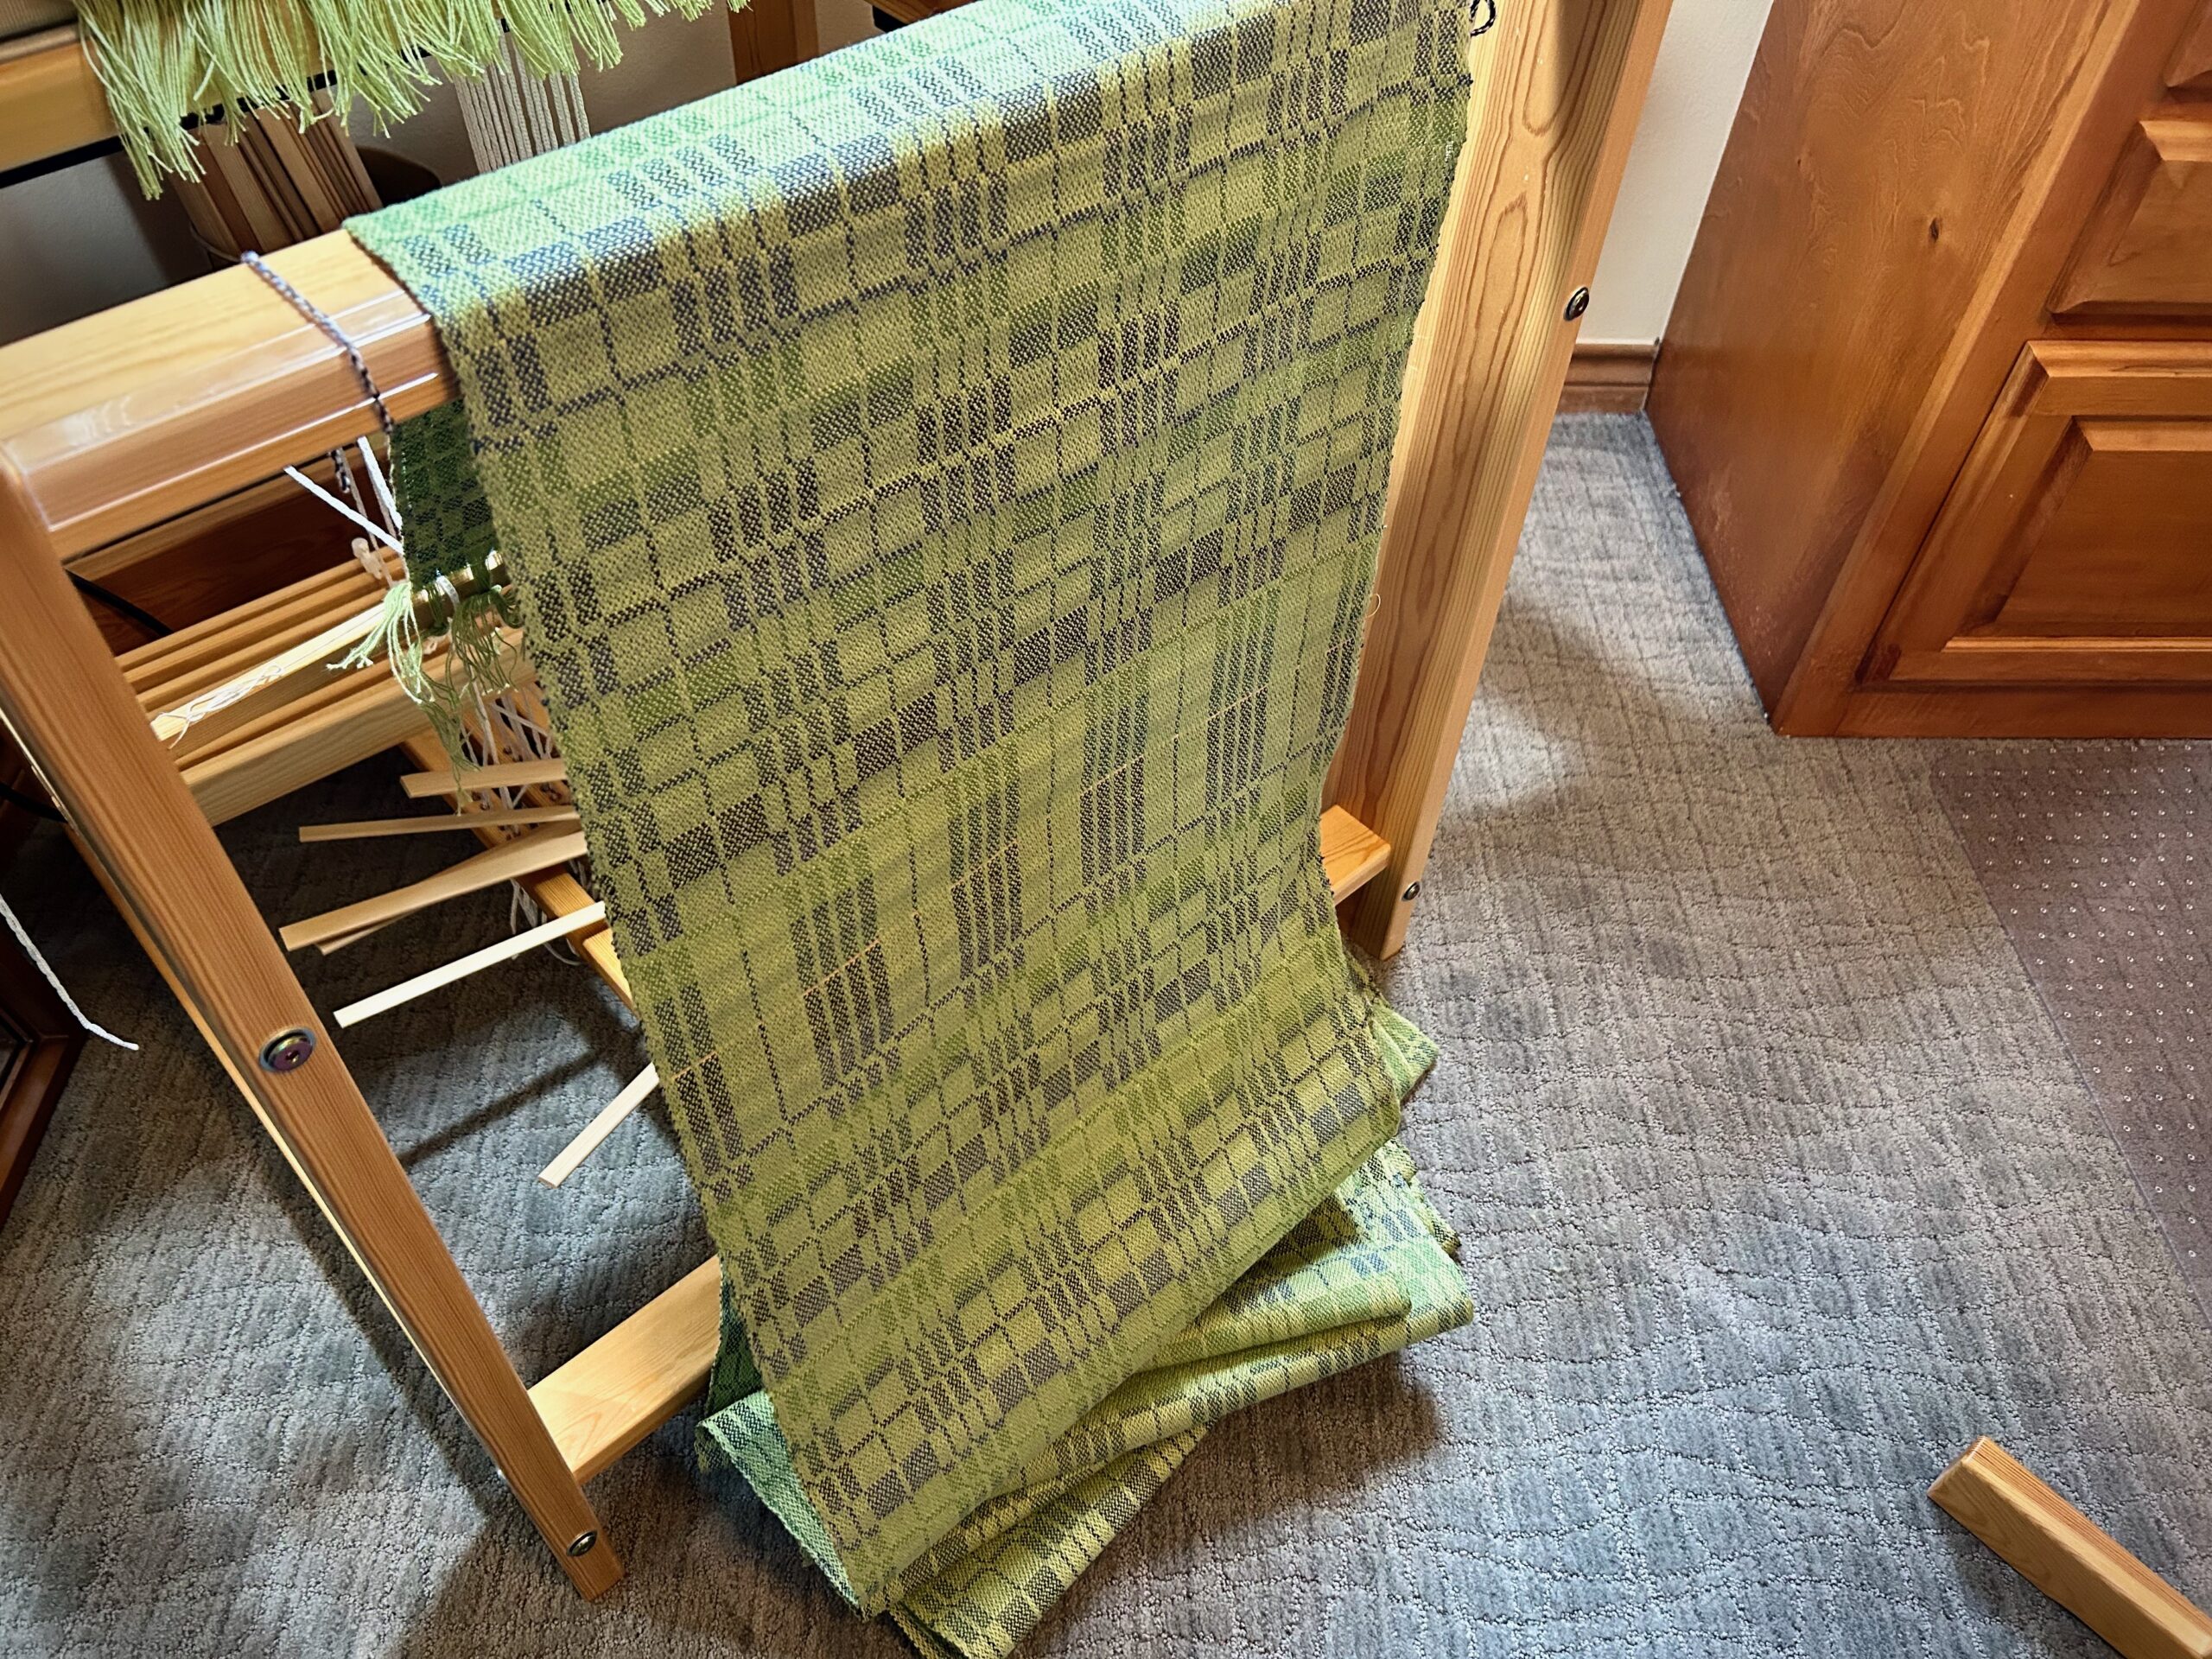
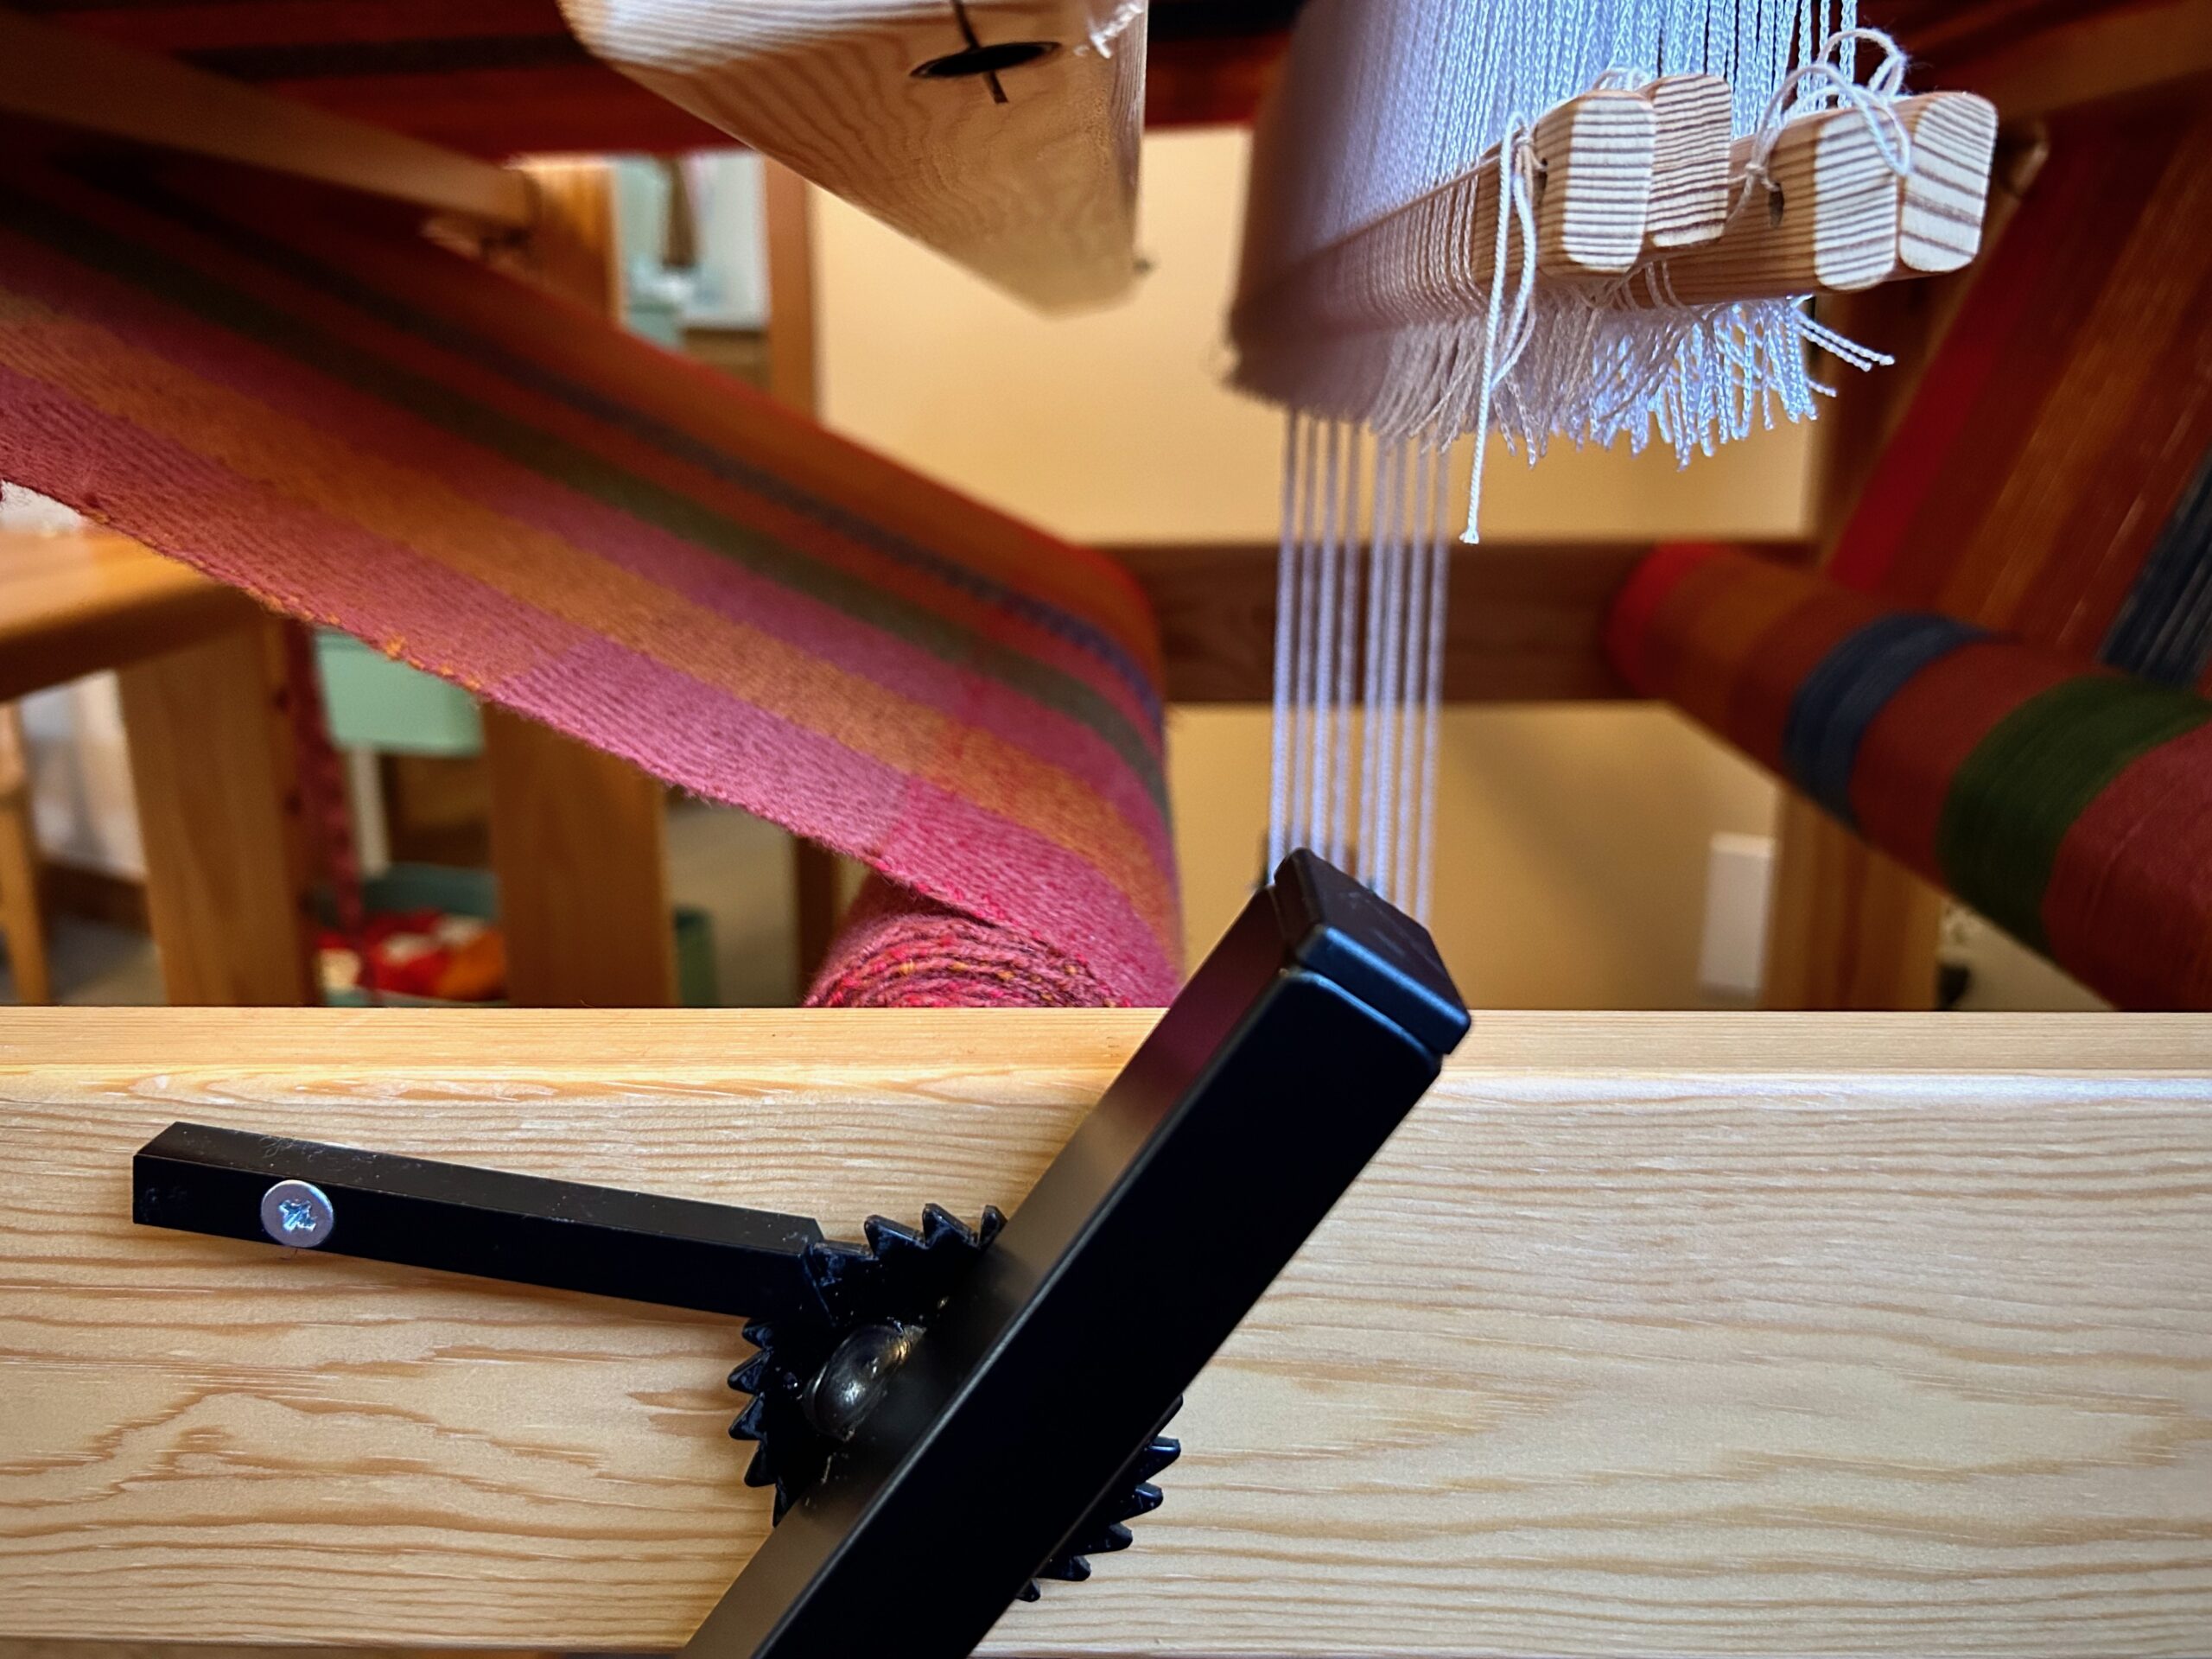
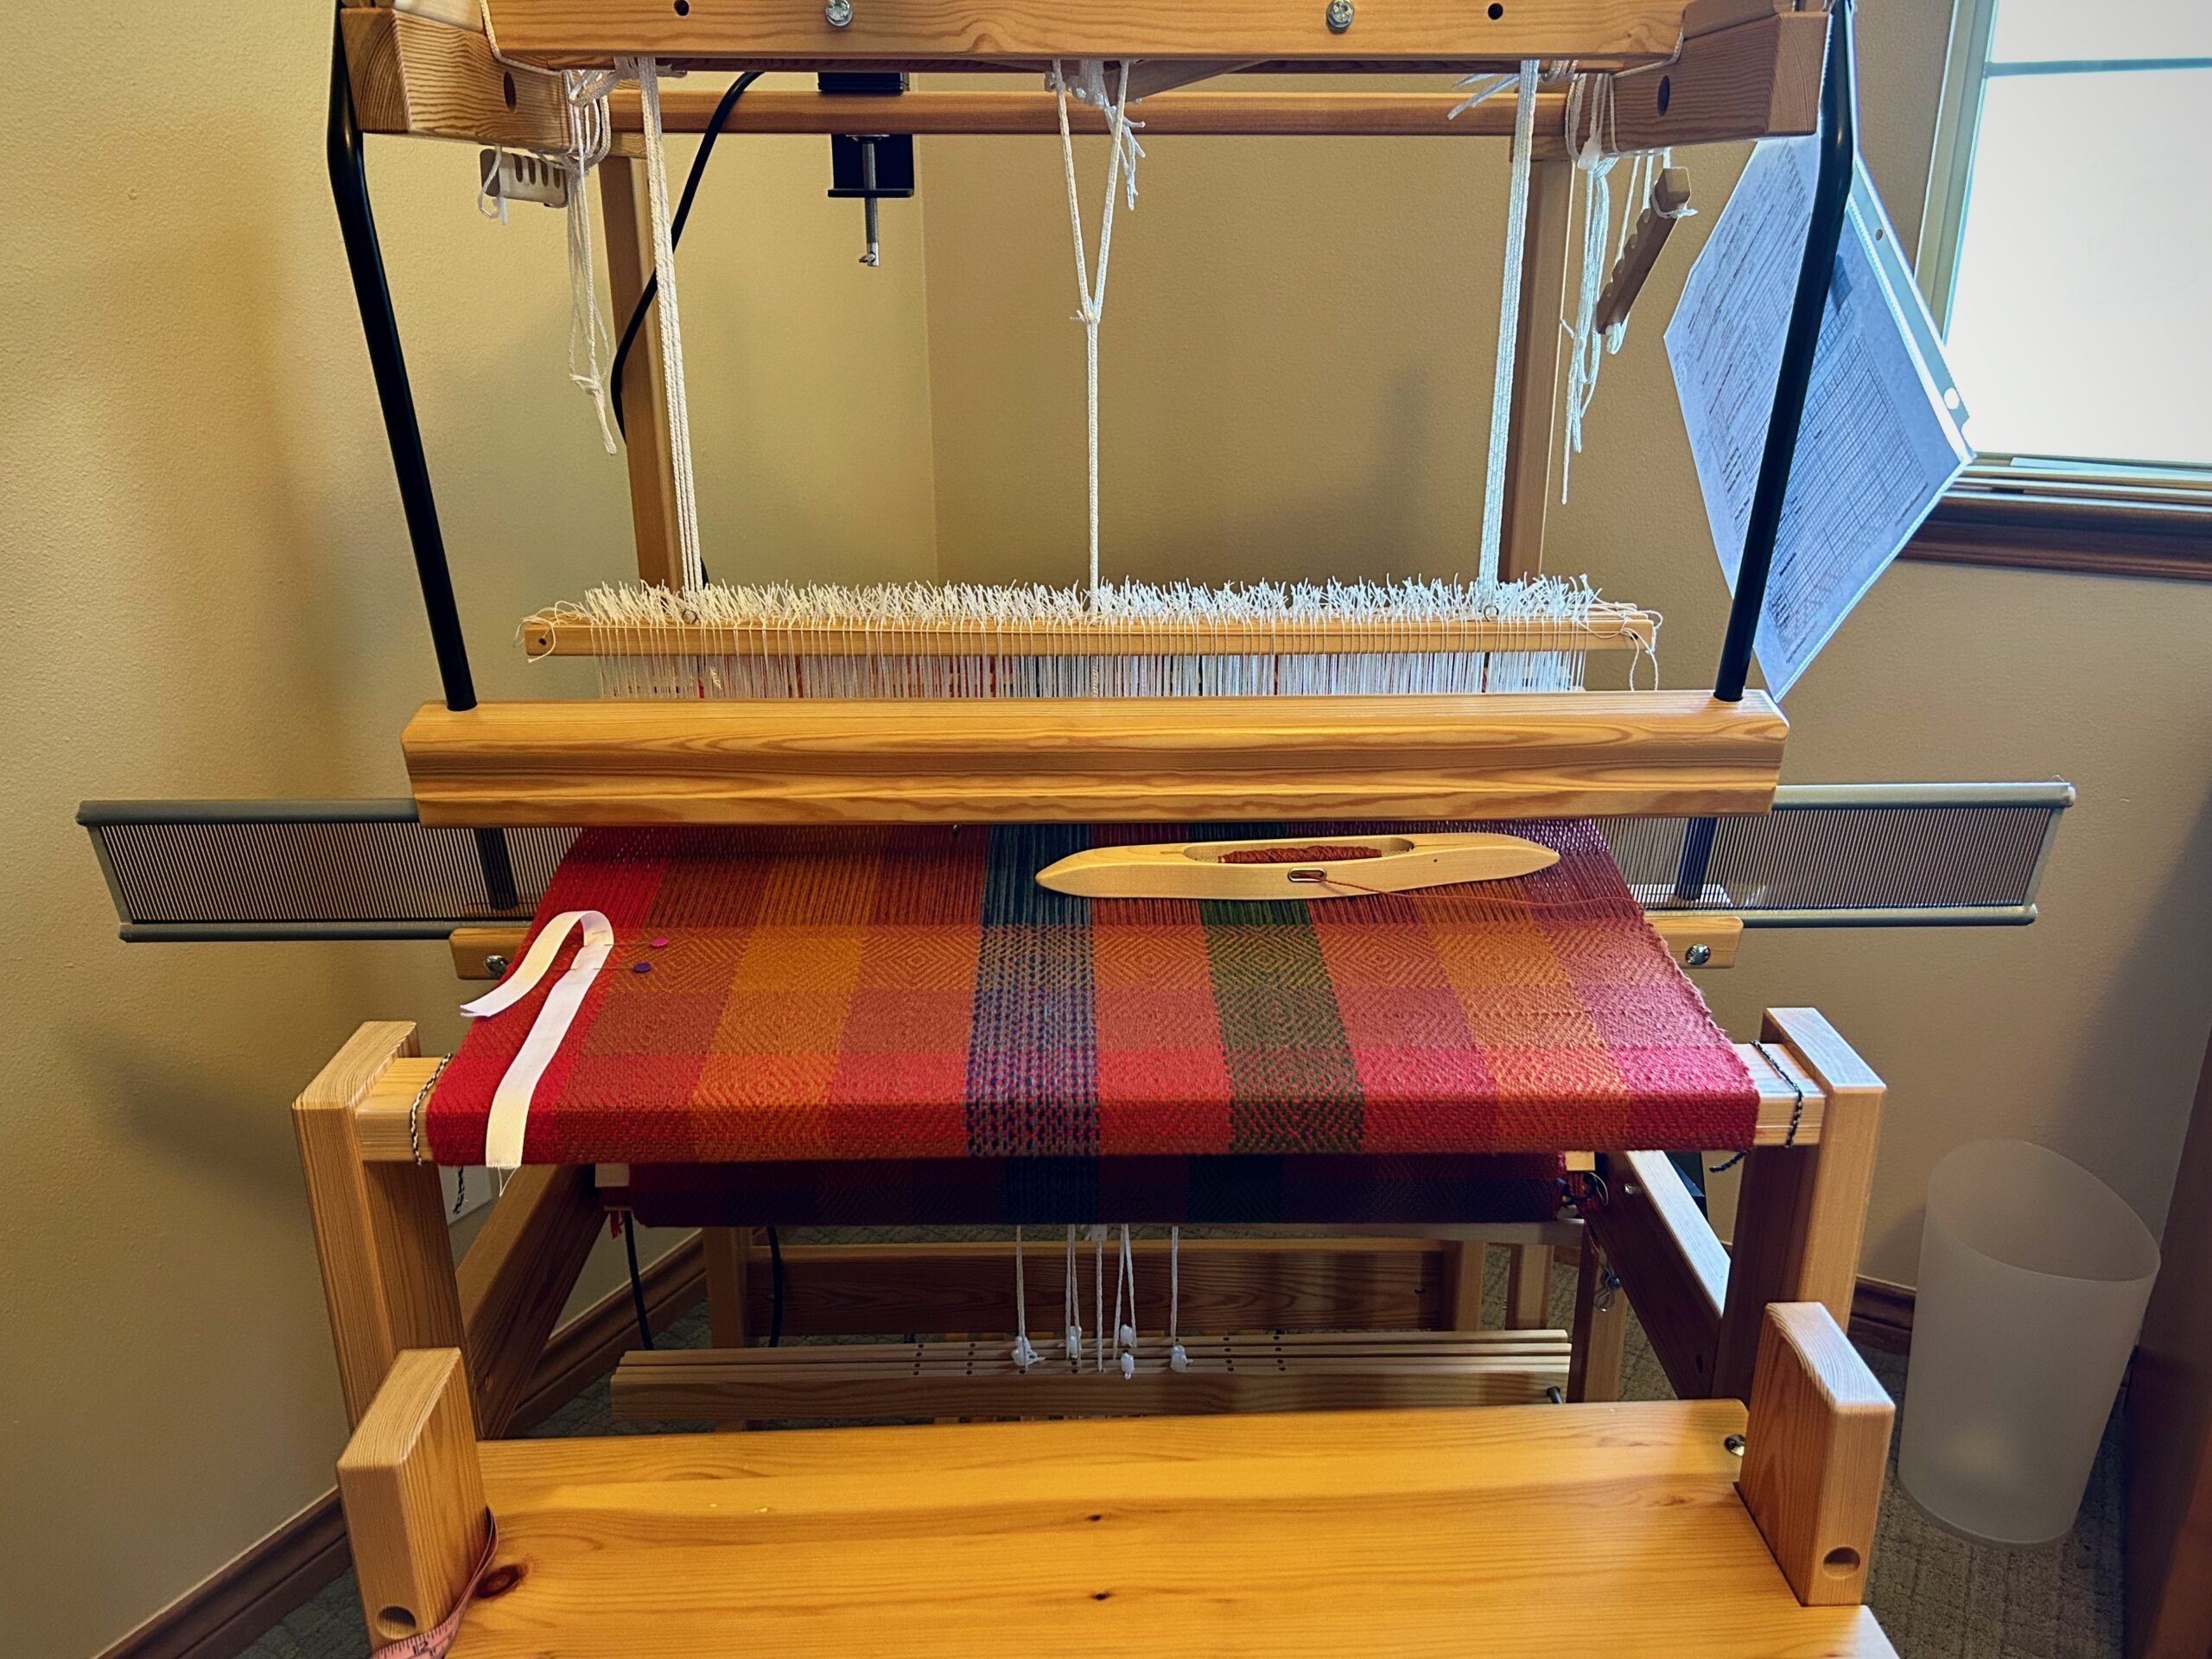
The Glimåkra Julia is getting filled up on the cloth beam, too. This wool goose-eye fabric is going to be fun to sew into a winter cape when it comes off the loom!

I like to check on the cloth beam to see how it is filling up. You can see there is still more warp on the warp beam.
Julia with four shafts. Ribbon pinned on the side has marks that help me keep the diamond pattern square.

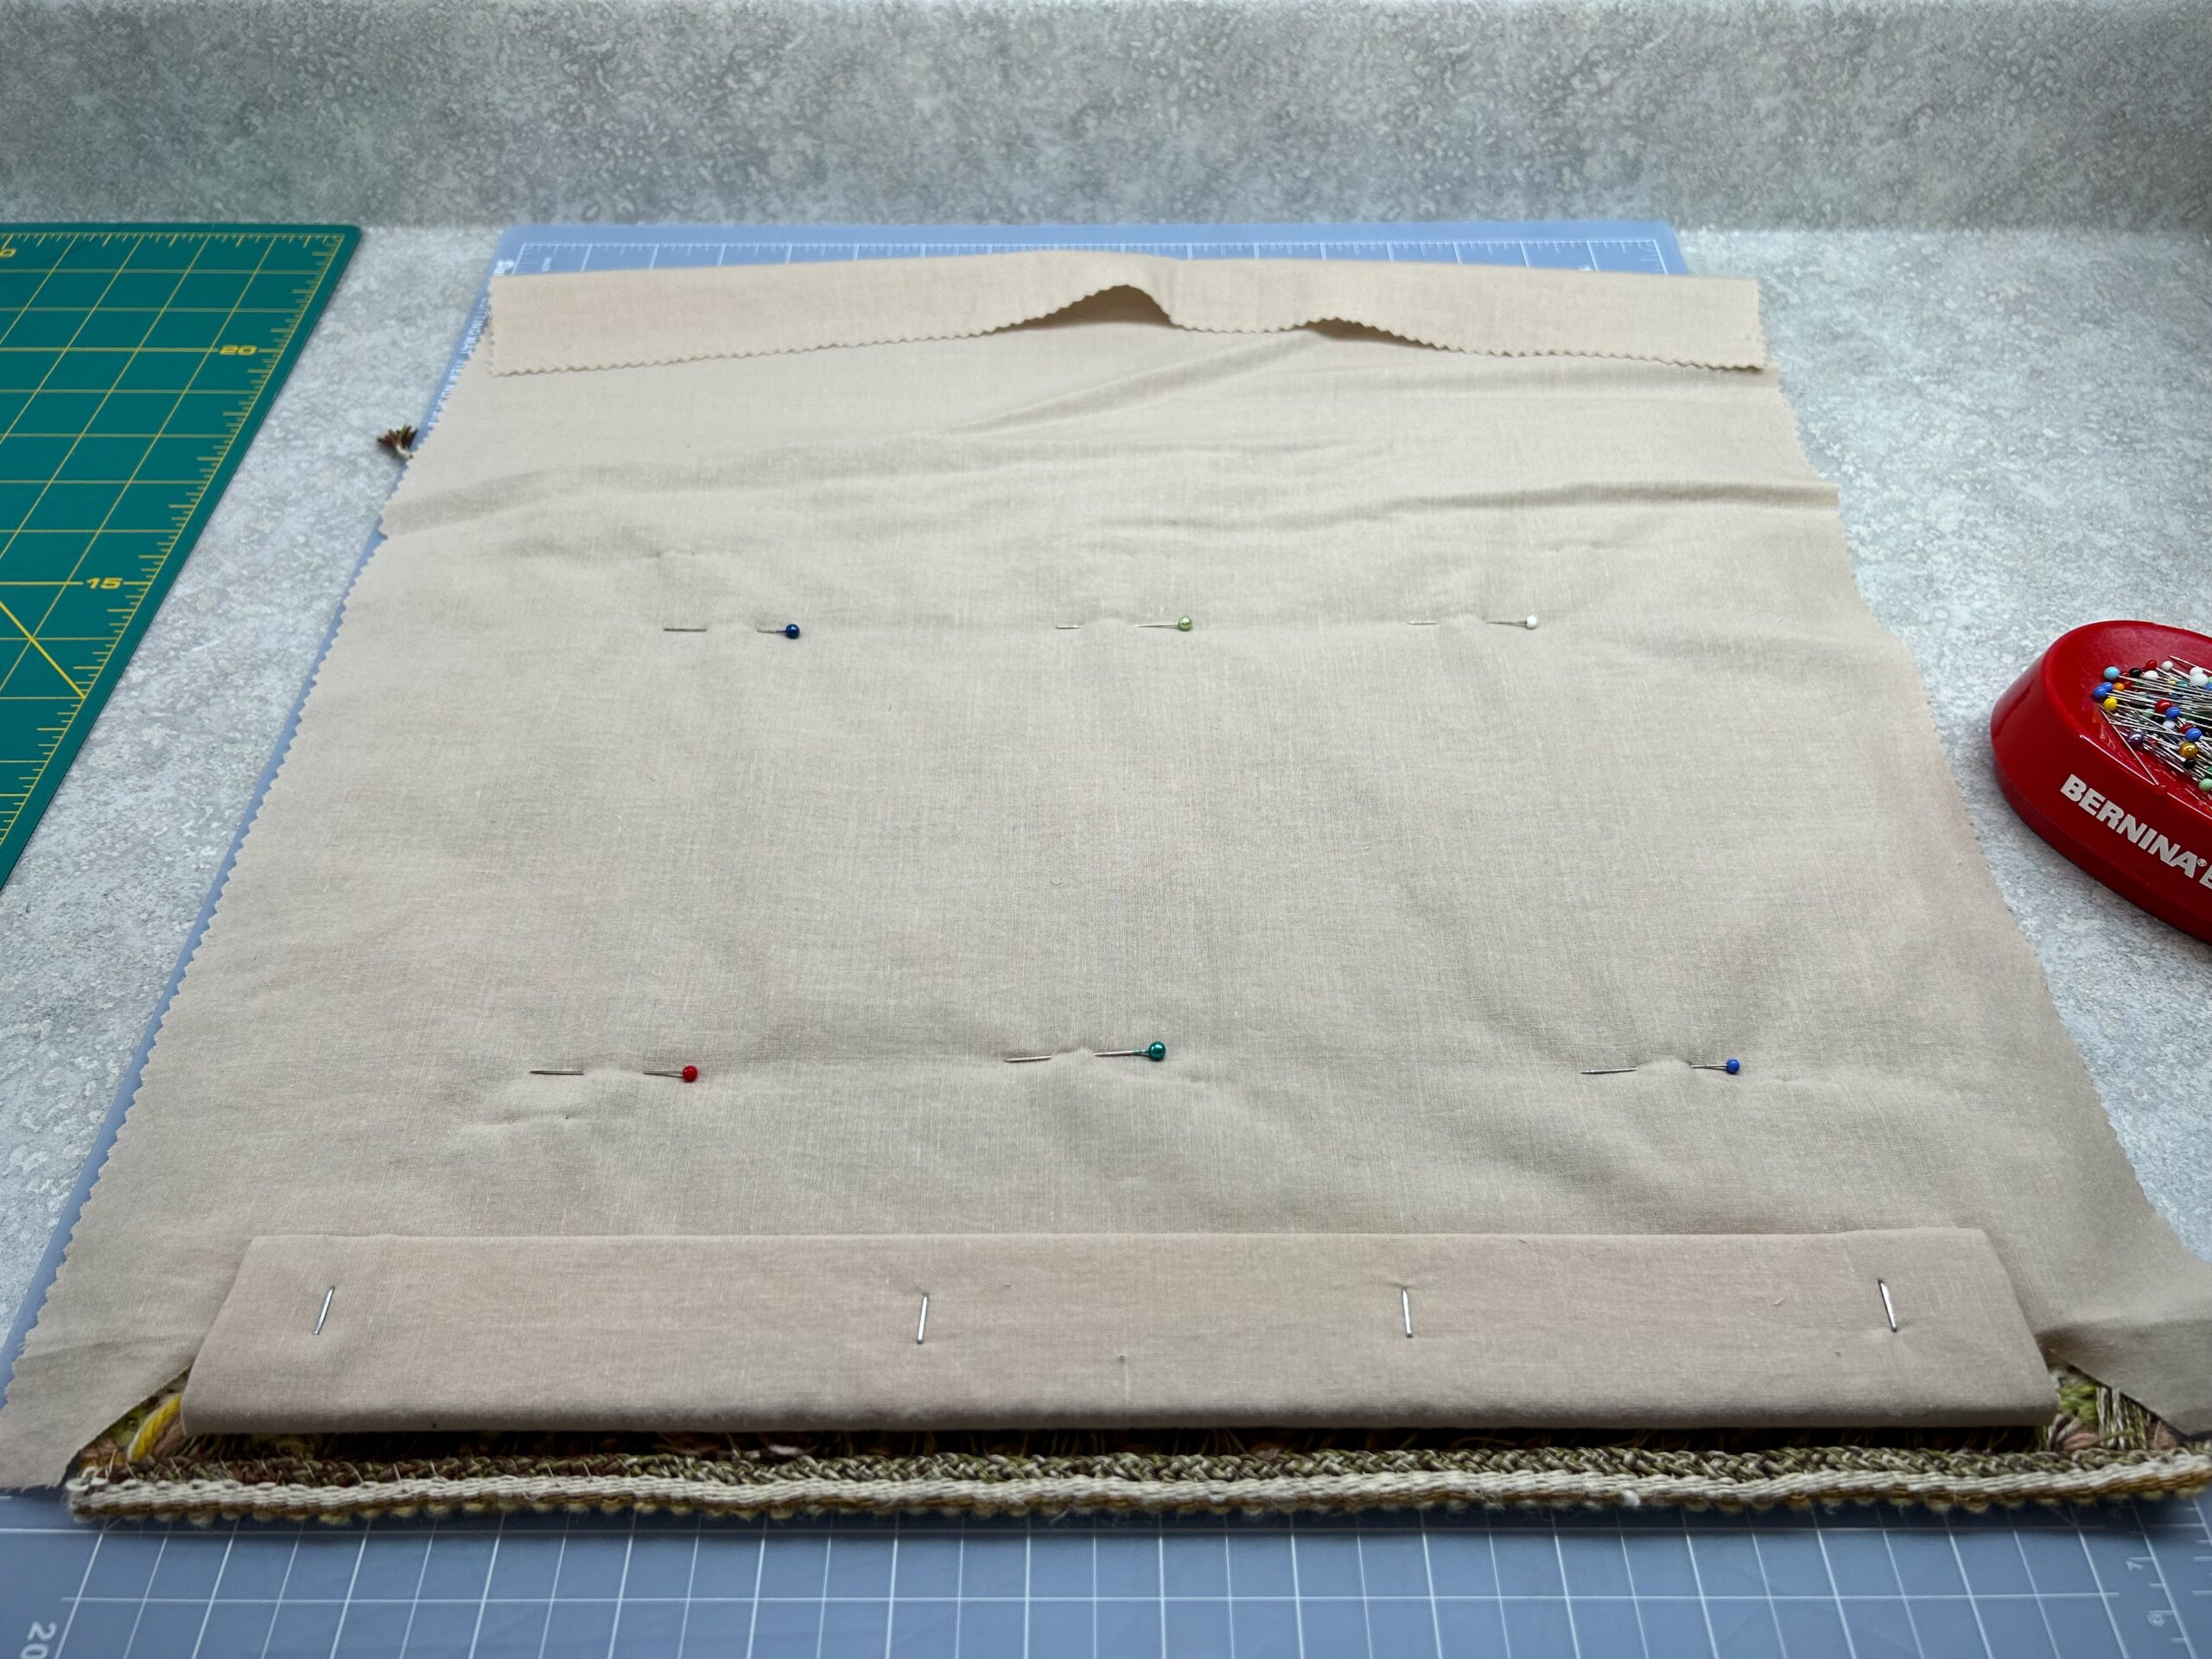
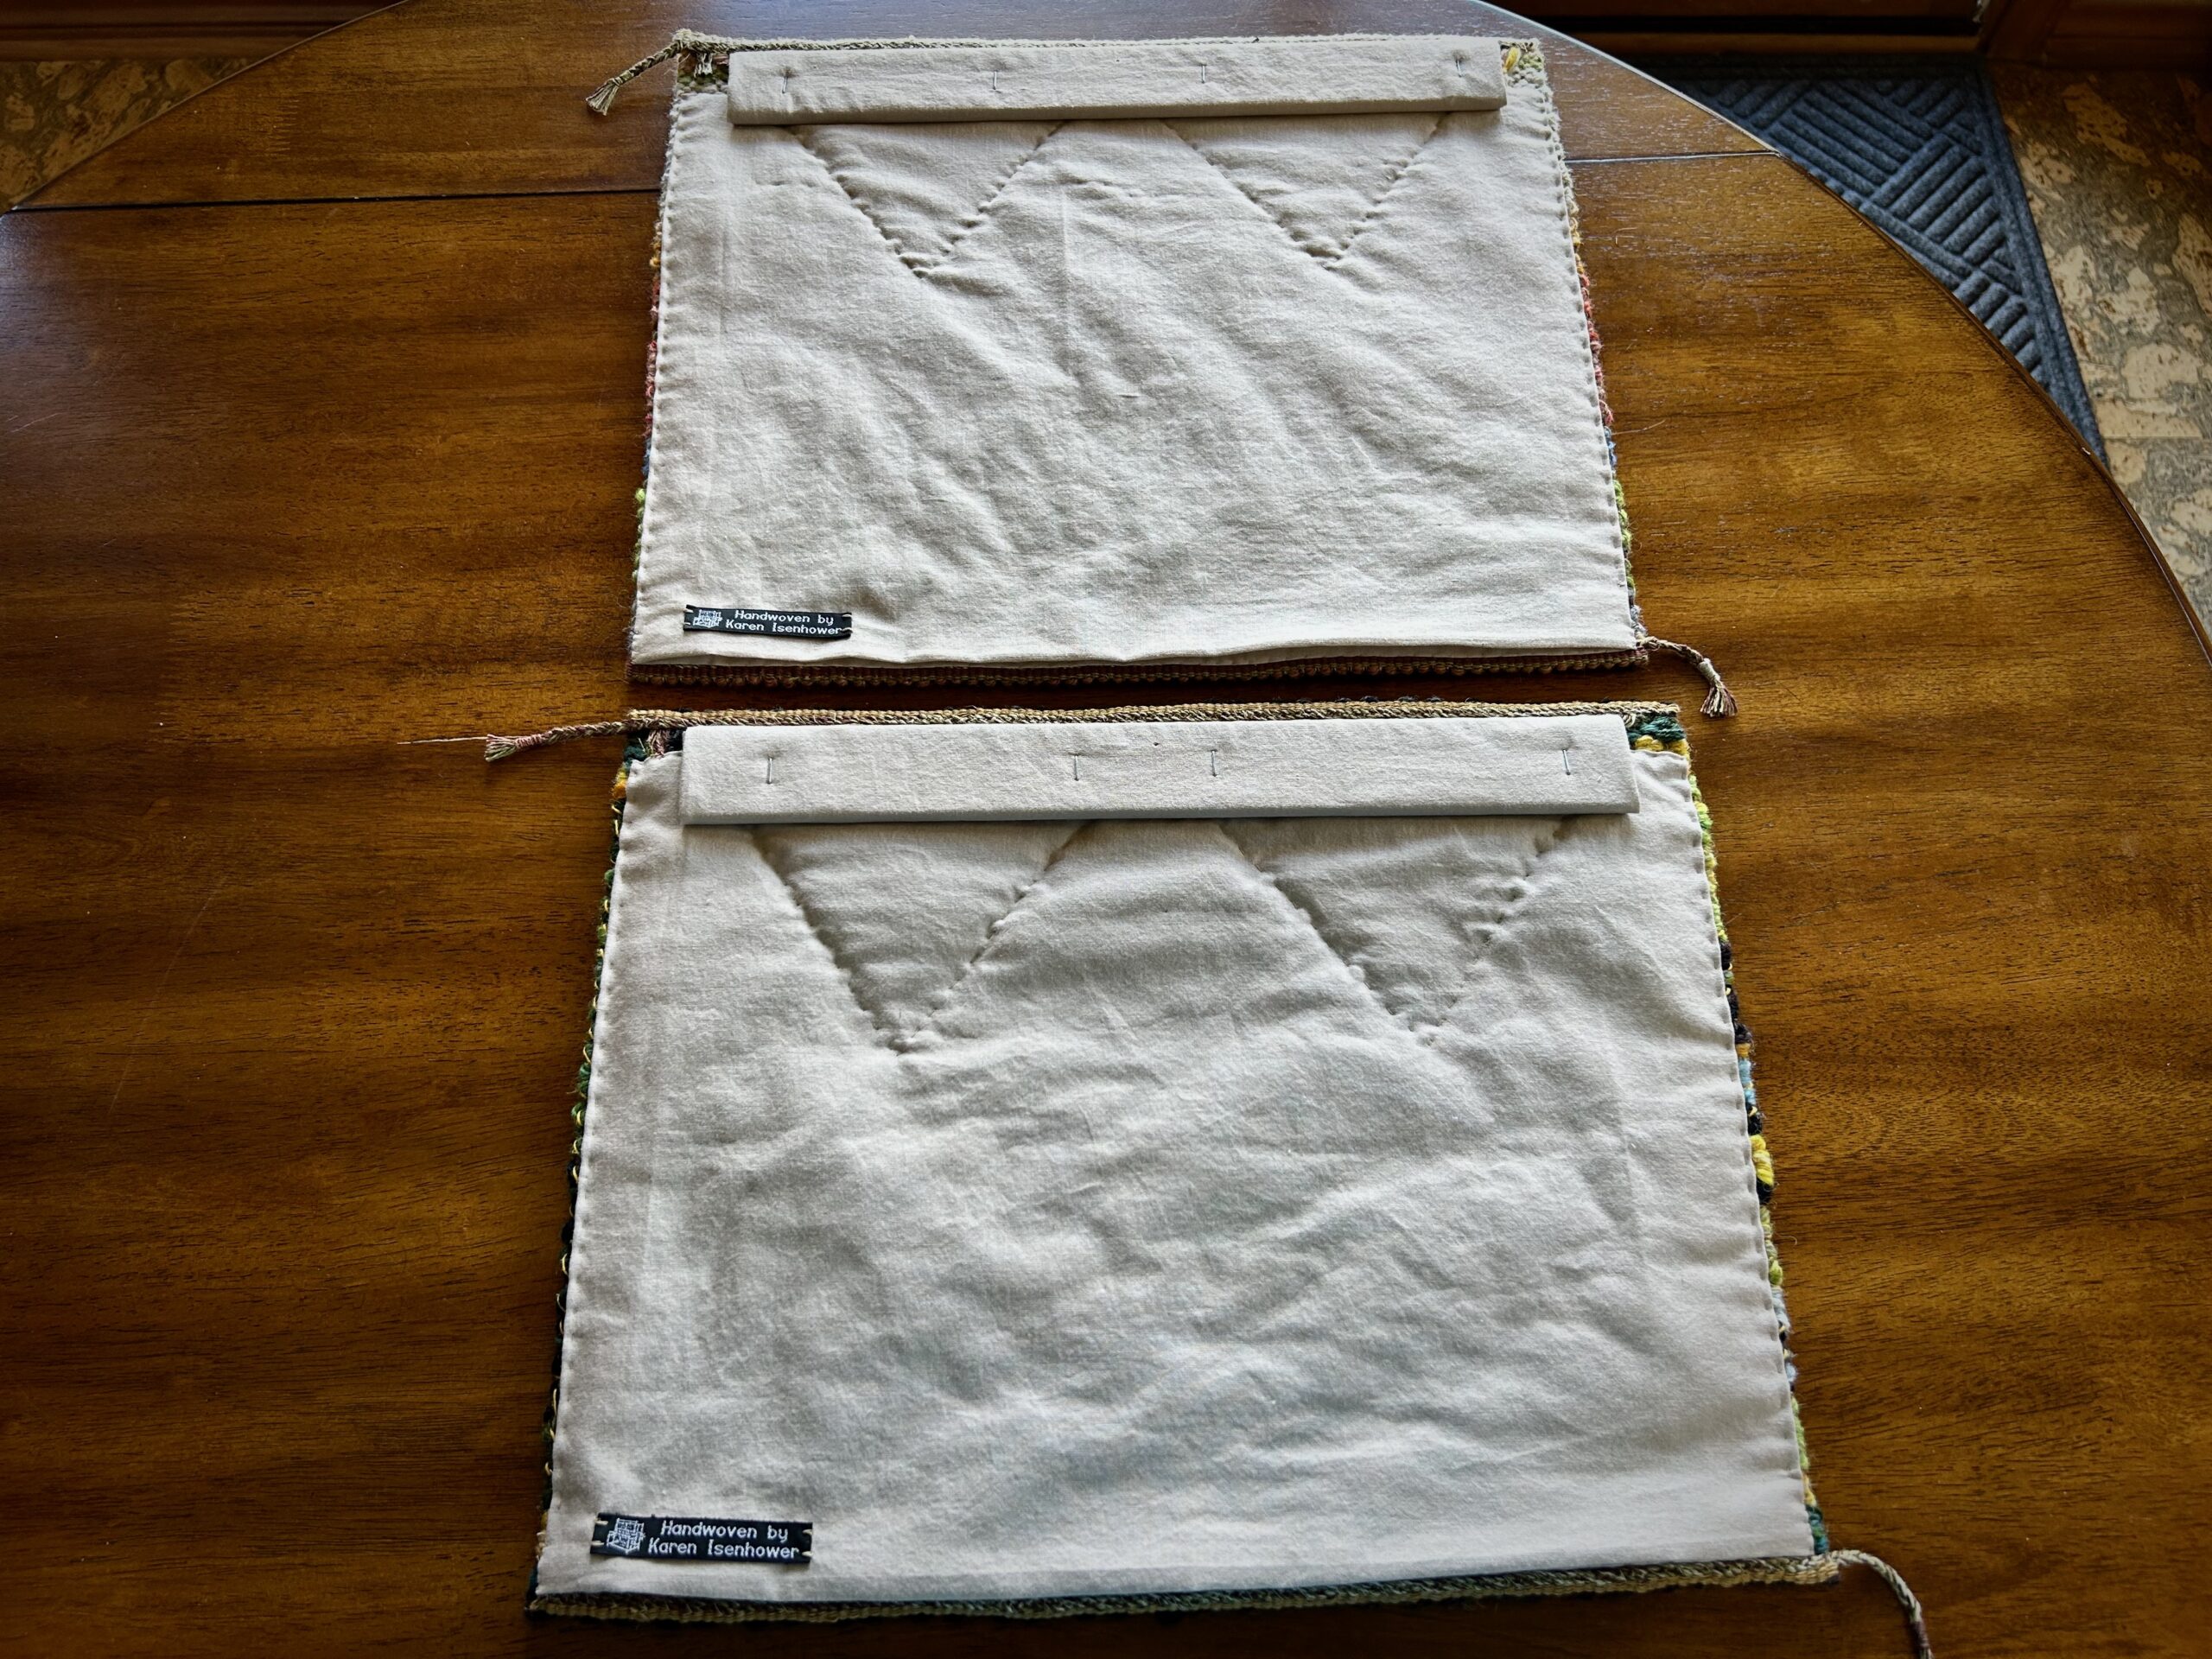
And finally. Drumroll. After a year of sitting on the sidelines after having been cut from the loom, two small tapestries are now hanging on our walls. I did the finishing work of adding a slat for hanging, stitching a backing in place, including some zigzag quilting stitches for support, and stitching up the sides and the hem.

Beginning to mount the tapestry by adding a wood slat at the top.
Backing is added to the back of the tapestries. Zigzag stitching at the top helps secure the tapestry so it will not sag. One small nail will hold the tapestry to the wall.
Heaven and Earth
Intricately Created: Delicate Wing of a Monarch Butterfly.

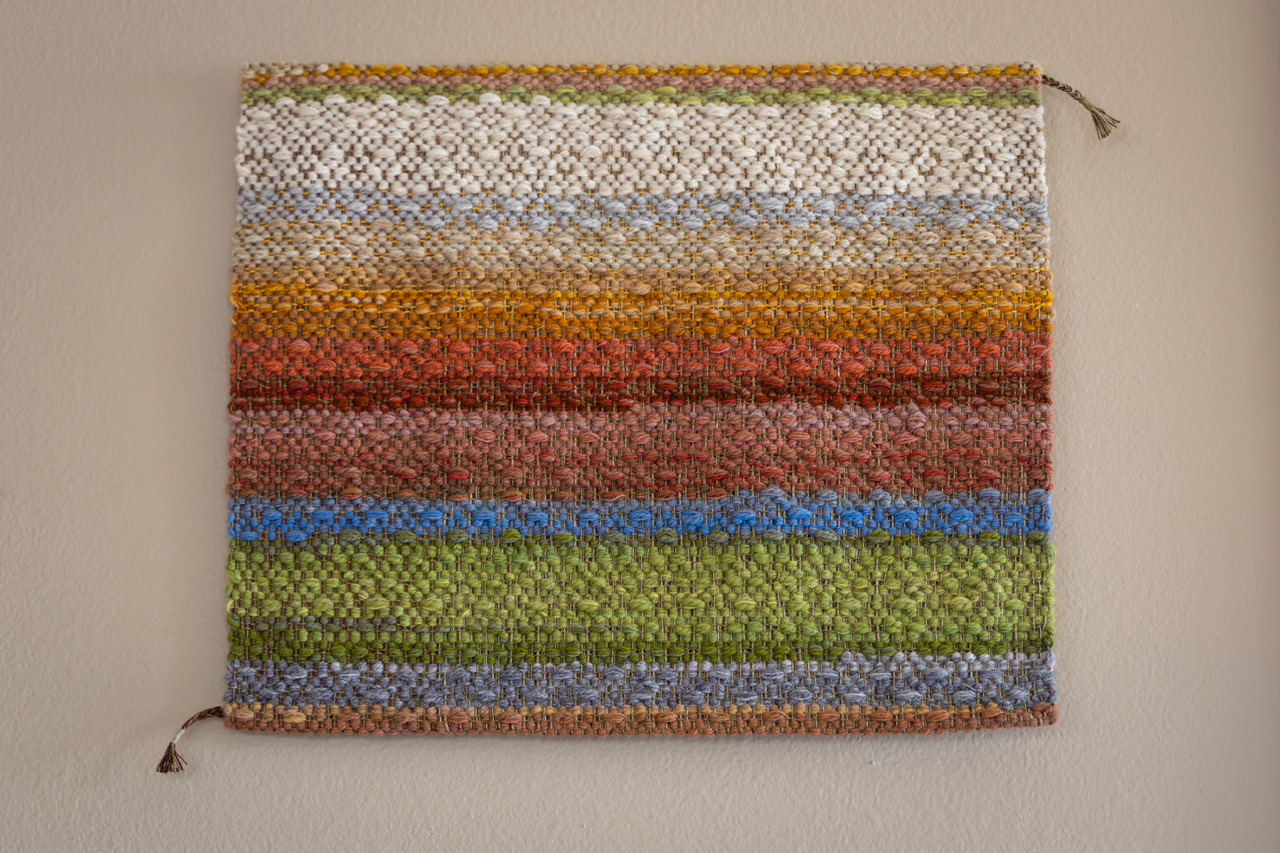
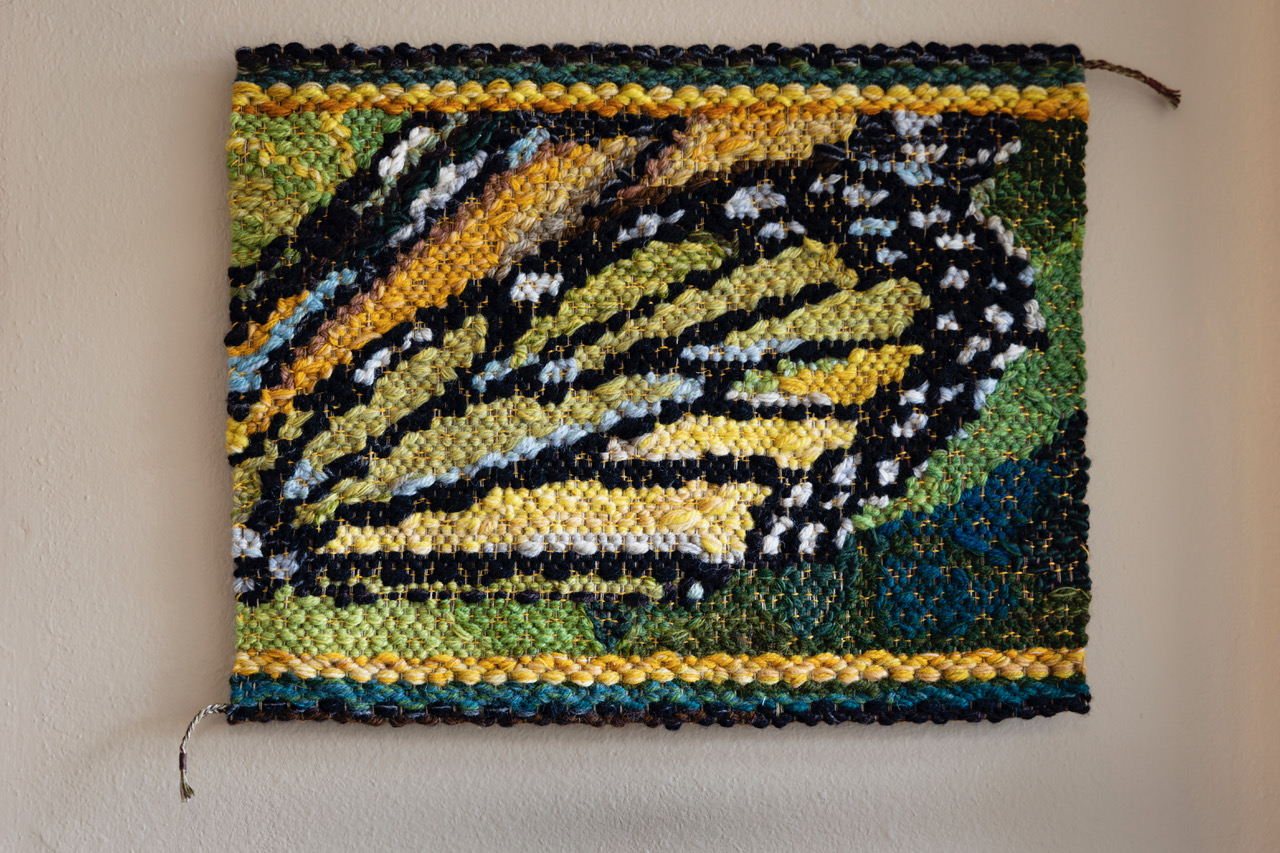
It is good to finish, even if you do it a year later. Now I am really ready to start the next tapestry.

Happy Weaving, Karen

Extraordinary Animals on the Drawloom

Armadillo, fox, porcupine, jackrabbit, and deer are leading the critter parade. The twelve napkins will include the most common, the most interesting, and the most unusual animals that visit our backyard here in Texas Hill Country. The white-tailed deer are the most common, by far.

Feet first. The white-tailed buck is taller than he is wide, so his feet touch the bottom border. Pulled single-unit draw cords are seen on the hook bar pegs above the beater.
Just past the midway mark on this napkin, as seen on the measuring ribbon pinned on the side.
Having a large chart beside the loom helps me keep track of each row as the weaving progresses. One pattern shaft draw handle is pulled, which forms the pattern on the side borders. The single unit draw cords form the center image.

This white-tailed buck is one that Steve photographed on our property. I use Affinity Designer on my computer to turn a photo into a silhouette that I can use for my drawloom chart. It is a thrill to see the image emerge in the threads on the loom. From animal in our yard, to photo, to graphic chart, to threads on the loom! The common is made extraordinary.

The draw handles are pulled for the checkerboard pattern that goes across the bottom and top borders of the napkin.
Antlers of the buck reach nearly to the top border. Hem area is teal blue.
Before the buck, there is the jackrabbit. And before the jackrabbit is the porcupine. And the fox and armadillo before that are in hibernation on the cloth beam.

Even more extraordinary is what our Lord Jesus does with a common human like you or me who puts faith in him. As you look at the threads on his loom, you begin to see that it is his image being woven in you.

May your days be extraordinary.

Happy New Year,
Karen

Who Gets the Jackrabbit Napkin? Drawloom Dilemma

Jackrabbit. This critter is one I would like to see more often. We call him “Jack,” or if there are two of them together, they are known in our family as “Jack and Jackylina.” The jackrabbit makes me smile because of his tall ears and mischievous-looking face. The nice thing is he doesn’t cause any mischief, like some of the other critters around here. He will sit completely still, without a twitch. I’m sure he wants you will think he’s a rock, and pass on by without noticing him. But if you get a little too close, he hops up and quickly dashes away.

When we have all twelve napkins at the dining room table for a family gathering, how will we decide who gets Jack the Jackrabbit? This one could be everyone’s favorite.

Teal blue linen weft. The jackrabbit is one of my favorite critters in our Texas Hill Country area. I like their humorous profile.
Just reached the halfway point on this jackrabbit image. This is all single-unit draw until I get beyond the area where the nose and feet are in the side borders. After that, the borders will be the simpler pattern-shaft draw.

As with the other critter napkins in this series, the borders at top and bottom, and some of the side borders, use the pattern shaft draw system. The jackrabbit in the center and the “broken borders” use the single unit draw system. I am very happy to weave with this Myrehed Combination Drawloom Attachment. The possibilities are endless…and fun!

Happy Weaving!

Karen

Handwoven Placemats on the Table!

Twelve green placemats are on the dining room table. Green 22/2 cottolin warp and 8/1 tow linen weft in four colors done in a two-block broken twill, woven on the Julia with eight shafts. I am deeply satisfied with the results. Now, all I need to do is to invite everyone over for a big family meal!

End of warp. Cutting off process begins.
Fabric unrolls from the cloth beam. Warping slats go every which way onto the treadles.
When I first unroll the cloth from a project that has been on the loom for a while, it is almost always “Love at first sight.” Then, I begin to question myself and wonder if the whole thing is a big mistake. The final stage is the most realistic and I am deeply satisfied with the results (usually).
Into the washing machine. The placemats have been cut apart, edges secured with the serger, and serger tails threaded back in. I carefully monitor the washing machine and remove the cloth before it hits a full spin cycle. Then, into the dryer it goes, just until damp, and then I press them till dry. This is a long time at the ironing board.
Twelve placemats ready to go! Machine hemmed and pressed.
The four linen weft colors give the placemats a softly graded look. Each one has the same two-block pattern, but each one is different because of the variance of the weft colors. Blue, green, teal, black.
Setting the table in the dining room.
Let’s eat!

I am lining things up to start my next big project that will grace our home. I’ll let you know as soon as I start winding the warp!

May you finish what you’ve started, no matter how long it takes.

Happy Weaving,

Karen

Look at that Cloth Beam!

There is nothing quite as satisfying as seeing a cloth beam filled up with cloth. There are eleven placemats rolled up on there, plus one more stretching from the breast beam on down. All that’s left to do is cut them off, wash, hem, and press. We’ll have new placemats on our dining room table in no time. Yippee!

Twelve placemats are woven. Now it’s time for some pattern play at the end of the warp.
Empty quills at the end of a weaving project are such a happy sight! This is another reason I enjoy playtime at the end of every warp–I can use up thread on the quills.
Look at that cloth beam! Woo Hoo, cutting off will be fun. And hemming all those placemats…I don’t mind.

May your efforts bring satisfying results.

Happy Weaving,

Karen