Tried and True: Designing Handwoven Towels

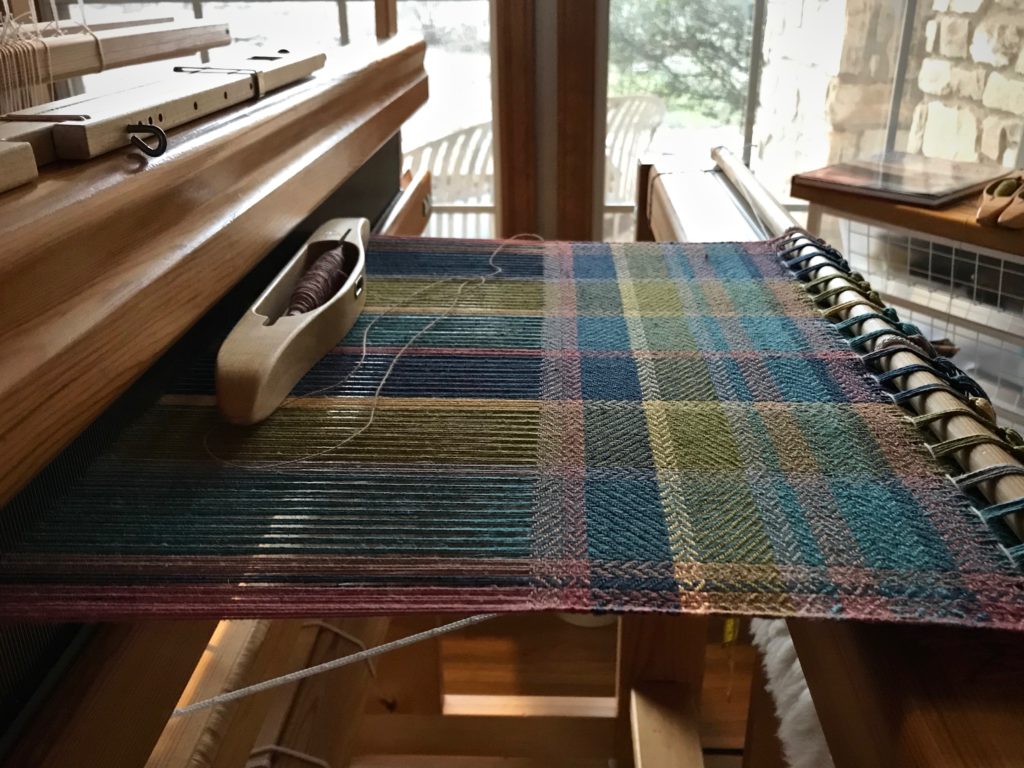
How do you come up with a design for standout hand towels? Sometimes it’s nice to start with someone else’s ideas. There is a gorgeous wool throw, designed by Anna Svenstedt, in Favorite Scandinavian Projects To Weave: 45 Stylish Designs for the Modern Home, by Tina Ignell. This Colorful Throw—Reverse Twill makes a perfect template for designing eye-catching hand towels.

New handwoven towels.
Warp chains with seven colors of 22/2 cottolin for standout hand towels.

Decisions:

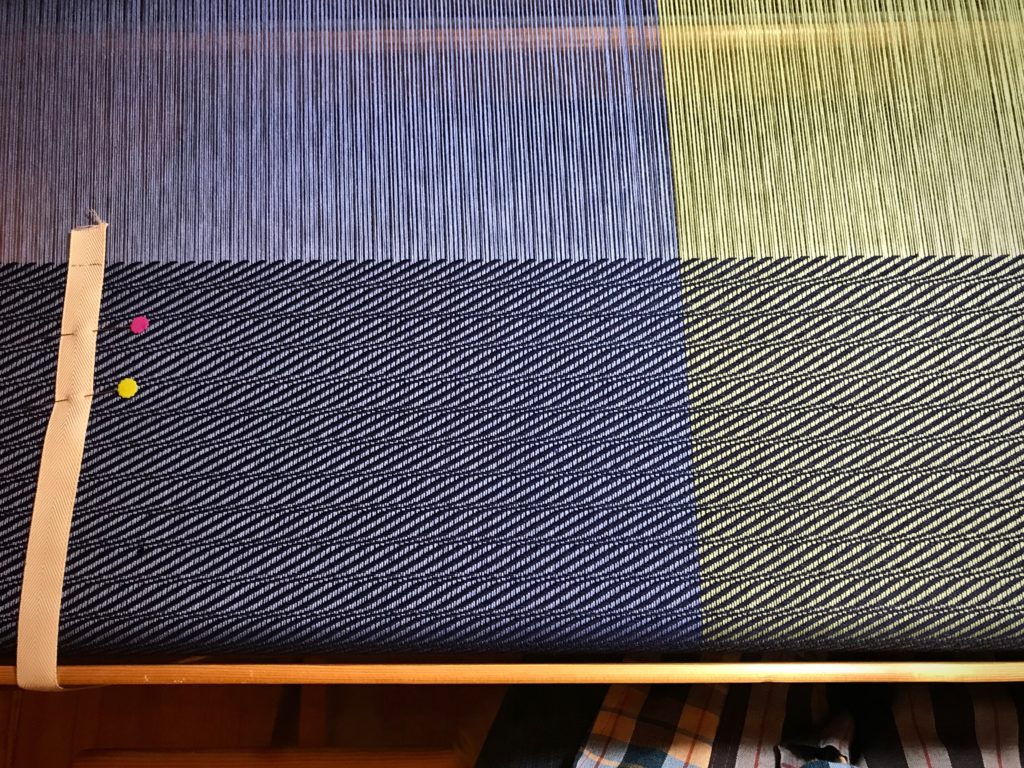
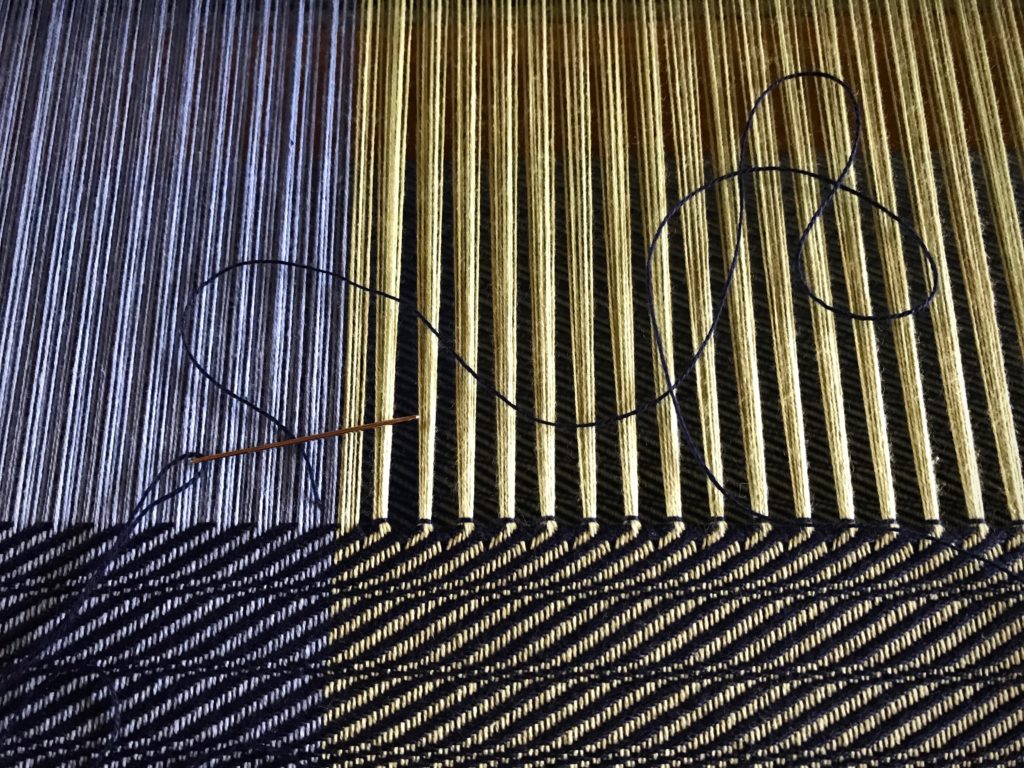
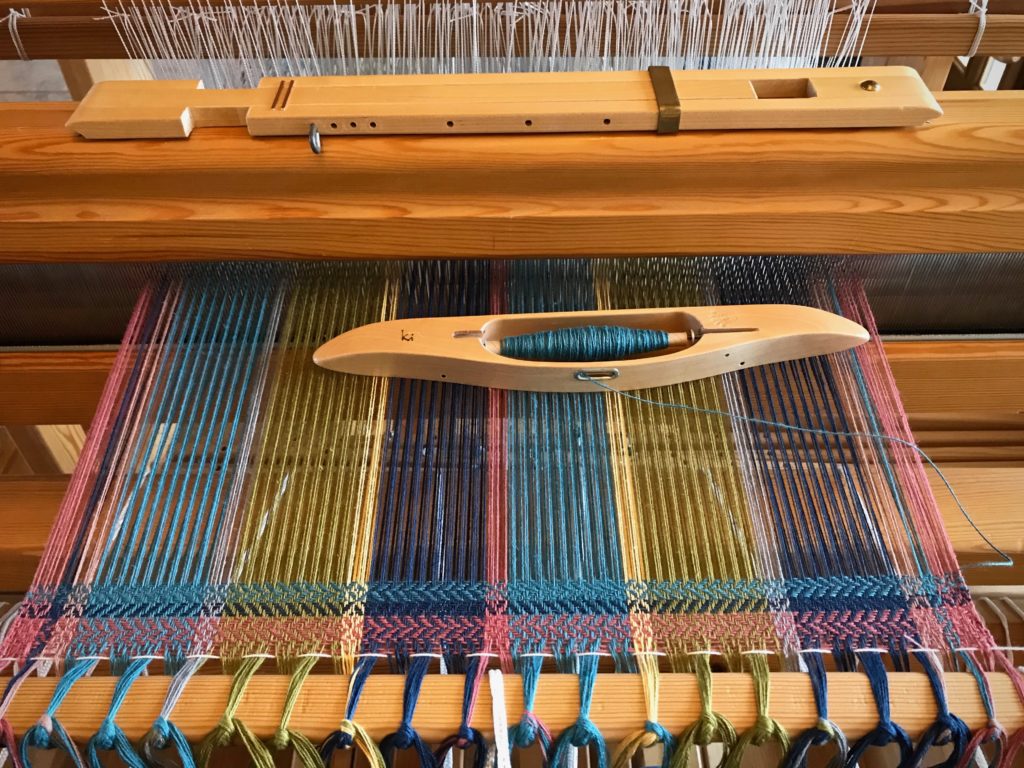
  • Colors – a set of seven colors, to be used in warp and weft
  • Fiber – 22/2 cottolin for warp and weft
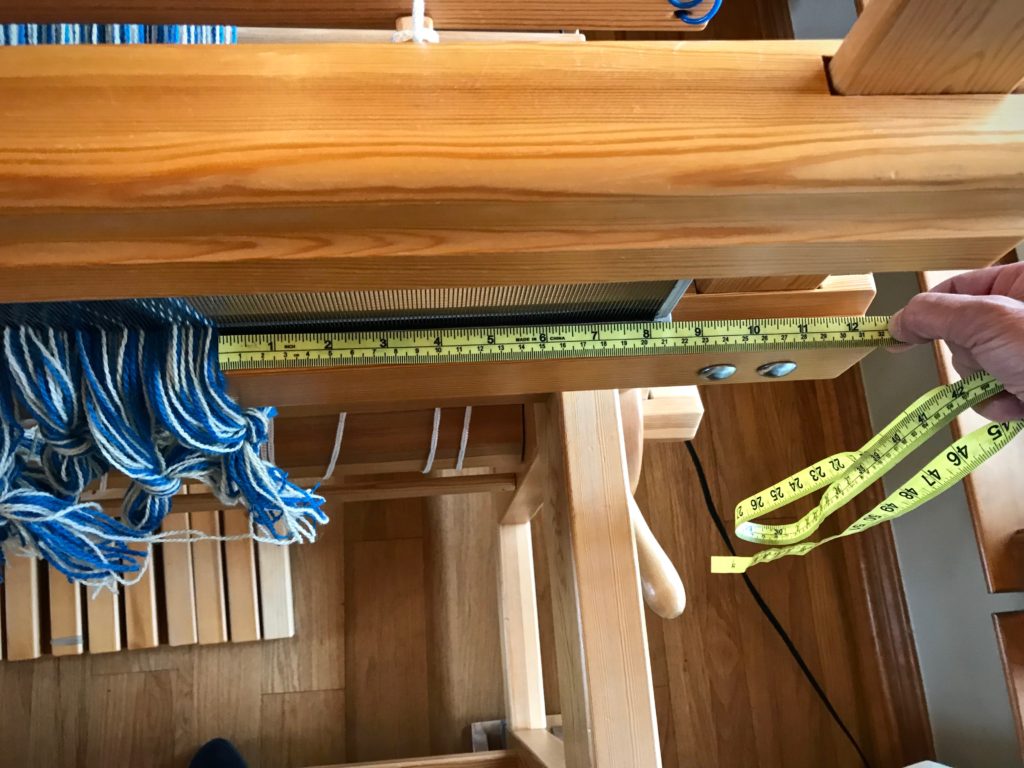
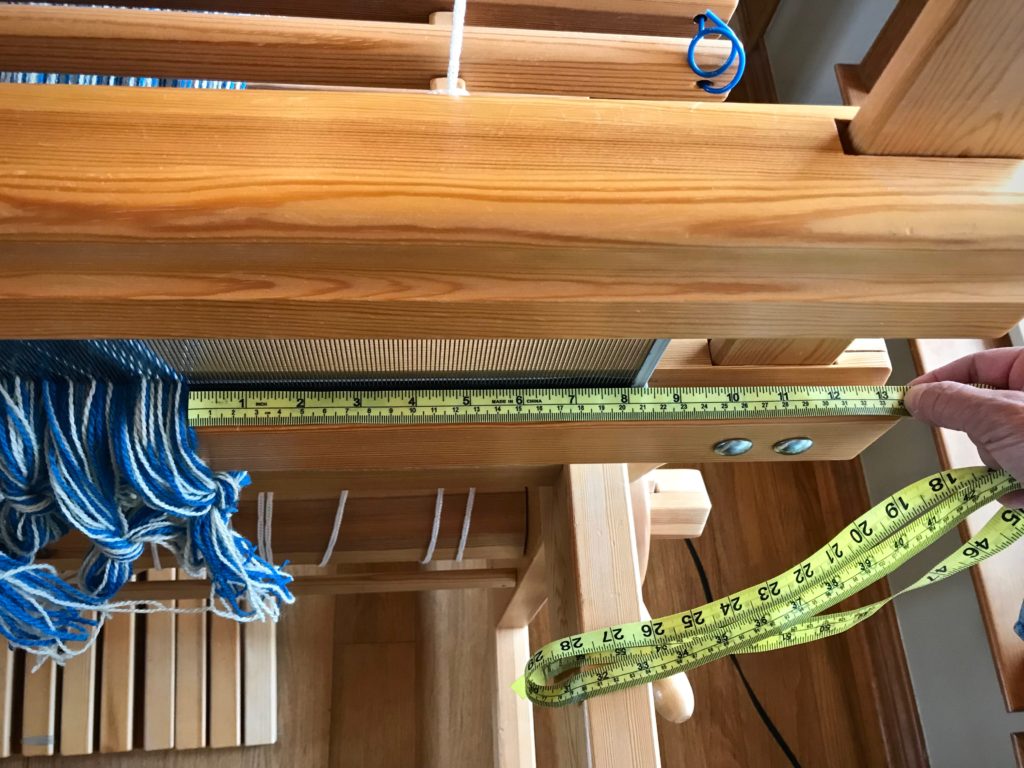
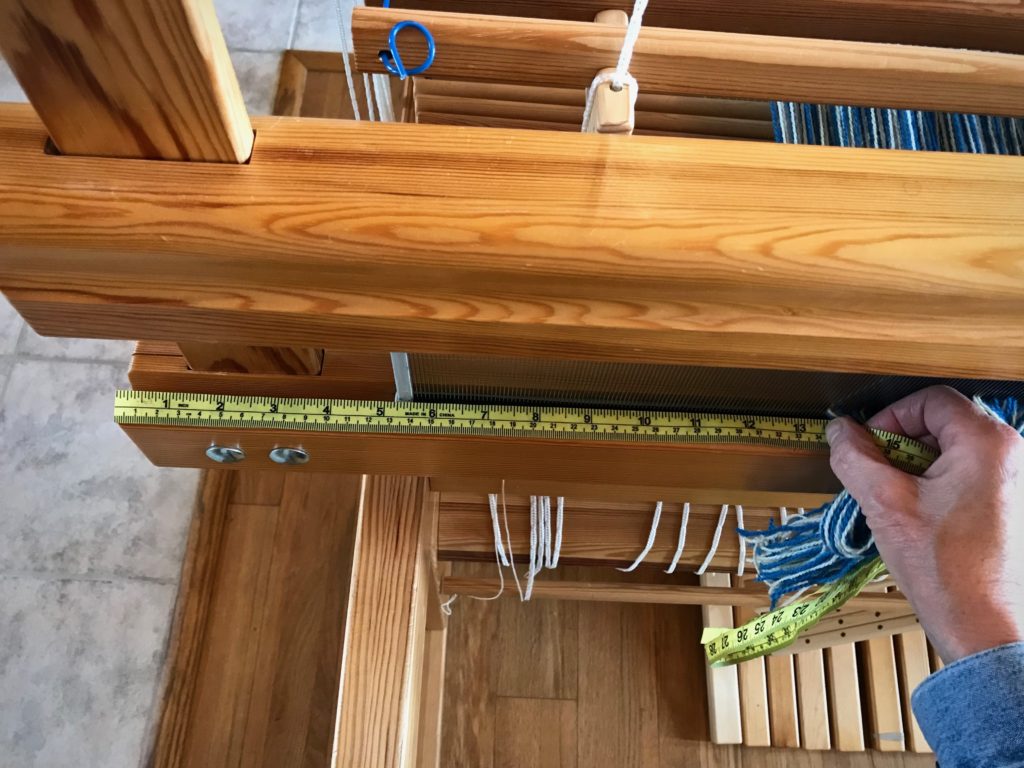
  • Reed and sett50/10 metric reed, 10 ends per centimeter (~ 12-dent reed, 24 ends per inch)
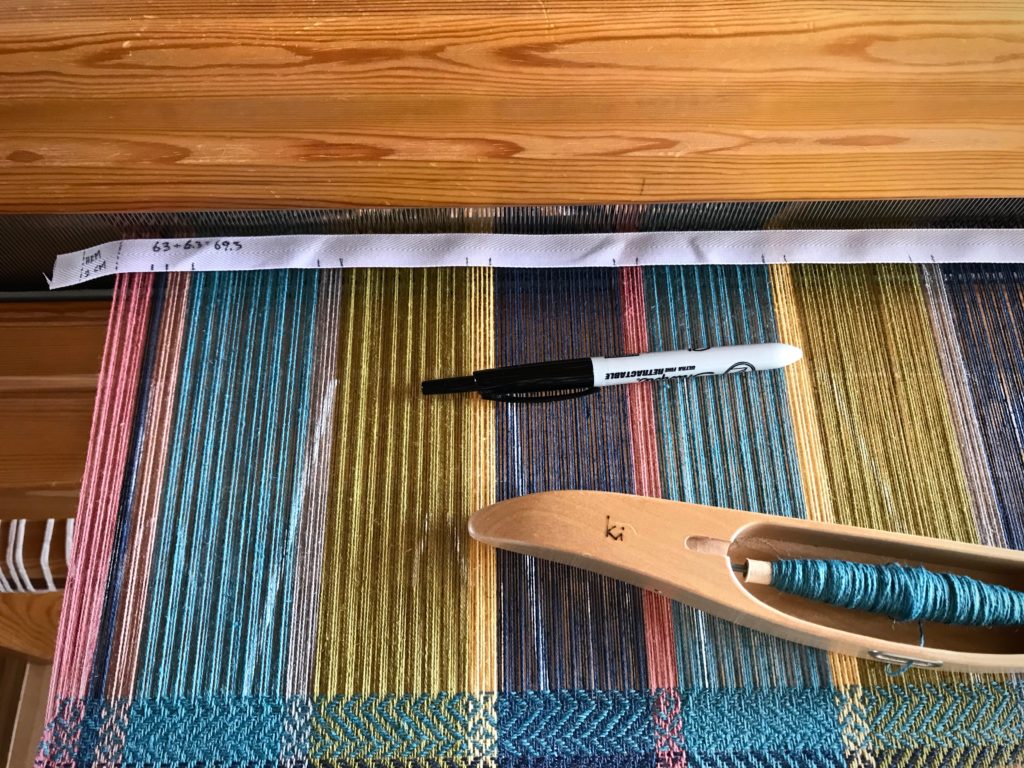
  • Finished size of towel – 39.5 cm x 63 cm (15.5” x 24.5”)
  • Number of towels – 2 pairs of towels = 4 total
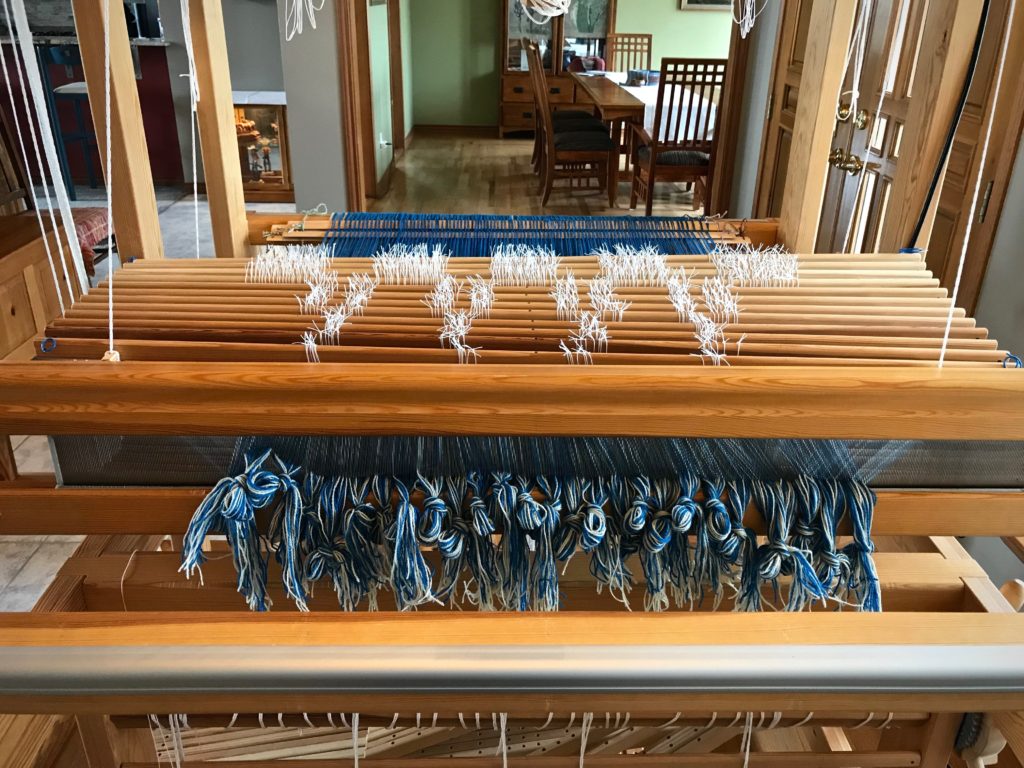
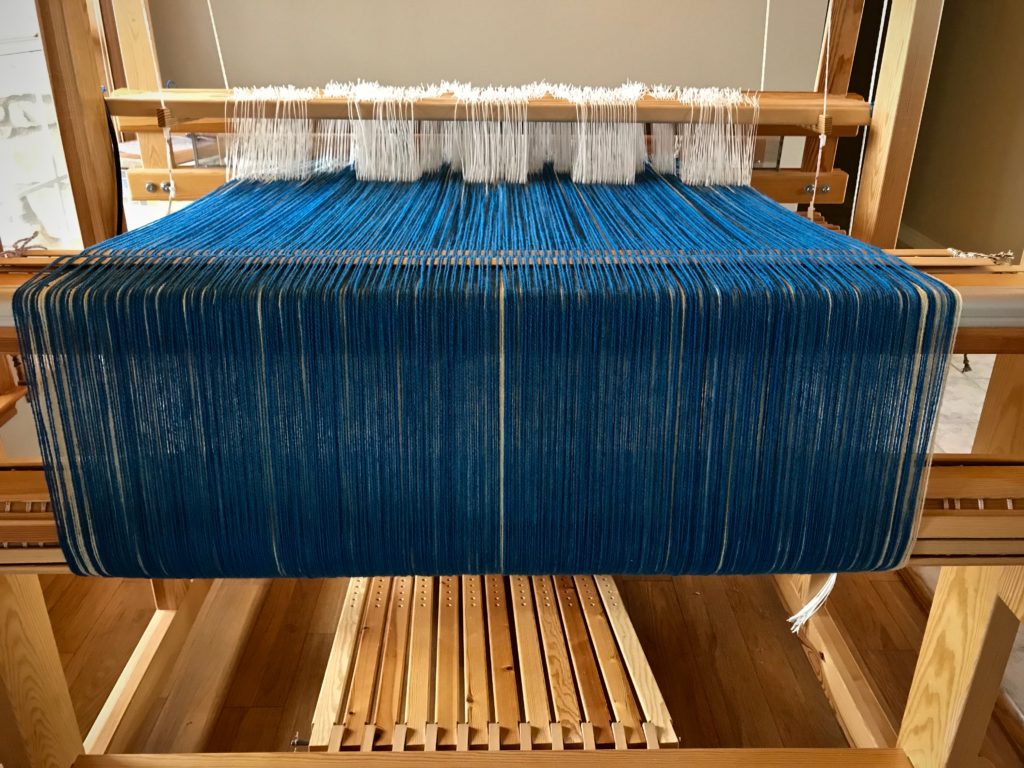
  • Spacing of warp stripes – add two more narrow stripes at each selvedge to balance the pattern

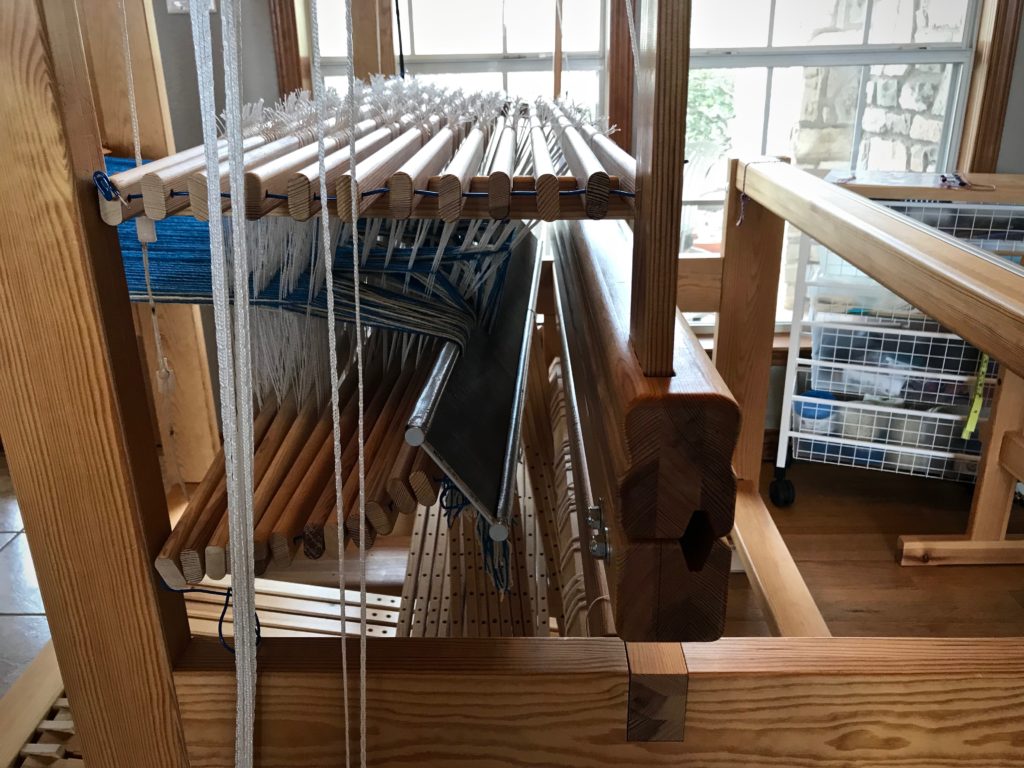
These decisions enable me to prepare a project plan, make calculations, and write a new weaving draft.

New handwoven towels.
Testing, testing…

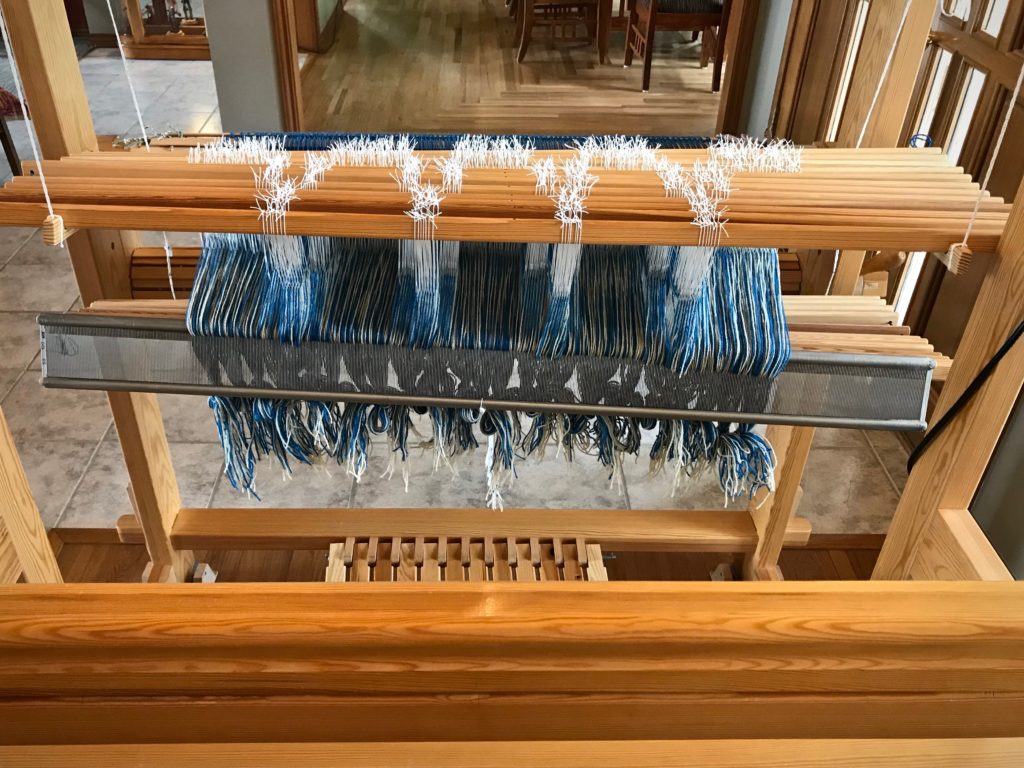
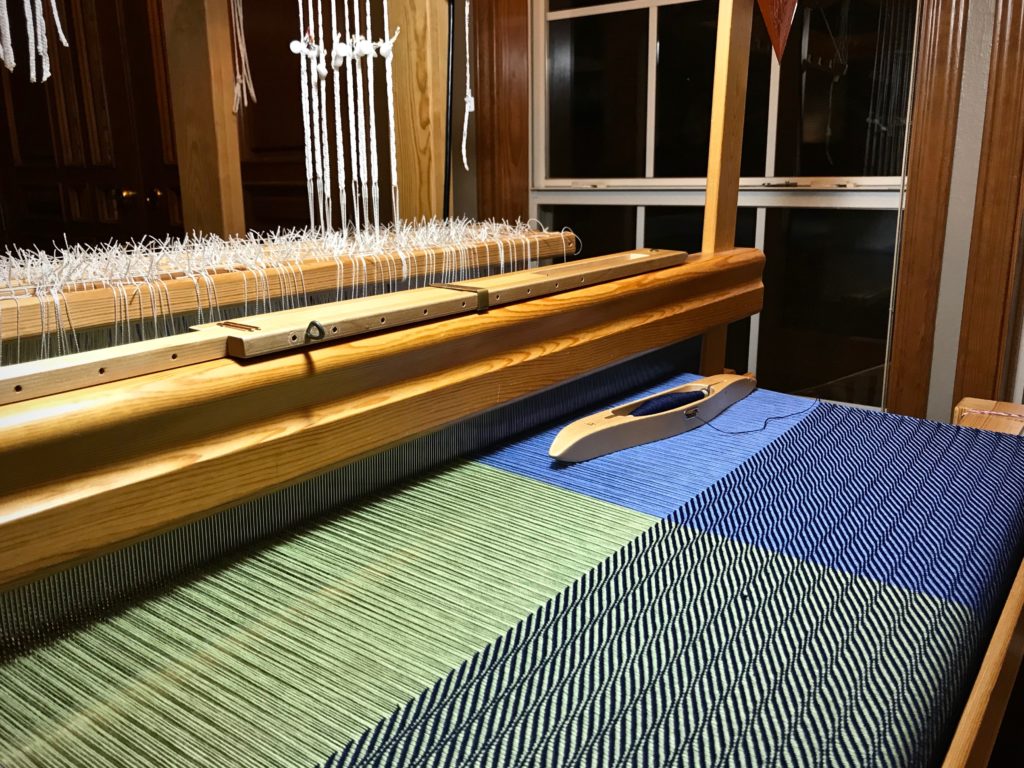
When the loom is dressed, the design process continues as I begin weaving a sample section. This is where I decide what weft colors to use, the spacing of weft stripes, and specific treadling patterns. I add these notes to my project sheet, which I keep at the loom as my weaving roadmap.

Measuring for weft stripes.
I place my measuring twill tape along the reed to mark the spacing of the warp stripes. I will use that same spacing for weft stripes to make plaid towels.
Testing colors and patterns.
Sample weaving to try out colors, stripe spacing, and treadling patterns. And, simply to practice this broken reverse twill treadling, which requires concentration.
First towel starts after the red cutting line.

These hand towels are a preview. If they turn out as hoped, I may have to make some bath towels to match.

May your designs stand out.

Happy Weaving,
Karen

Tried and True: Center the Reed

Eleven hours and thirty-six minutes into this project, the starting line for weaving is just around the corner. Wind the warp, and beam it. Thread the heddles. Sley the reed. Unlock the back beam ratchet. Move the countermarch to the front of the loom. … Pause when you think about moving the twelve shafts and the reed forward with the countermarch. Reach. Wiggle. Pull. Wiggle. Pull some more. Got it. Now, put the reed in the beater. Relax? Almost, but not yet.

Time to move the whole shebang forward.
Reed is sleyed, so reed support cords have been removed. Time to move the whole shebang forward.
Ready to insert the reed into the beater.
Plastic-coated wire is threaded through the ends of the shaft bars because I don’t have shaft pins long enough for twelve shafts. After coaxing and wiggling the mass of shafts forward, with the countermarch above them, I am ready to insert the reed into the beater.
Basics: How to center the reed.
As I put the reed in the beater I make sure all of the ends are free, and not trapped in the beater’s grip.

We must not forget to center the reed. I center the reed just as soon as the reed is in the beater.

How to Center the Reed

(We are actually centering the warp that is in the reed.)

Supplies needed: Tape measure (or string)

1. Using the tape measure, measure from the right edge of the warp in the reed to the outer edge of the beater on the right-hand side. Hold the tape measure with your fingers marking the measurement.

Center the reed.


2. Holding that measurement, place the tape measure at the left edge of the warp in the reed stretching out toward the outer edge of the beater on the left-hand side.

How to center the reed.


3. Note the difference in measurement between the right side and left side. Move the reed in the beater to center.


4. Repeat the first two steps until the measurements are the same on both sides.

Centering the reed.
Tips for centering the reed in the beater.
Reed is centered.

Now you can relax. Enjoy the moment, because you are that much closer to seeing fabric take shape!

May you enjoy the process you’re in.

Patiently,
Karen

Hemstitching Thread

Hemstitching gives a secure and pretty edge for the fringe on this cotton throw. At the beginning of the throw, I measure out a length of the weft thread for the stitching. And now, at the end, I roll off enough thread from the shuttle’s quill to use for the final hemstitching.

Finishing the cotton throw.
Wanting to finish, I weave the final few centimeters of the throw after dark.

Mark on tape shows I've woven to the end.
Mark on the measure tape shows I have woven to the end of the throw.

I’m always afraid of cutting the length of thread too short. So, I measure off four times the width of the warp, with a pinch extra just in case. That’s too long, and I know it. But I do it anyway. And then, I have a very long thread to pull through every stitch, with the tangles and knots that go with it.

Hemstitching is underway.
Hemstitching a cotton throw.
Hemstitching thread is longer than needed. Three times the width of the warp should be plenty.

In trying to be perfect, I miss perfection by a long shot. If I measure out more than enough of my own goodness, surely I’ll have plenty to enter heaven, right? But the perfection of heaven requires perfection. It’s impossible for me to be good enough, smart enough, or successful enough to reach perfection. Heaven is for the imperfect. We, the imperfect, enter heaven’s perfection by trusting in the only perfect one, Jesus Christ. His goodness, measured out for us, is precisely enough.

May you know when enough is enough.

Happy weaving,
Karen

Final Batch of Butterflies

That last little bit of lizard toe? It’s long gone. This week I am making significant progress on the tapestry. My pace is picking up and the end is in view. What a joy ride this has been!

Last tip of a green lizard toe at the breast beam.
Last tip of a green lizard toe makes its way around the breast beam.

Coming to the end of this lizard tapestry!
End of the measure tape is in view.

I am closing in on the final ten centimeters. That means it’s time to evaluate the ten centimeters just passed. And to make a few more butterflies, enough to take me all the way to the end.

Four-shaft tapestry. Butterflies are prepared for each new section.
Butterflies are prepared in advance for each ten centimeters of weaving.

Forgiven people forgive. Think of forgiveness as the lavish supply of yarn that’s been given us through the name of Jesus. There is no shortage. And we make our butterflies from that supply. People fail us, disappoint, and even do damage. Being ready to forgive is like making butterflies in advance. Thankfully, our small wool butterflies are close at hand for us to weave grace in the moment it is needed.

May you have a lavish supply.

Love,
Karen

Tapestry at Full Snail Speed

I am determined to have this off the loom before it’s time to move again. I know exactly how many “weaving days” I have left in this apartment. Steve’s retirement is just around the corner. His last day at work will be our last day here. And I know exactly how many centimeters I have left to weave on this piece. We already moved the loom once in the middle of this tapestry. Once is enough! I intend to make significant weaving progress every single day.

Measure tape shows progress on the tapestry weaving.
My measure tape shows that I have woven 80 centimeters. I will cross the finish line when I reach 125 centimeters.

Now that the image of the lizard is finished all the way to his toes, no more pretty green, blue, or red butterflies. I am removing anything that clutters my focus. Full (snail) speed ahead!

Weaving a lizard in four-shaft tapestry.
Lizard’s foot tries to grip the breast beam. There is no longer a need for butterflies in the lizard’s colors. Only the background log remains.

Weaving four-shaft tapestry on a Glimakra Ideal loom.
All the green, blue, and red butterflies have been removed. A simple color palette remains–white, yellow, tan, gray, brown, and black.

Faith is that kind of determination. Faith is more than thinking you believe something or someone. It’s pouring yourself into pure-hearted focus to trust fully in God. Faith is being so convinced that Jesus is the answer that you will stop at nothing to reach him. Where there’s that kind of will, there’s a way.

May you reach your most-pressing goal.

Your speedy snail,
Karen