Weaving with Friends

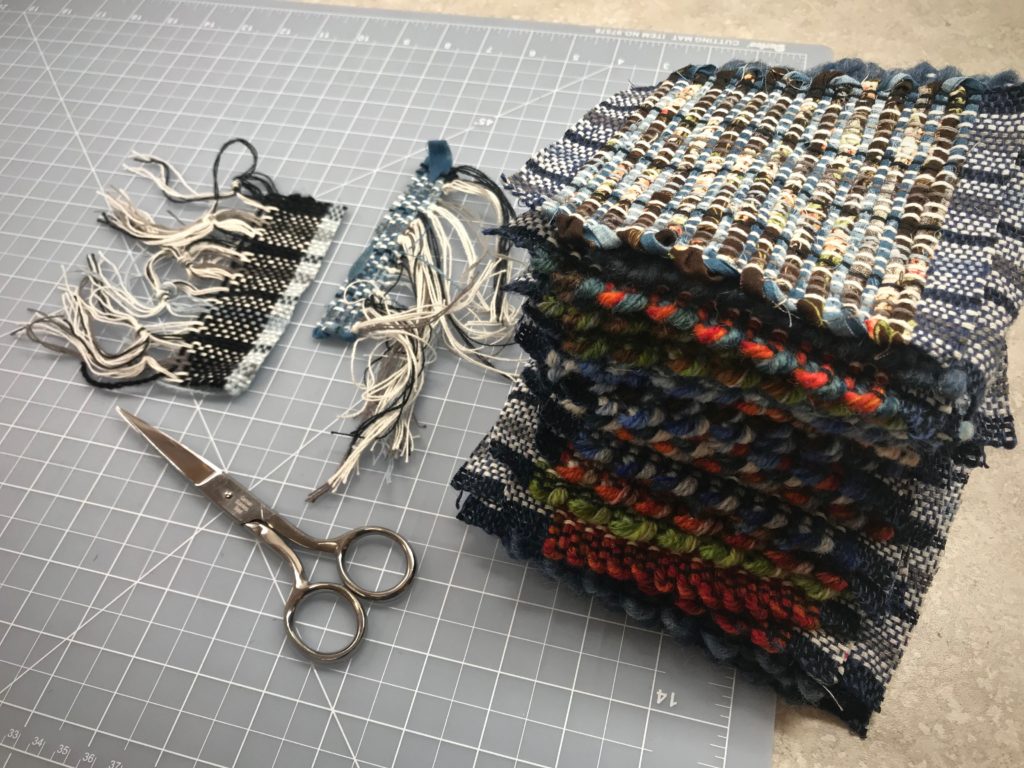
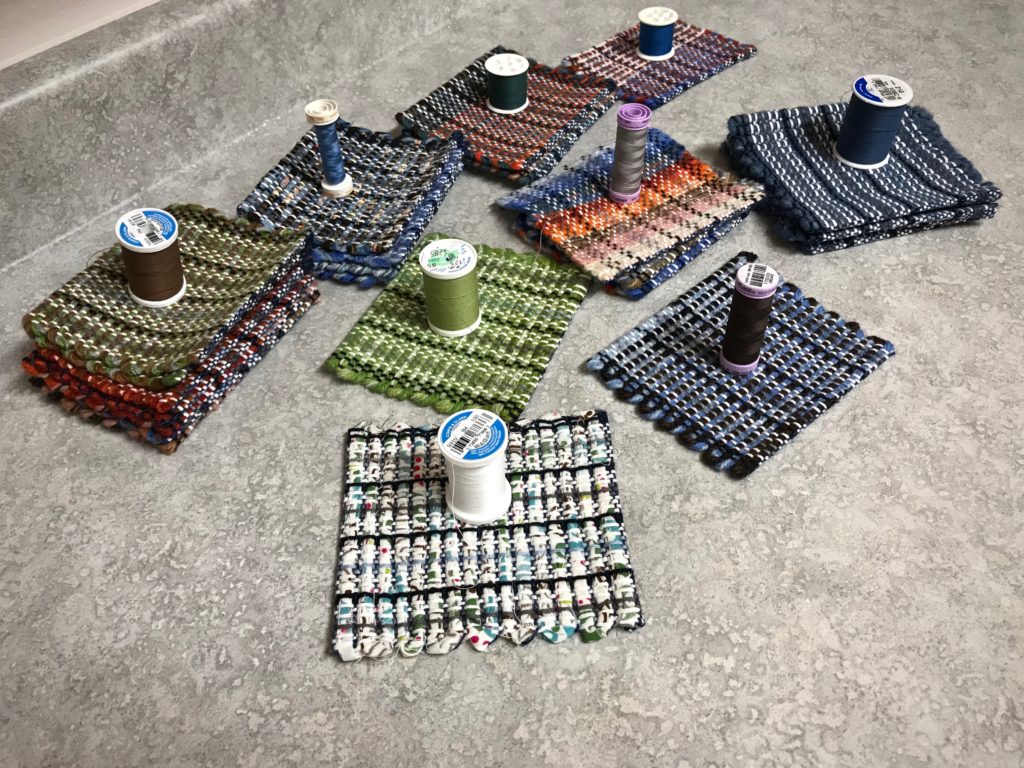
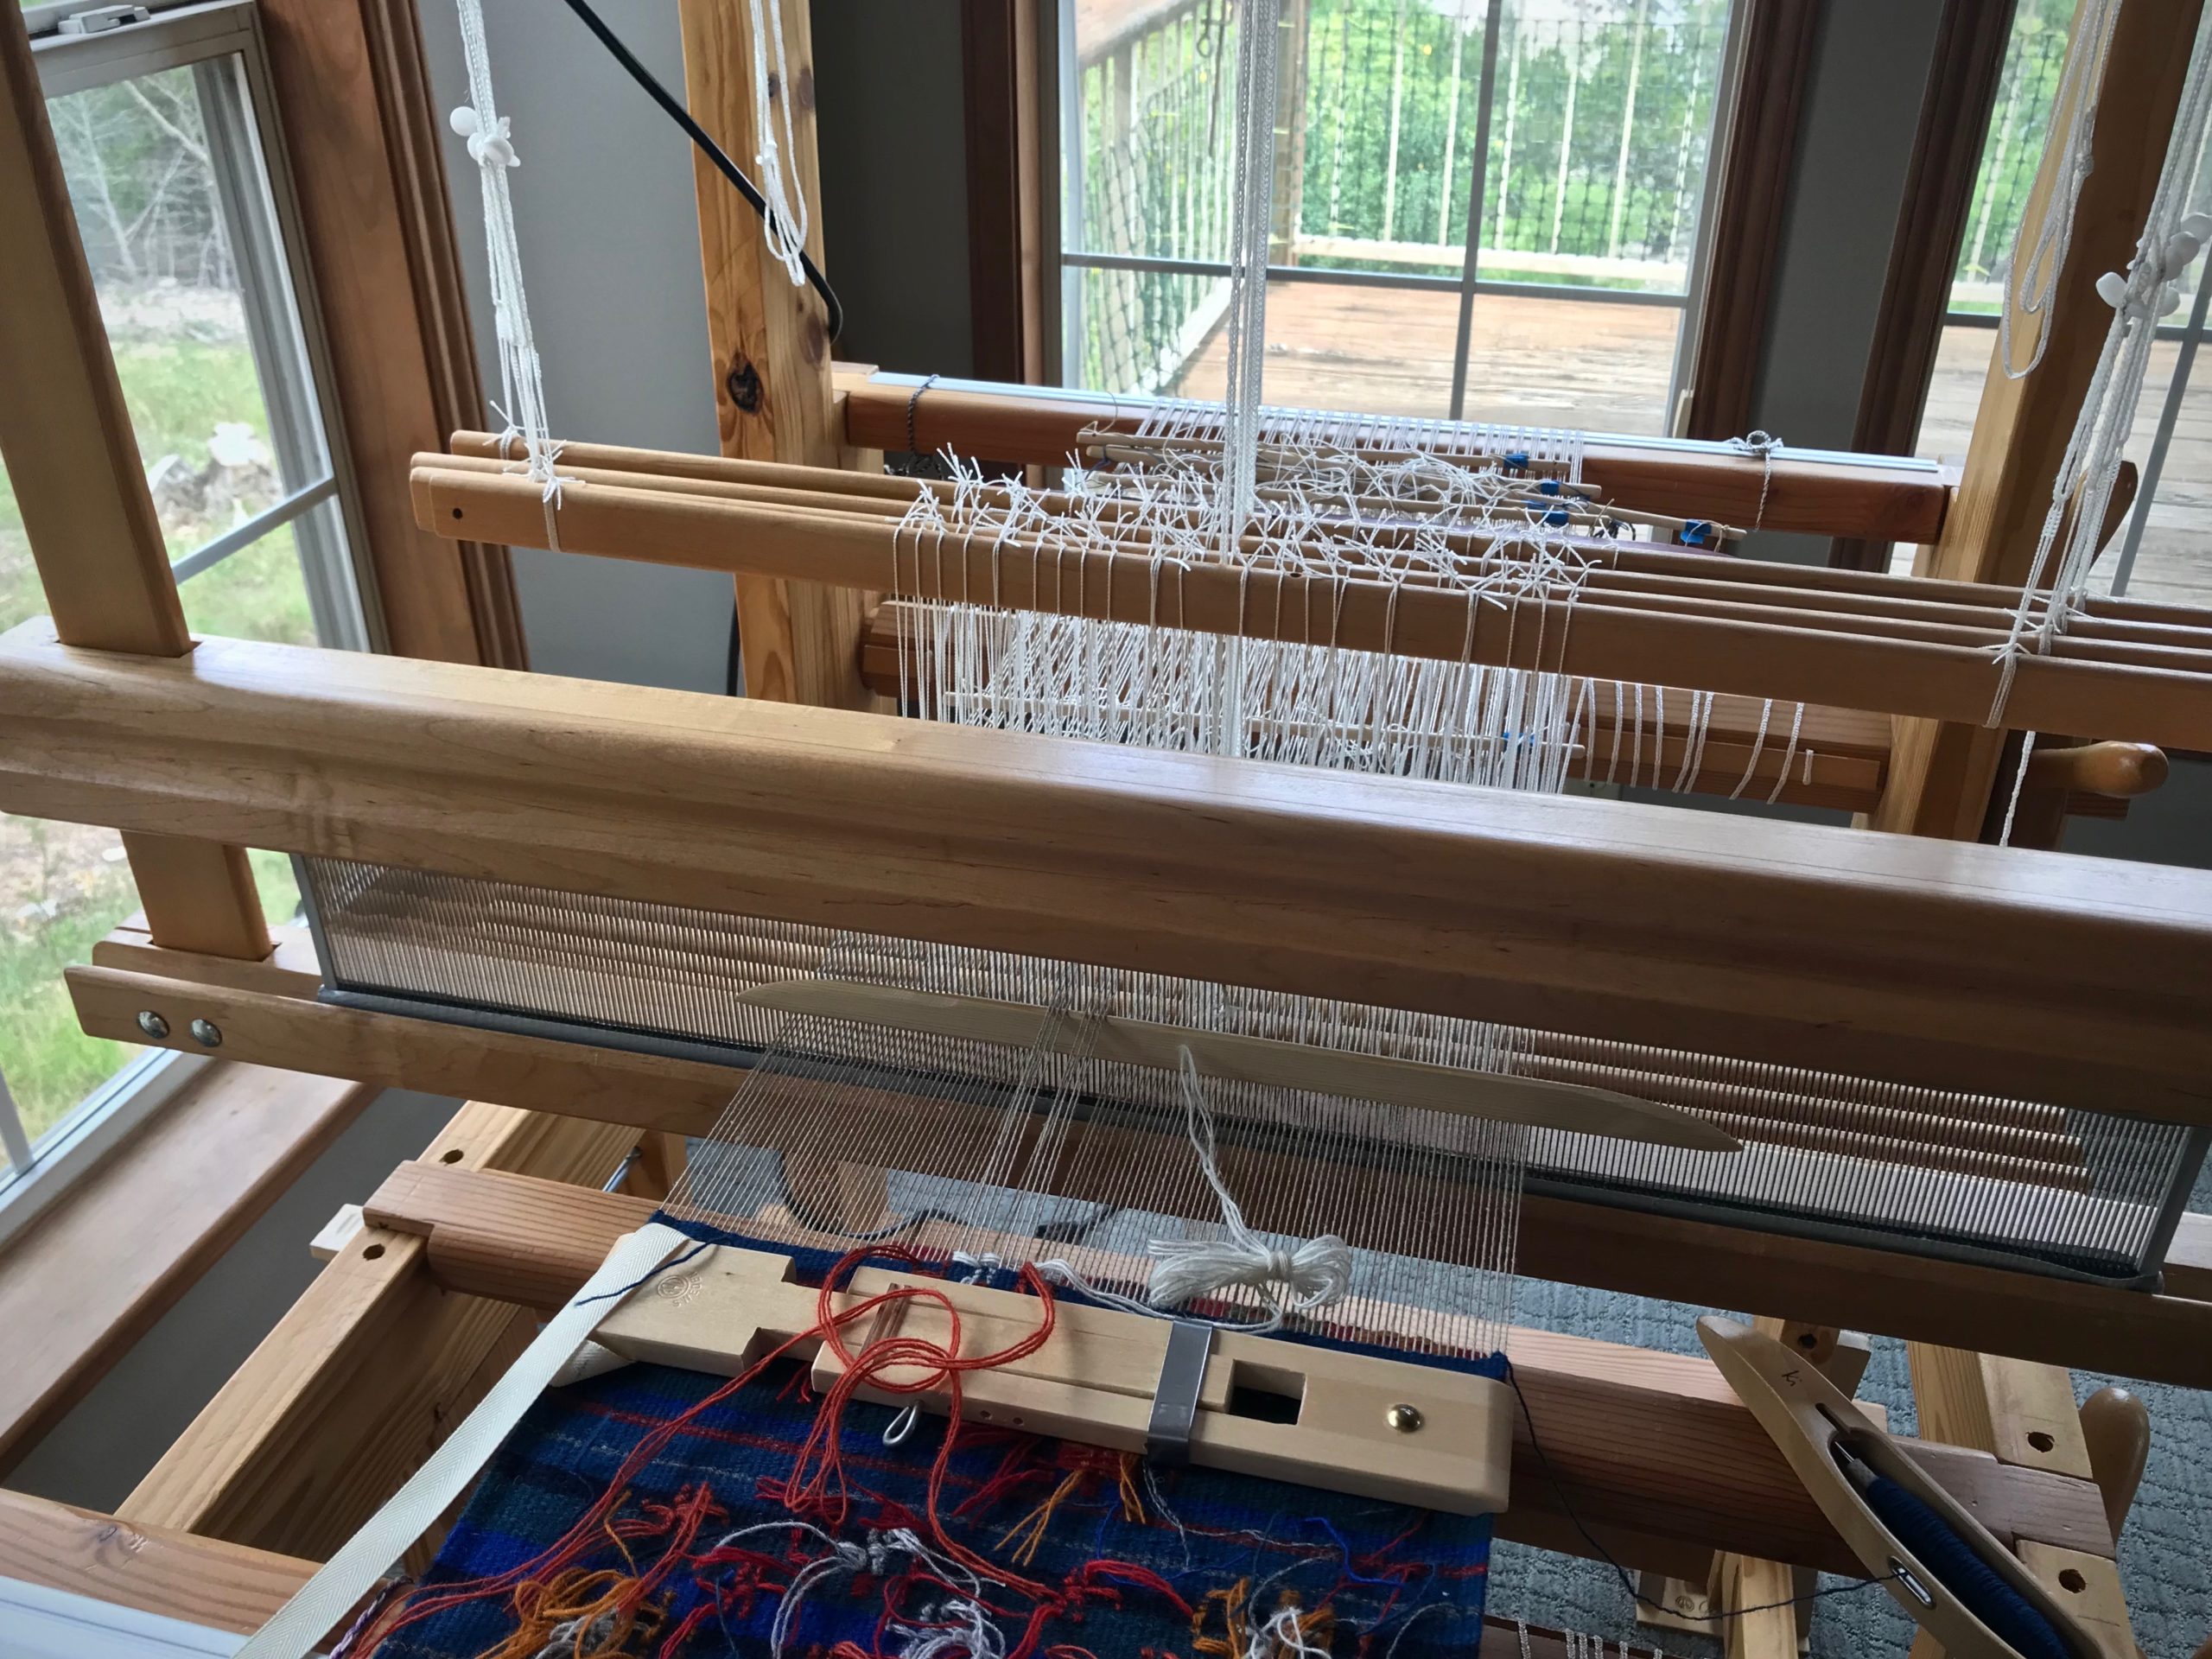
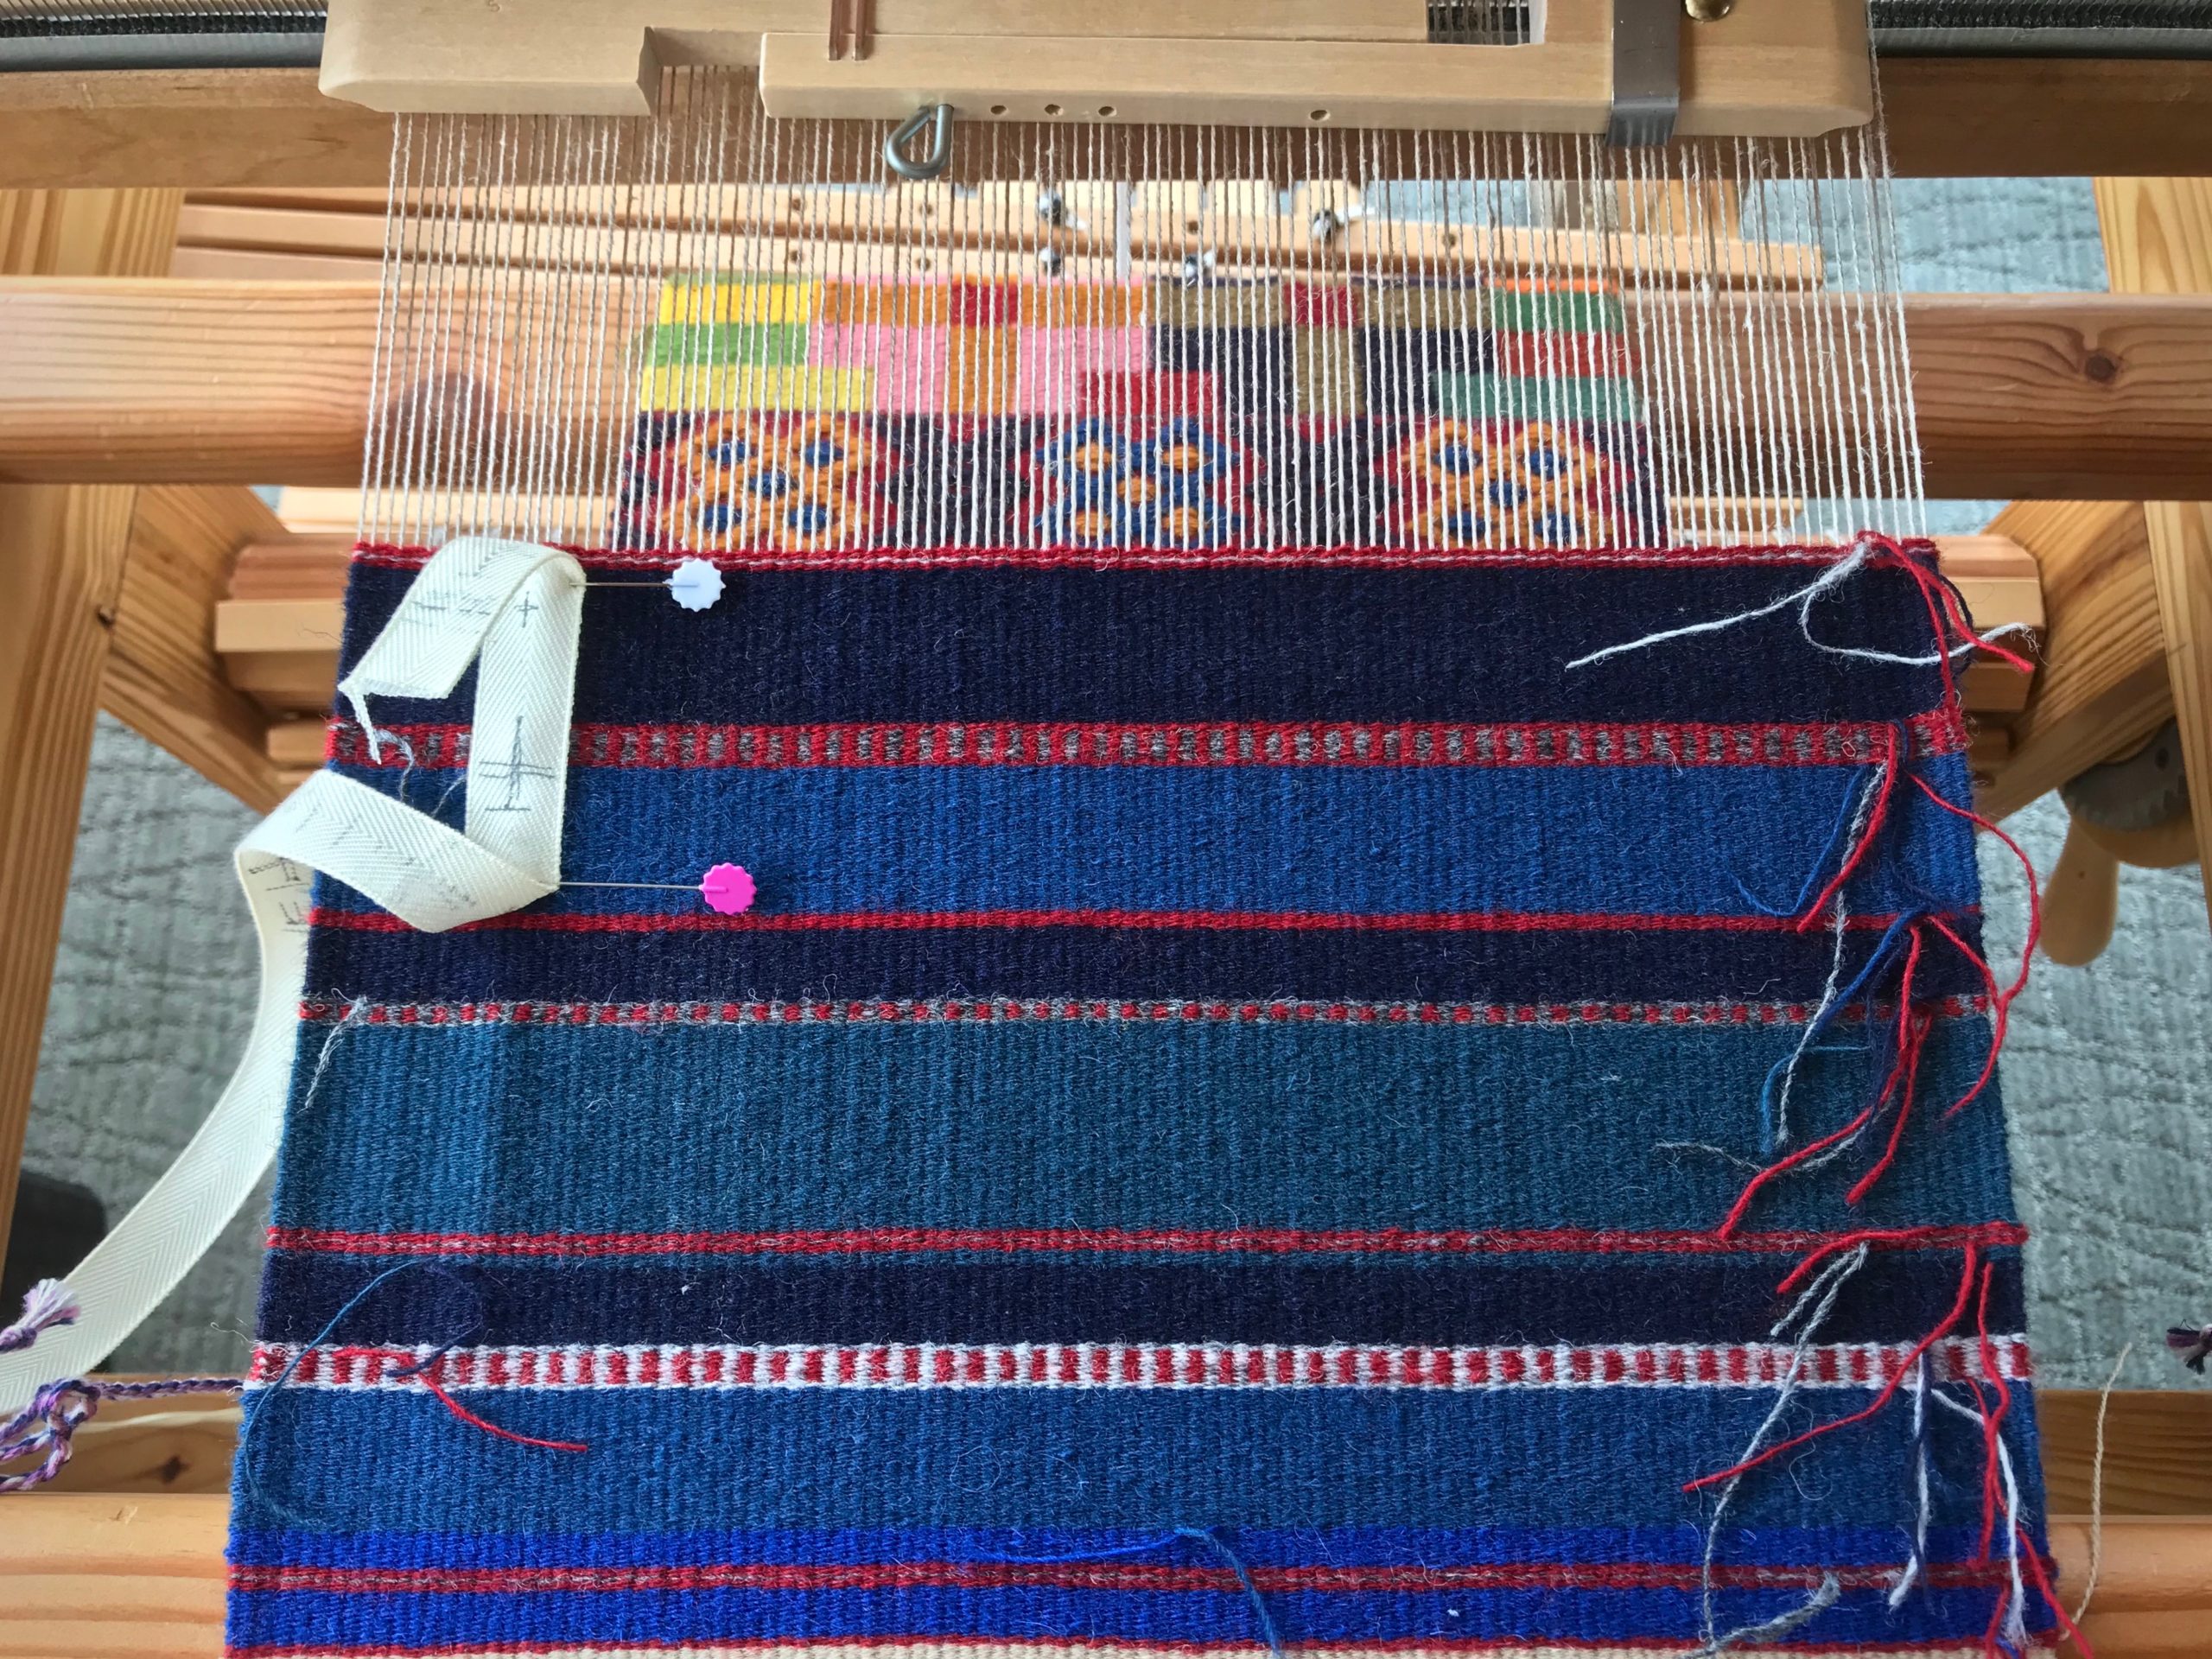
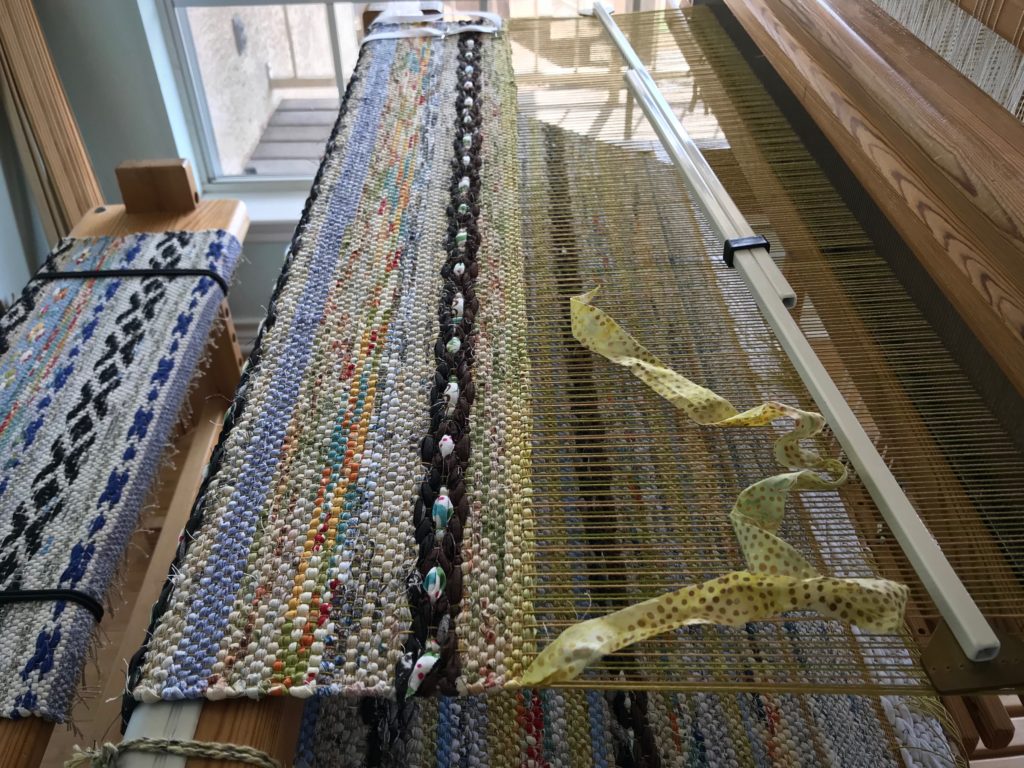
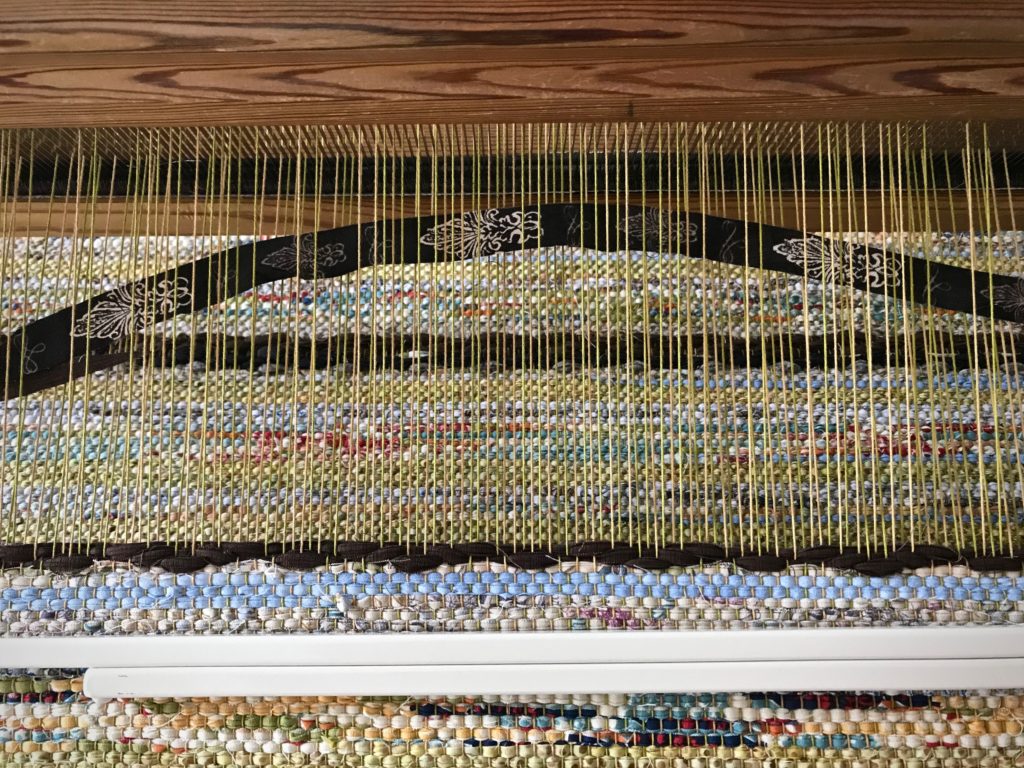
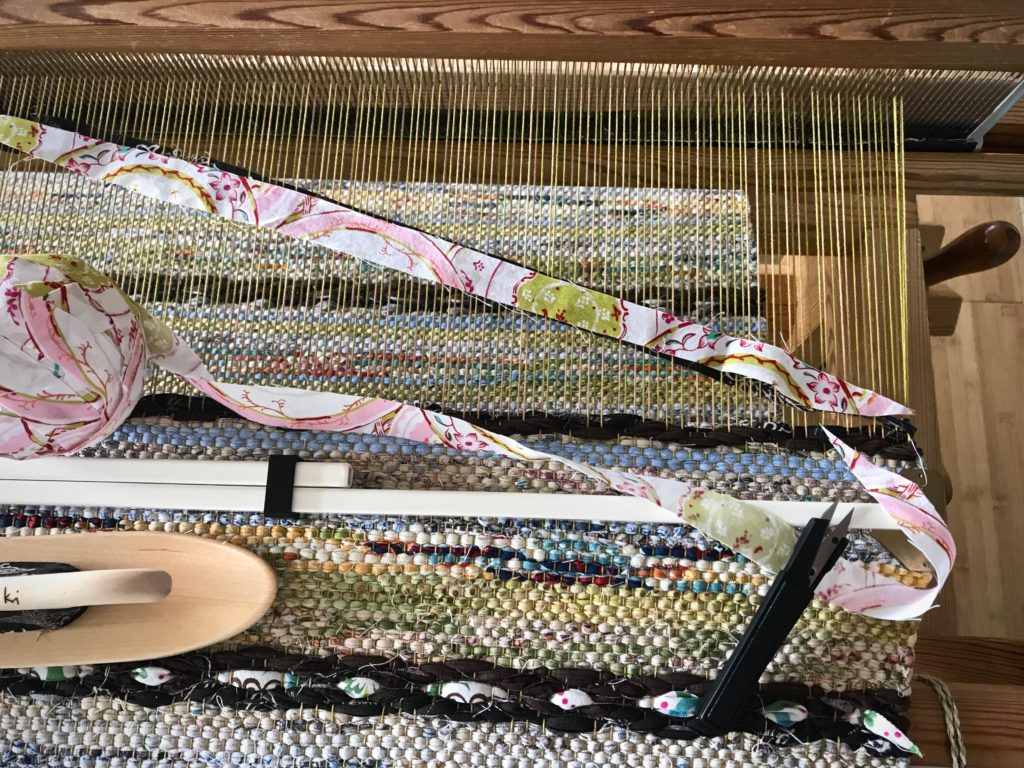
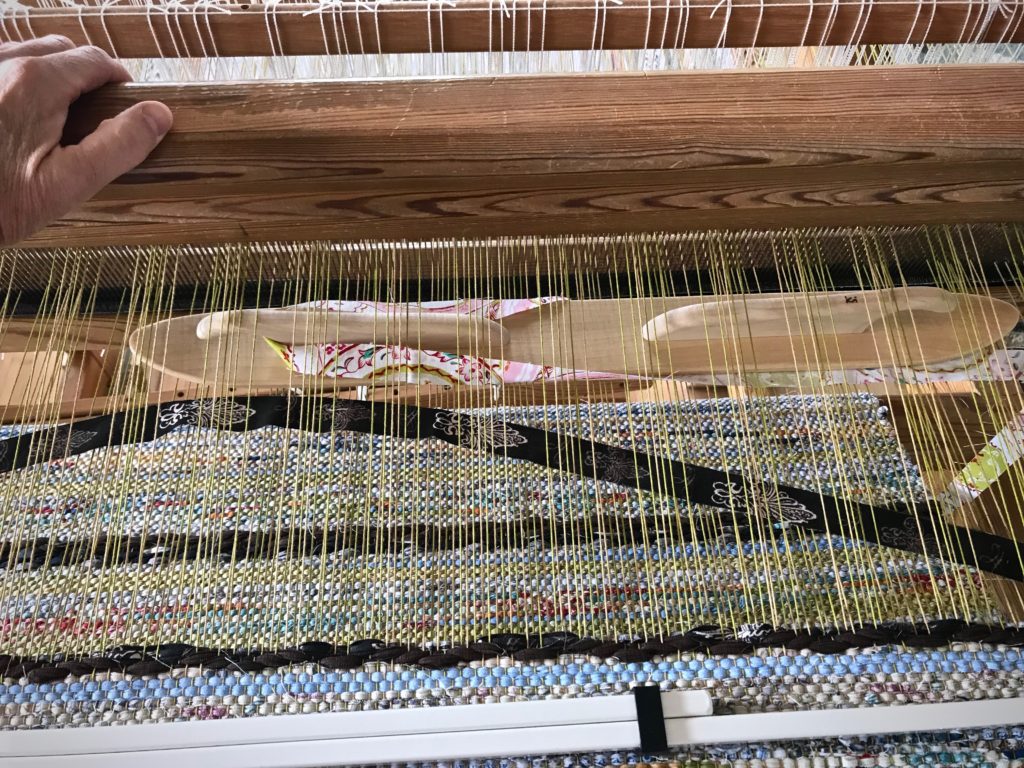
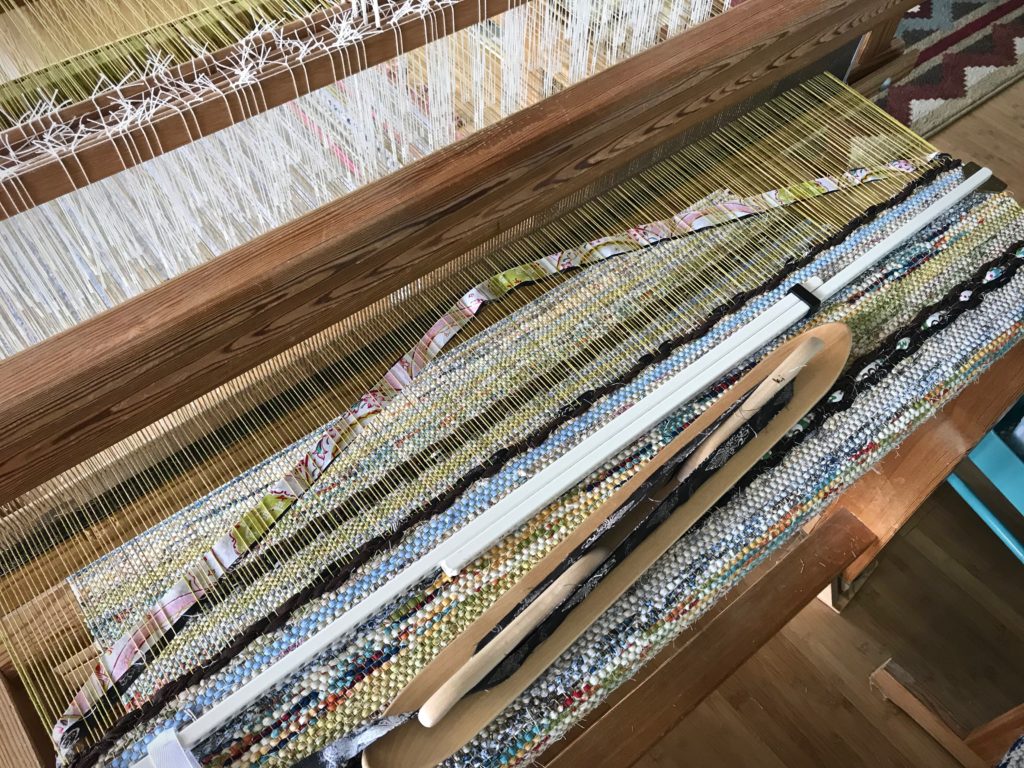
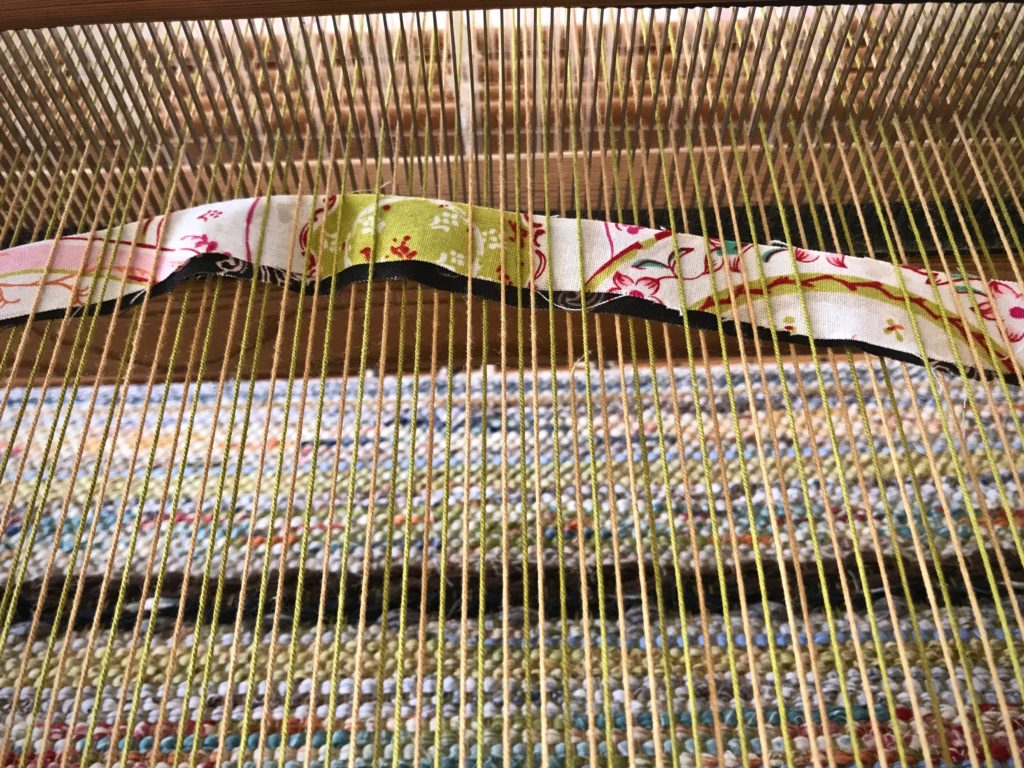
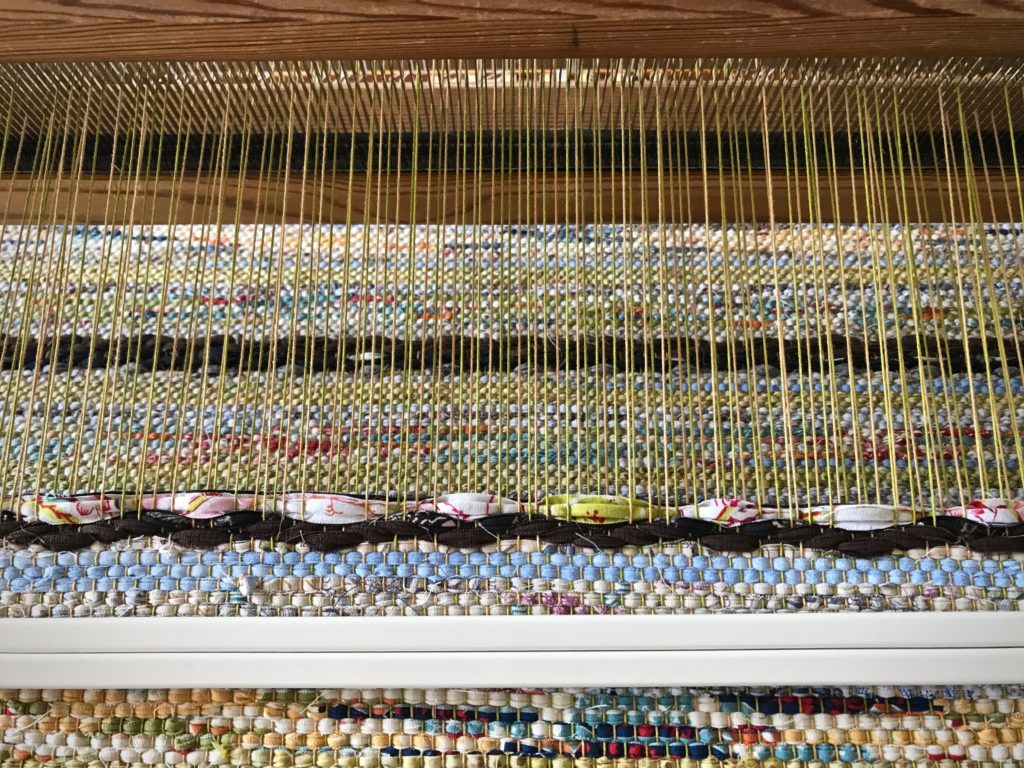
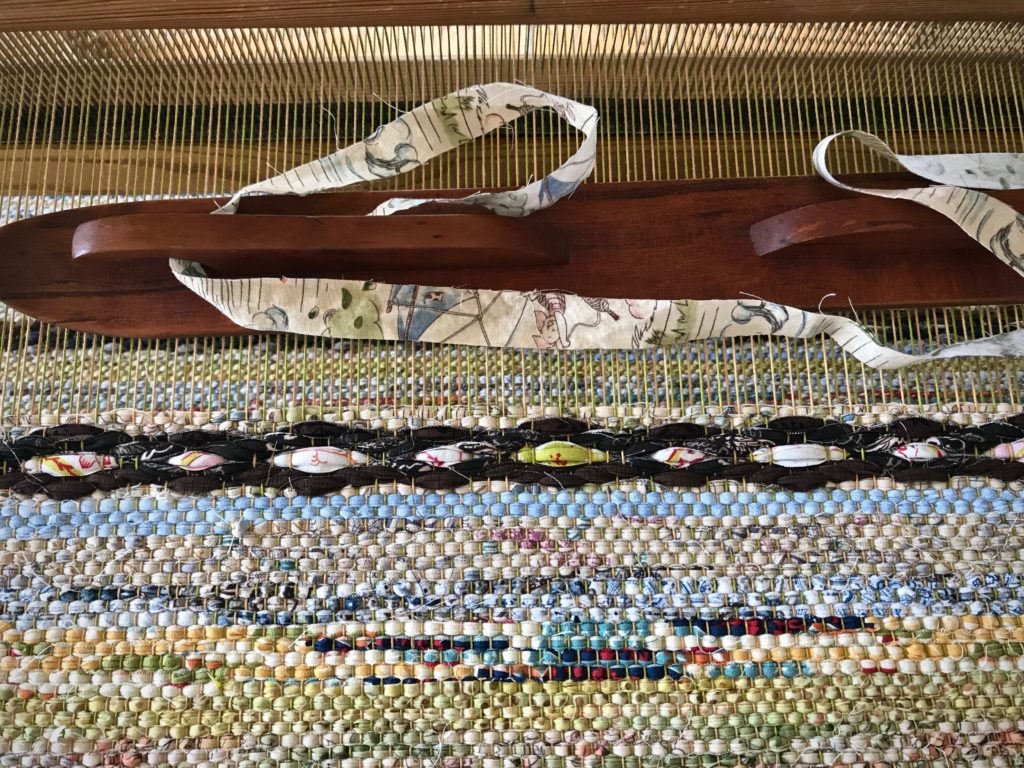
Welcome back into my studio. I have been weaving, finishing, winding warps, and dressing looms. And spending time with friends. What better way to enjoy friends than to go on a floor-loom-weaving expedition together? Weaving Extravaganza at Homestead Fiber Crafts in Waco, Texas is the getaway. The looms are dressed and ready for us when we arrive. Abilities and experience are irrelevant. Anyone can do this!

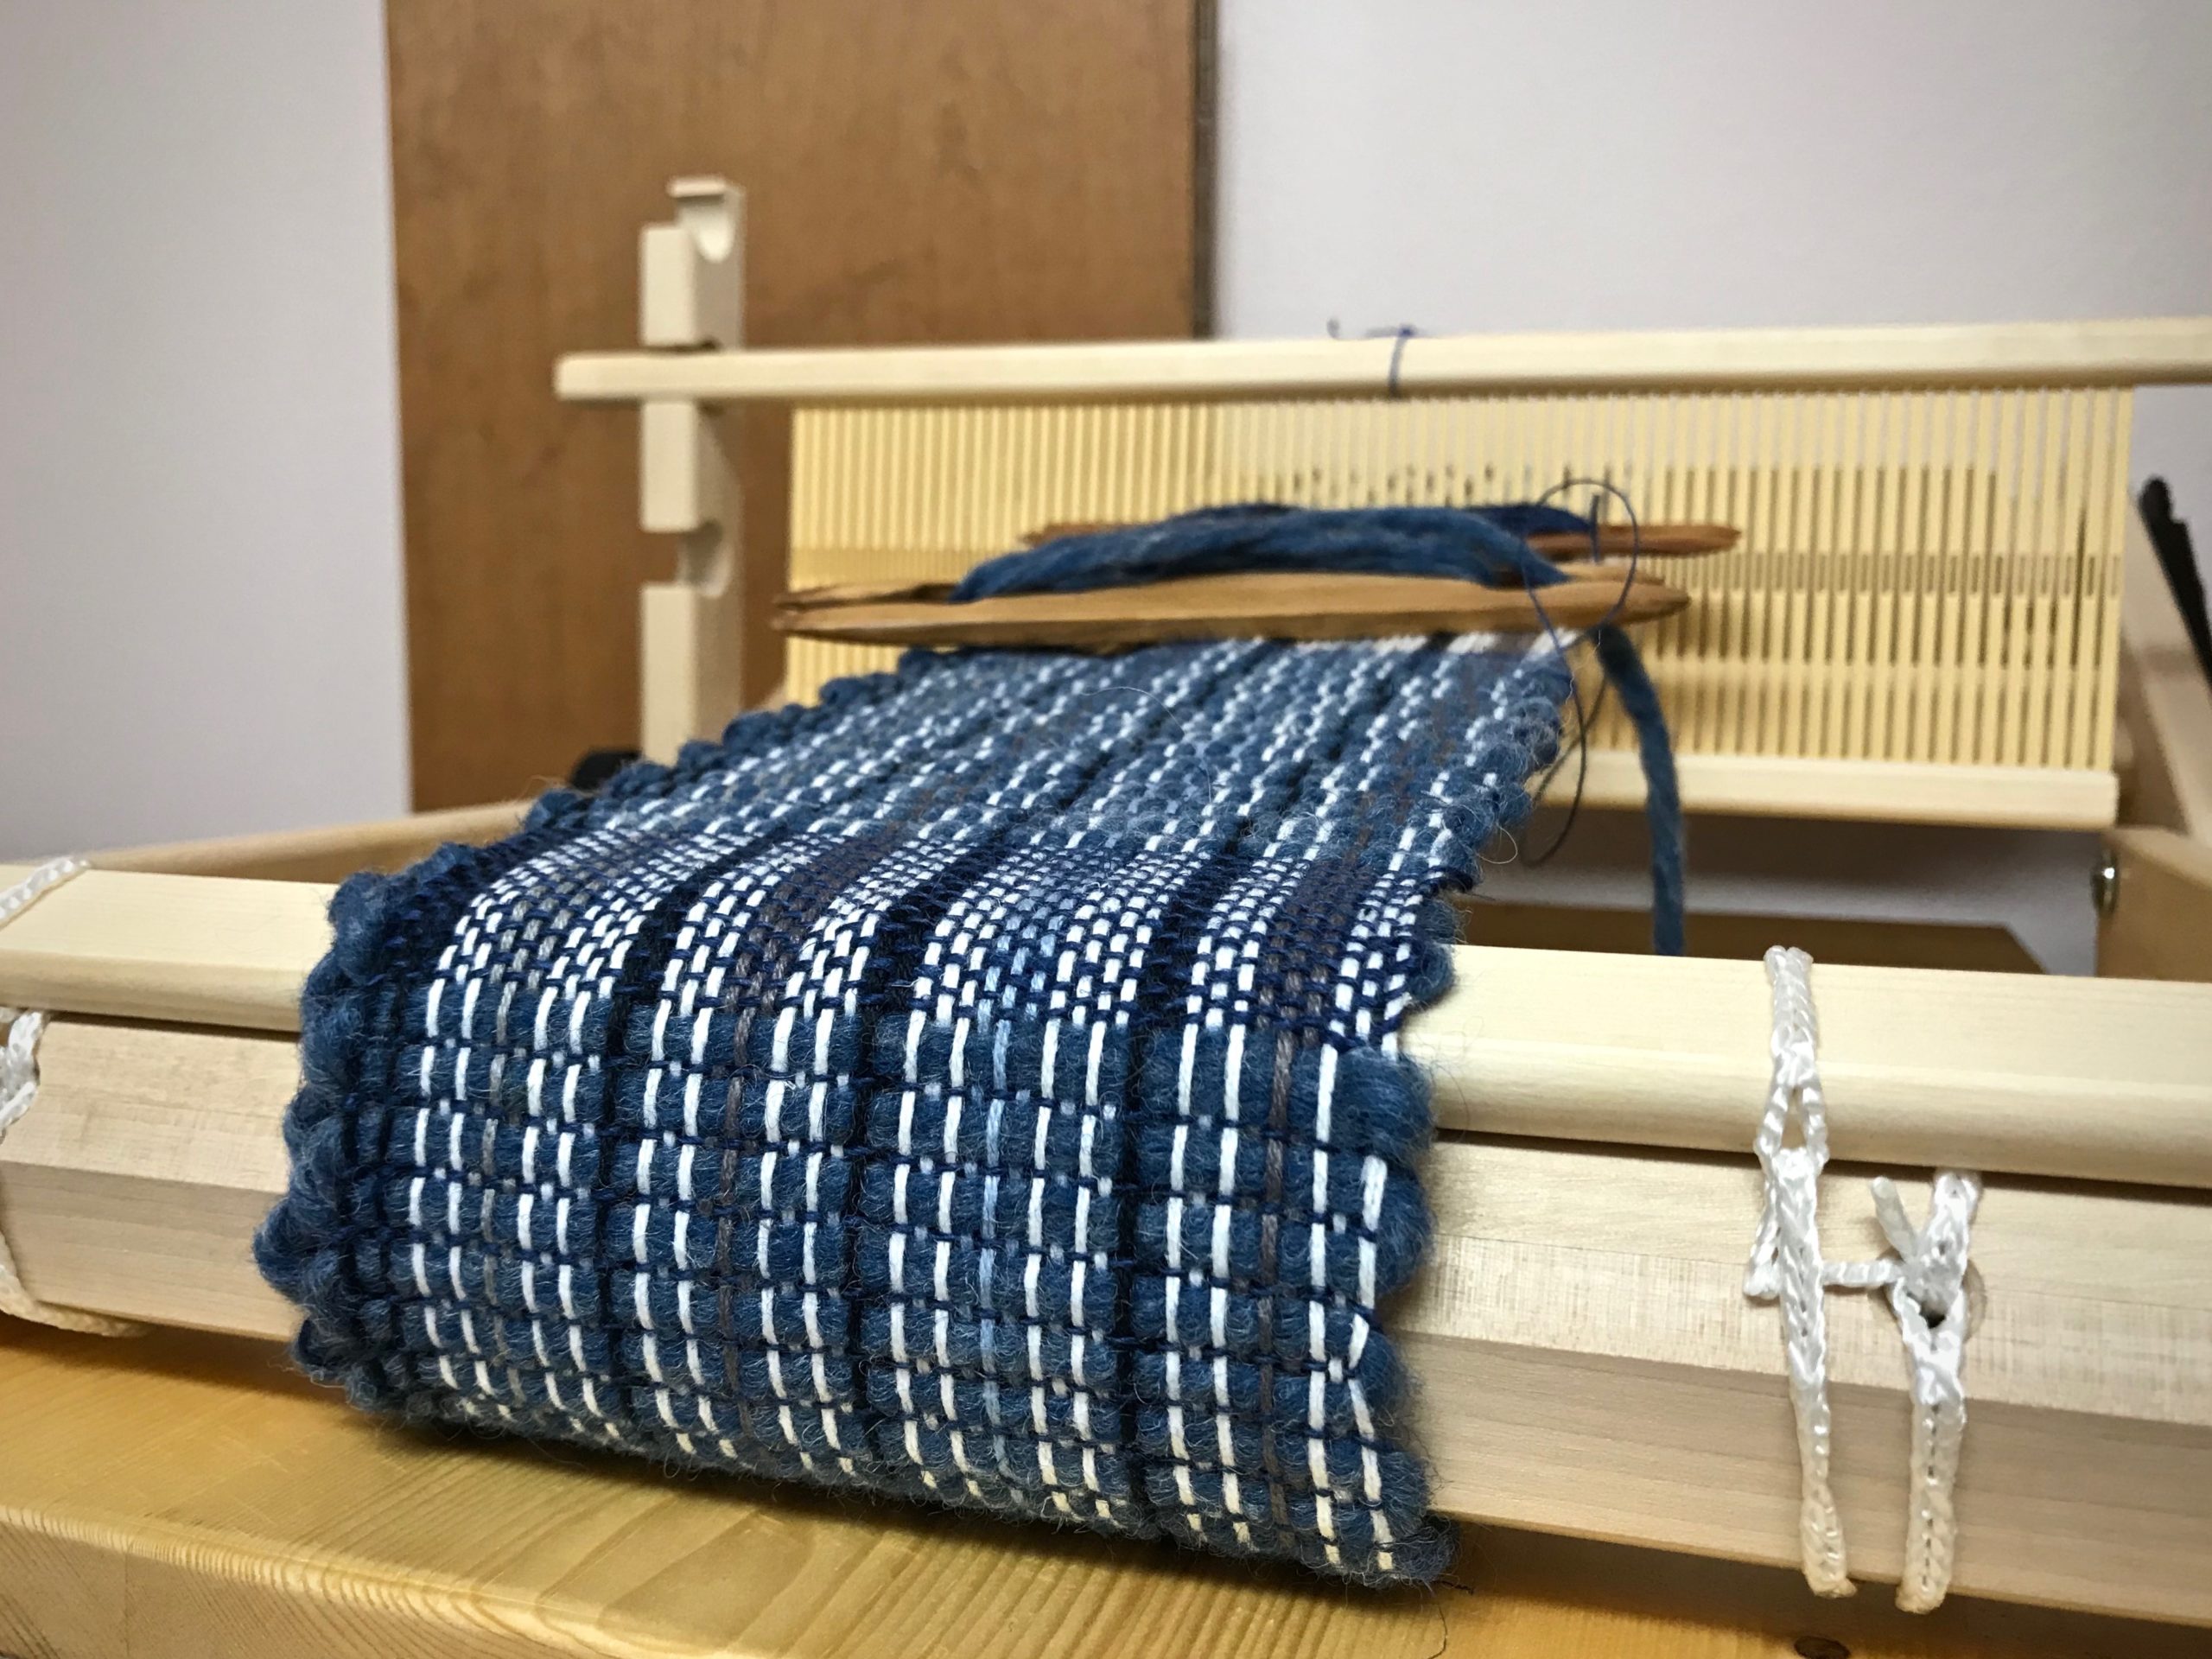
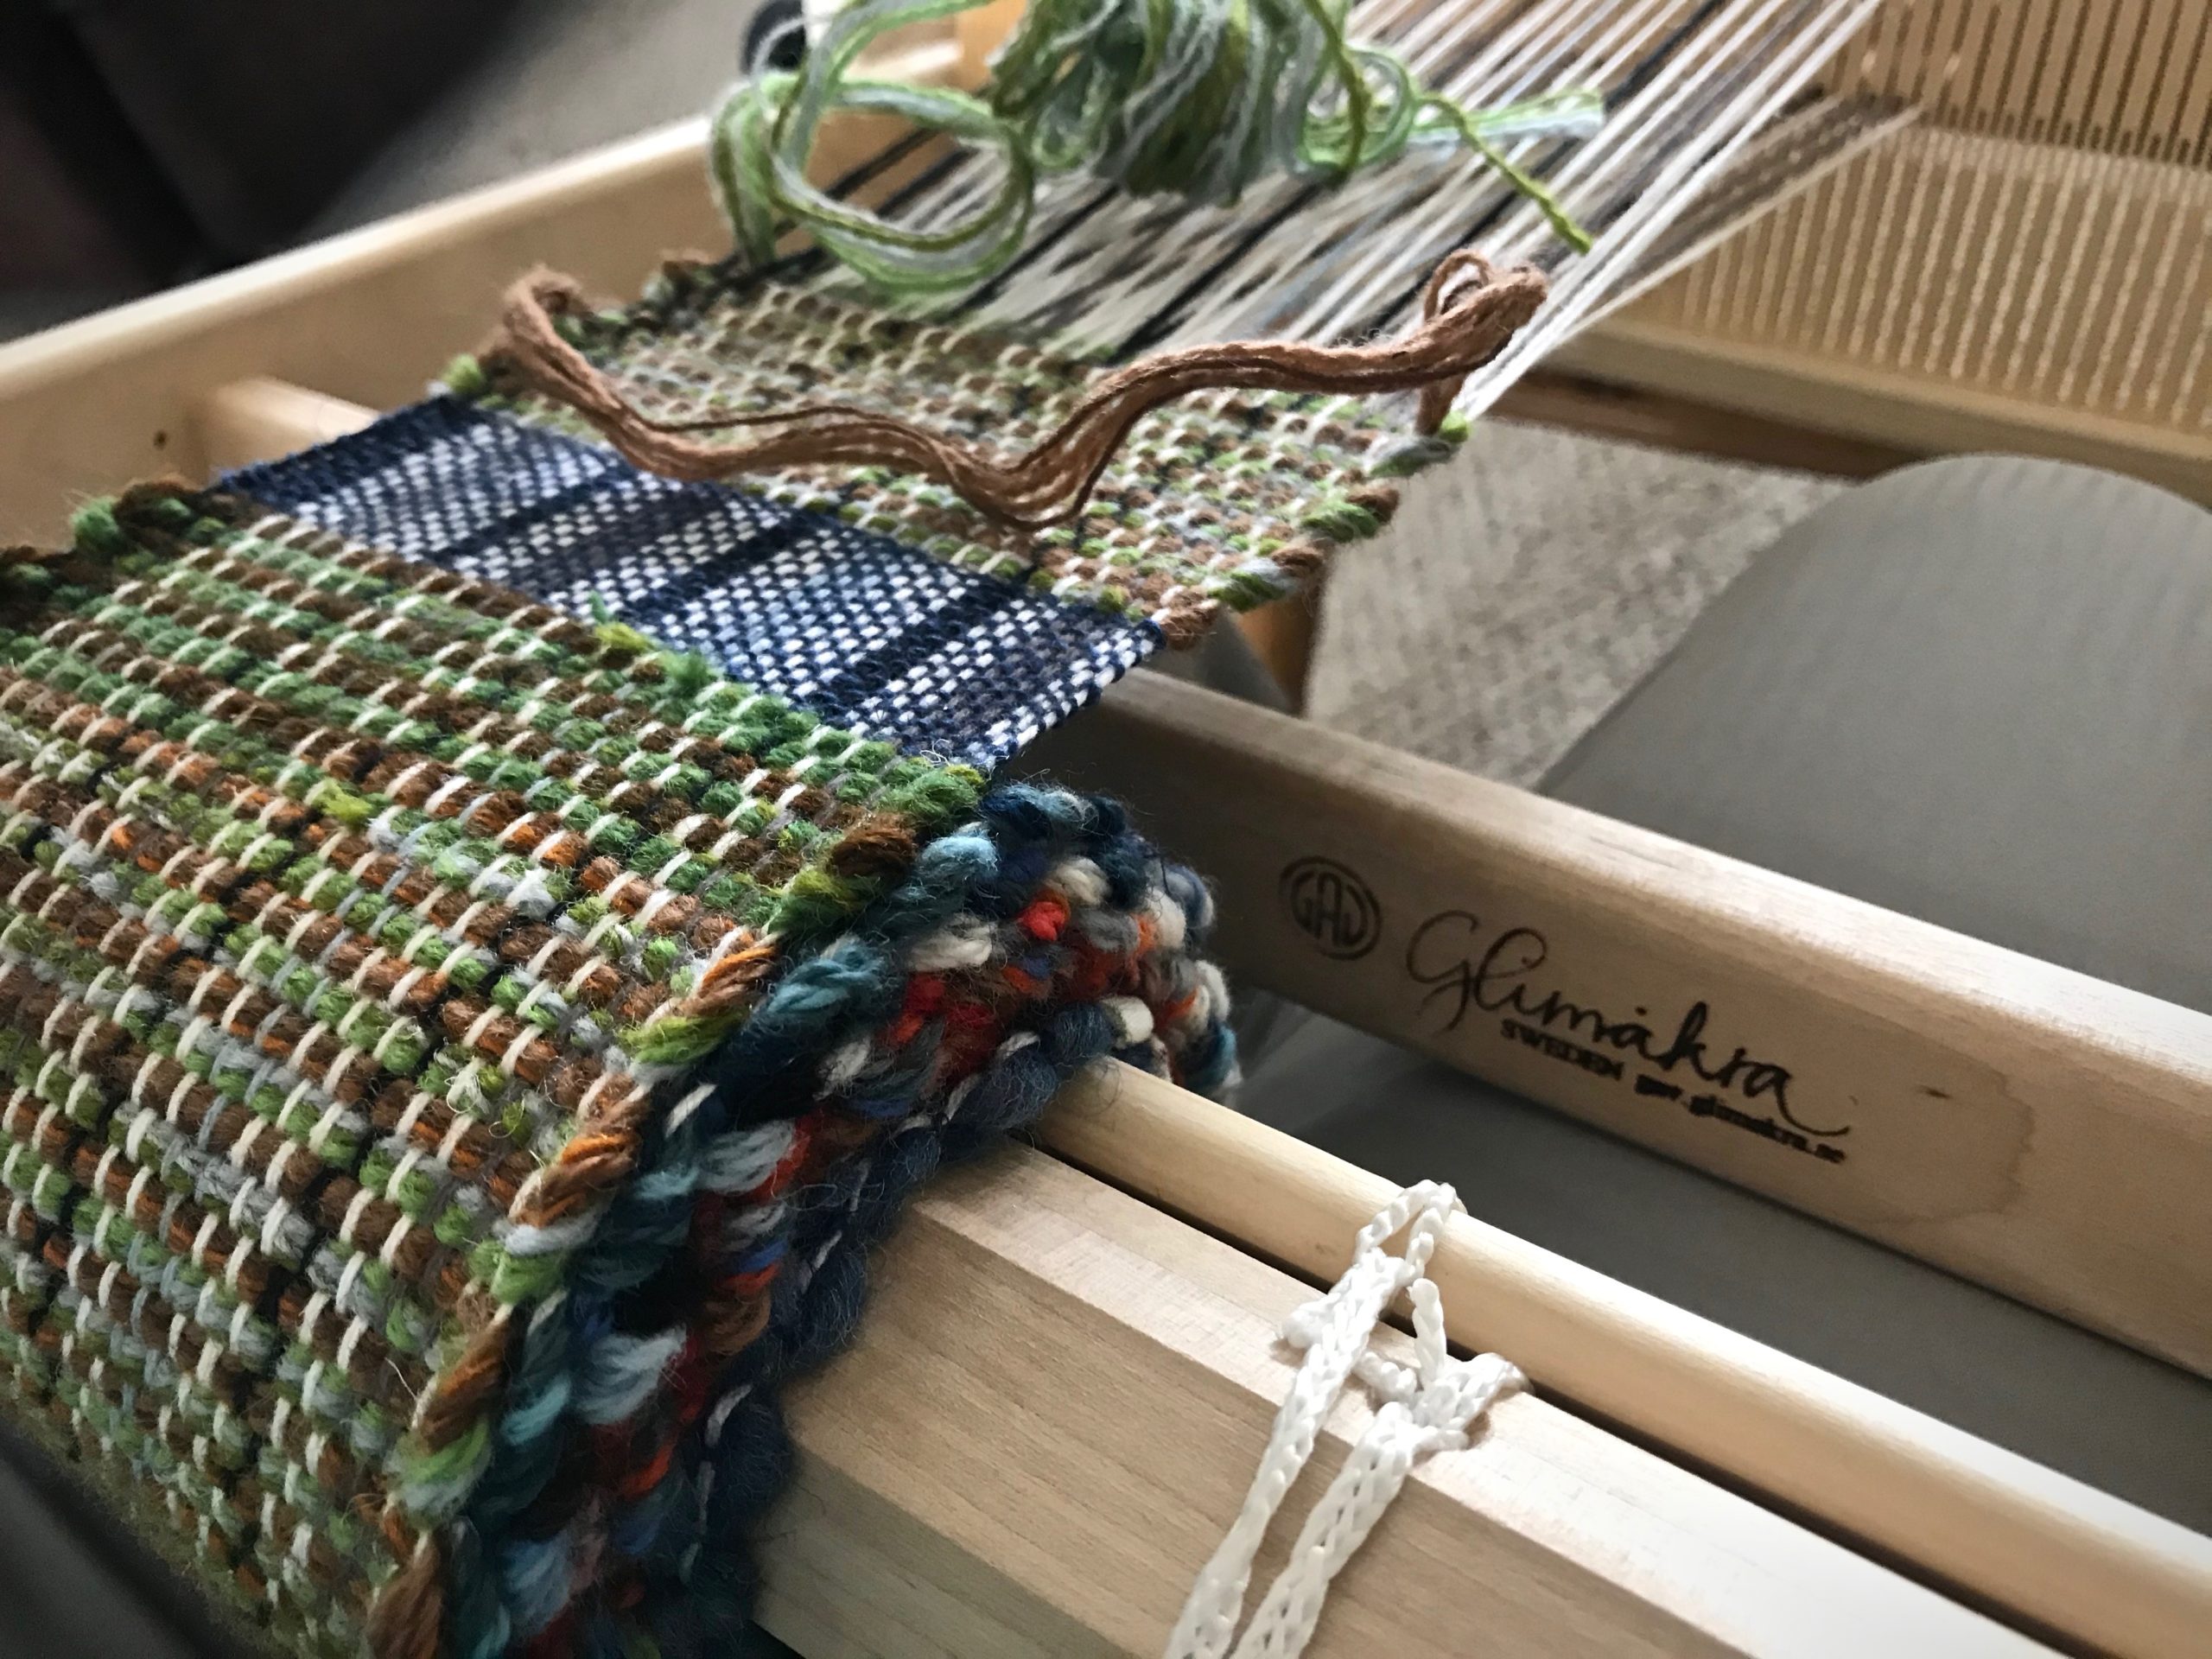
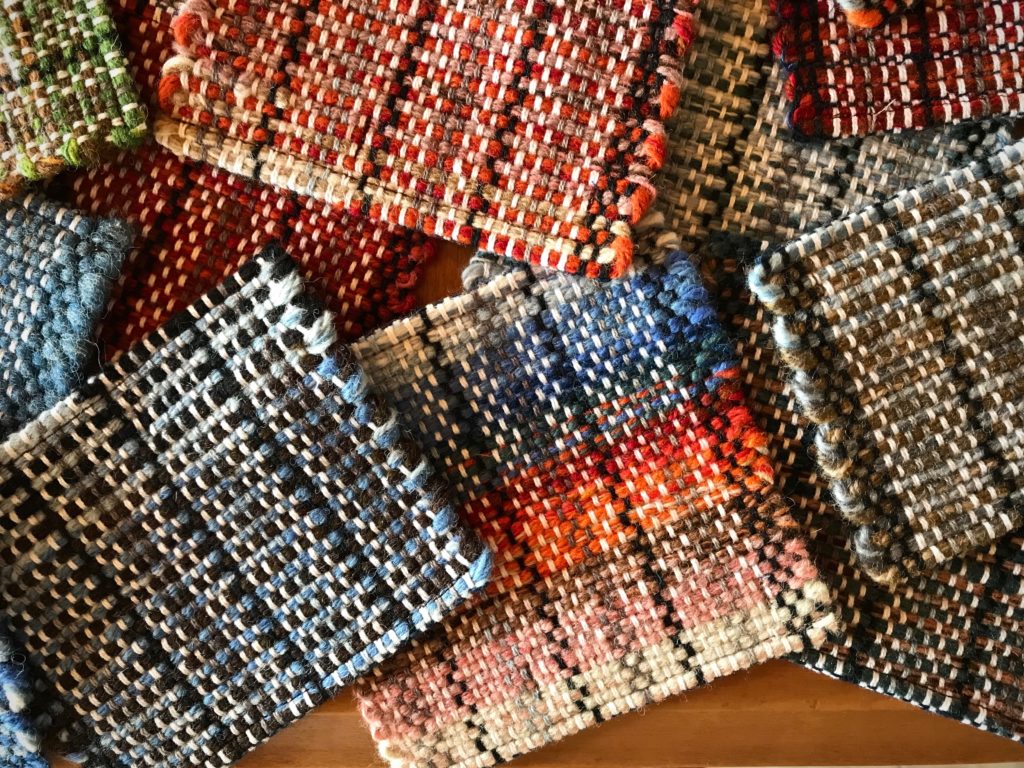
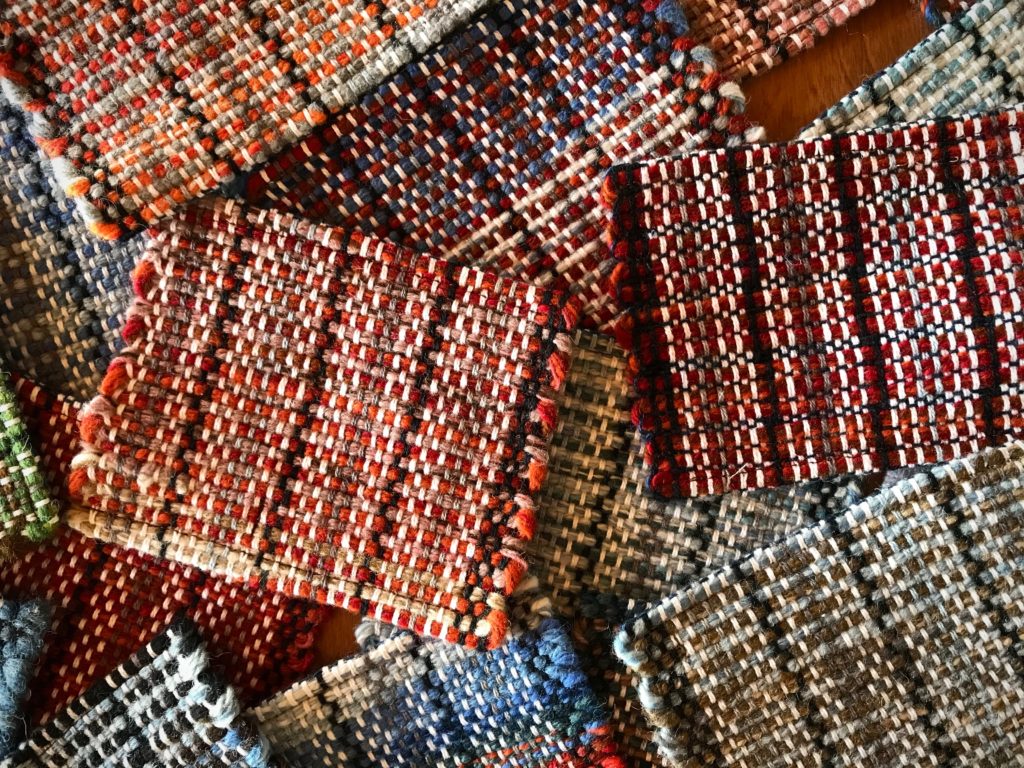
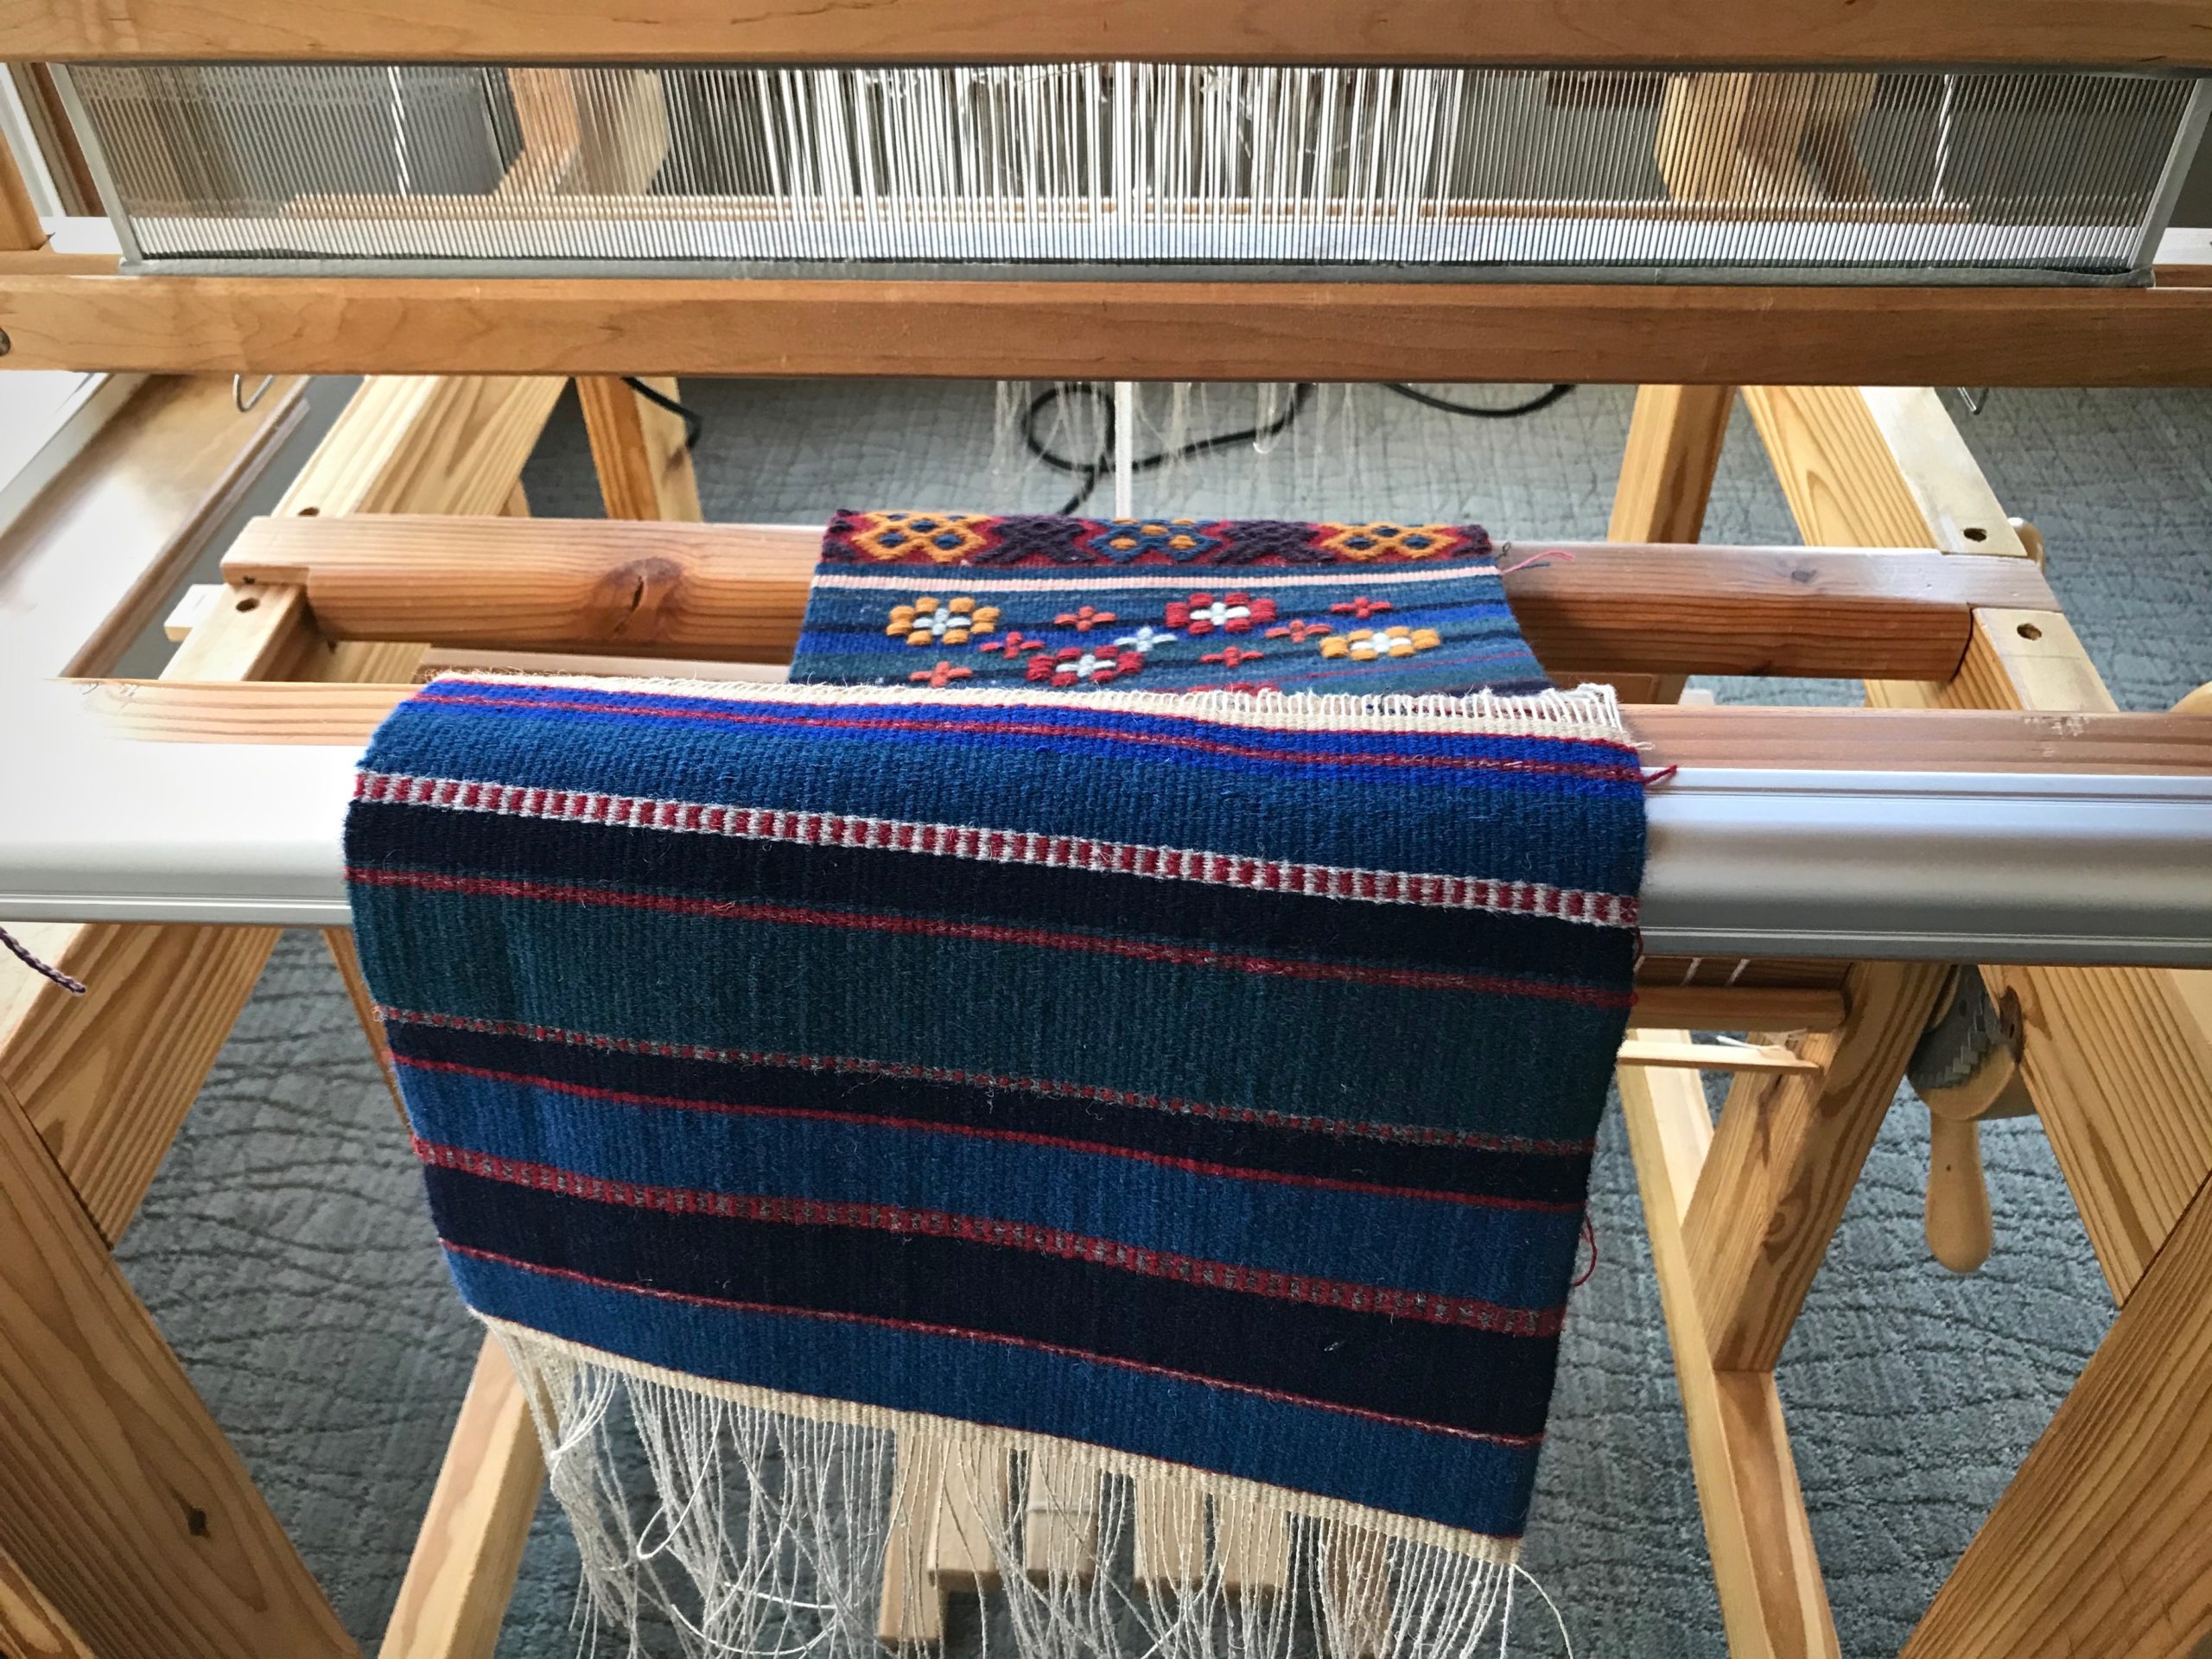
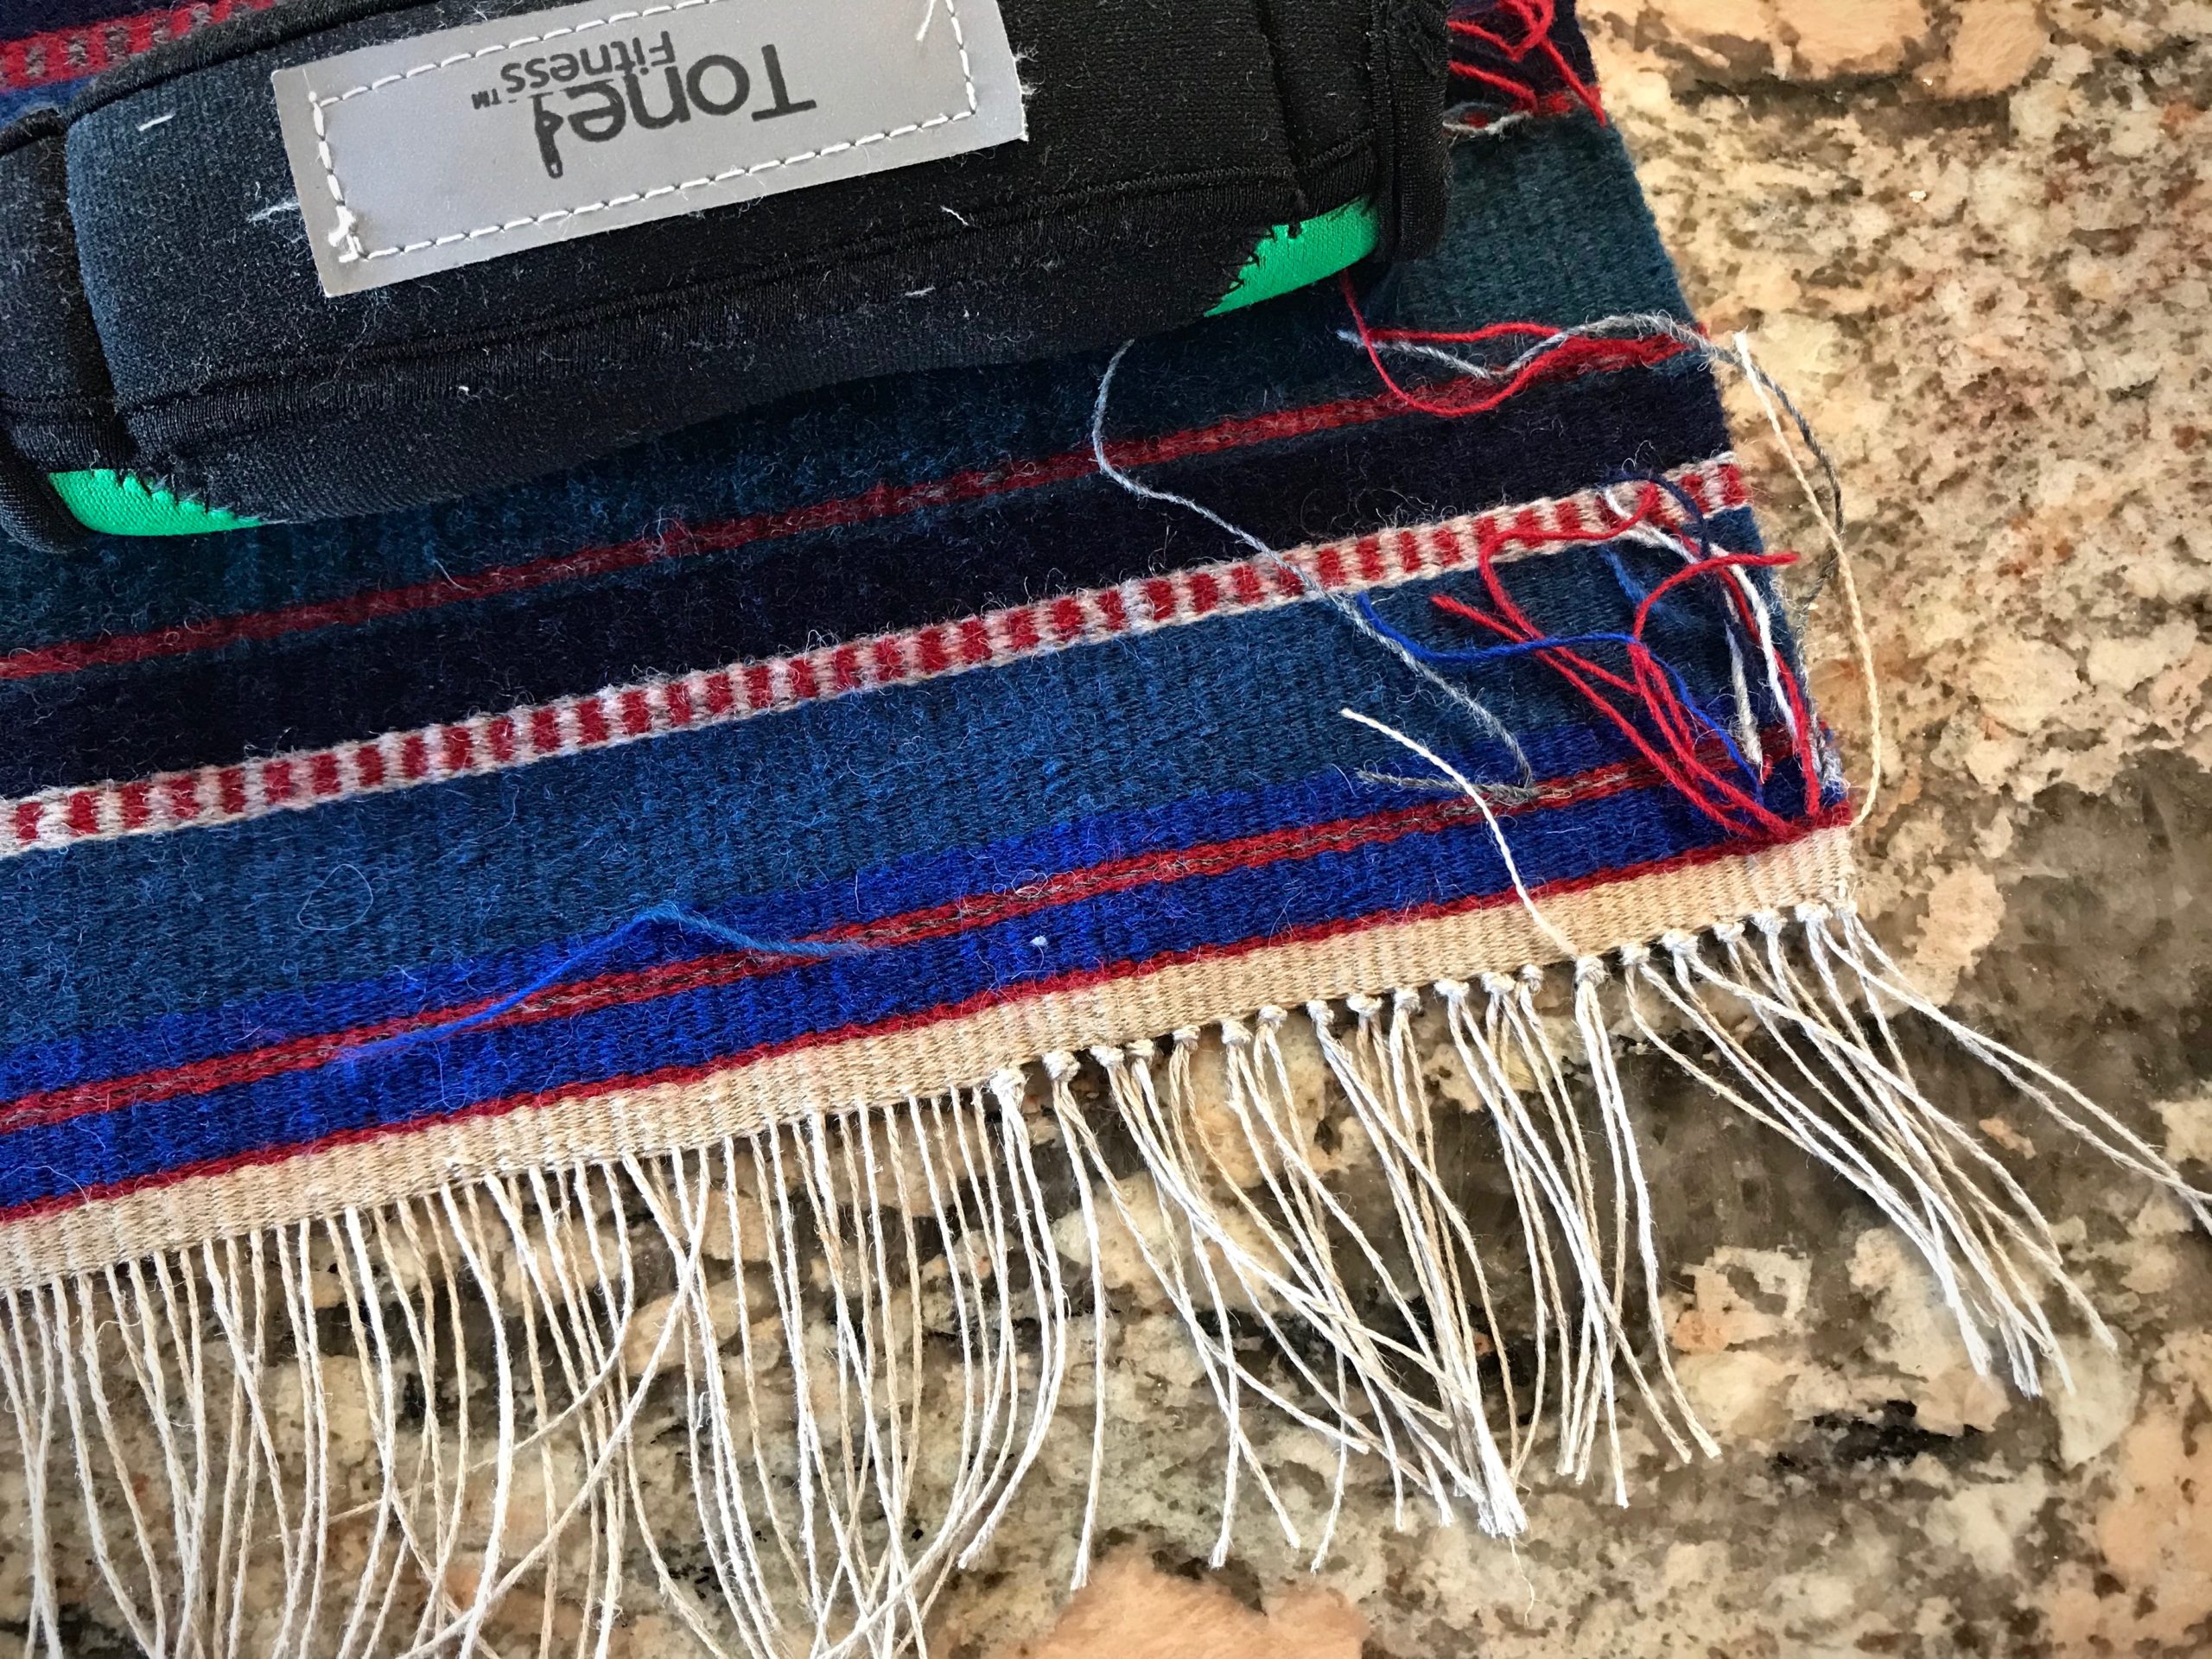
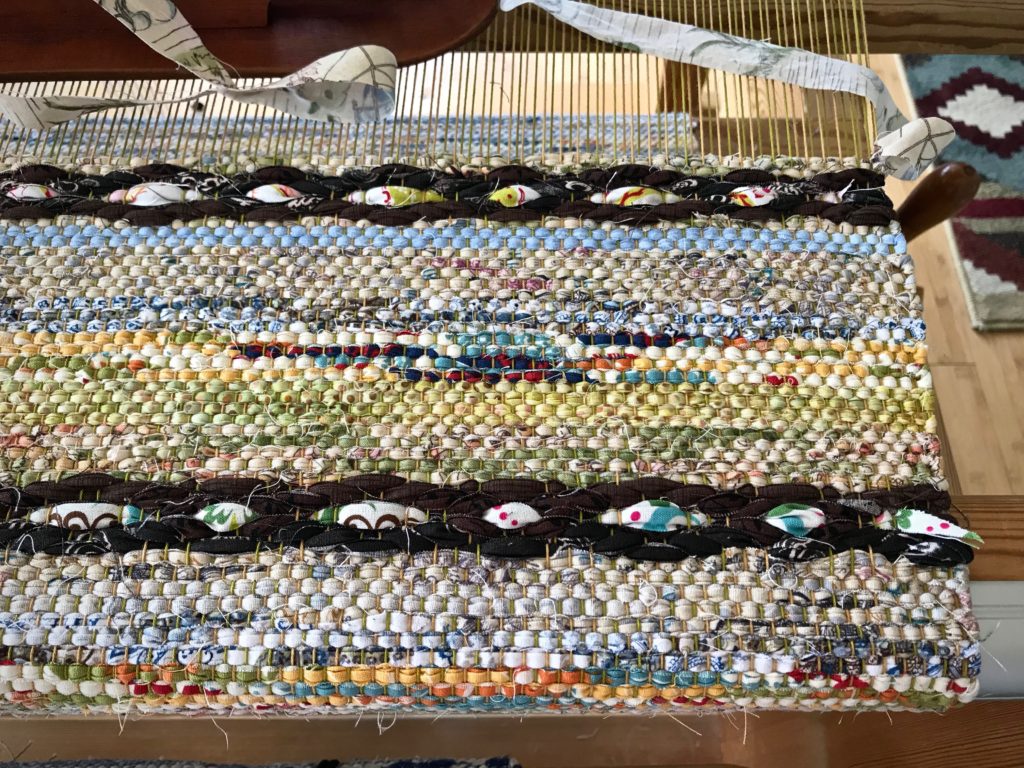
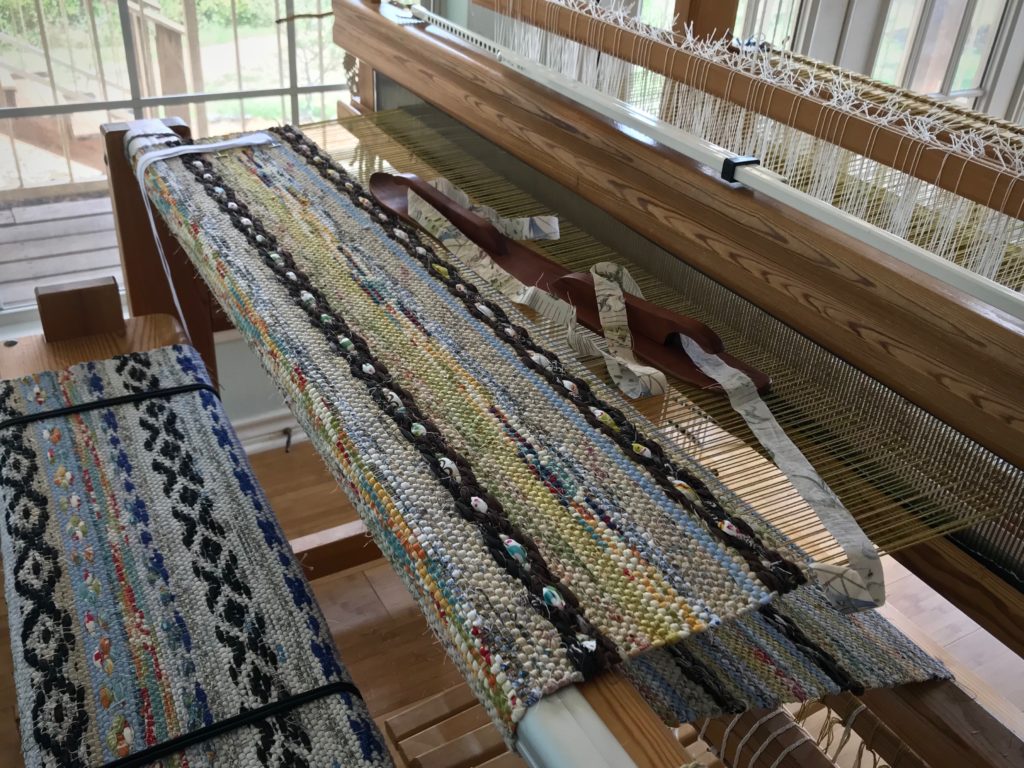
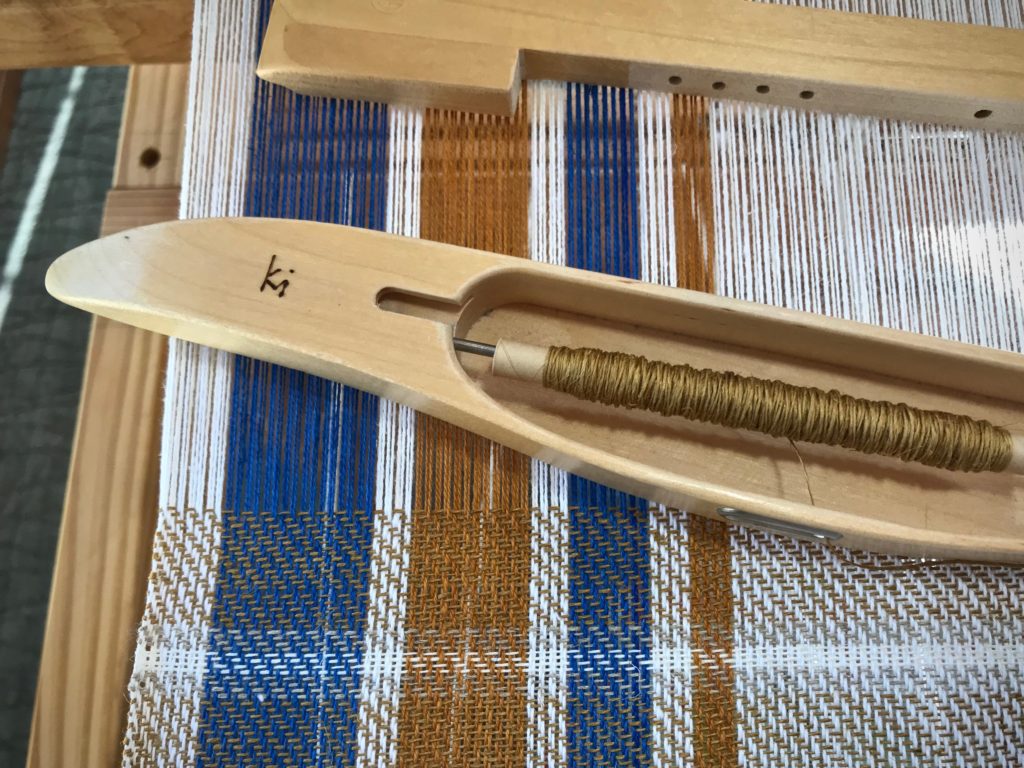
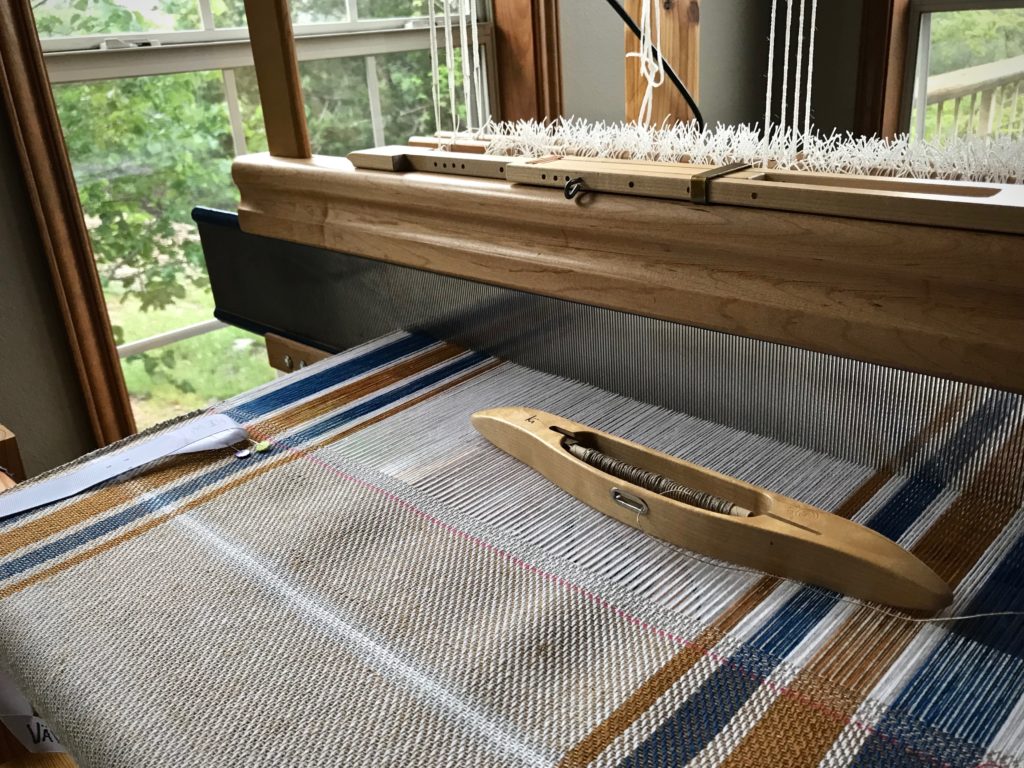
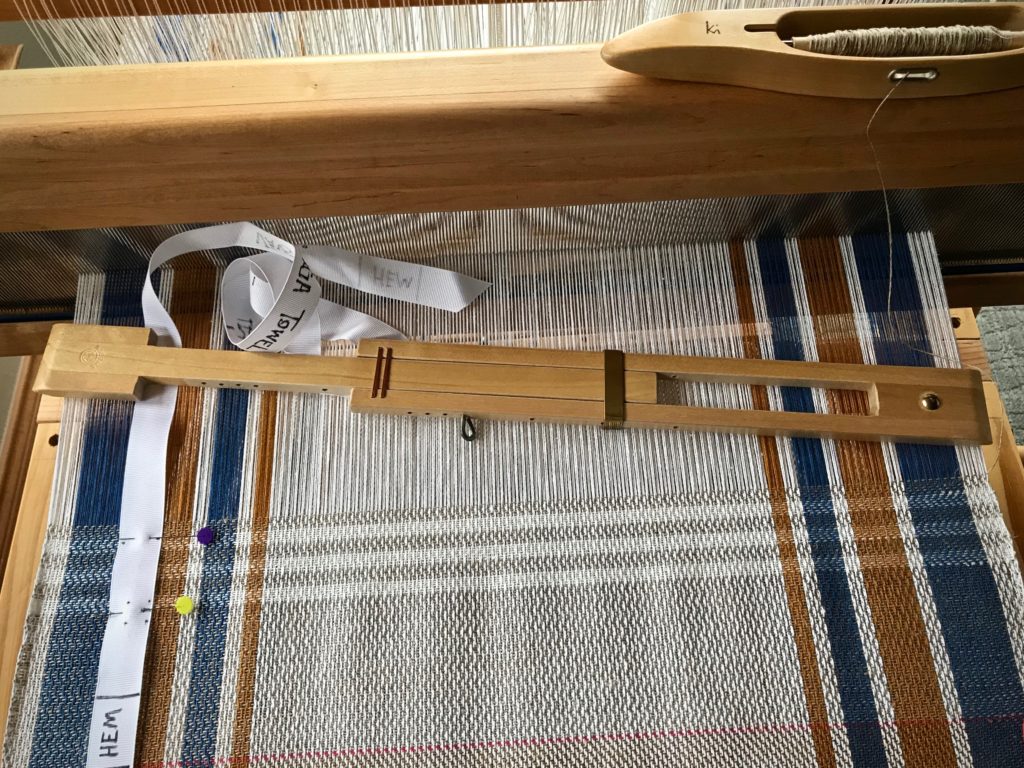
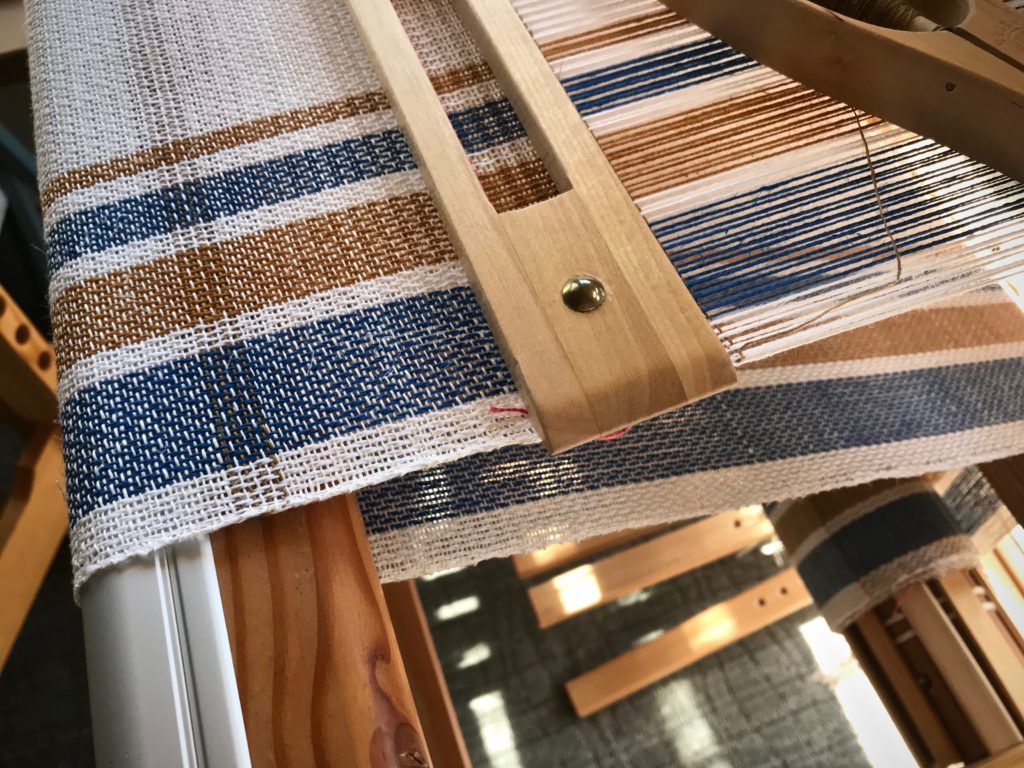
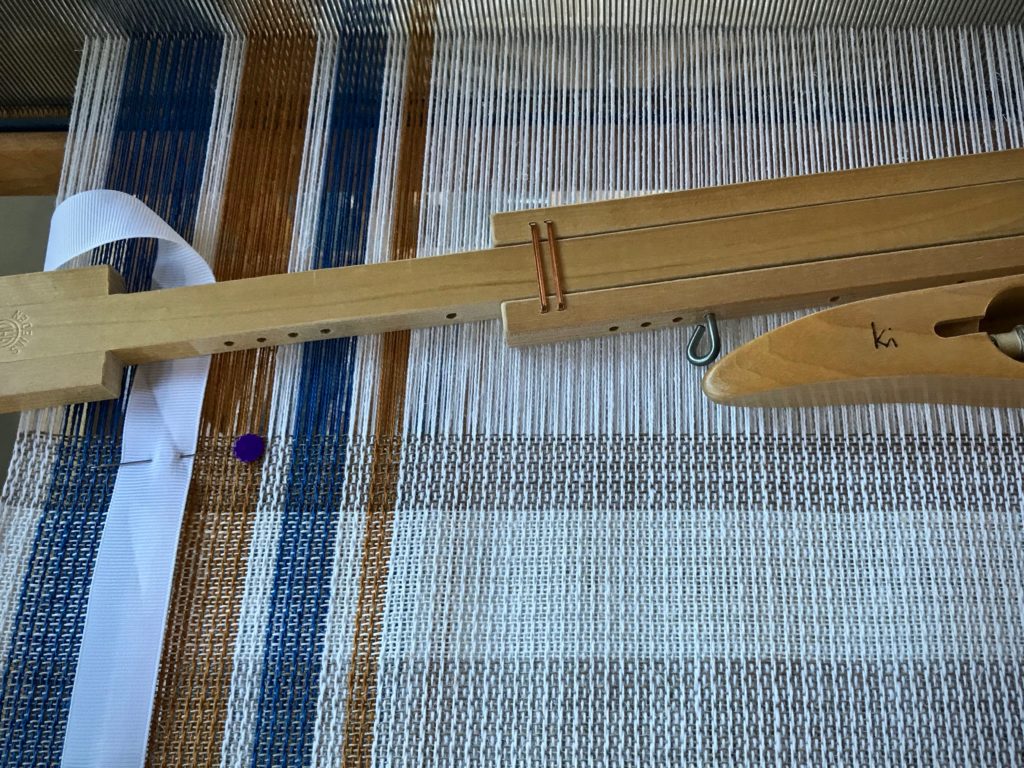
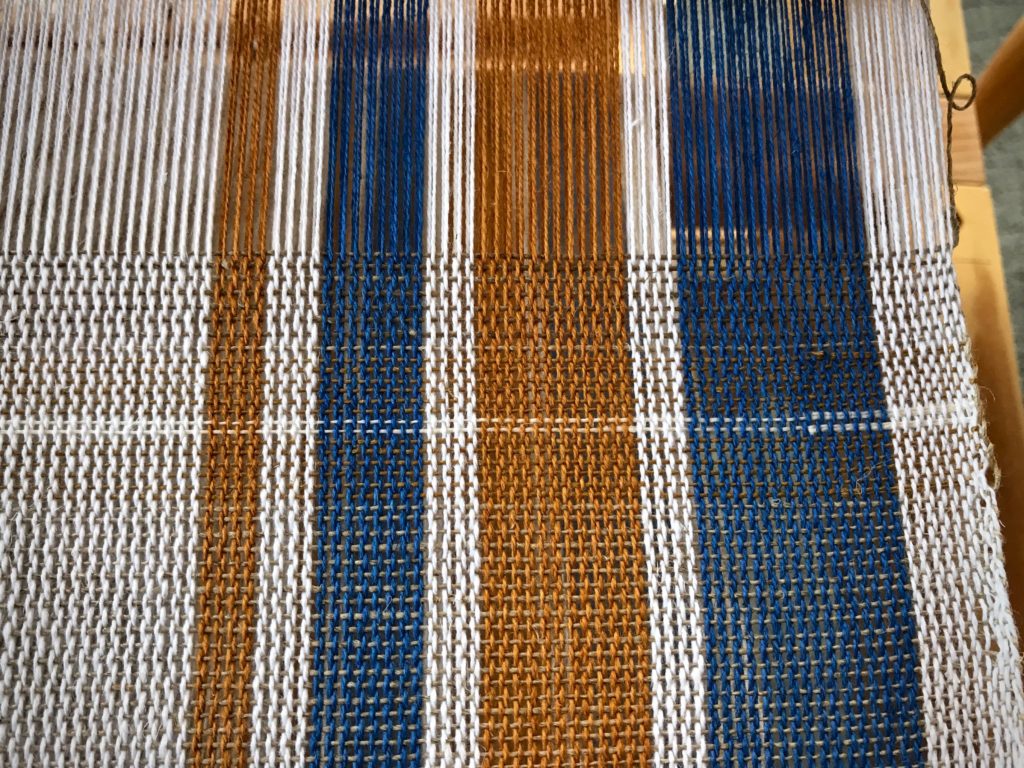
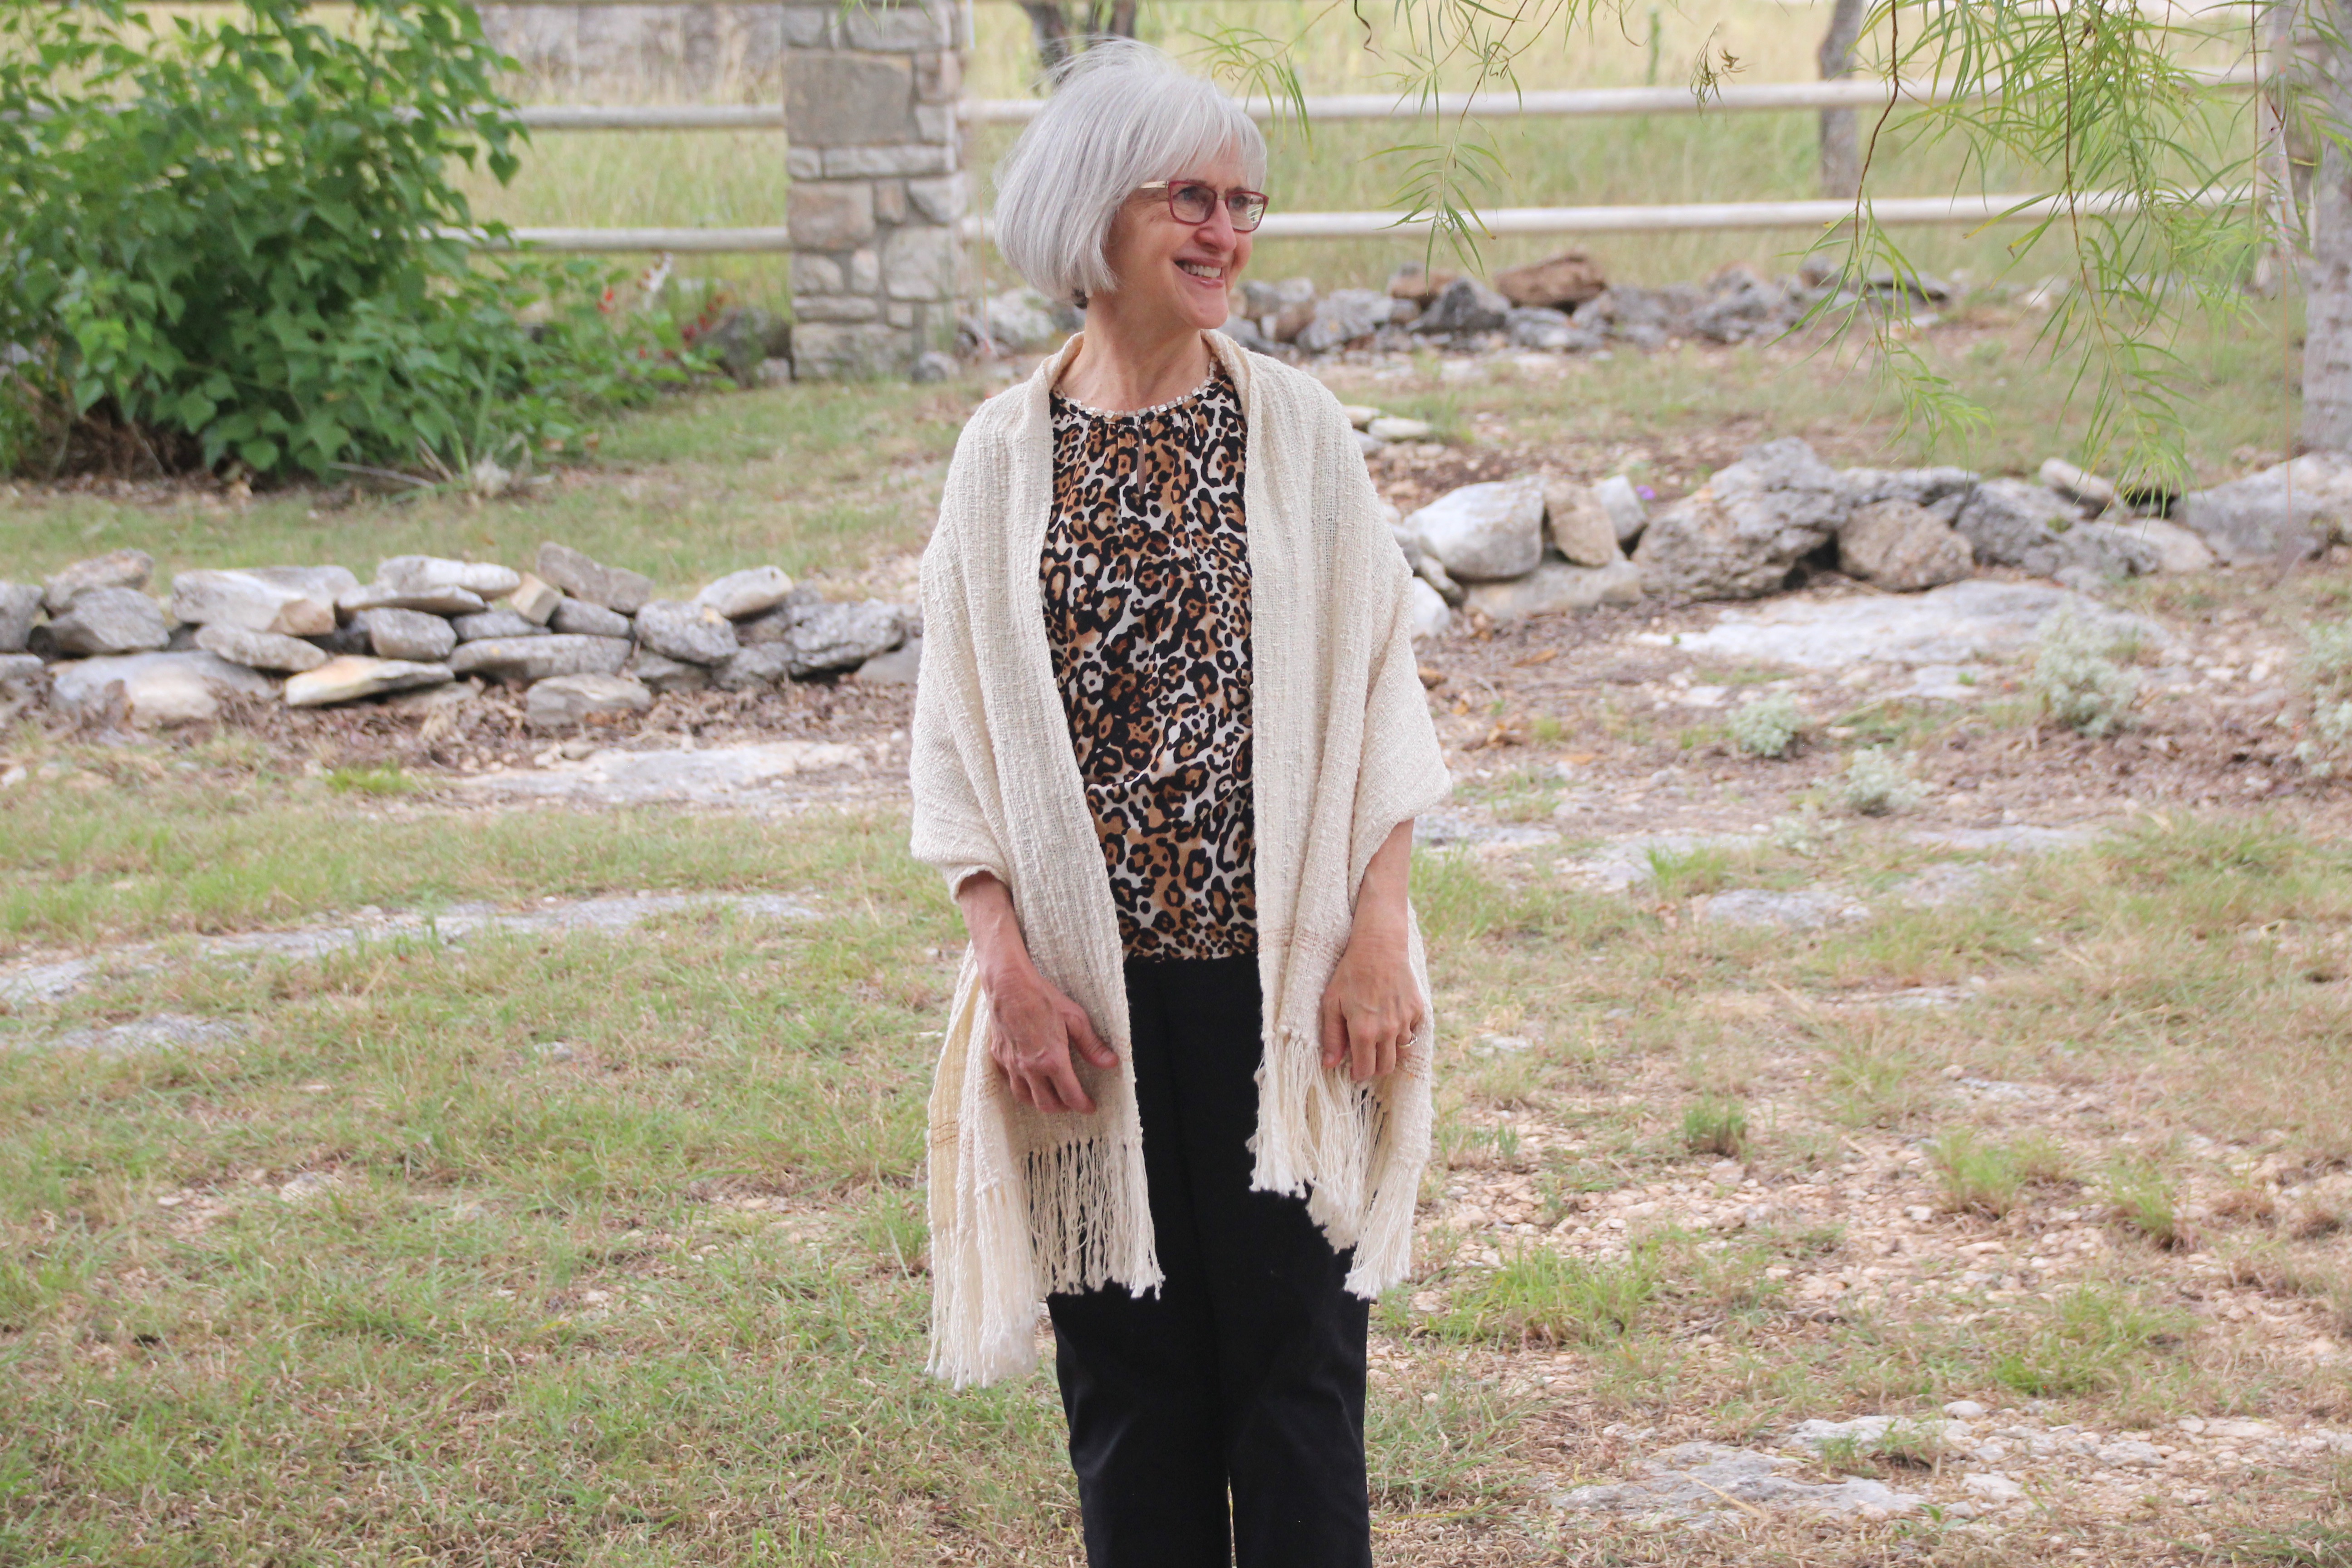
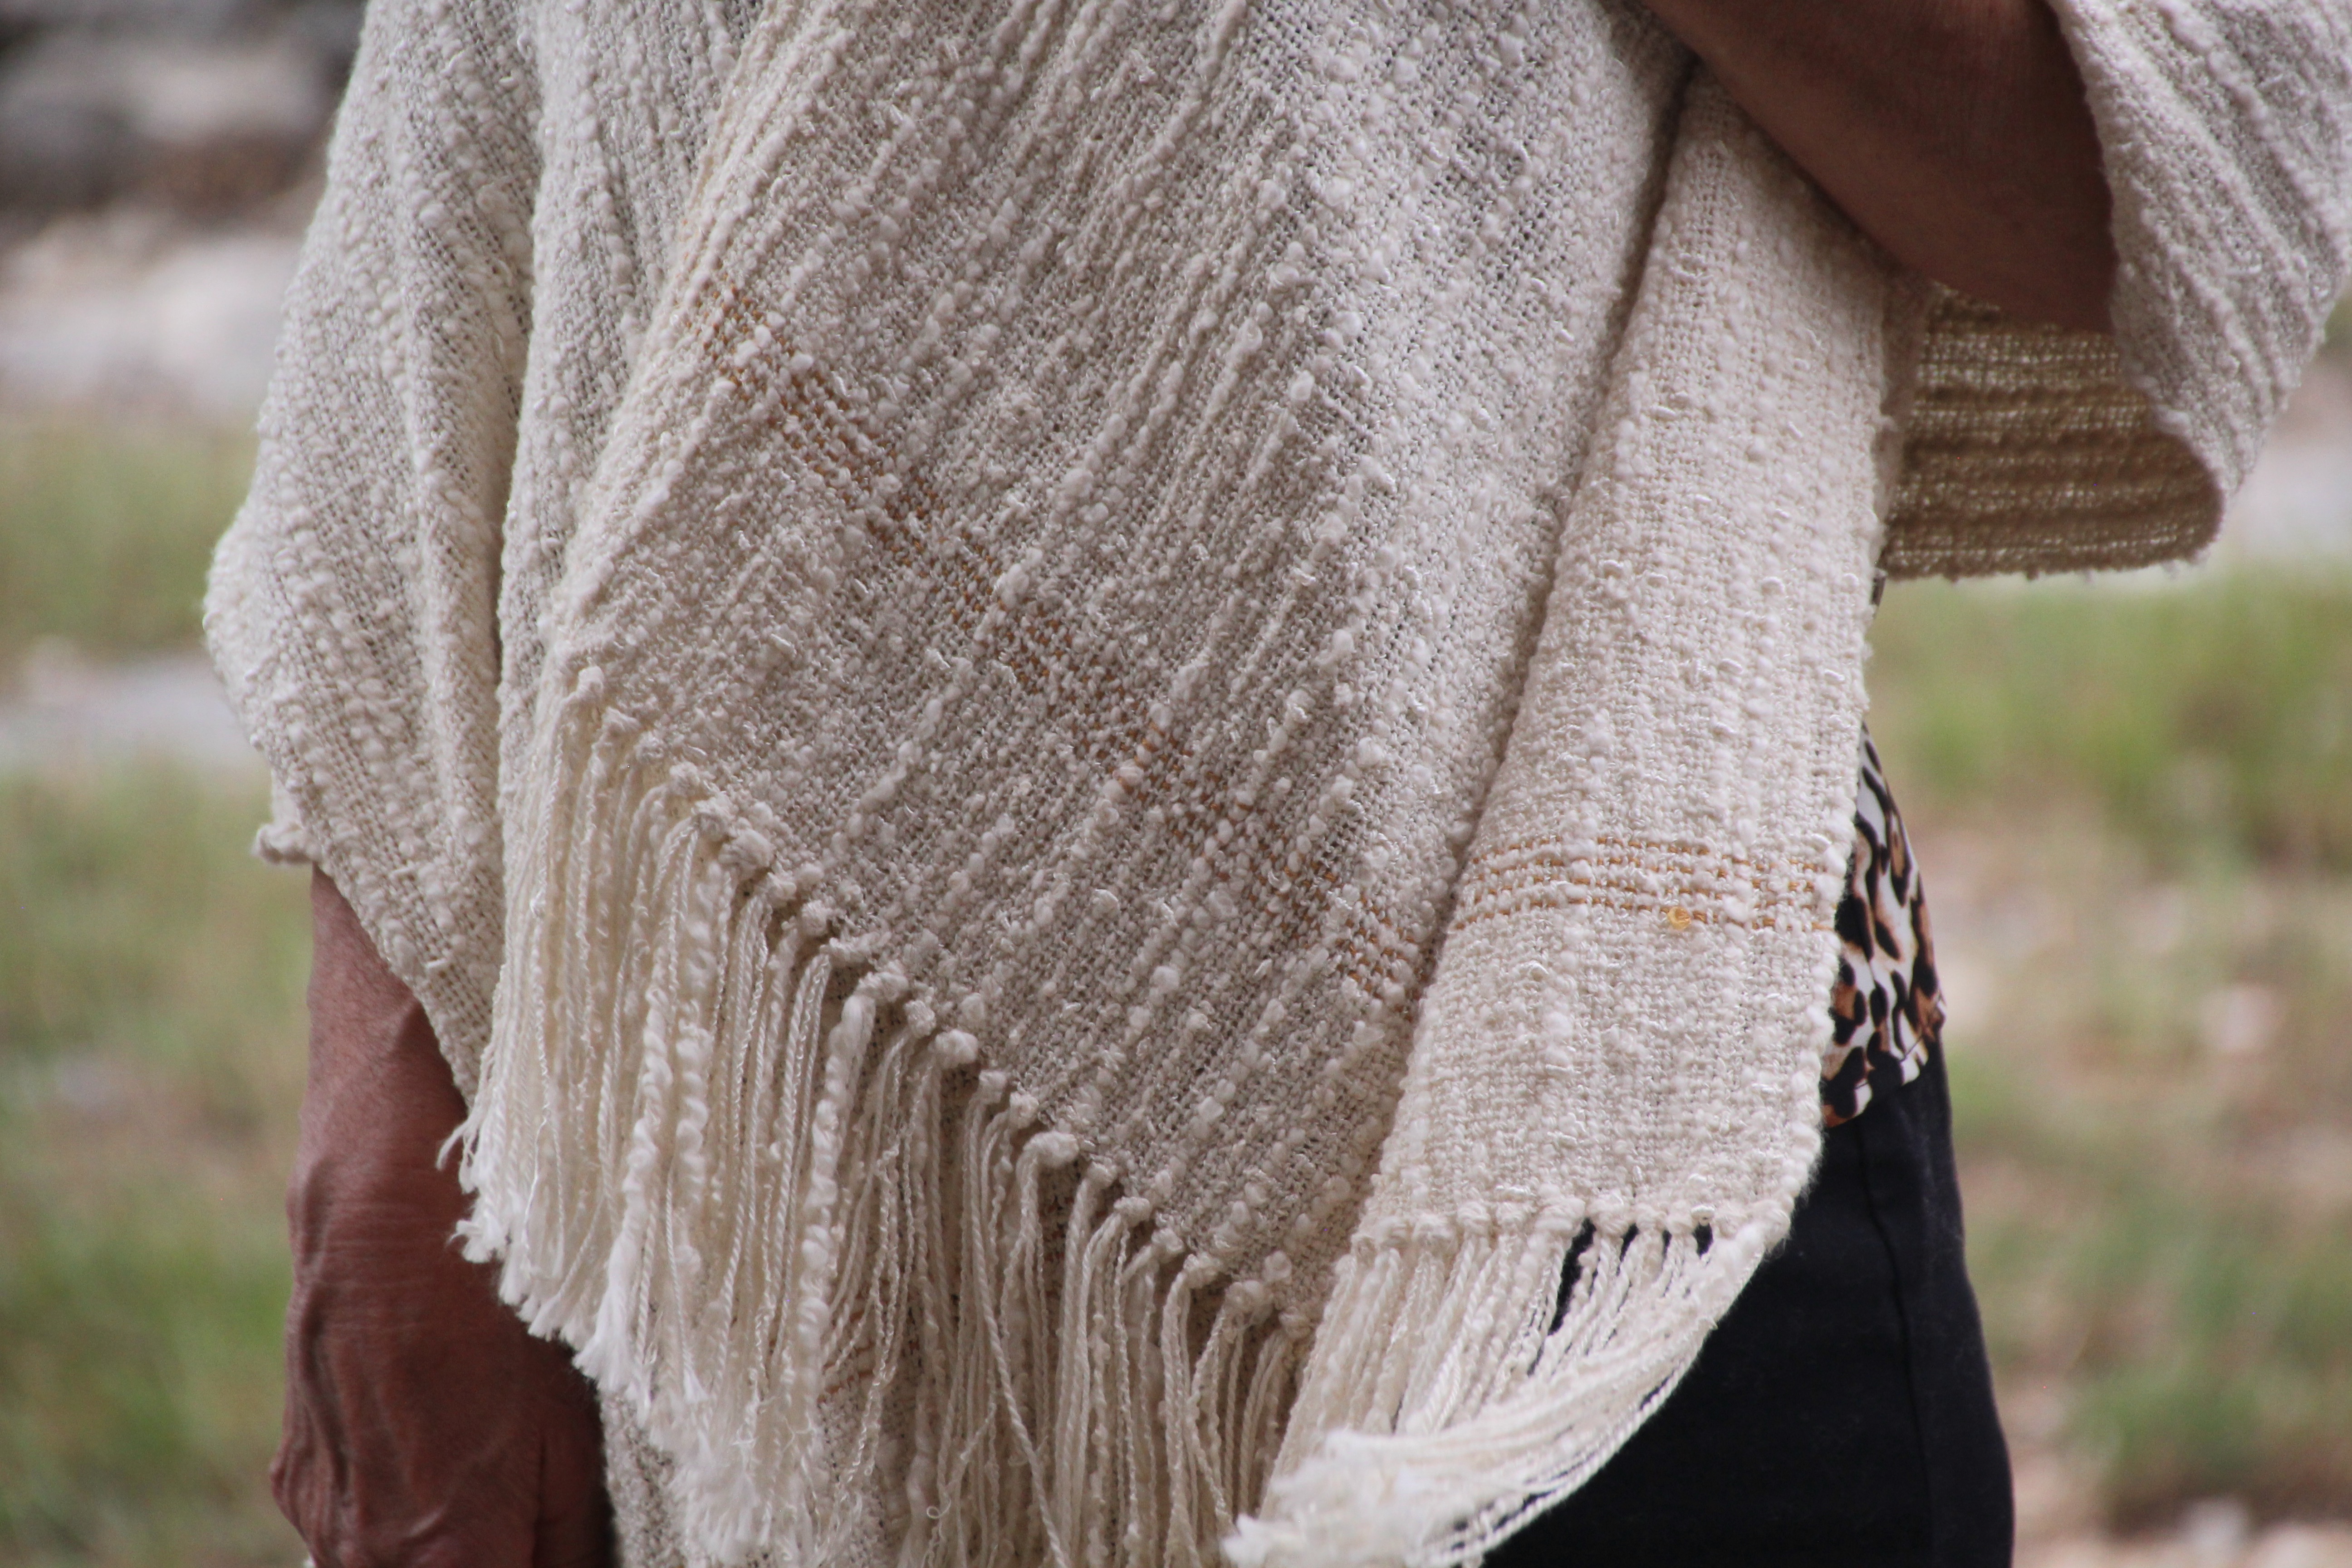
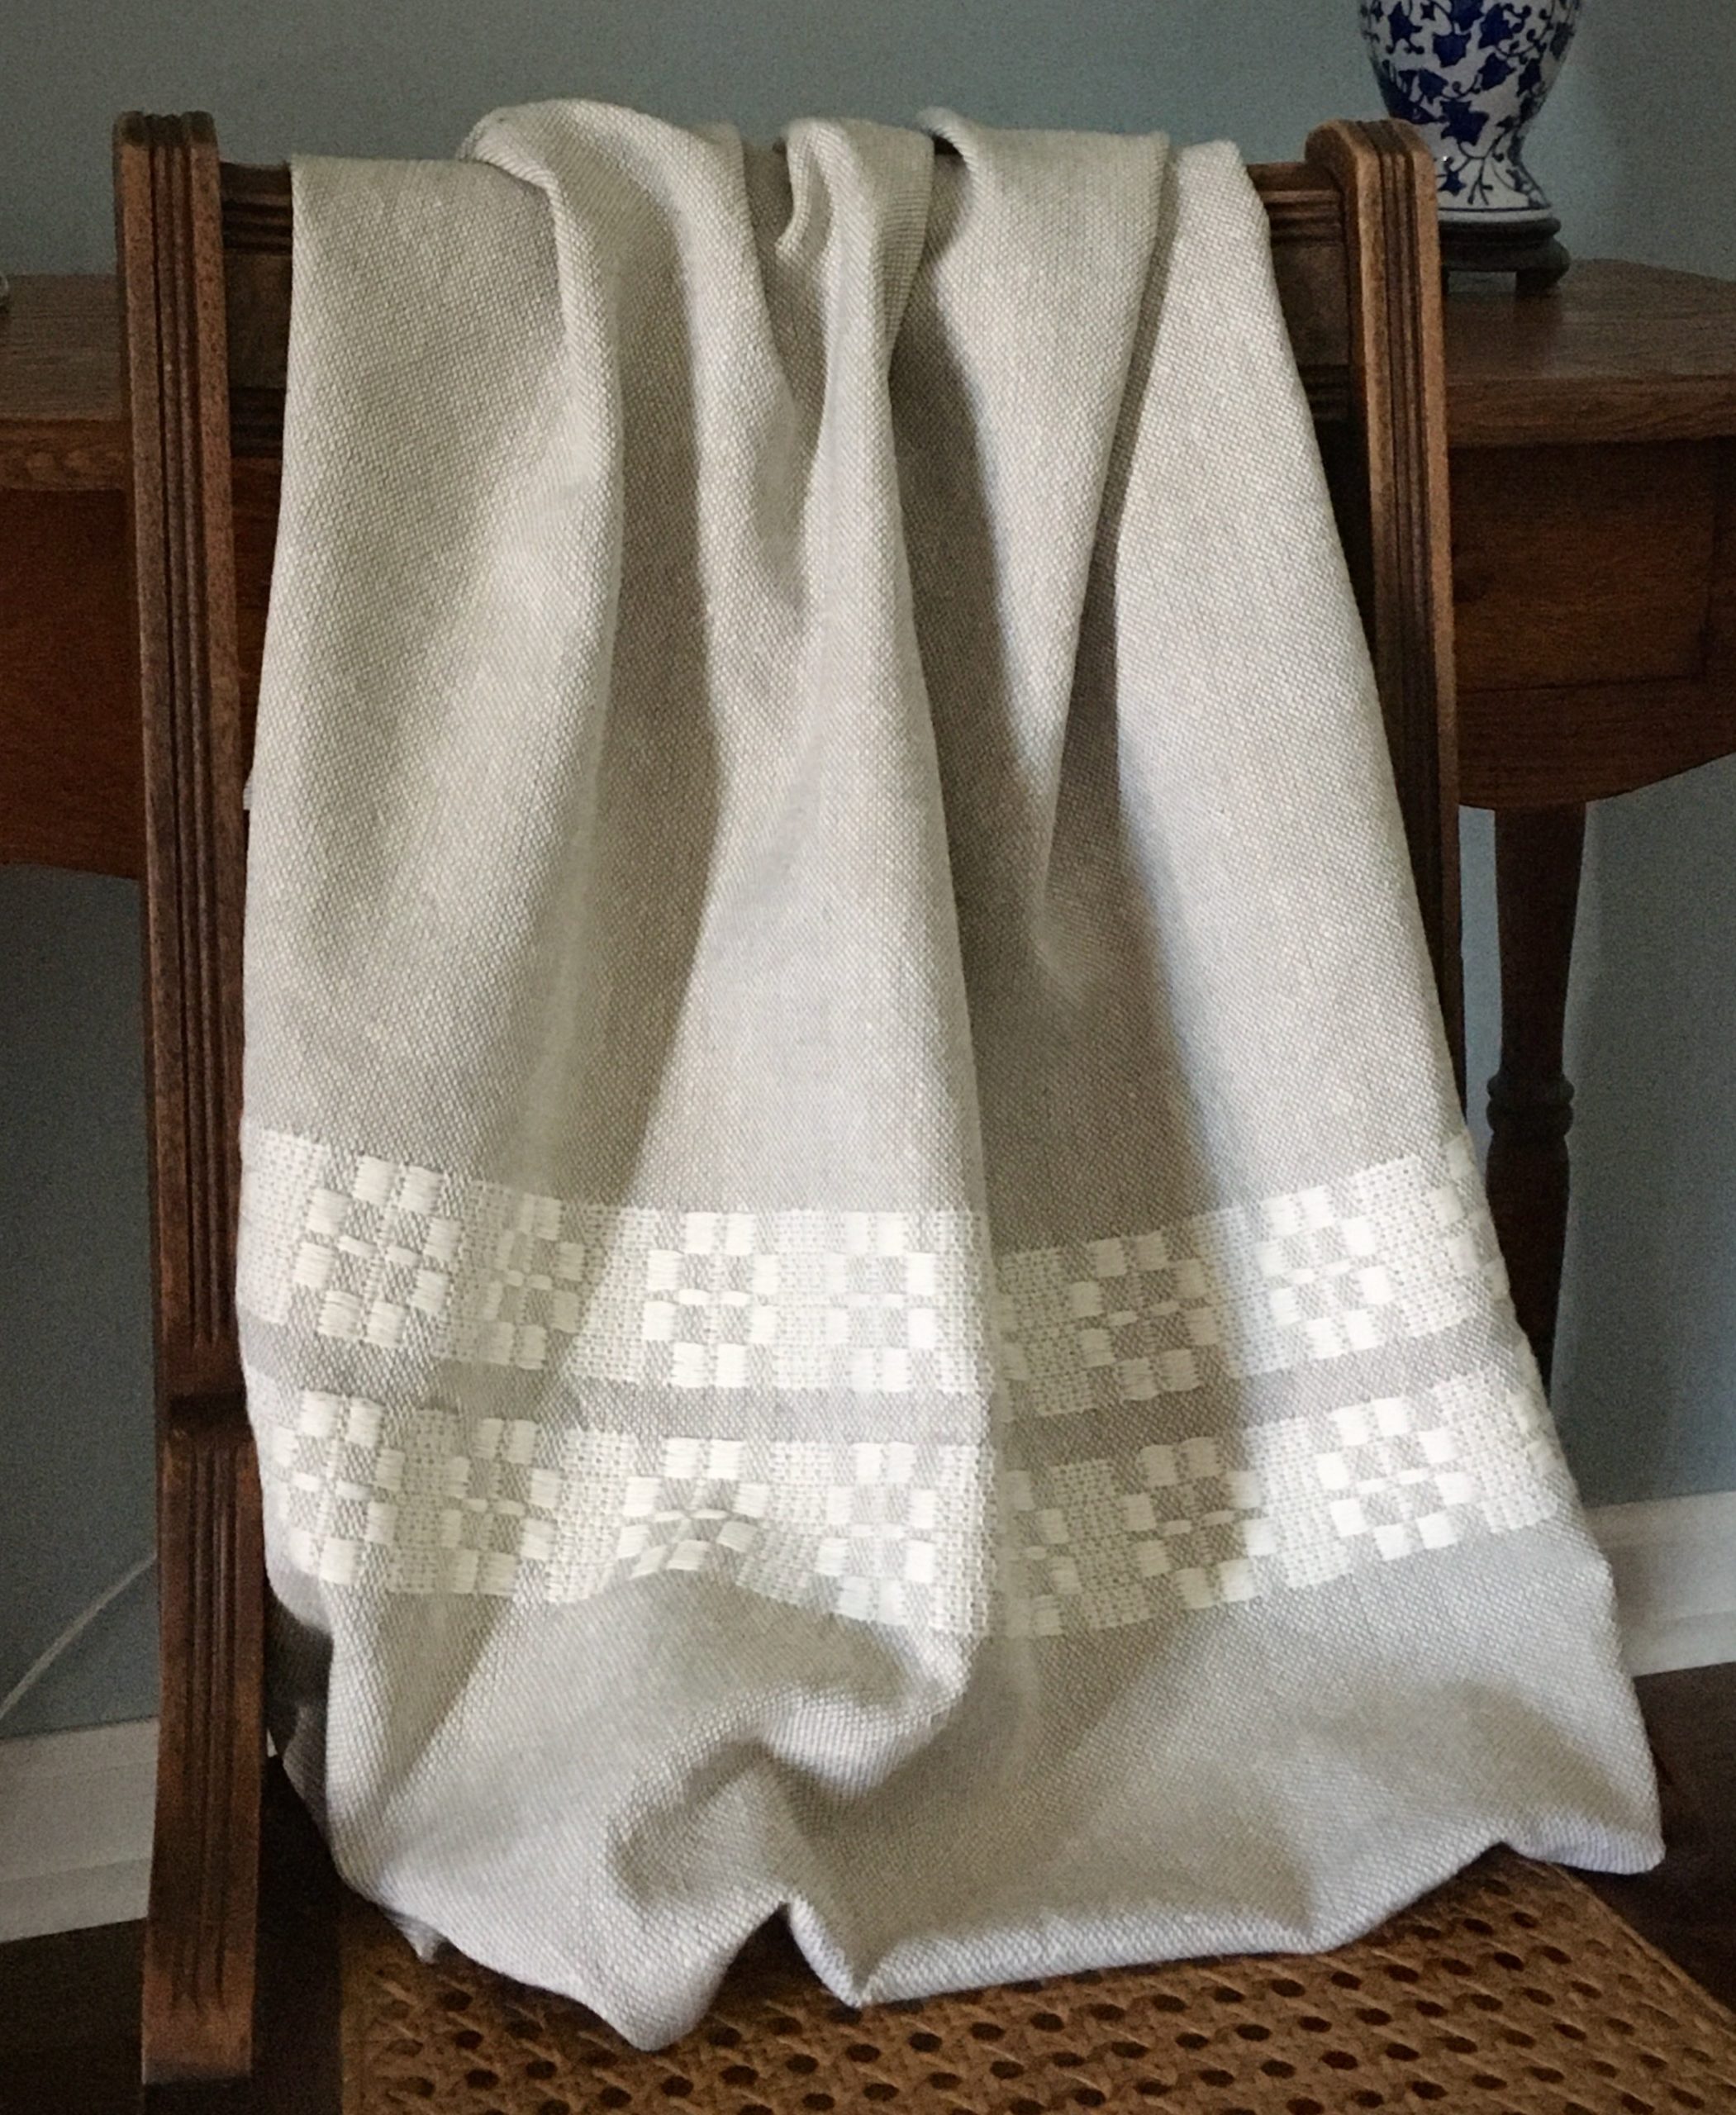
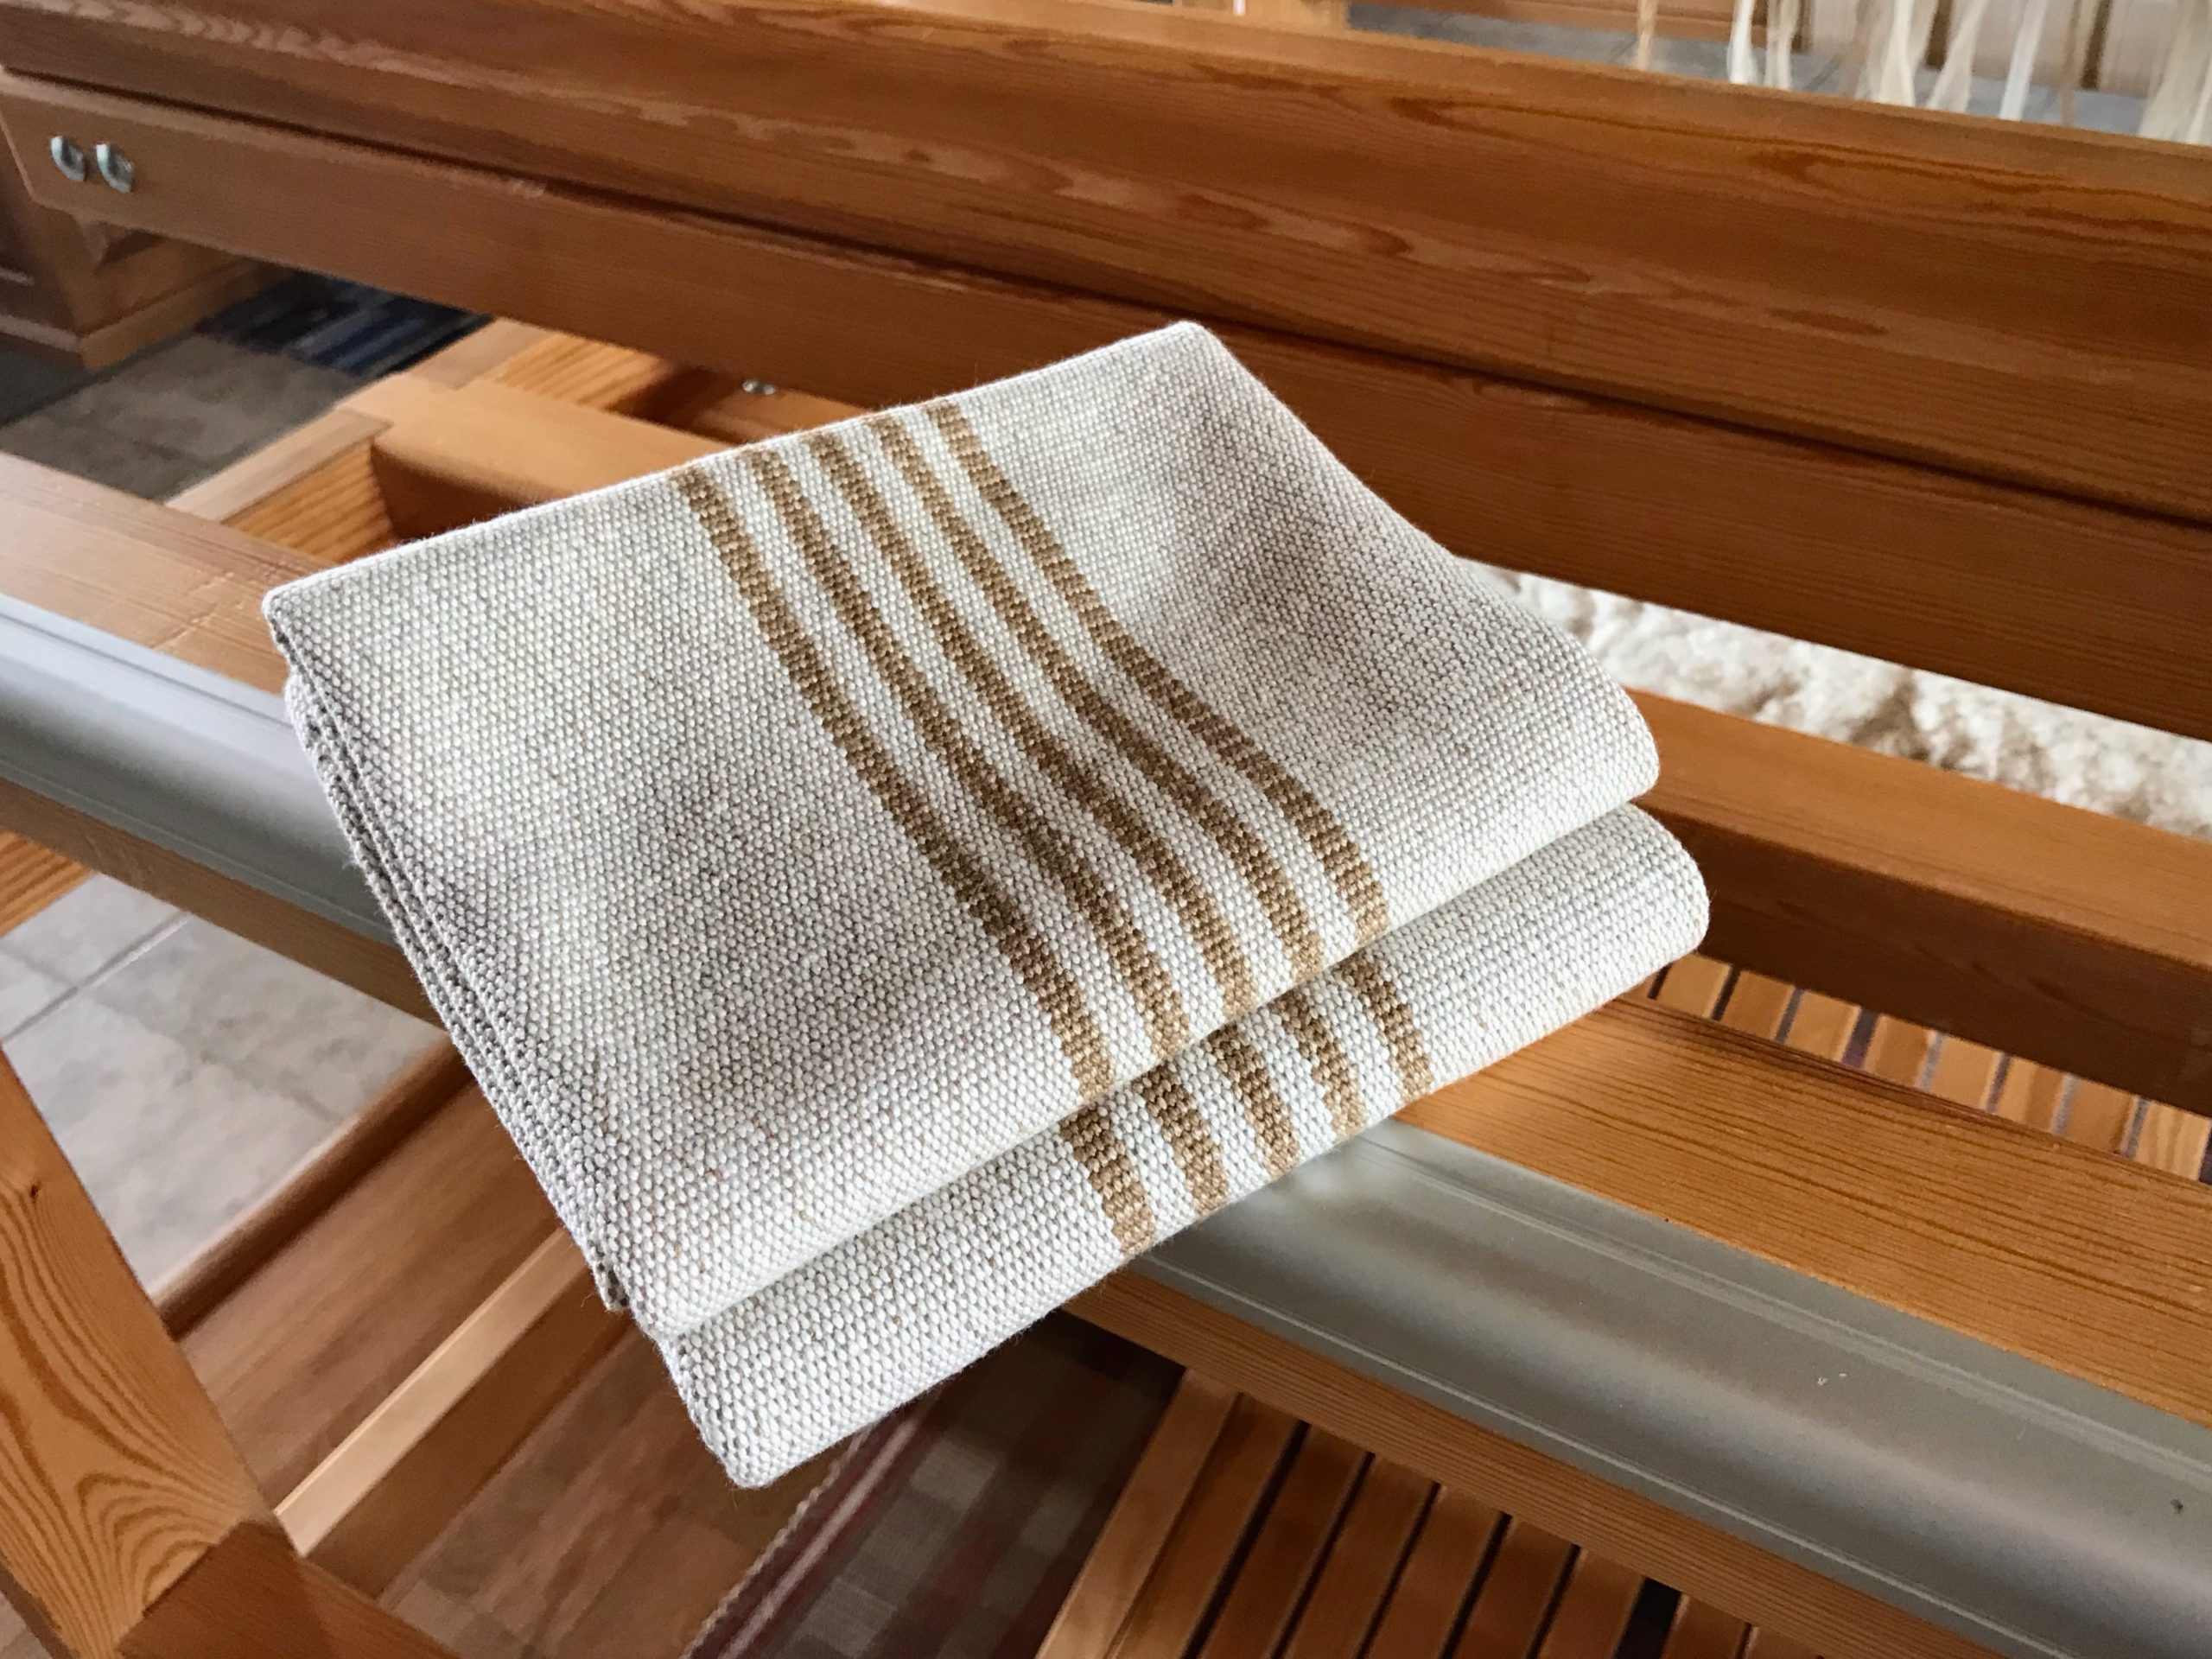
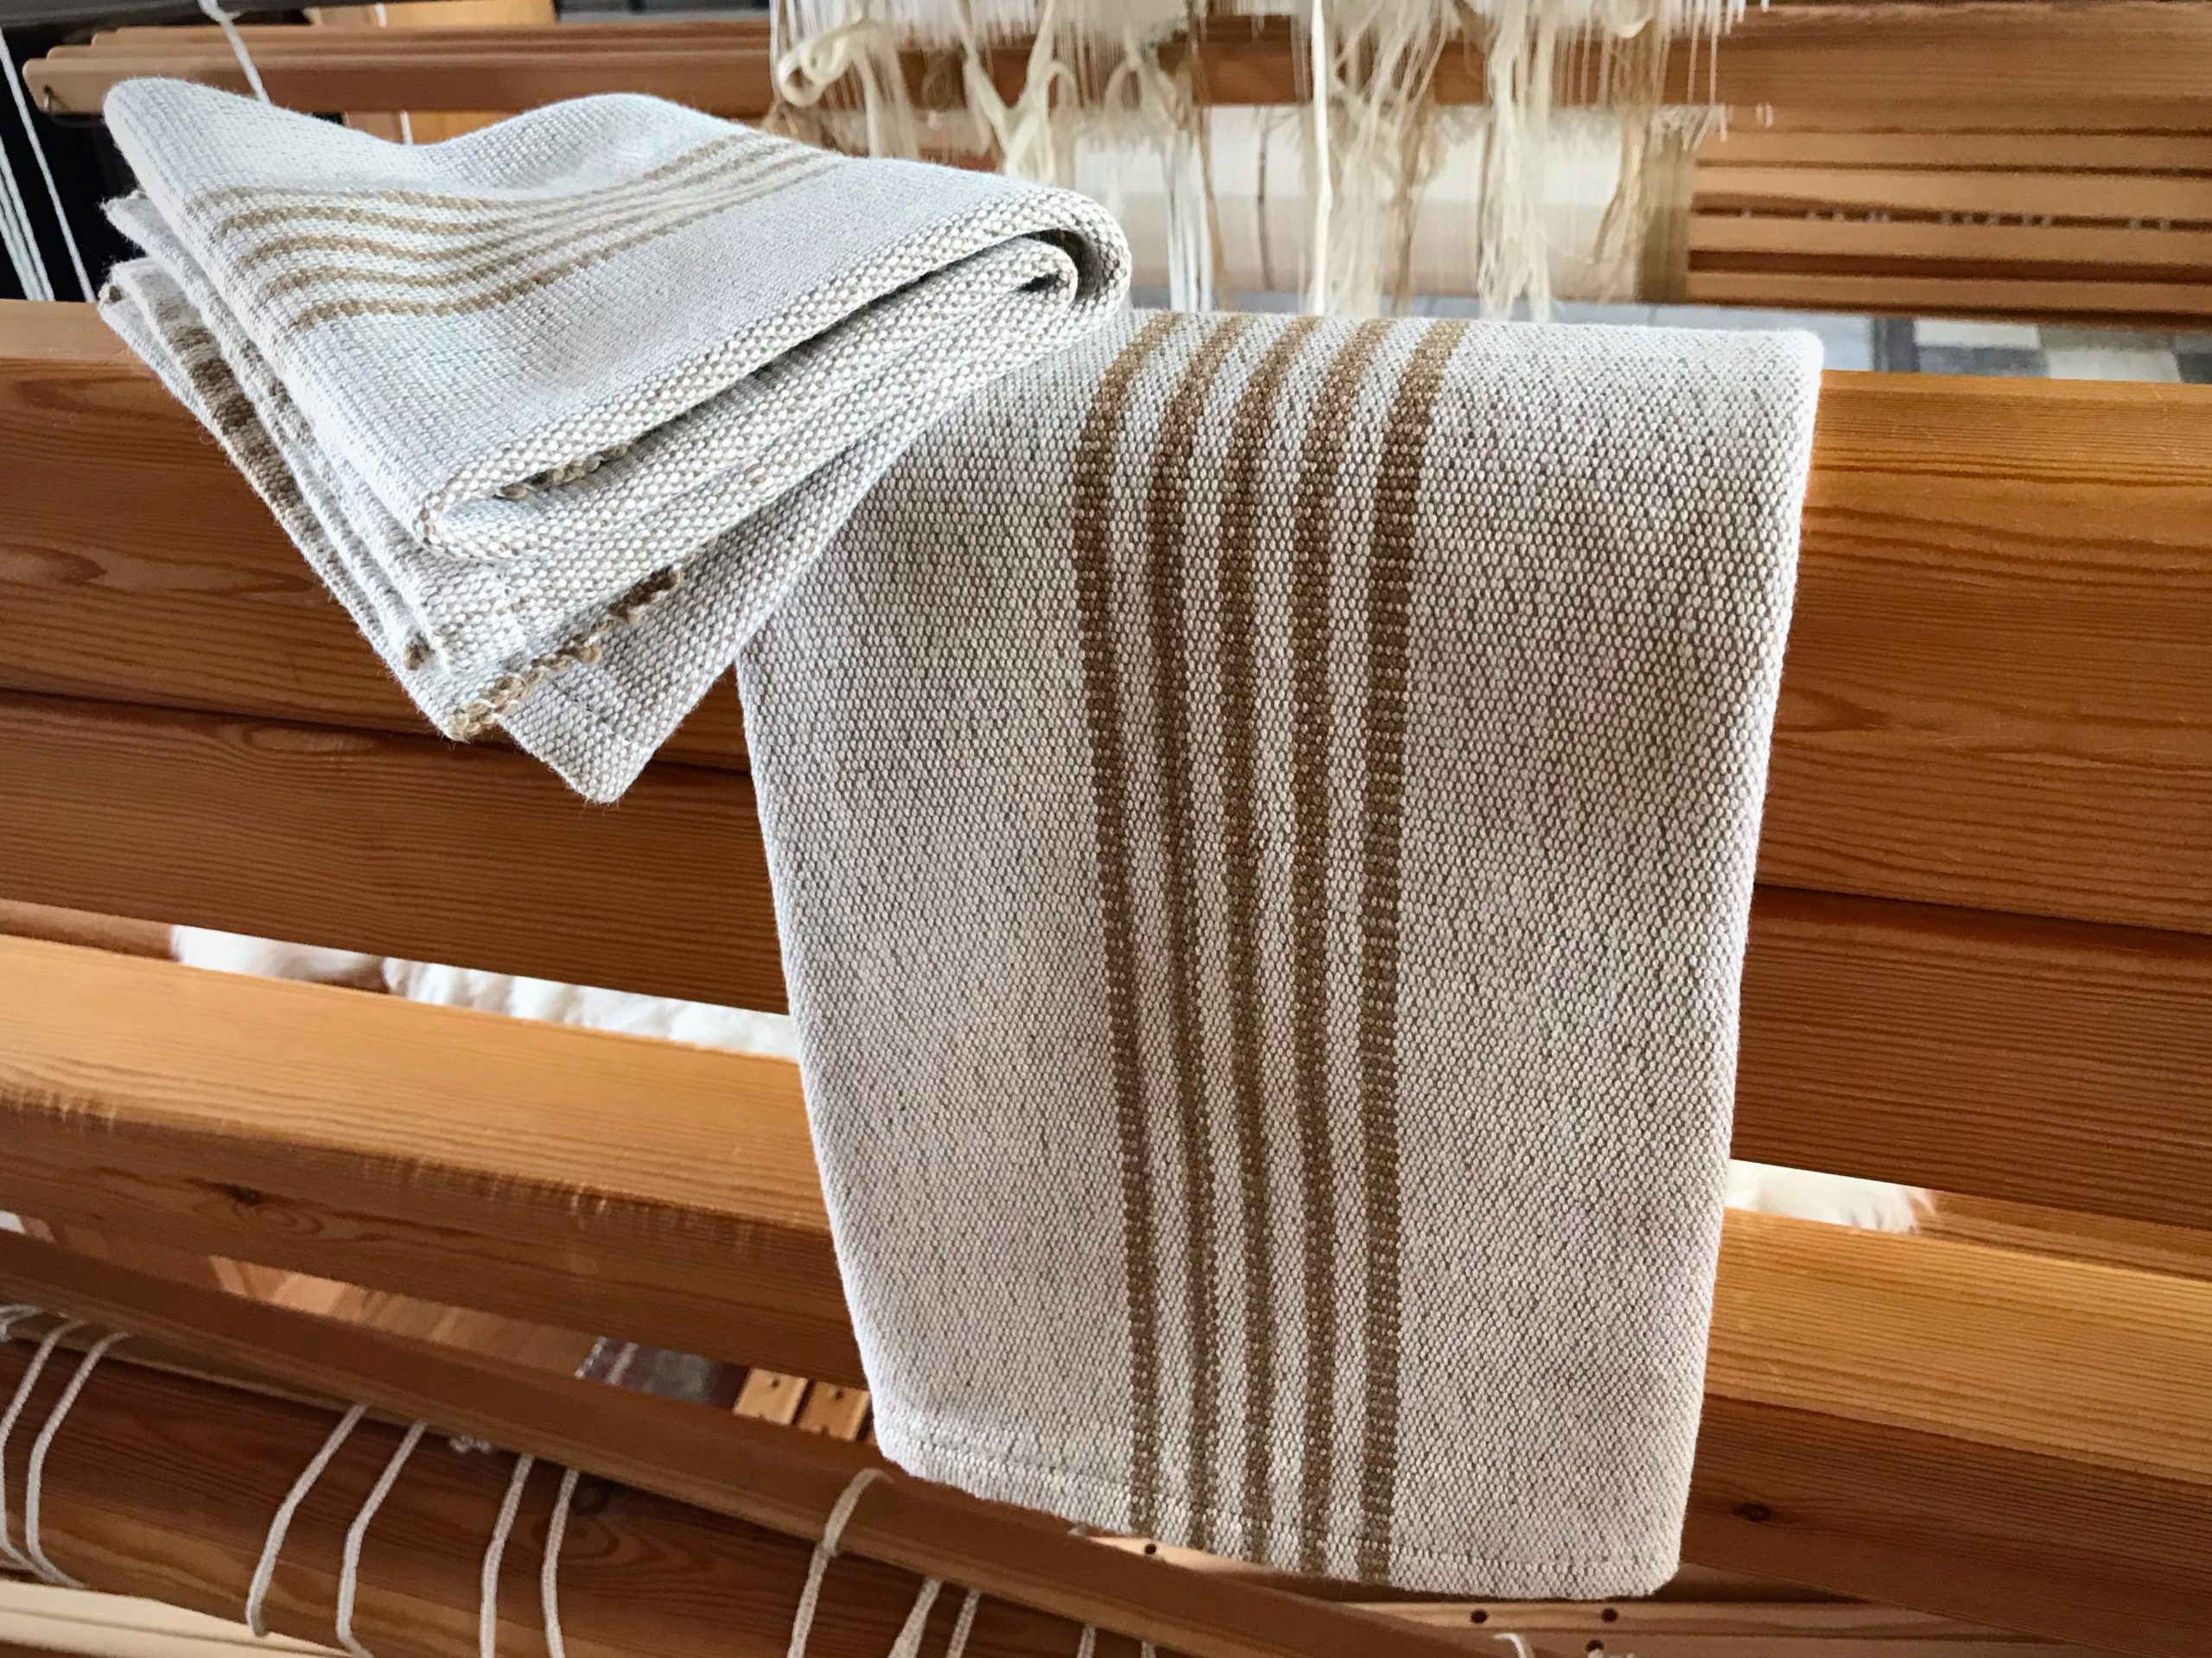
From the projects available, I choose to weave a textured shawl. Keleen, a rigid heddle weaver (sitting at a floor loom this time), chooses to make fabric for an apron with a monksbelt border. Jan, who has never touched a loom until now, weaves natural-colored-cotton dish towels. Four hours pass in a flash, with weaving and camaraderie. We each complete our handwoven cloth. After returning home our fabrics are washed and finished, ready for use. My shimmering shawl is just right for a cool evening. Keleen’s fabric is soon to become an heirloom apron. And Jan’s first handwoven towels are drying dishes. Success!

Textured Shawl woven at Homestead Fiber Crafts.
Textured Shawl, mixed fibers, plain weave.
Textured Shawl woven at Homestead Fiber Crafts.
Golden yarn is used for weft stripes near the border.
Monksbelt apron fabric woven at Homestead Fiber Crafts.
Monksbelt apron fabric, cotton, plain weave and two-shuttle monksbelt pattern weave.
Natural colored cotton dish towels woven at Homestead Fiber Crafts.
Natural-colored-cotton dish towels, plain weave.
Natural Colored Cotton Dish Towels woven at Homestead Fiber Crafts.
Towels are made with all natural colors of cotton thread. This set uses a brown weft.

Abilities and experience come in all shapes and sizes. Anyone who wants to learn, can. Your heart goes in the direction you turn it. The Lord sees your heart. He’s not looking for ability or experience. He reaches the heart that is turned toward him. That’s where his grace comes to life.

May you have true friends.

Your friend,
Karen

Mug Rugs to Remember

Knowing I would be away from my floor looms for a while, I put a narrow cottolin warp on my little Emilia rigid heddle loom to take with me. Mug rugs—perfect for travel weaving, to use bits of time here and there. I had some bulky wool yarn and a few rag rug fabric strips to take for weft. In a burst of hopeful inspiration, I grabbed a bag of Tuna/Fårö wool butterflies, leftover from my Lizard tapestry (see Quiet Friday: Lizard Tapestry) a couple years ago, and tossed it in my travel bag as we were going out the door.

Mug rugs on Glimåkra Emilia rigid heddle loom.
Glimåkra Emilia 35cm (13.5″) rigid heddle loom. Narrow cottolin warp is from a previous warp-winding error that I had chained off and saved.
Mug rugs on my Glimakra Emilia rigid heddle loom.
Blue bulky wool yarn left from a long-ago project makes a good thick weft for mug rugs. Picks of navy blue tow linen are woven between picks of thick weft on some of the mug rugs.
Weaving mug rugs on my Glimakra Emilia rigid heddle loom.
Wool butterflies for the weft are made of several strands of Tuna and Fårö yarn.

Those colorful wool butterflies turned out to be my favorite element! They not only gave me colors to play with, they also provided variety, the spice of weaving. The forgotten Lizard butterflies will now be remembered as useful and pretty textiles.

30 mug rugs on the rigid heddle loom.
The end of the warp.
Mug rugs just off the rigid heddle loom.
Rag rugs for mugs!
Rag rug fabric strips are used for a few of the mug rugs. Rag rugs for mugs!
Mug rugs ready to be hemmed.
Mug rugs are cut apart to prepare for hemming.
Making handwoven mug rugs.
Hems have been folded and pressed under. Choosing bobbin colors to sew the hems.
Wool handwoven coasters.
Wool butterflies provided many different colors.
Handwoven wool coasters woven on a rigid heddle loom.
Alternating two different colors of wool butterflies was my favorite way to play with color.
Mug rugs for gifts.
Completed mug rugs, ready to be sent out as gifts.

How do you want to be remembered? Like my tapestry-specific butterflies put away on a shelf, our carefully-crafted words will soon be forgotten. Actions speak longer than words. Our deeds of faithful love will outlive us. Our actions that reveal the kindness of our Savior will stand the test of time. And that is a good way to be remembered.

Coffee or tea, anyone? Handwoven mug rug.
Coffee or tea, anyone?

May you be remembered for your deeds of faithful love.

Happy Weaving,
Karen

Monksbelt Flowers on a Shoulder Bag

Remember Joanne Hall’s Swedish Art Weaves workshop that I took a few months ago? With the warp that was left, I explored some of the art weaves in more depth.

Monksbelt (Munkabälte), Dukagång, and Halvkrabba can be seen below the warp.

I finished off the linen warp by making a front and back panel for a small shoulder bag. A monksbelt pattern is scattered like flowers on the front. The back has various stripe patterns in weft-faced plain weave. I wove a shoulder strap on my band loom using 6/2 Tuna wool for warp and 12/6 cotton for weft.

Weaving Monksbelt with half heddle sticks.
Half-heddle sticks and batten in front of the back beam, for weaving monksbelt patterns.
Pick up for monksbelt.
Pick-up stick in front of the reed is being used to weave a monksbelt flower “petal.”
Handwoven shoulder bag in progress.
Back panel has varying stripe patterns.
Cutting off.
Cutting off.
Glimakra band loom. Narrow wool band.
Narrow wool band for the bag shoulder strap.

The bag has simple construction, mostly hand-stitched. In one of my remnant bins I found a piece of wool fabric that I wove several years ago. It’s perfect for the sides and bottom of the bag. The lining uses pieces from fabric that went into my latest rag rugs, and has pockets, of course.

Making a handwoven wool bag.
Overhand knots secure the warp ends.
Construction of a wool shoulder bag.
Ready to assemble all the parts.
Constructing a small handwoven wool bag.
Handwoven wool pieces are hand-stitched together.
Handwoven wool bag construction.
Bag construction continues with stitching the back in place.
Magnet closure on a handwoven bag.
Magnet closure is added to the lining before stitching the lining in place. Knots and fringe outline the top of the bag.

This bag with Monksbelt Flowers is for carrying sweet memories, happy moments, and heavenly dreams.

Handwoven shoulder bag.
Inside of handwoven wool bag.
Pockets in the lining.
Monksbelt Flowers handwoven shoulder bag.

Resources: Swedish Art Weaves workshop with Joanne Hall; Heirlooms of Skåne Weaving Techniques, by Gunvor Johansson; Väv Scandinavian Weaving Magazine, 2/2013.

This is the time for my annual pause for the month of July. I appreciate you joining me in this weaving journey!

I look forward to being back with you again Tuesday, August 4. In the meantime, joyfully draw living water from the source, Jesus Christ.

May you carry no more than necessary.

With love,
Karen

Tried and True: Rag Rug with Surprising Rosepath Inlay

The first rag rug on this 12/6 cotton warp is well underway. This rug is mostly plain weave, with one simple rosepath repeat every ten centimeters. I am weaving the rosepath motif without tabby between pattern picks. The treadling is 1, 2, 3, 4, 1, 4, 3, 2, 1. The dark brown motif contrasts with the surrounding light-colored plain weave. It almost looks as if a thick chain has been laid across the rug. I transform the otherwise dark rosepath “chains” with a simple bright inlay strip.

Rag rug with rosepath motif.
Rosepath motif stretches across the plain weave surface.

Rosepath with Inlay

  • Weave the first four picks of the rosepath pattern, treadling 1, 2, 3, 4 (or, if using a different treadling sequence, weave up to the center pick).
  • Lay in the center pick (treadle 1, in this example). Wait to beat it in.
How to do rosepath with inlay.
Center pick of the rosepath motif is arched in the shed.
  • Measure and cut the inlay strip to size, tapering the ends.
How to add an inlay strip to rosepath rag rug.
Inlay fabric strip is measured against the weft in the shed and cut to size.
  • Put the inlay strip in the shed, laying it directly on top of the fabric strip already there.
Making a rosepath rag rug with an inlay strip.
By pushing the beater back I can send the inlay fabric strip through the shed with a ski shuttle.
Rag rug with inlay.
Place the inlay fabric strip directly over the fabric strip of the center pick in the motif.
Inlay instructions.
  • Beat in the weft as usual.
One type of inlay on a rag rug.
Both weft layers are beaten in together. The inlay strip stays visible on top.
  • Continue weaving to complete the rosepath pattern, treadling 4, 3, 2, 1 (or, as needed, for a different sequence).
Rosepath with inlay.
Finished rosepath motif.

You can accomplish a similar effect by weaving in a separate fabric strip for the center pick. In that case, cut tapered ends that are long enough to twist and tuck back into the shed. And carry the weft strip from the previous pick up the side.

The inlay method eliminates the extra bulk at the selvedges, and adds a slight thickness to the center pick, helping to give it a raised look. I am leaving the inlay weft tails loose, but you could cut them a little longer and tuck the ends in, if you prefer.

Rag rug with special rosepath motif.
Weft tails are free at the sides, like little flags at the ends of the rosepath rows.
Glimakra Ideal loom--great tool for dreaming up rag rugs!
Glimåkra Ideal loom–great tool for dreaming up rag rugs!

May you experience the simple pleasure of doing something unexpected.

Happy Weaving,
Karen

Weaving Some Simple Borders

I need to free up this little loom in order to put on a different warp that has a deadline. So, now that I have returned from my travels, my attention is going to these towels. My friend is letting me weave this lovely cottolin warp that she got at Vavstuga.

Simple border stripe in first towel of the Vavstuga towel kit.
Simple border stripe in first towel. Straight twill.
Cottolin warp and 8/1 tow linen weft.
Point twill on four shafts.
Point twill on four shafts. Three horizontal stripes made with half-bleached tow linen weft.

Straight twill, point twill, broken twill, and now “rick-rack.” And after that, a couple towels in plain weave. Everyone who weaves this Vavstuga towel kit and follows the instructions will end up with the same six towels. True? Not necessarily. I like to step off the expected path. That is why I vary the weft and include some type of simple border design on each towel.

Loom with a view. Texas Hill Country.
Three colors of 8/1 tow linen sit on the little blue table as choices for weft. Half-bleached, Unbleached, and Bronze.
Broken twill for a cottolin towel.
Changed the tie-up to broken twill, which allows me to keep a simple straight treadling pattern. Dashed weft pattern for the border stripe is produced by alternating the bronze linen weft with the half-bleached linen weft.
Color-blocked towel uses three neutral weft colors.
Long wavy vertical lines give the appearance of rick-rack. Again, I changed the tie-up to keep the simple straight treadling pattern. I use all three weft colors in this color-blocked towel.
Cottolin towels with 8/1 tow linen weft.
Plain weave, with four shafts and two treadles. The main body of the towel uses the unbleached linen weft. Two picks of half-bleached linen are sandwiched between several rows of bronze linen weft.

There is a wide path that is crowded with many people. It’s the common and expected way of life. It’s where you stay if you want to fit in with everyone else. But if you search for it, you’ll find an uncommon path. It’s narrow; and few find it. It’s the path of life that is found in Jesus Christ. Stand in the narrow path. That is where your unique features will show up as border designs that set you apart as a cherished child of God.

May you be set apart.

Happy weaving,
Karen