Sley, Sley Again

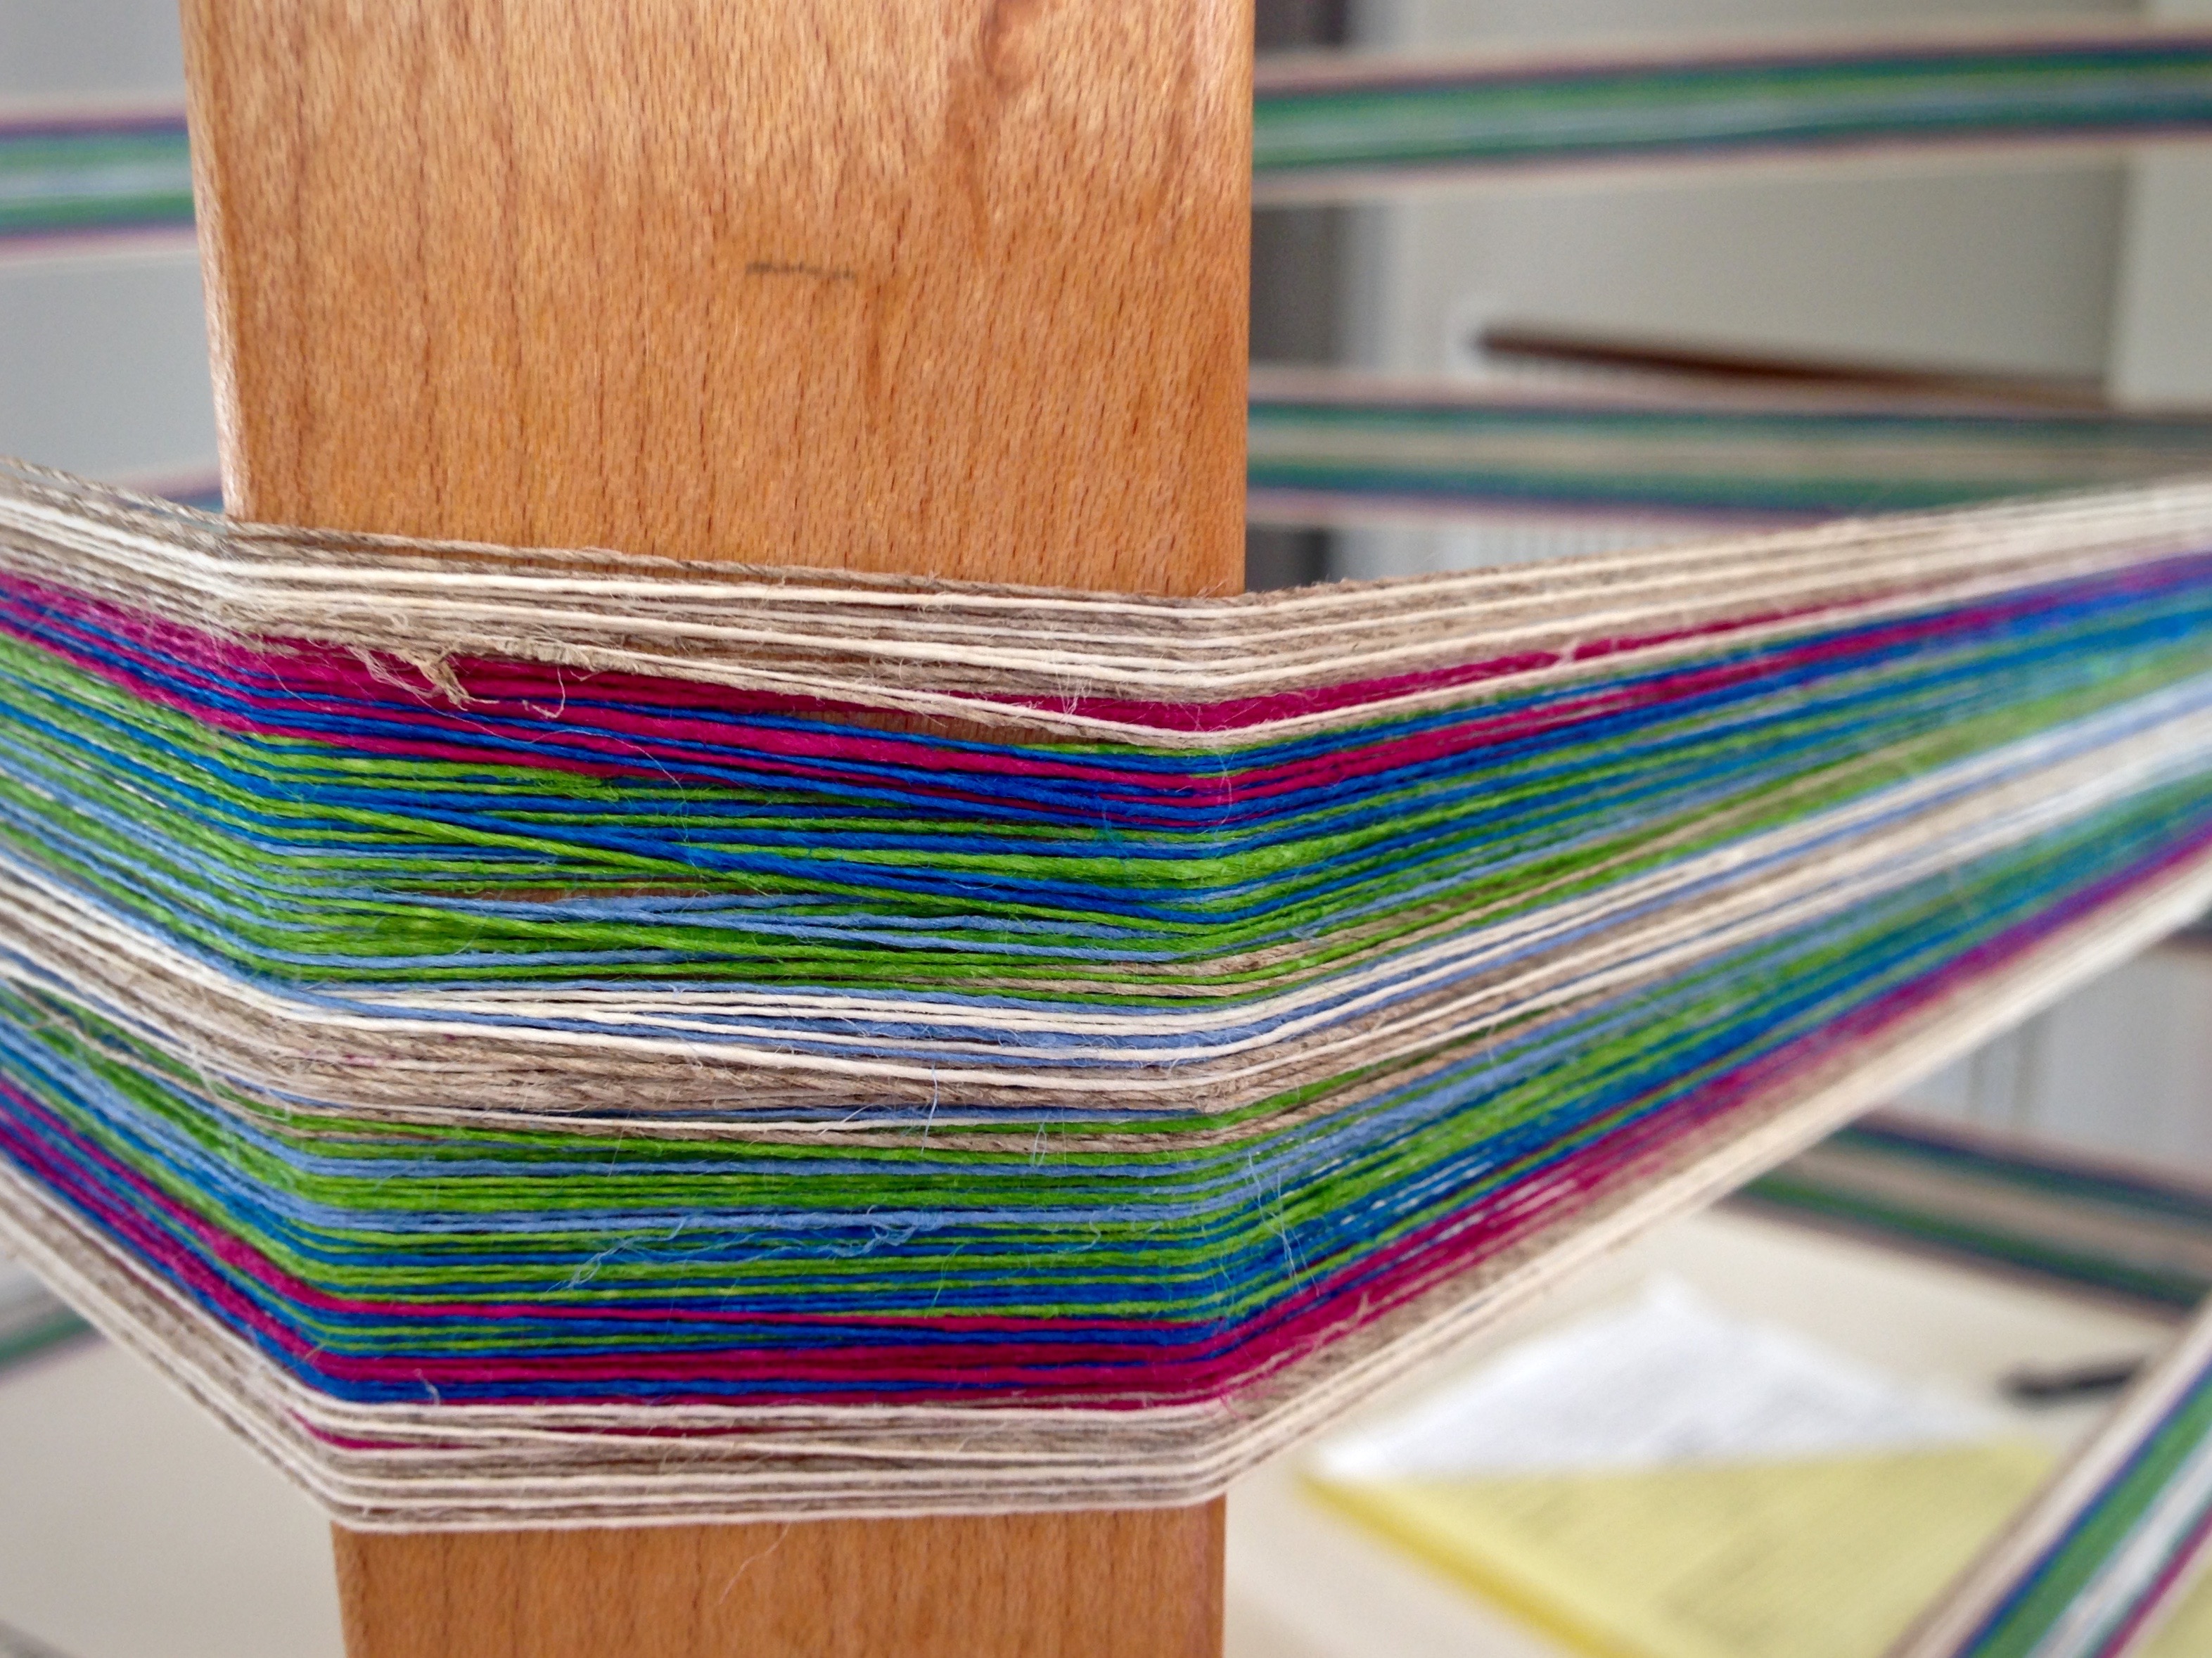
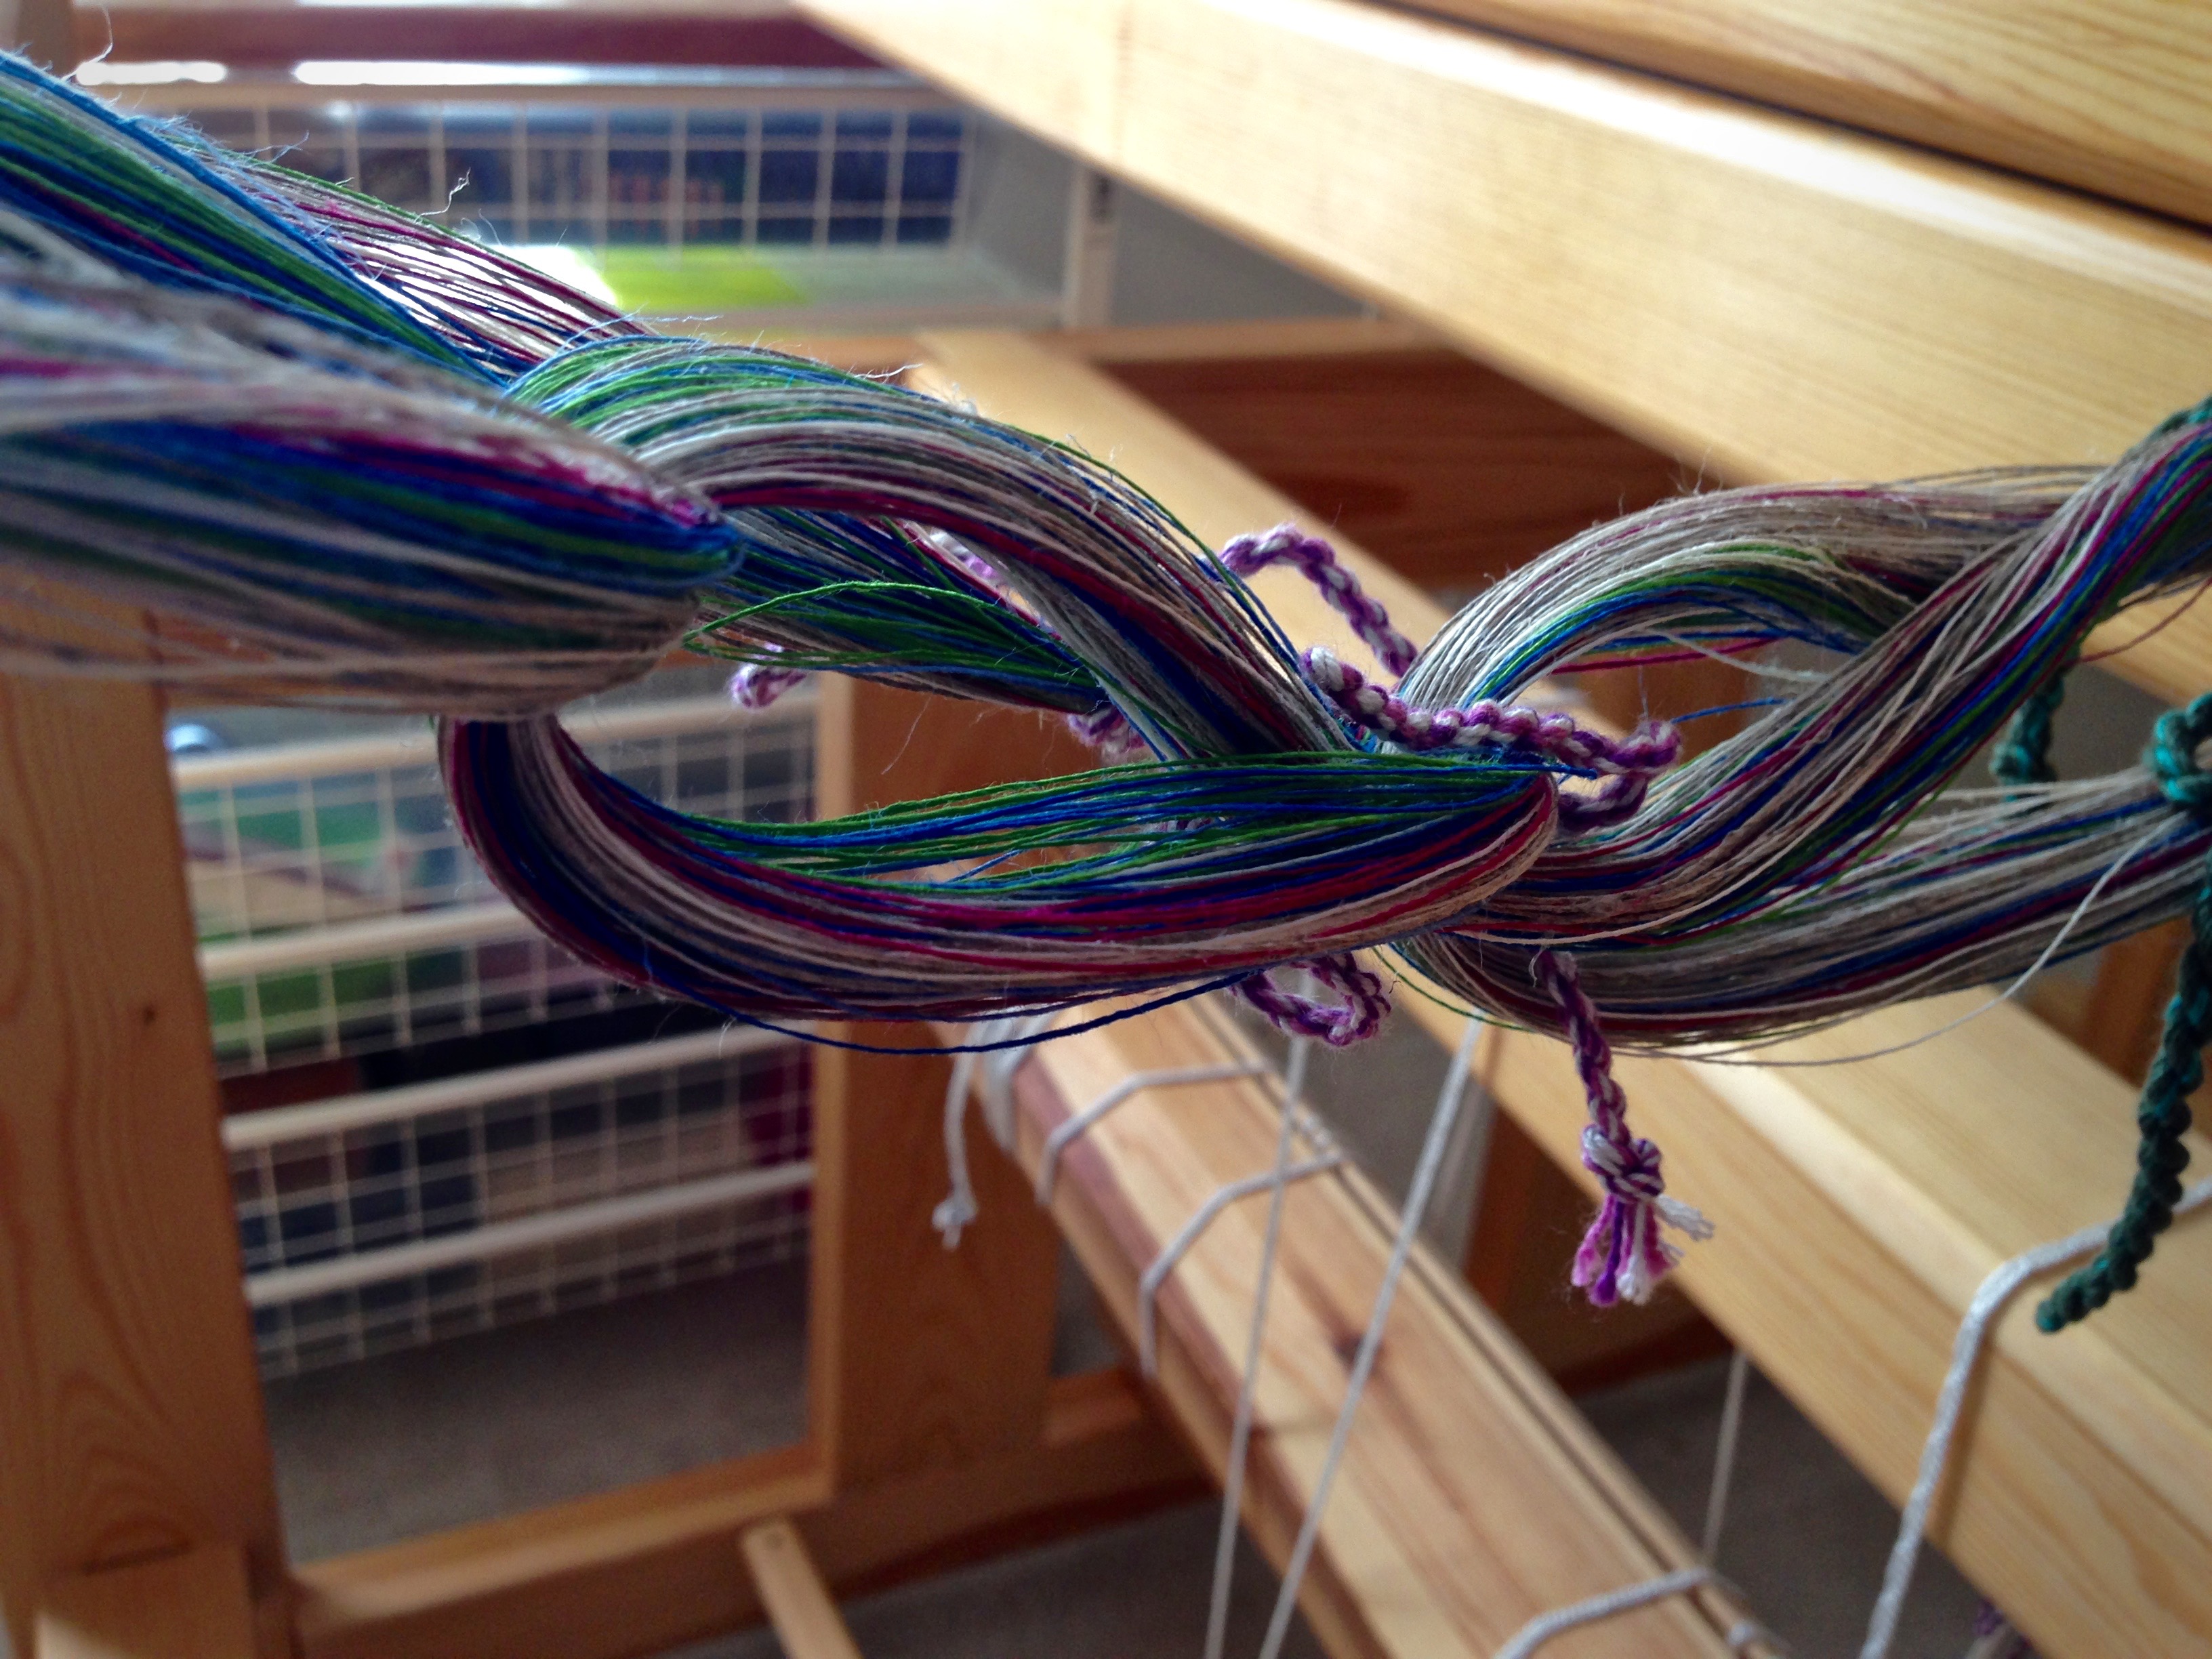
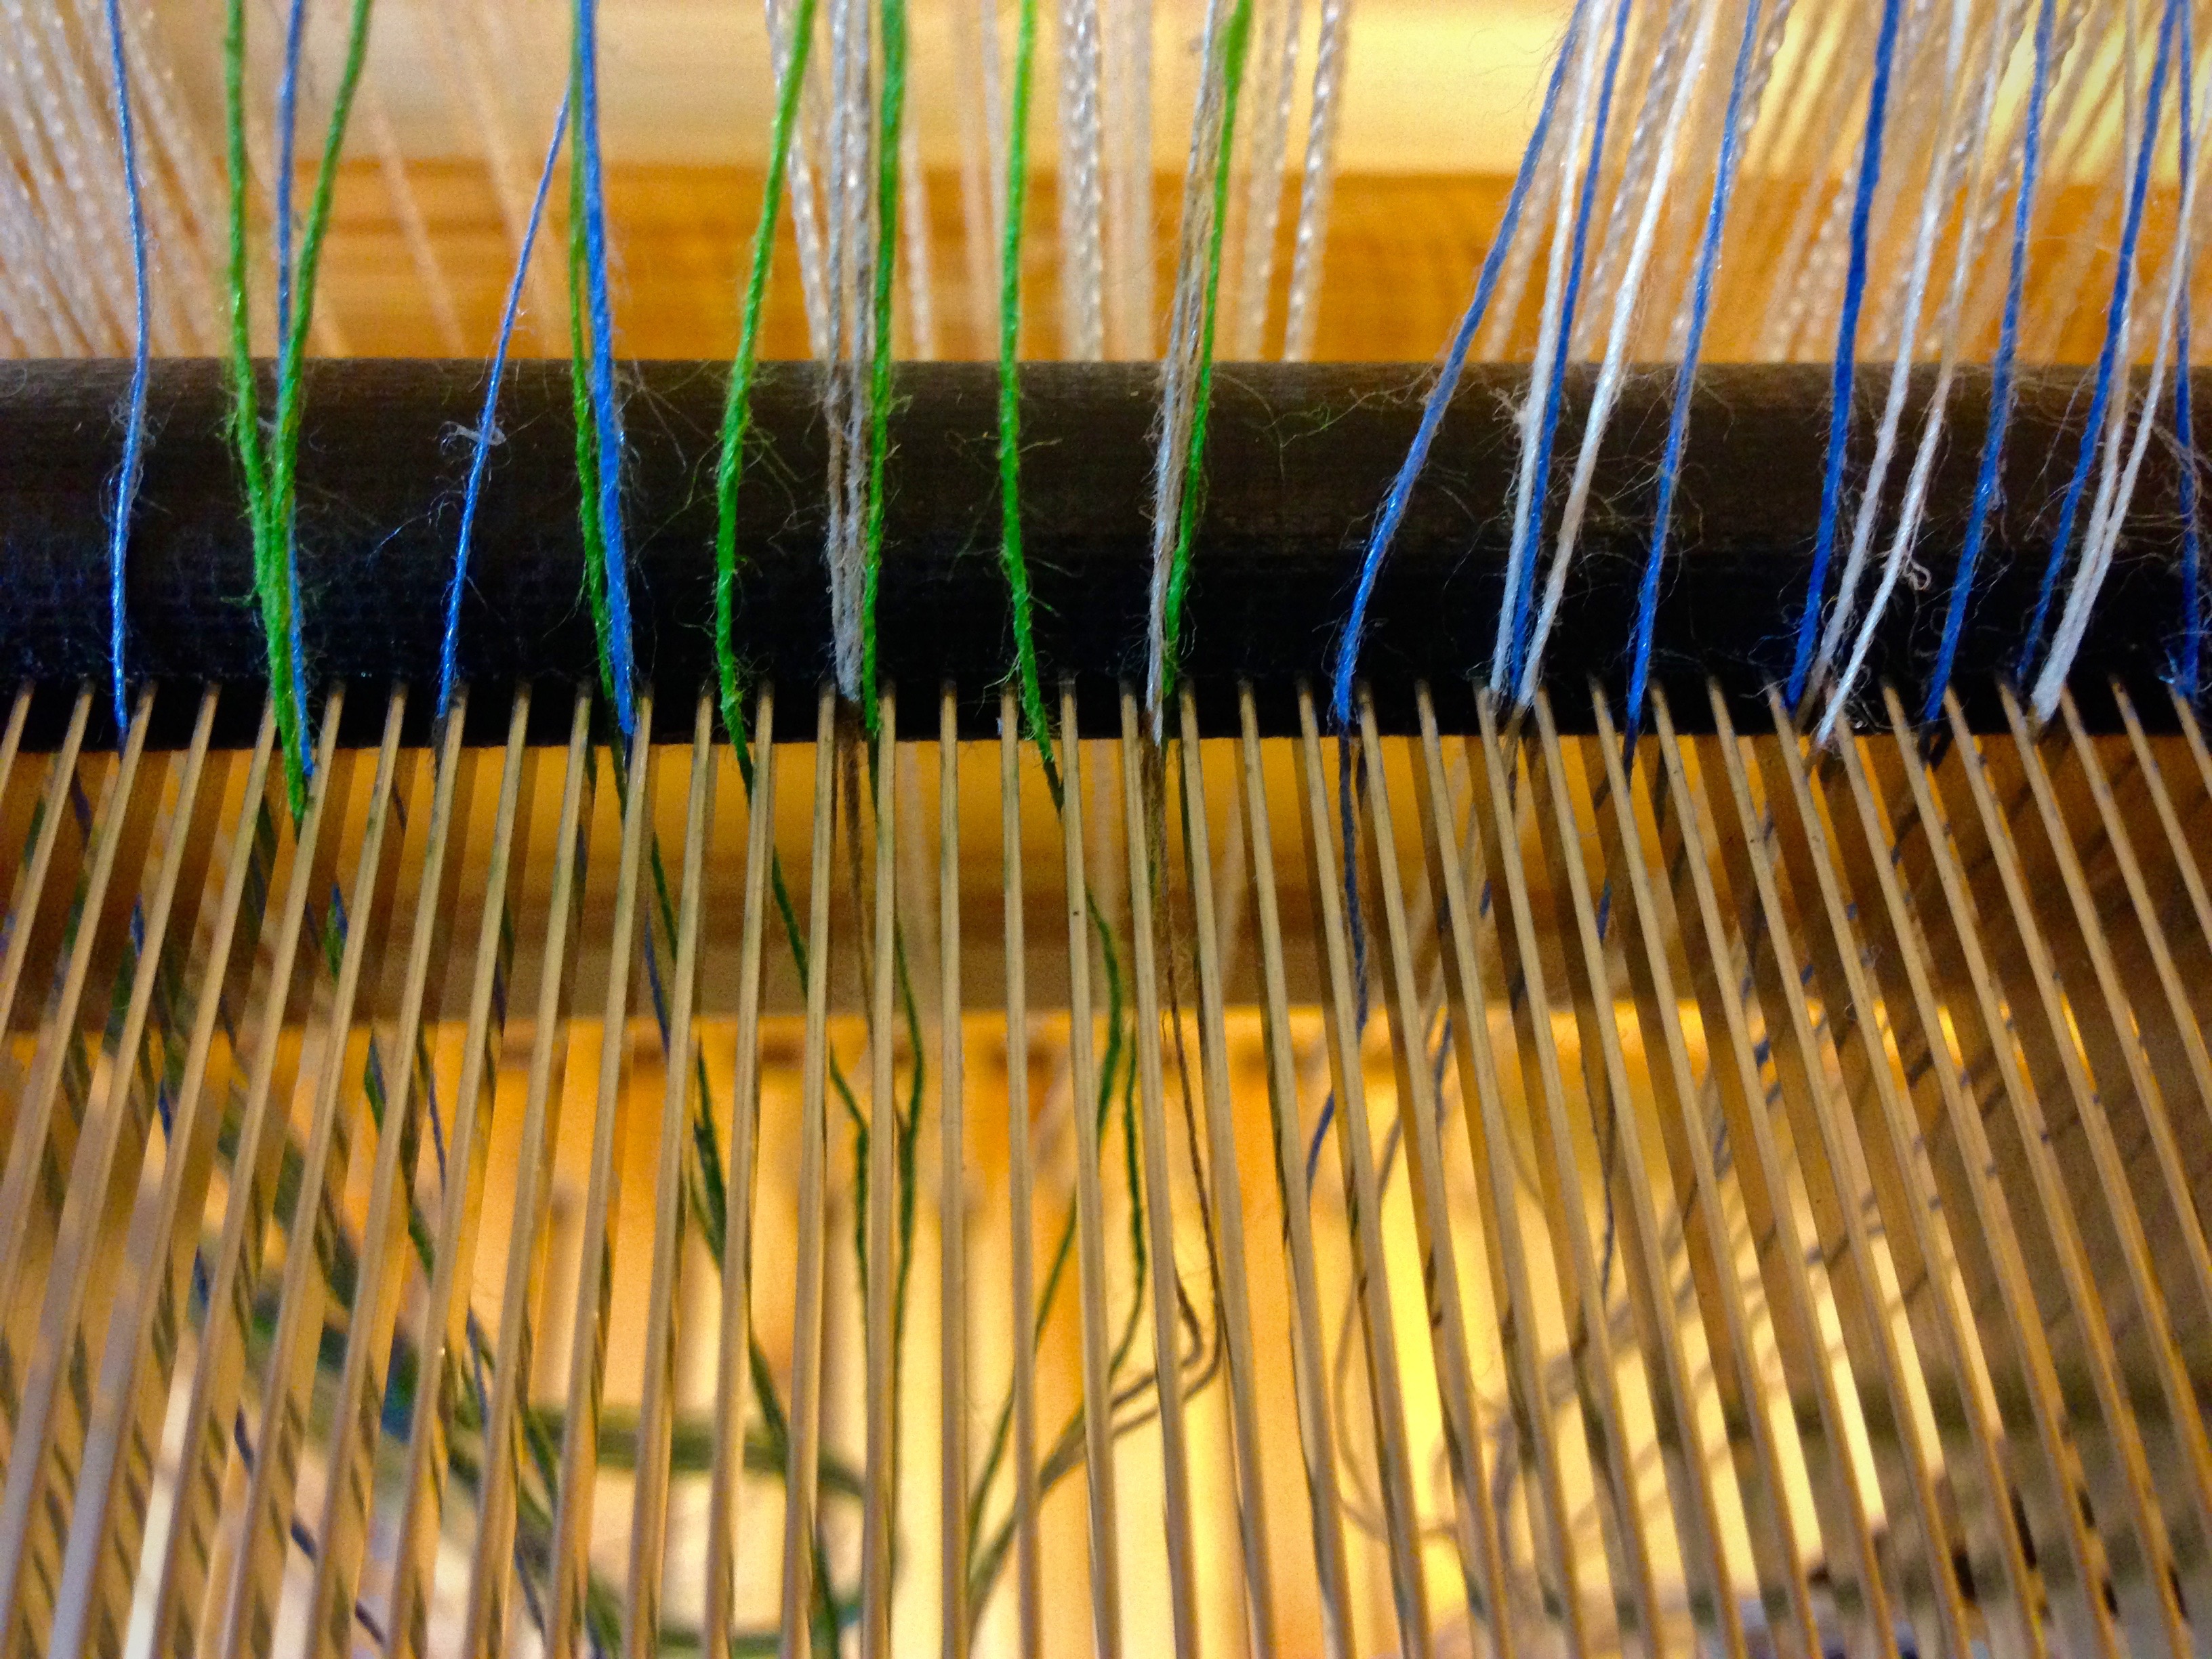
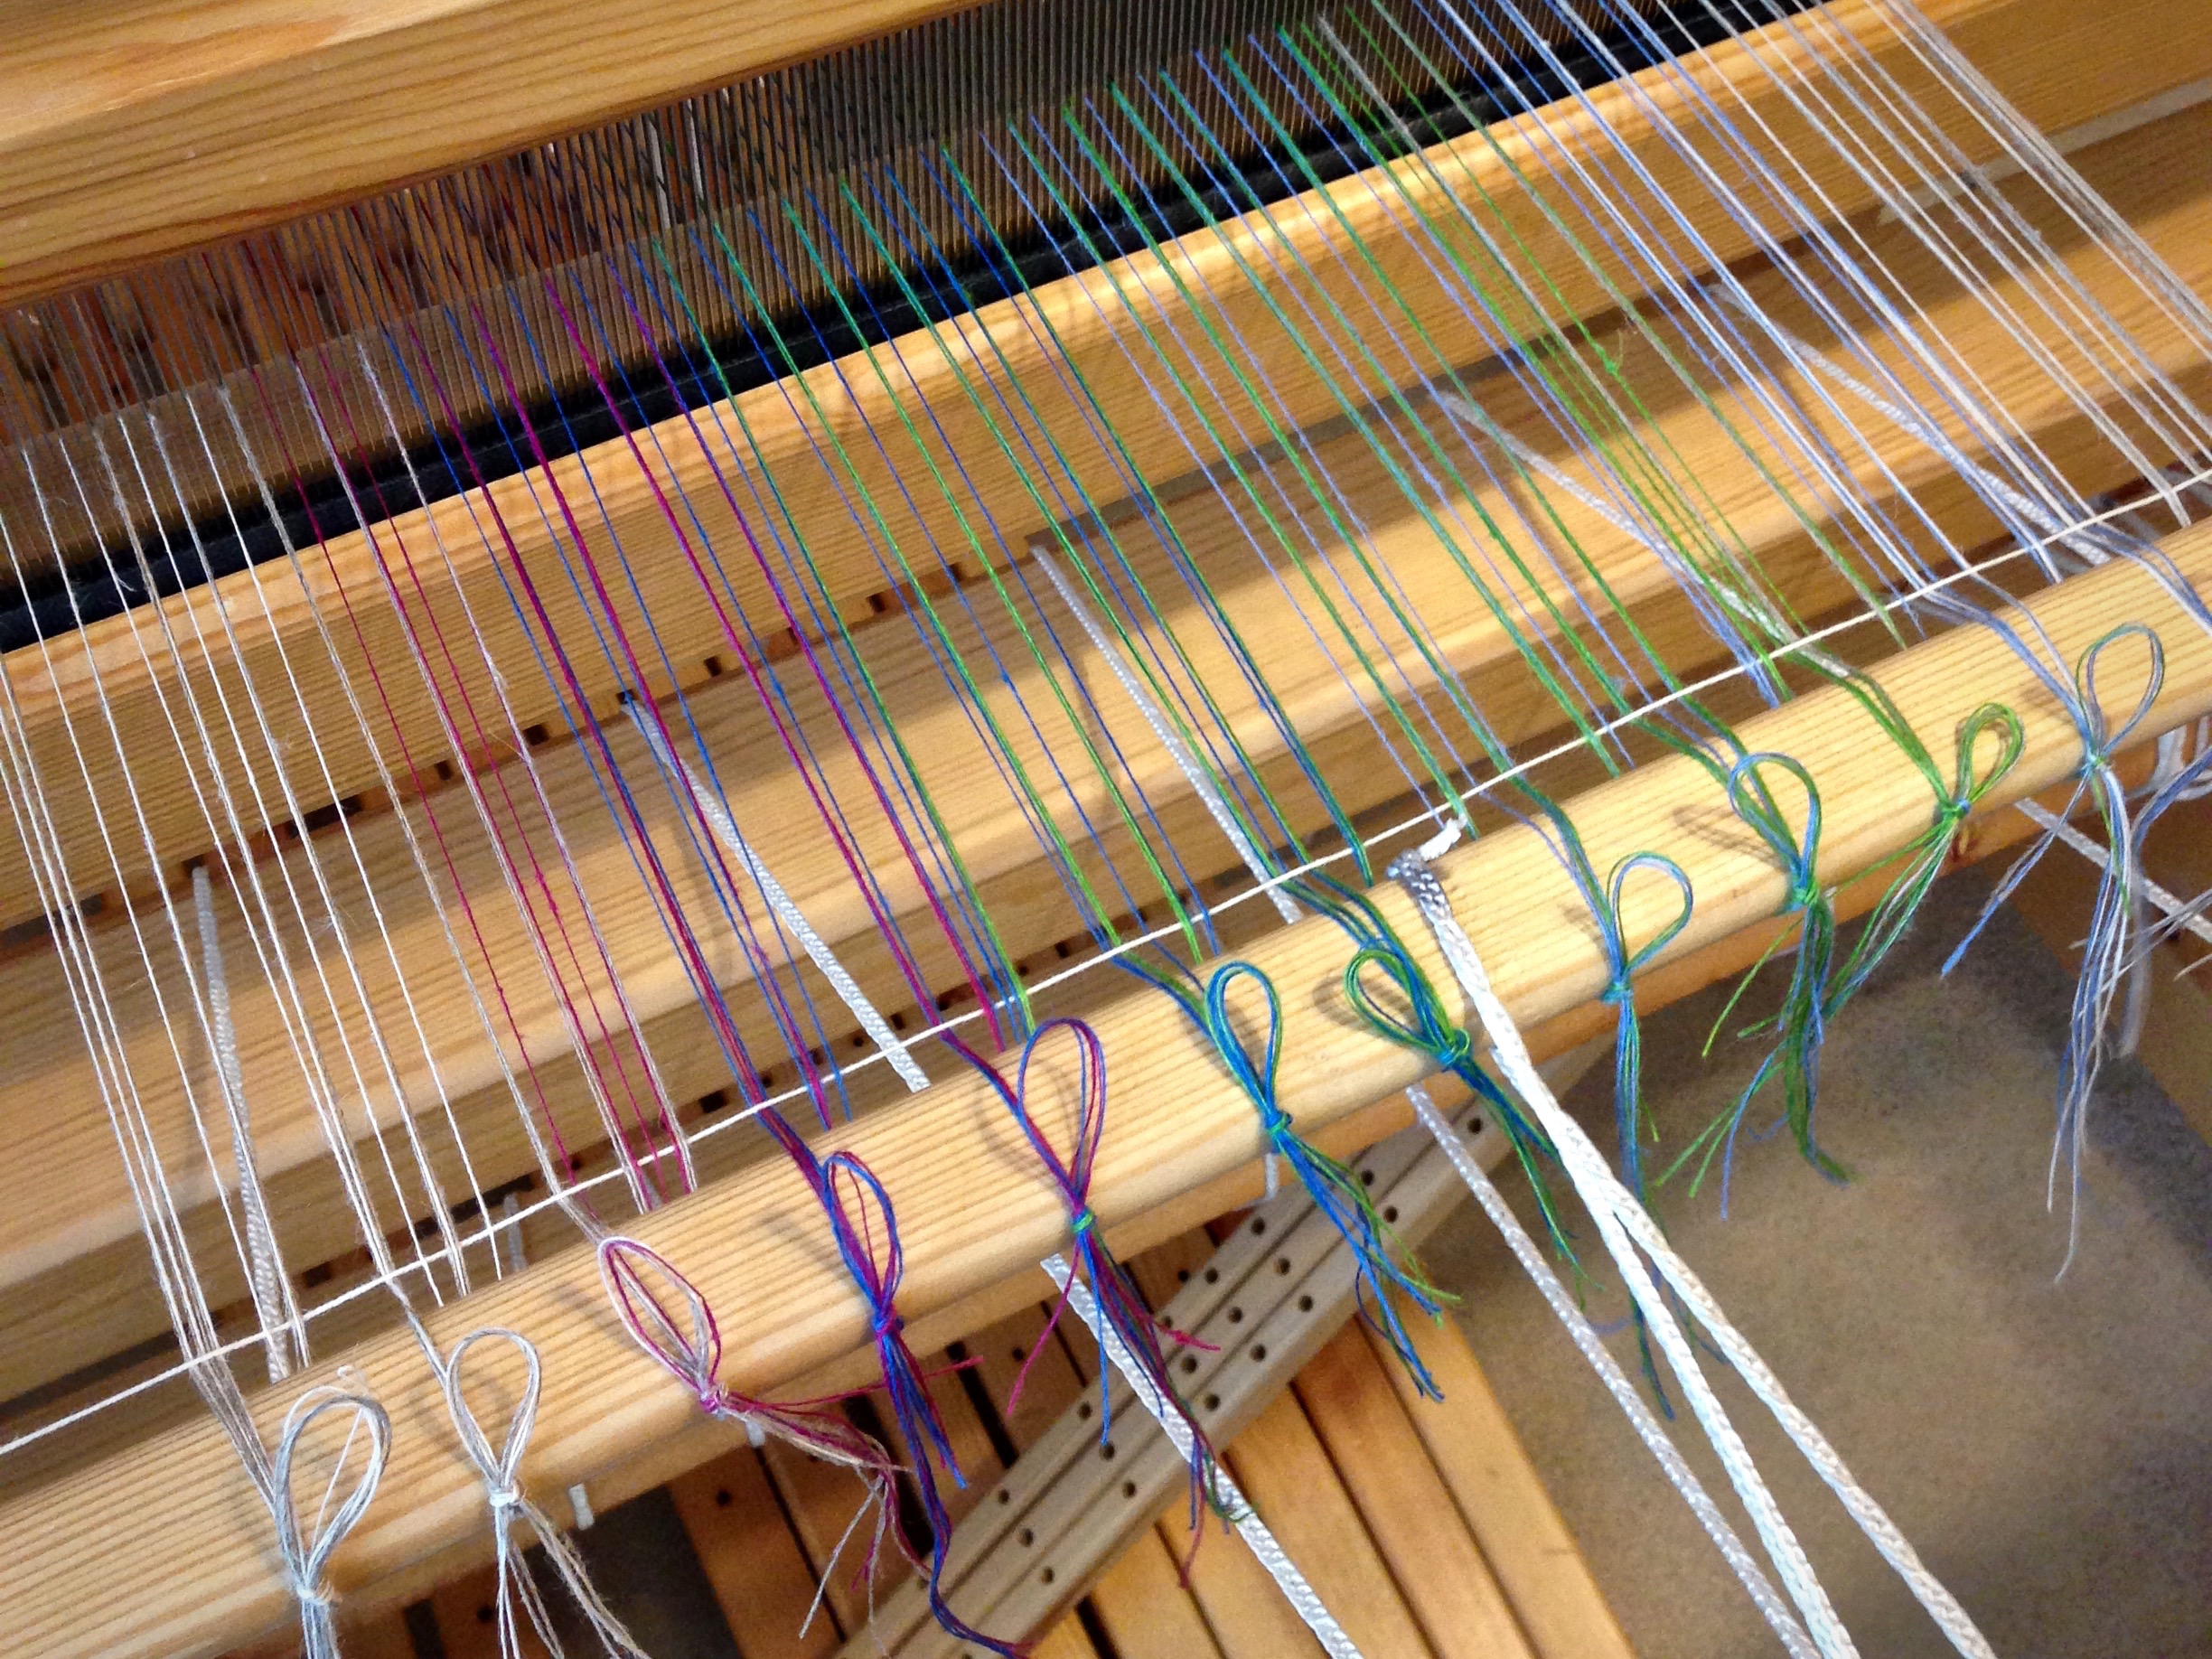
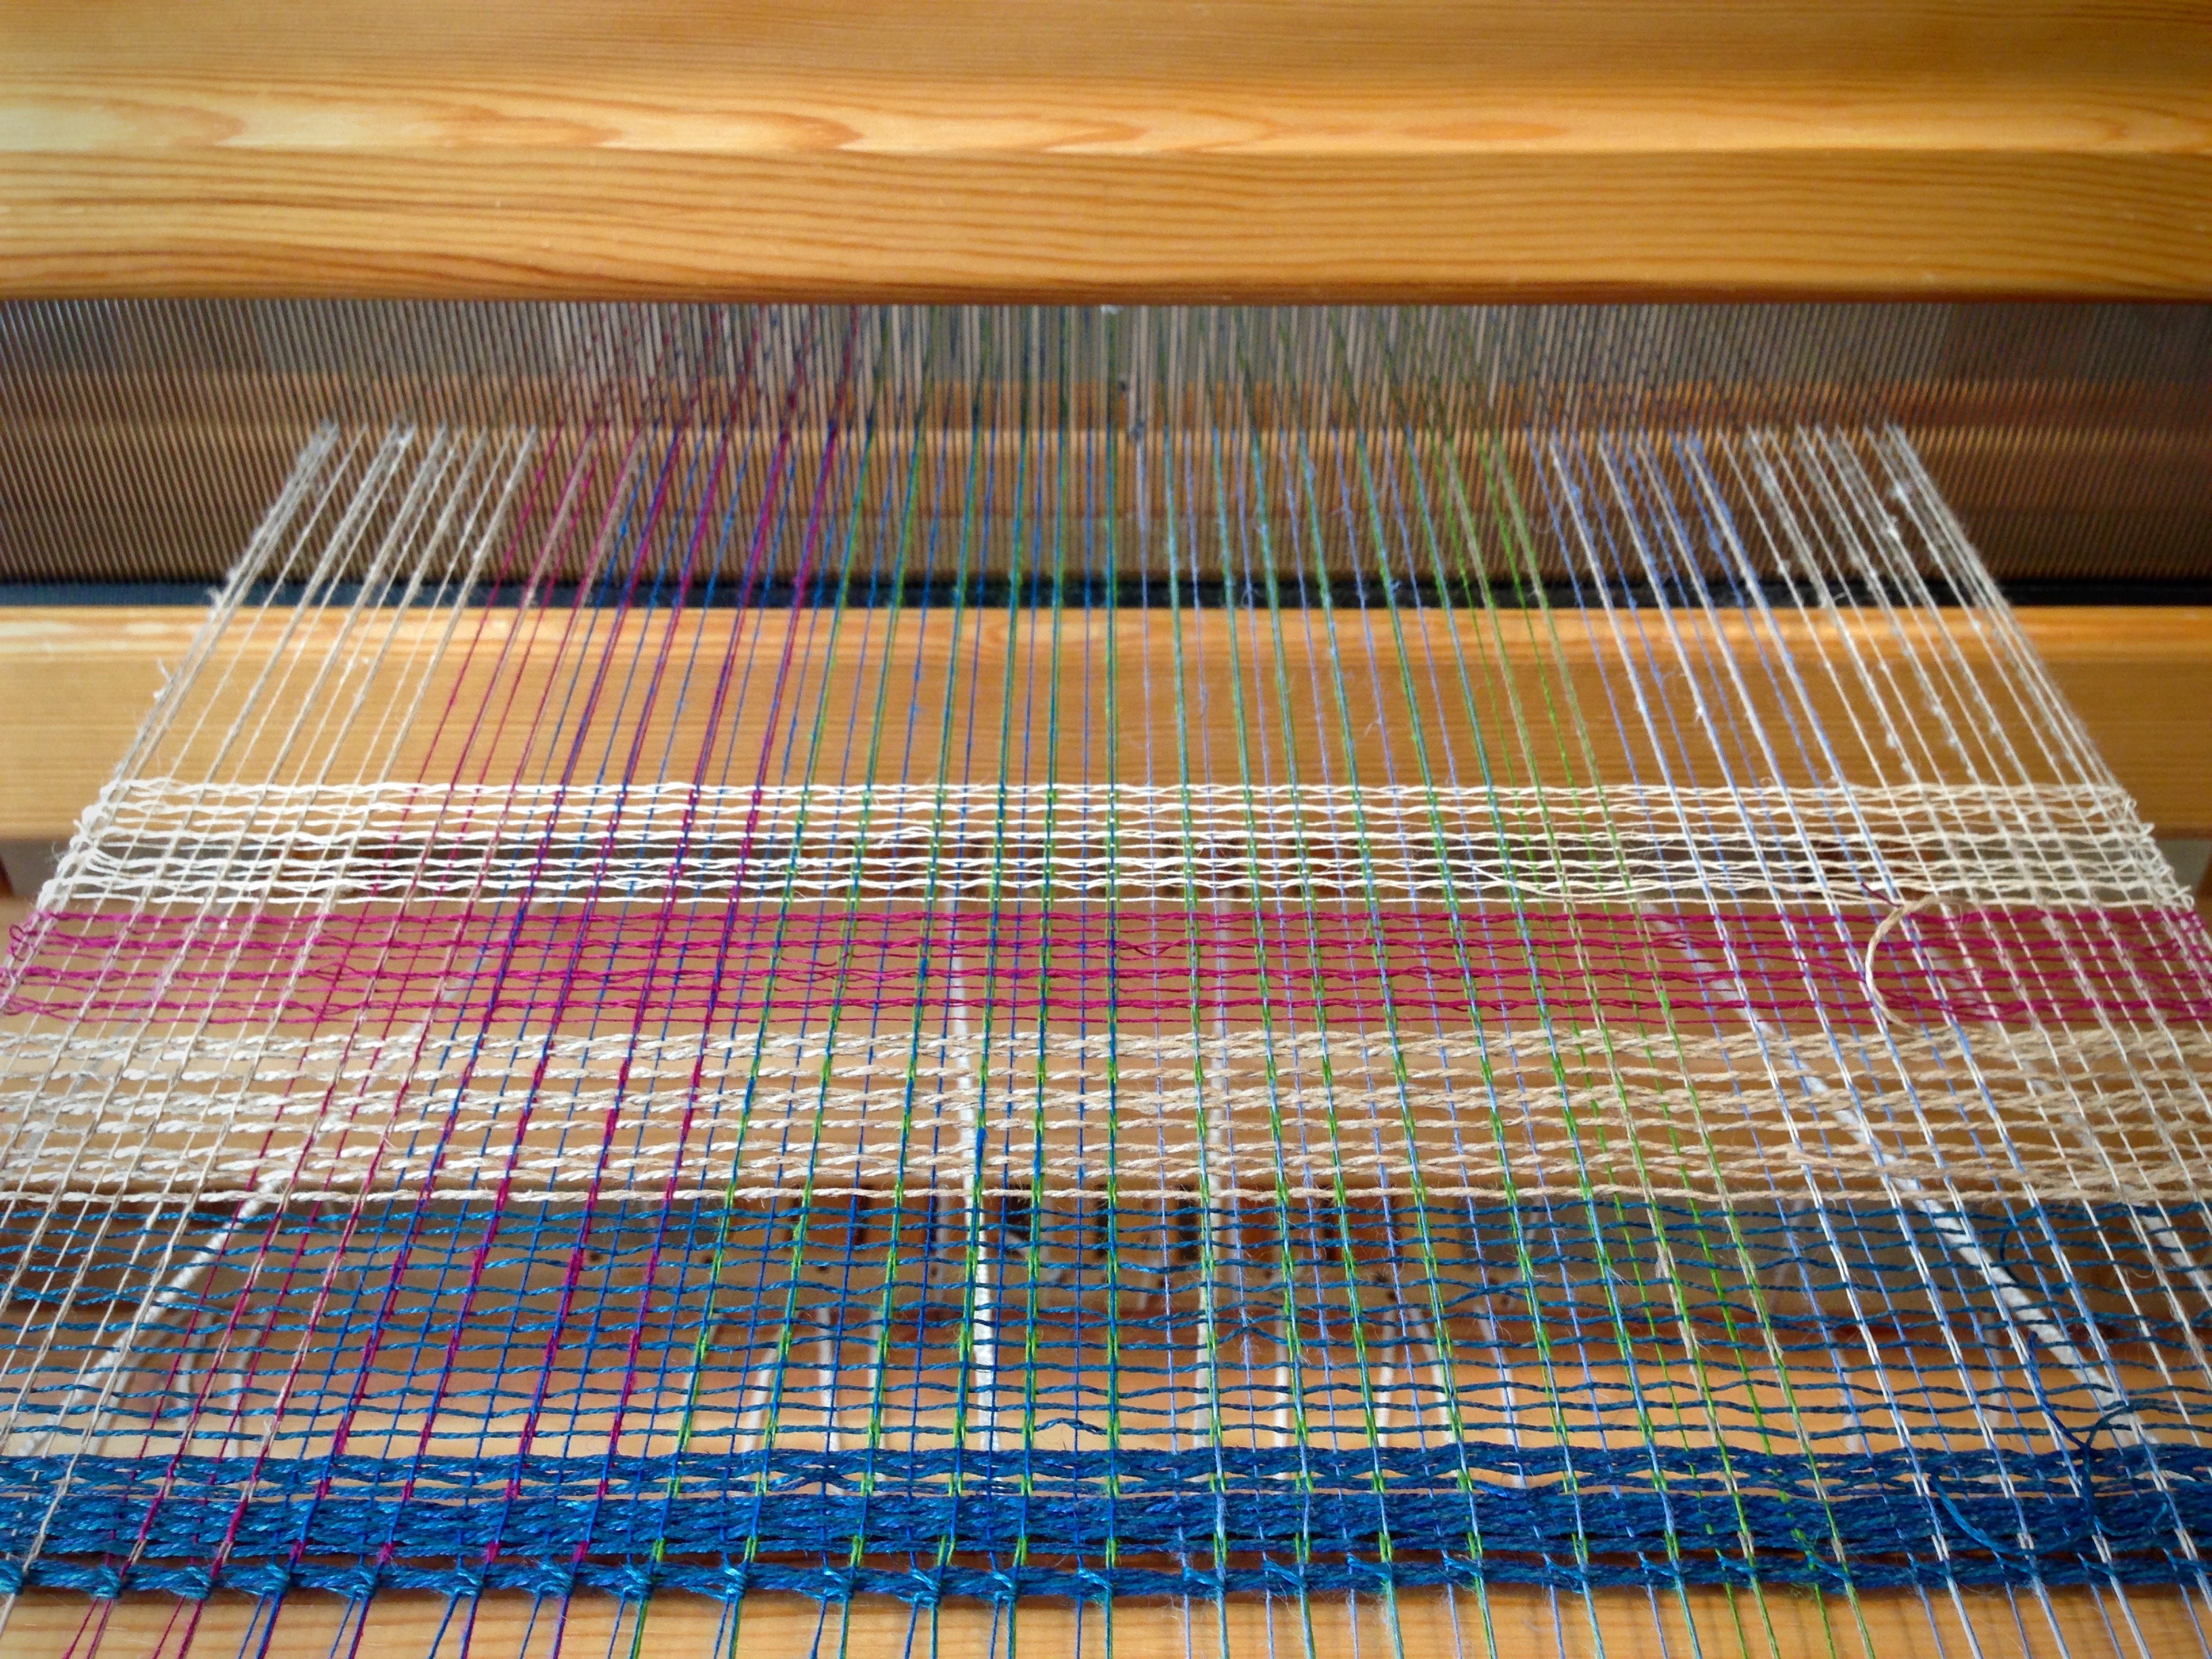
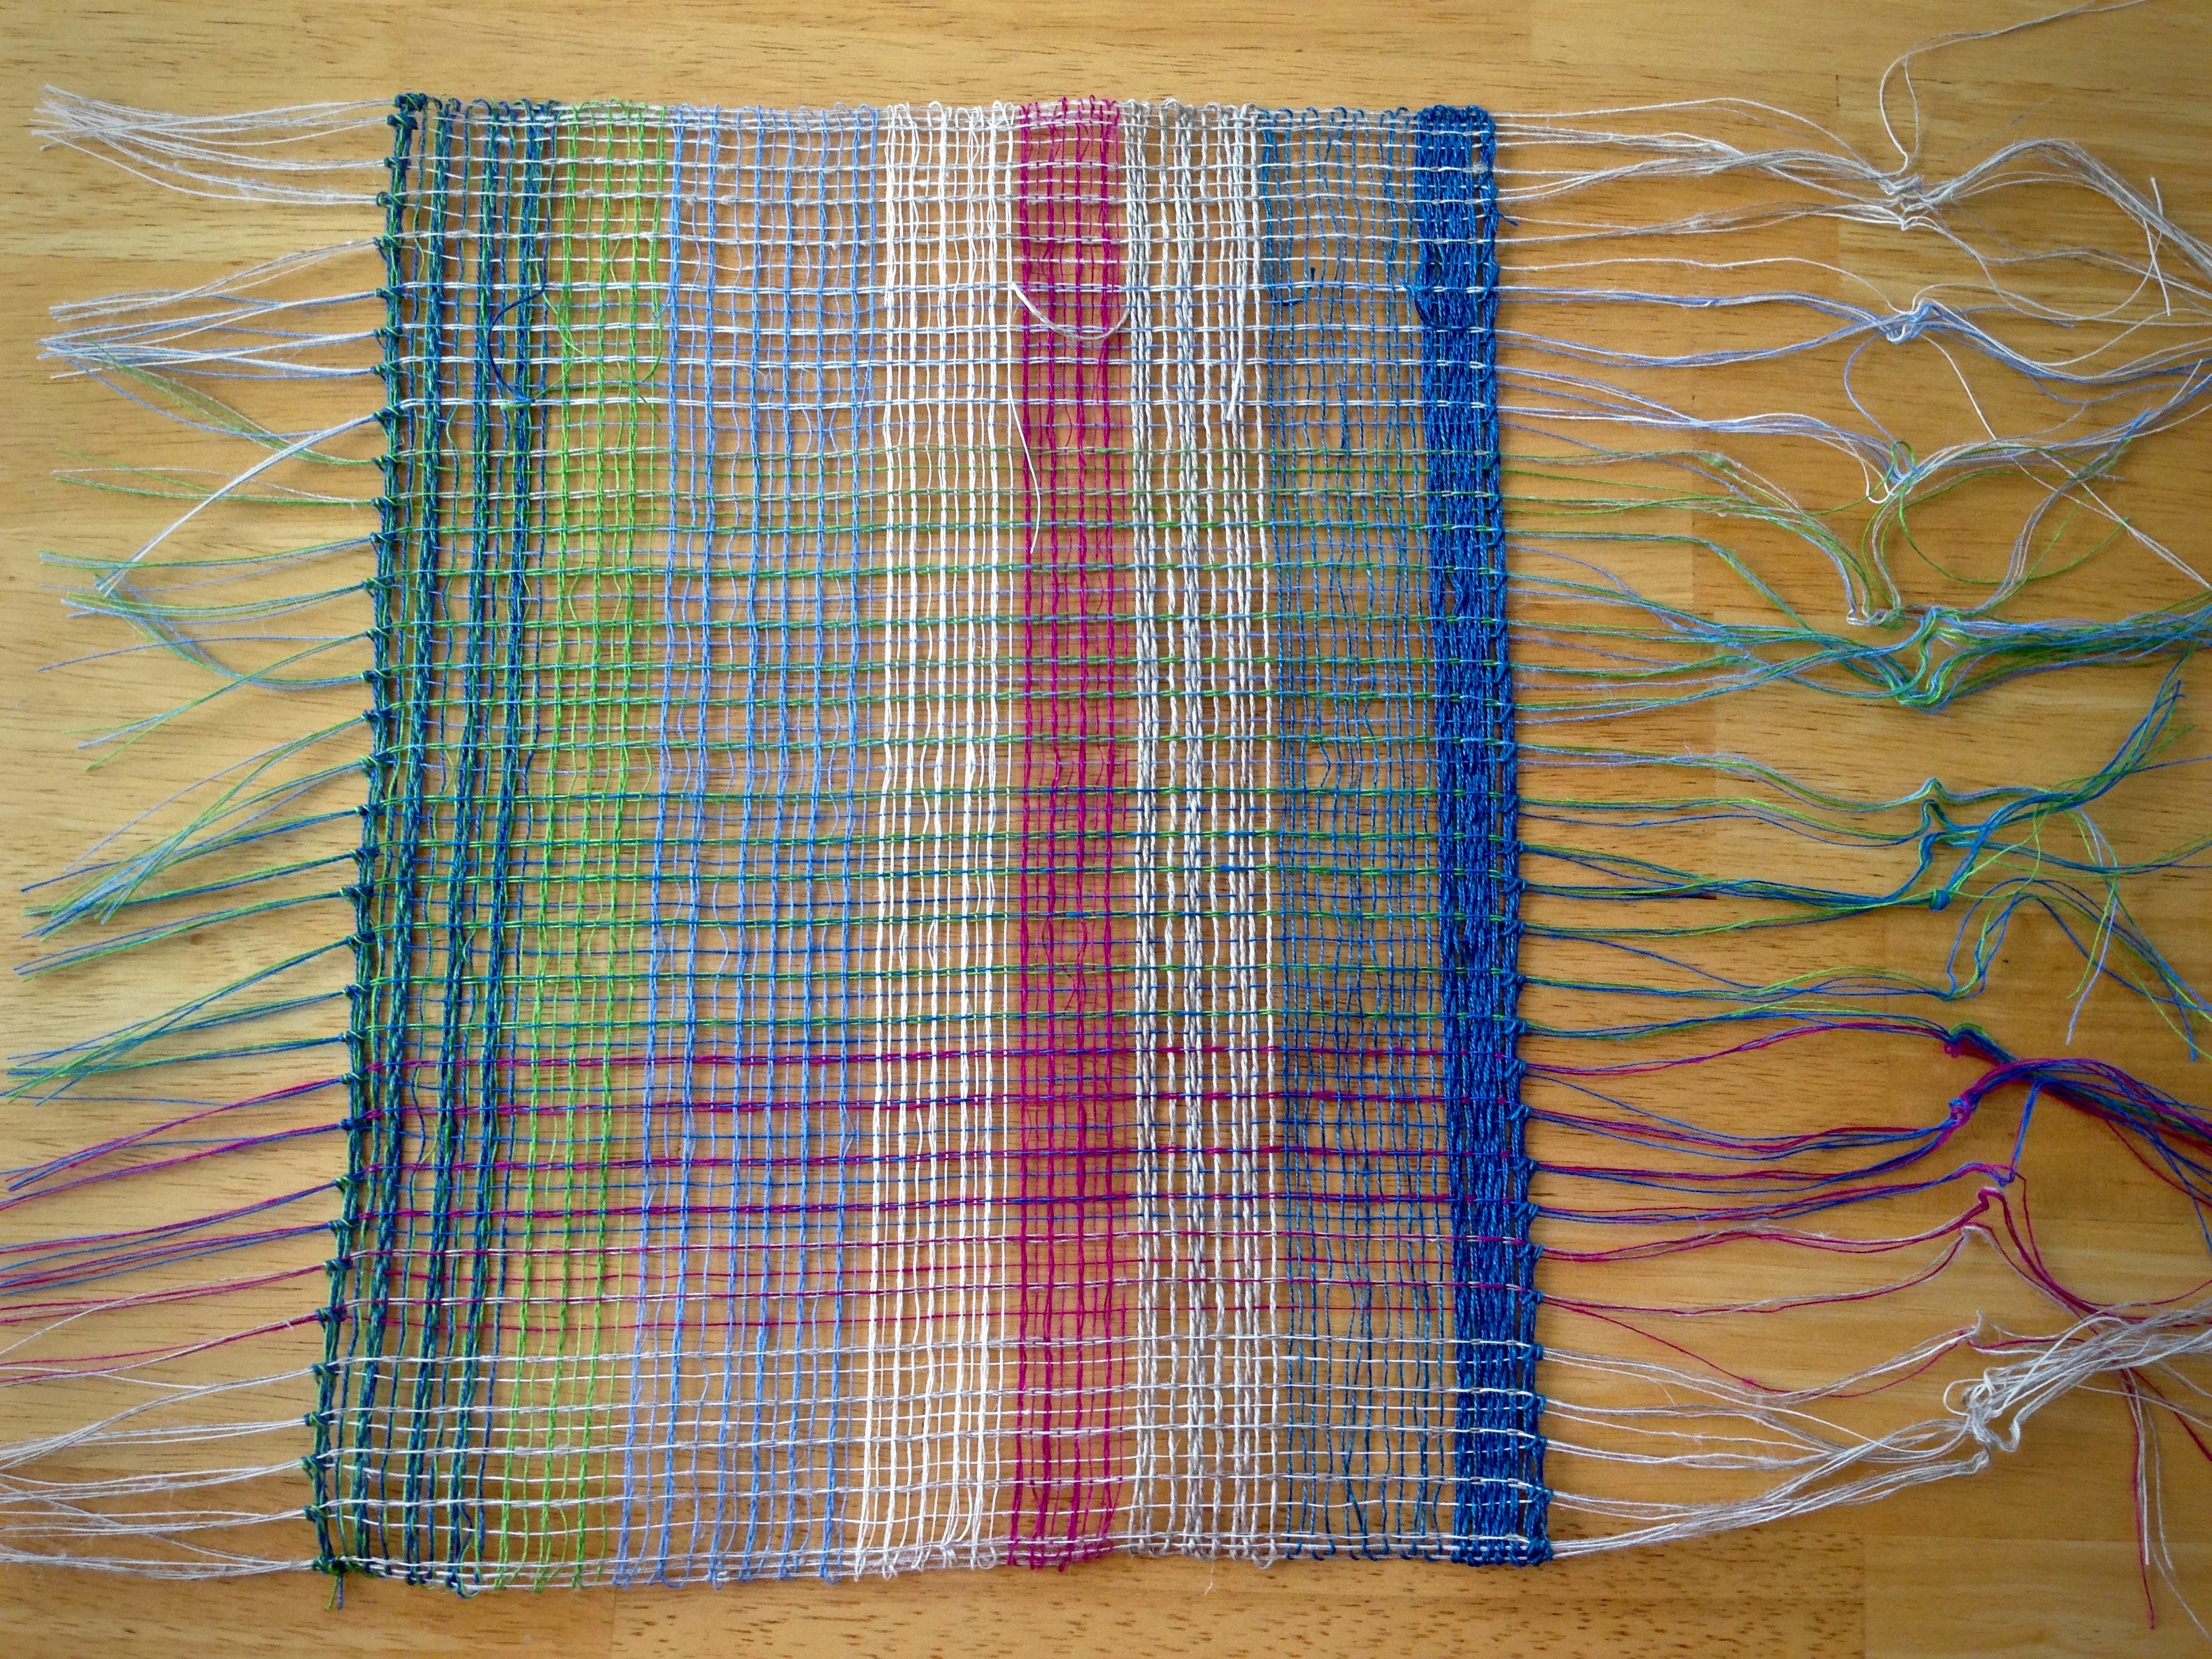
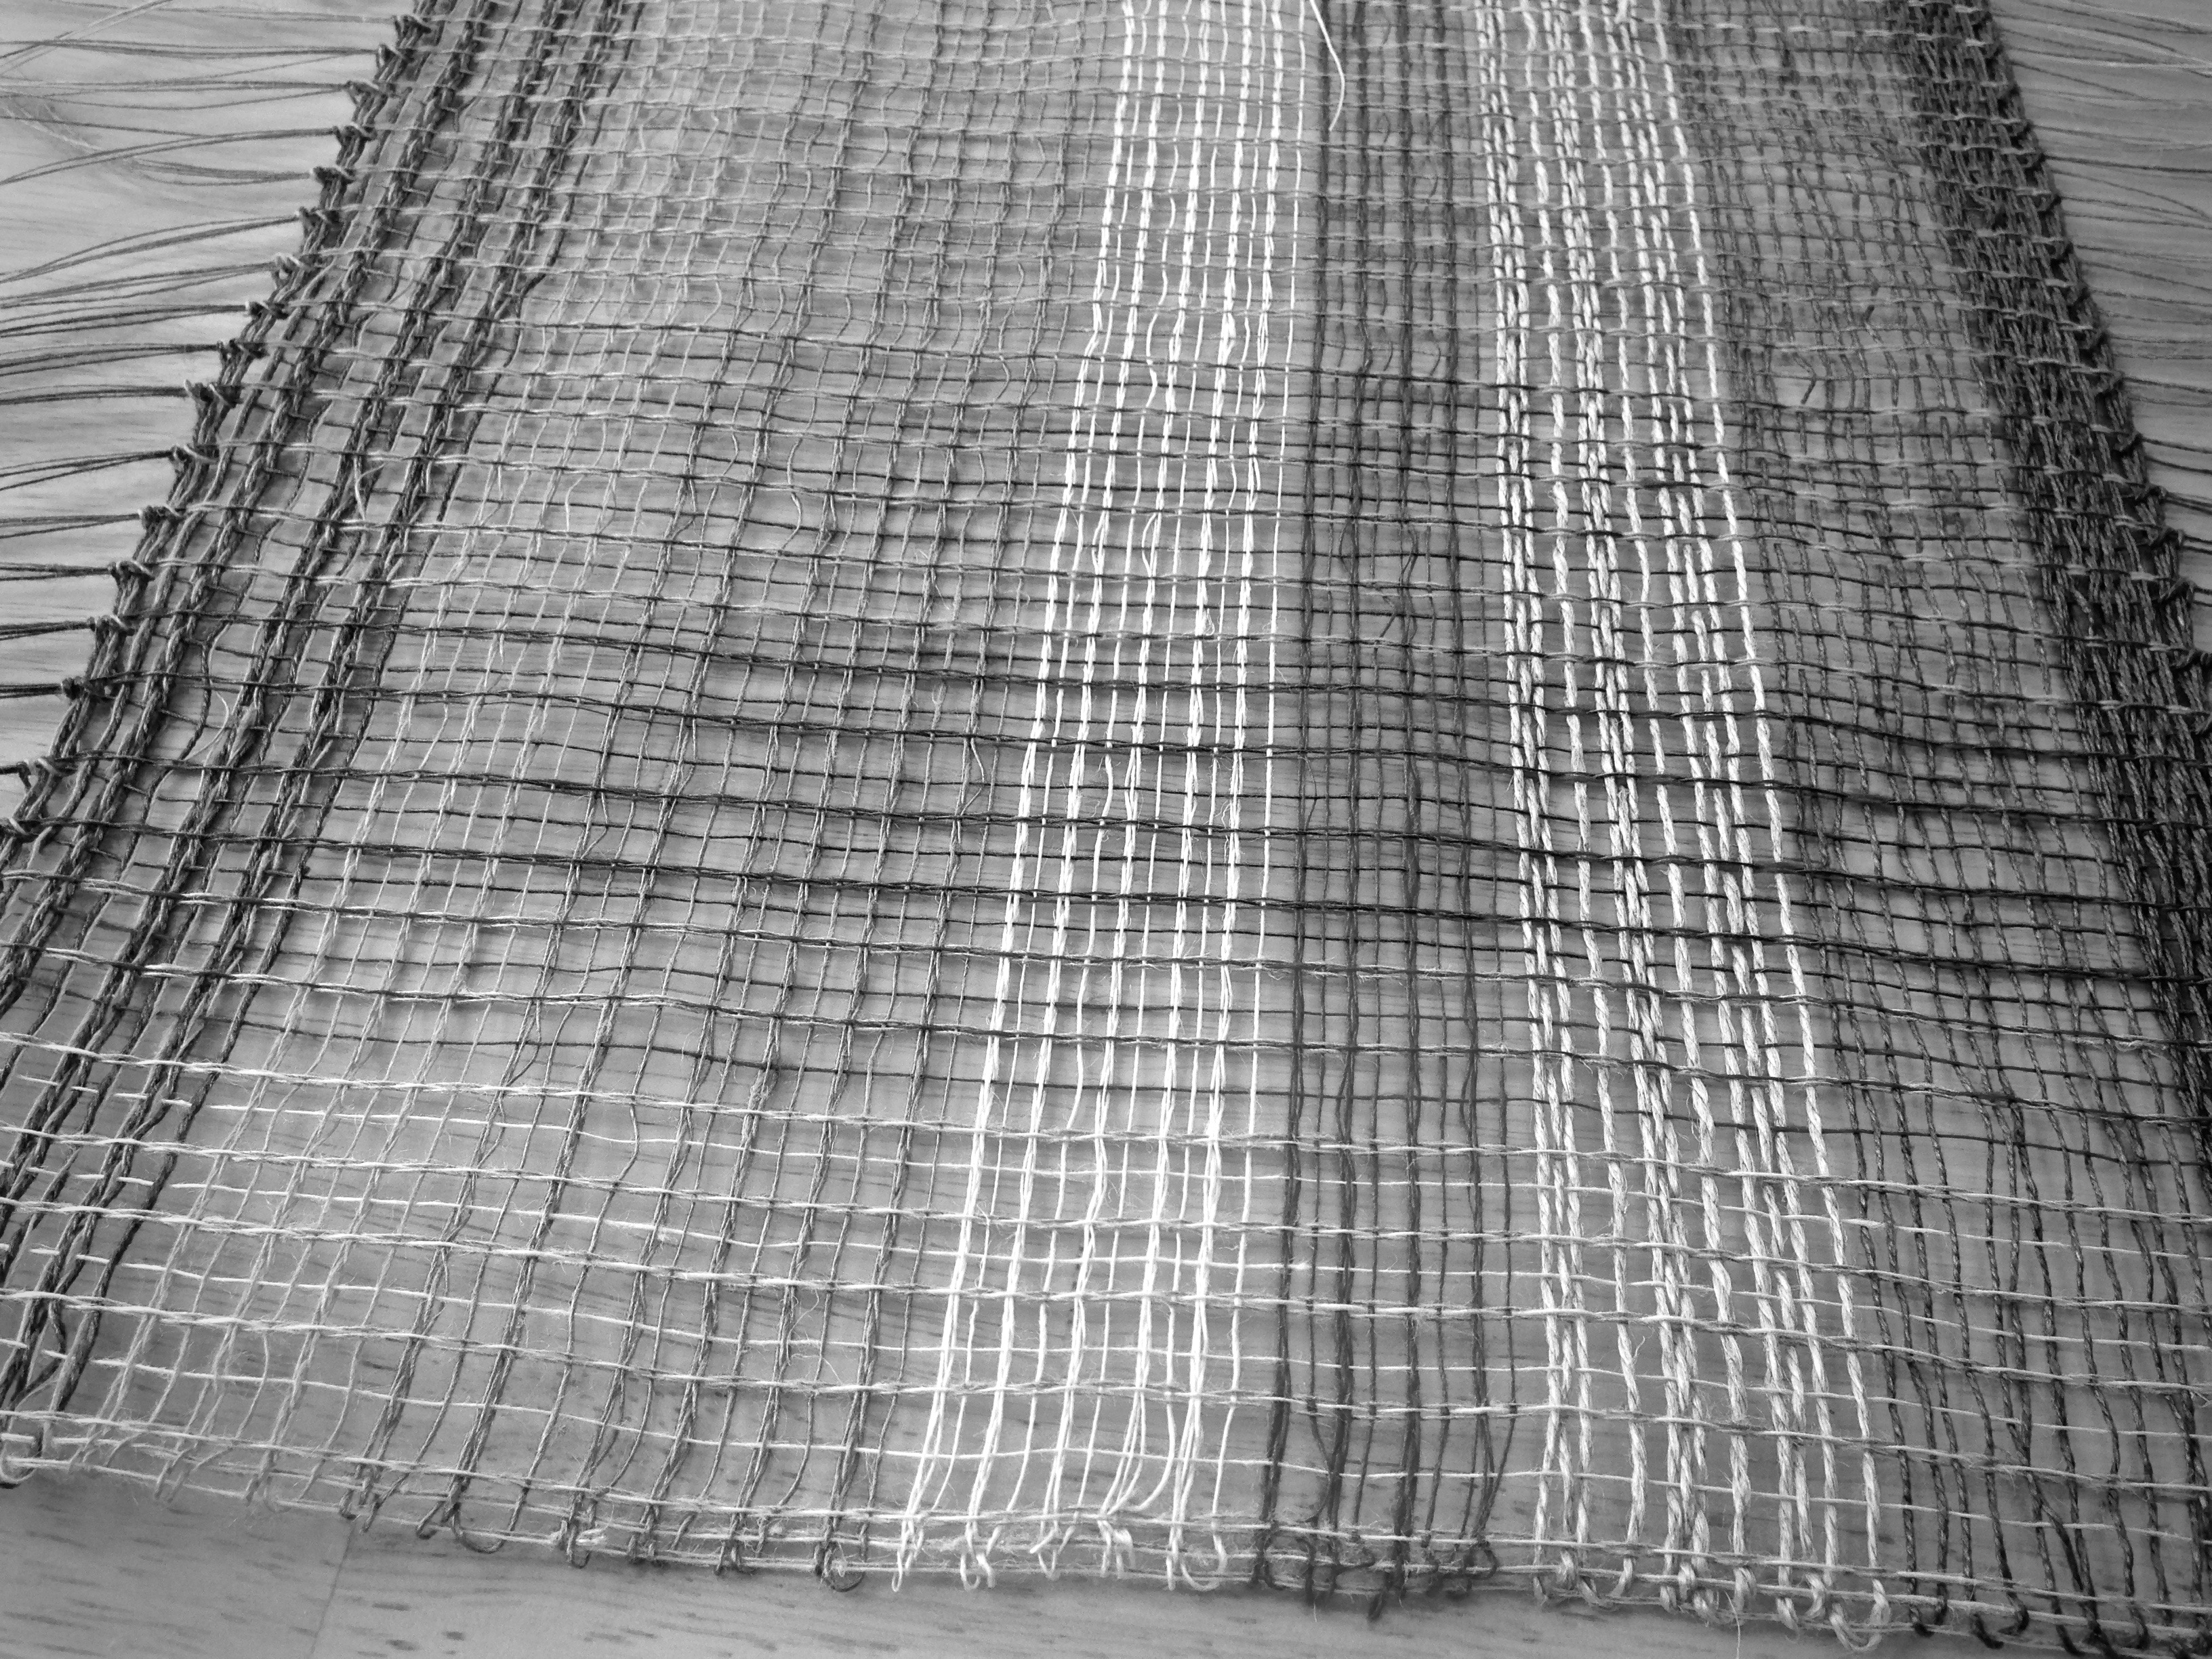
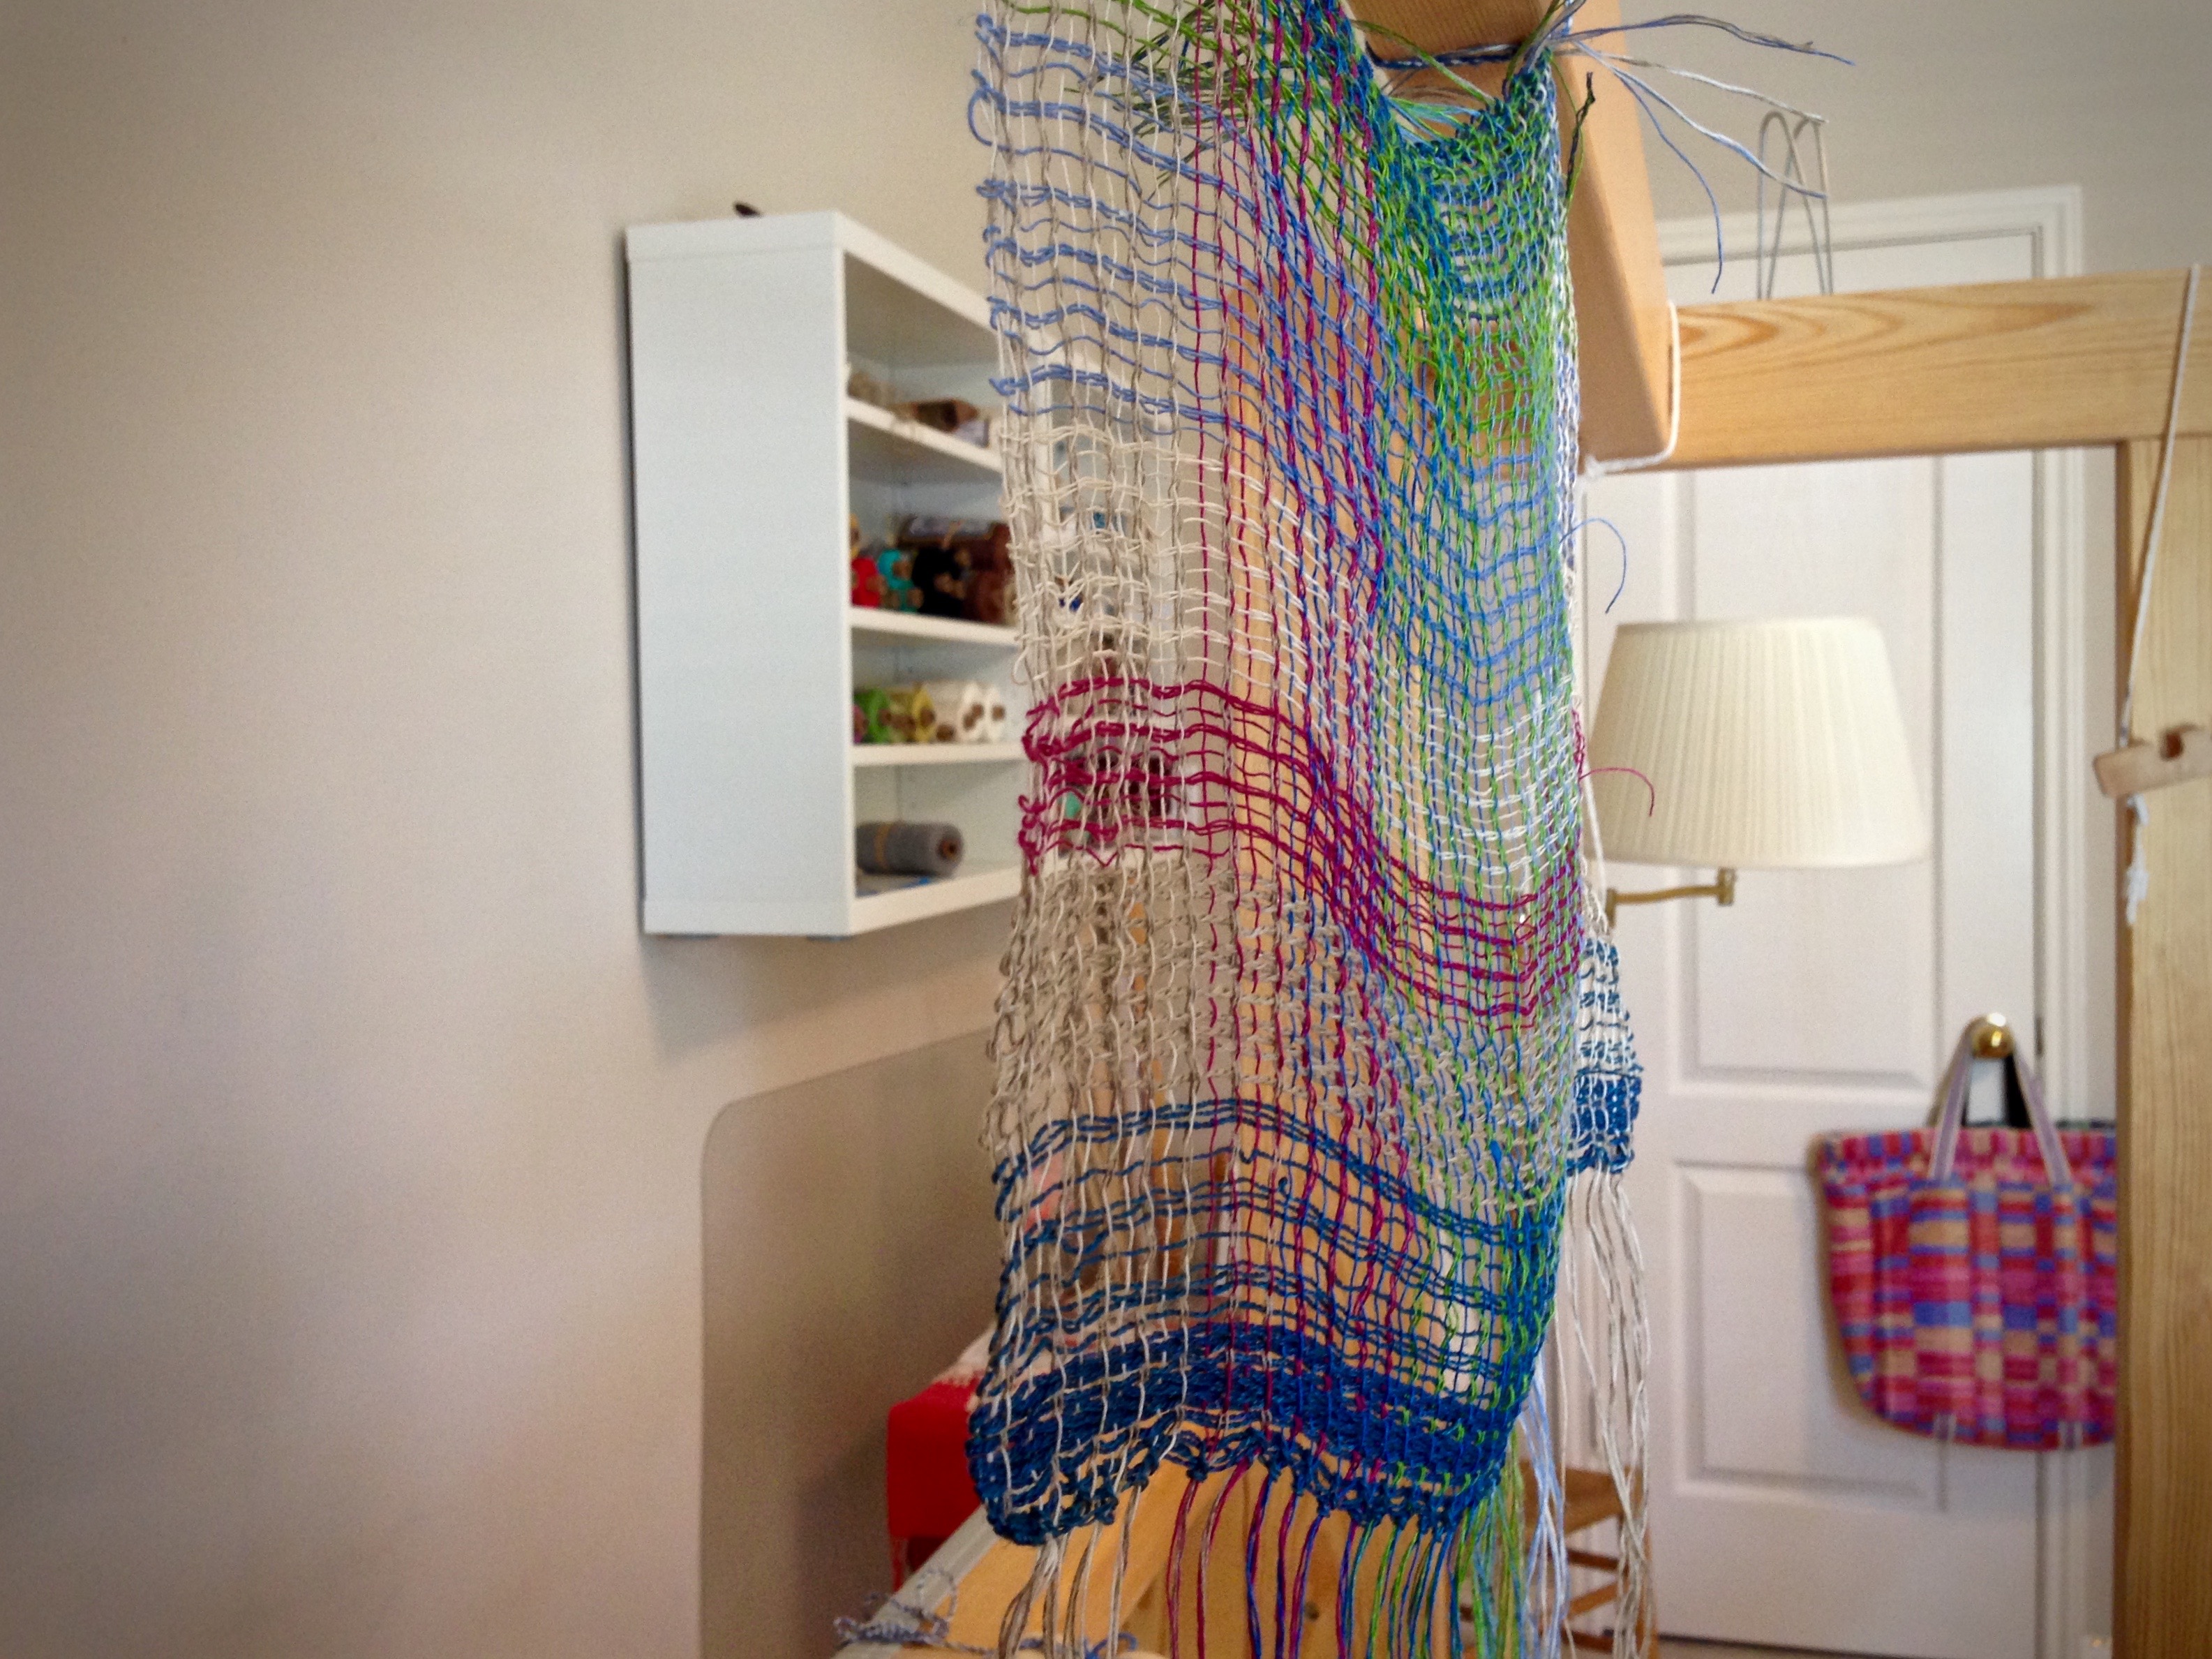
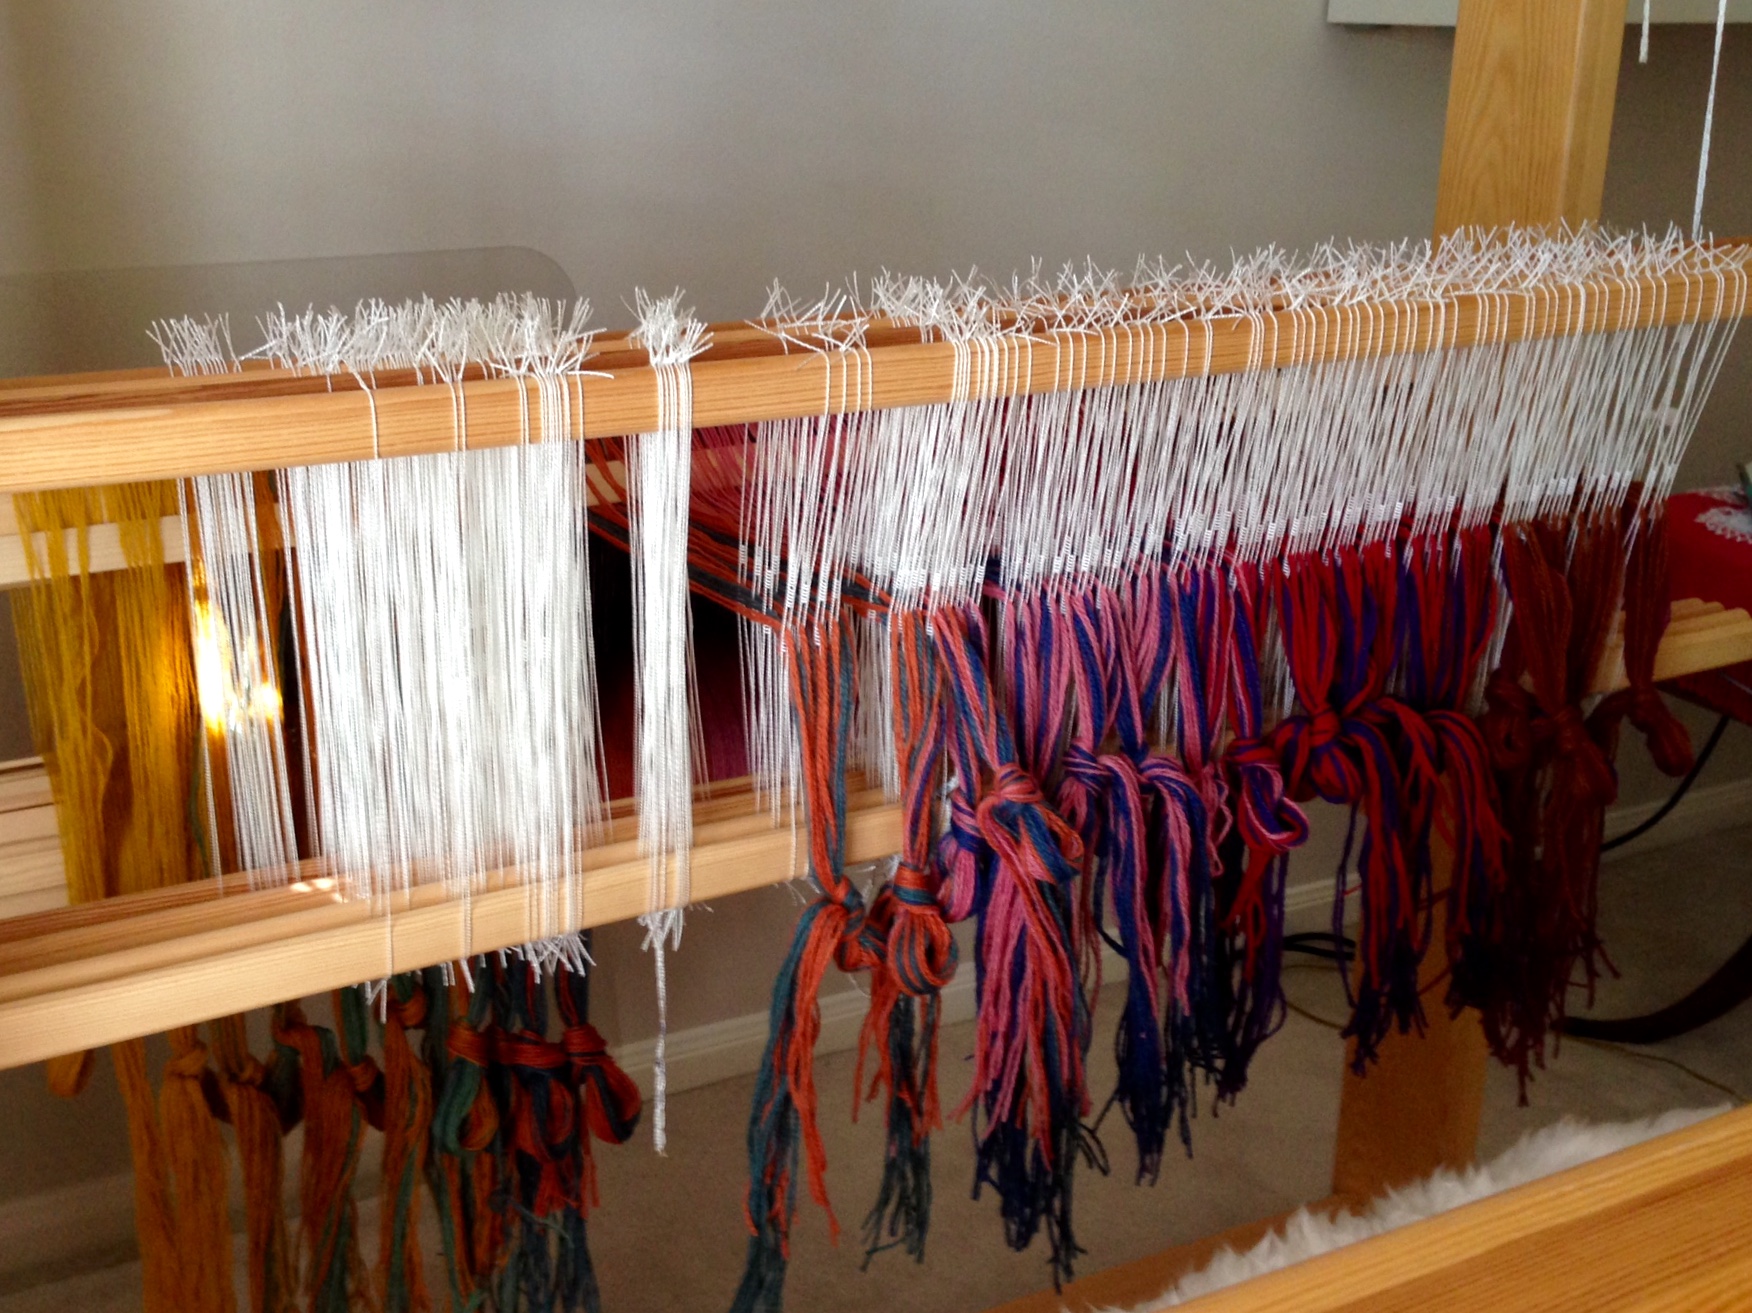
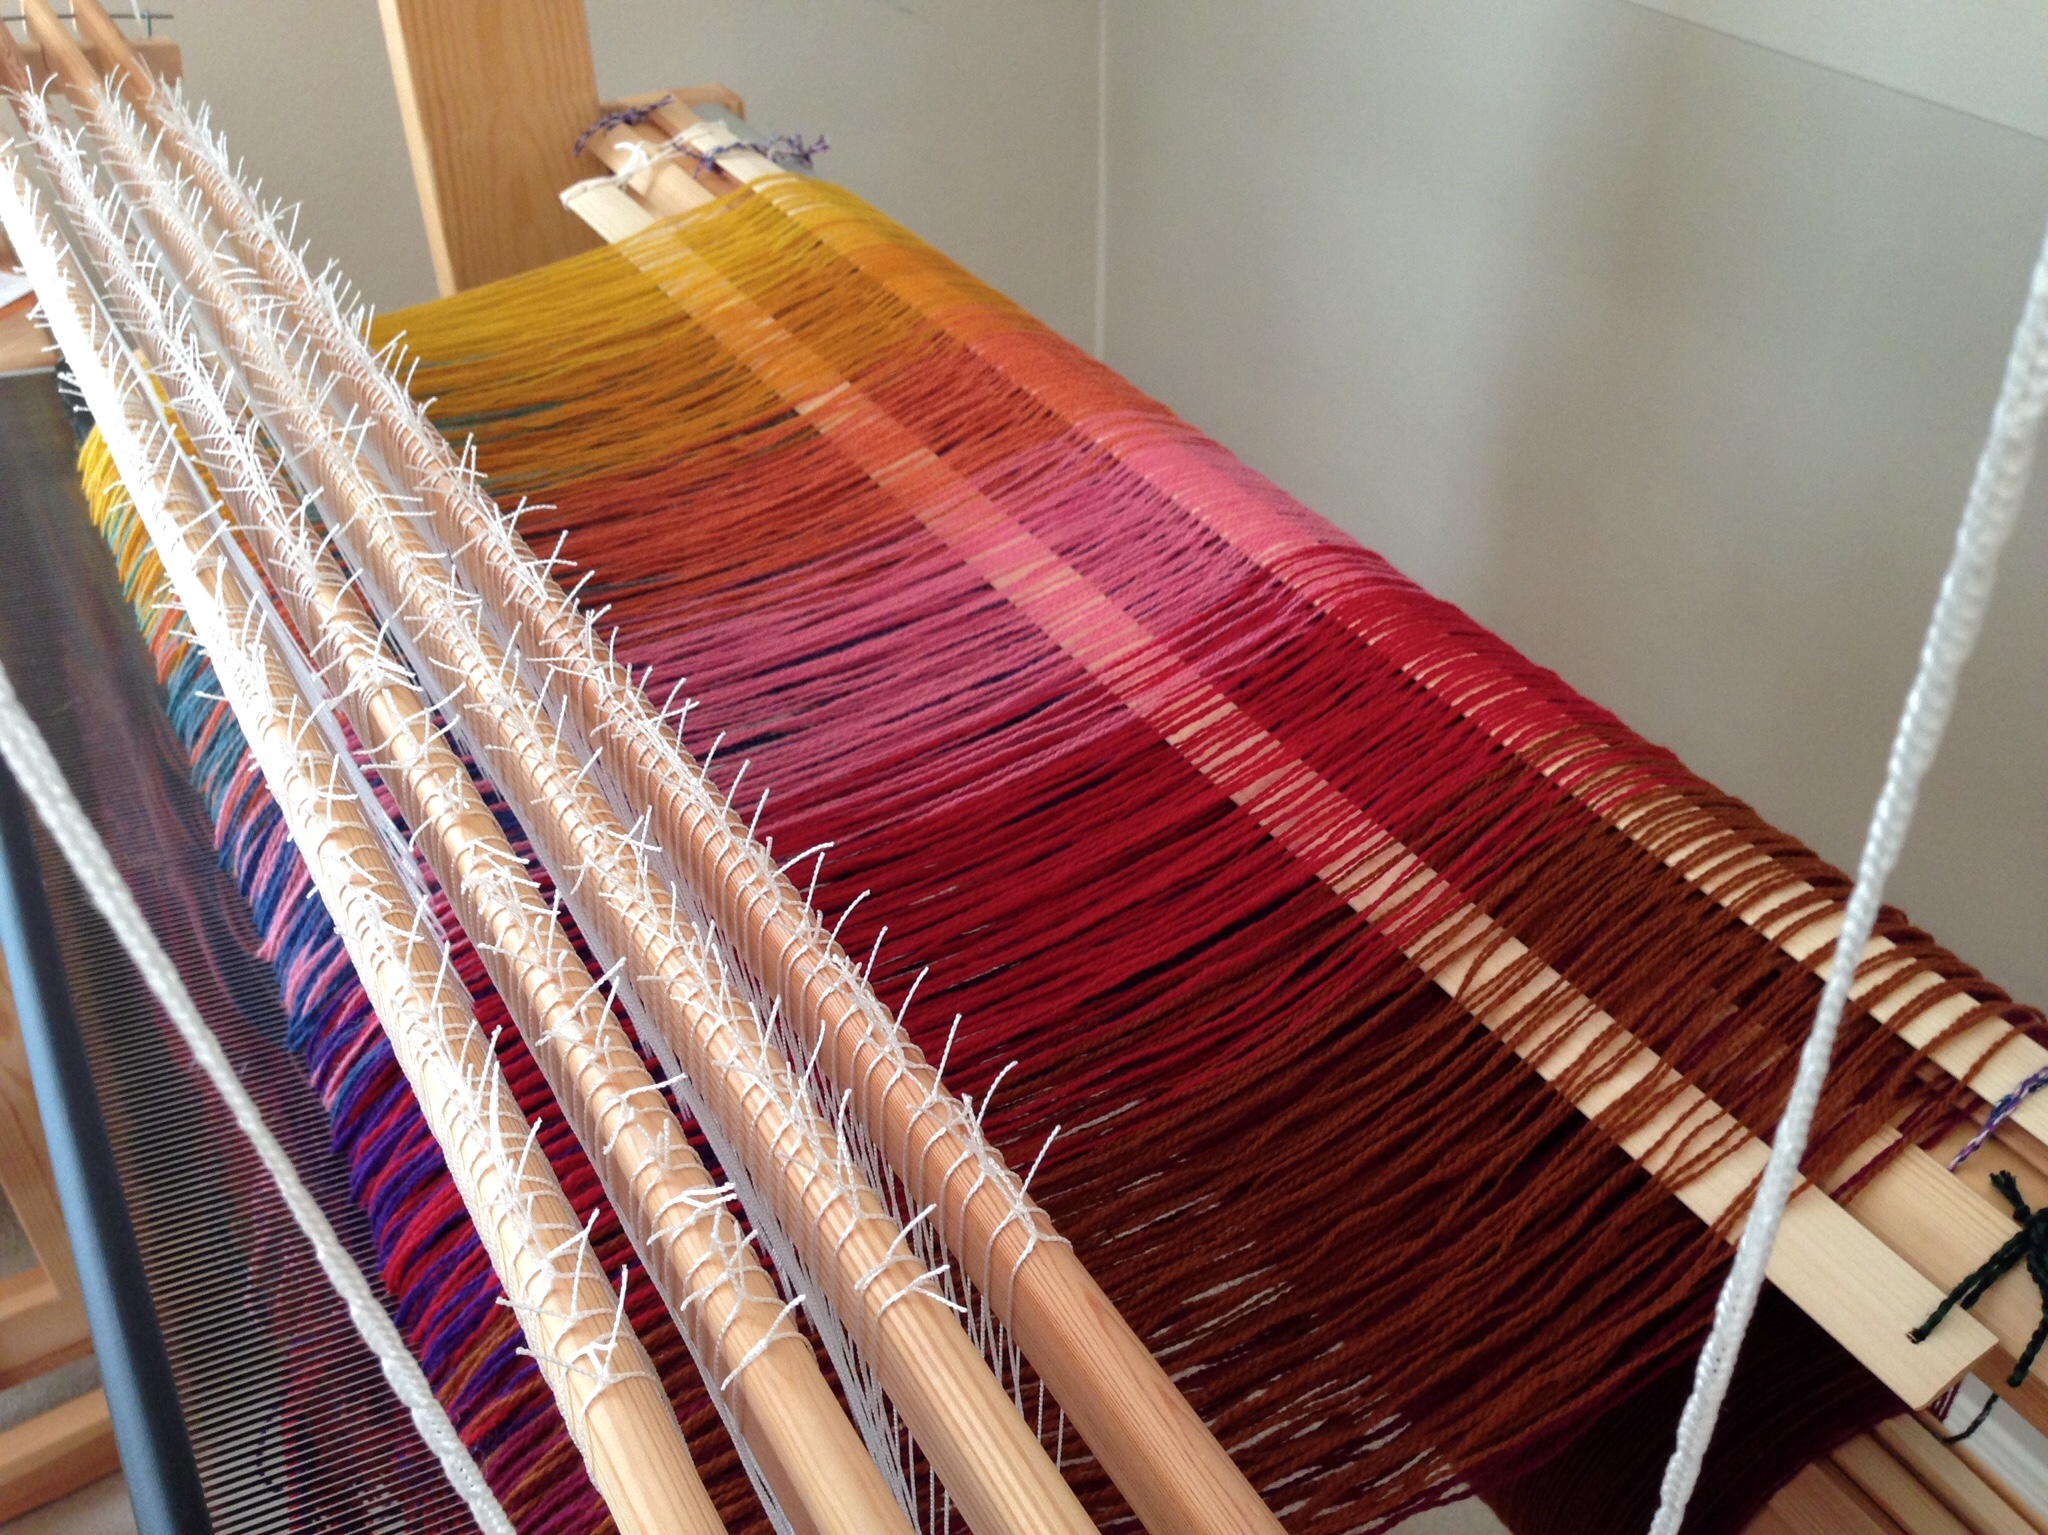
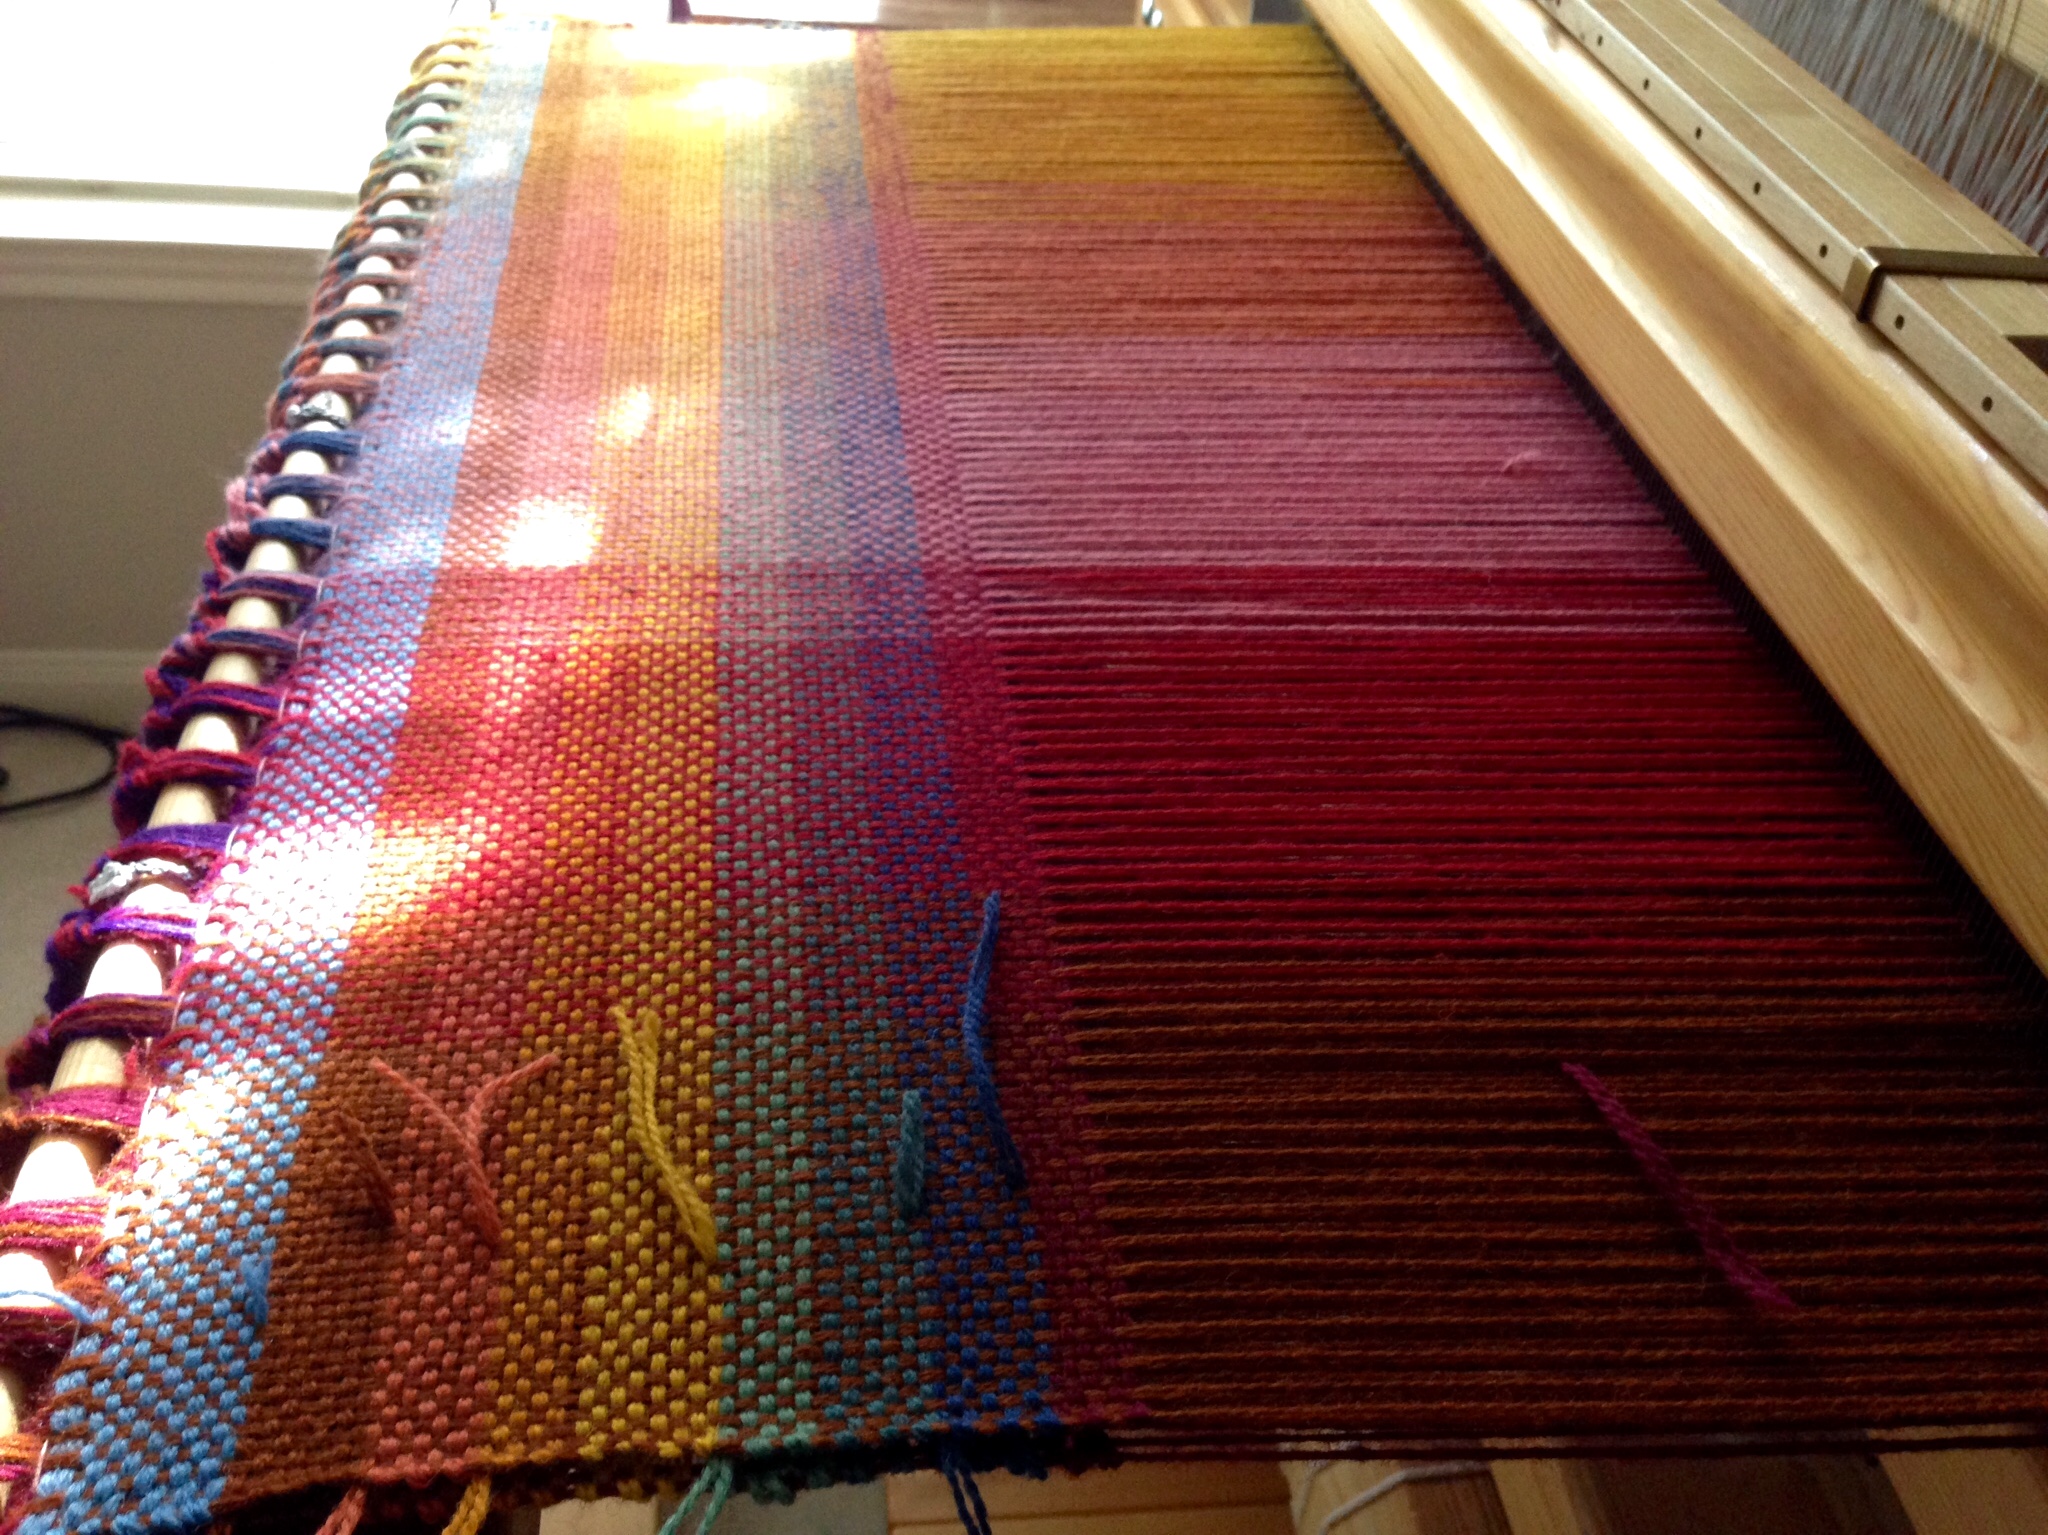
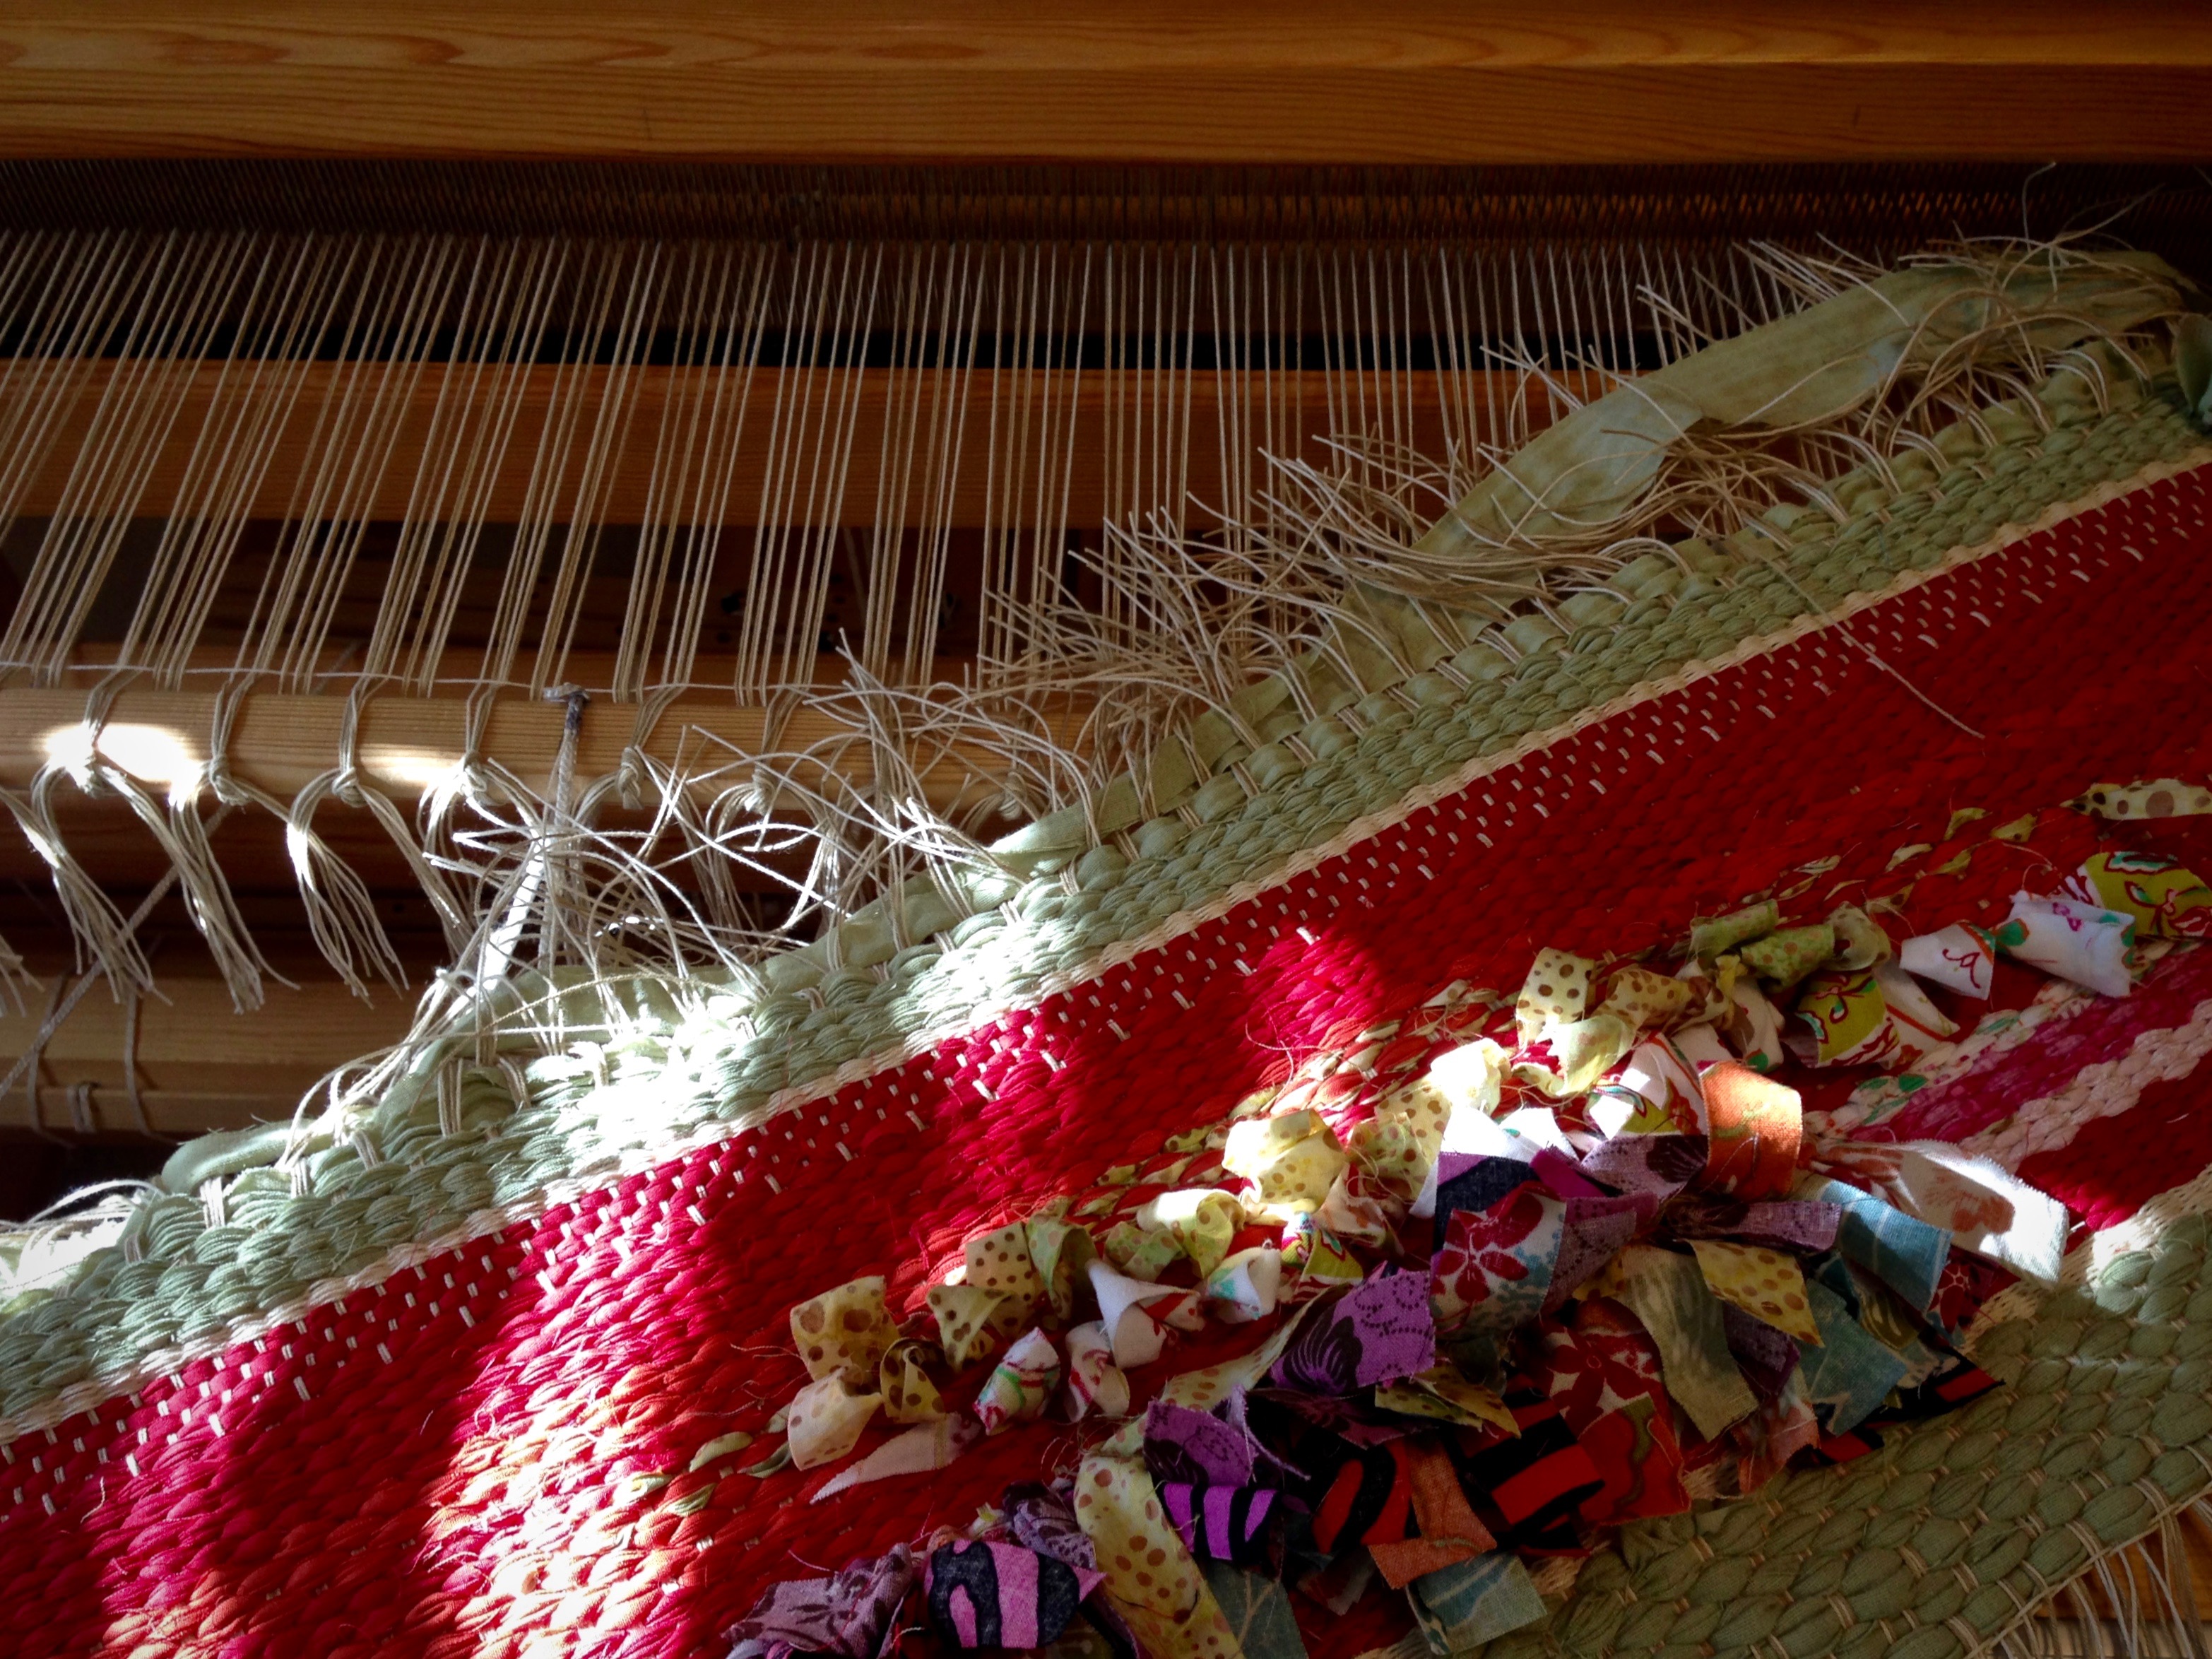
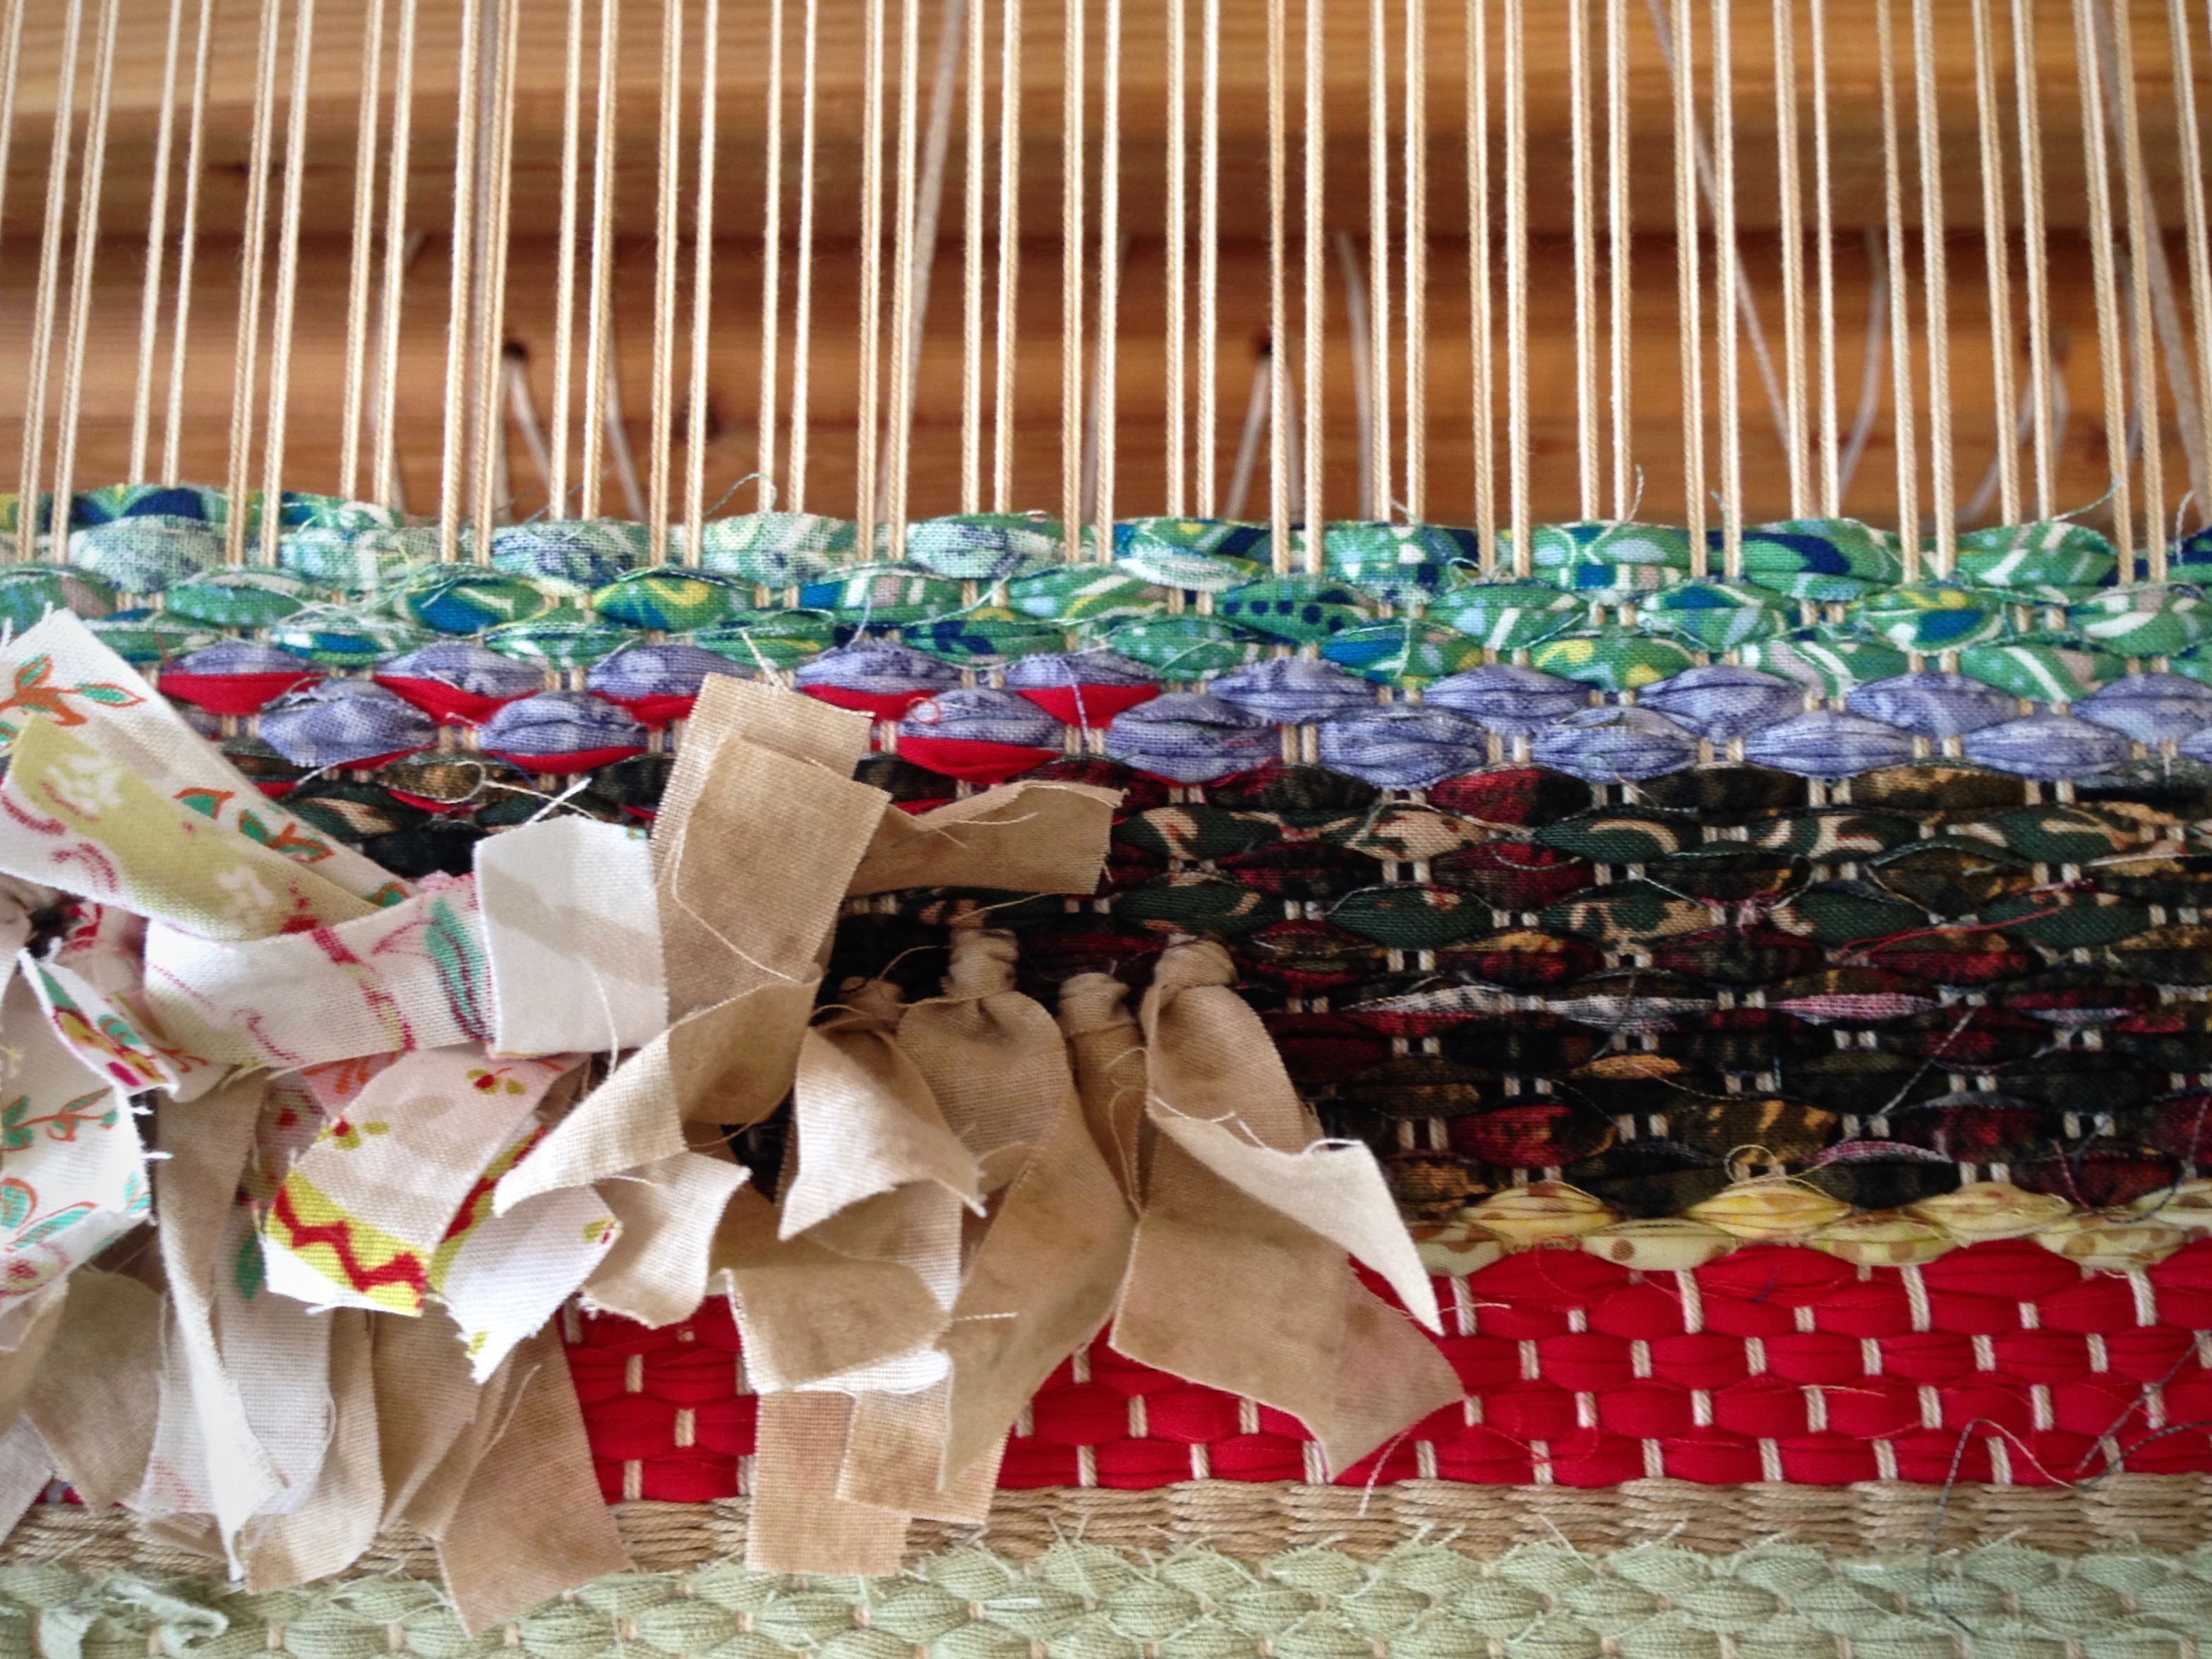
I have never re-sleyed a warp after weaving the sample. Until now. It’s a drastic measure; but it’s better than fighting with the warp the whole way. I’m doing inlay on a rag rug, with rya knots and other techniques. It didn’t take long to see that the ends needed to be spaced further apart. But this is why we sample, right?

Beginning sample of rag rug weaving with rya knots.
Rya knots quickly add bulk to the rag rug sample. Three rows of rag knots are already creating a little hill in the weft.
Cutting off a sample piece. Painter's tape as cutting template.
Four inches are marked on a piece of painter’s tape to use as a template for cutting the warp. I want enough length on the sample piece being cut off to be able to tie the ends in square knots.

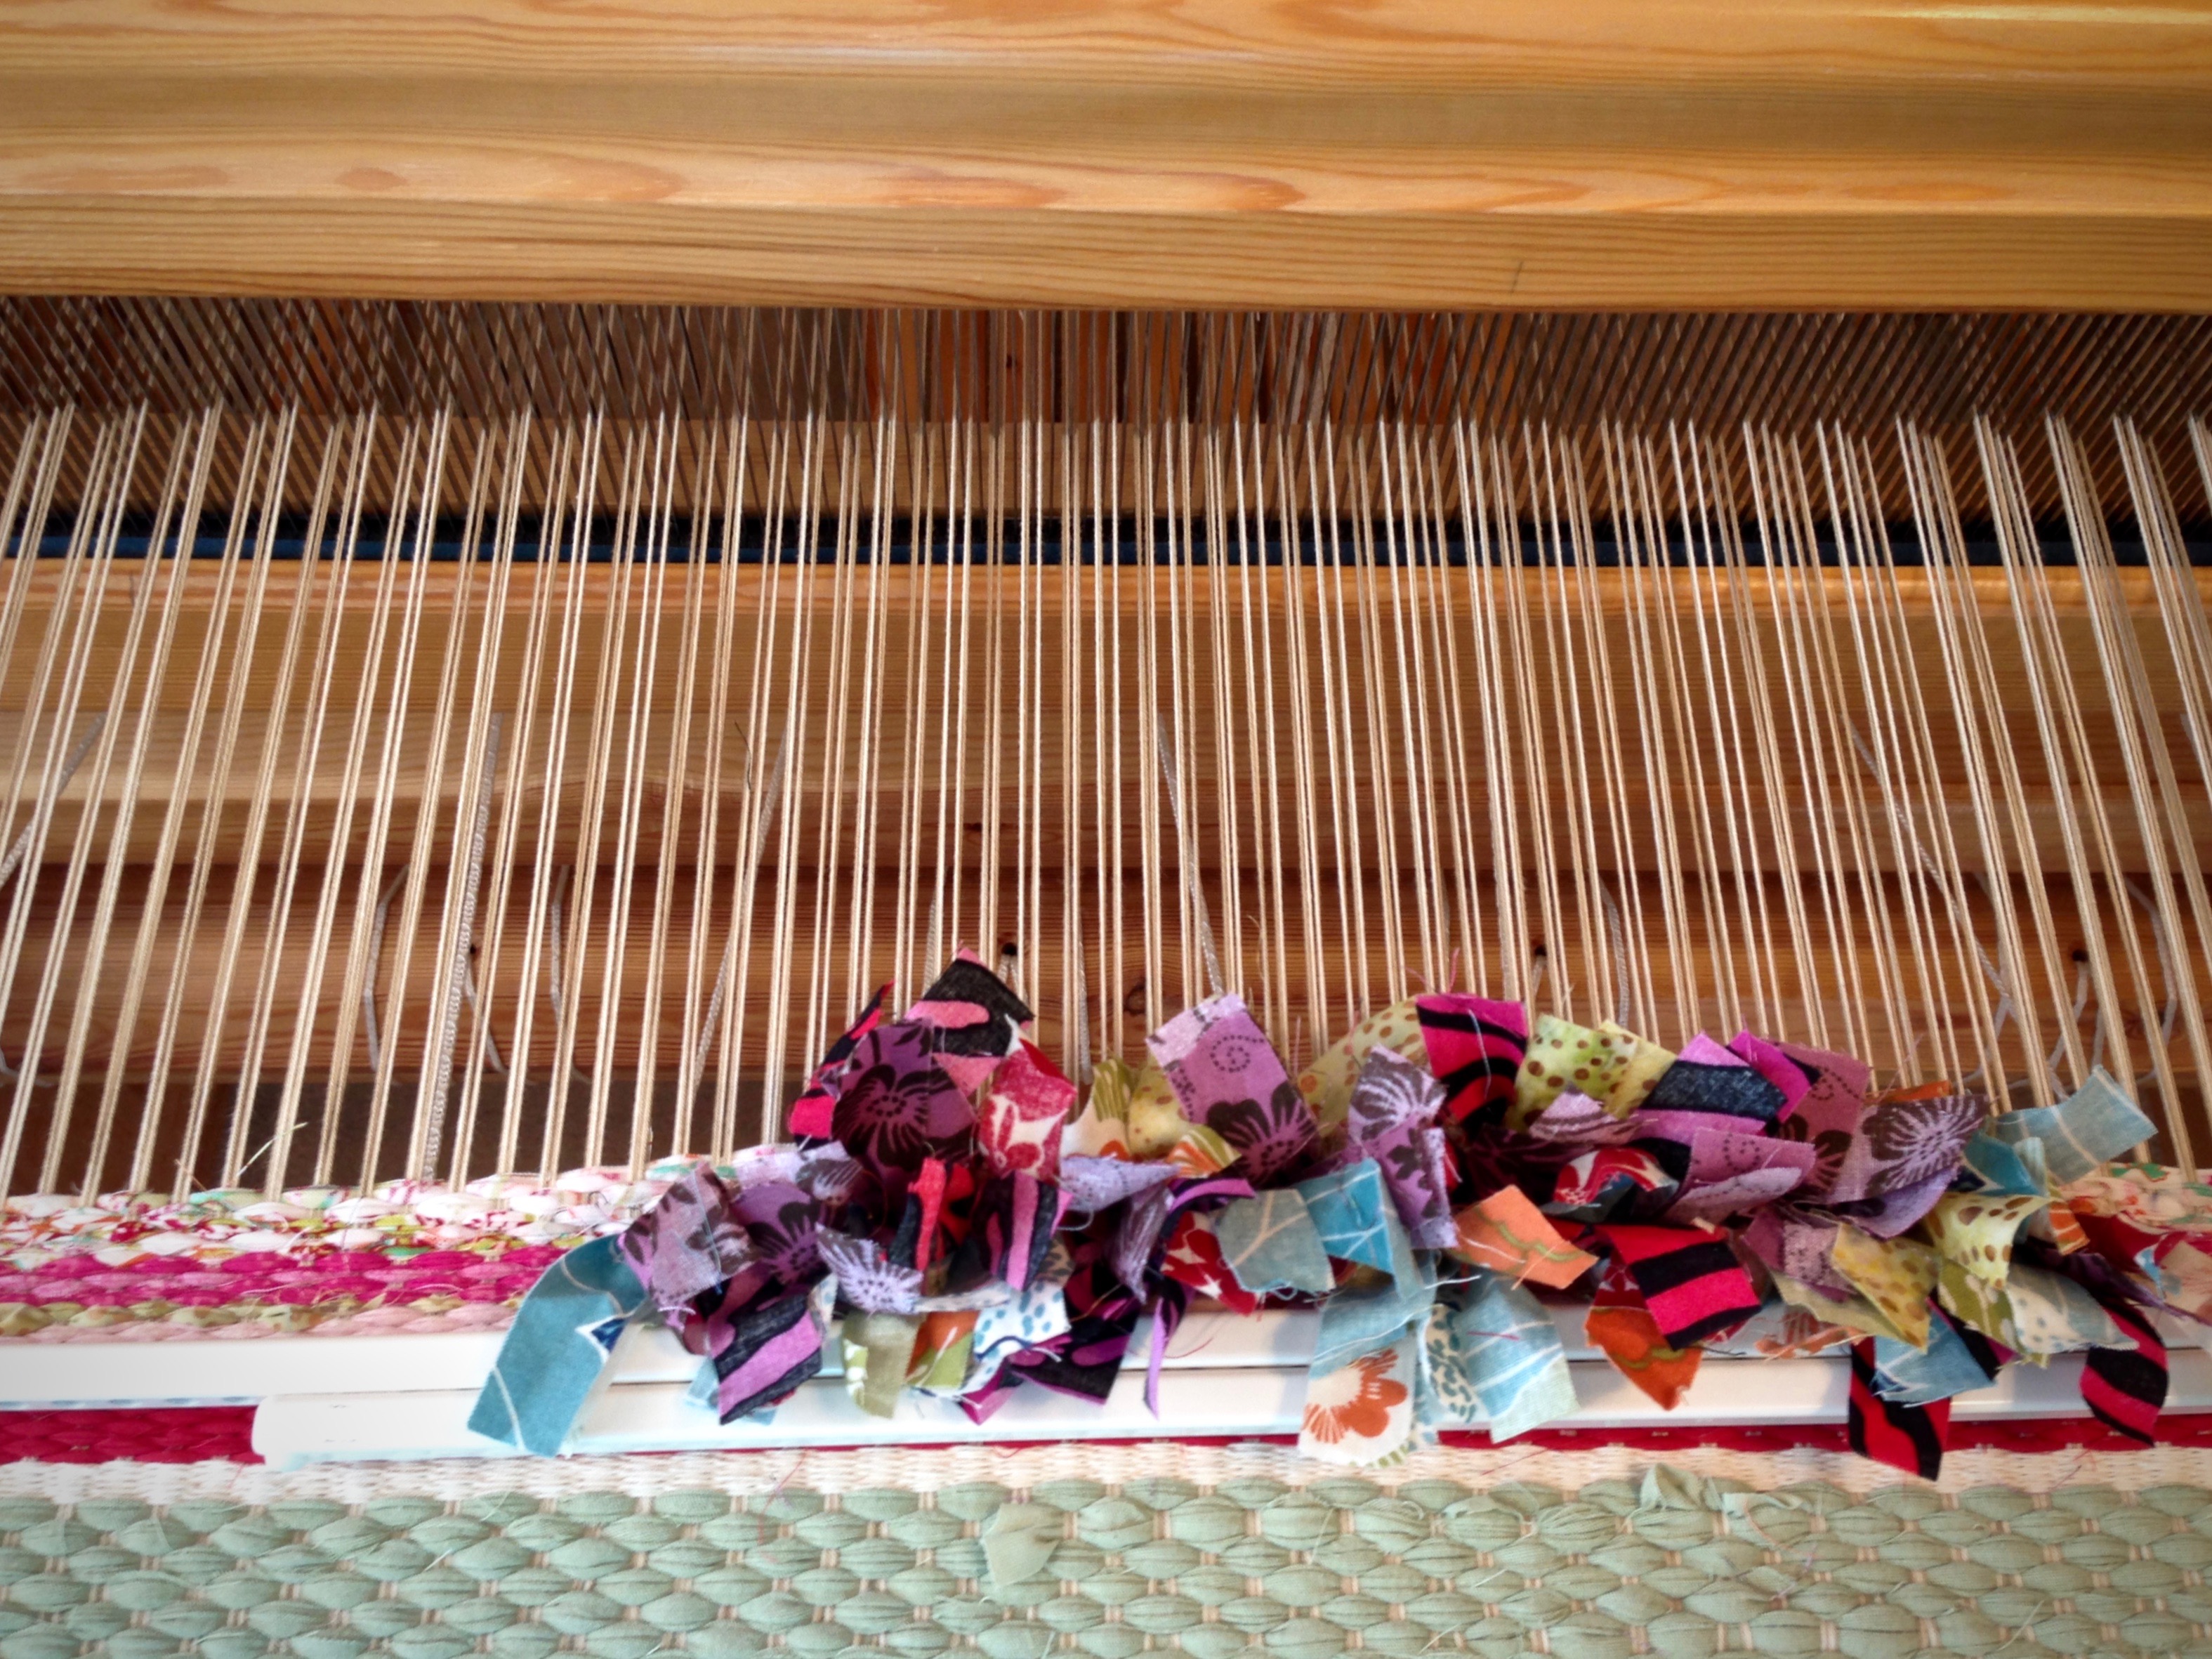
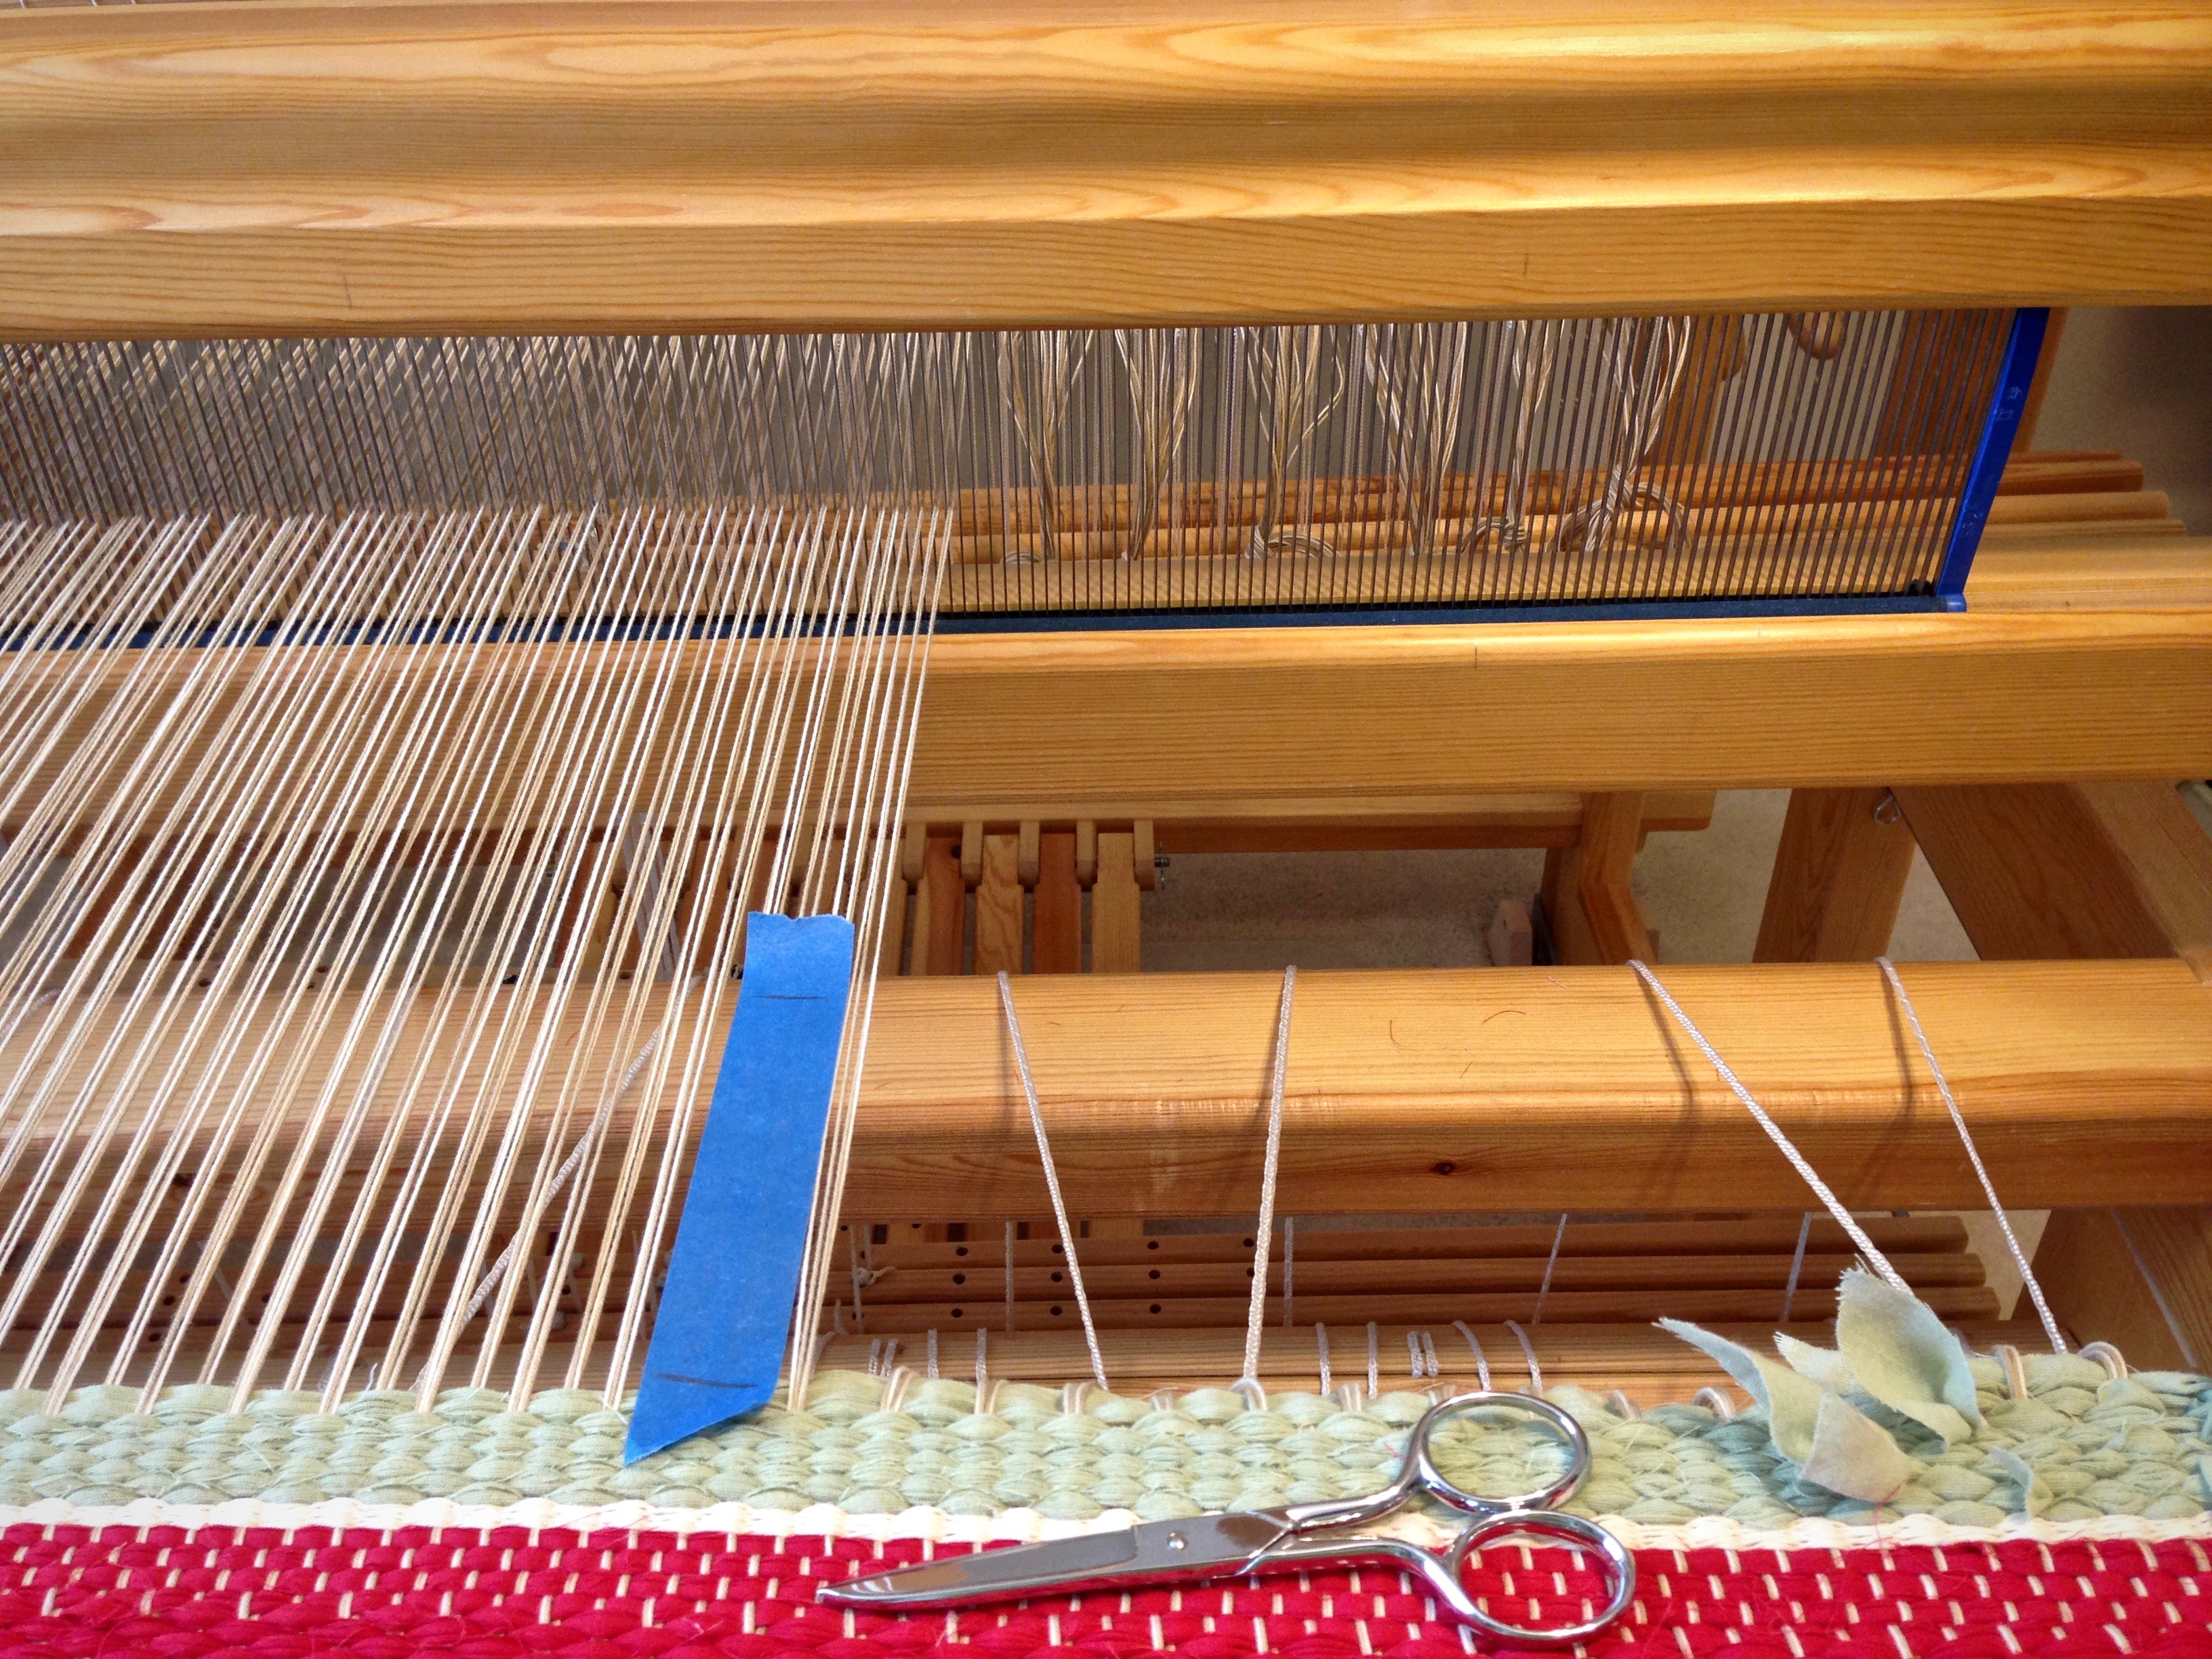
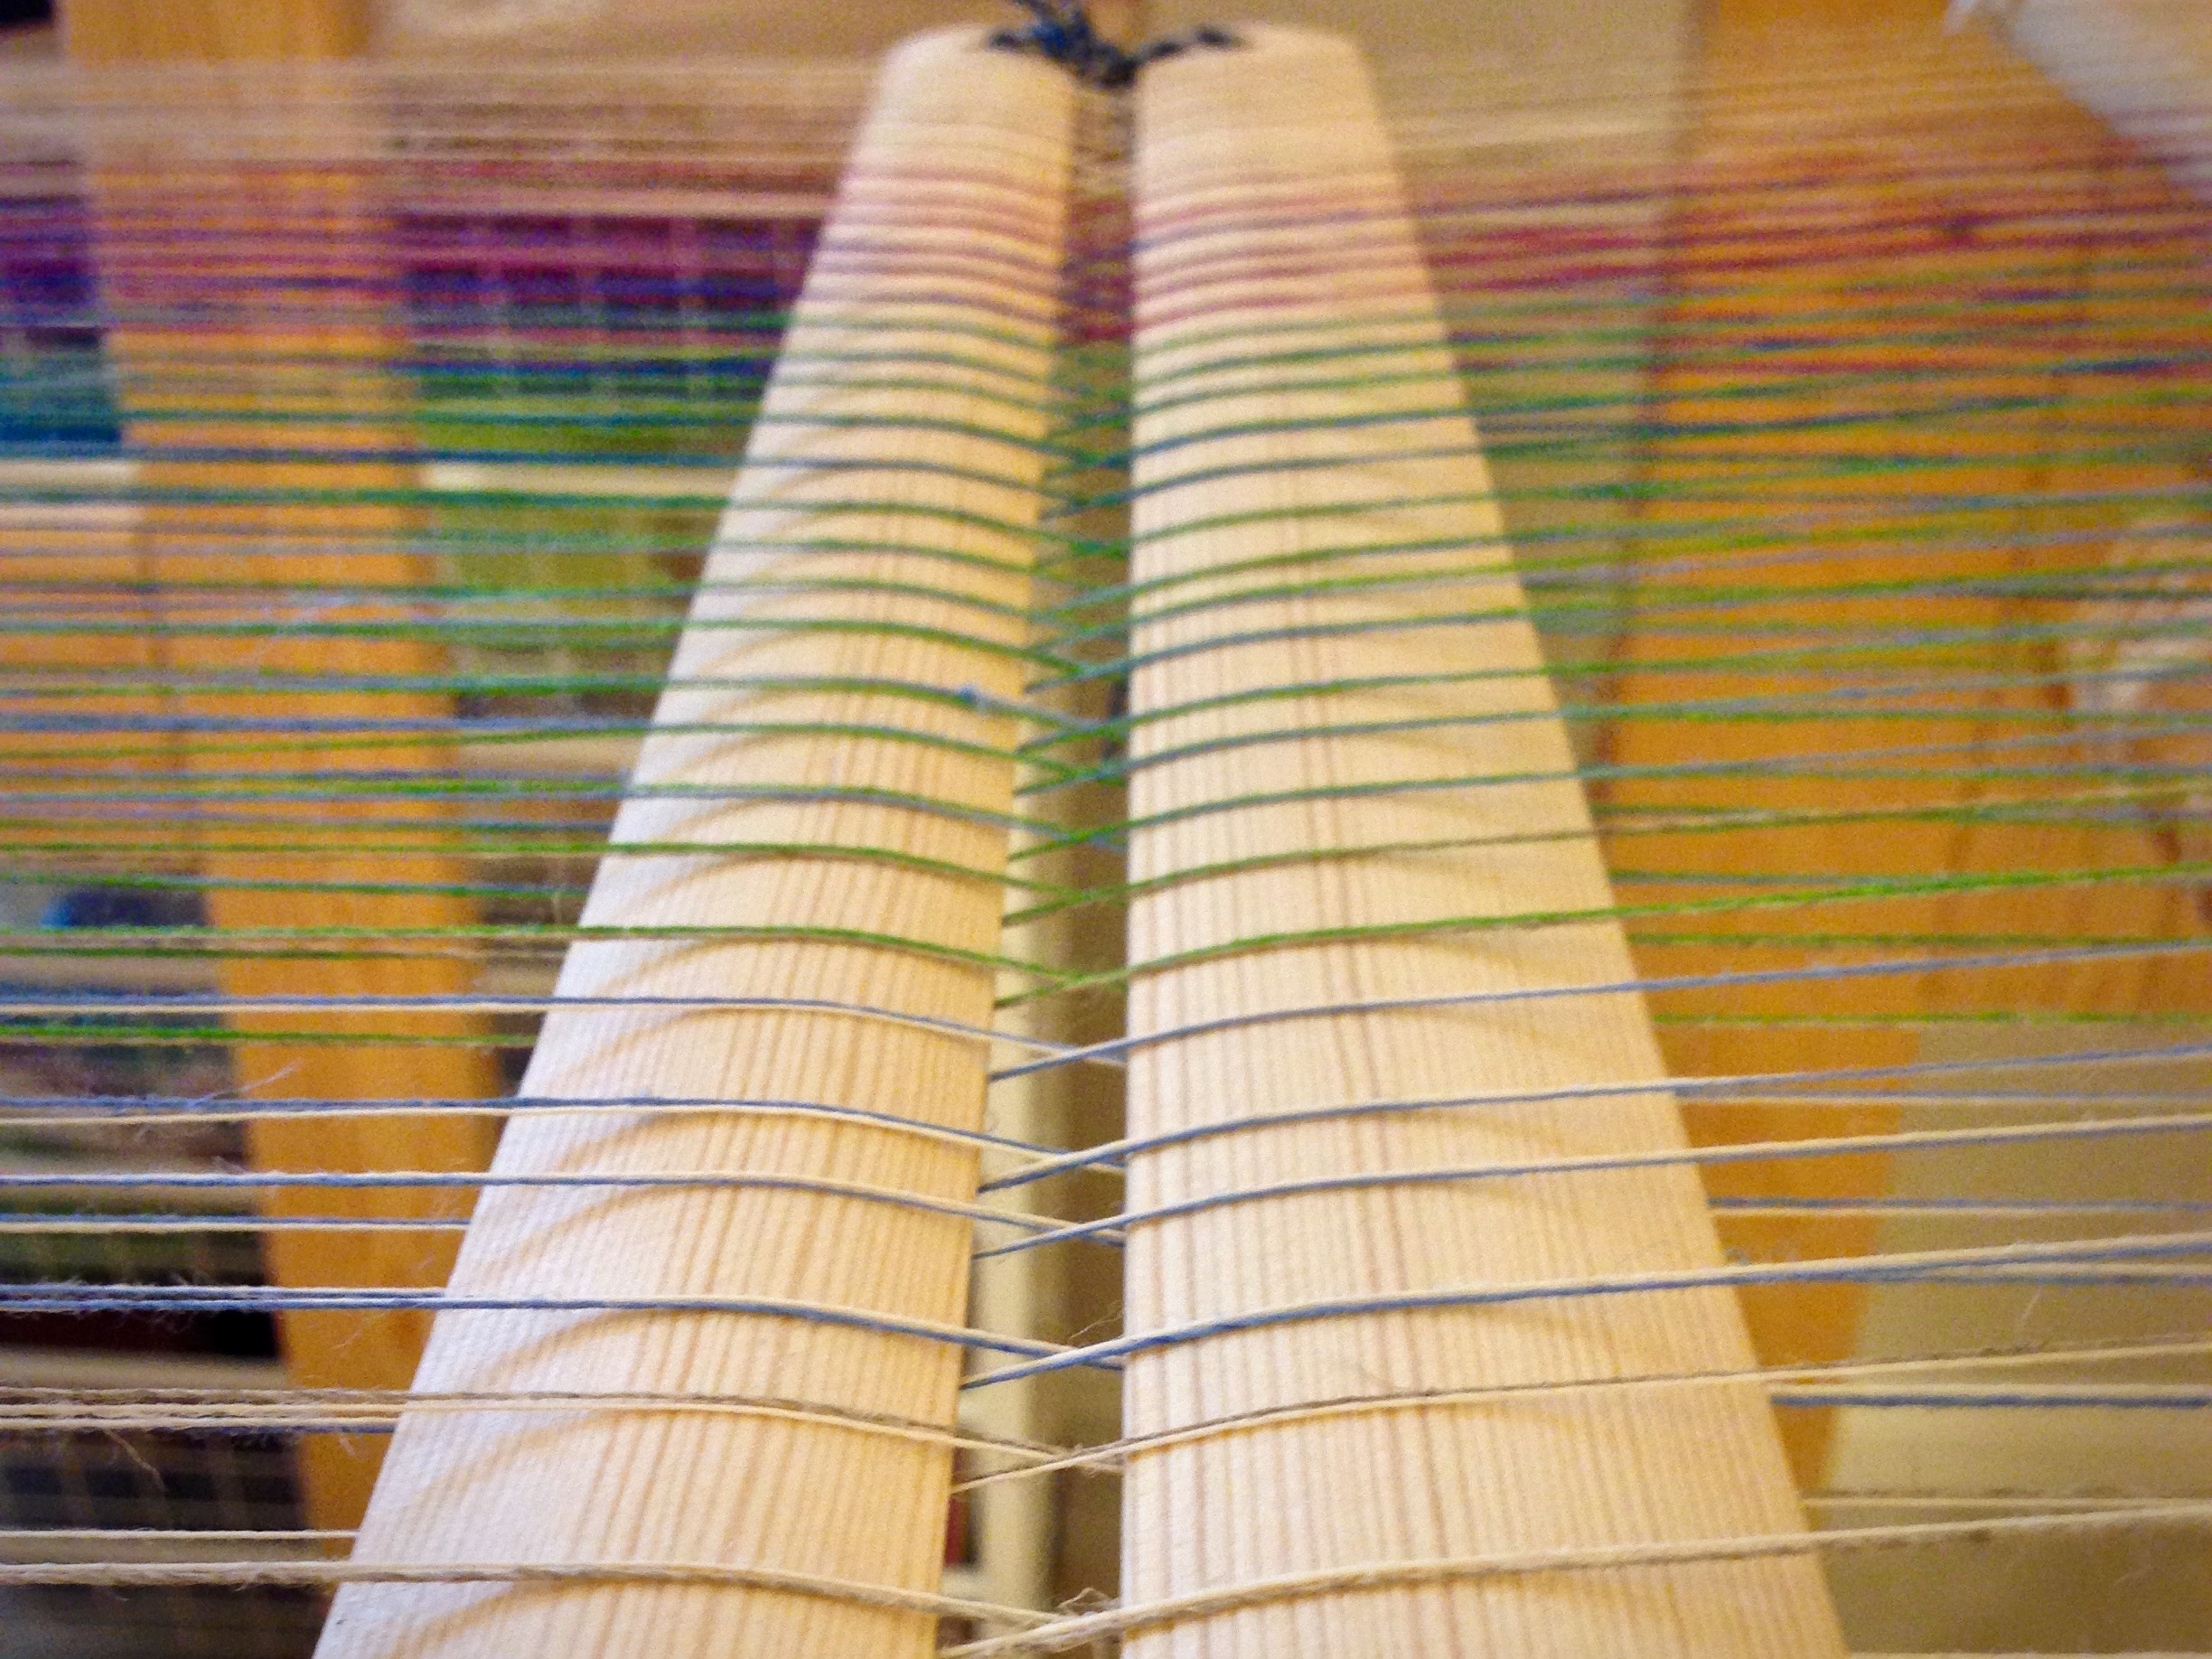
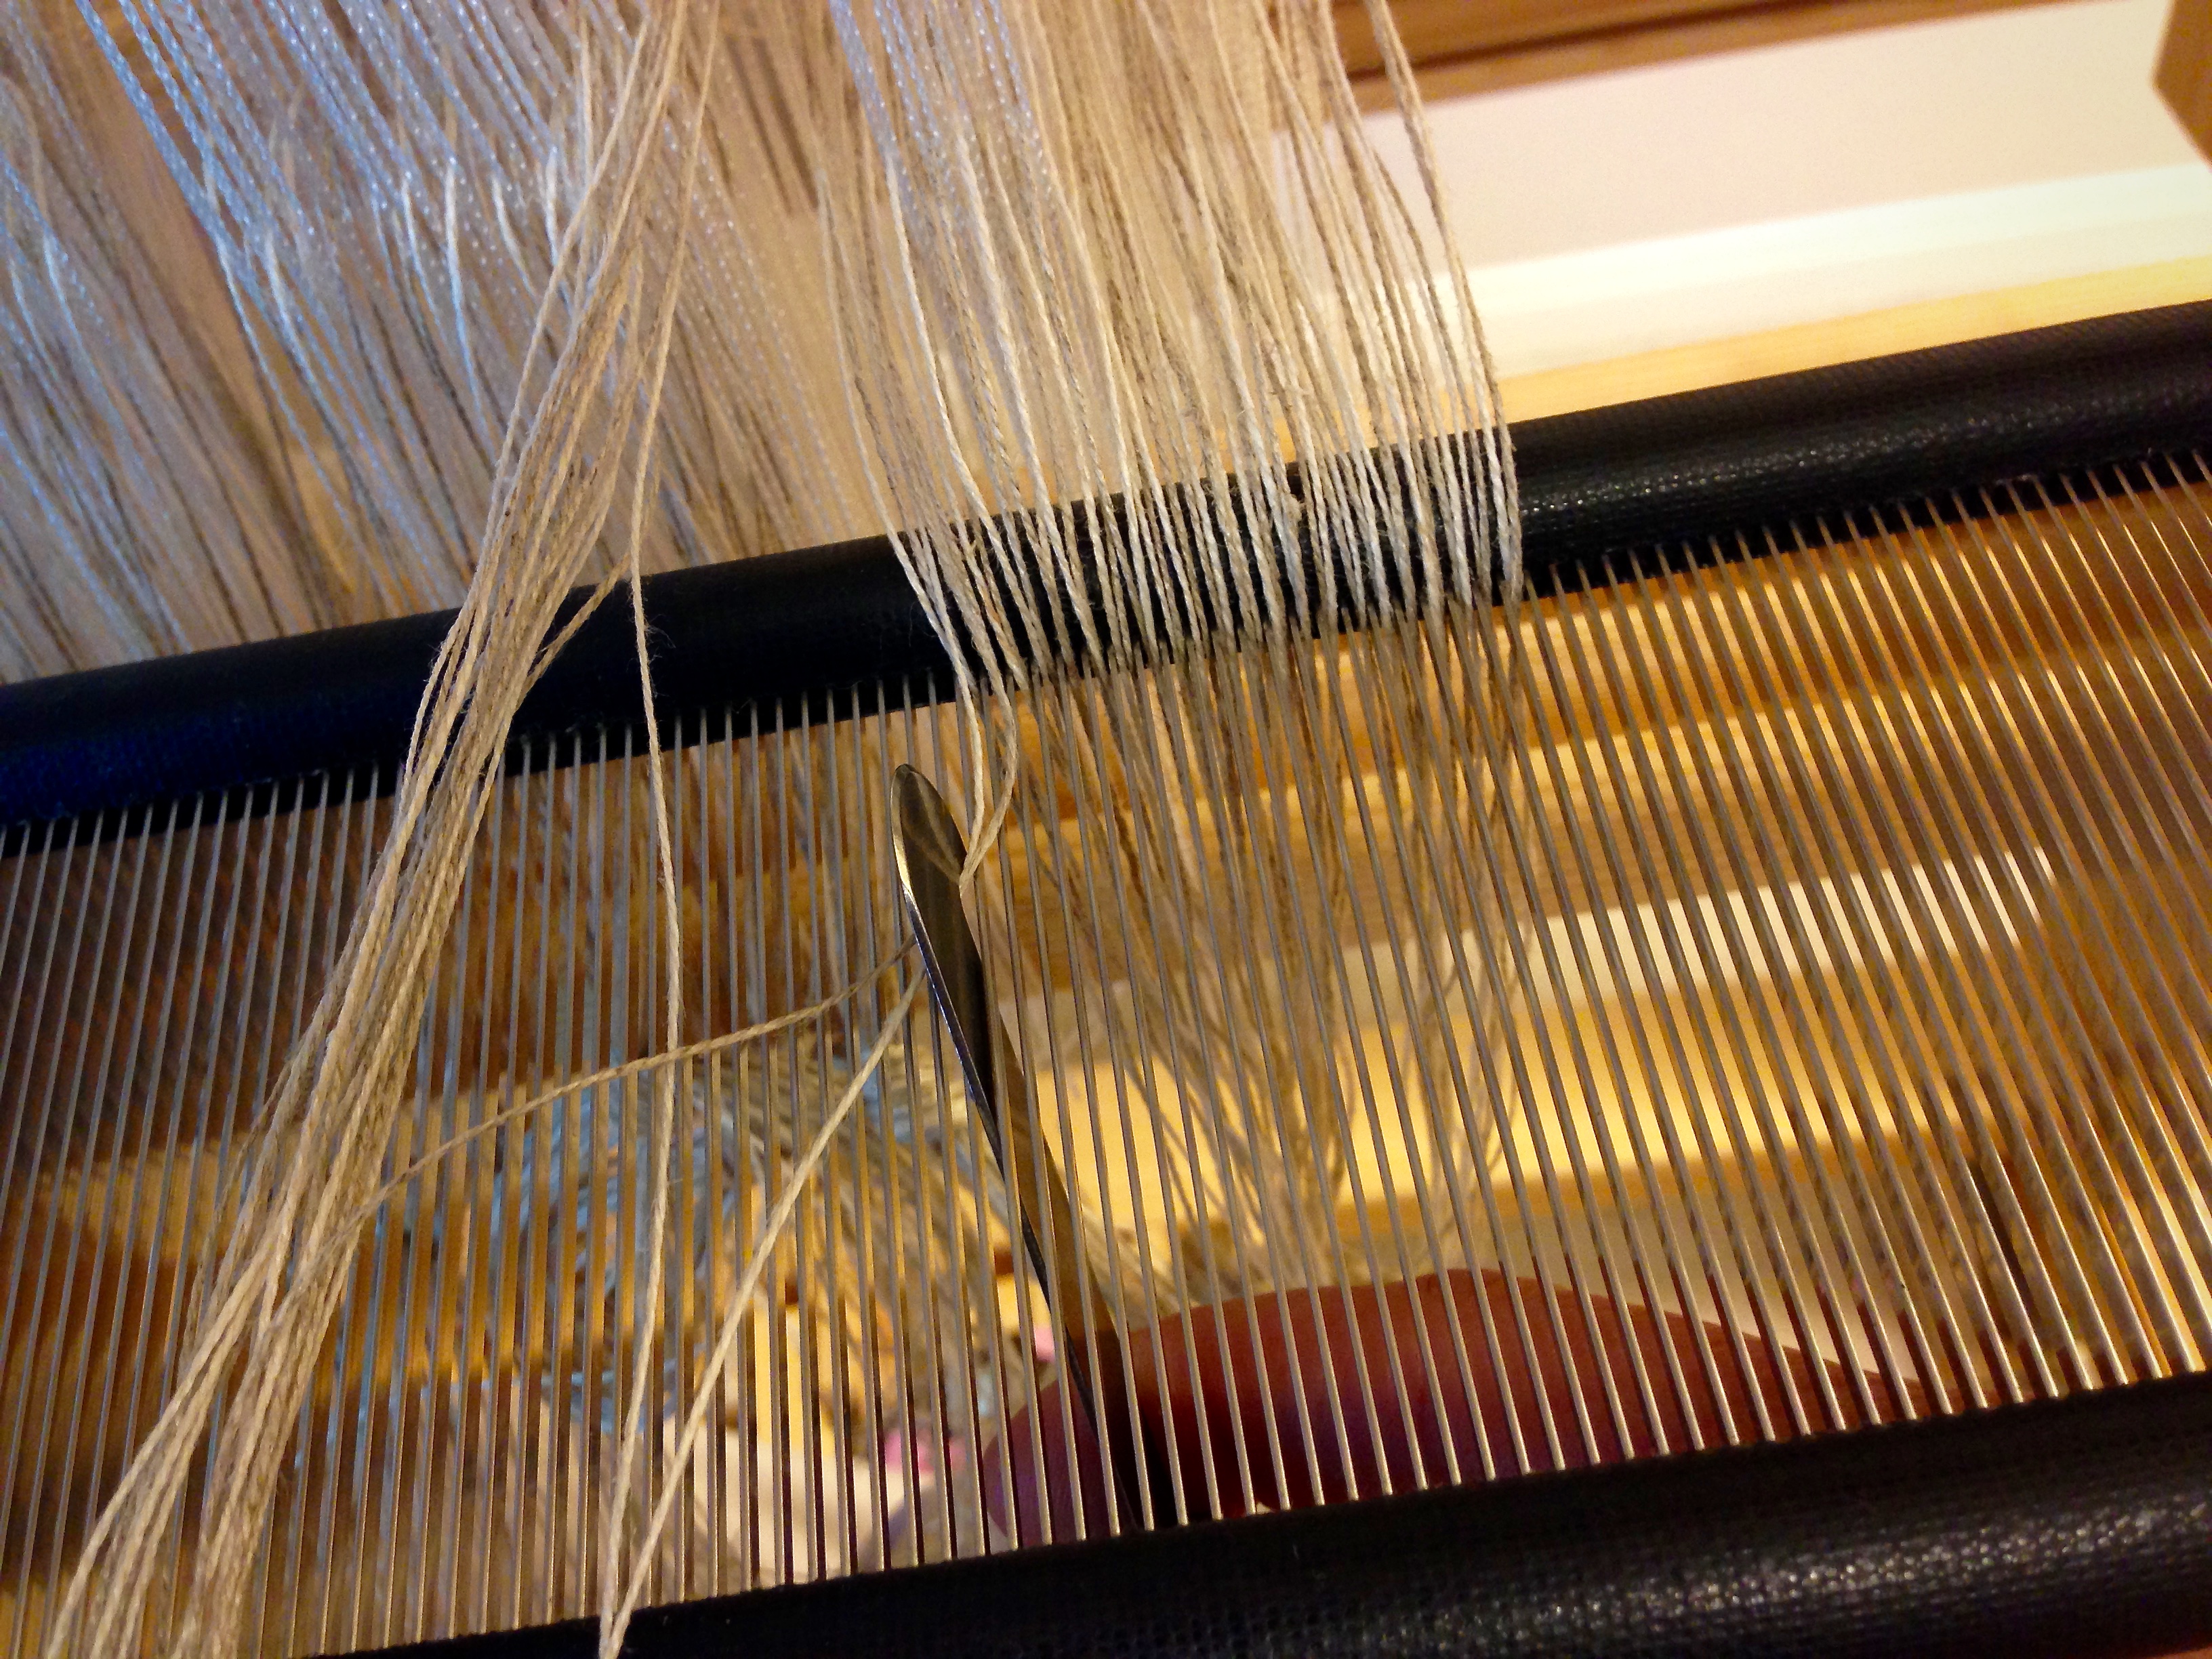
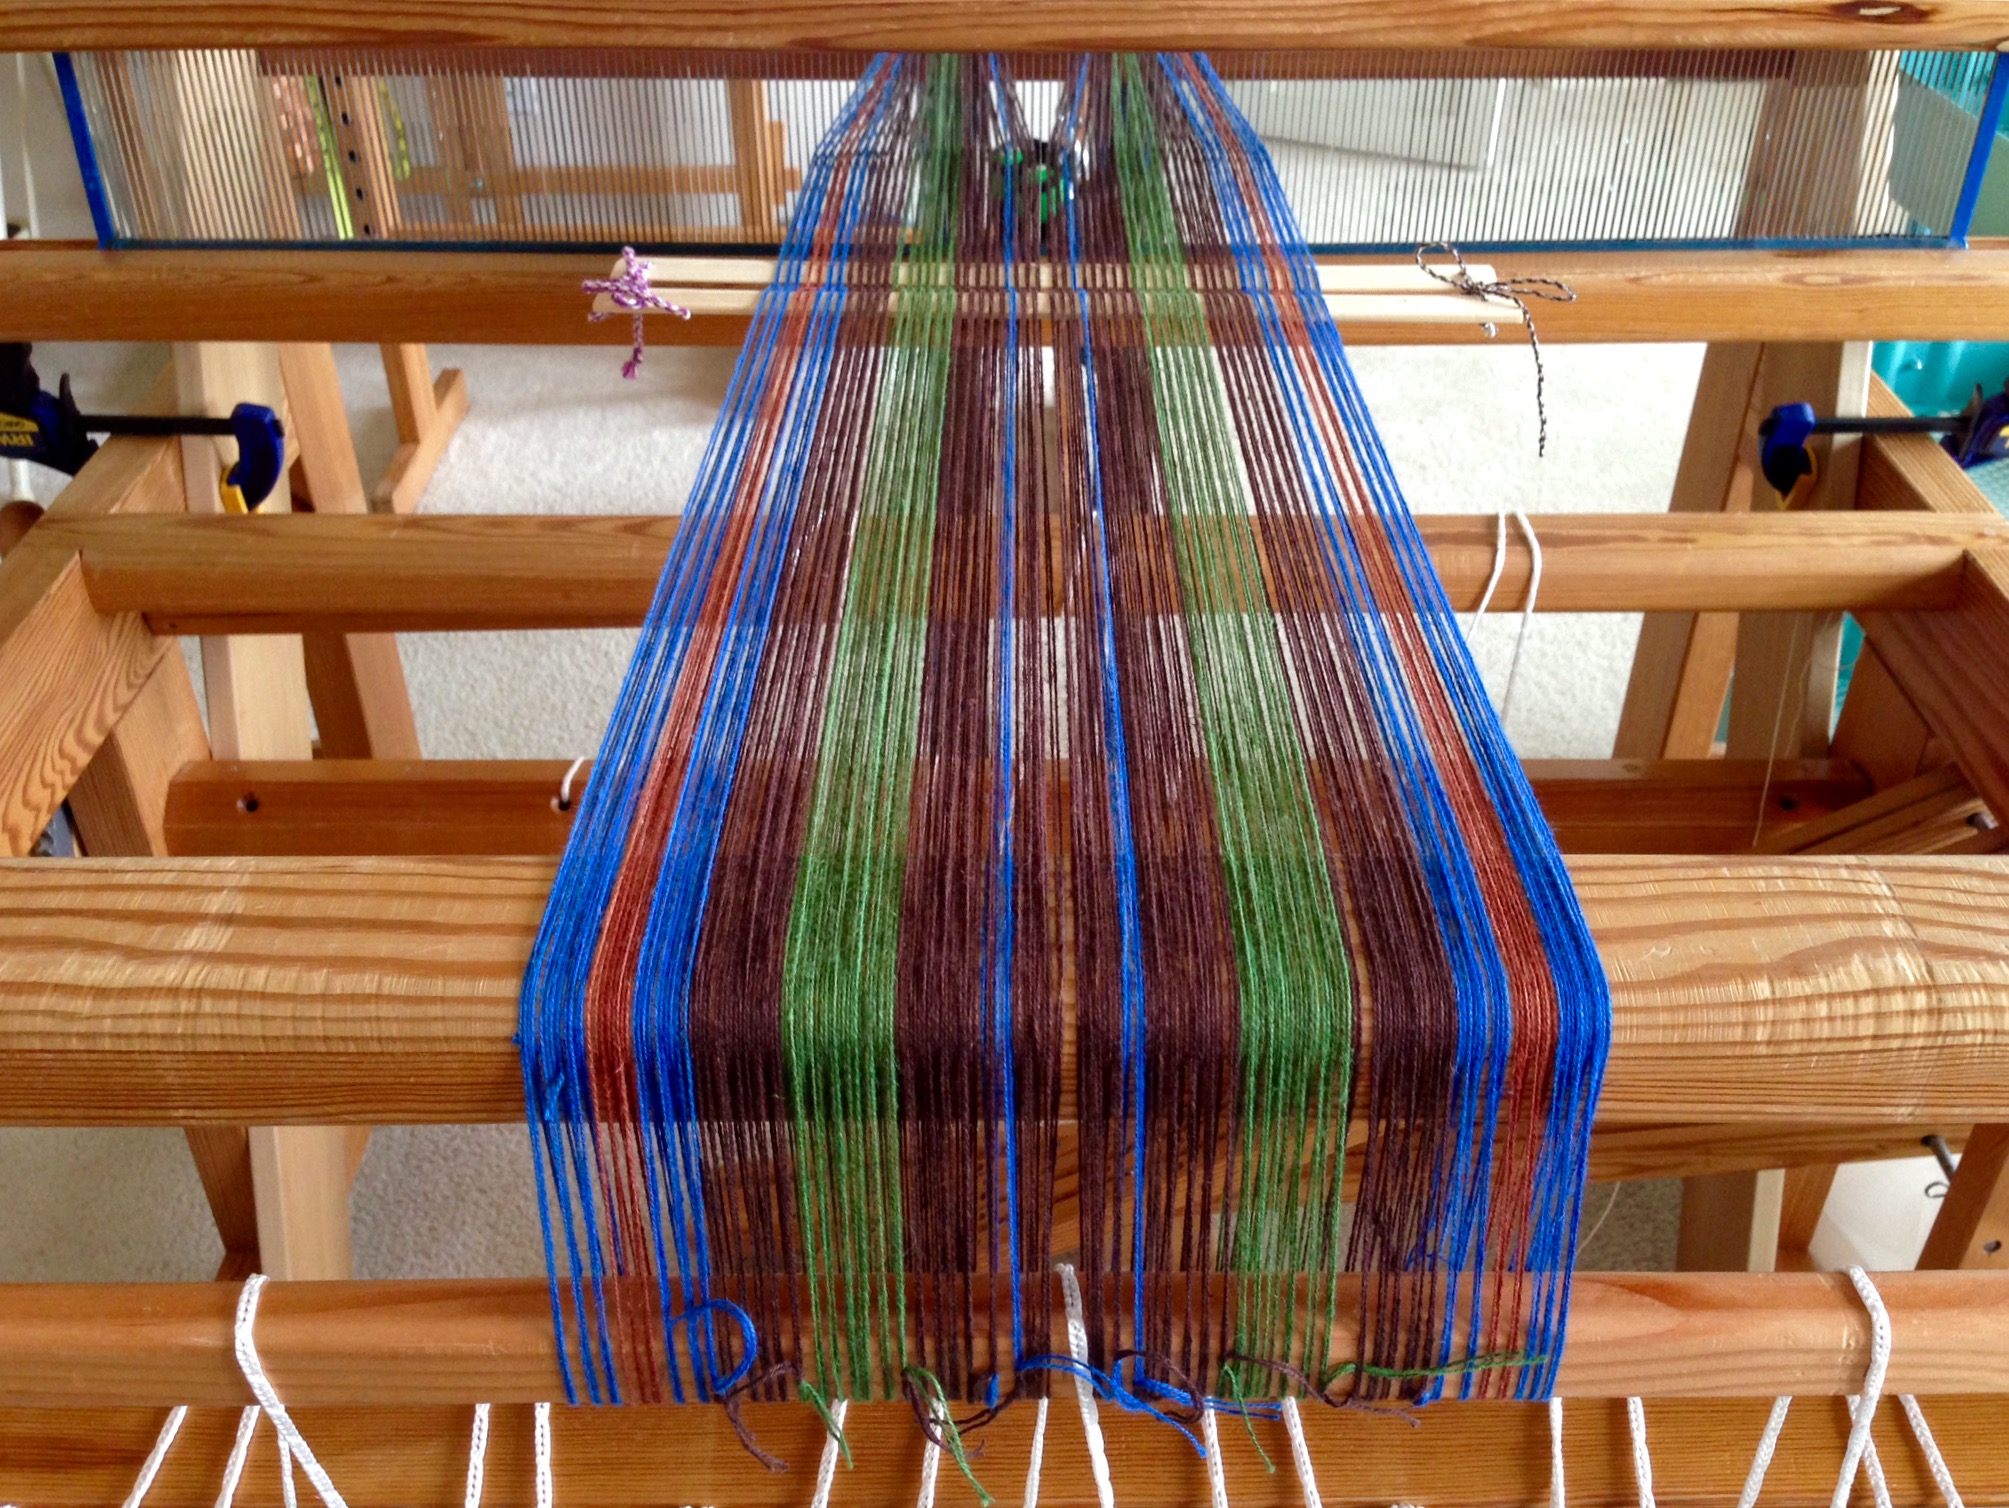
It was not an easy decision to re-sley. I had anticipated an enjoyable day of rag rug weaving. Instead, I spent the day cutting off, pulling the ends out of the reed, switching reeds, re-sleying, dealing with extra warp width, tying back on, and beginning a new sample. Is this called learning the hard way? Nope. This is simply called learning.

Rag rug sample with inlay techniques.
Warp has been re-sleyed and is ready for weaving a new sample. First sample piece includes rya knots, loop technique, and HV technique on weft rep, using fabric strips for weft and weft inlay.
Rag rug sample, trying out rya knots.
After re-sleying, I start a second sample. I am happy to see that the rya knots fit into place without adding excessive bulk to the weaving.

Weaving, relationships, and purposeful living. Learning takes time–a lifetime. I want the Lord to teach me how to live. Even when it means messy beginnings and do-overs that use up my day. We have a lot to learn. Lord, teach me, and lead me on your path. More than a prayer in crisis, this is a lifetime prayer for a lifetime of learning.

May you know when to start a do-over.

Still learning,
Karen

Quiet Friday: Weaving Linen Air

Linen lace weaving. It’s like weaving air. 16/1 linen warp and weft, with uneven sleying and careful weaving. Beating is not the right word this time; let’s call it “placing the weft.” Gentle, gentle, gentle, easy does it. No temple needed. Indeed, what would you hook the temple into? There is almost nothing there.

Linen on the warping reel.
Winding the 16/1 linen warp on the warping reel.
Linen warp chain, ready to dress the loom.
Wound warp is chained and placed over the breast beam and through the beater in preparation for dressing the loom.
Lease sticks with linen.
Lease sticks.
Dressing the loom with linen singles.
Ends are counted and grouped before threading.
Uneven sleying of the reed with linen singles.
Reed is sleyed unevenly, sometimes called “crammed and spaced.”

I did weave a sample, trying out different colors and sizes of weft. The weave is so airy; honestly, I was not sure if the fabric would hold its shape off the loom. To wet finish, I first soaked the sample for 20 minutes in hot water with mild soap. Then, I washed it by hand, lifting and lowering the net-like cloth repeatedly in the water. I rolled it in a towel and gently squeezed to remove moisture. Lastly, I laid it out flat to dry.

Half bow keeps linen from slipping, while allowing adjustments.
Half bow-tie makes sure the linen will not slip. Adjustments are easy, if necessary, after weaving a few inches.
Tying up treadles in the "playhouse" under the warp.
Treadle tie-up happens in the “playhouse” under the warp in the back. Sunlight through the linen reveals “invisible” hairy fibers.
Sample weaving. Linen lace.
Sample.
Linen sample, not yet wet finished.
Sample, not yet wet finished.
Linen sample in black and white.
Black and white view shows cloth structure.

Result? It came through beautifully, with the lace weave intact. Linen, there is something about you that is exquisite and delightful, yet a bit mischievous and sly. I like you.

Linen sample after wet finishing. Karen Isenhower
After wet finishing and drying, the linen sample shows a glimpse of scarves to come.
Weaving linen air. Karen Isenhower
Weaving linen air.

May all your concerns be as light as air.

Happy Linen Weaving,
Karen

Tools Day: Sley the Reed

I am dressing the big loom with linen. This flaxen thread brings a worthwhile challenge I find hard to resist. Beaming the warp was slow and deliberate. It pays to be attentive to everything at this stage. Threading for this dice weave could not be simpler; it was finished before I knew it. Now, it is time to sley the reed.

Tools:

  • Reed     I am using a 12-dent reed for this project.
  • Texsolv cord for hanging the reed in front of the shafts
  • Tape measure     I remove the metal ends.
  • Reed hook     Mine is from Vävstuga.
  • Bench, set at comfortable height for threading and sleying     With my Glimåkra Standard, I get to put the bench “in” the loom. It’s like going into my own little playhouse.
  • Good lighting     I use a small Ott Lite Task Lamp when natural light in the room is dim.
Everything is ready for sleying the reed.
Reed is positioned right in front of the threaded heddles. Shafts and reed hang at optimum height for visibility and ease of hand mobility.
Sleying the reed.
Left hand index finger separates the end(s) to be sleyed.
Sleying the reed.
And the right hand holds the reed hook under the reed to pull the end(s) through the dent. (These two pictures show why a third hand would be nice. Normally, I sley the reed with two hands, so a third hand would be useful for taking a picture.)
  1. Form two loops of Texsolv cord that hang down from the top of the loom, one on the right and one on the left, to hold the reed for sleying.     My Texsolv loops hang from the countermarch frame.
  2. Adjust the length of the Texsolv loops so that the reed will fall just below the eyes of the heddles.
  3. Rest the reed horizontally in the Texsolv holders.
  4. Use the tape measure to find the center of the reed.     I mark the center of my reeds permanently by tying a small piece of 12/6 cotton seine twine at the center.
  5. Find your weaving width measurement on the tape measure. Fold that measurement in half and place the folded tape measure at the center point on the reed, to the right, to find the starting dent for sleying the reed. Place one end of the tape measure in that starting-point dent to keep your place.     Some people use the reed hook as a place holder, but when I pick up the reed hook to sley the first dent, I invariably loose my place.
  6. Pull ends through the reed with the reed hook, referring to your draft for the correct number of ends per dent, starting at the dent on the right hand side that has the place holder in it. Good lighting helps to prevent errors.     This is especially true with finer dents and darker threads.
  7. After sleying each group of warp ends, visually examine the sleyed dents to look for missed dents or extra ends in dents.
  8. Tie the sleyed group of ends into a slip knot.
  9. Finish sleying all the ends; and smile, knowing you are a step closer to weaving fabric.

May all your looms be dressed.

Happy Dressing,
Karen

It Begins with a Warp Chain

I have new warp excitement! Having a new warp chain ready for the loom is much like coming into a season of gift giving. Every step of dressing the loom is like meticulously wrapping the gift, with some things completely hidden away. When the weaving begins, the gift is opened, little by little. The final unwrapping happens when the warp is cut from the loom, and all the delights are fully revealed.

Cottolin warp chain.
Cottolin warp chain ready for dressing the loom.
Spreading the warp, pre-sleying the reed.
Spreading the warp by pre-sleying the reed.
Beaming on a new cottolin warp.
Spread warp is ready to be beamed on.

Peace, grace, hope, and love. These are the gifts I wish for you, friend. These gifts are ready to be unwrapped! Watch the fabric develop before your eyes as you weave, and enjoy the wonder of opening the gifts.

May you receive gifts that are better than you expected.

Love,
Karen

The Weft Question

I keep wondering about the weft that I forgot to purchase for this blanket. The heddles are threaded and the reed is sleyed; everything is ready…except the weft. As it turns out, I am glad I Forgot the Weft, because now I can try different options on the actual warp before committing to one single color.

Threading heddles for double weave wool blanket.
Ends are grouped into bundles of 32 threads each at the back beam. Pre-counting into groups helps prevent threading errors. Each heddle holds two threads. As a group of ends are threaded, I re-check the threading, and then tie the bundle into a slip knot.
Two set of lease sticks for double weave blanket.
Two sets of lease sticks, secured at the back beam, keep the two double weave layers separate and in order. The reed is cradled in place horizontally in front of the shafts for easy sleying, four ends per dent.

I am testing eight of the eleven warp colors, plus one more that I had in my stash. Nine colors. Think of it as nine questions. This one? This one? This one?… I am looking for weft that compliments the warp all the way across, showing off the warp gradation that spans both layers of the double weave. When the weft is woven in, rather than just held up for comparison, I find the answer unfolding before my eyes.

Double weave, finding the right weft.
Barely an inch of each color, but it is enough for a favorite to stand out for me.

Questions are good. Be ready to ask genuine questions about life. Genuine, like weaving the threads, rather than simply laying threads on the surface for consideration. The Lord specifically answers a seeking heart. In this journey of discovery, the answers unfold. Those looking for truth will find it.

Which weft color would you choose (last picture, options 1 – 9, left to right)? The weft is doubled, so you can choose one color, or two colors combined. (I will reveal my choice later. The yarn arrived today!)
Leave your answer in the comments.

May you be asked good questions.

Discovering,
Karen