Tools Day: Eliminating Warp Knots

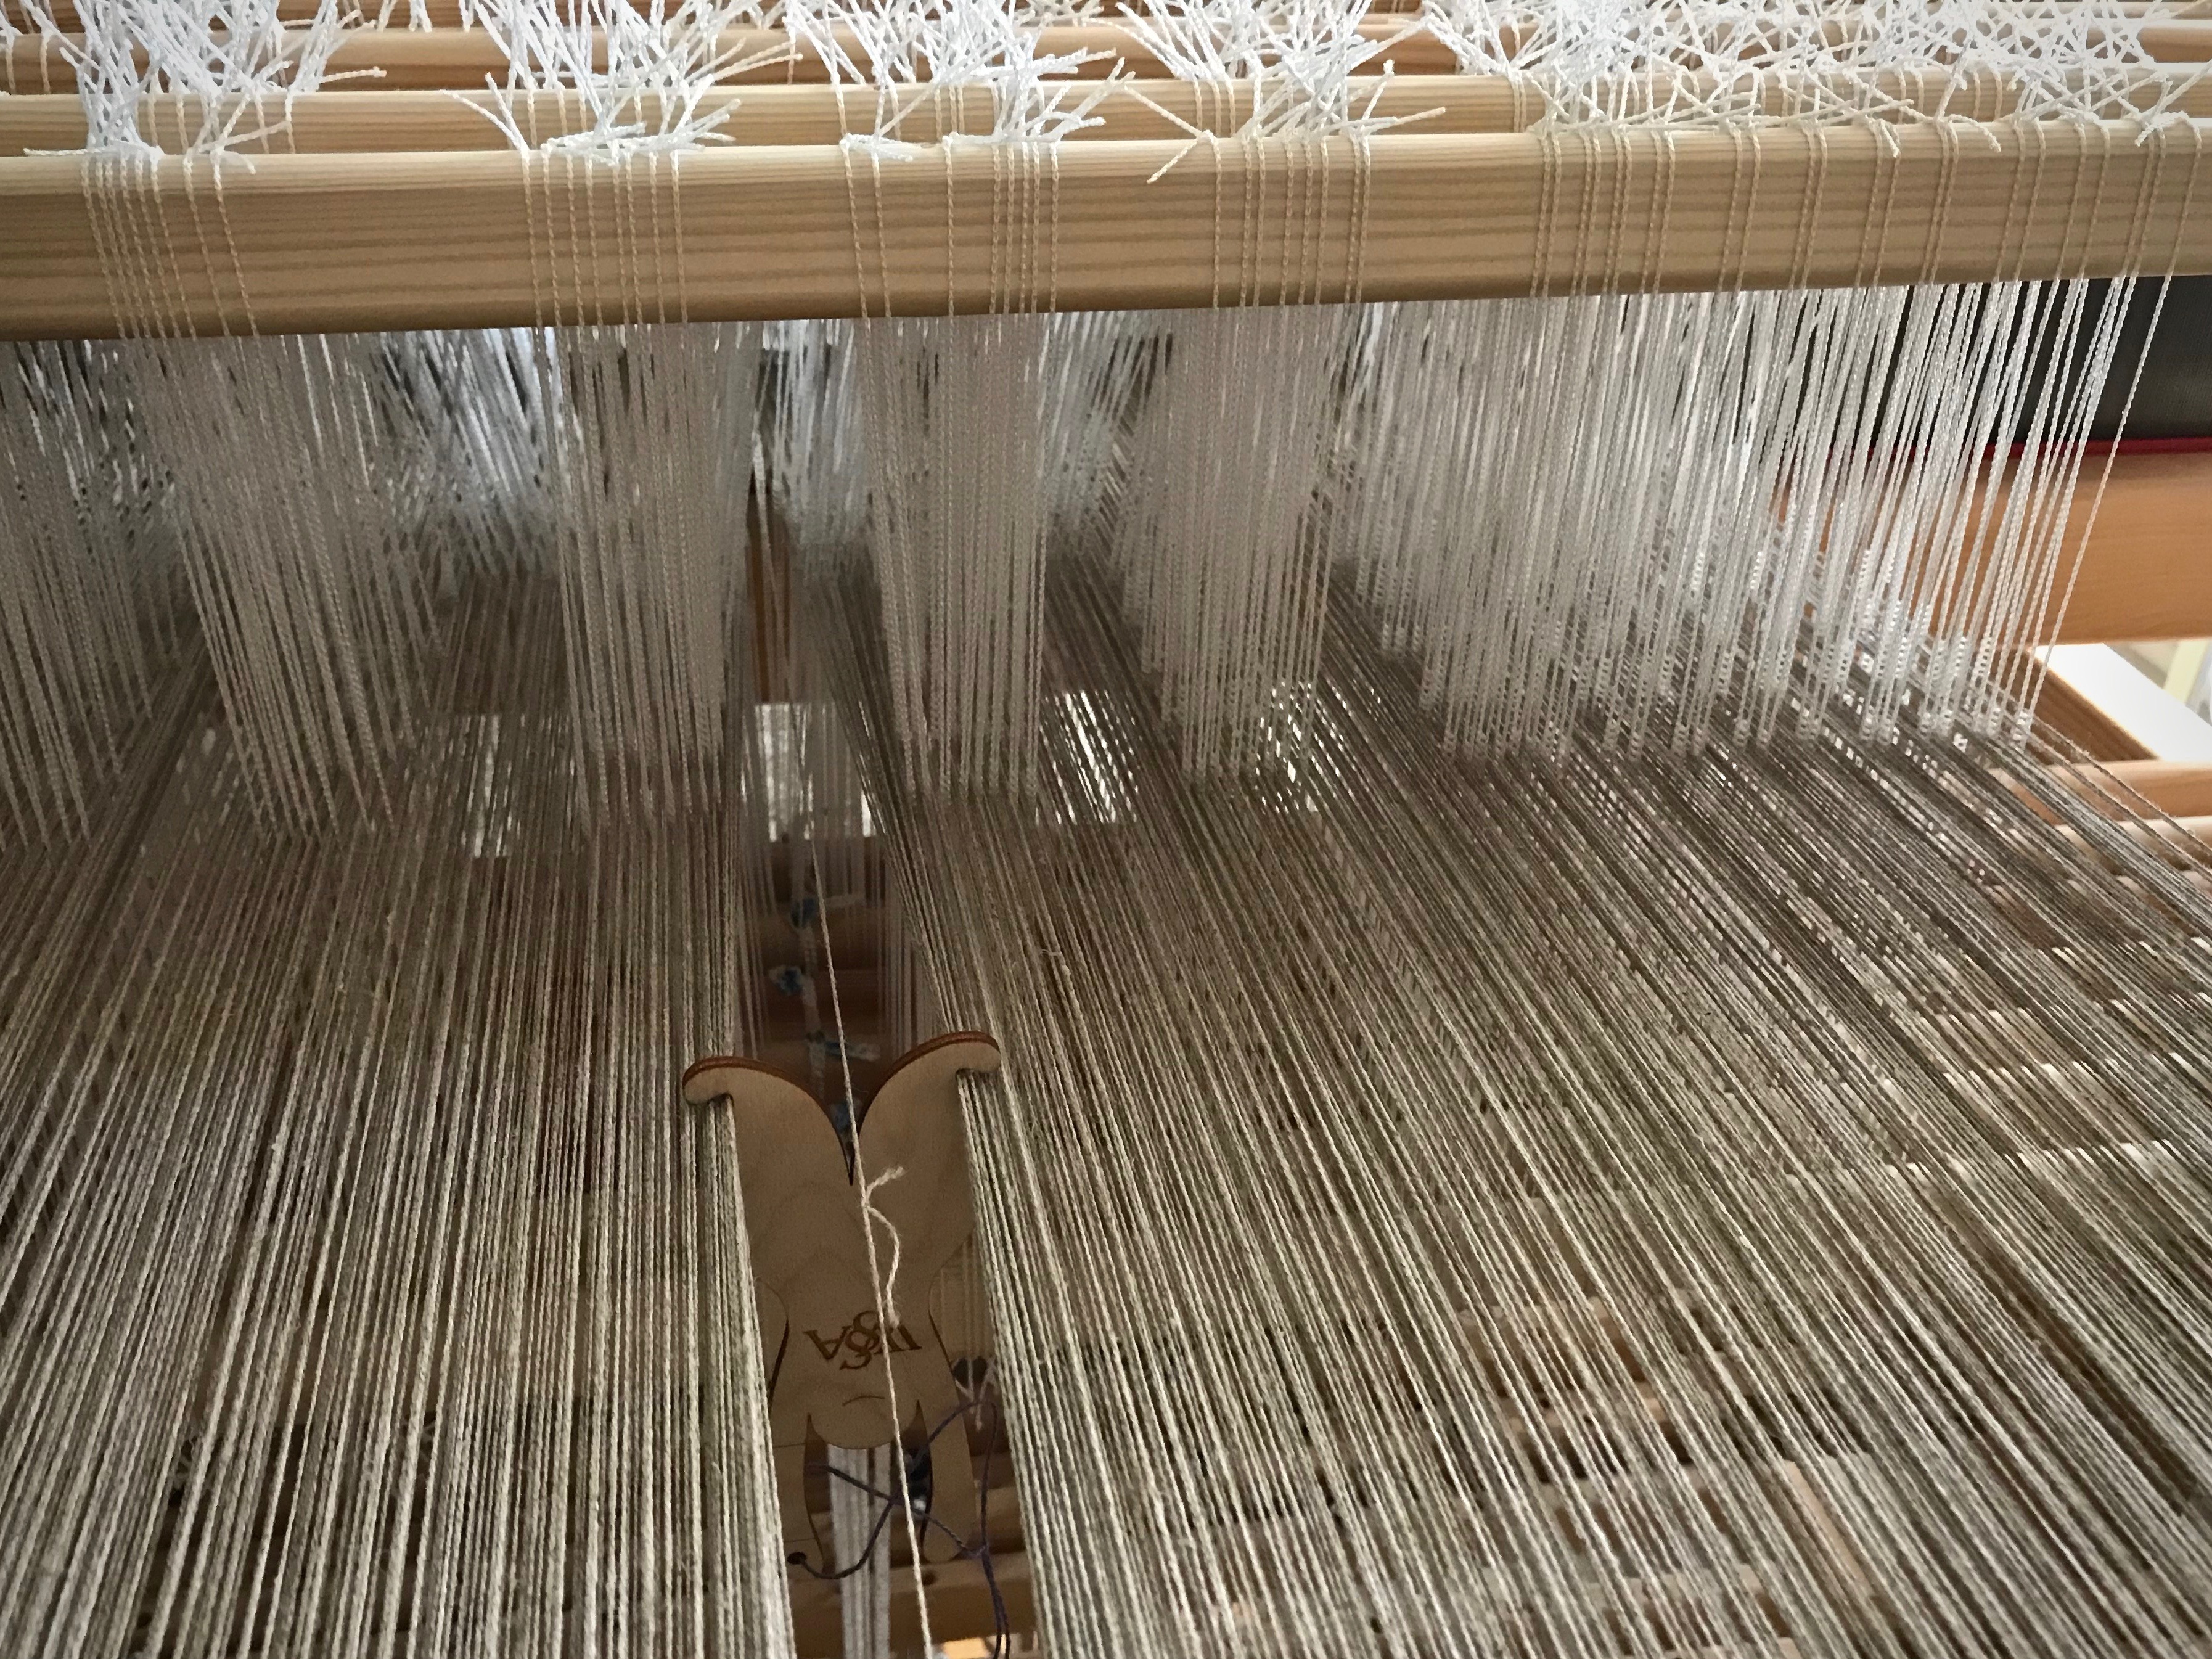
You are not going to believe how many knots I came across in this 16/2 linen warp! Too many. As I wound the warp I made the decision to leave most of the knots, and deal with them on the loom. (I did remove knots that were close to the beginning or ending peg on the warping reel.) I lost count, but I’m sure I have spliced the warp on this five-and-a-half-meter project at least a dozen times. (To see more details about how I splice the warp, visit this blog post and video: How To Splice the Warp – Video.)

I do not weave over warp knots. A knot introduces a spot of vulnerability to the fabric. Knots can fray, loosen, or come undone over time, even if the knot is originally imperceptible.

In a couple instances, a knot distorted the tension of the warp end because of catching on a heddle or passing through the reed. For that reason, I now try to eliminate knots in the warp before they reach the heddles.

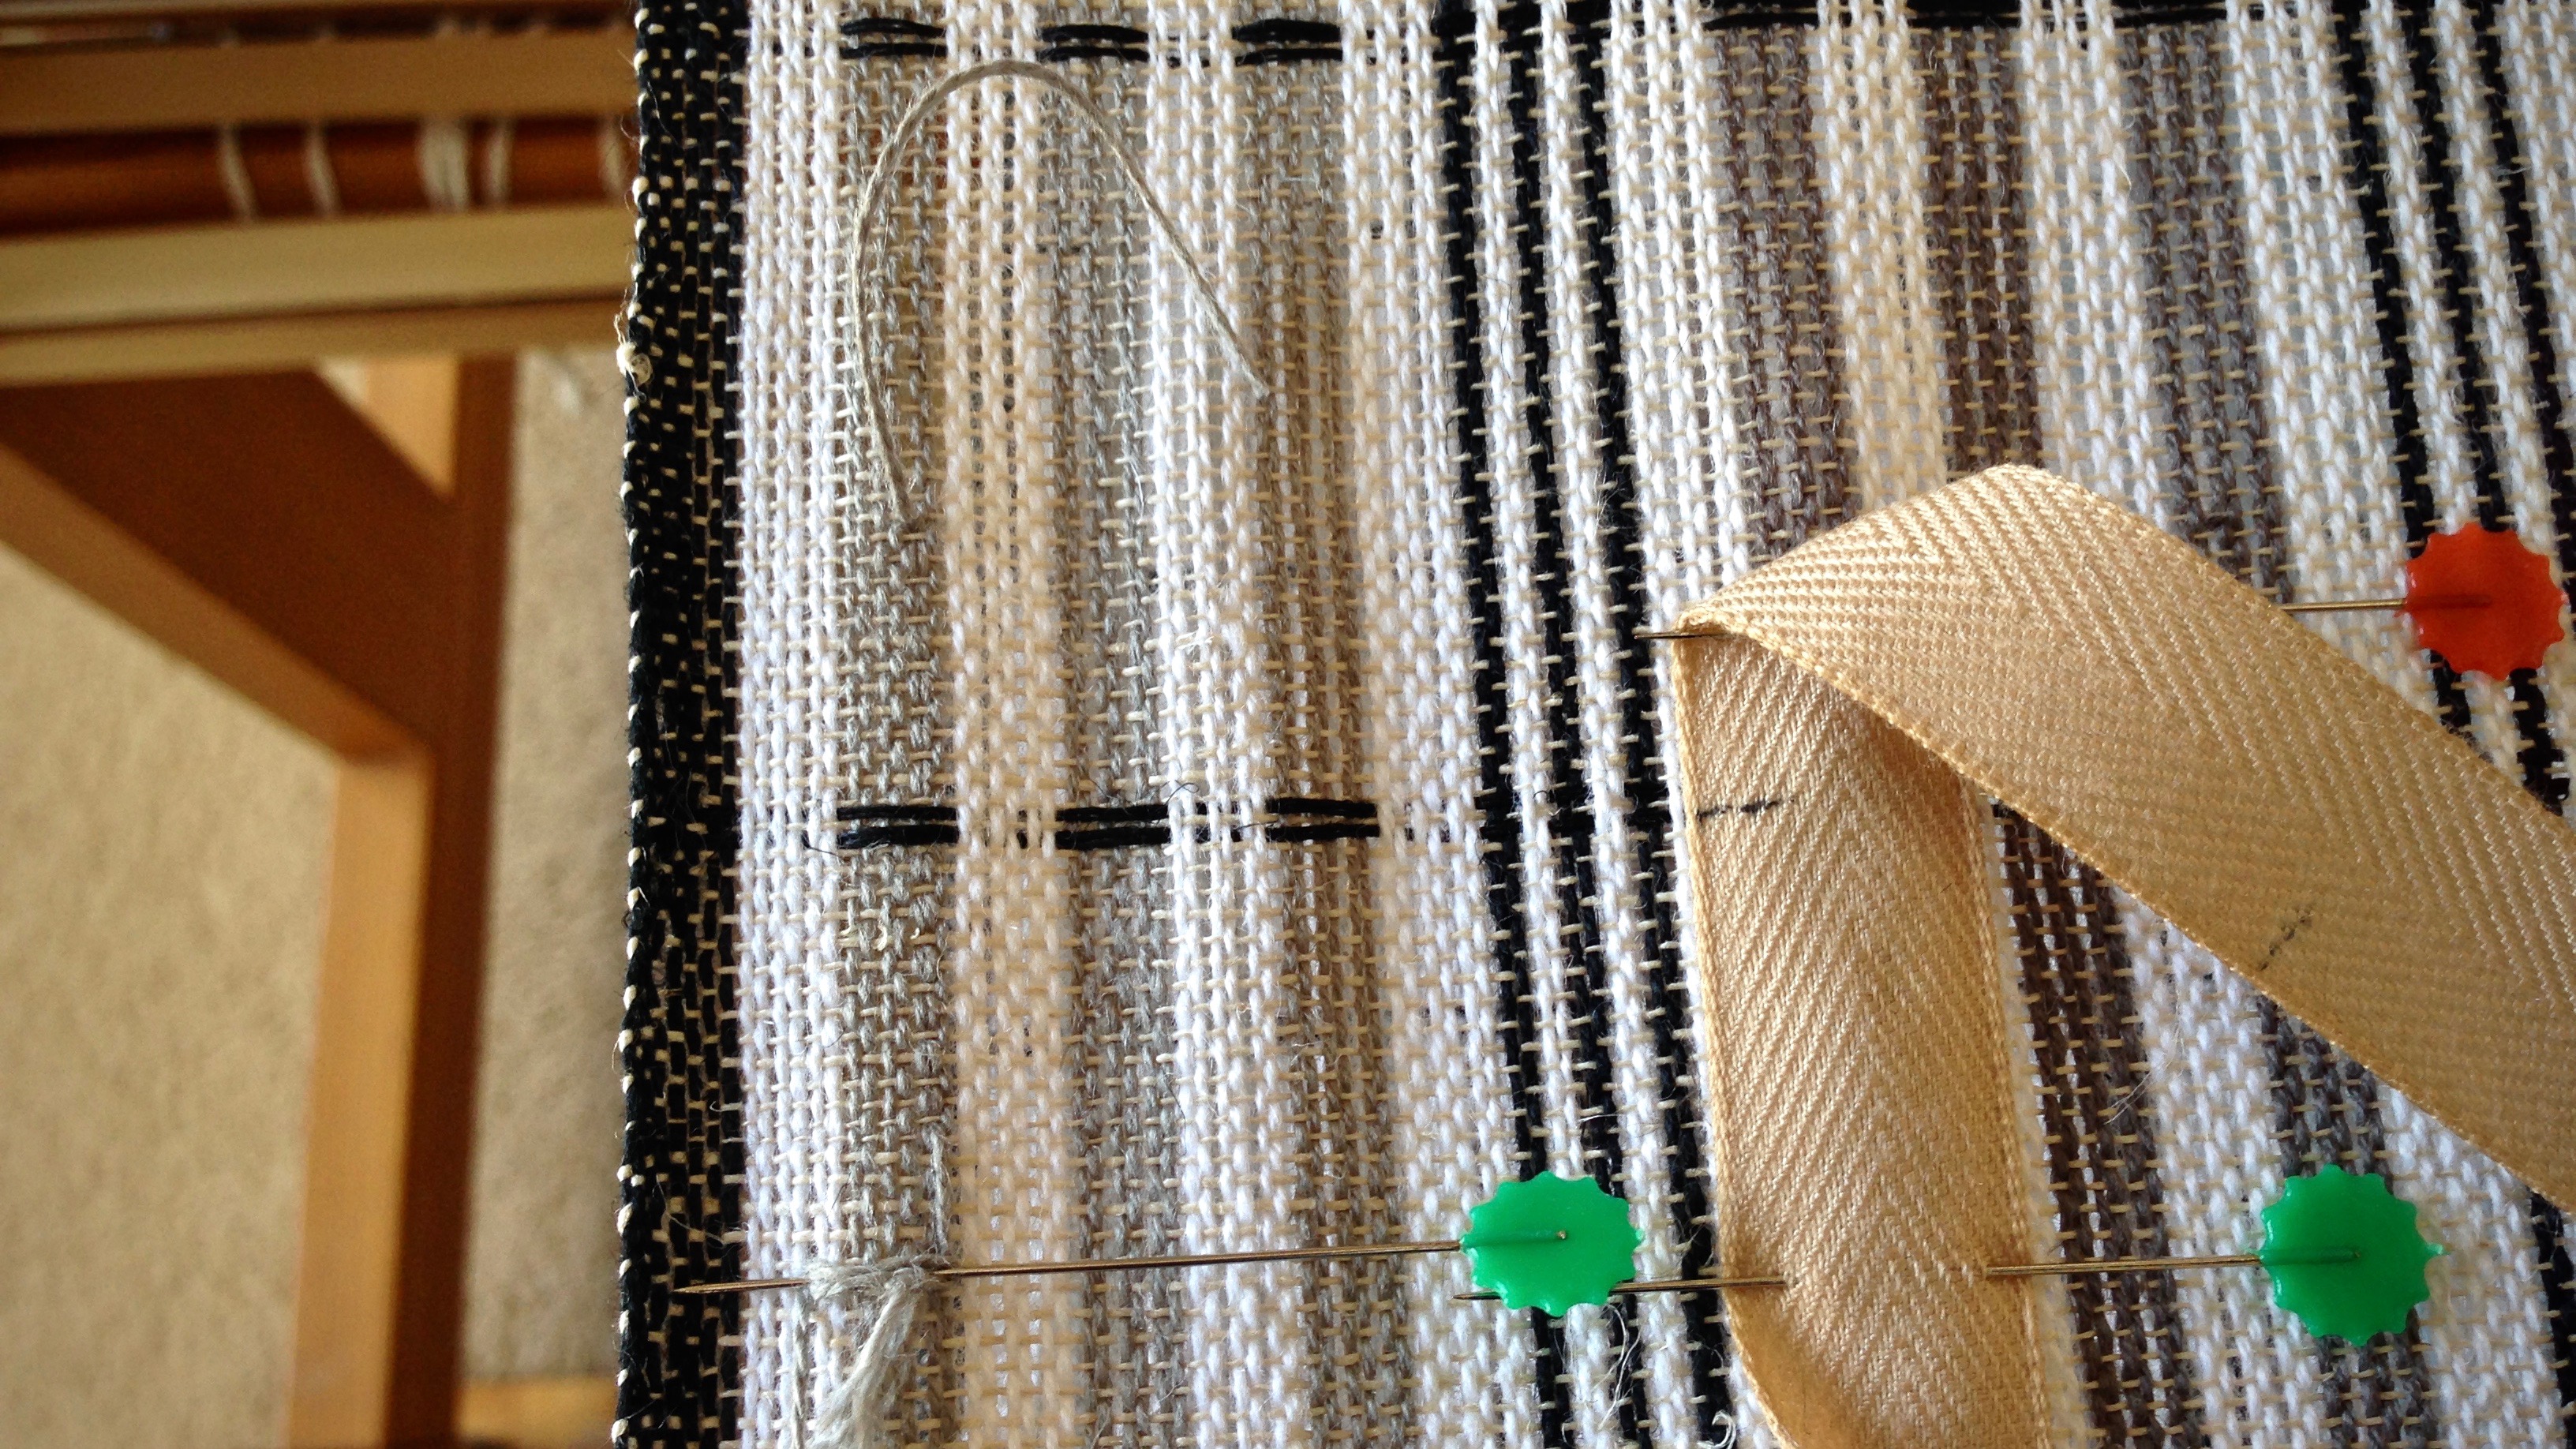
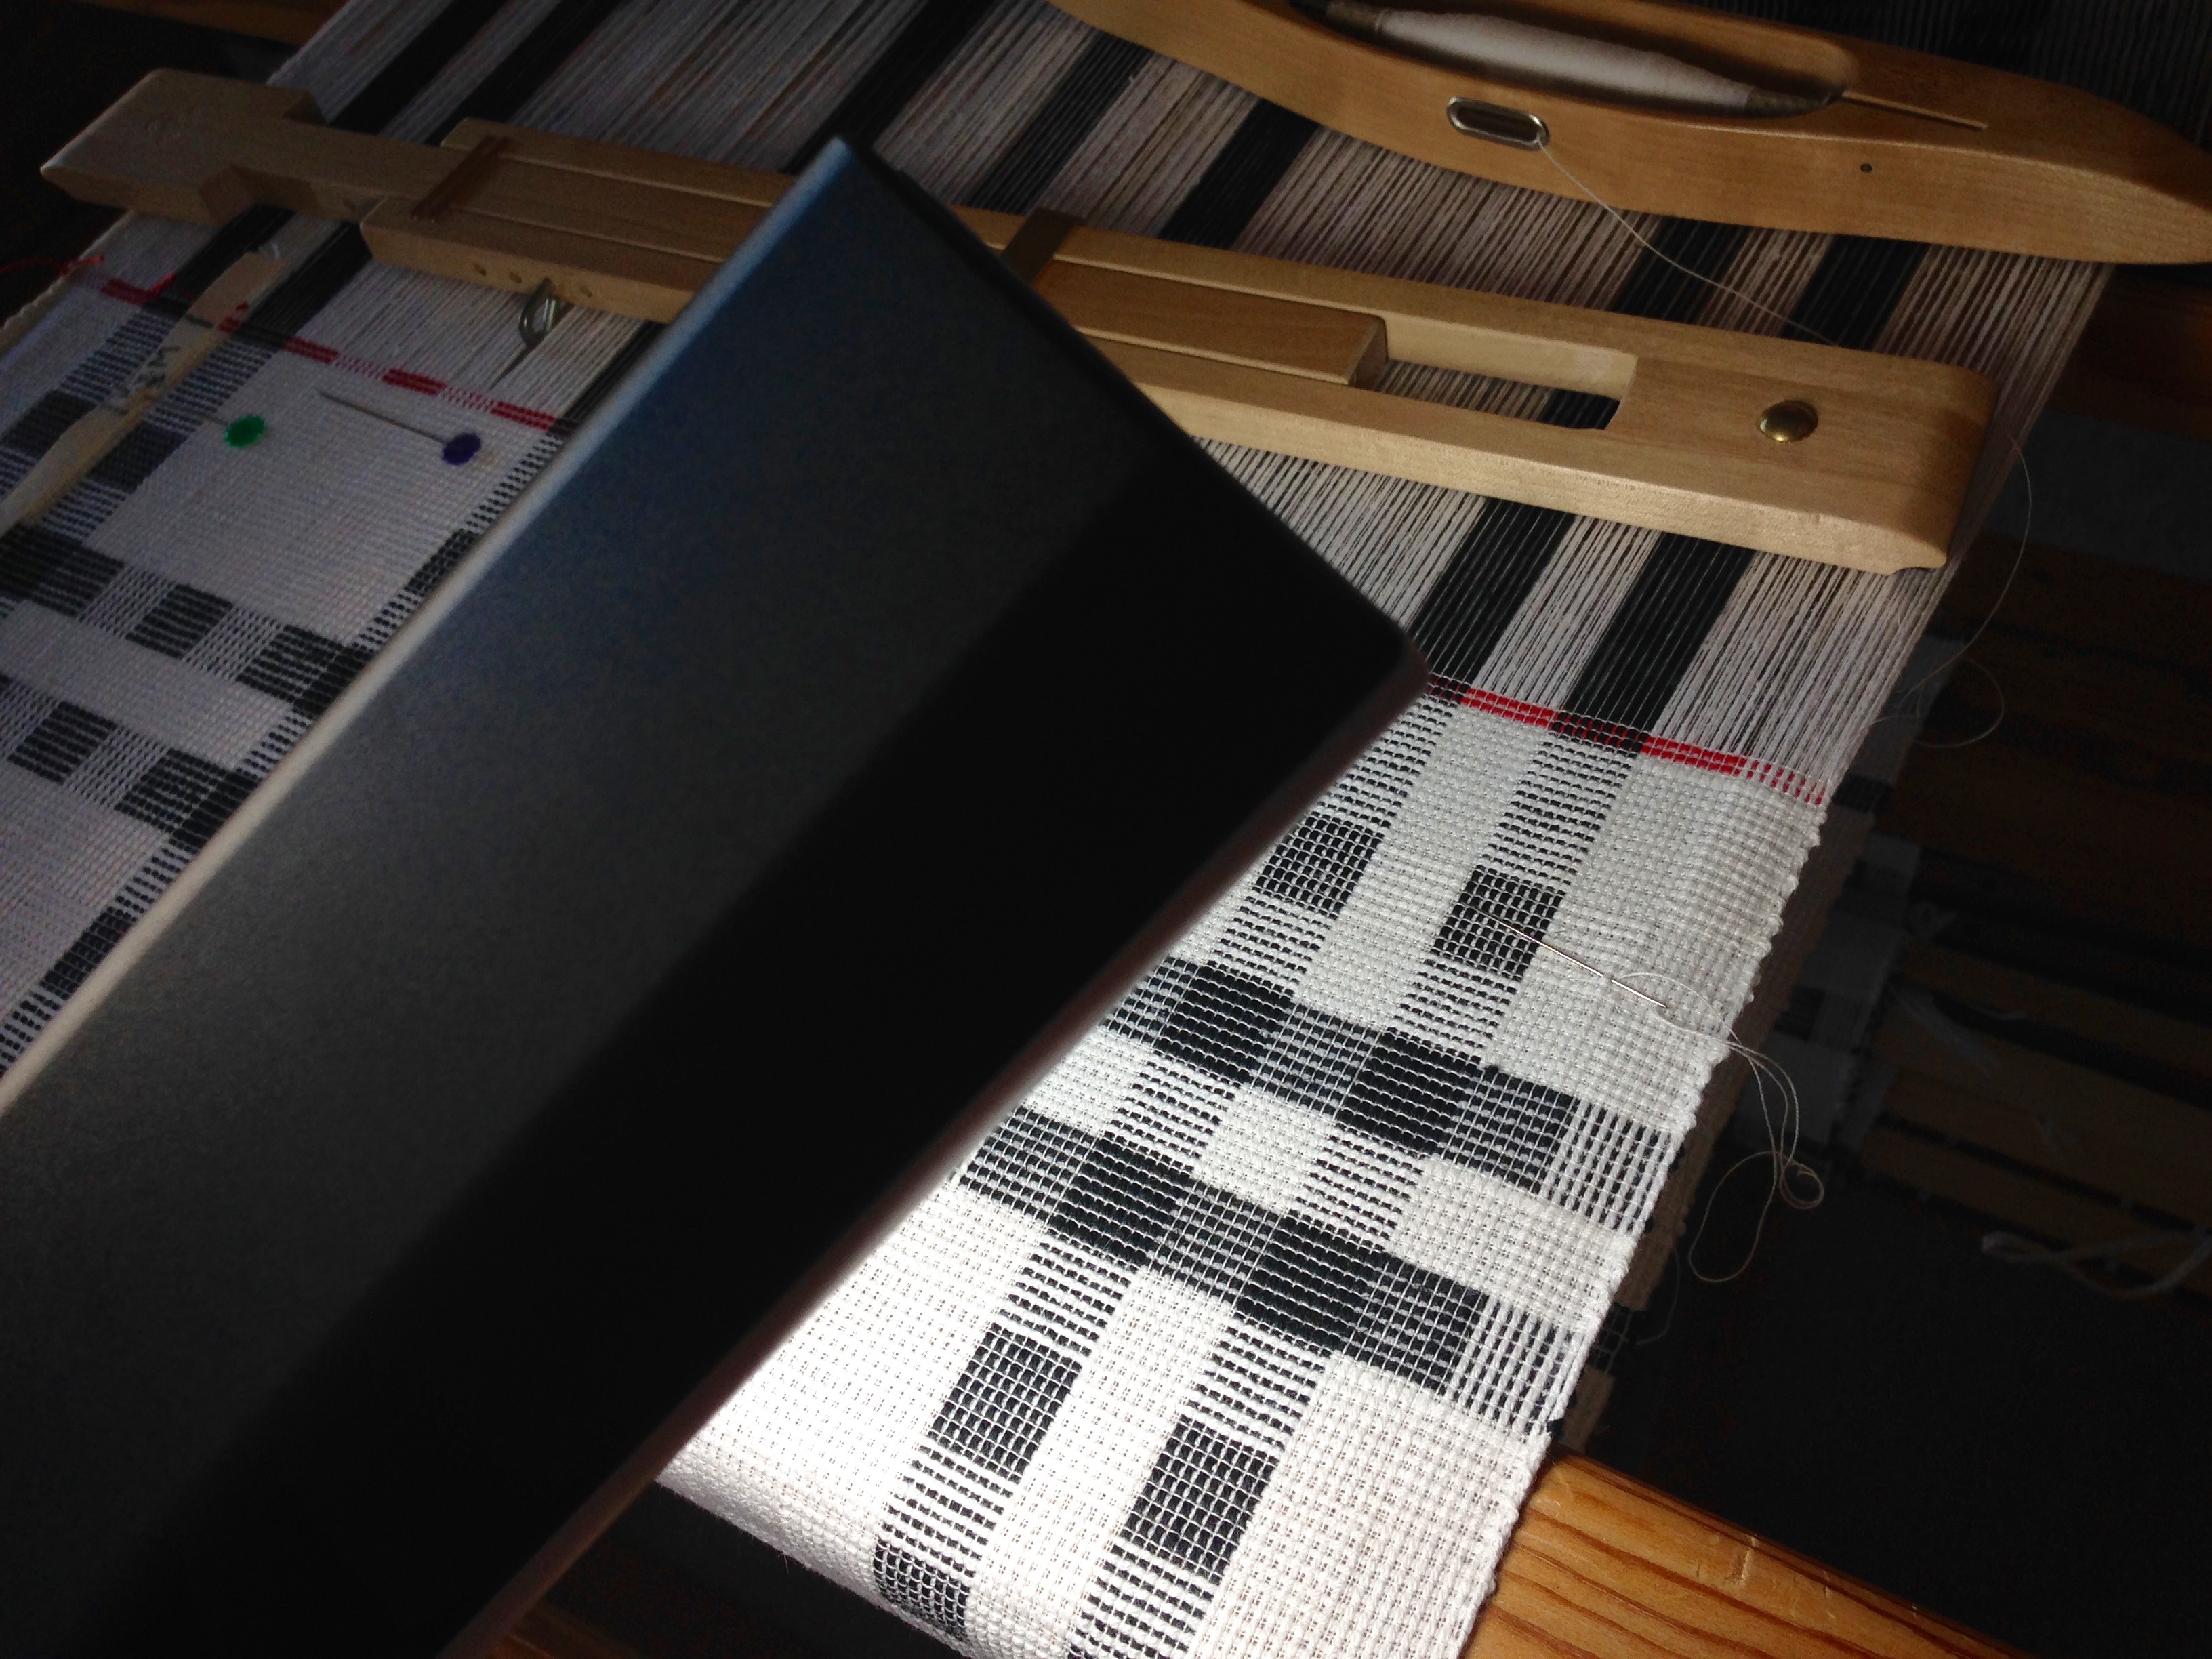
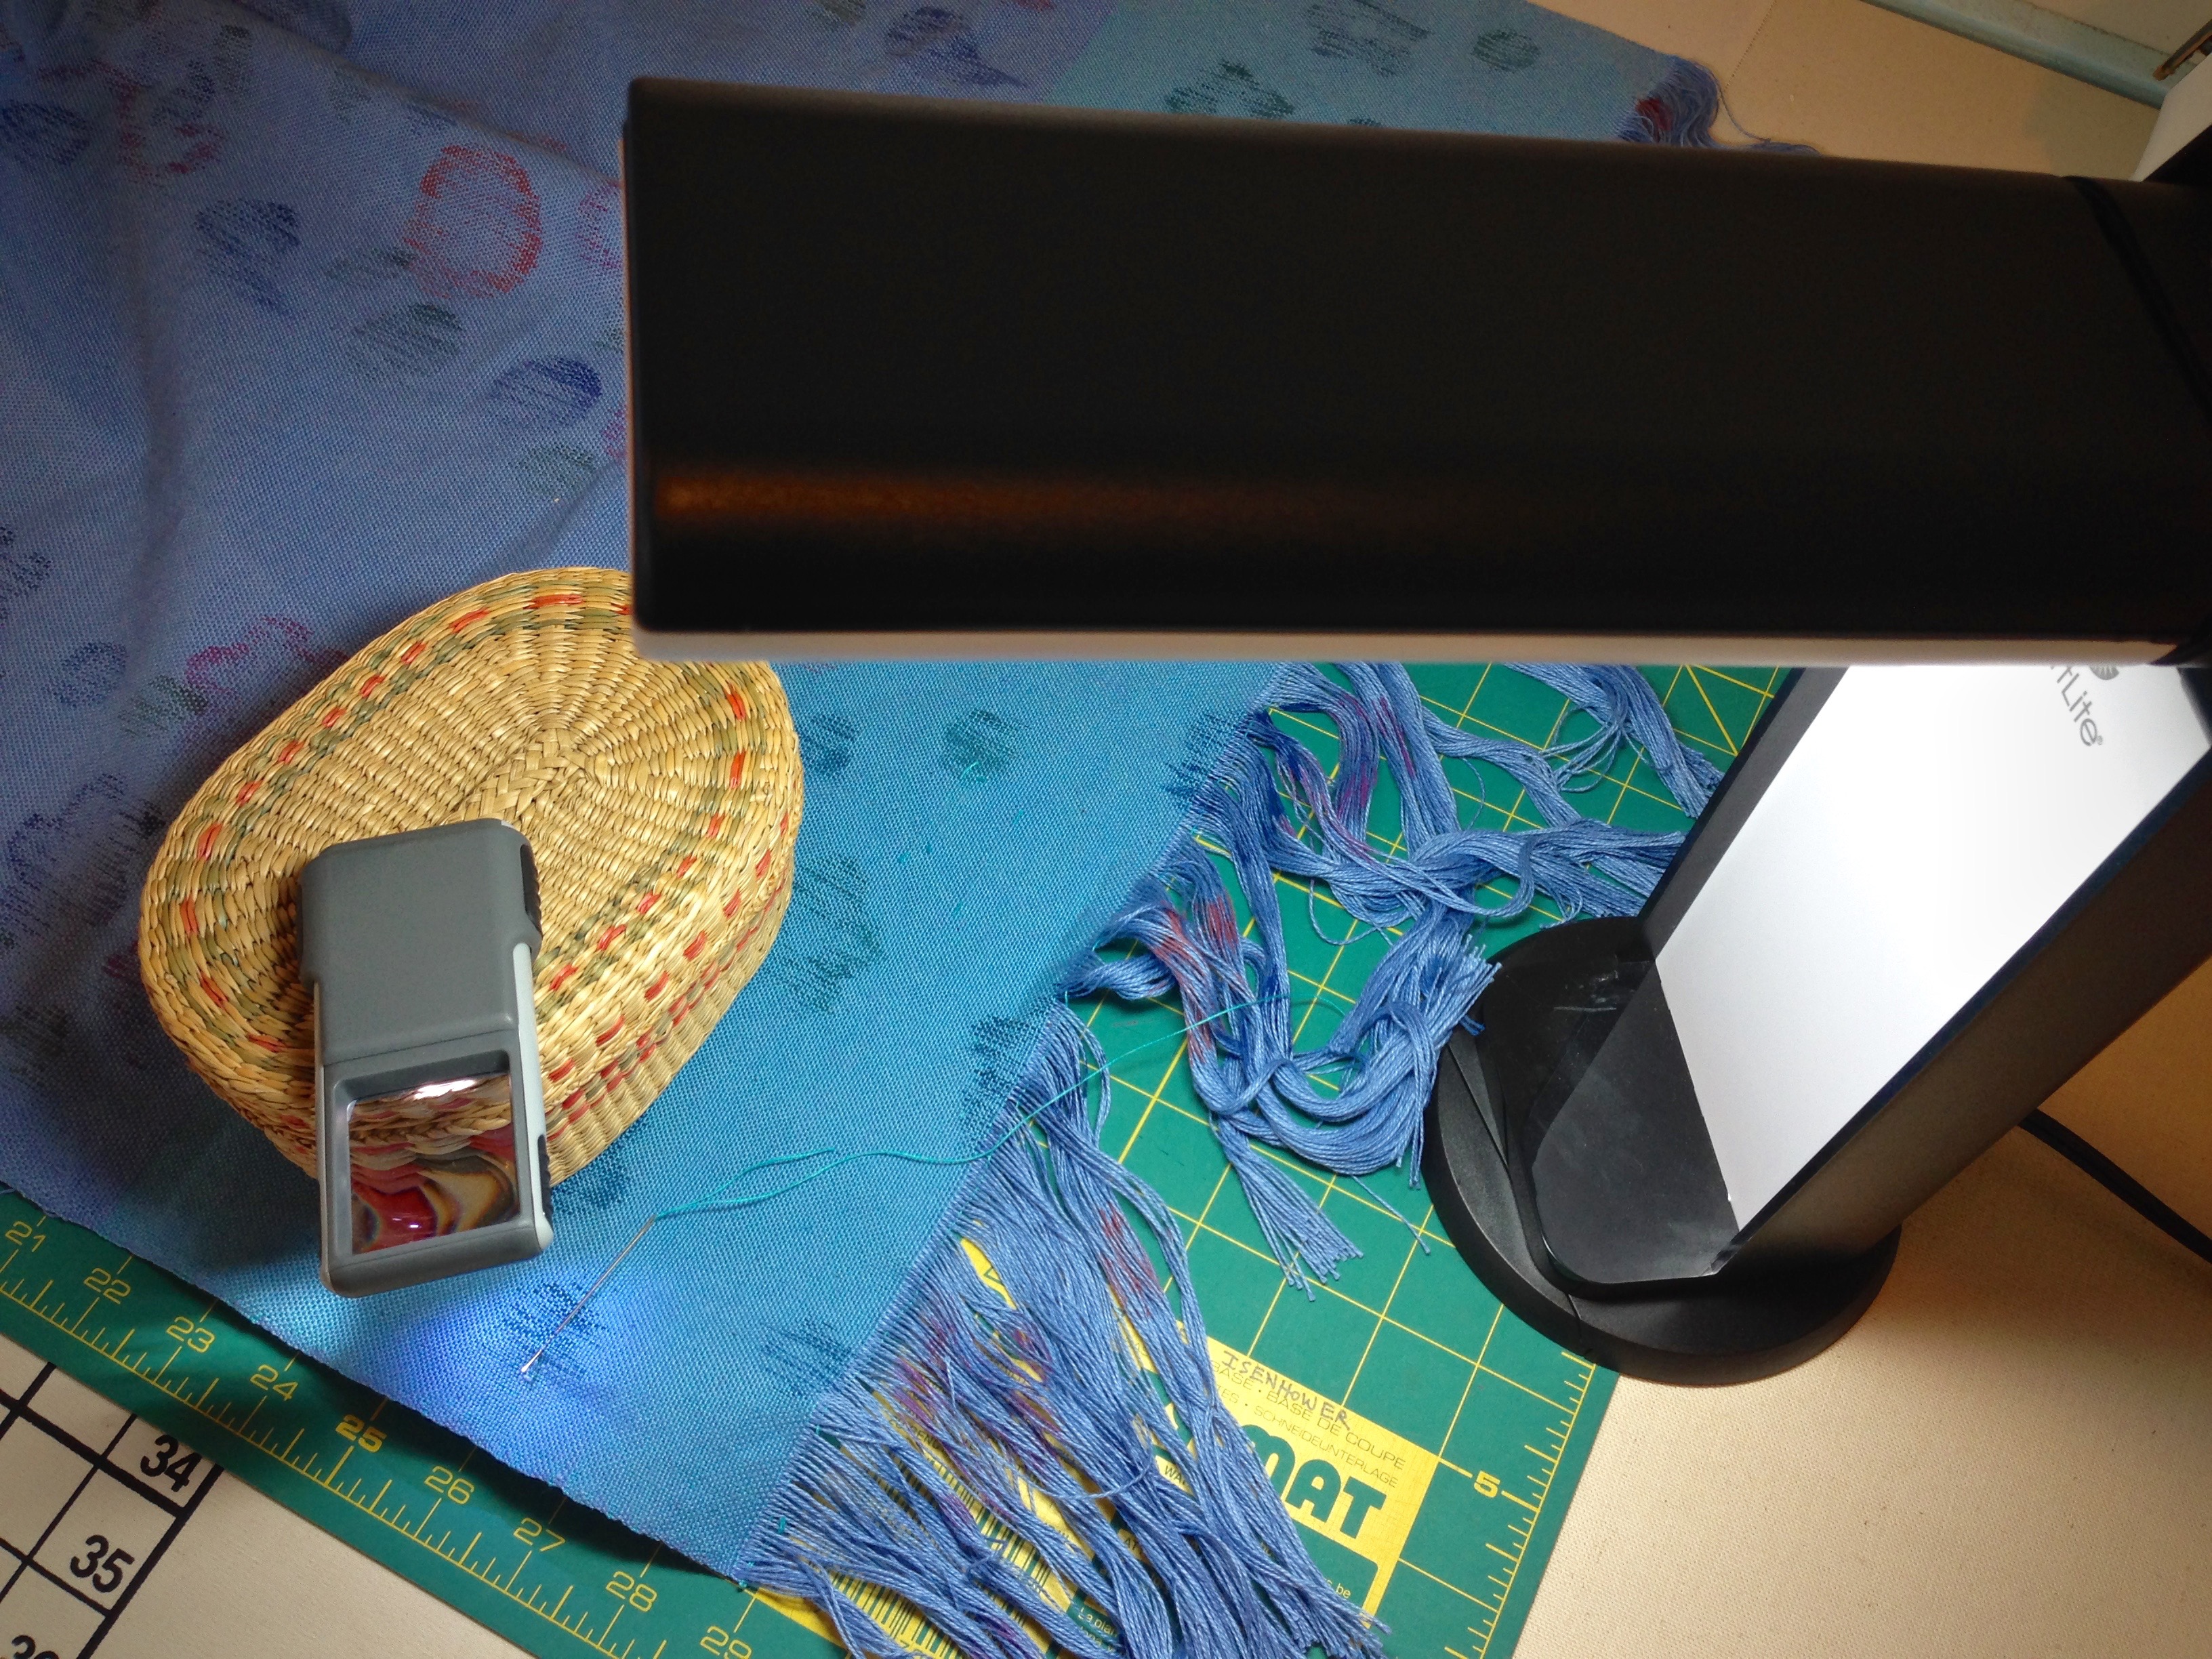
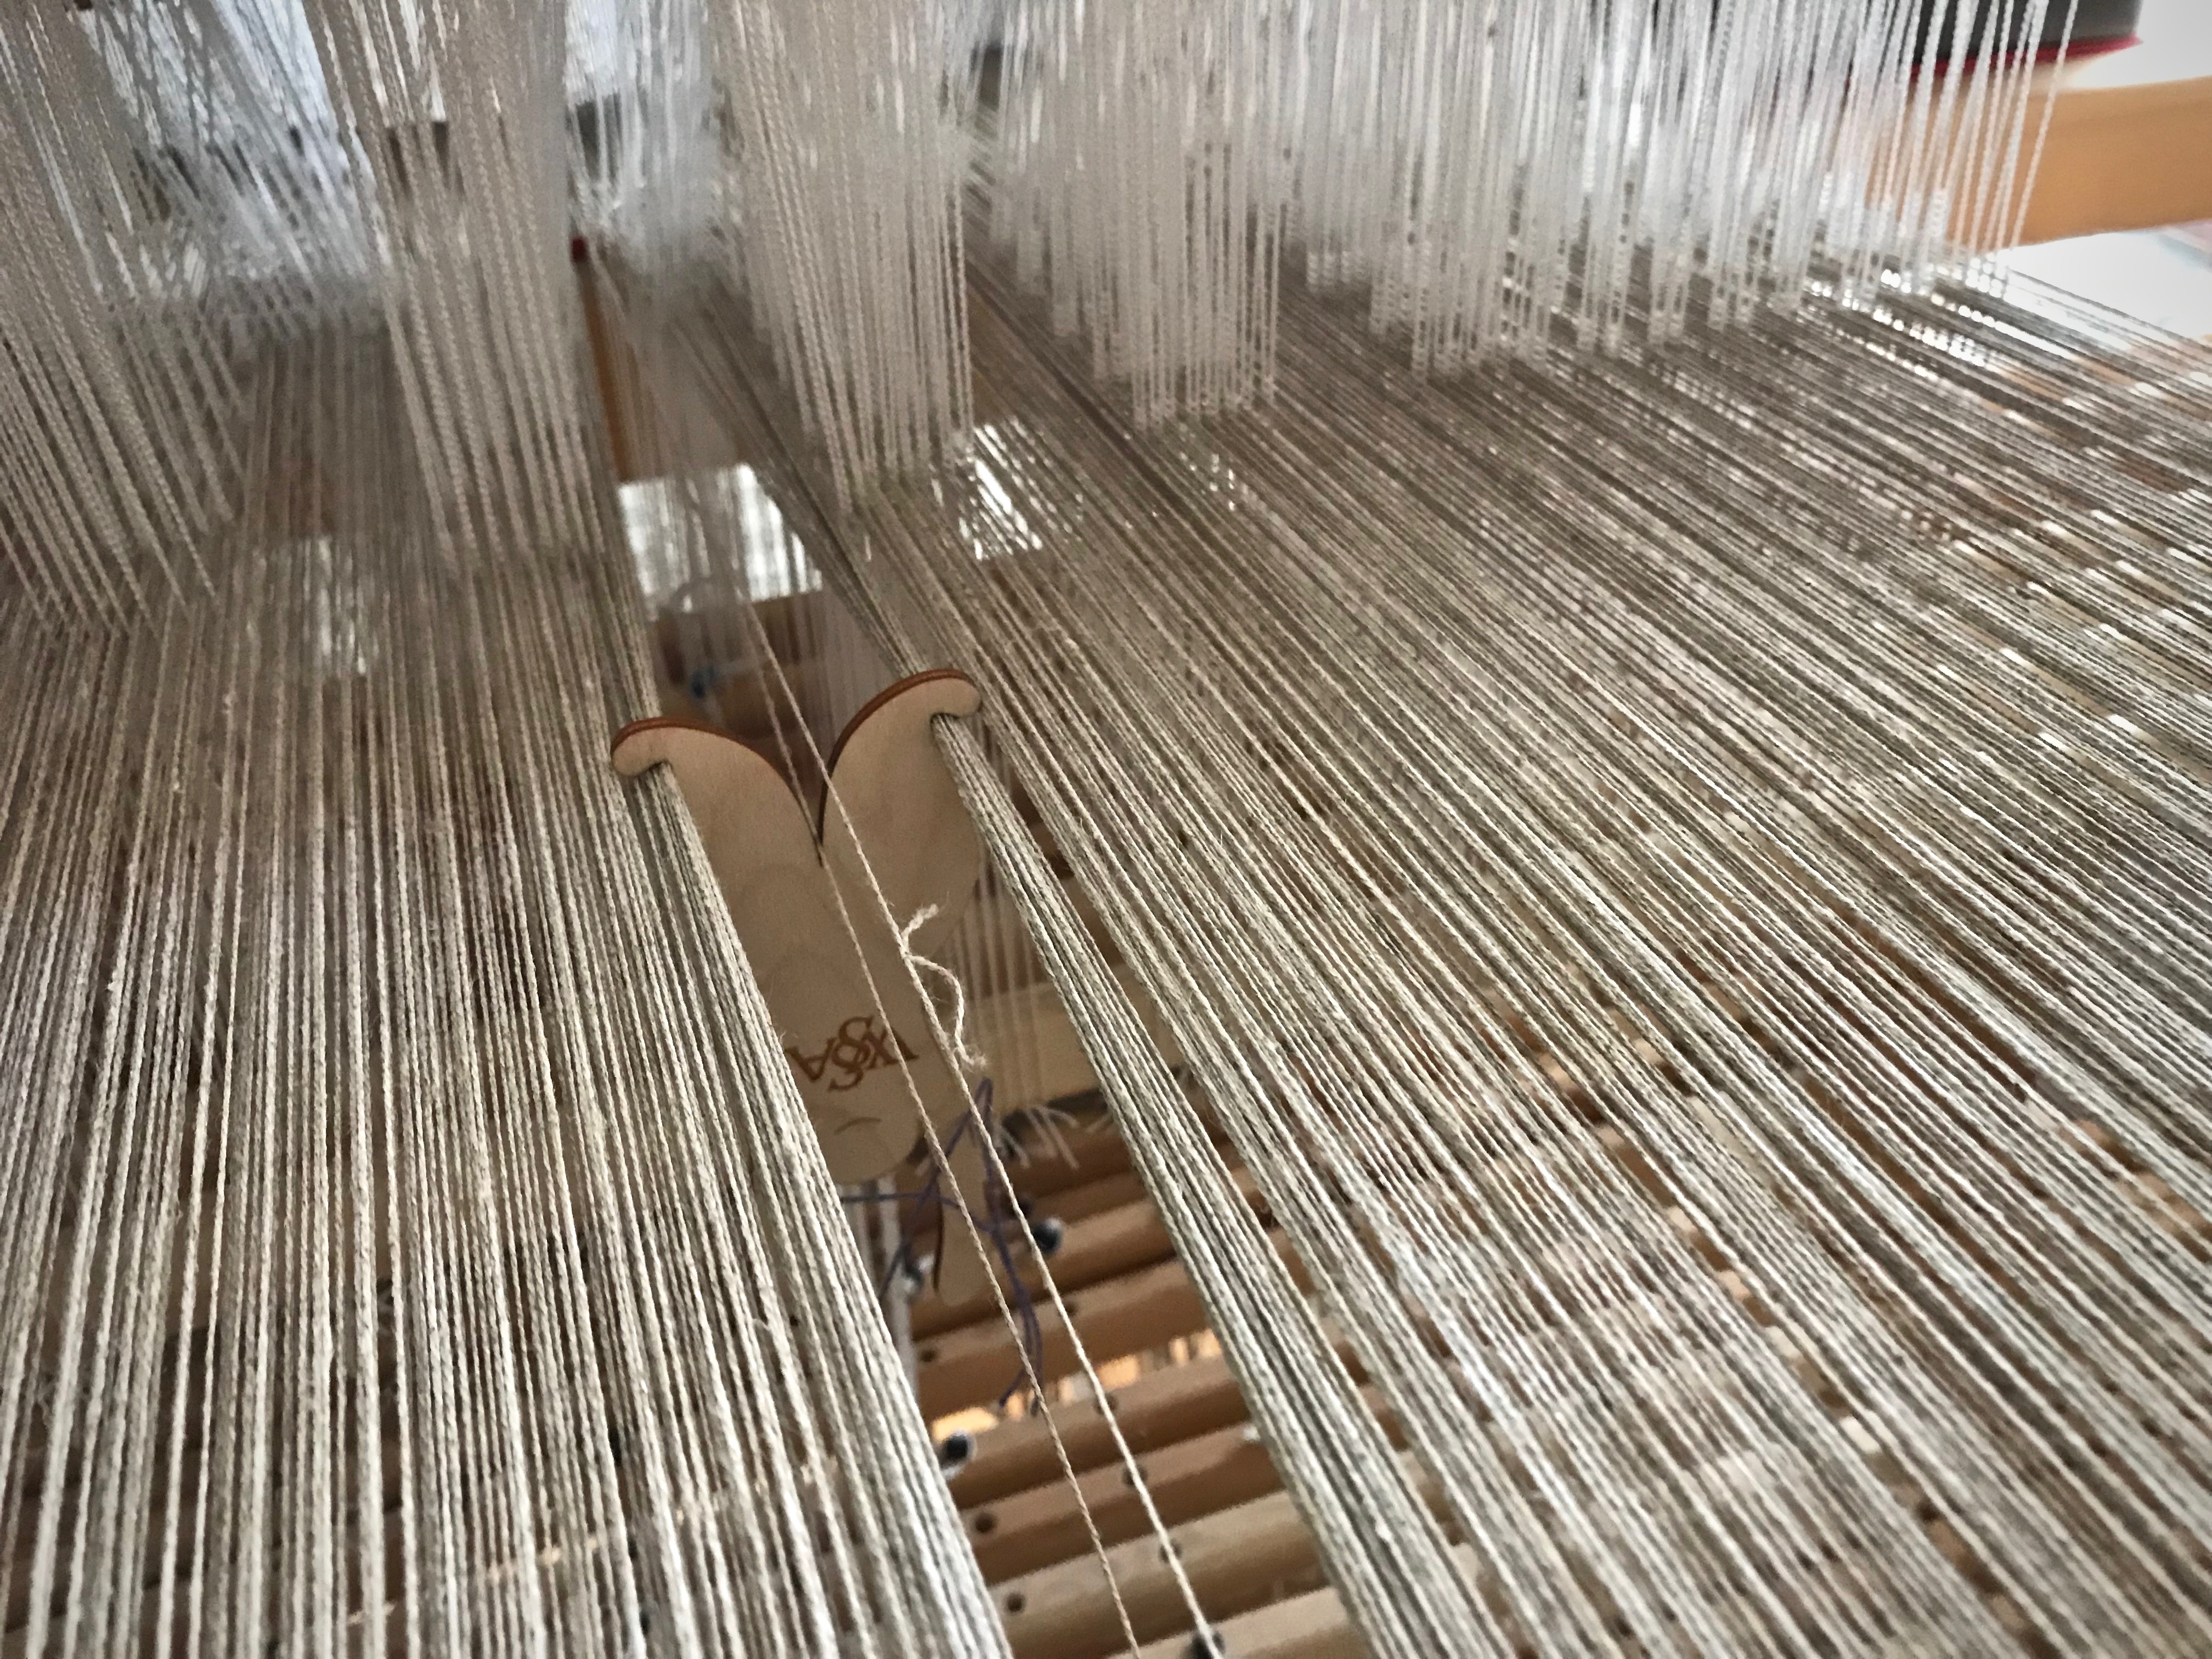
Tool: Warp Separator

  • Identify the warp end that has a knot, and insert the warp separator between warp ends to isolate the thread.

Warp separator to isolate warp with knot.

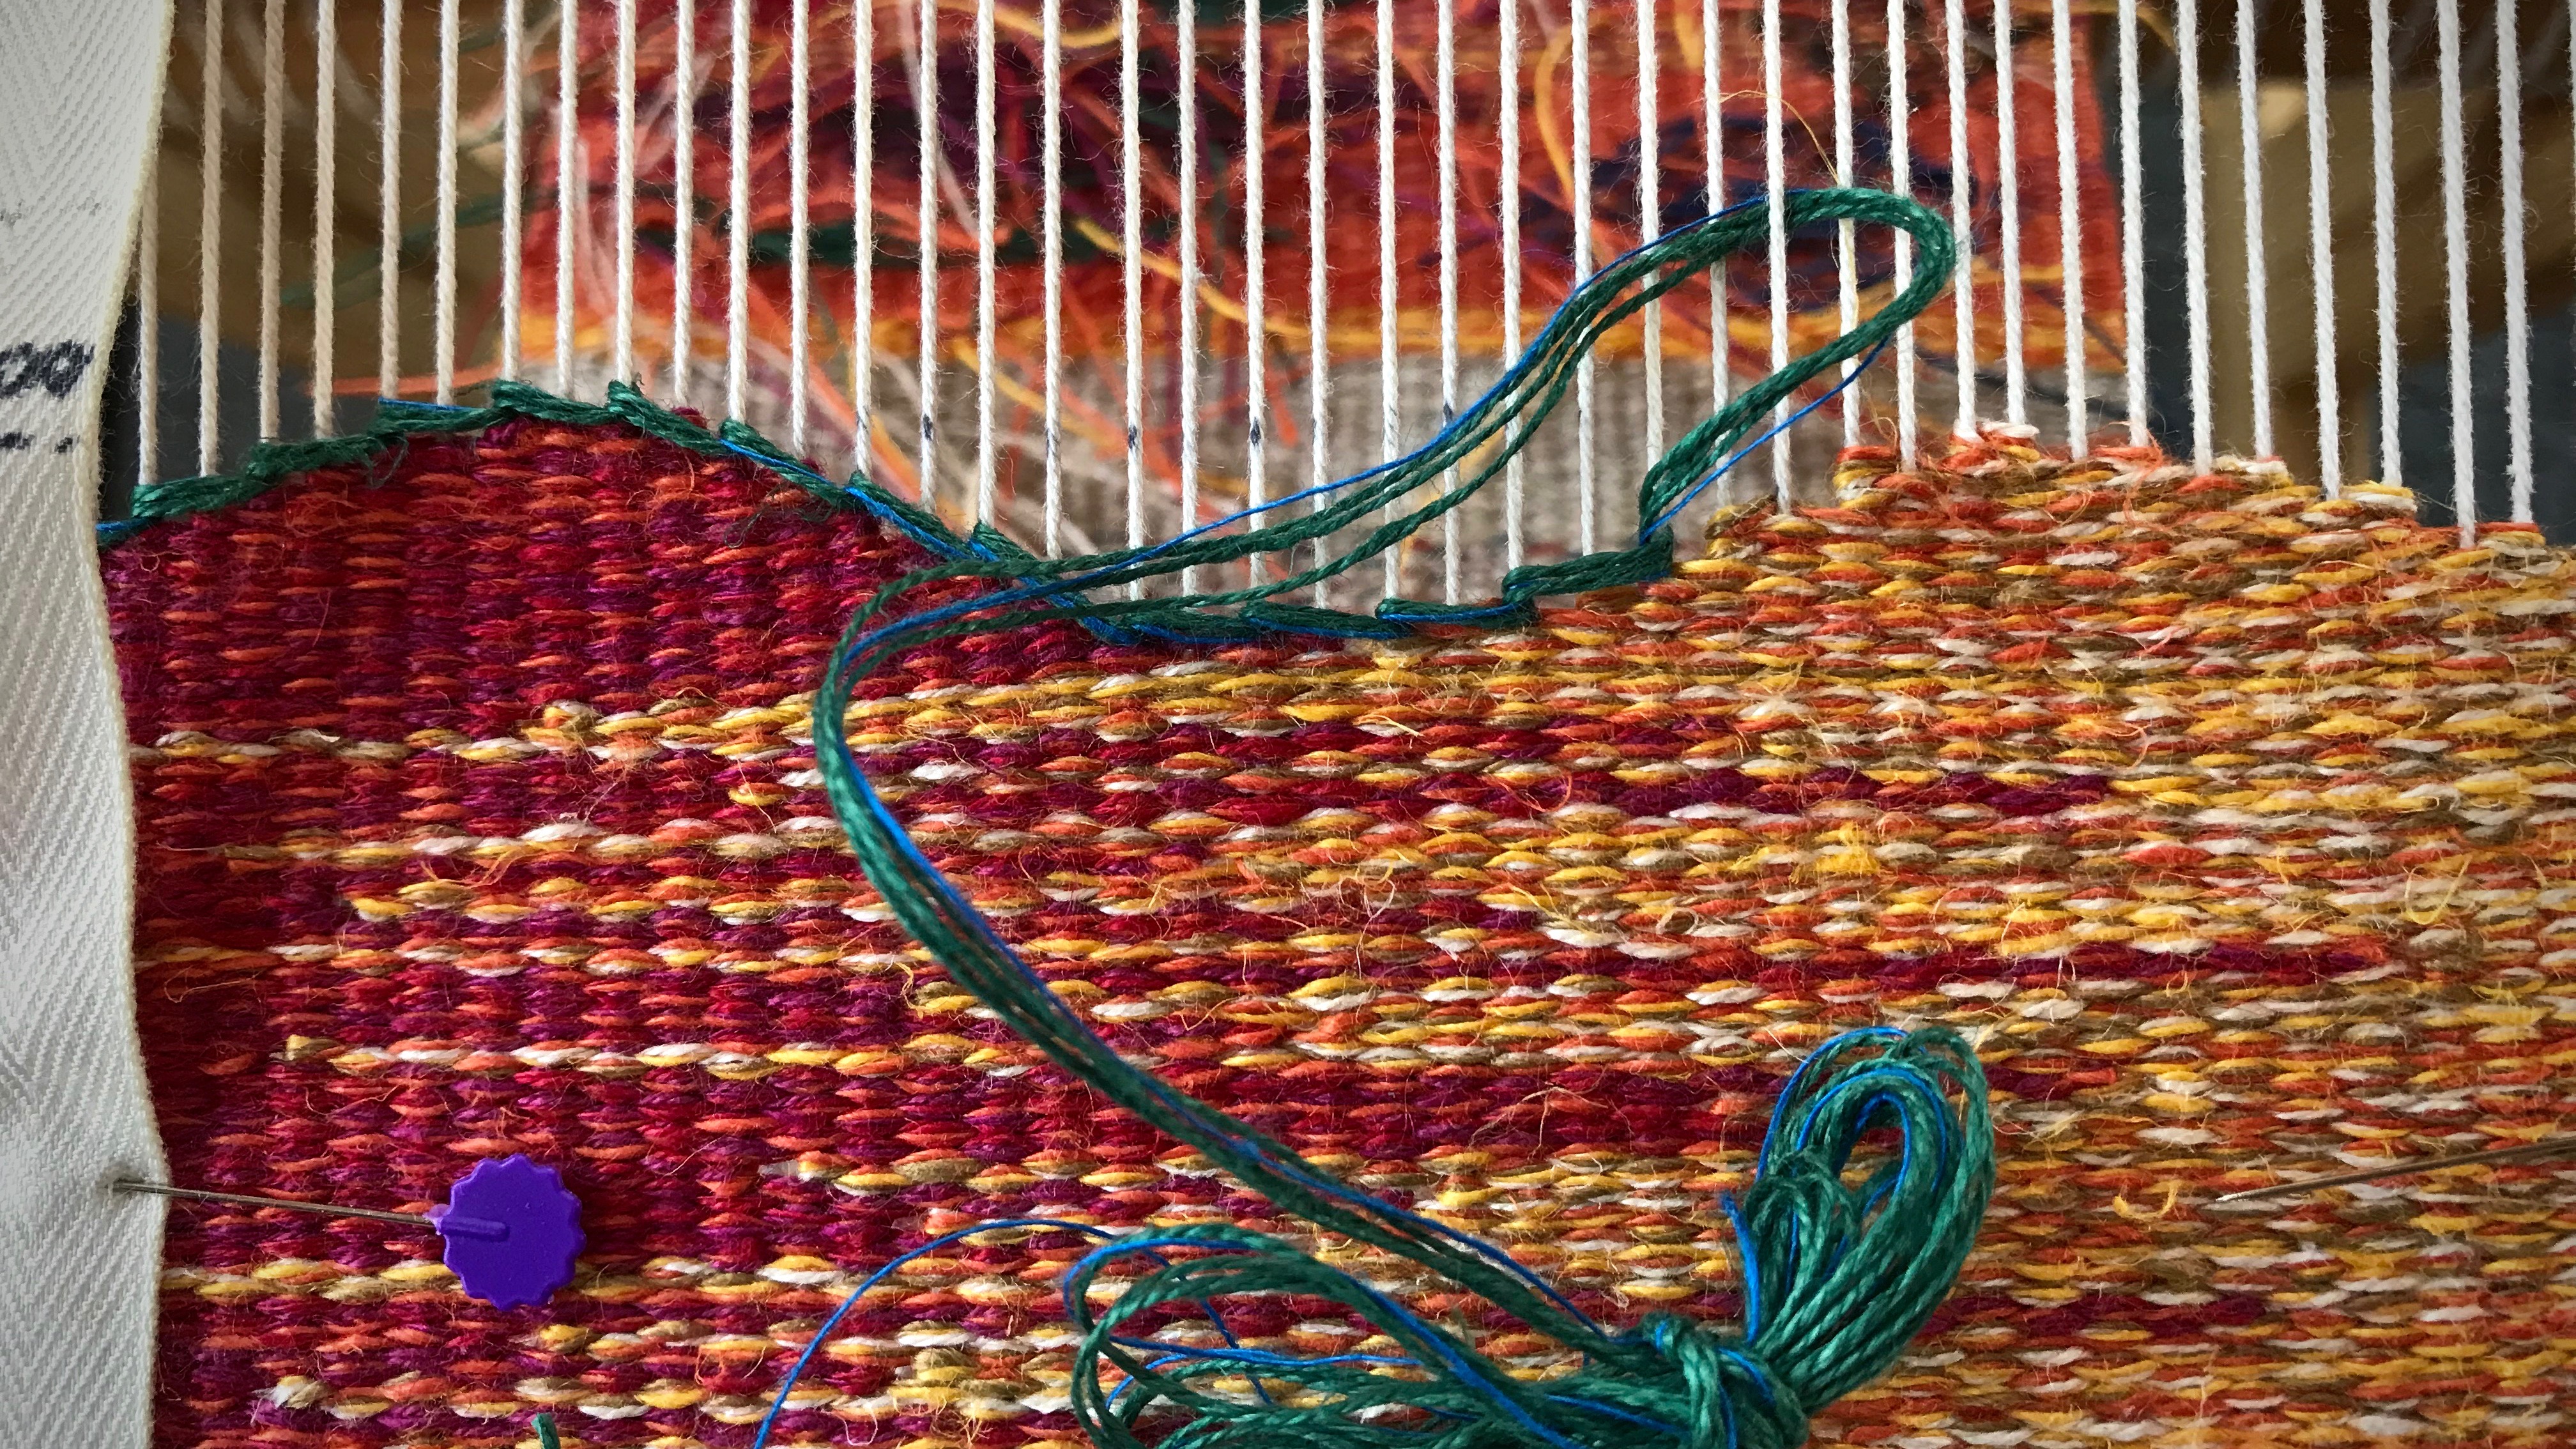
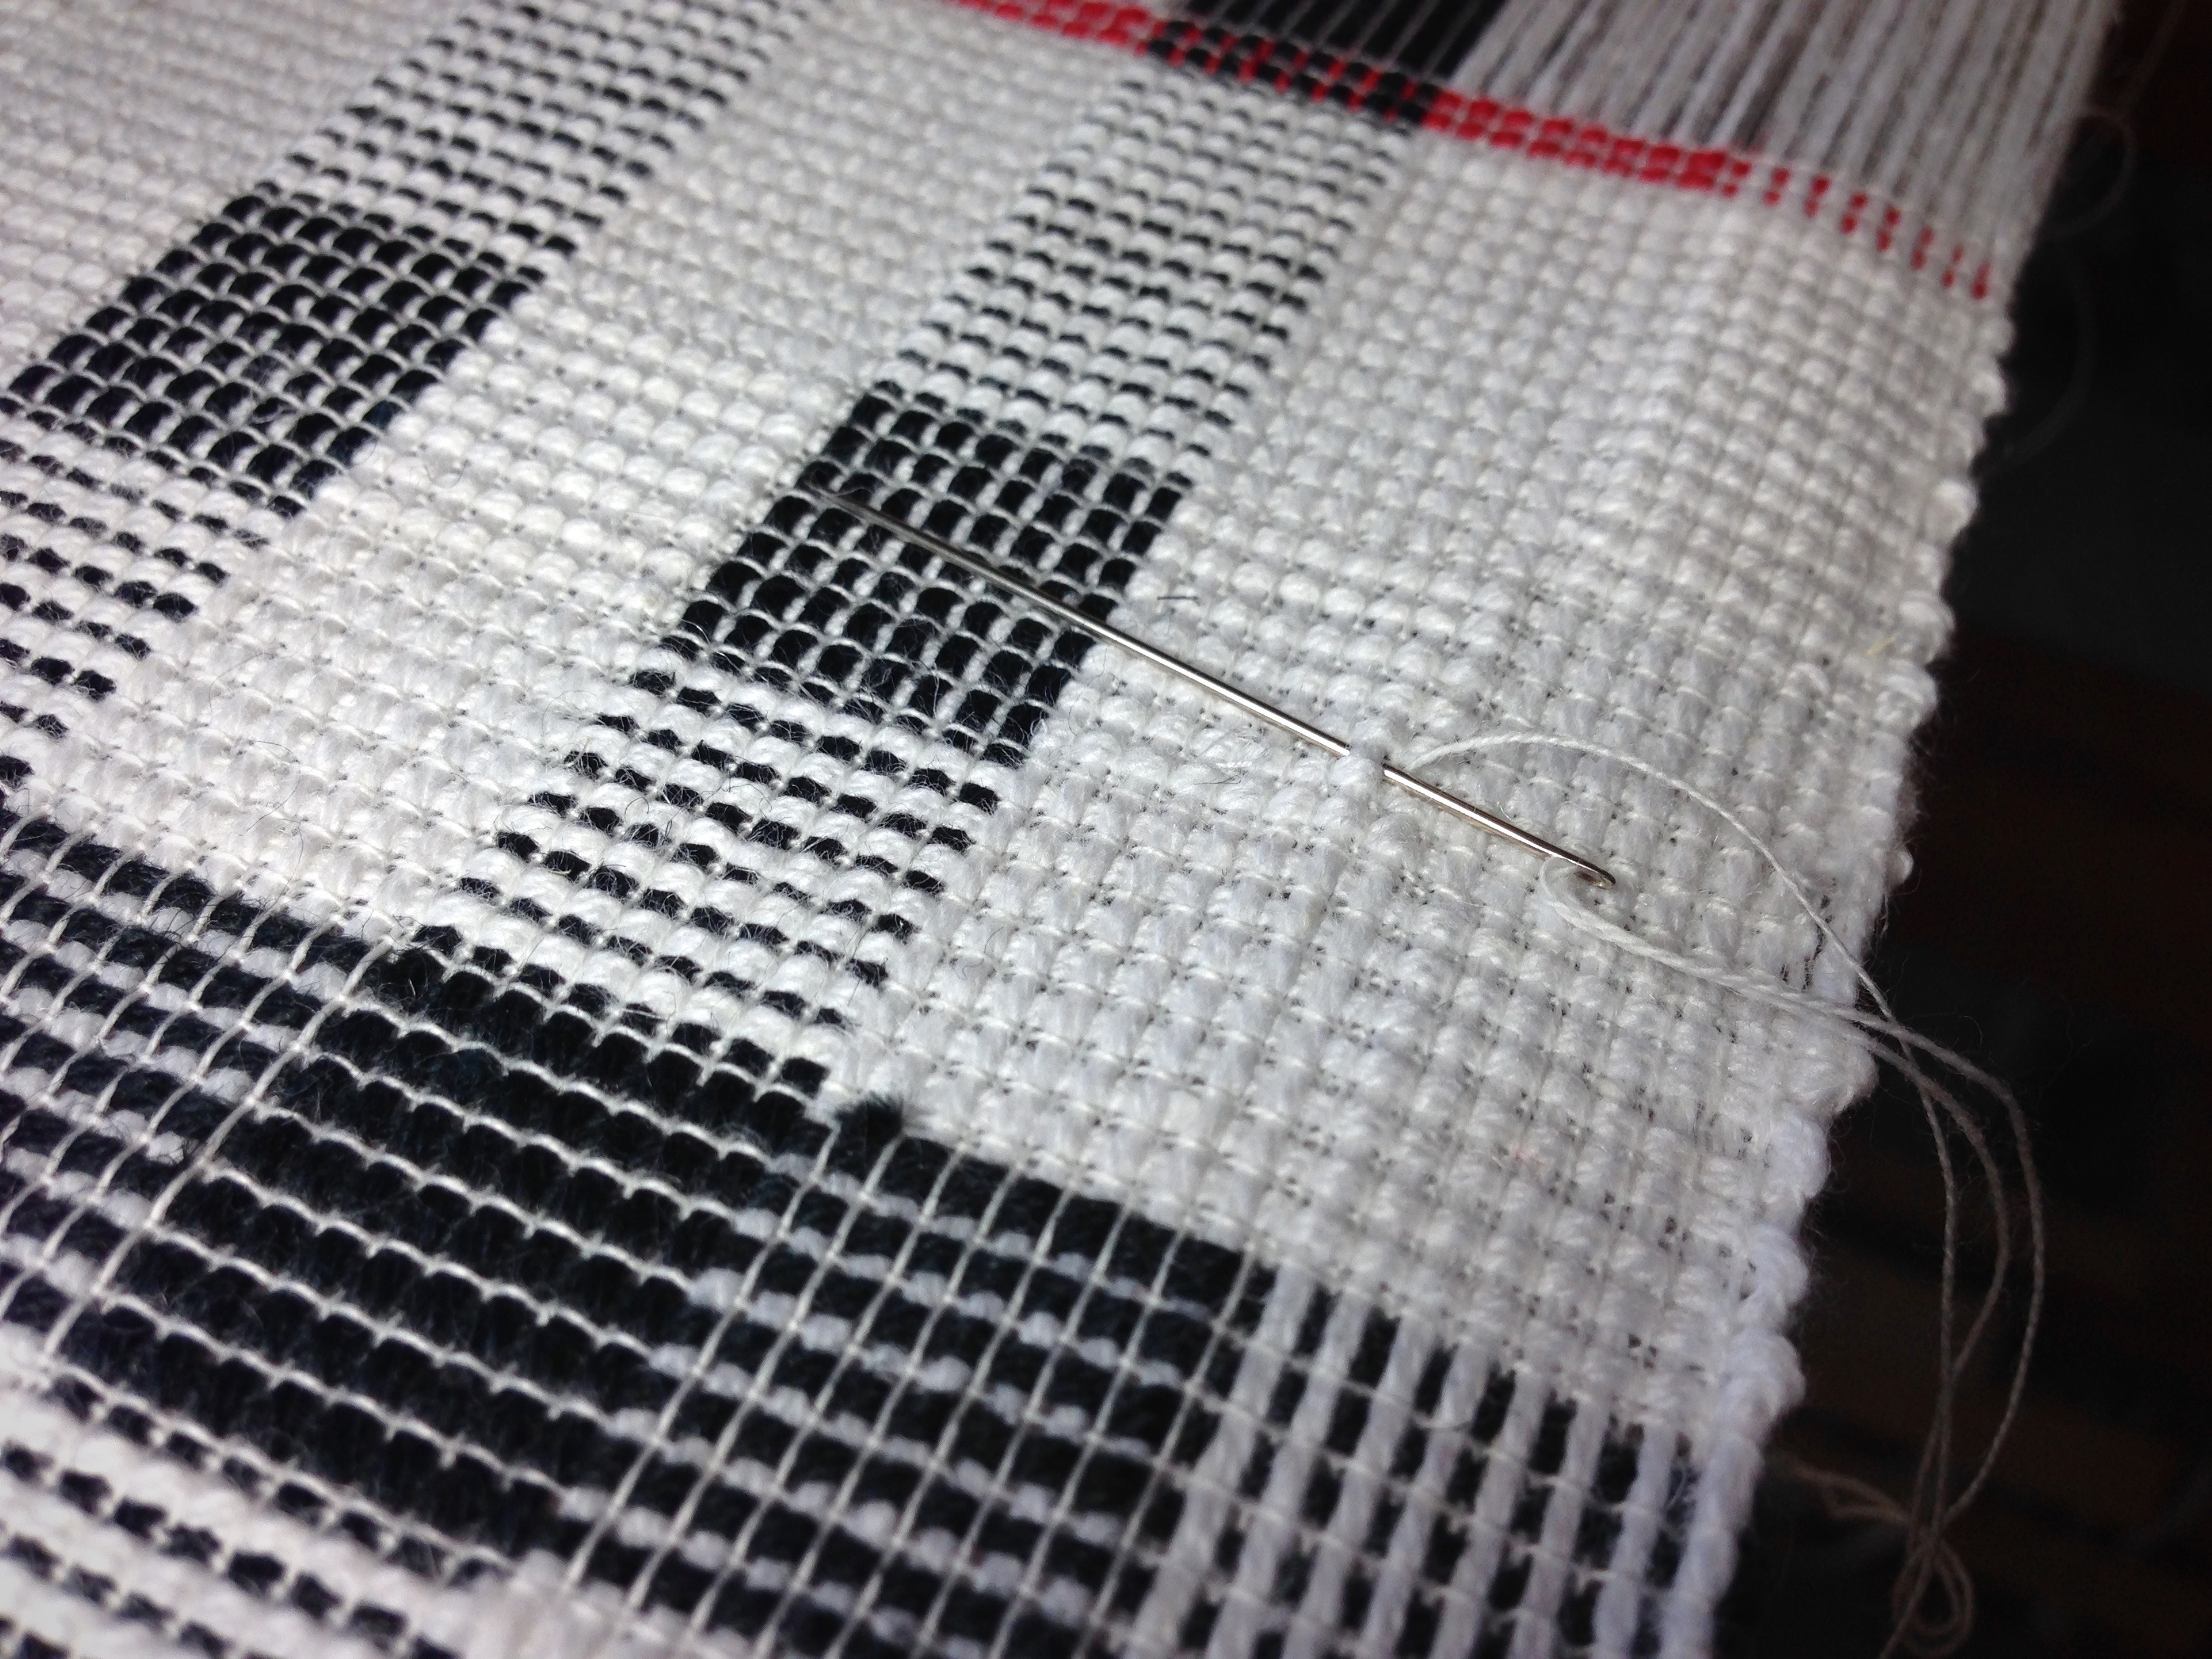
  • With a length of repair warp thread, follow the path of the original thread to splice in the new warp end, feeding it through the heddle of the original warp end.

Warp separator to isolate warp end with knot.

  • Bring the repair warp thread through the reed in the same dent as the warp end that has a knot.

Eliminating a warp knot.

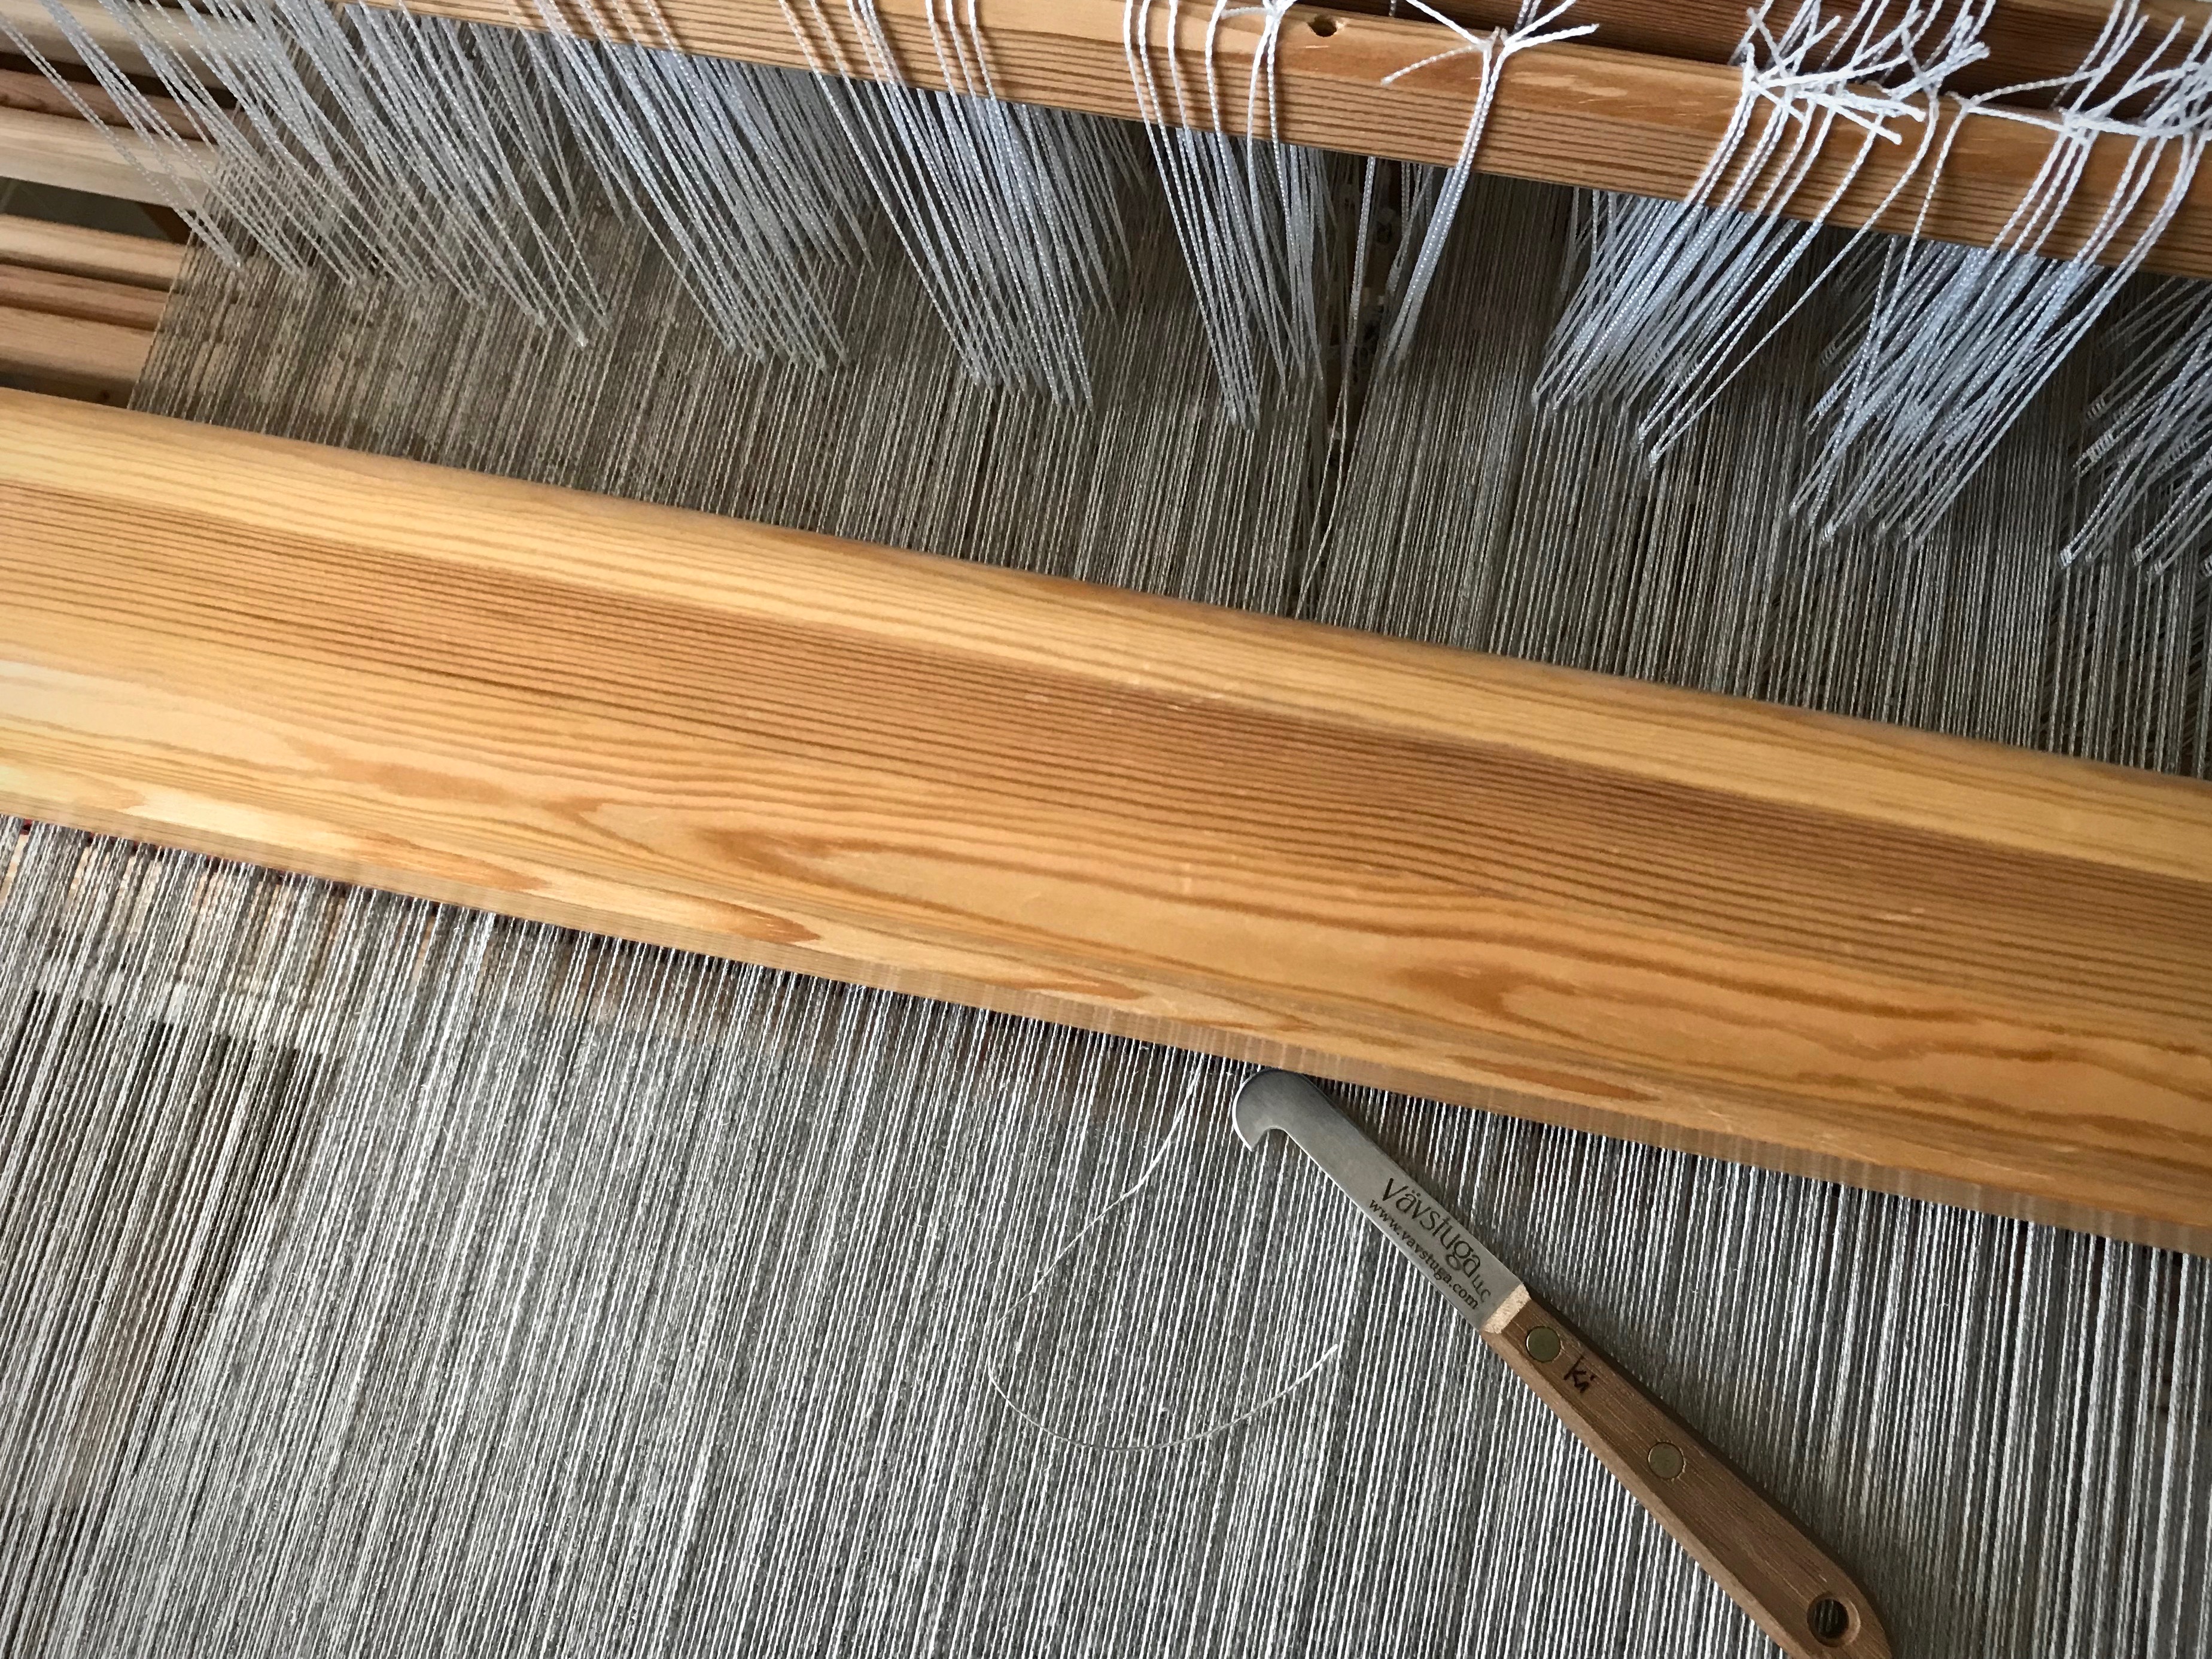
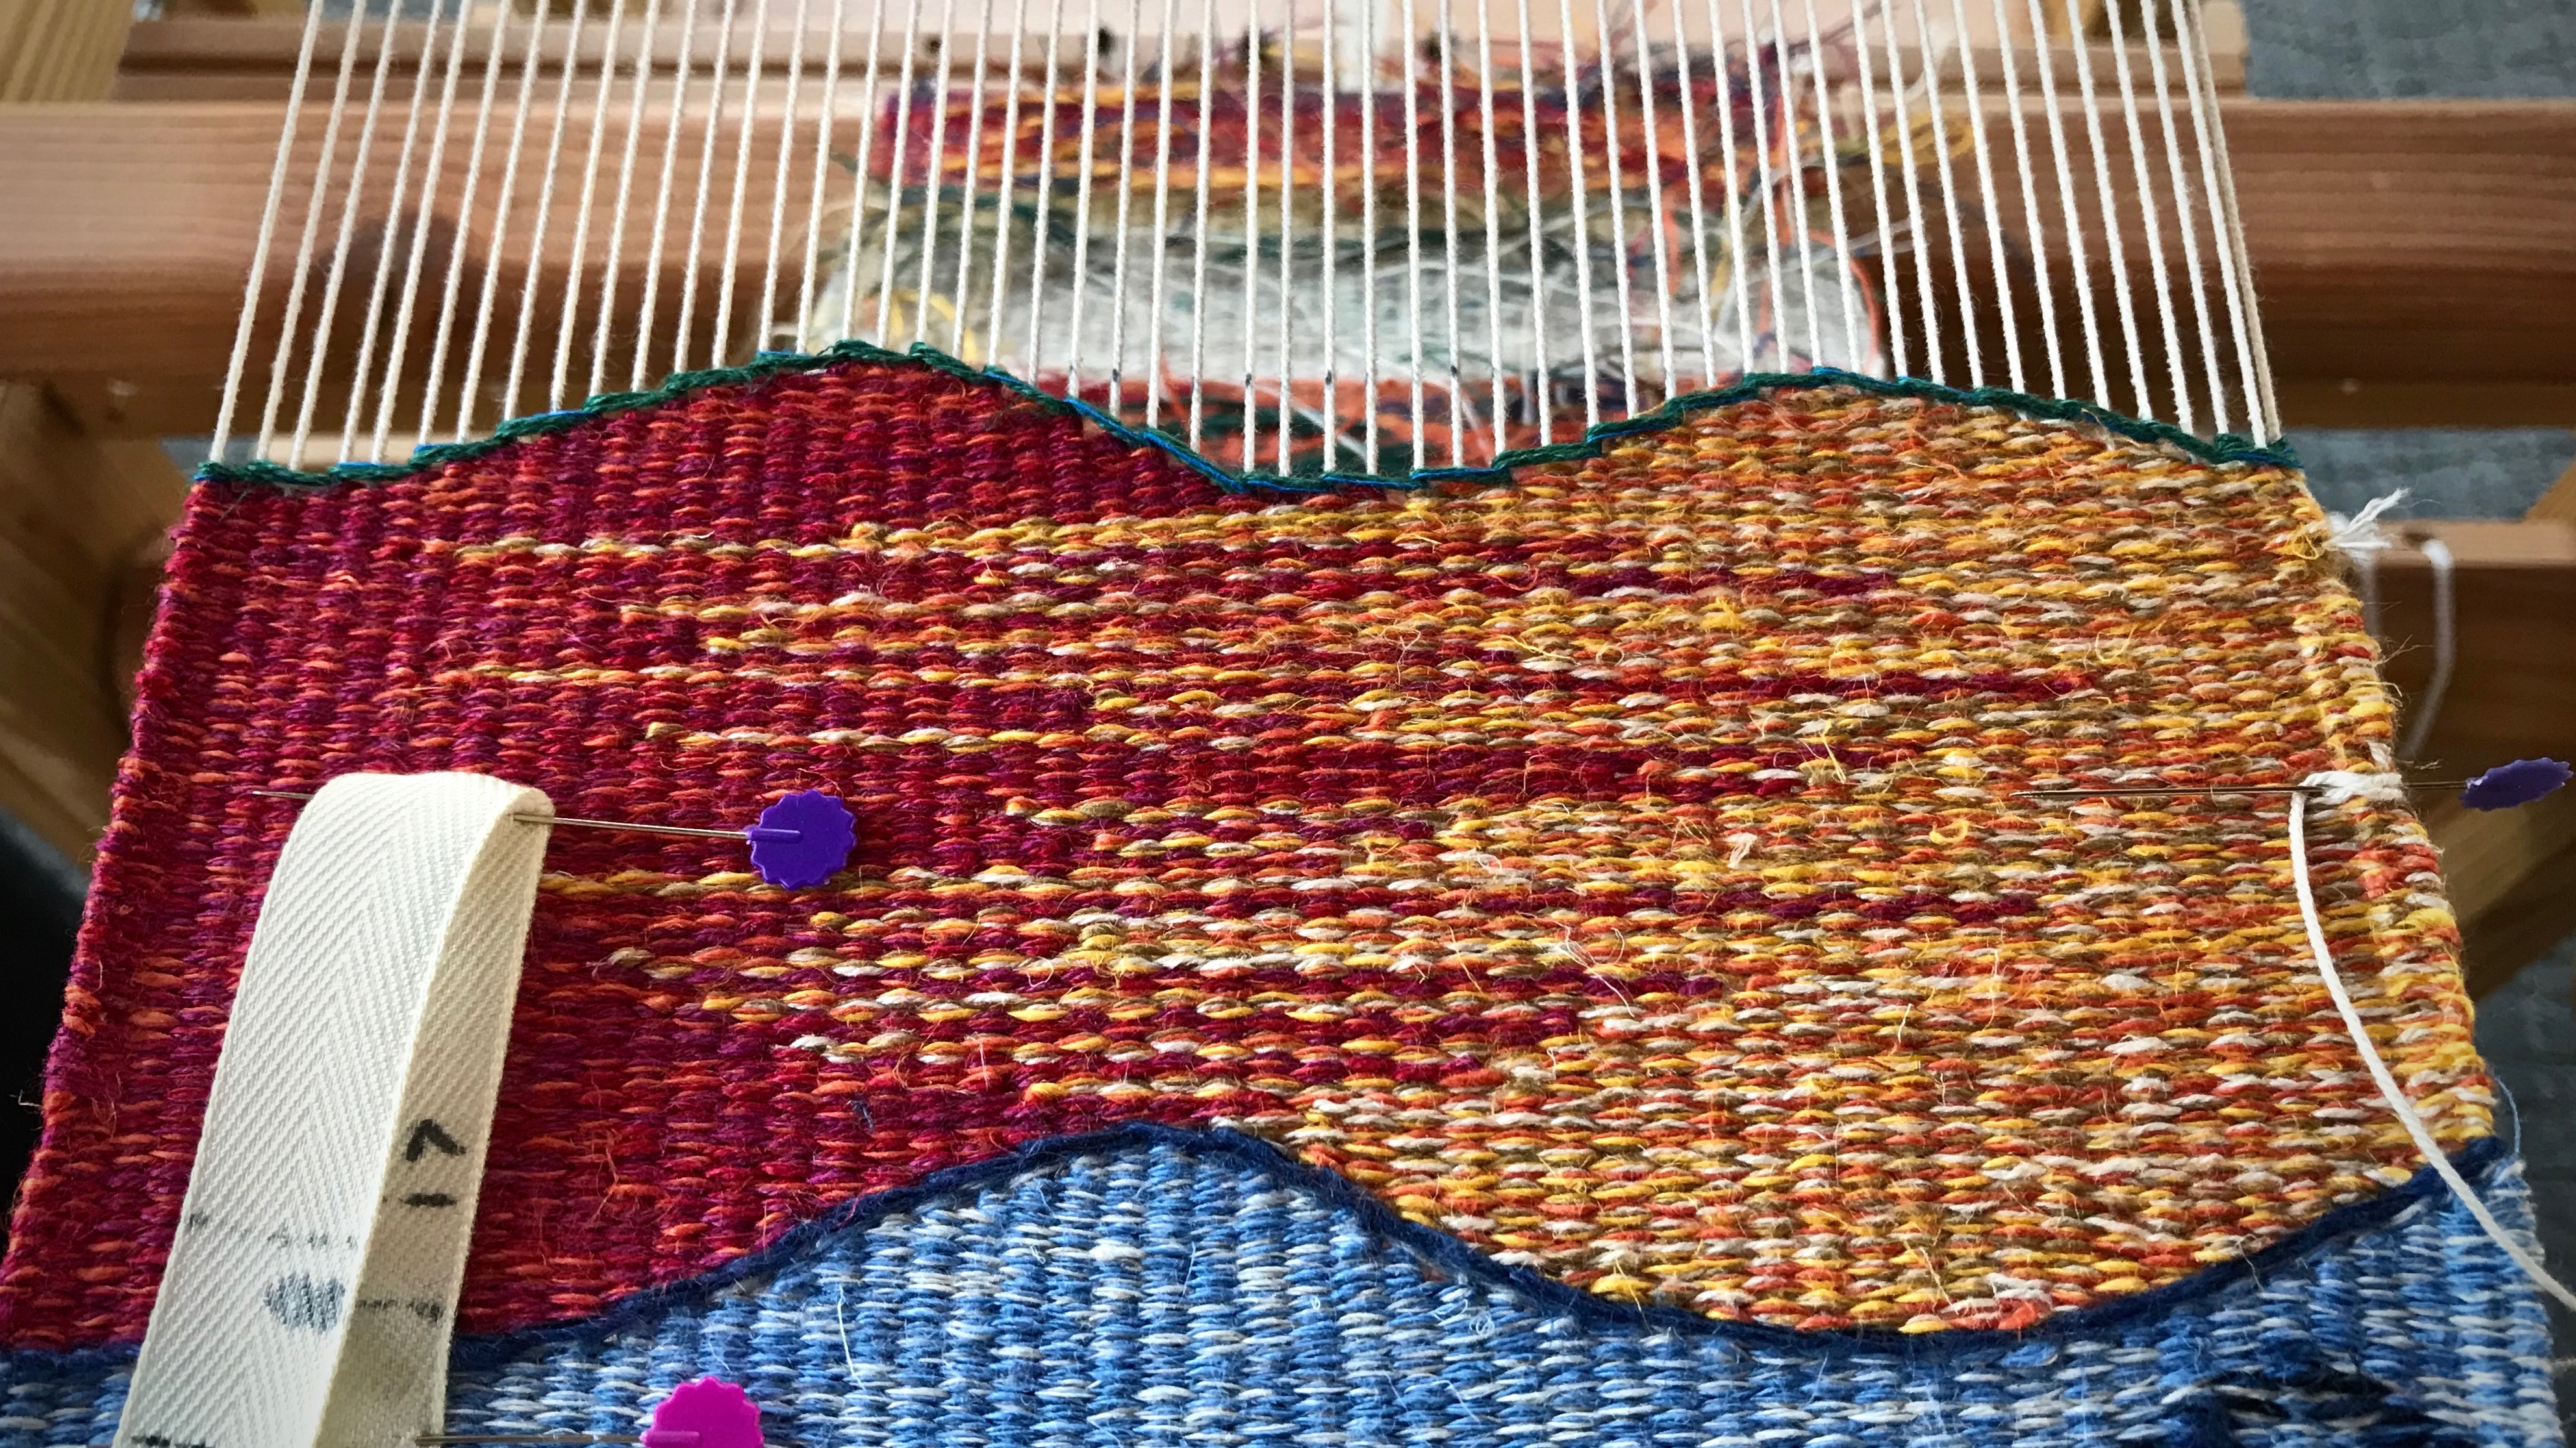
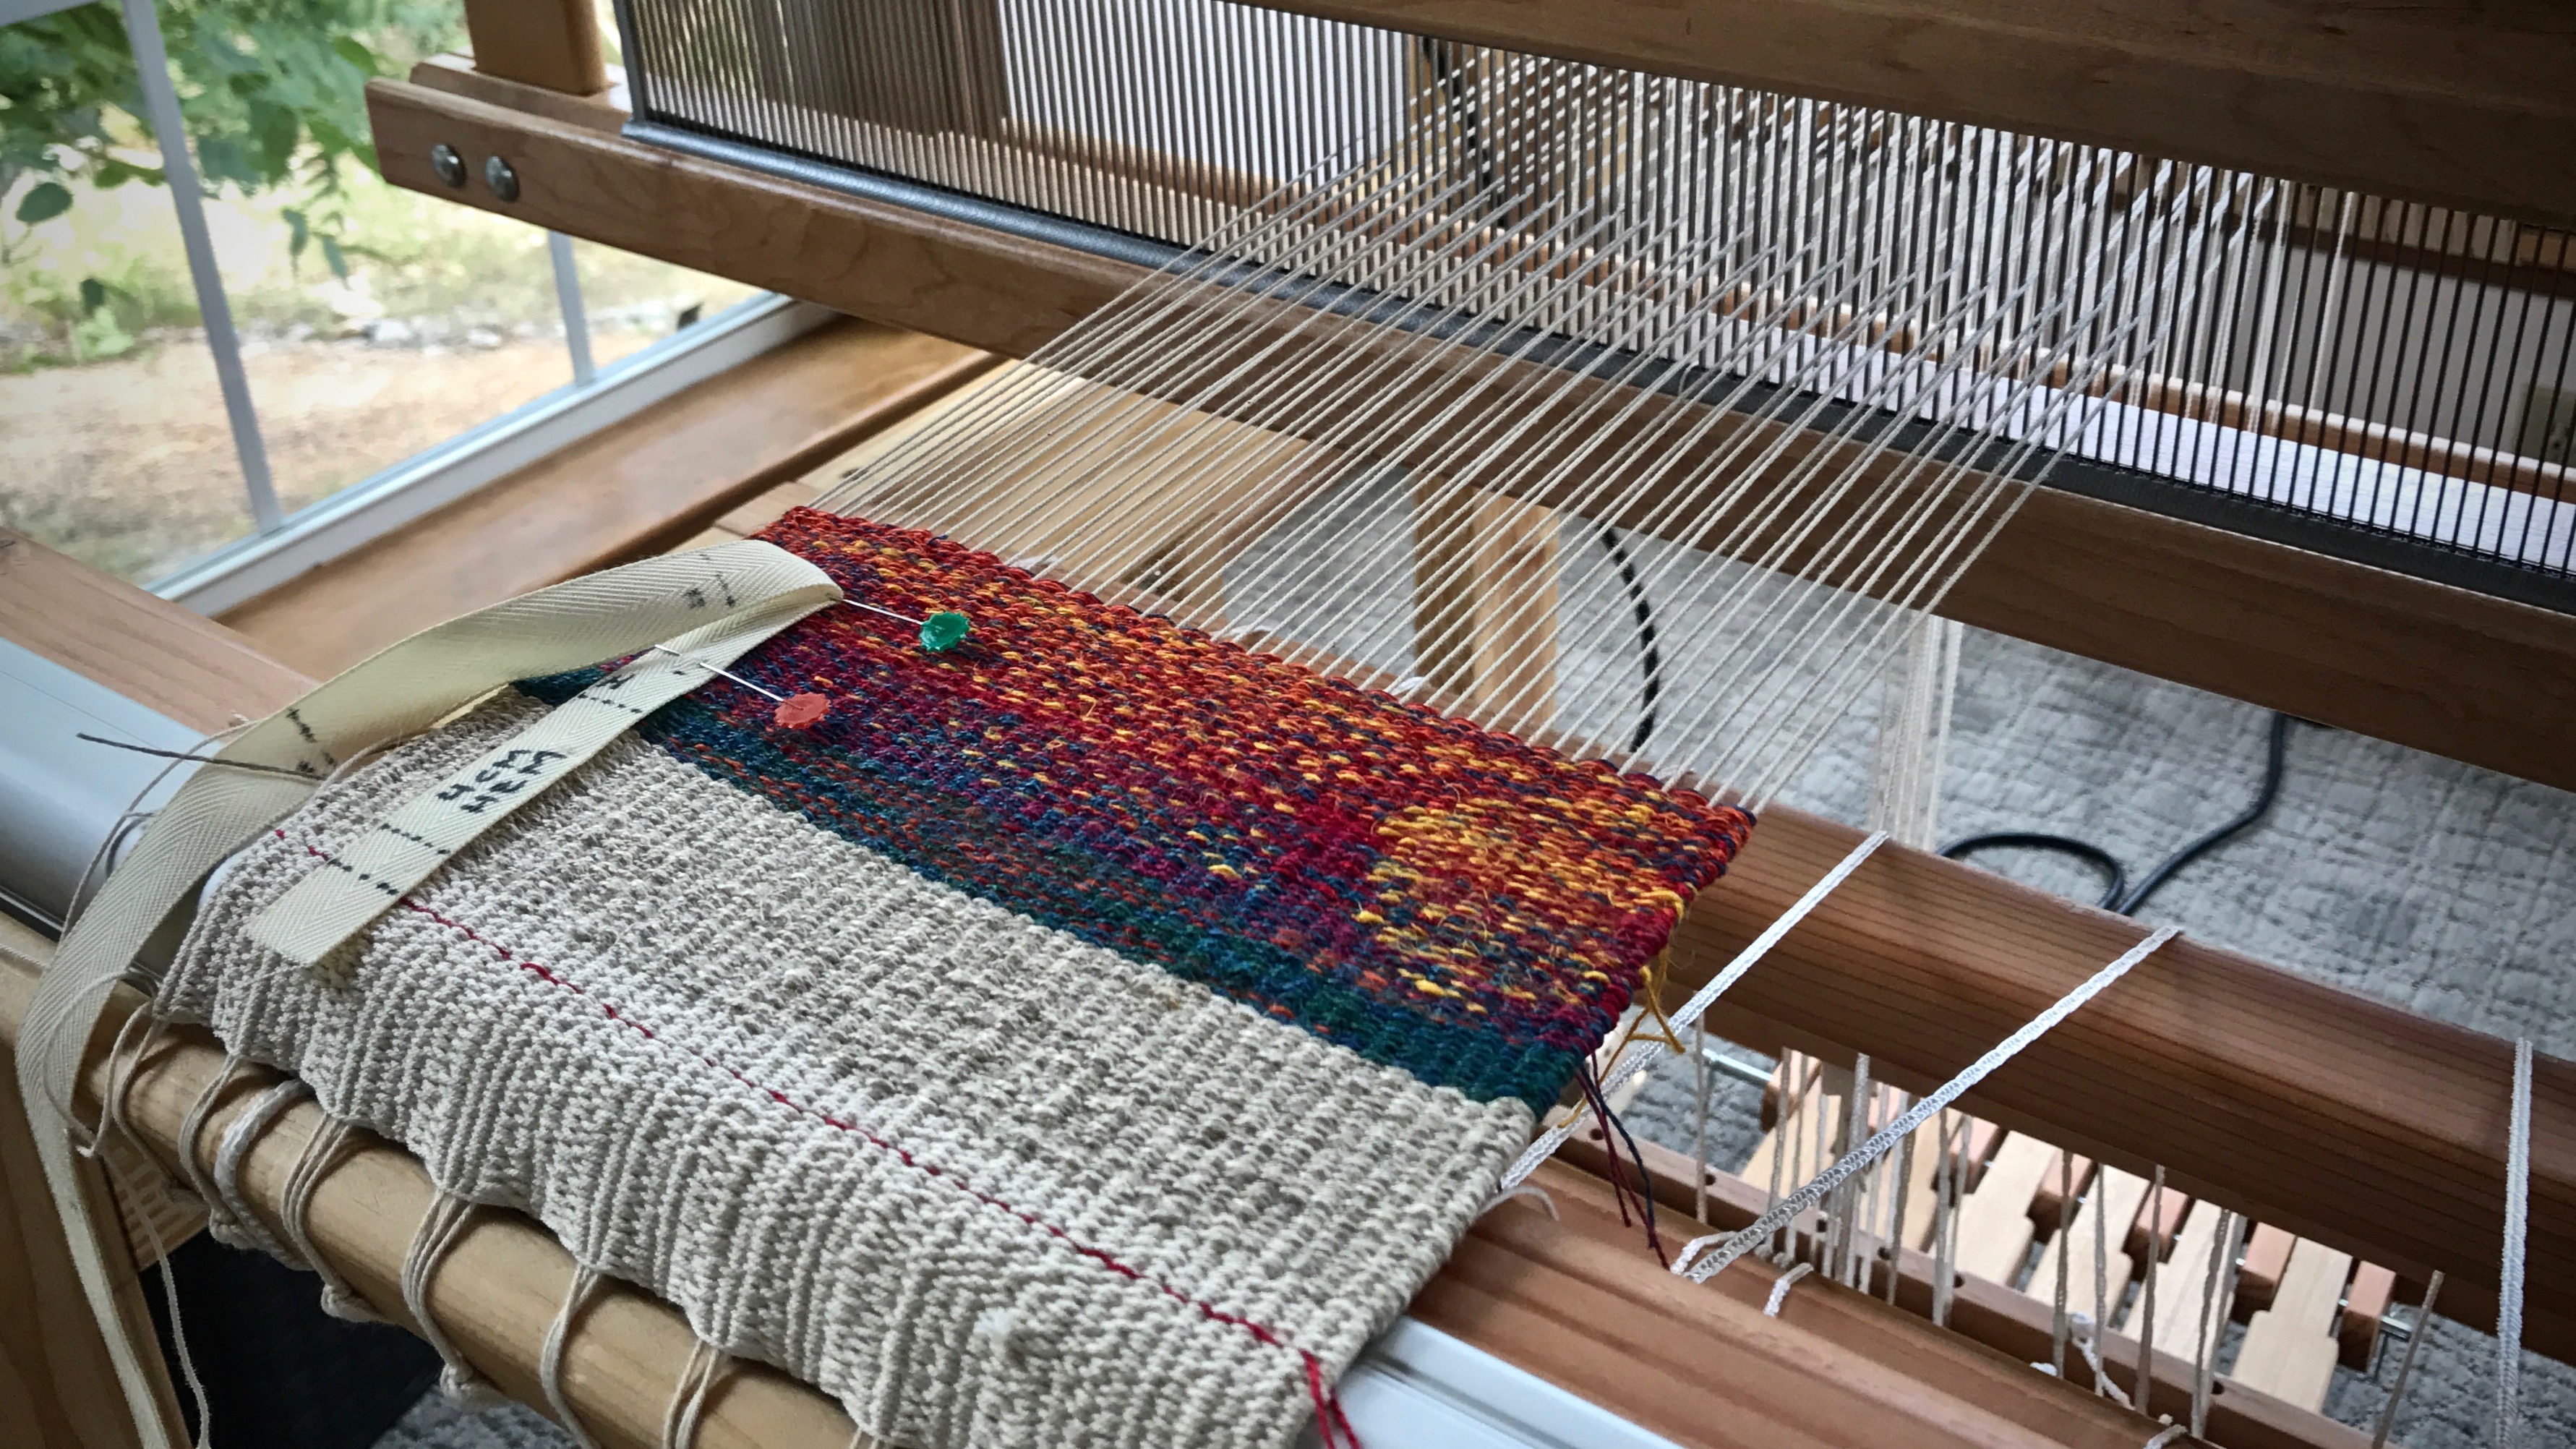
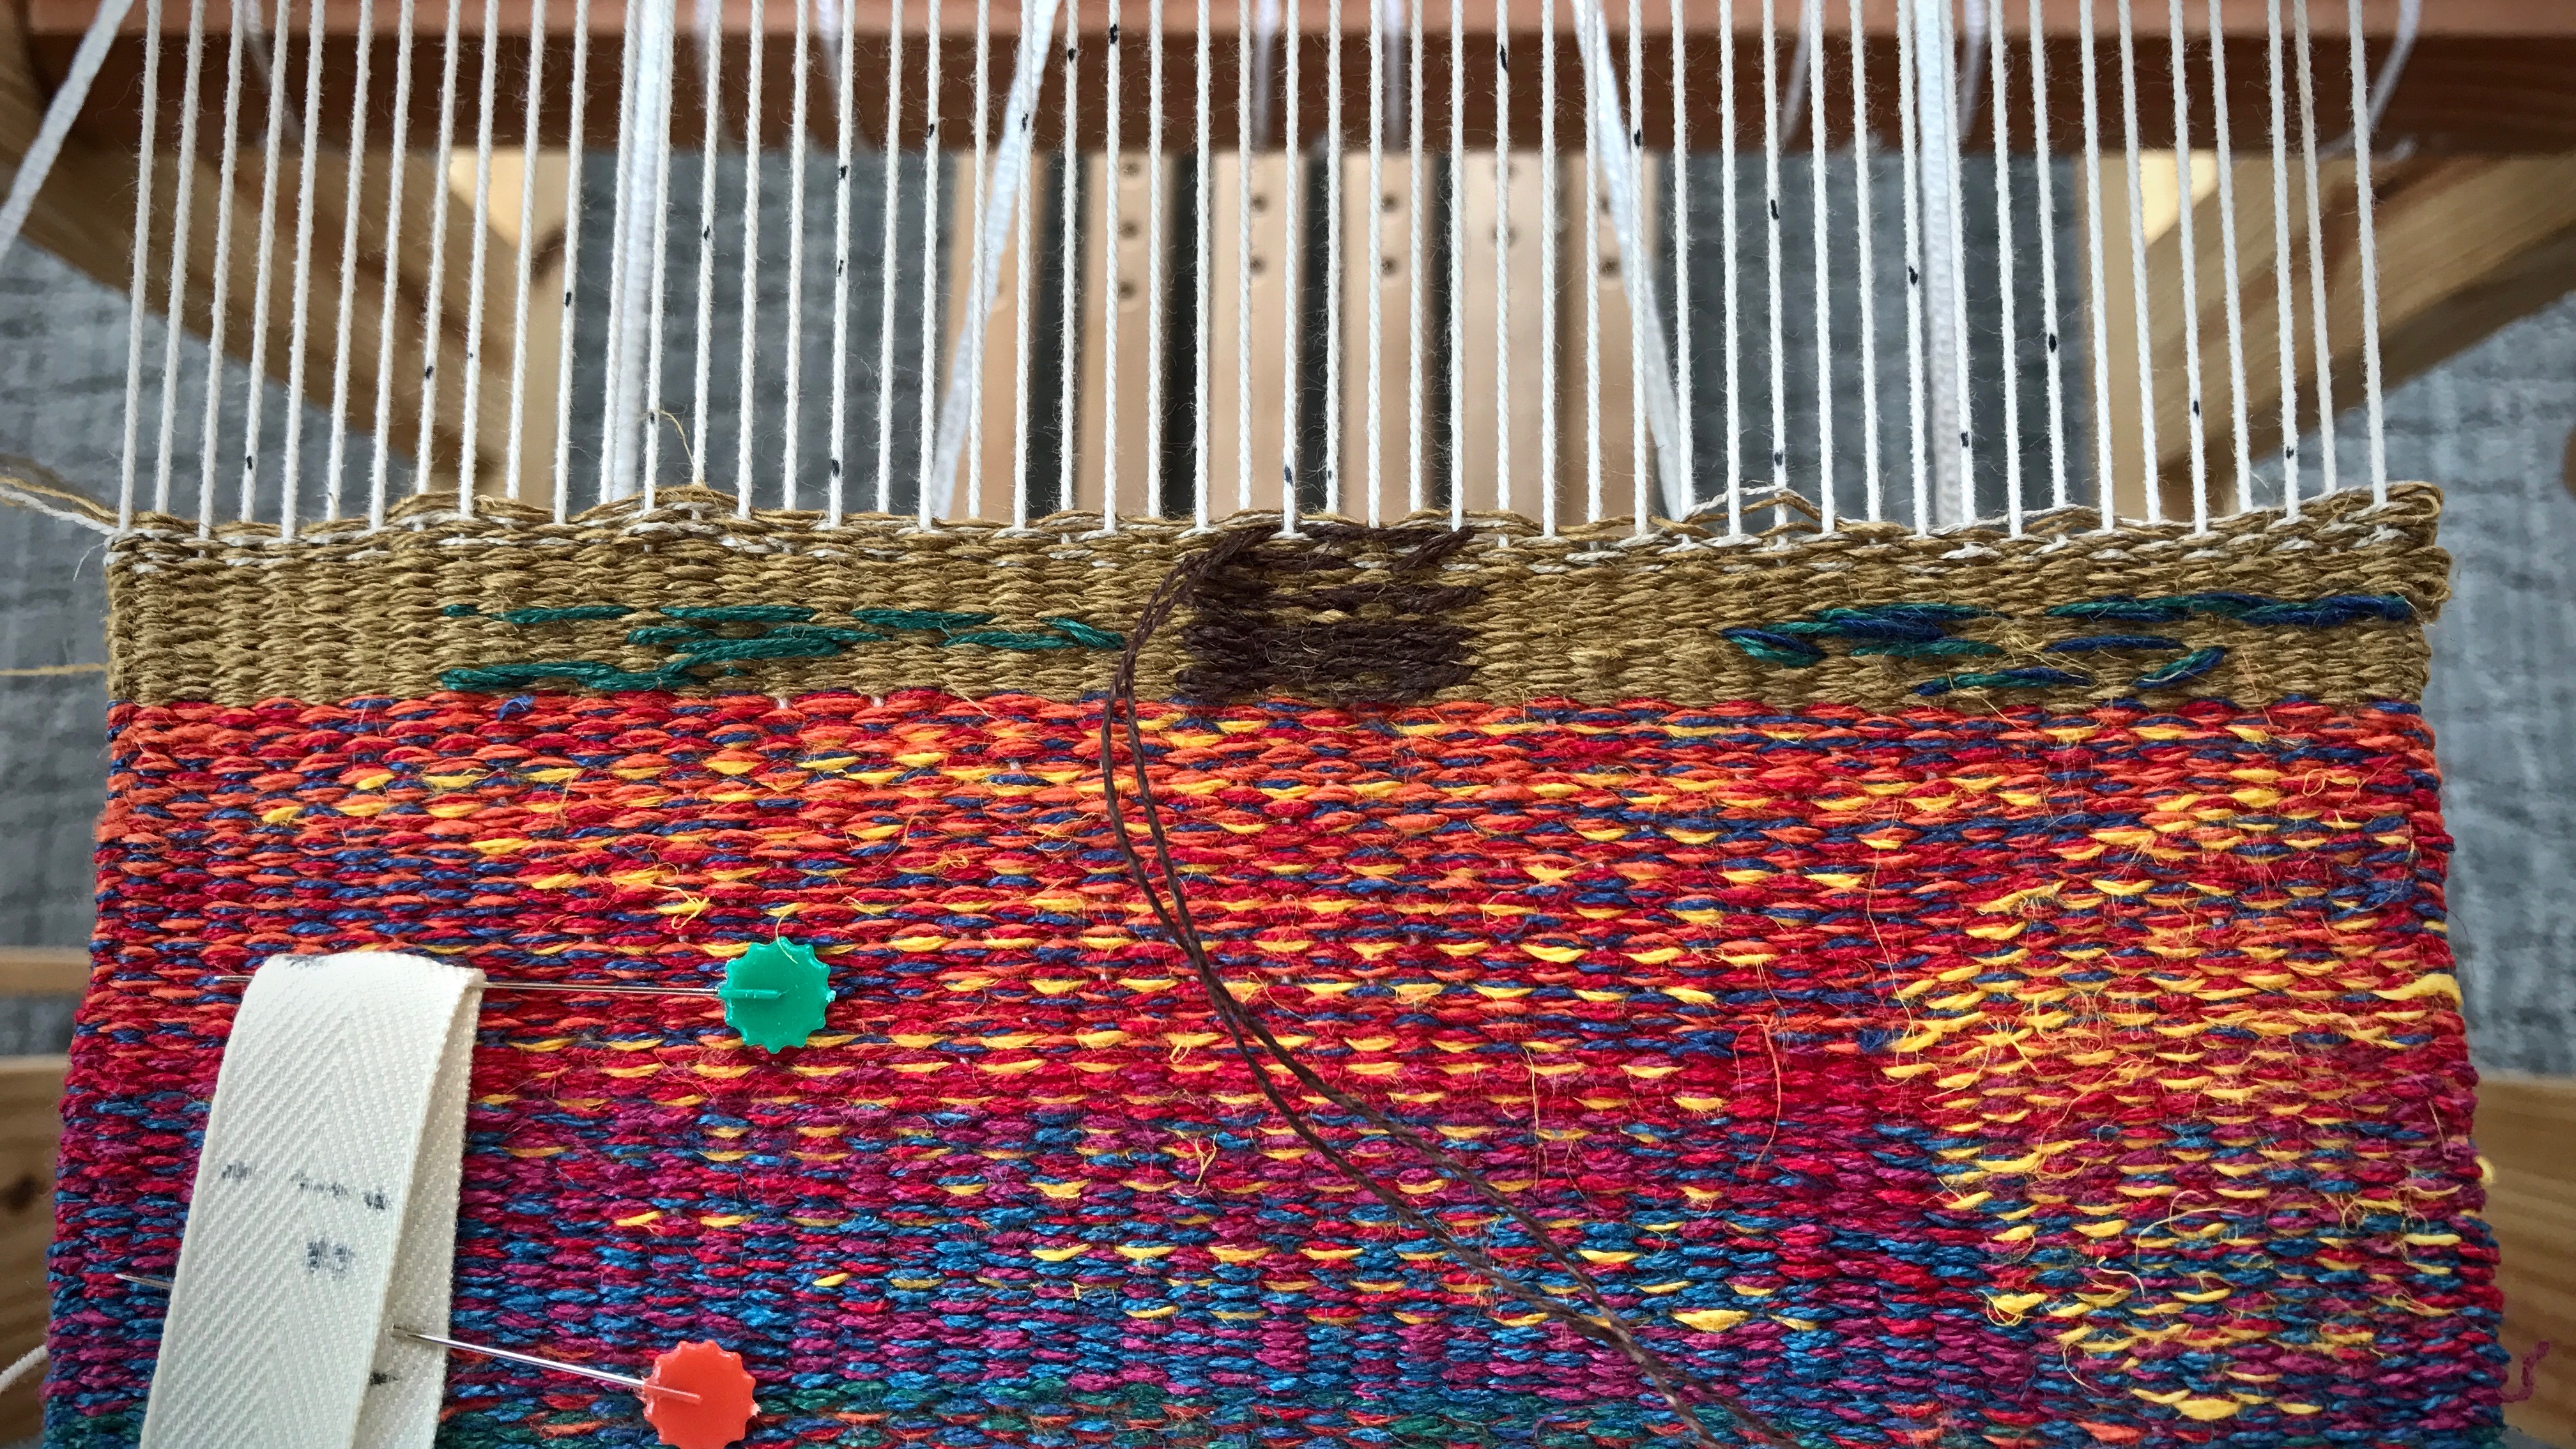
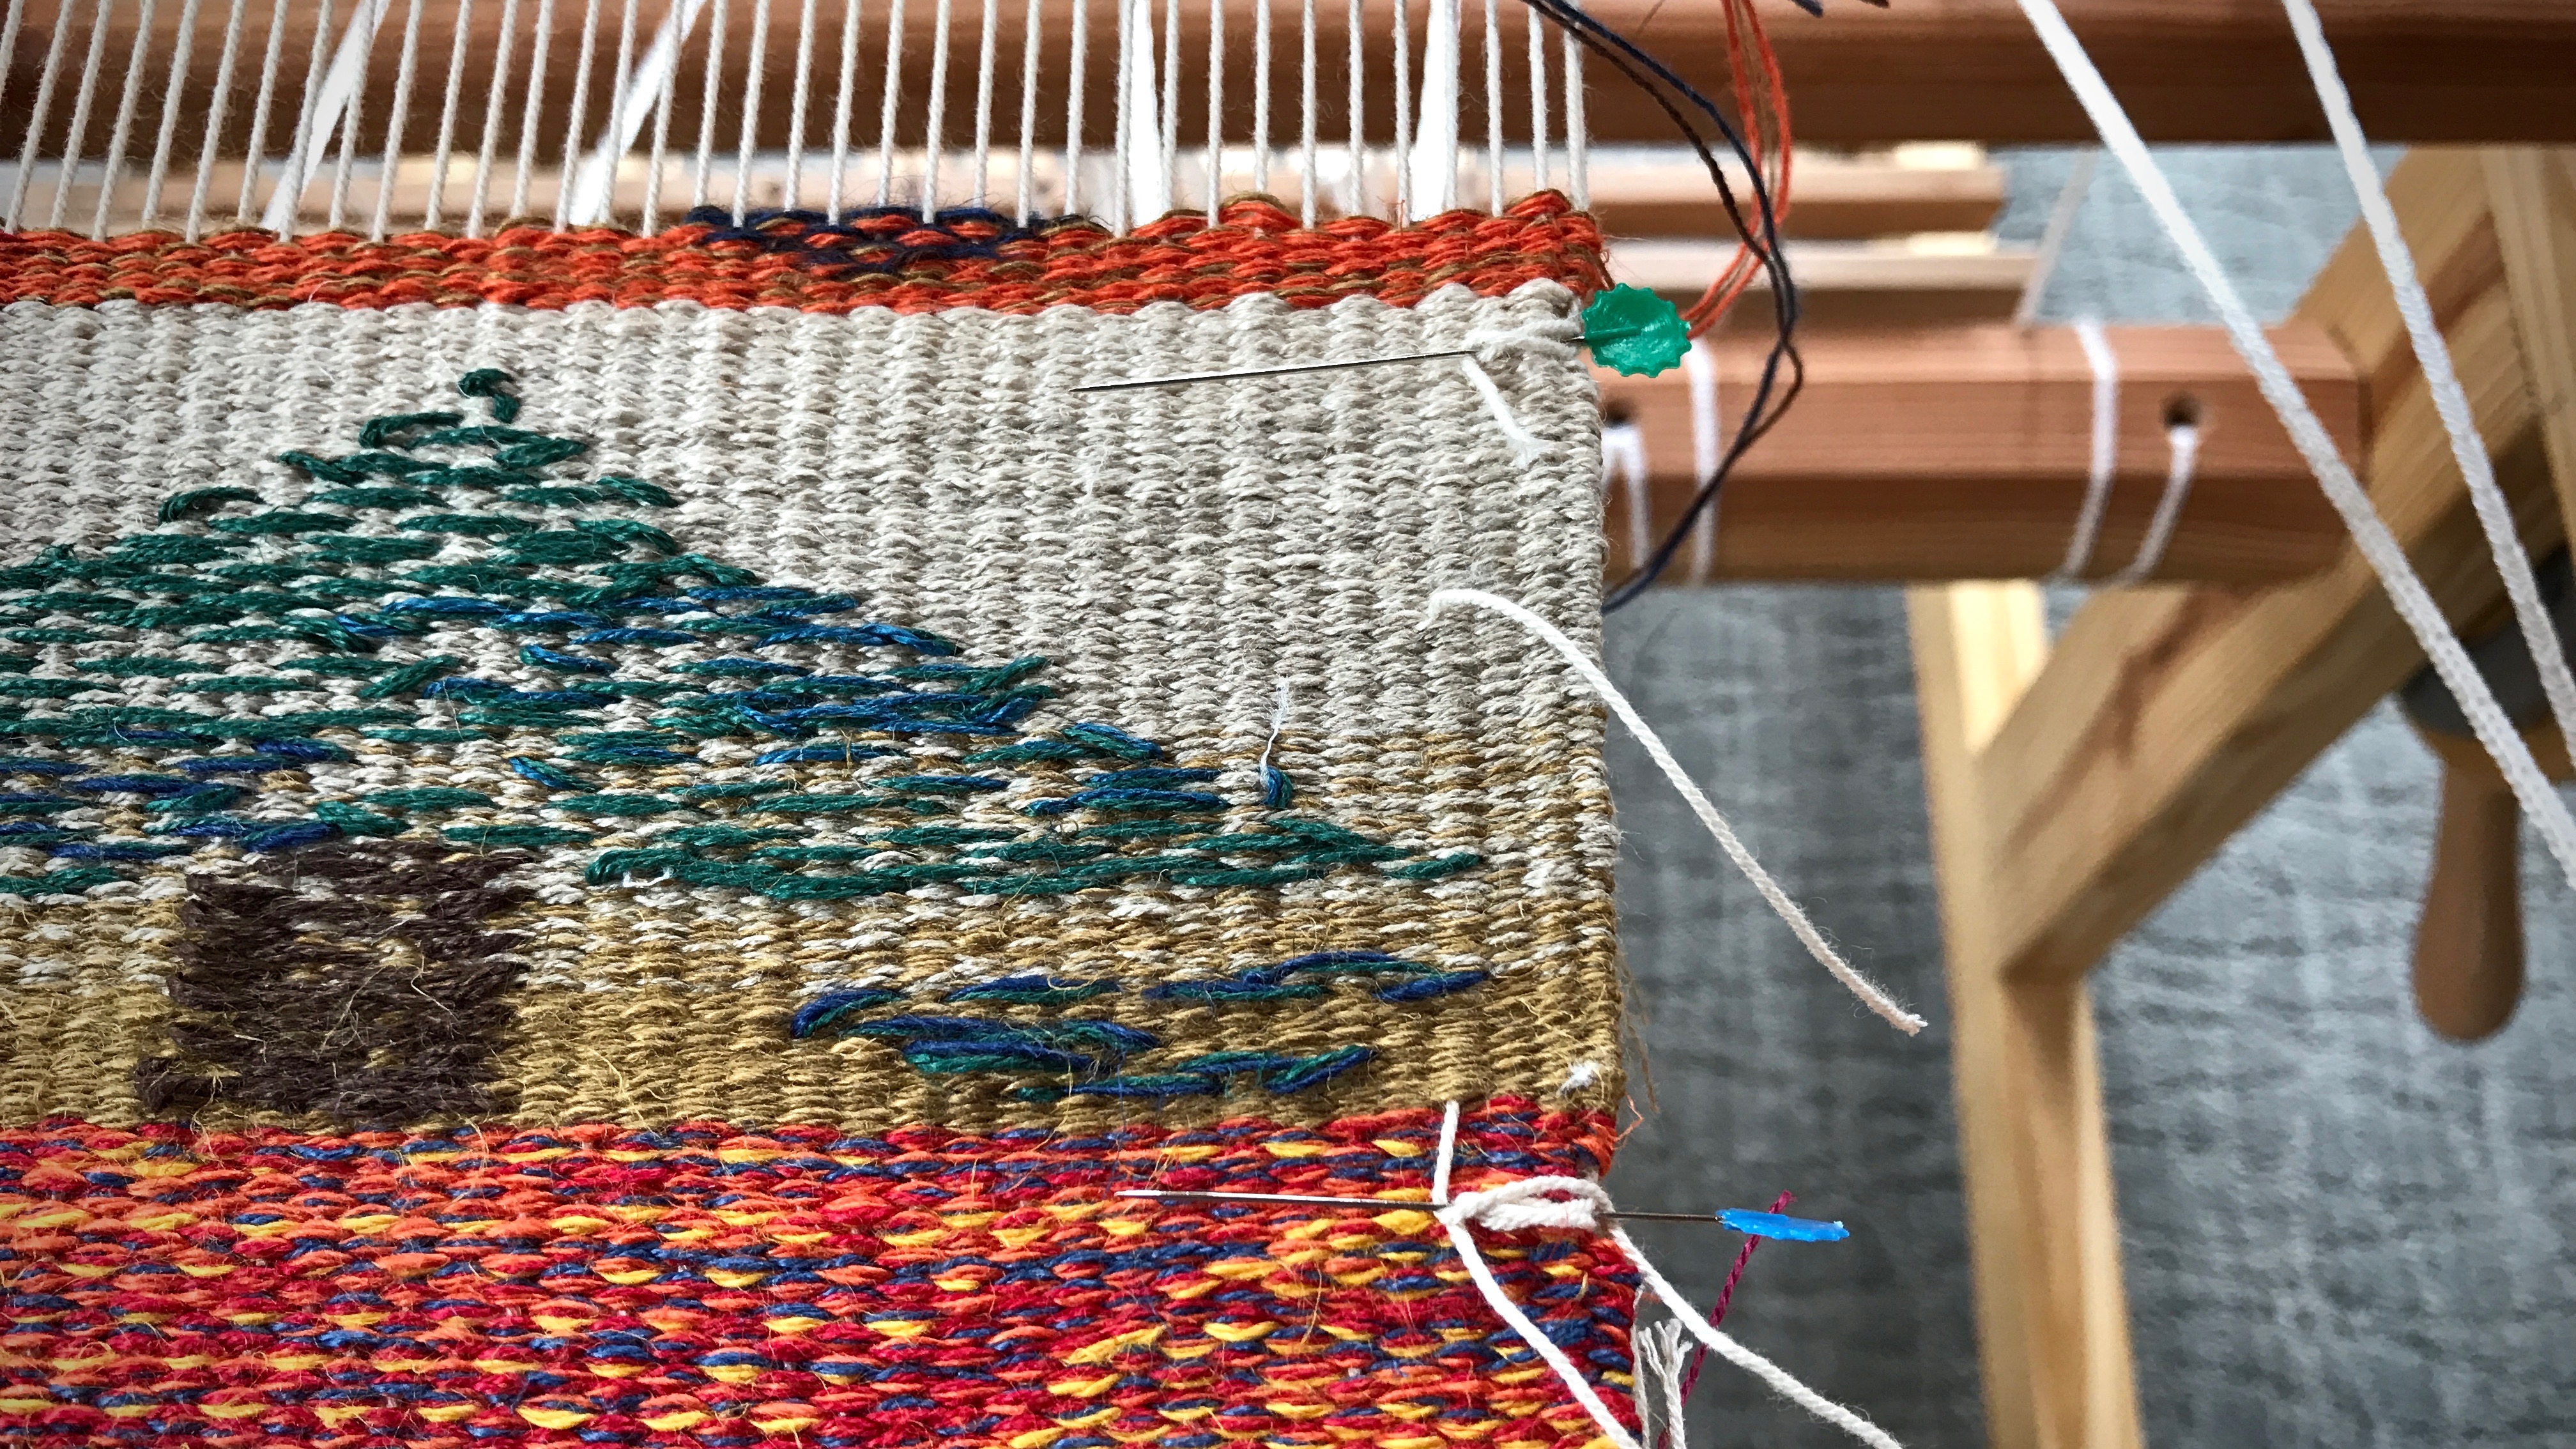
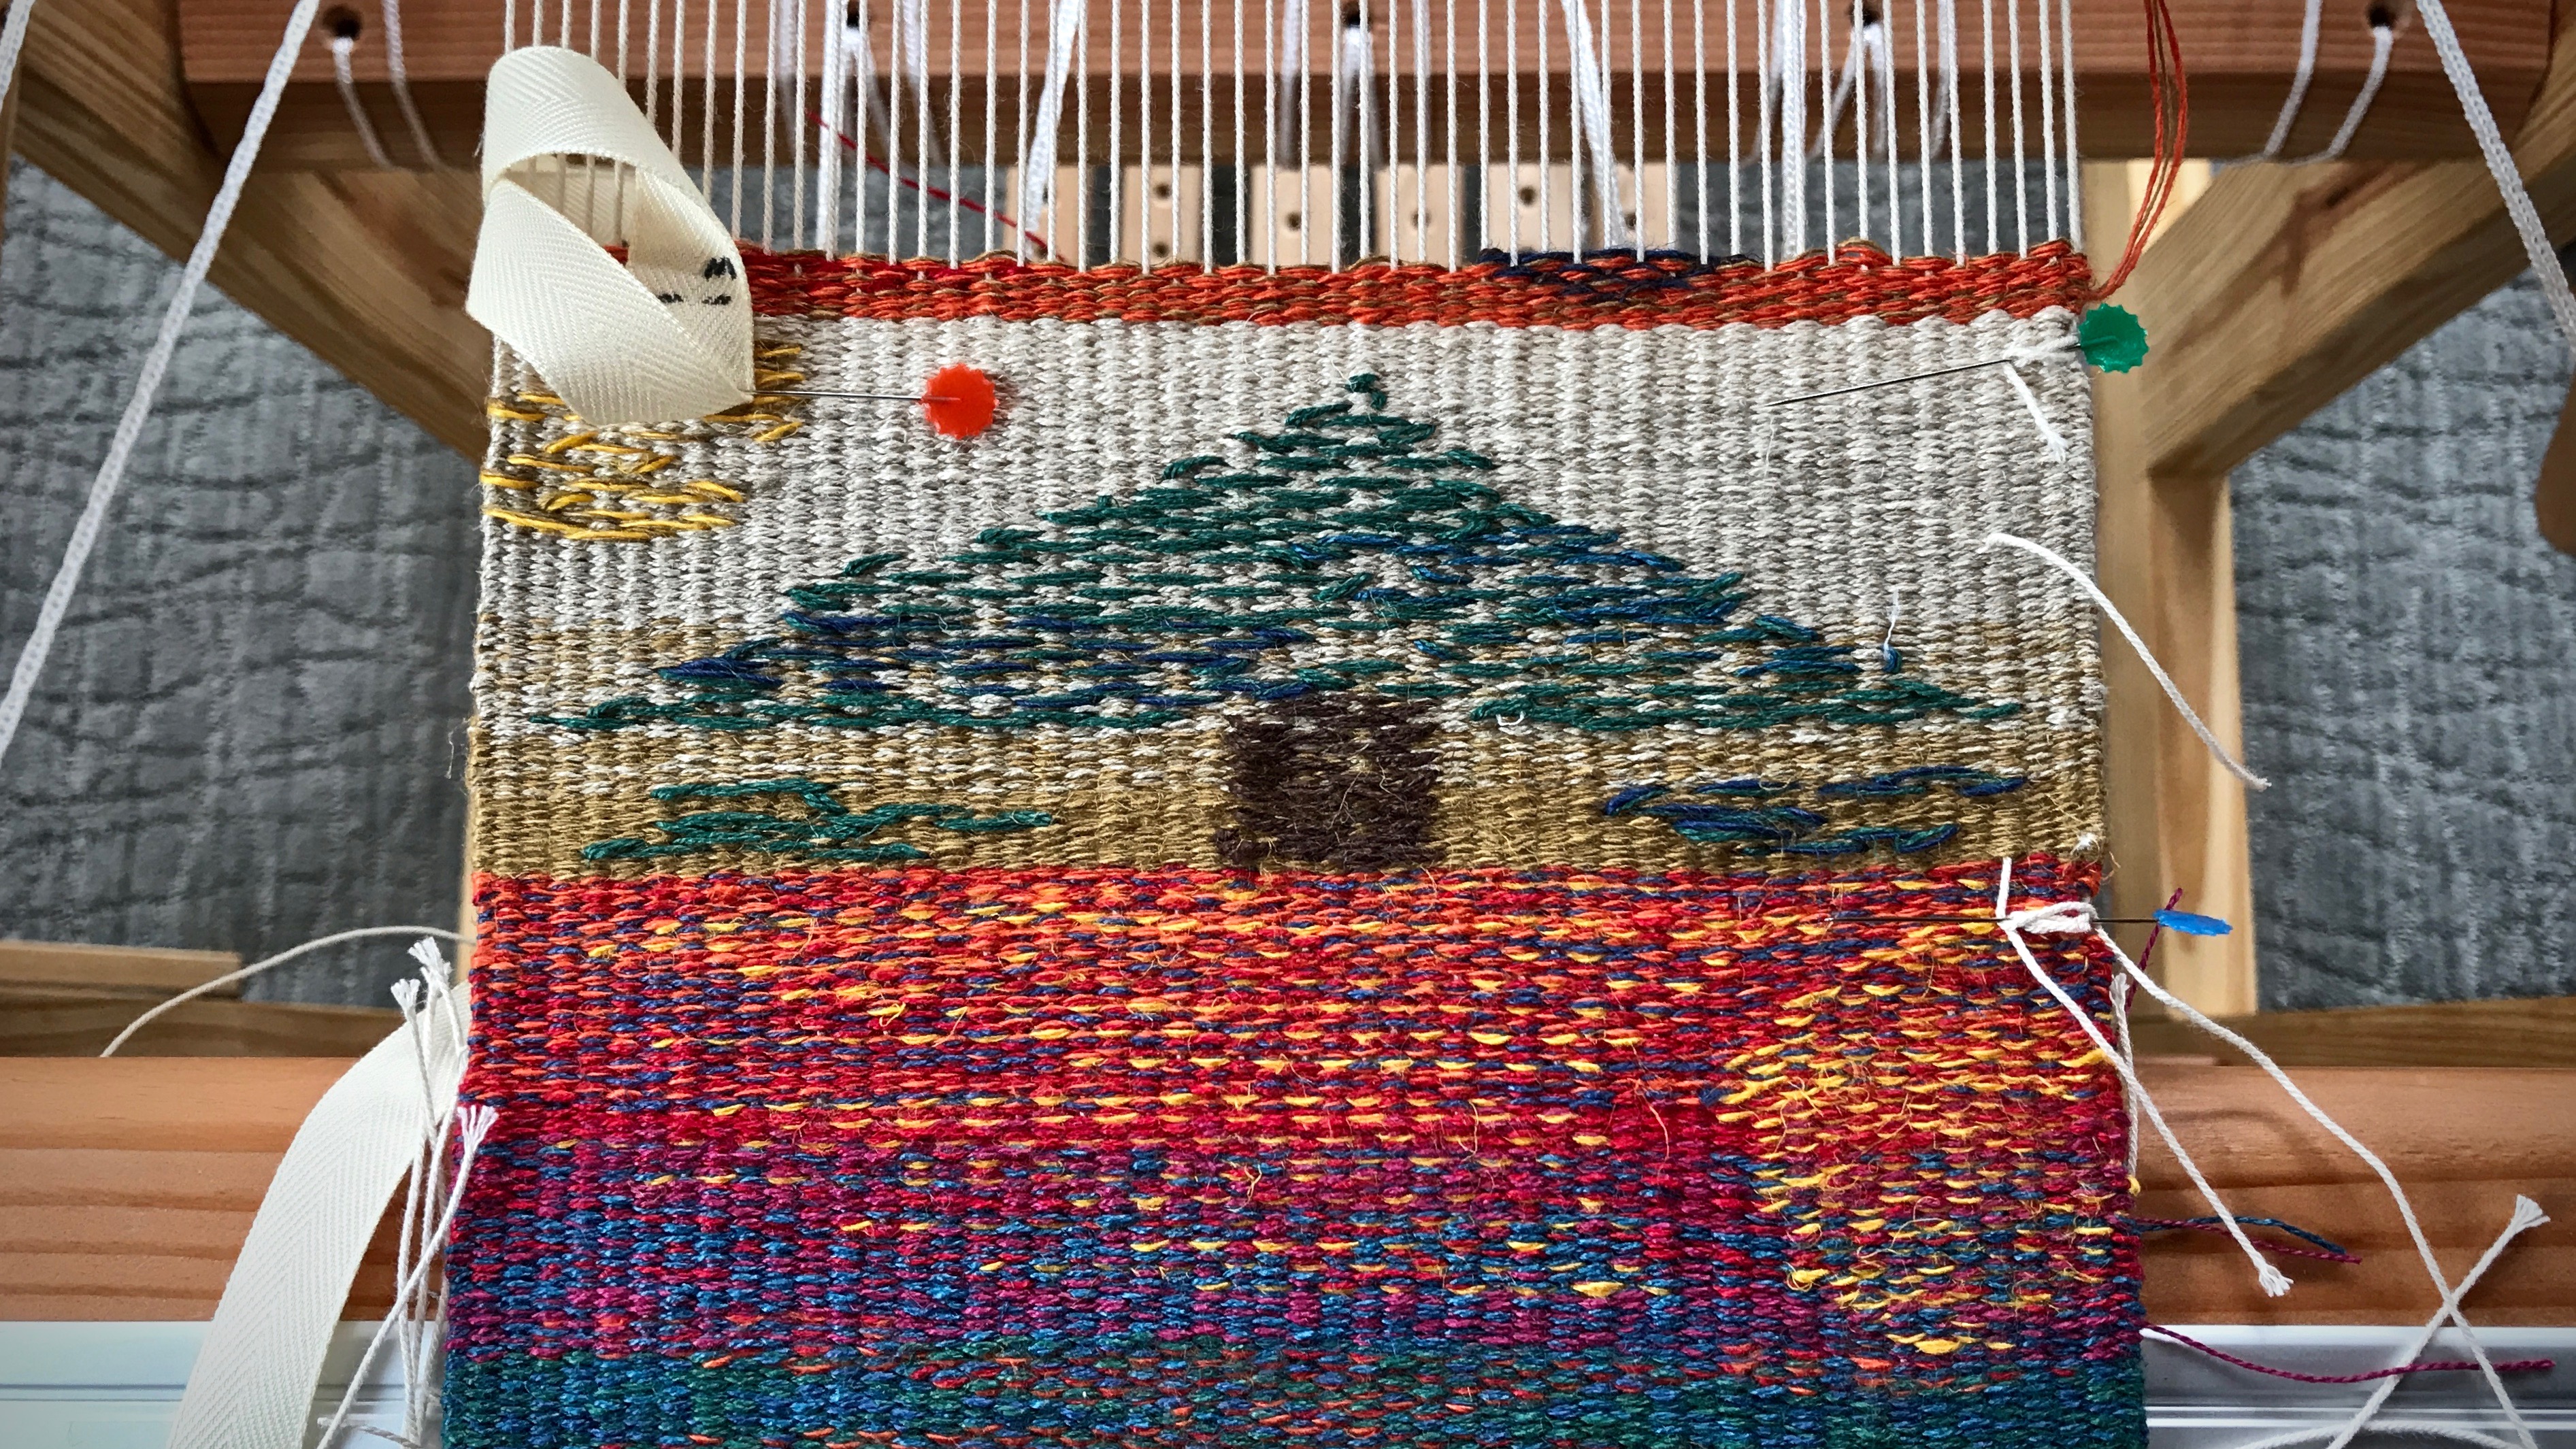
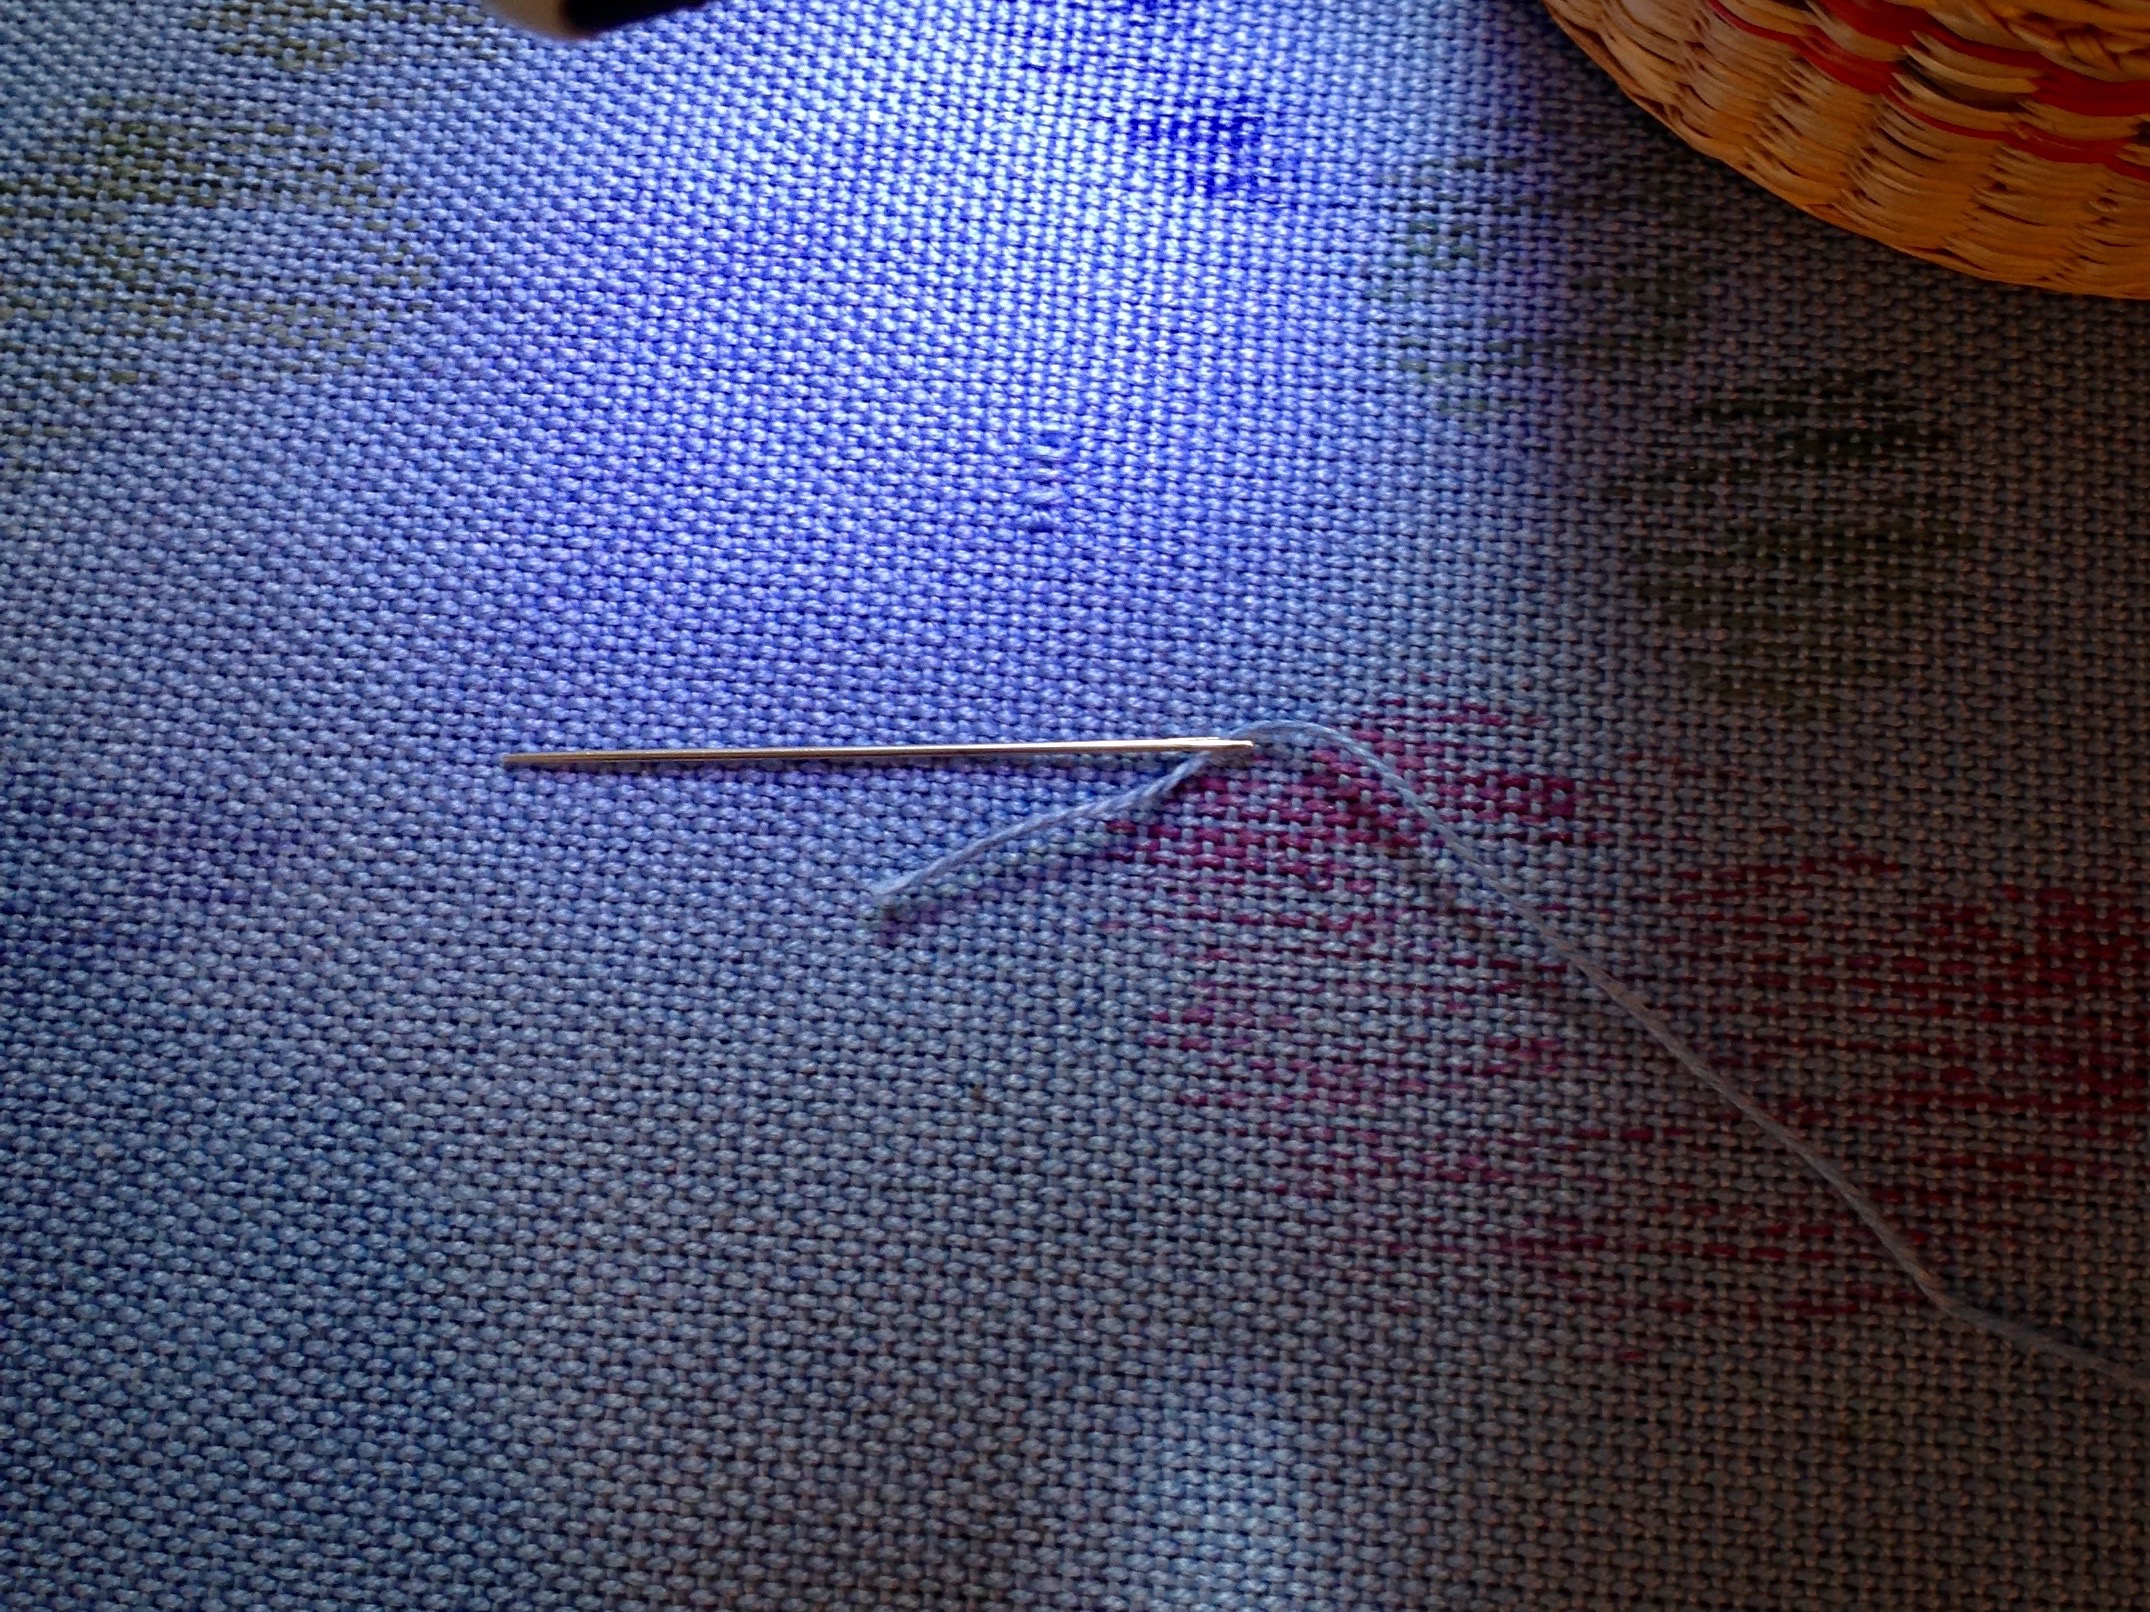
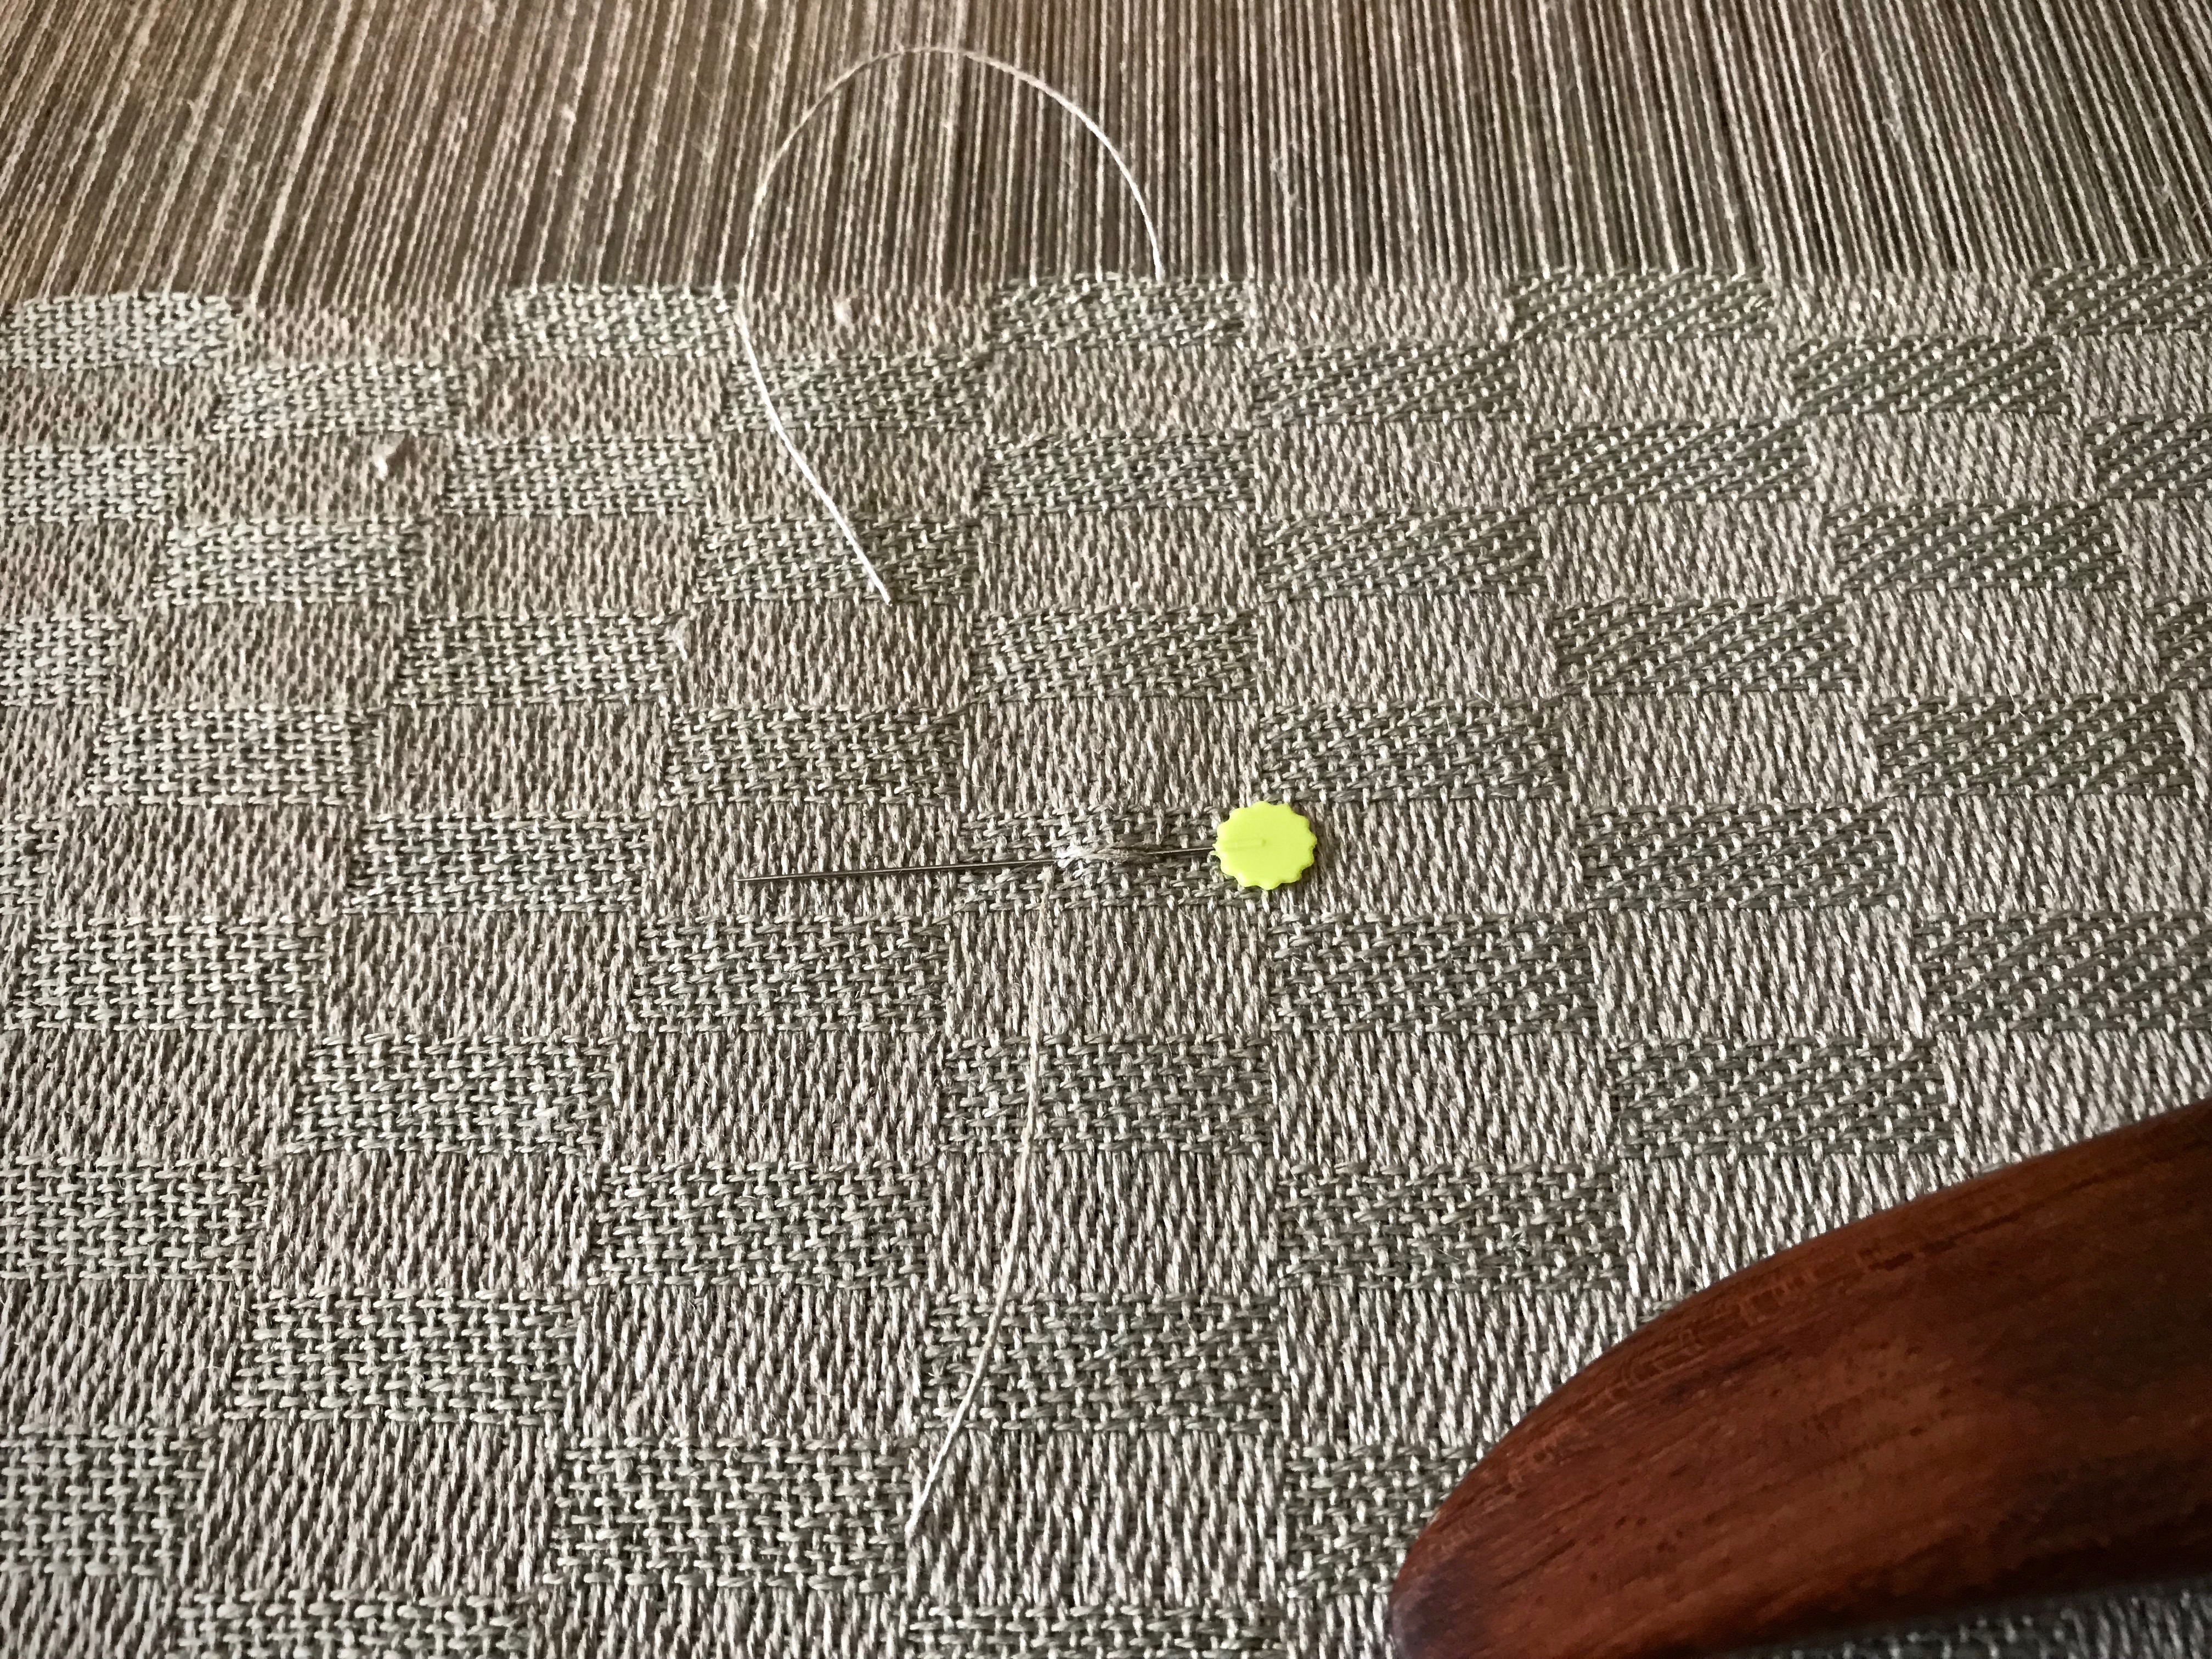
  • Attach the repair warp thread near the fell by wrapping it around a flat straight pin.

Splicing a warp end.

  • Remove the warp separator from between the warp ends.

Warp separator for repairing a warp end.

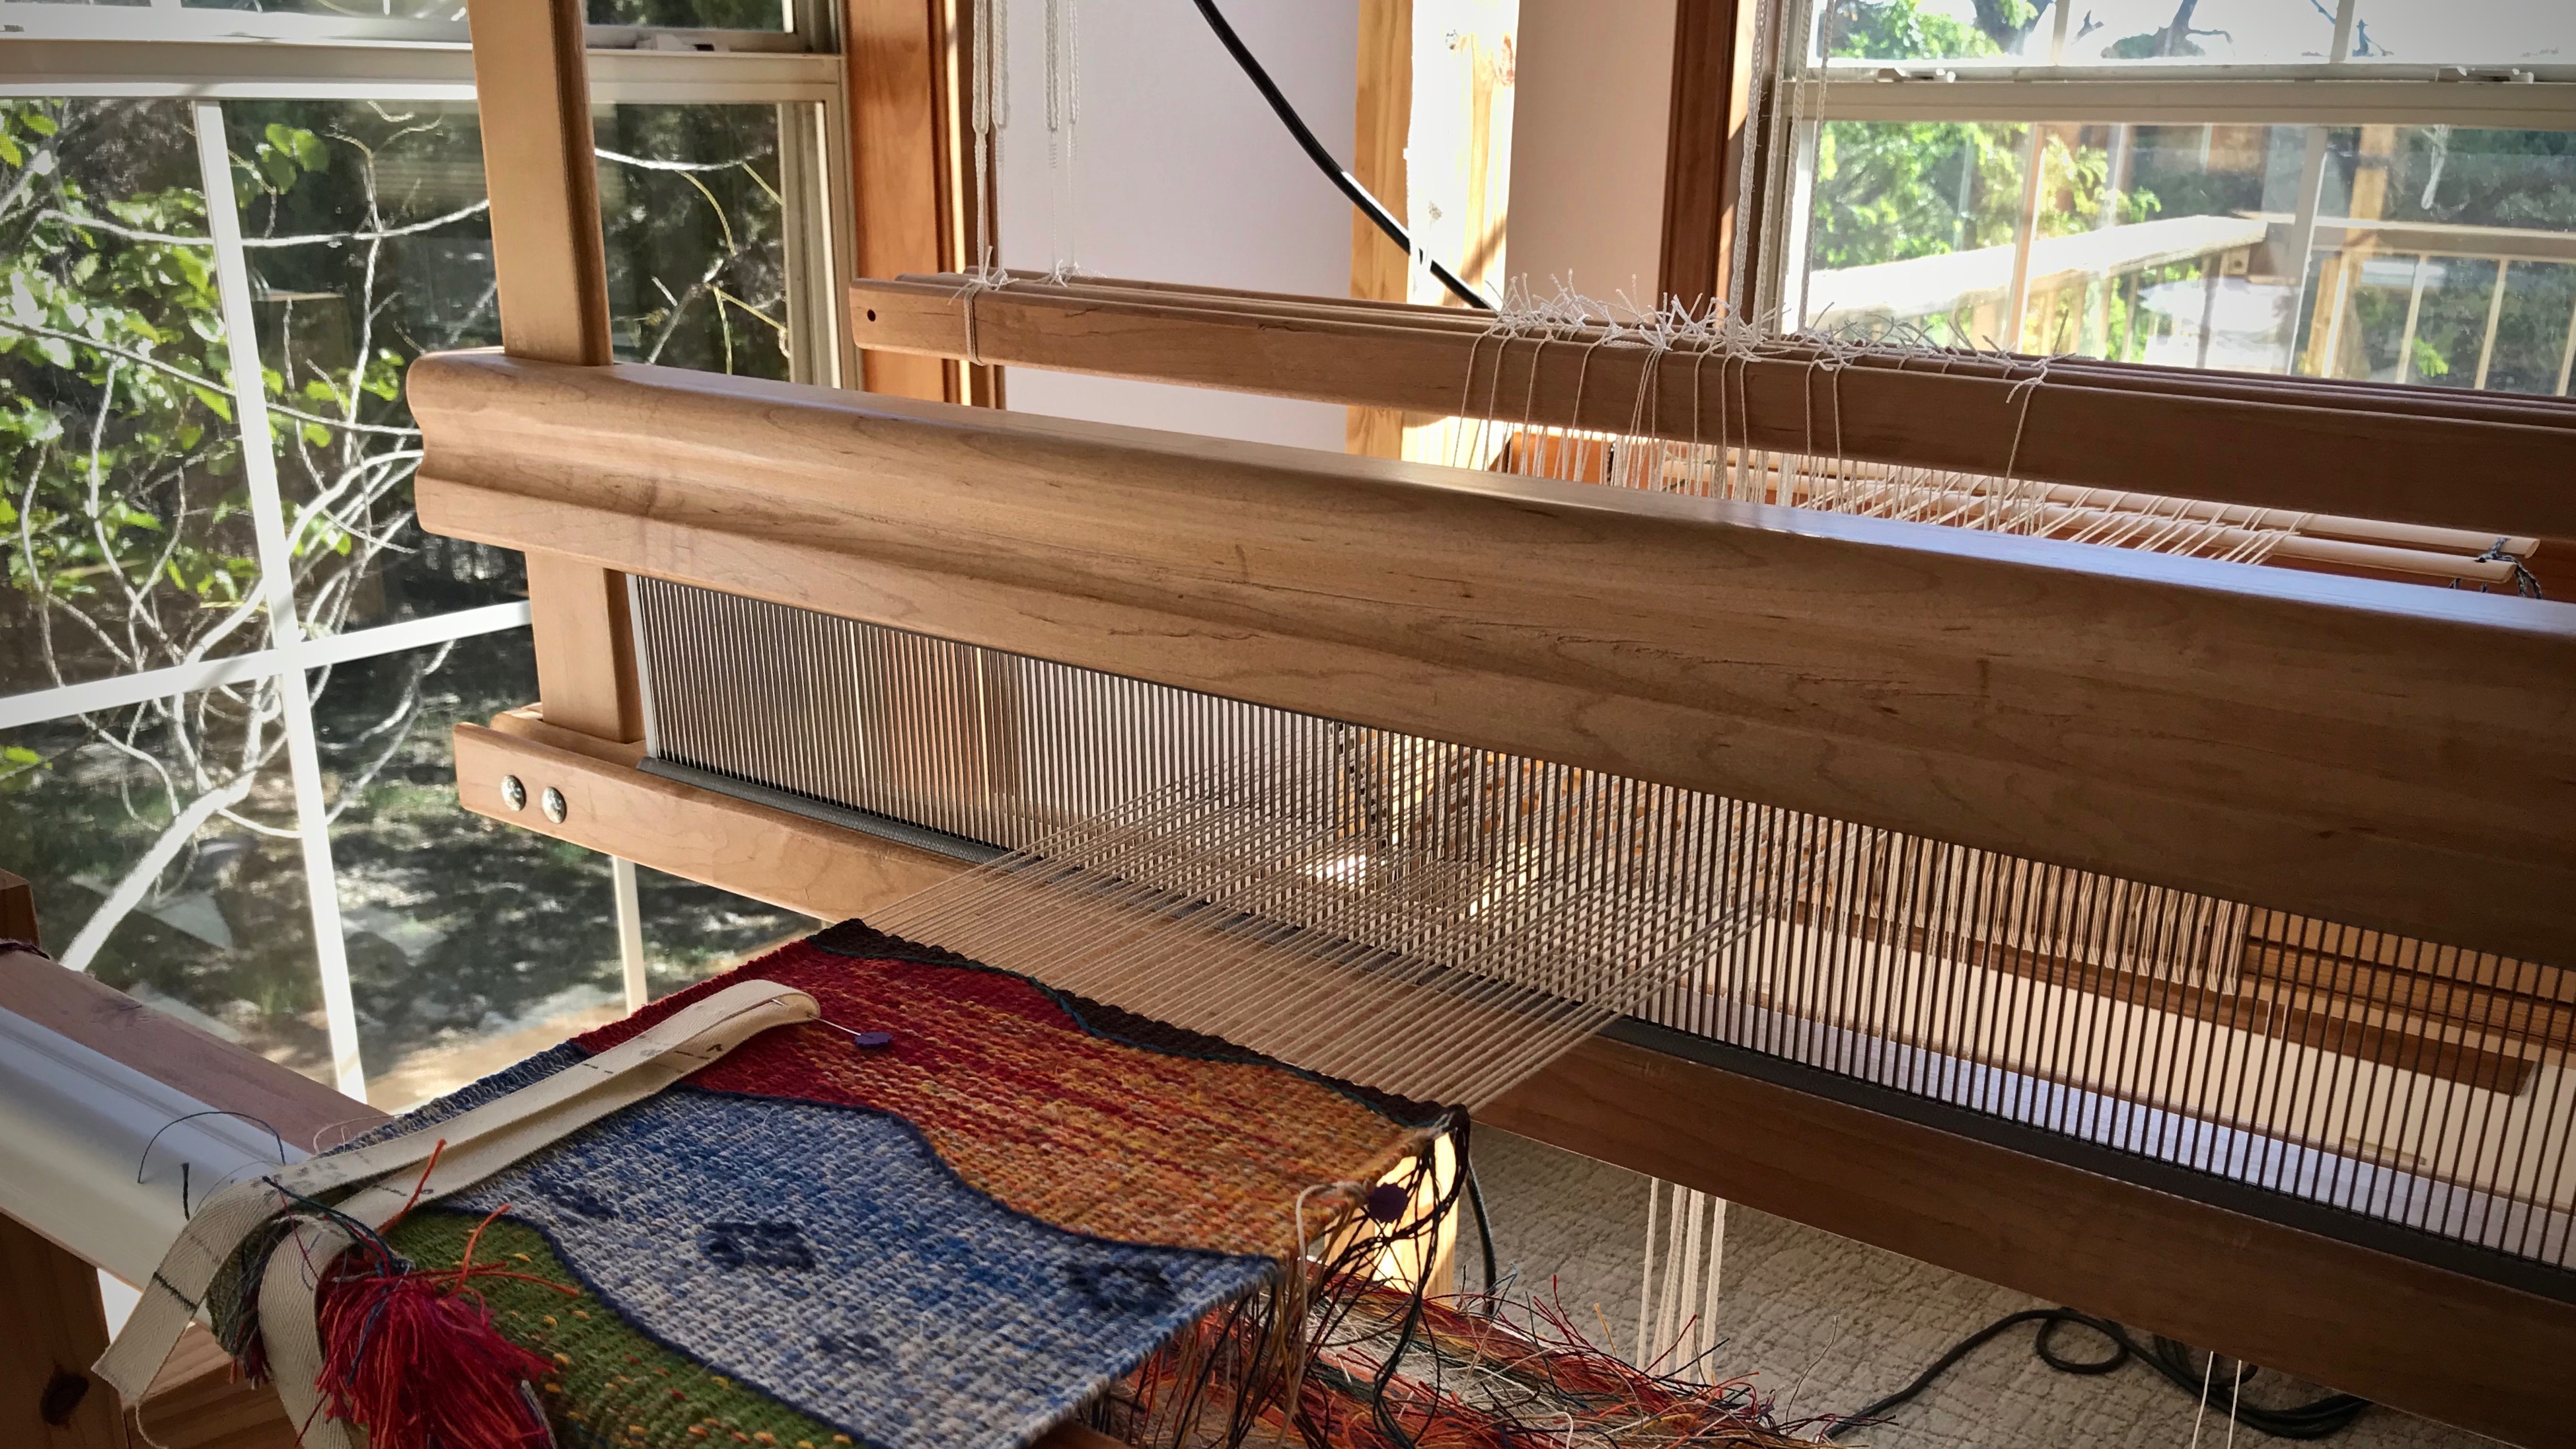
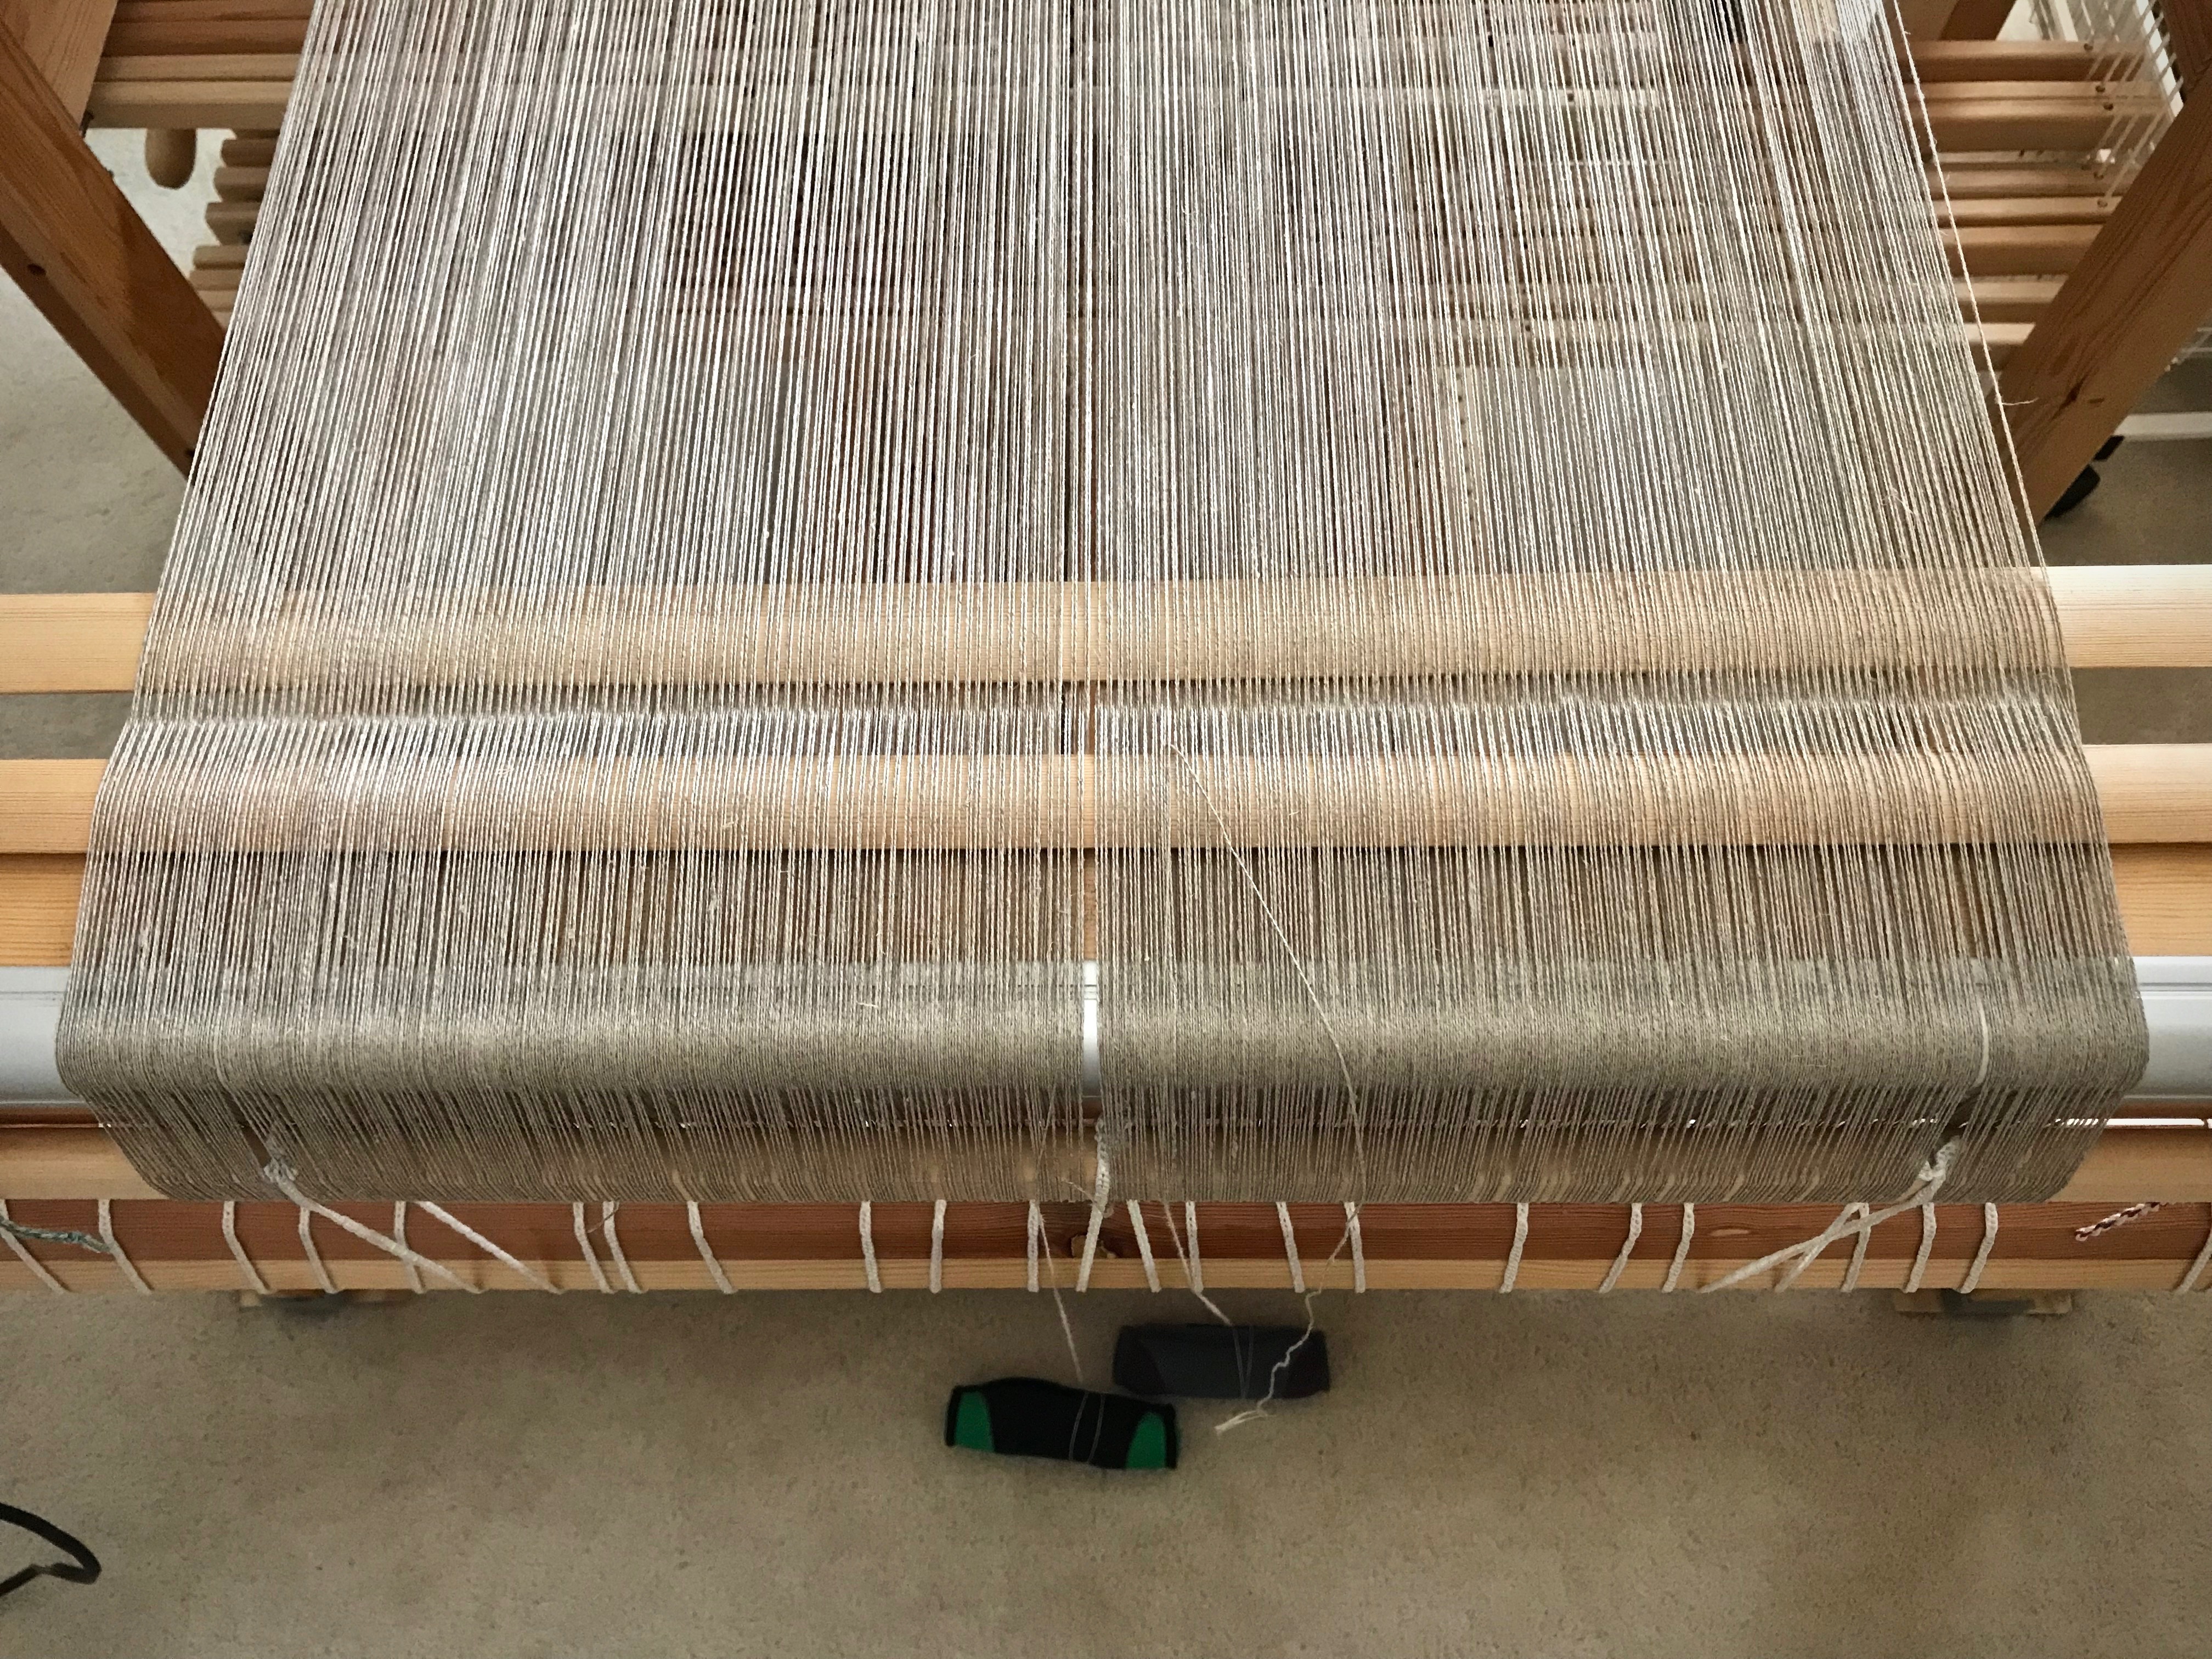
  • Place a weight on the floor below the back beam. Wrap the repair thread around the weight two or three times to hold the thread at tension that matches the rest of the warp. Loosen the wrapped-around thread before advancing the warp, and then re-tighten before resuming weaving.

Splicing warp ends.

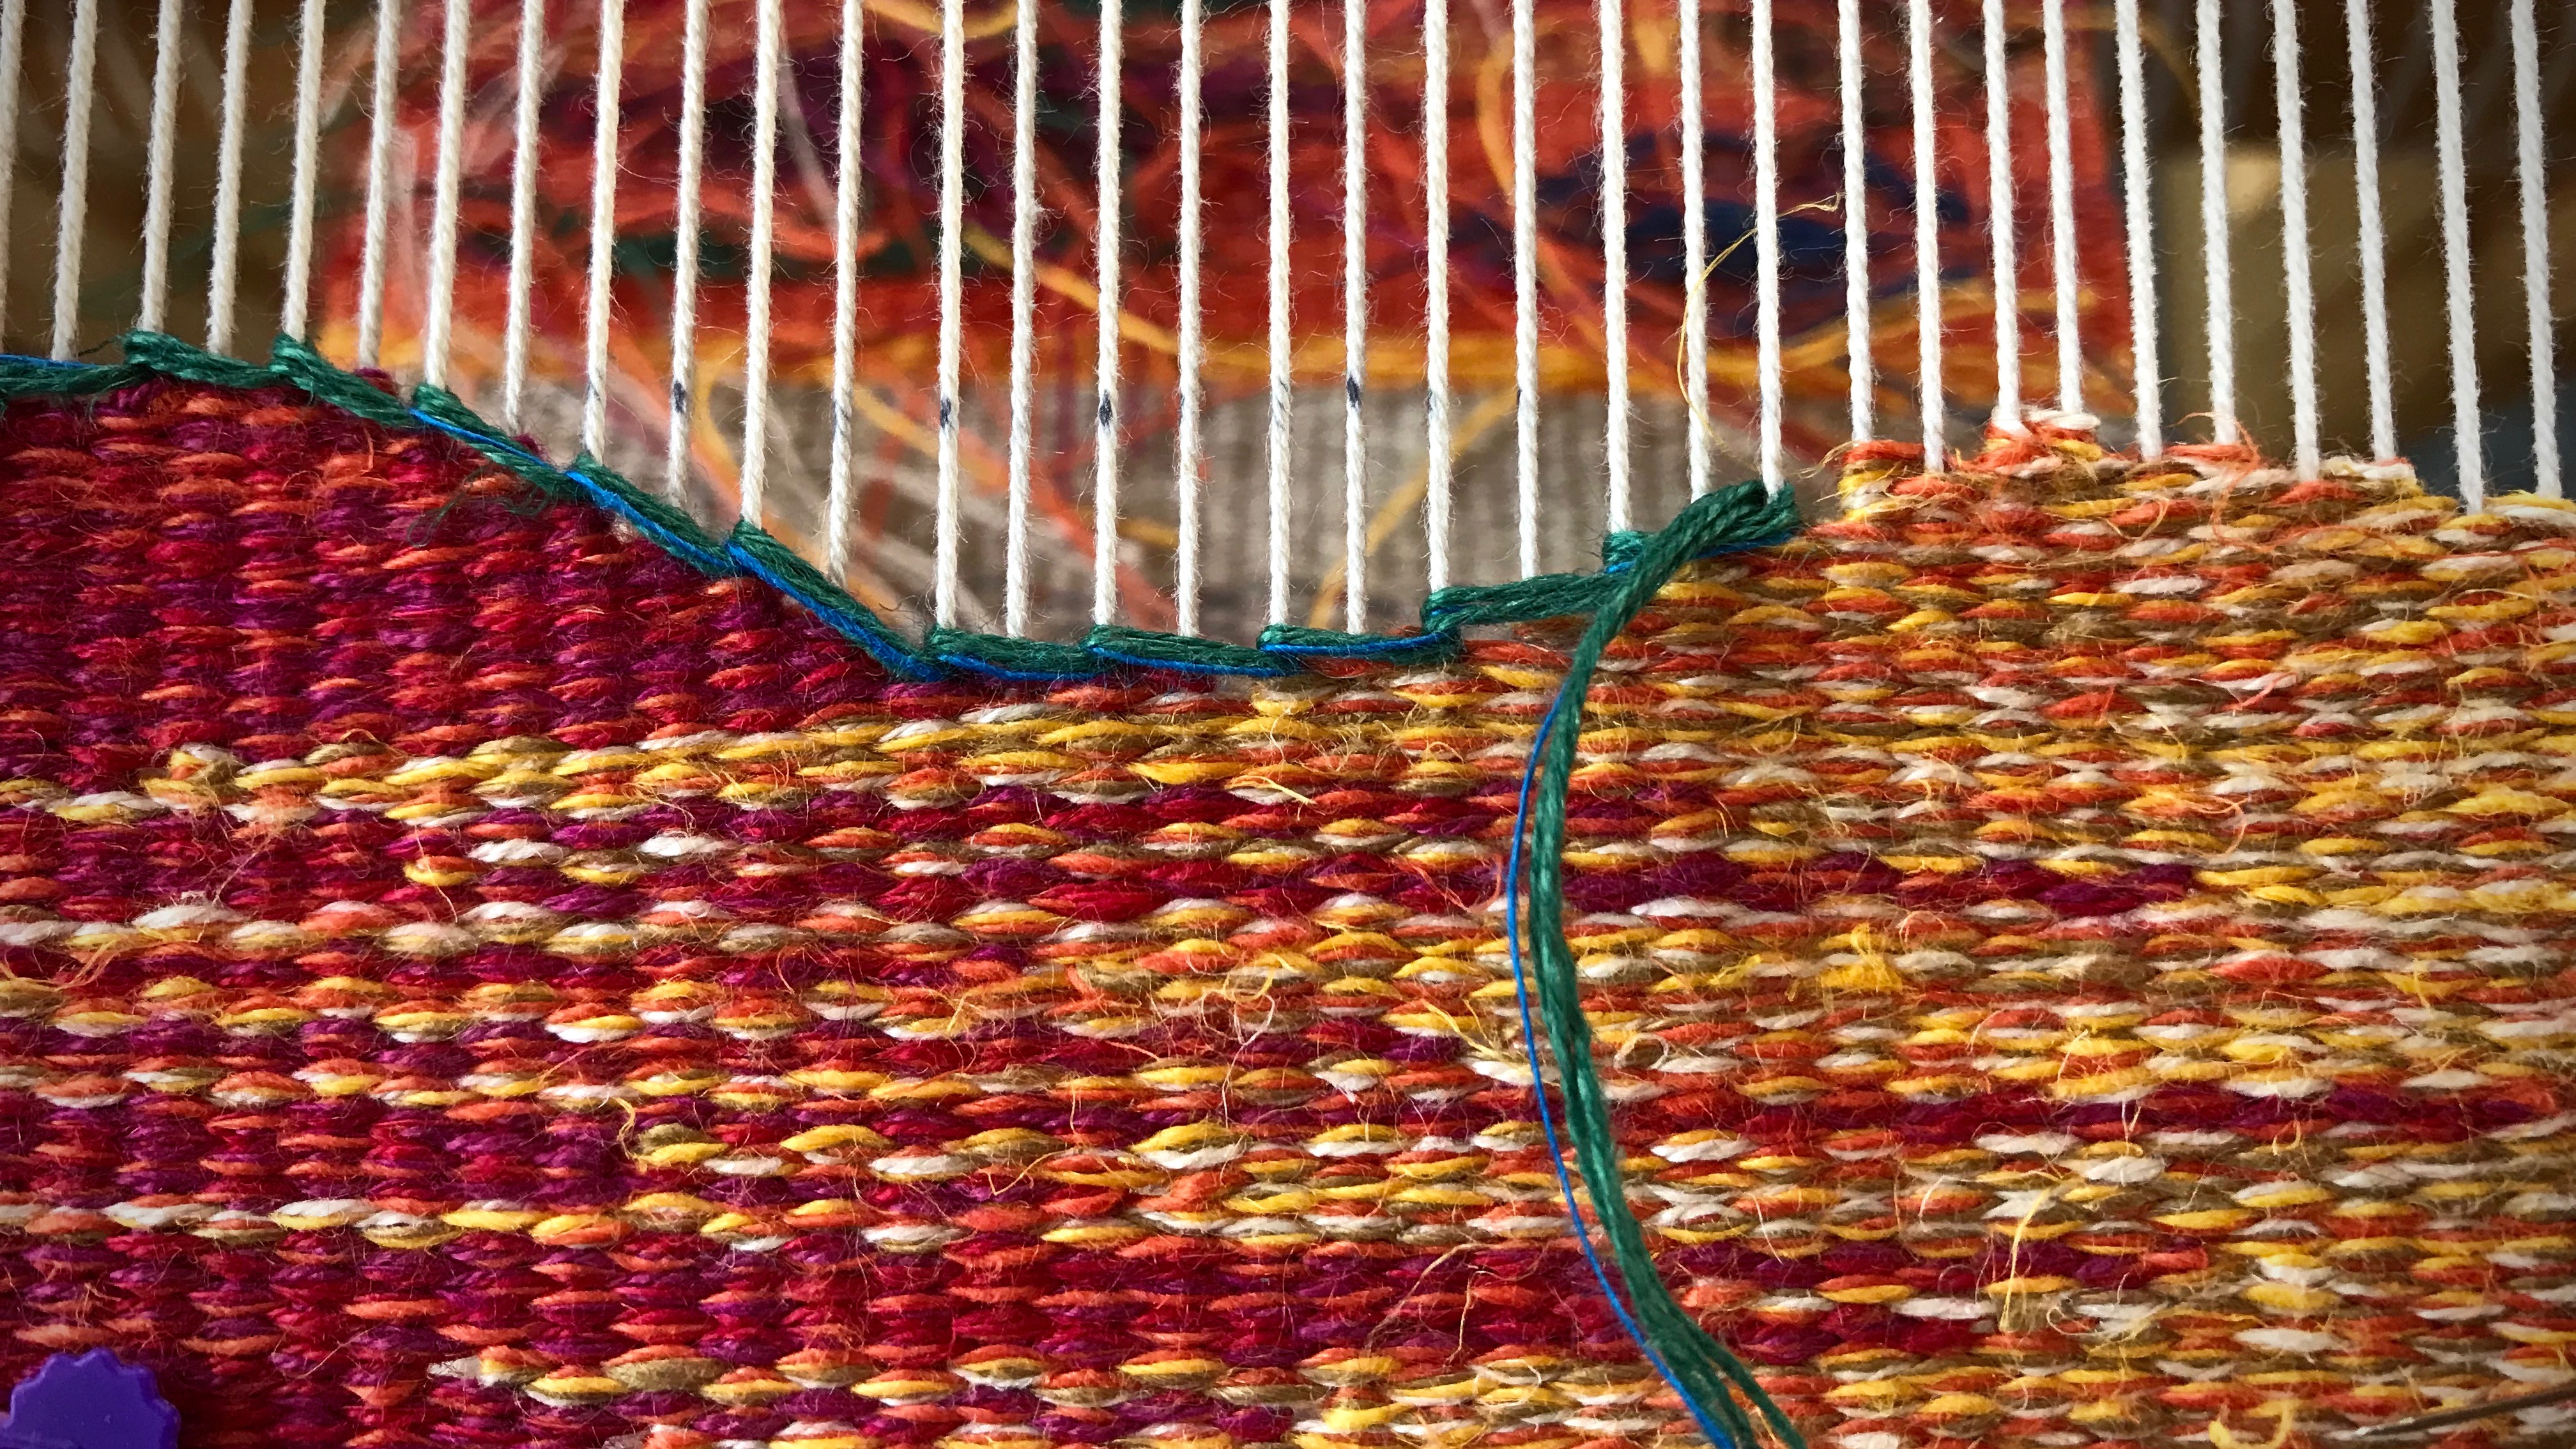
  • Weave one to two inches with both the original warp end and the repair warp thread in place.
  • Then, cut the original warp end with the knot (behind the heddles) and let it hang over the back beam.

Cutting a warp knot behind the reed.

  • The original and replacement warp ends overlap in the weaving for about one to two inches.
  • Remove the straight pin when it reaches the breast beam.
  • Re-attach the original warp end when it is long enough to secure in front of the fell line with a flat straight pin.
  • And then, cut and remove the replacement warp thread.
  • Trim all the spliced warp tails after wet finishing.

Spliced warp end to eliminate a knot in the warp.

Warp separator guy, ready to jump in and help!

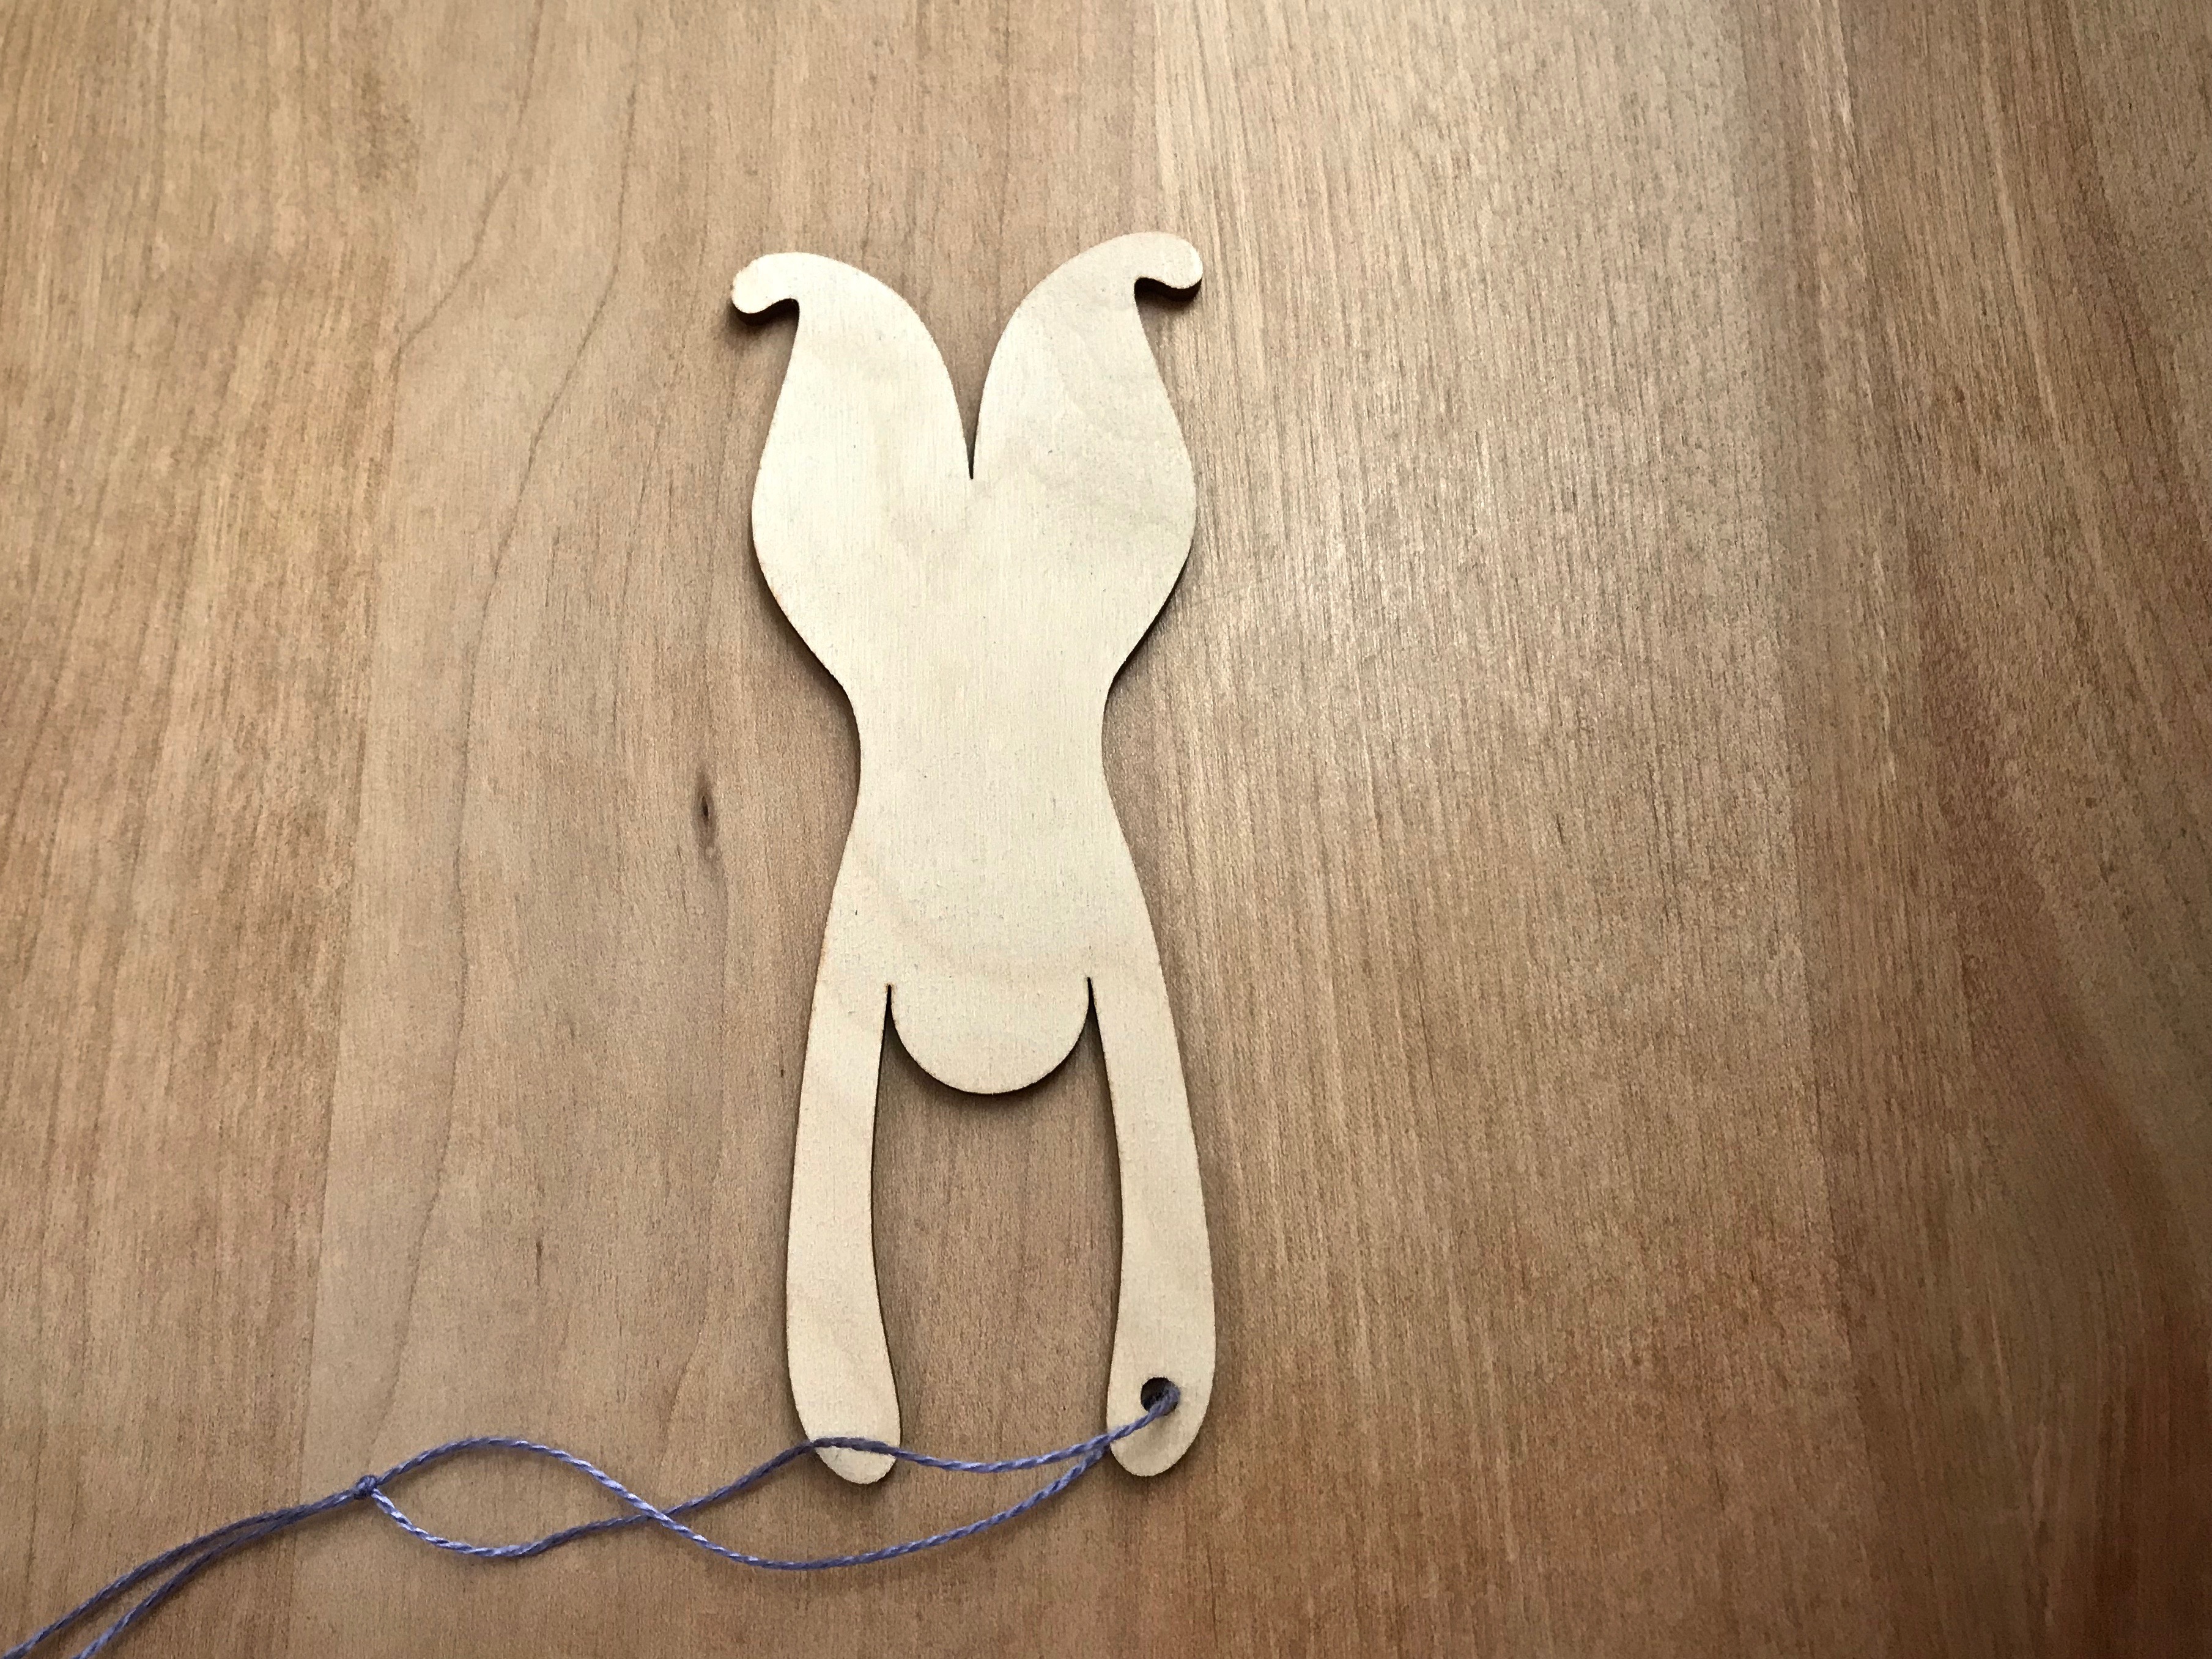
This warp separator was a gift from The Weavers and Spinners Society of Austin, included in the goodie bag from last summer’s Contemporary Handweavers of Texas Conference. It would not be hard to make a warp separator like this from wood or sturdy cardboard. I have not been able to locate a supplier online.

If you know where to find a warp separator tool, please put a link in the comments.

May you have very few warp knots.

All the best,
Karen

Keep Advancing the Warp

This is a series of learning experiences—some easy, and some quite challenging. I am near the end of the first panel of the tapestry/inlay sampler. All along the way, I encounter obstacles. Like a broken warp end. Again. That broken warp end is discouraging. Surely, I should be able to keep that from happening by now.

Tapestry/inlay sampler. All linen weft.
Broken warp end on the right selvedge required taking out several rows of weaving so I could splice the warp.

Meanwhile, a simple line of soumak makes a pleasing border for this curve. It defines the shape with a slightly raised line. Over three, around one…all the way across. This part is nice and easy.

Soumak border on tapestry sampler.
Soumak technique, Step 1.
Soumak border line on tapestry sampler.
Soumak technique, Step 2.
Peaceful setting for the weaving loom!
Despite another broken warp end, the warp is advanced and the weaving continues. It helps to weave in a peaceful setting.

Daily life is not always easy. Put your eyes on God, not on the obstacles you face. And don’t worry about your own inability to navigate the circumstances. Trust God to carry you. He has carried you this far, and will continue to show himself strong on your behalf. Those broken warp ends are spliced, and the weaving continues. The selvedge may show some evidence of having had trouble, but the soumak outlines and other woven features will draw the eye. There is victory in advancing the warp to continue the sampler to the end.

May you advance through the obstacles you face.

With you,
Karen

If a Warp End Is Frayed…

I noticed that a warp end was starting to fray, but I kept on weaving. I thought I could make it past the weak spot. Well, I was wrong. The warp end broke. So much for happy weaving! A broken warp end at the selvedge is no fun, especially on a weft-faced piece like this. Looking back, I wish I had taken time to splice in a new length of thread when I first noticed the weakness. But at the time, I didn’t want to be bothered with that. I just wanted to weave.

Tapestry / inlay sampler on small countermarch loom.
Weaving right along. I start to notice some abrasion on the warp end at the right selvedge. I’ll be extra careful. I can keep weaving and enjoy myself, right???
Broken selvedge end on the right. Ugh.
Warp end on the right selvedge frayed to the breaking point. Gone! The weaving must be removed far enough back to reach at least 1/2″ of the warp end in front of the break. That reaches back into the red portion–the first section of the sampler.
Tapestry / inlay sampler on small countermarch loom.
Pin is inserted to secure a new selvedge warp end. The fourth end from the right showed some fraying, so I am splicing in a new piece of 12/9 cotton warp. Learned my lesson.
Original selvedge warp end is now being spliced back in (green flathead pin). Second splice is complete, with thread tail hanging out, to be trimmed after this is off the loom.
Tapestry and inlay sampler. Spliced warp ends fix frayed threads.
Two sections of the tapestry and inlay sampler are complete.

We tell ourselves if we do what we want, we will be happy. That’s a delusion. Happiness will fail you. It doesn’t last. I was only happy weaving until the thread broke. There is something better than happiness. Faithfulness. It’s better to be faithful in the moment, even if it puts a delay on being happy. Faithfulness lasts. Next time, I hope to choose the long satisfaction of faithfulness over the short-lived gain of happiness.

May your broken selvedge ends be few.

Faithful weaving,
Karen

How to Splice the Warp – Video

Knots show up in the warp. It’s a normal part of weaving. Weaving over the knot is almost never a good idea. You have to deal with the little obstacle. This is why it is handy to know how to splice the warp. Thankfully, it’s not hard to do. There are a few standard variations on how to perform this operation. I use a method that I first came across here, by Kirsten Froberg, that makes sense to me. And, hooray, there are no tails to weave in later!

I made a new video to demonstrate how I do it. You can watch it below…

How to splice the warp.
Spliced area of the warp happens to land in the hems of two adjoining towels. Pink weft picks serve as a cutting line between the towels.
How to deal with a knot in the warp. Tutorial video.
Ending the splice. There are no tails to weave in later with this method.

How to Remove a Knot in the Warp

  • Insert a replacement warp end. Attach with a pin.
  • Weave an inch with original and replacement warp ends in place.
  • Cut original warp end. Hang it over the back beam.
  • Weave until original warp end is long enough to reinsert.
  • Insert original warp end. Attach with a pin.
  • Weave an inch with replacement and original warp ends in place.
  • Cut and remove replacement warp end.
  • Trim cut warp ends after wet finishing.

May the knots that get in your way be easy to remove.

Happy Weaving,
Karen

Tools Day: Let There Be Light!

Sunshine coming through the windows is marvelous for weaving. But my eyes need extra light to see small details. This is noticeably true with errors that I mend on the loom and off the loom. I turn on extra lighting at other times, too–when threading fine threads, sleying the reed with fine or dark threads, counting picks per inch on woven cloth, and checking the treadling pattern in a fine weave, for example. And sometimes I turn on extra lighting for no other reason than it’s a cloudy day.

Tools:
OttLite Task Lamp with Swivel Base
Handheld lighted magnifier

Broken weft repair.
Pin marks the spot where I broke a thin weft thread, 30/2 cotton, with the temple.
Repairing broken thread requires task lighting.
Repair area is flooded with light from my portable OttLite.
Replacing broken weft thread.
Illuminated stitches are easily seen. A replacement length of weft is needle-woven in.
Oops. A few skips to fix in handwoven cloth.
Series of errant floats are discovered after this fabric is removed from the loom. At 30 ends per inch, my eyes strain to see where to weave the needle.
Lighting and magnification needed for fixing threads.
Needing more than the bright OttLite, I add magnification. Pairing the OttLite with the handheld lighted magnifier does the trick!
Magnified threads for handwoven repairs.
Lighted magnifier, reflecting the OttLite just overhead, balances perfectly on a small sewing basket. Now I can actually see the threads I am fixing.

To further reduce eye strain, I am considering other lighting options. Have you had success with task lighting? I’d love to hear about it. Share your experience and recommendations in the comments.

My Lighting Wish List:
Full spectrum floor lamp
Adjustable-arm magnifying task light to clamp on table or loom

May you see what you need to see.

With a bright outlook,
Karen