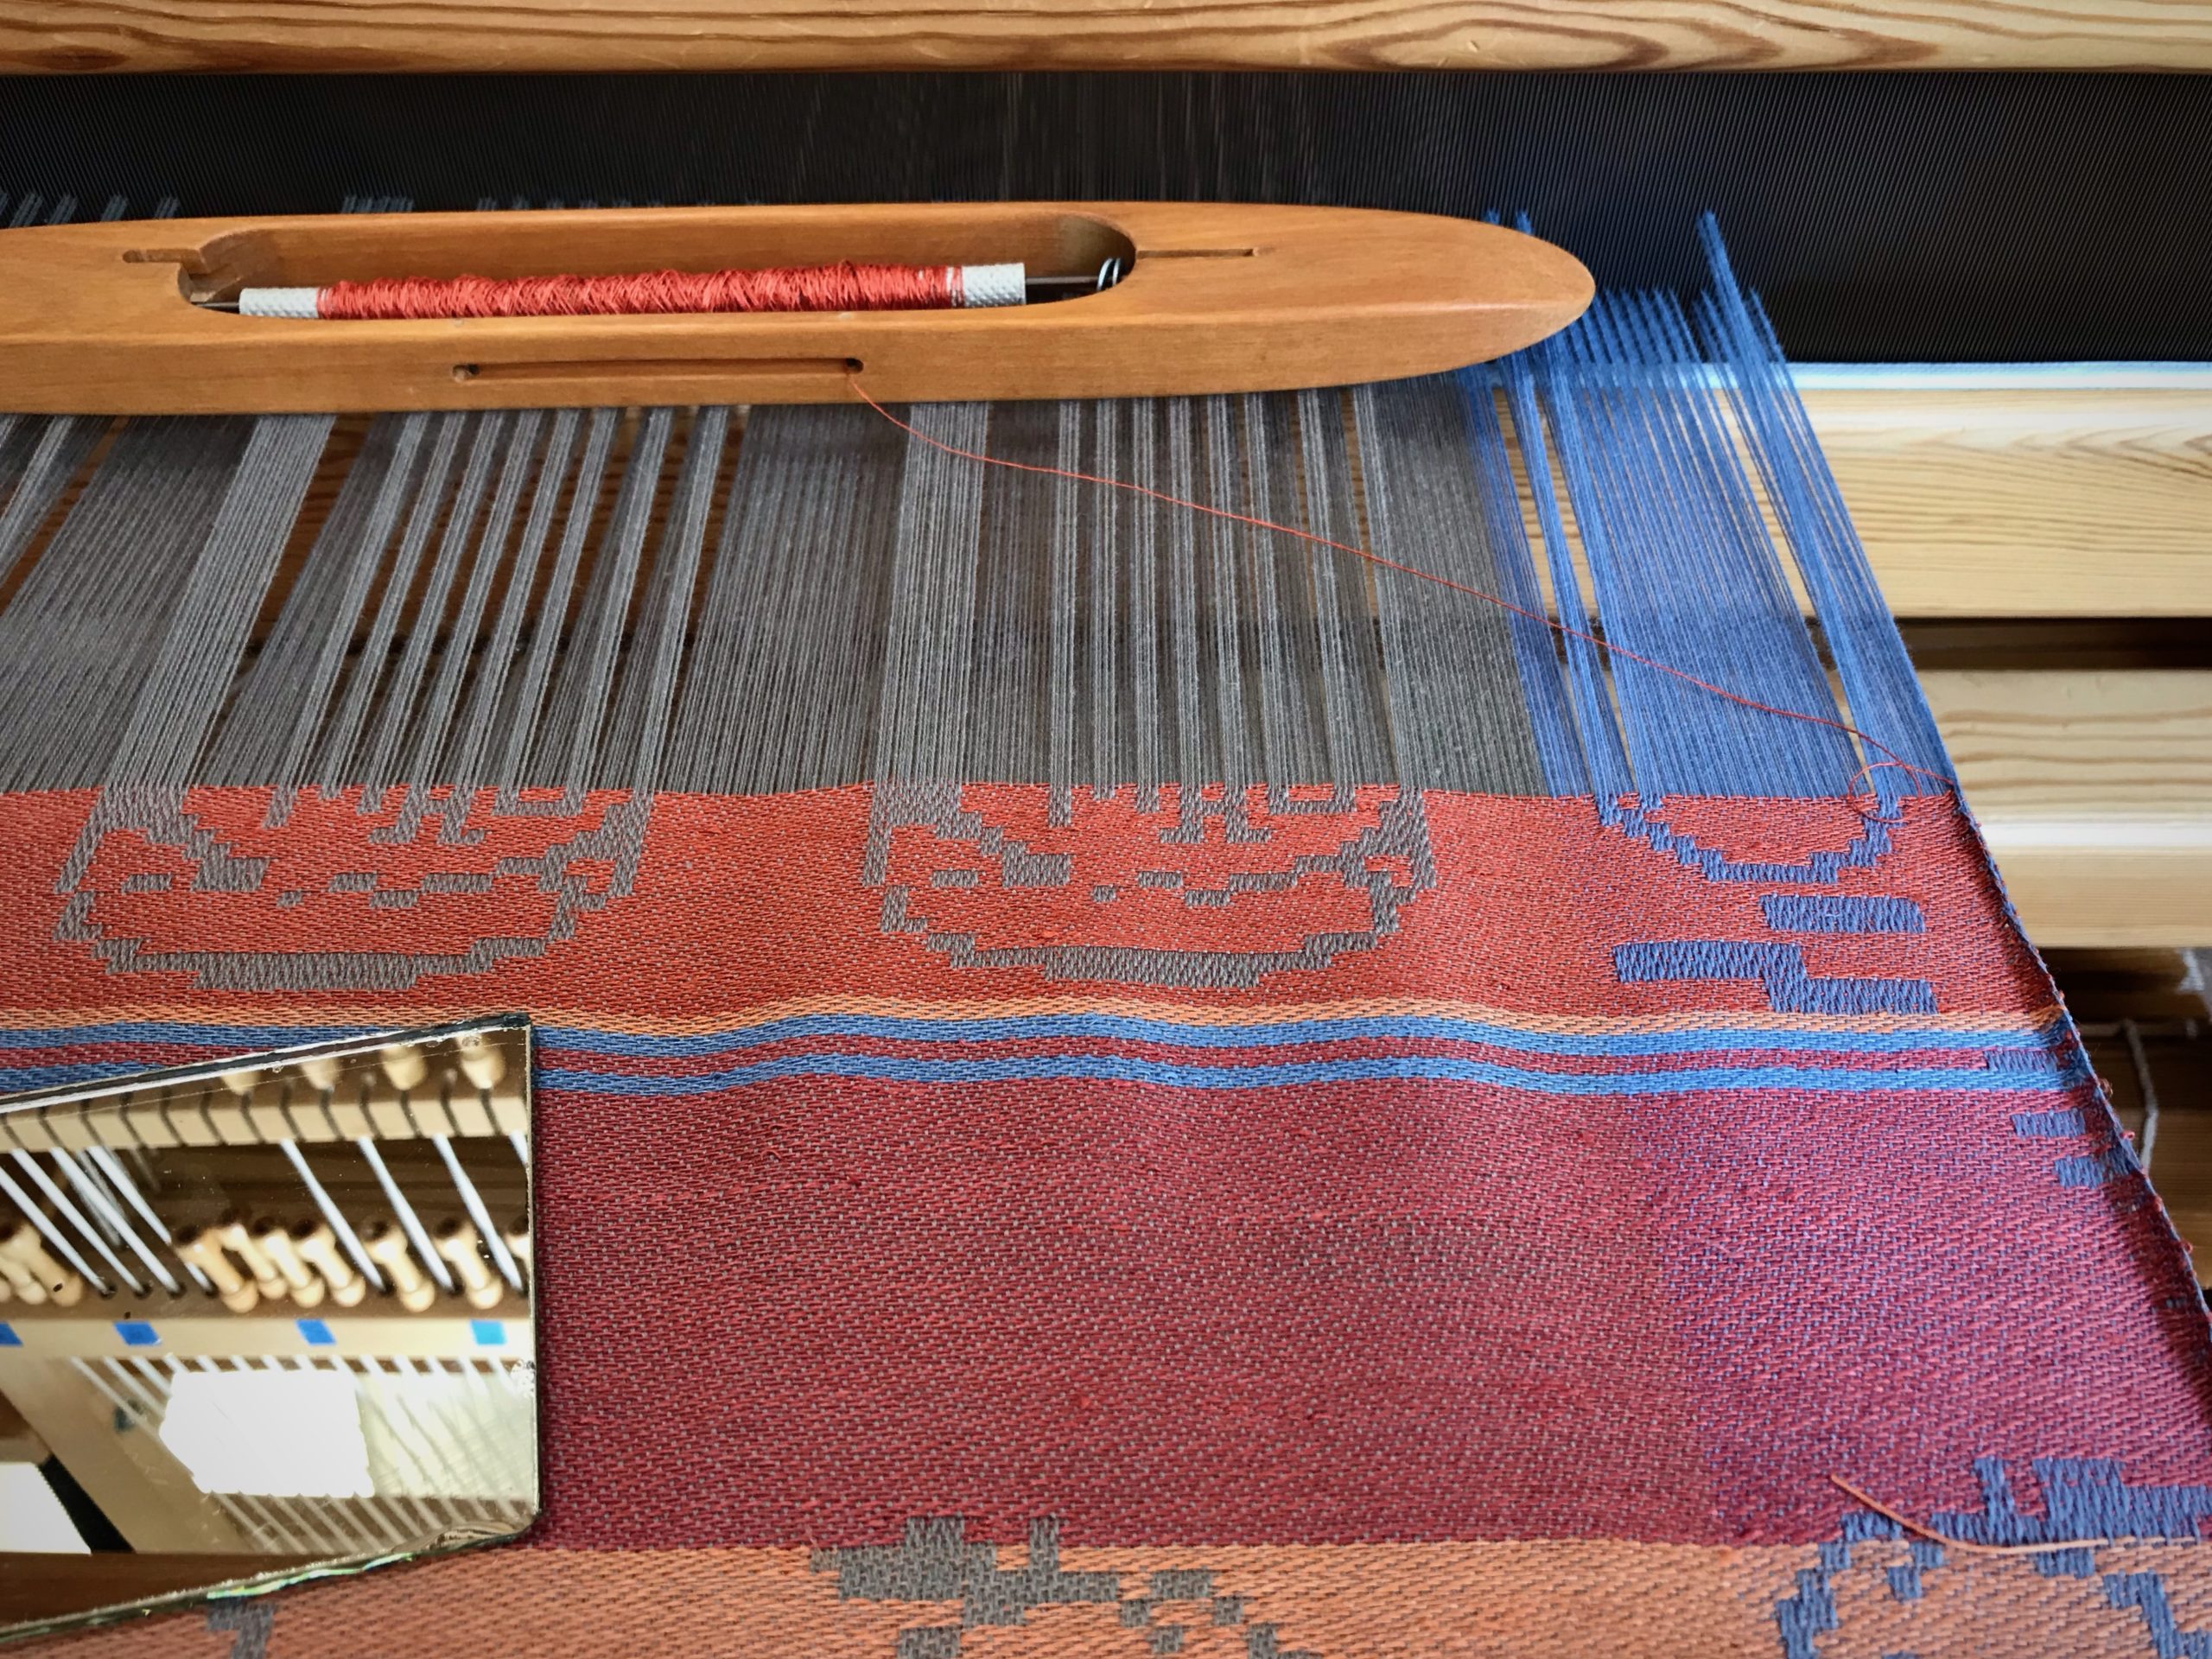
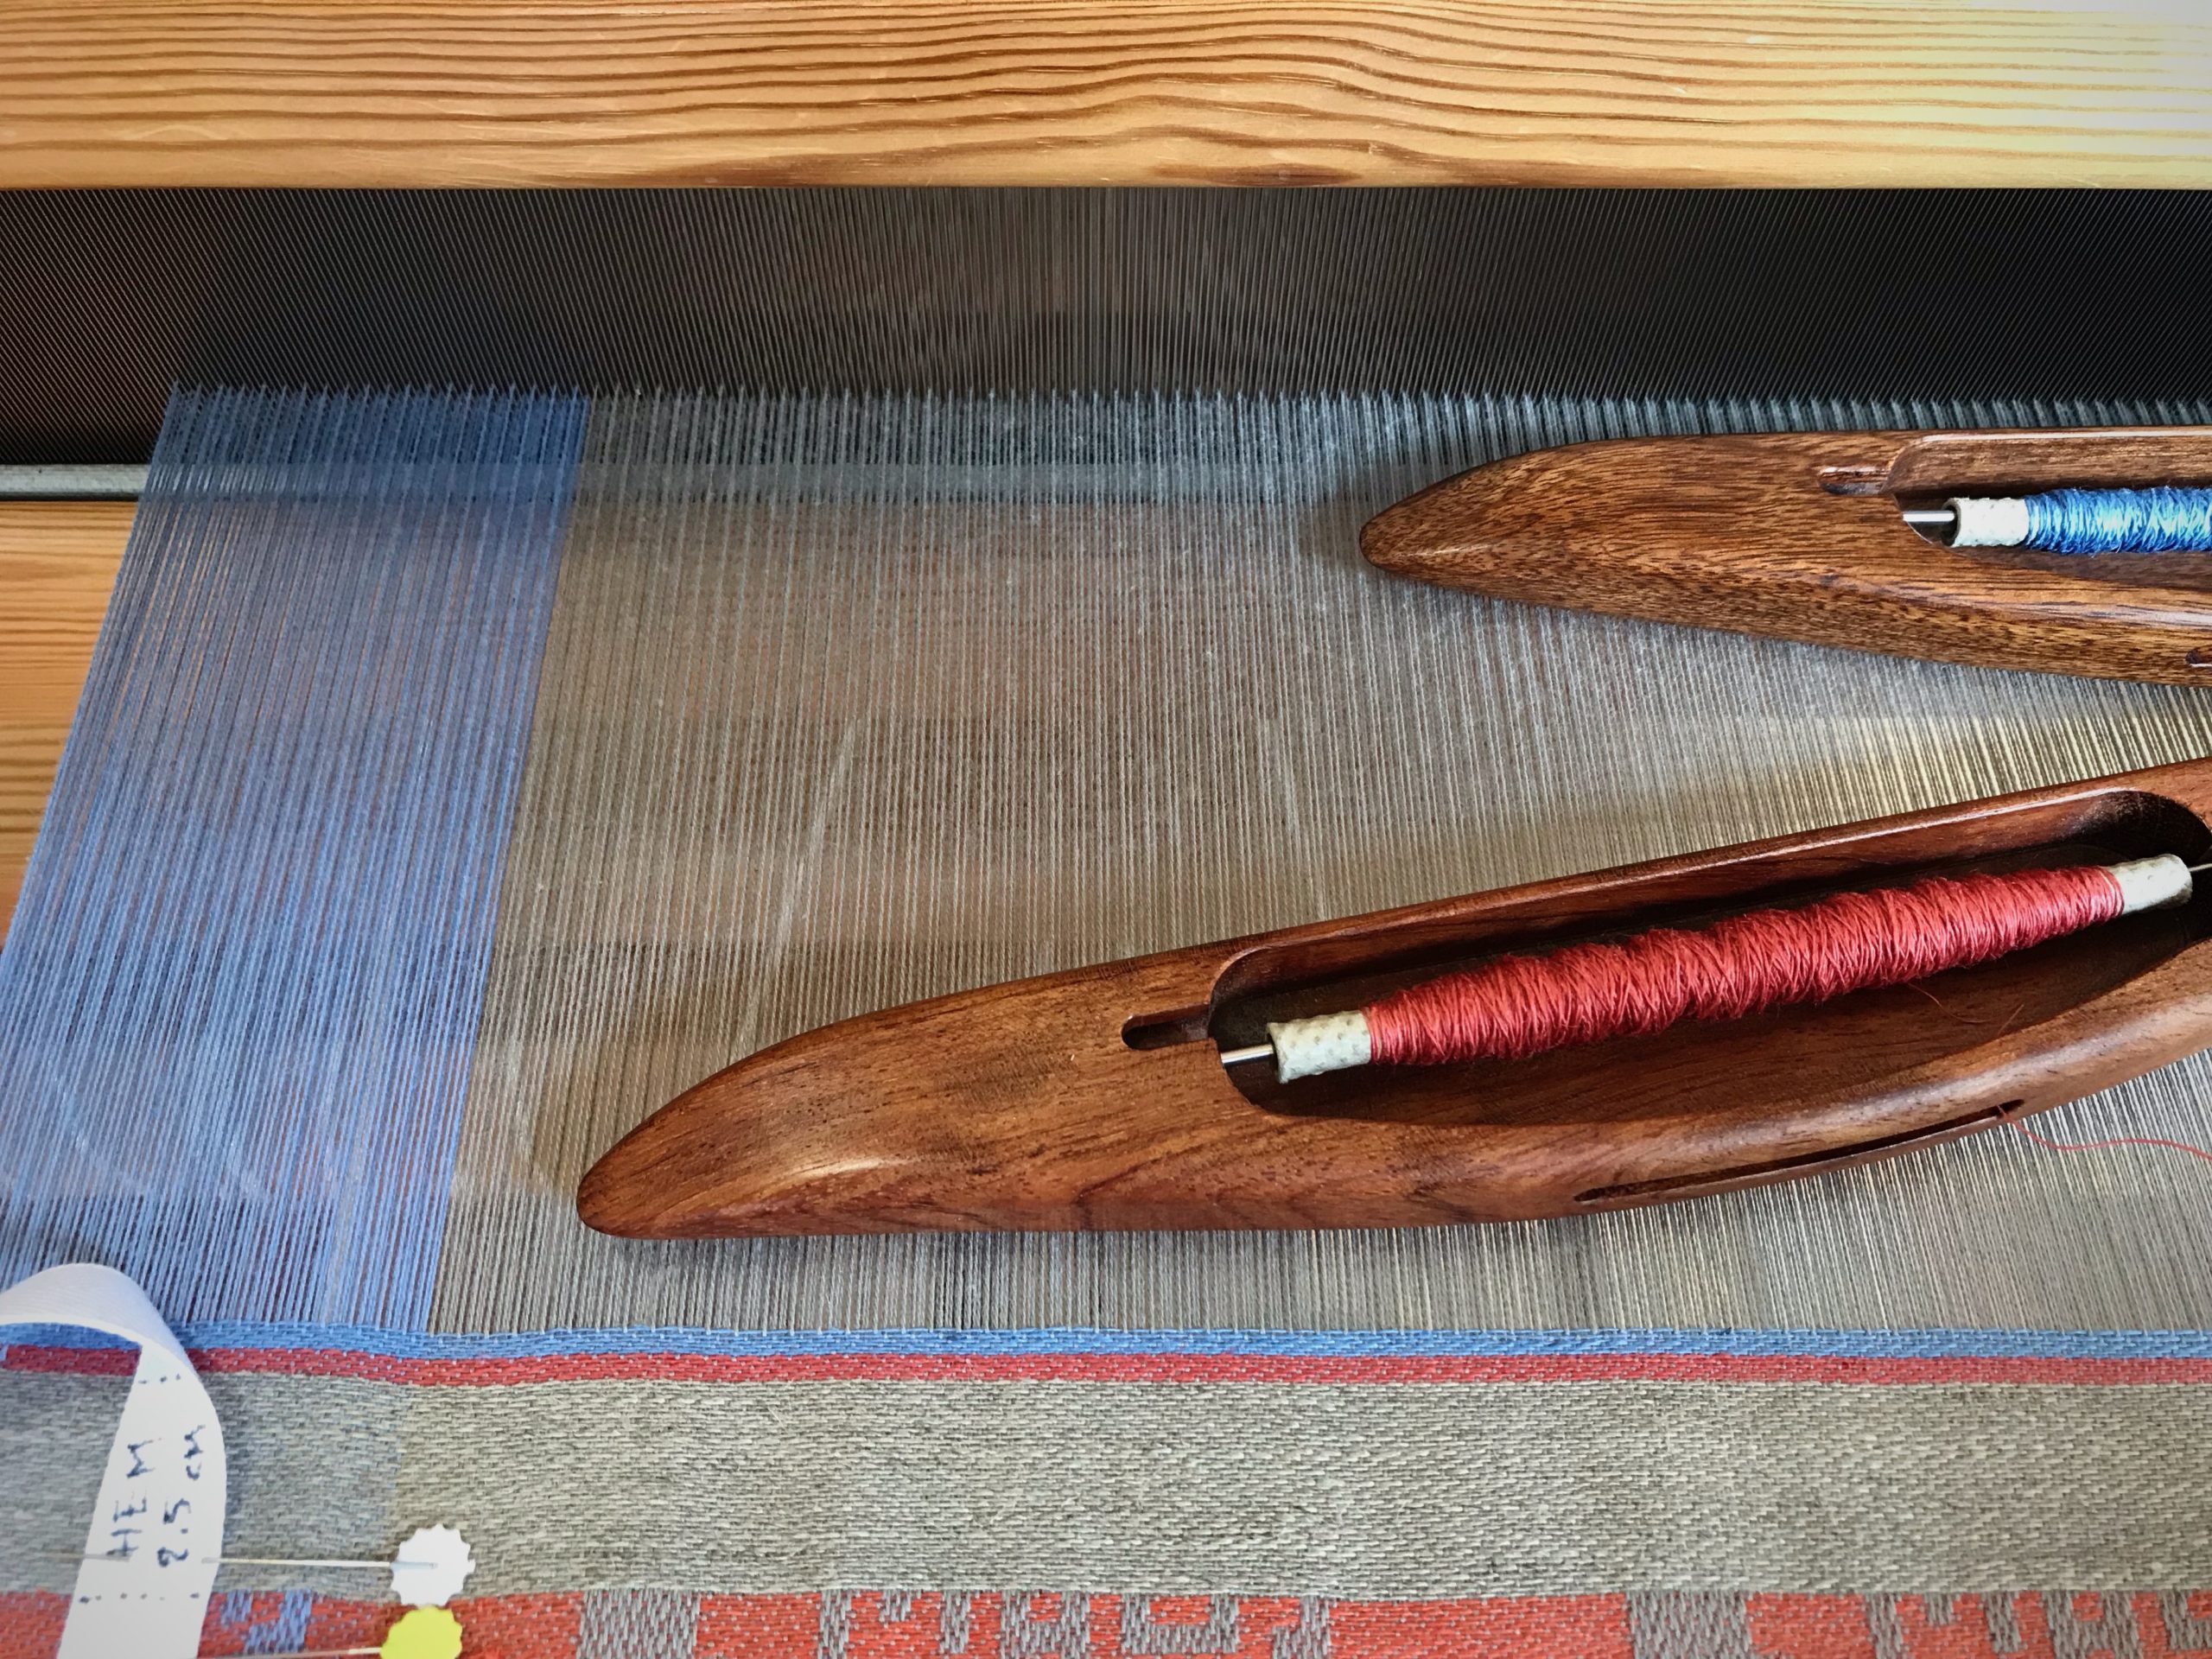
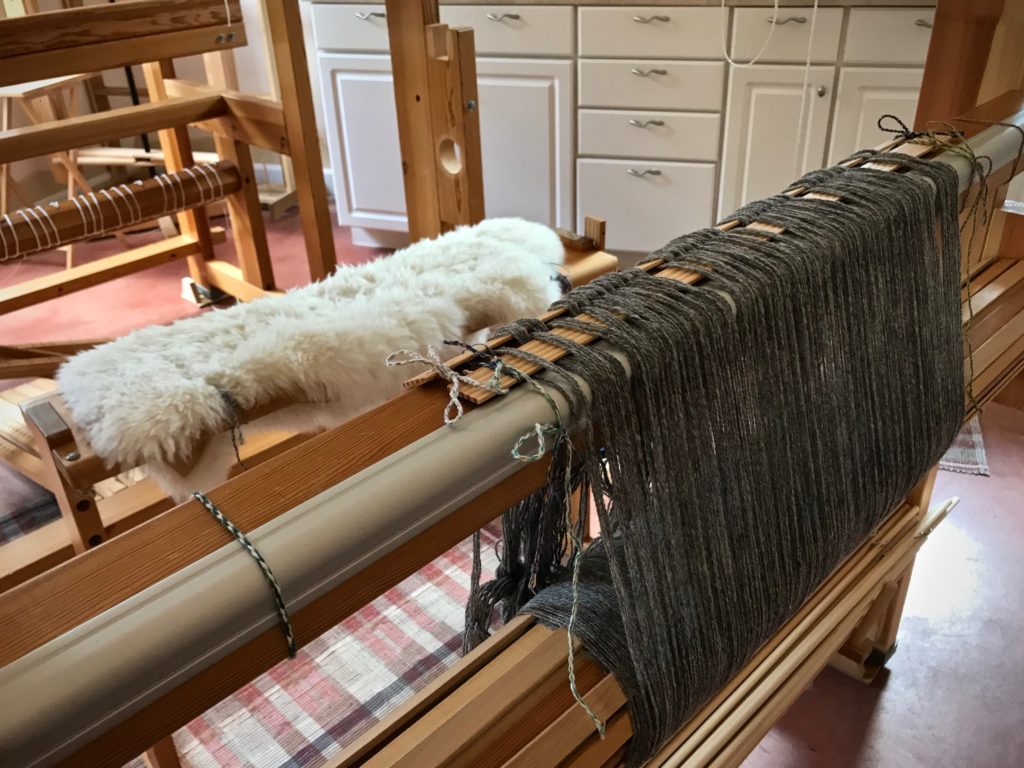
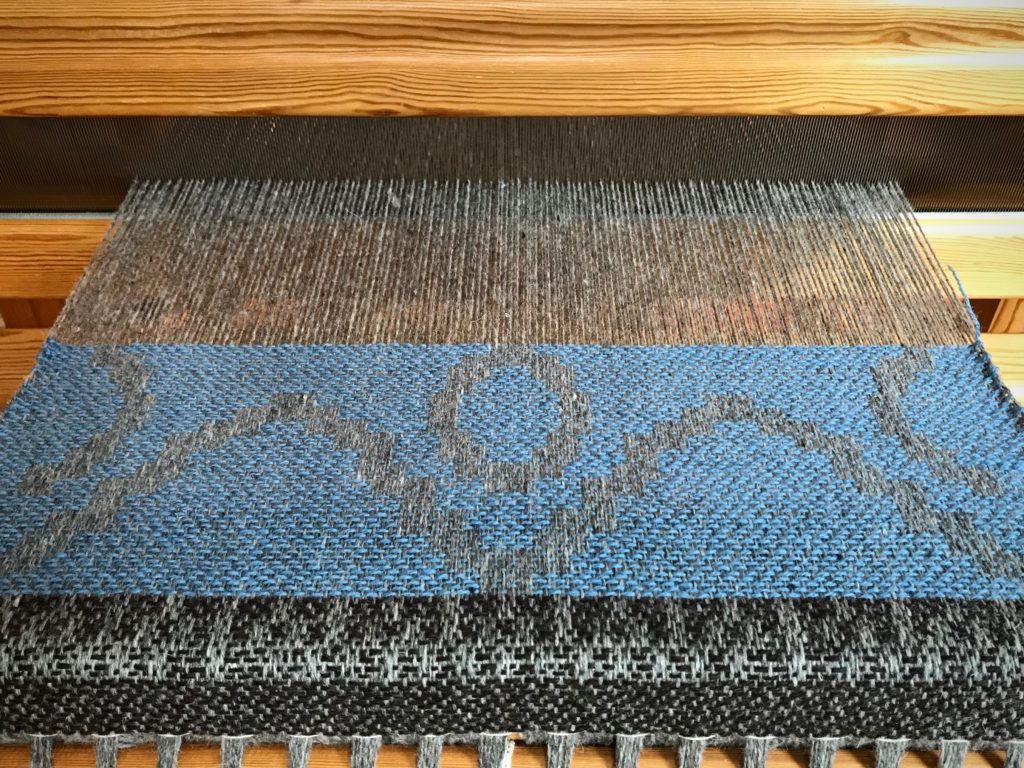
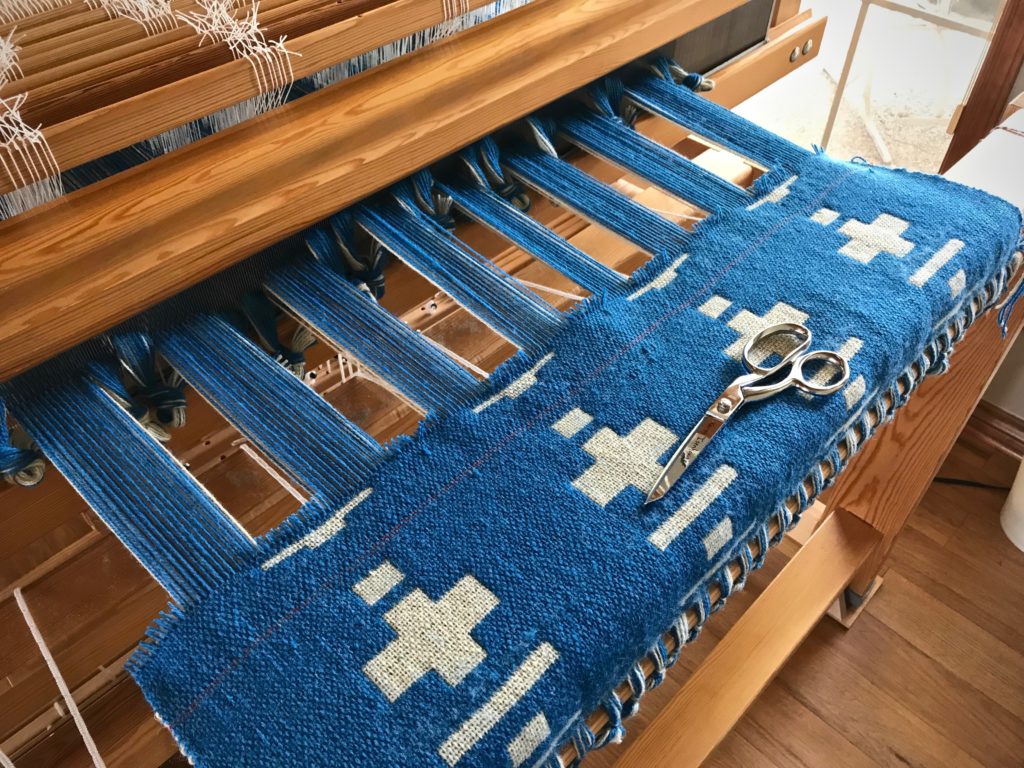
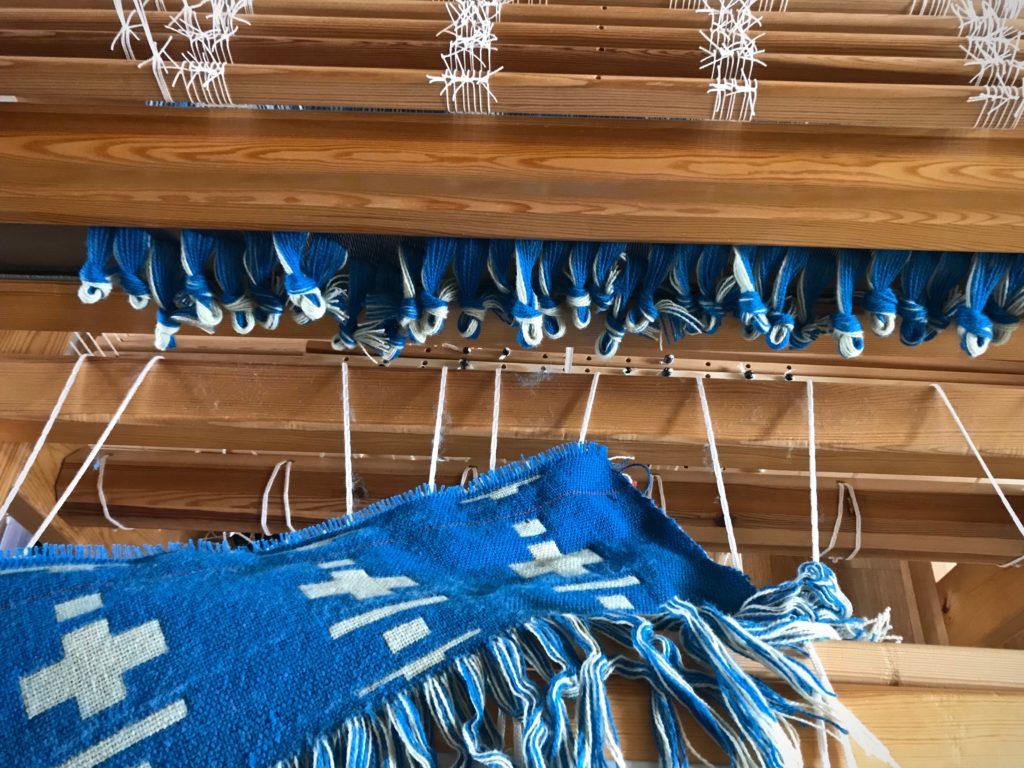
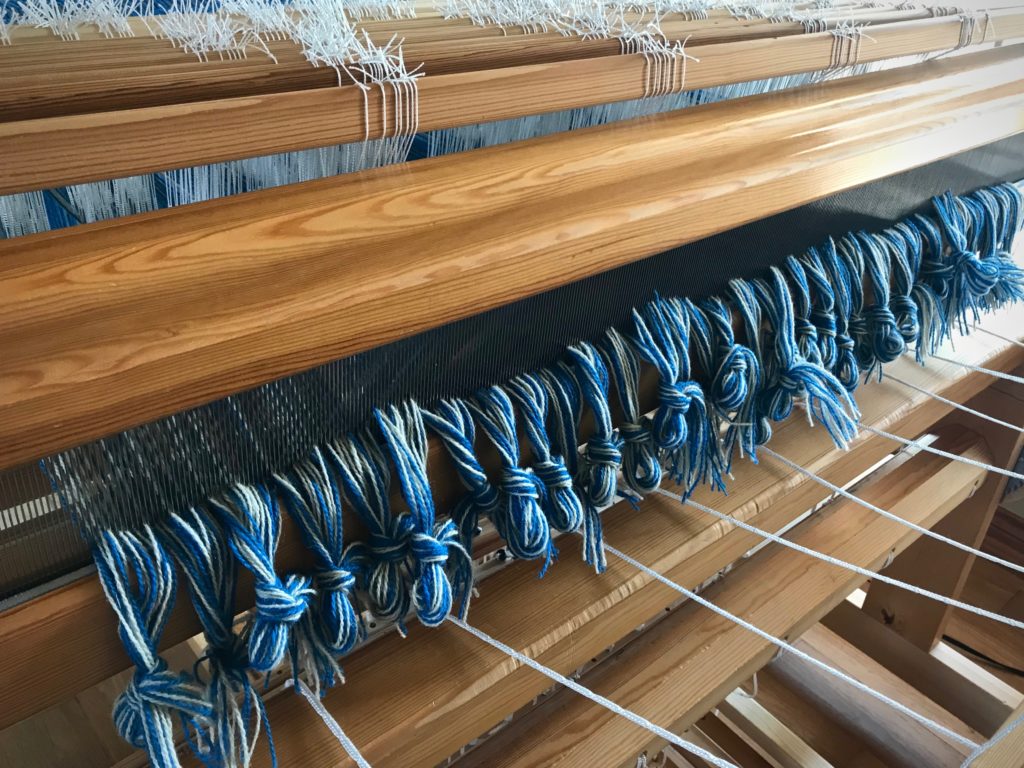
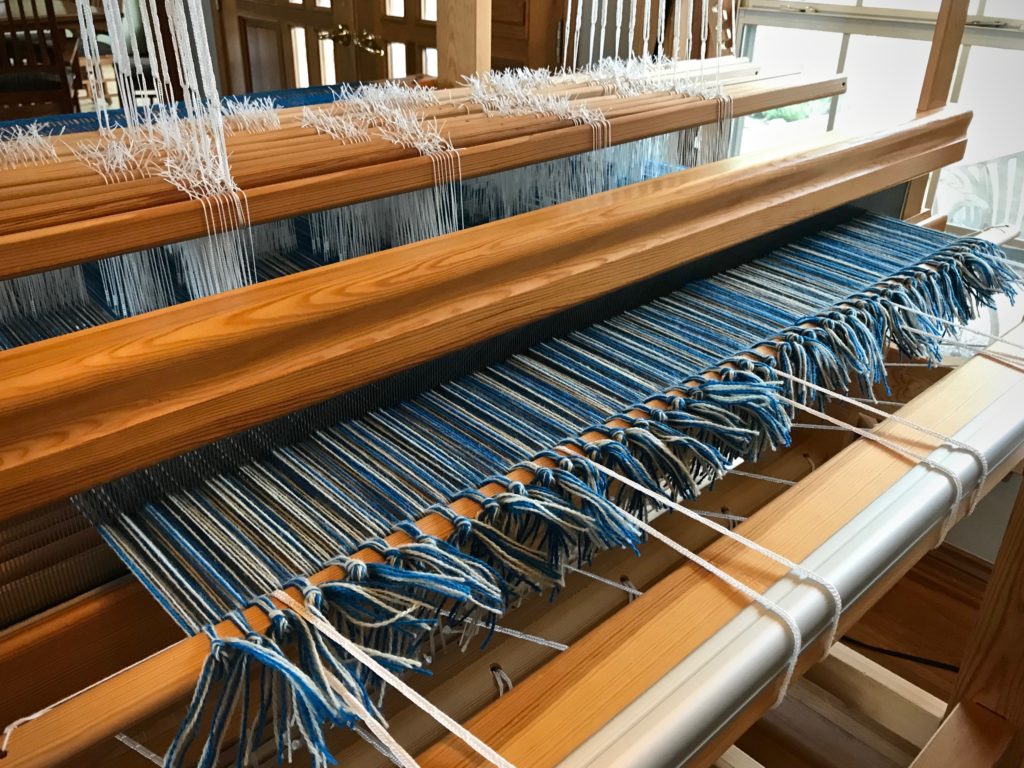
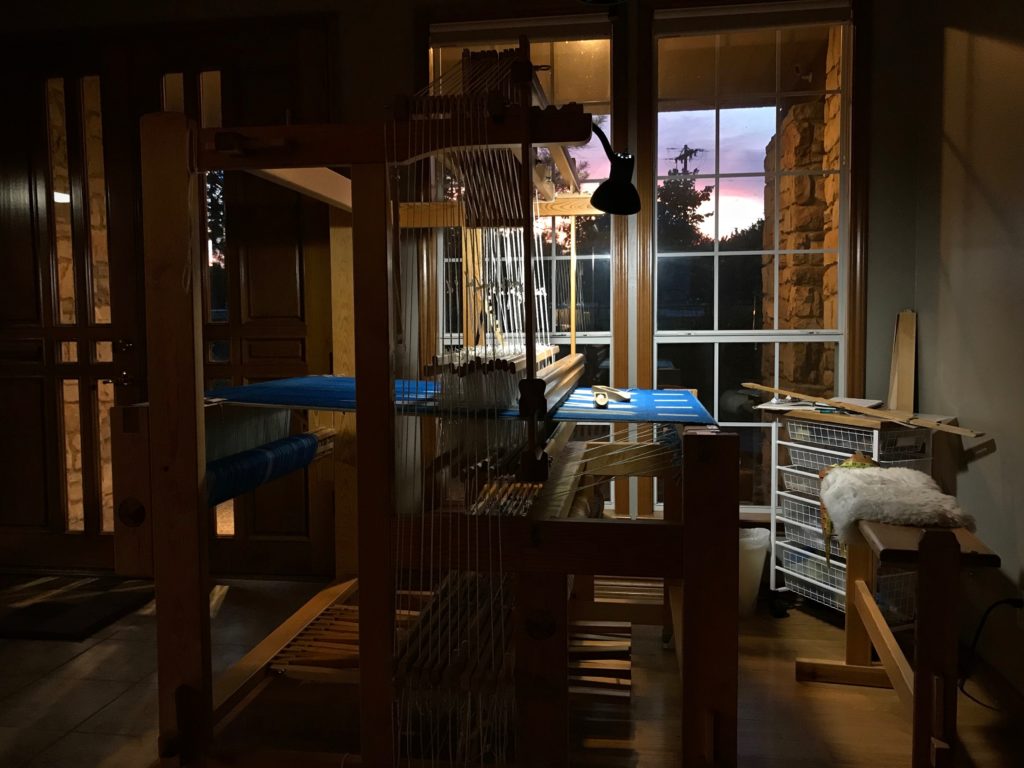
Like sunrays rippling on the horizon at dawn. That’s how I think of this emerging cloth. I am hopeful that the ripples we see now will become all-over puckers when this is finished. I am filled with joyful anticipation!
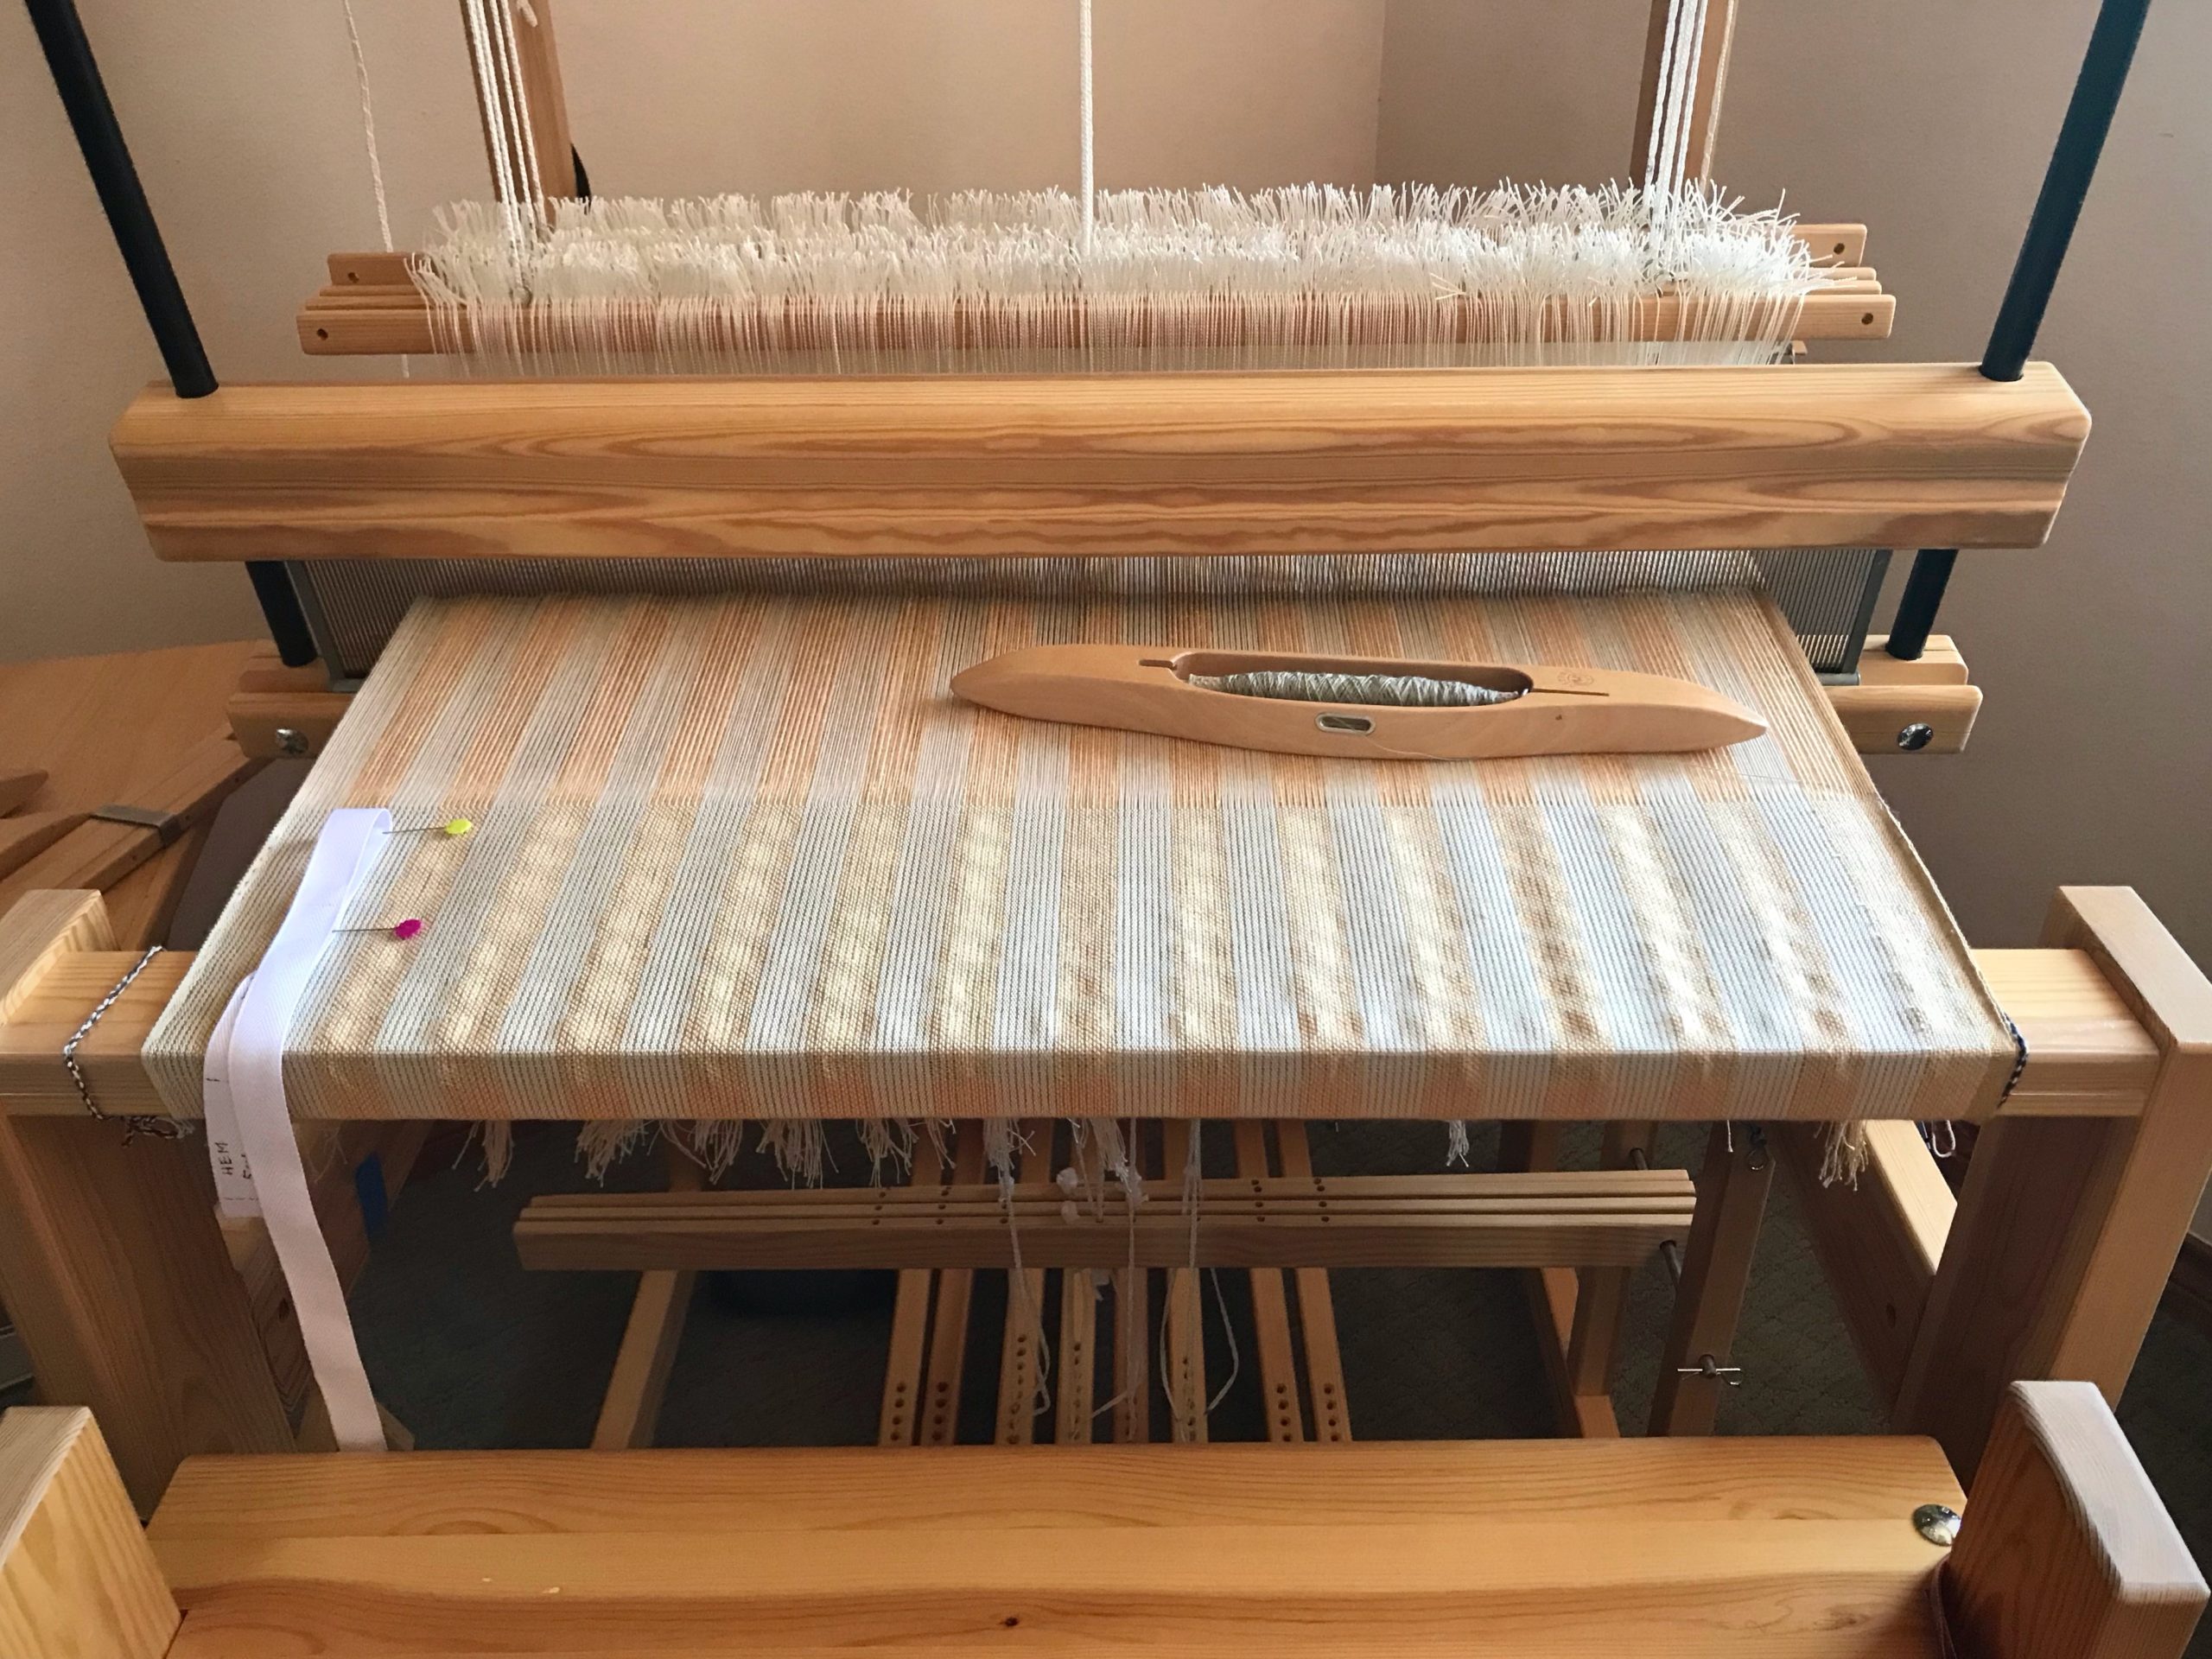
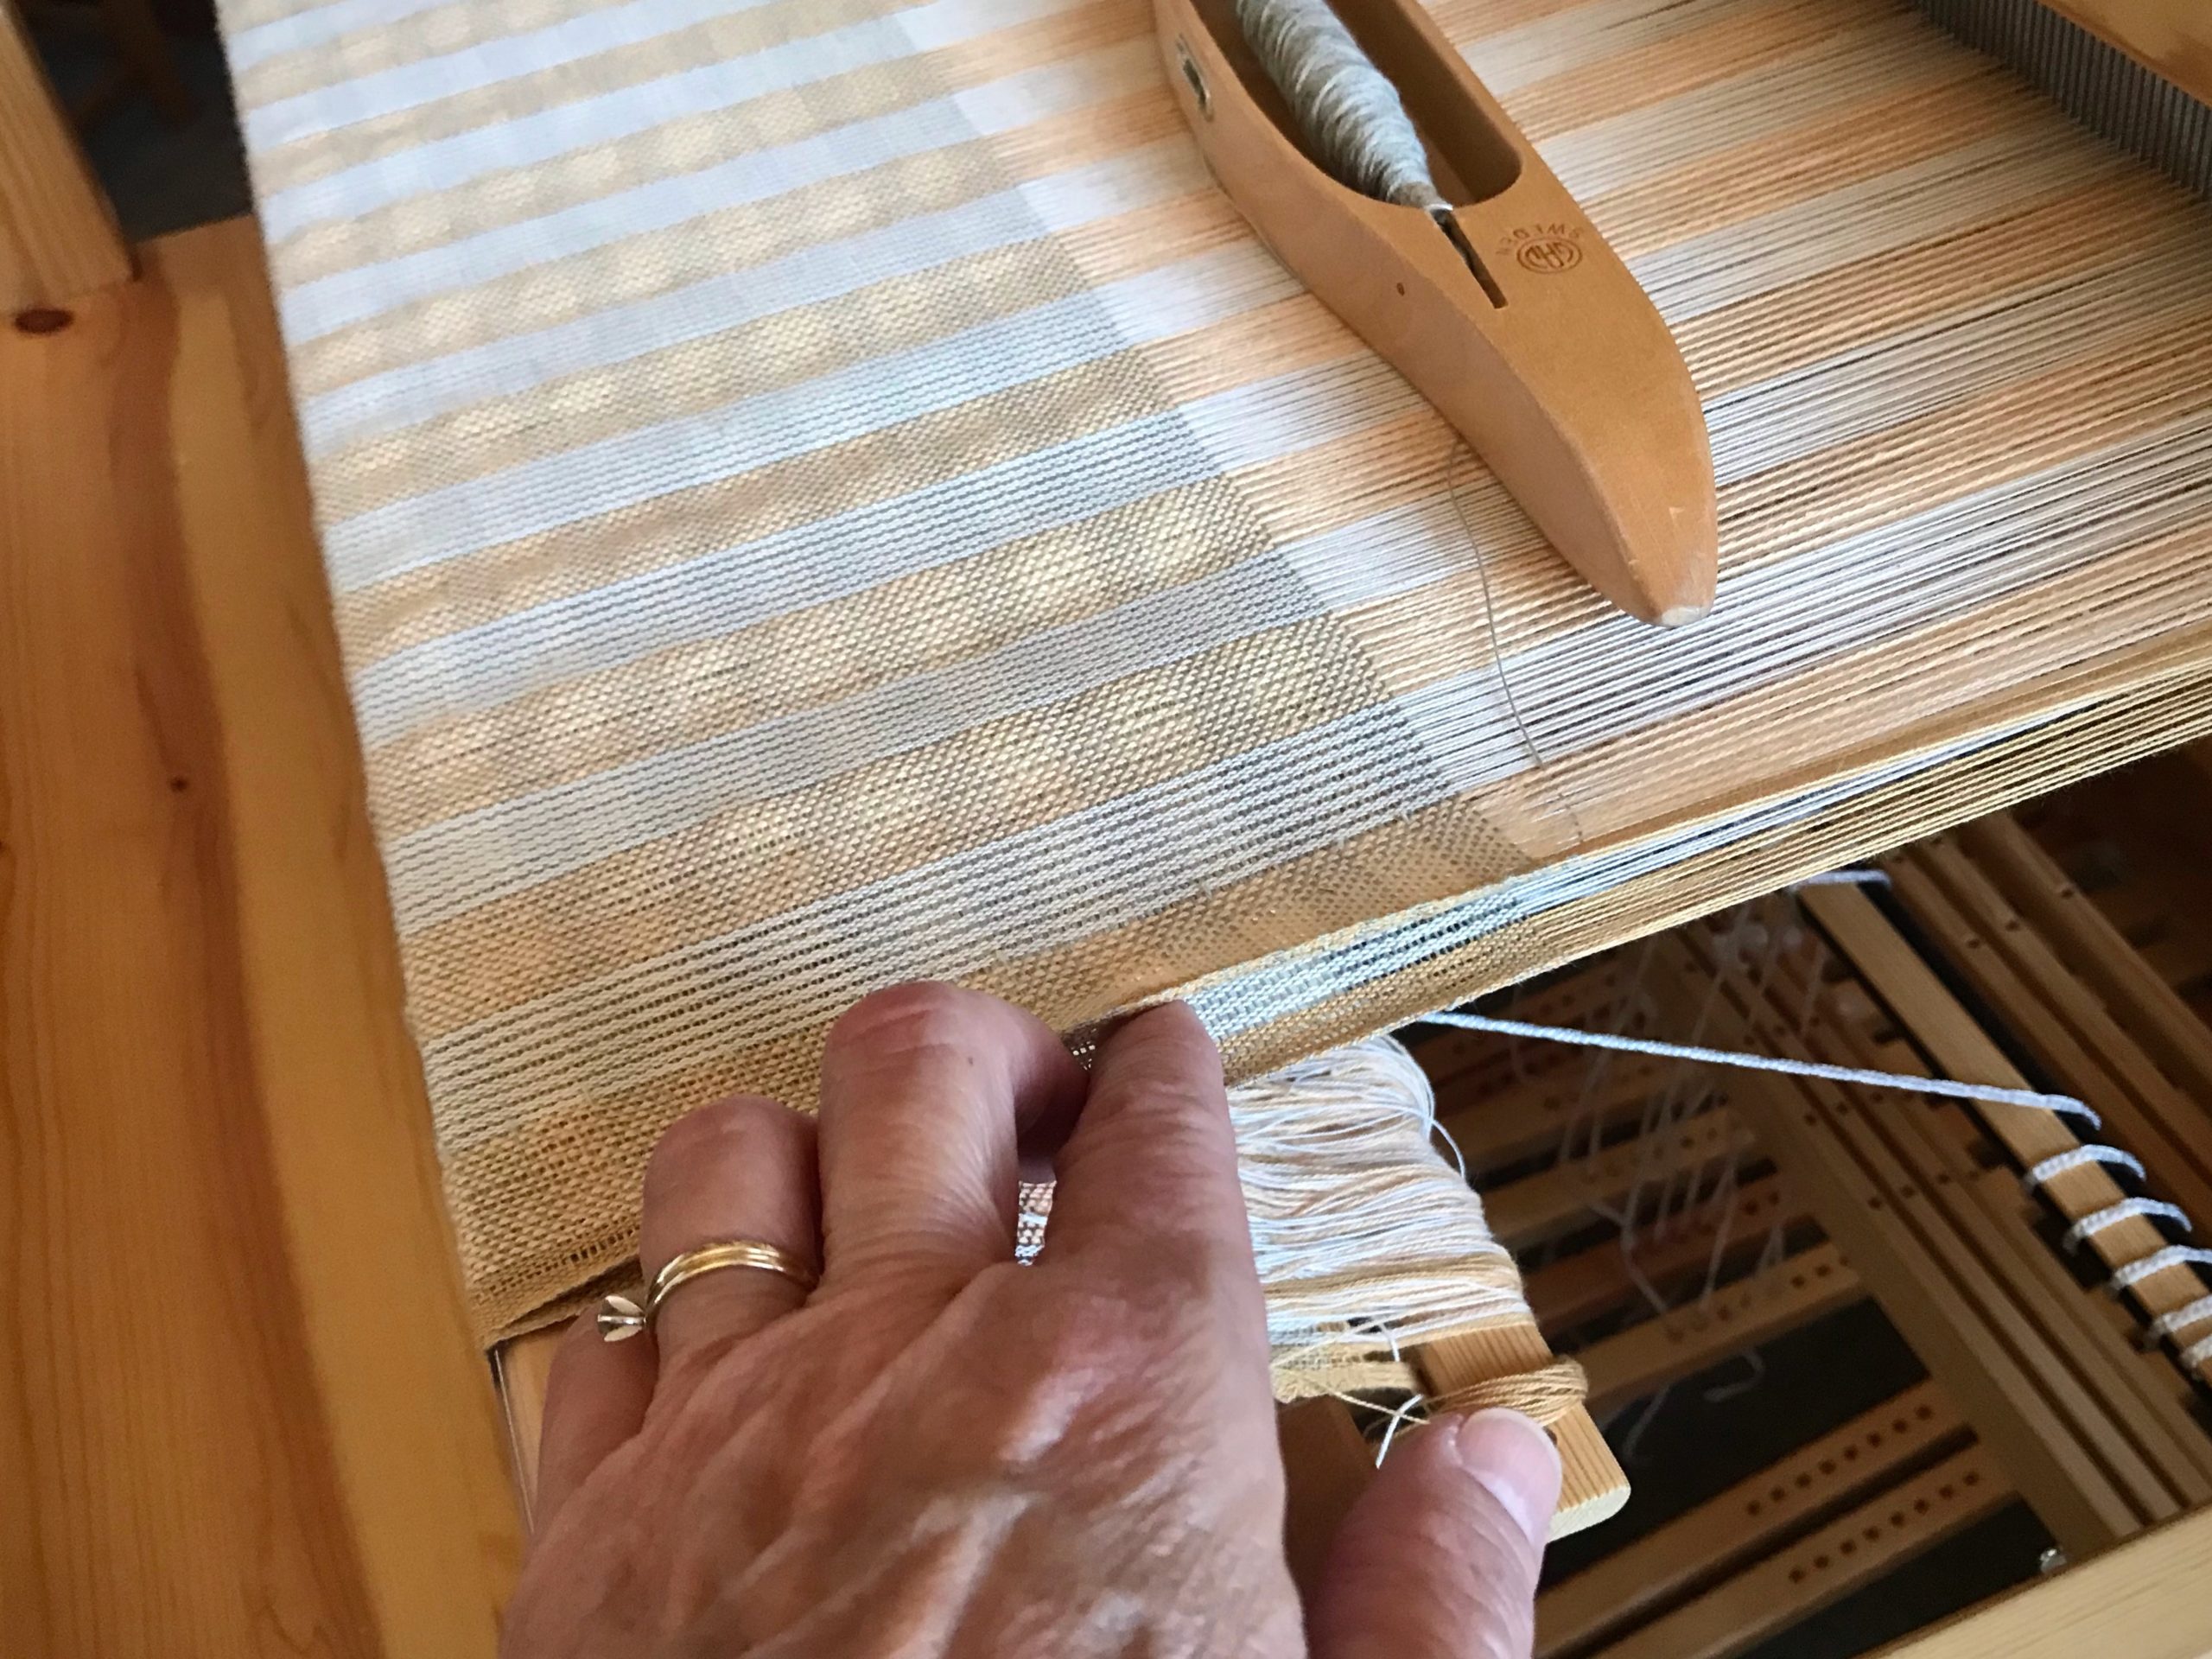
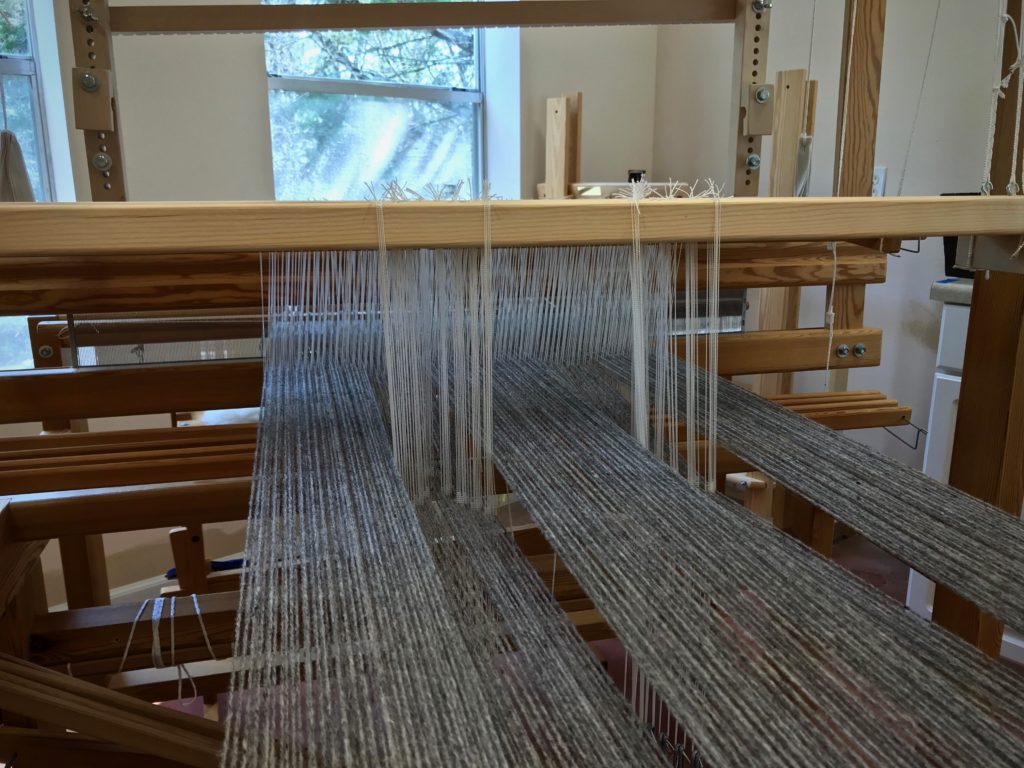
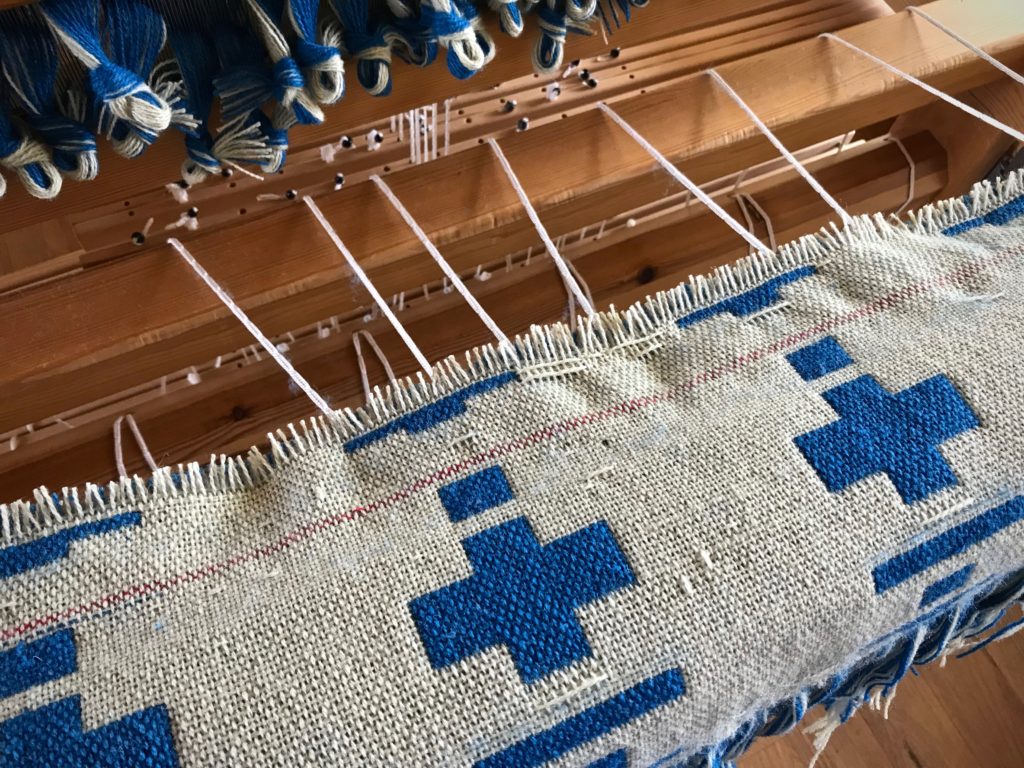
Preview of puckers. Warp is 22/2 cottolin and 20/2 cotton. Weft is 16/1 linen and 16/2 cotton. Differential shrinkage is what I hope to achieve.
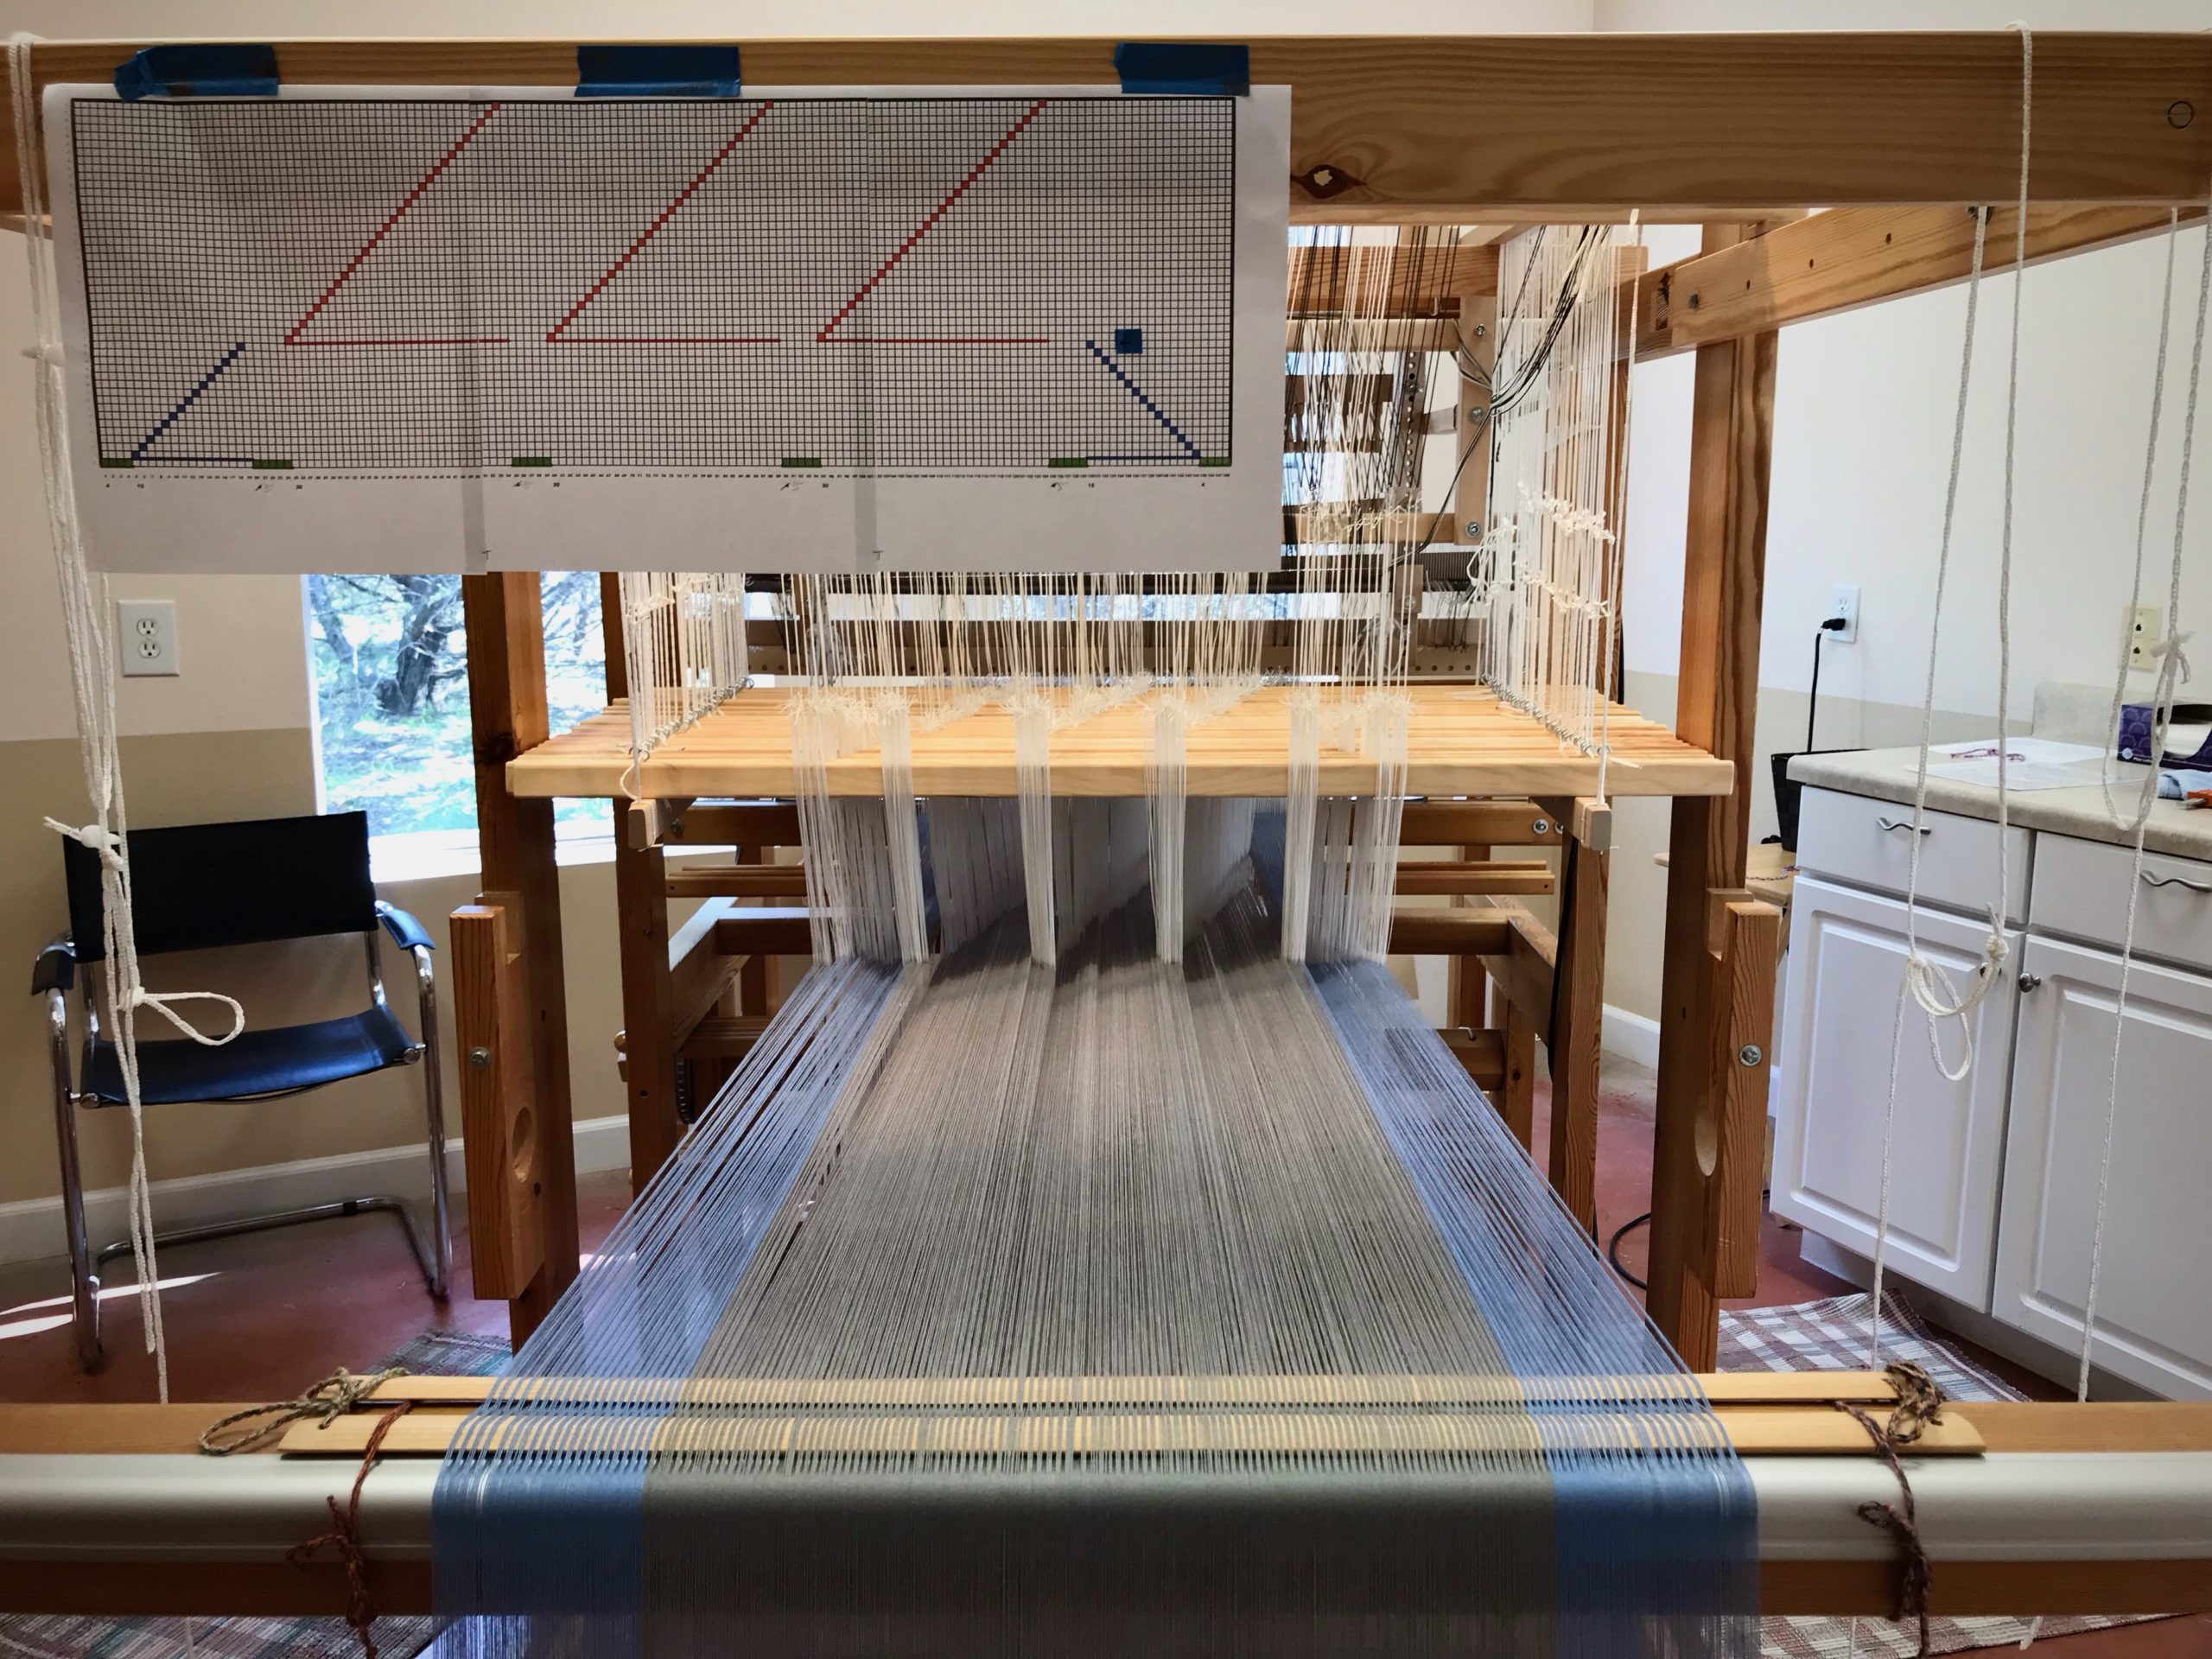
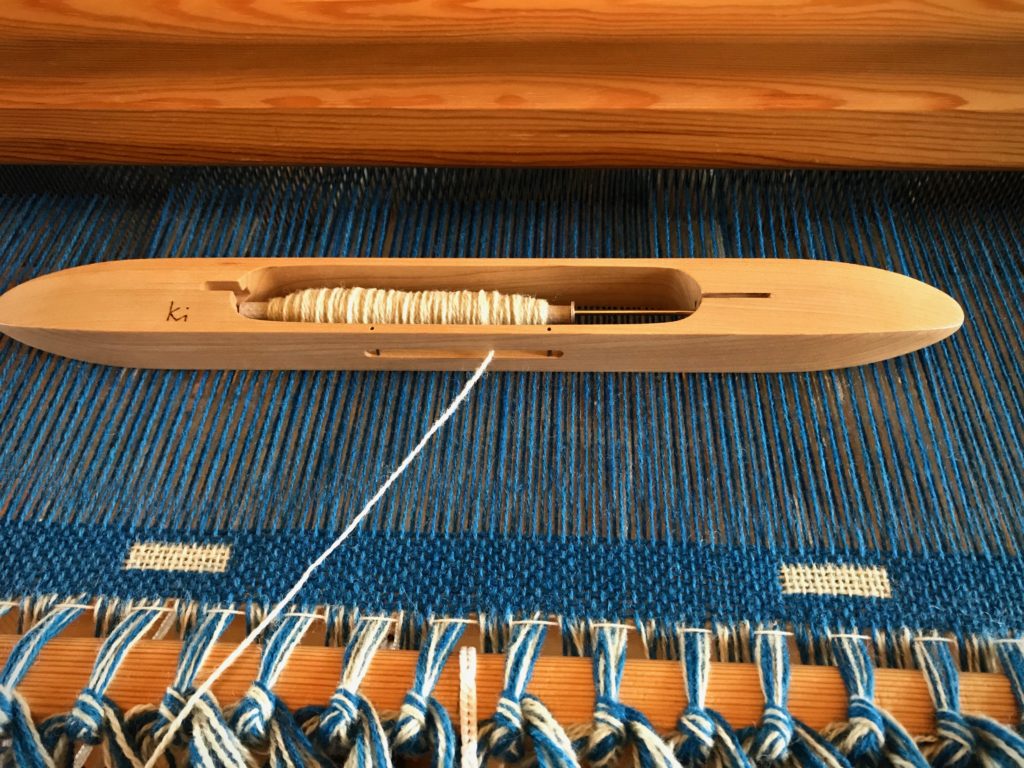
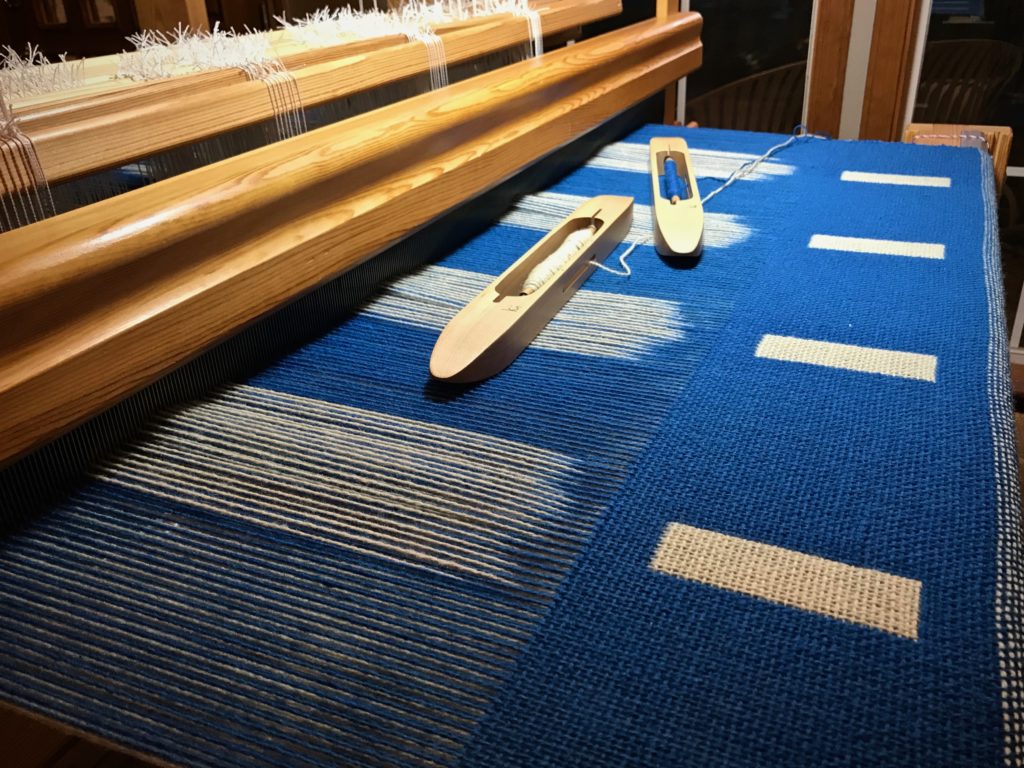
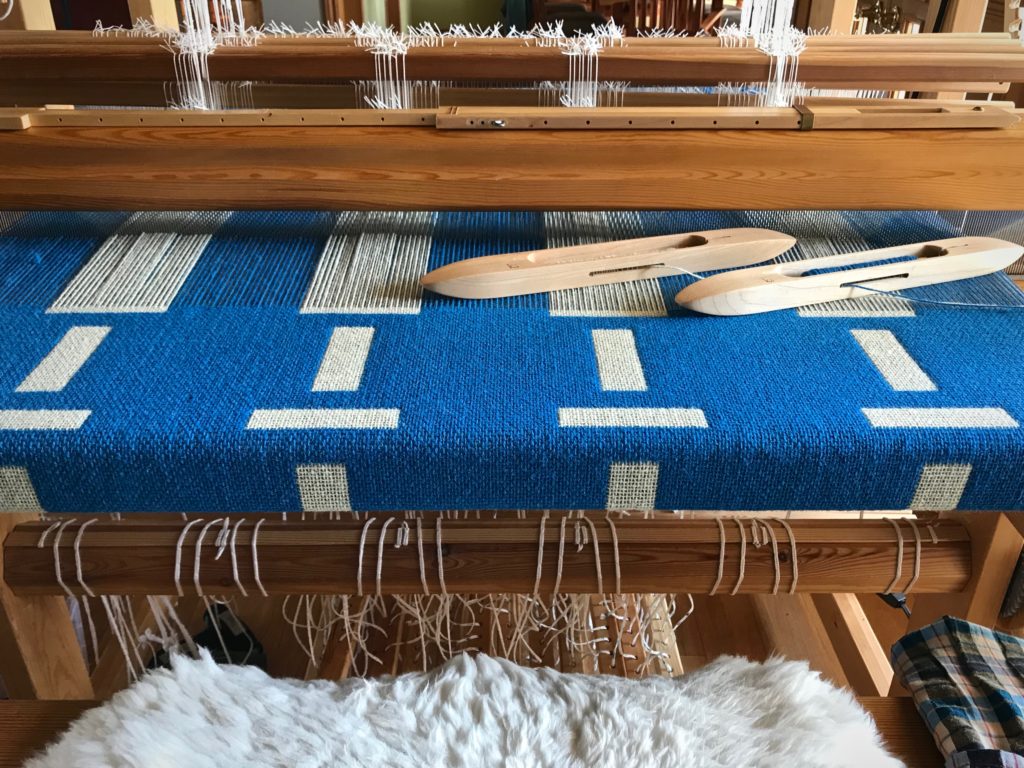
However… This is not an effortless weave. This is double-width weaving in a very fine sett. And, 6 ends per dent, no less. I have simple 1-2-3-4 treadling, but the 20/2 cotton warp threads are relentlessly hugging each other. Consequently, I am clearing the shed with the back of my fingers again and again. I expect to have floats to repair when this “sunrise” fabric comes off the loom. With the end in mind, I patiently keep at it. It will be glorious in all its puckers. I am sure of it.
Double-width weaving is double weave that is open on one side and closed on the other side. Finished cloth will unfold and open up to be a small tablecloth.
Every dawn brings the reality of a new day. Every sunrise reveals the glory of God. Night always turns into morning. With the end in mind, our Lord patiently, kindly, gently, opens the shed in our lives again and again. As he loosens our grip on things of this world we get a preview of the glorious fabric he has in mind, puckers and all. In the full light of the risen Son, we can see the love in our Grand Weaver’s hands.
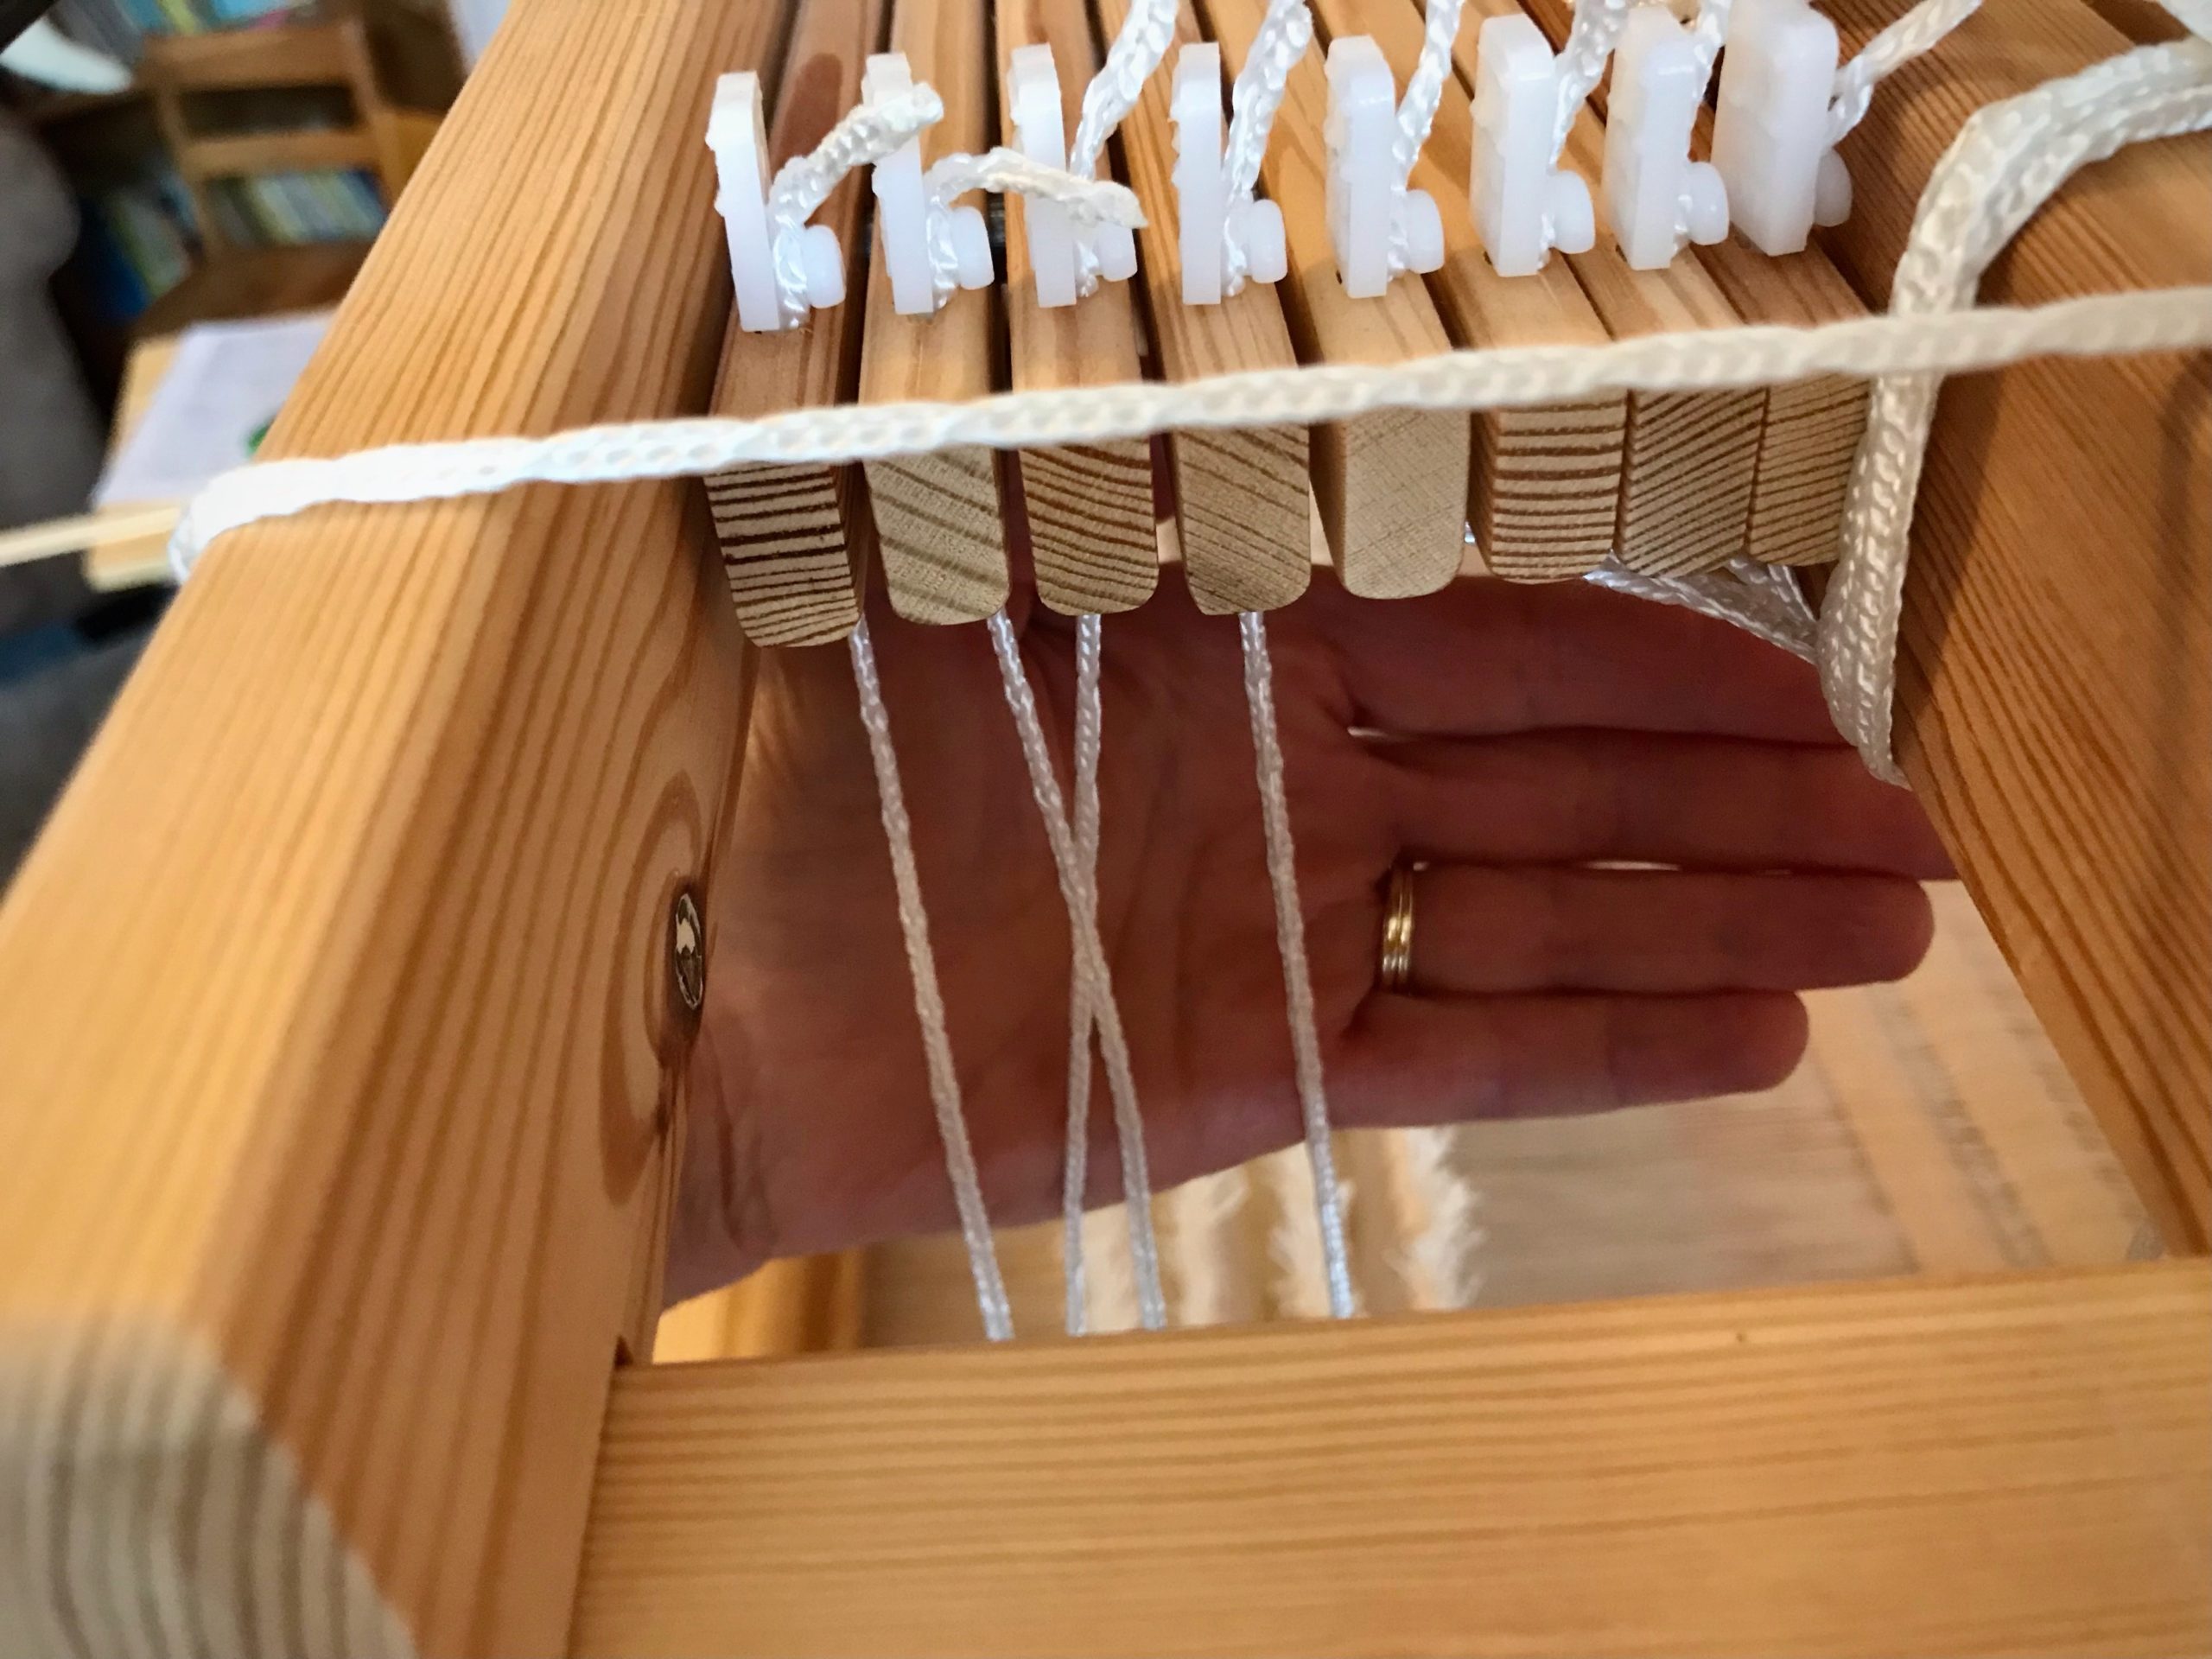
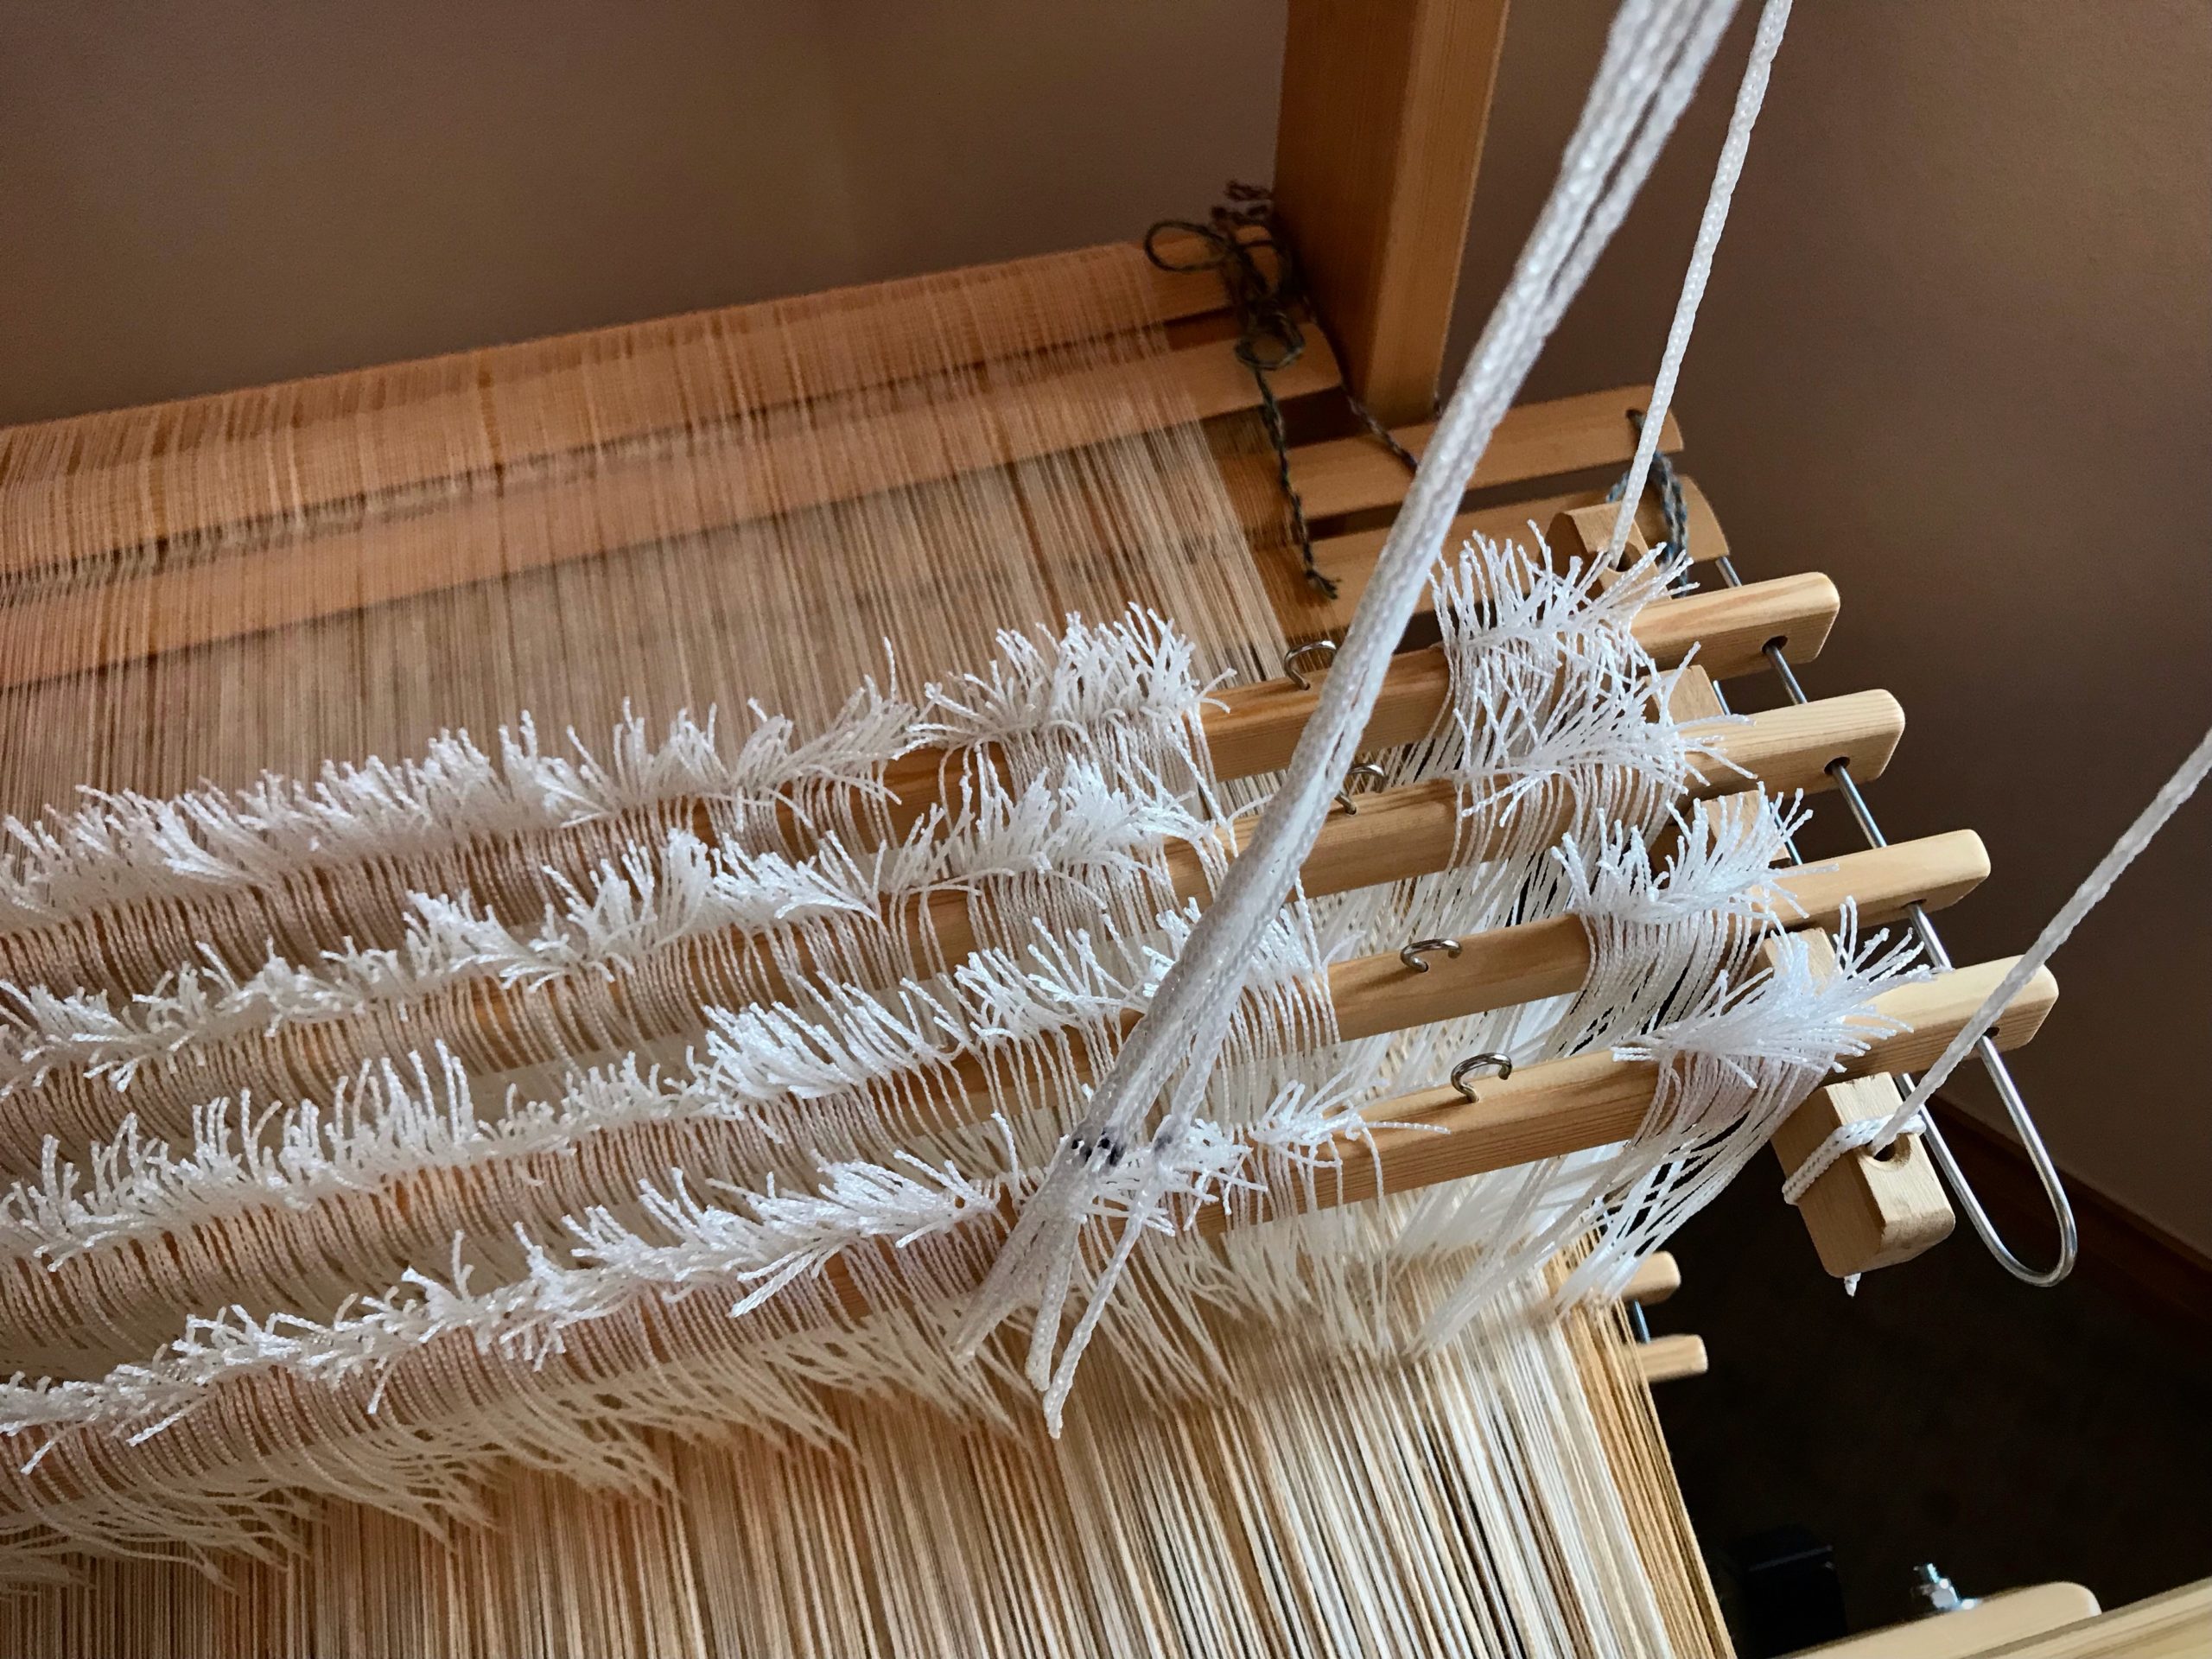
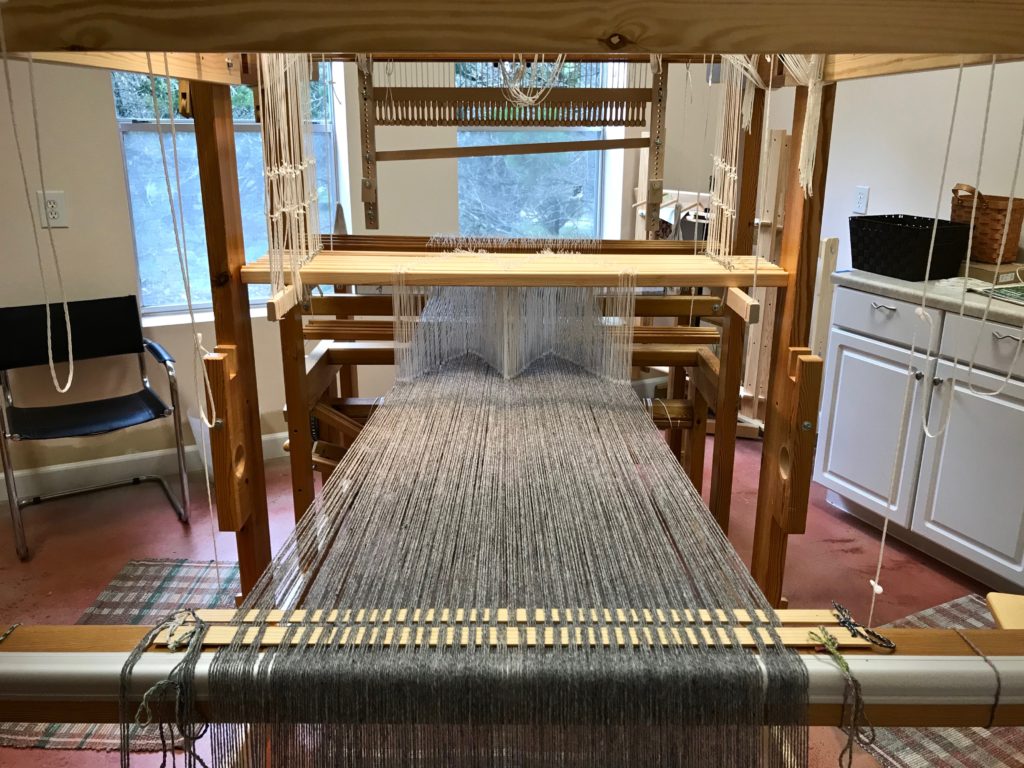
You followed all the instructions for dressing the loom, and have finished the countermarchtie-up. Now, at the moment of triumph you step on the treadles, one by one. Alas! Some or all of the treadles give you nothing you can call a shed. Now what? Maybe you relate to Laura who wrote me recently, “I can’t seem to get the treadles to make a shed.”
The solution is simple. Follow the advice in this sentence on page 37 of Learning to Warp your Loom, by Joanne Hall, “If your sheds are not good, check your loom tie-up from the top down.”
If sheds are missing, there is a good chance you have a crossed cord.
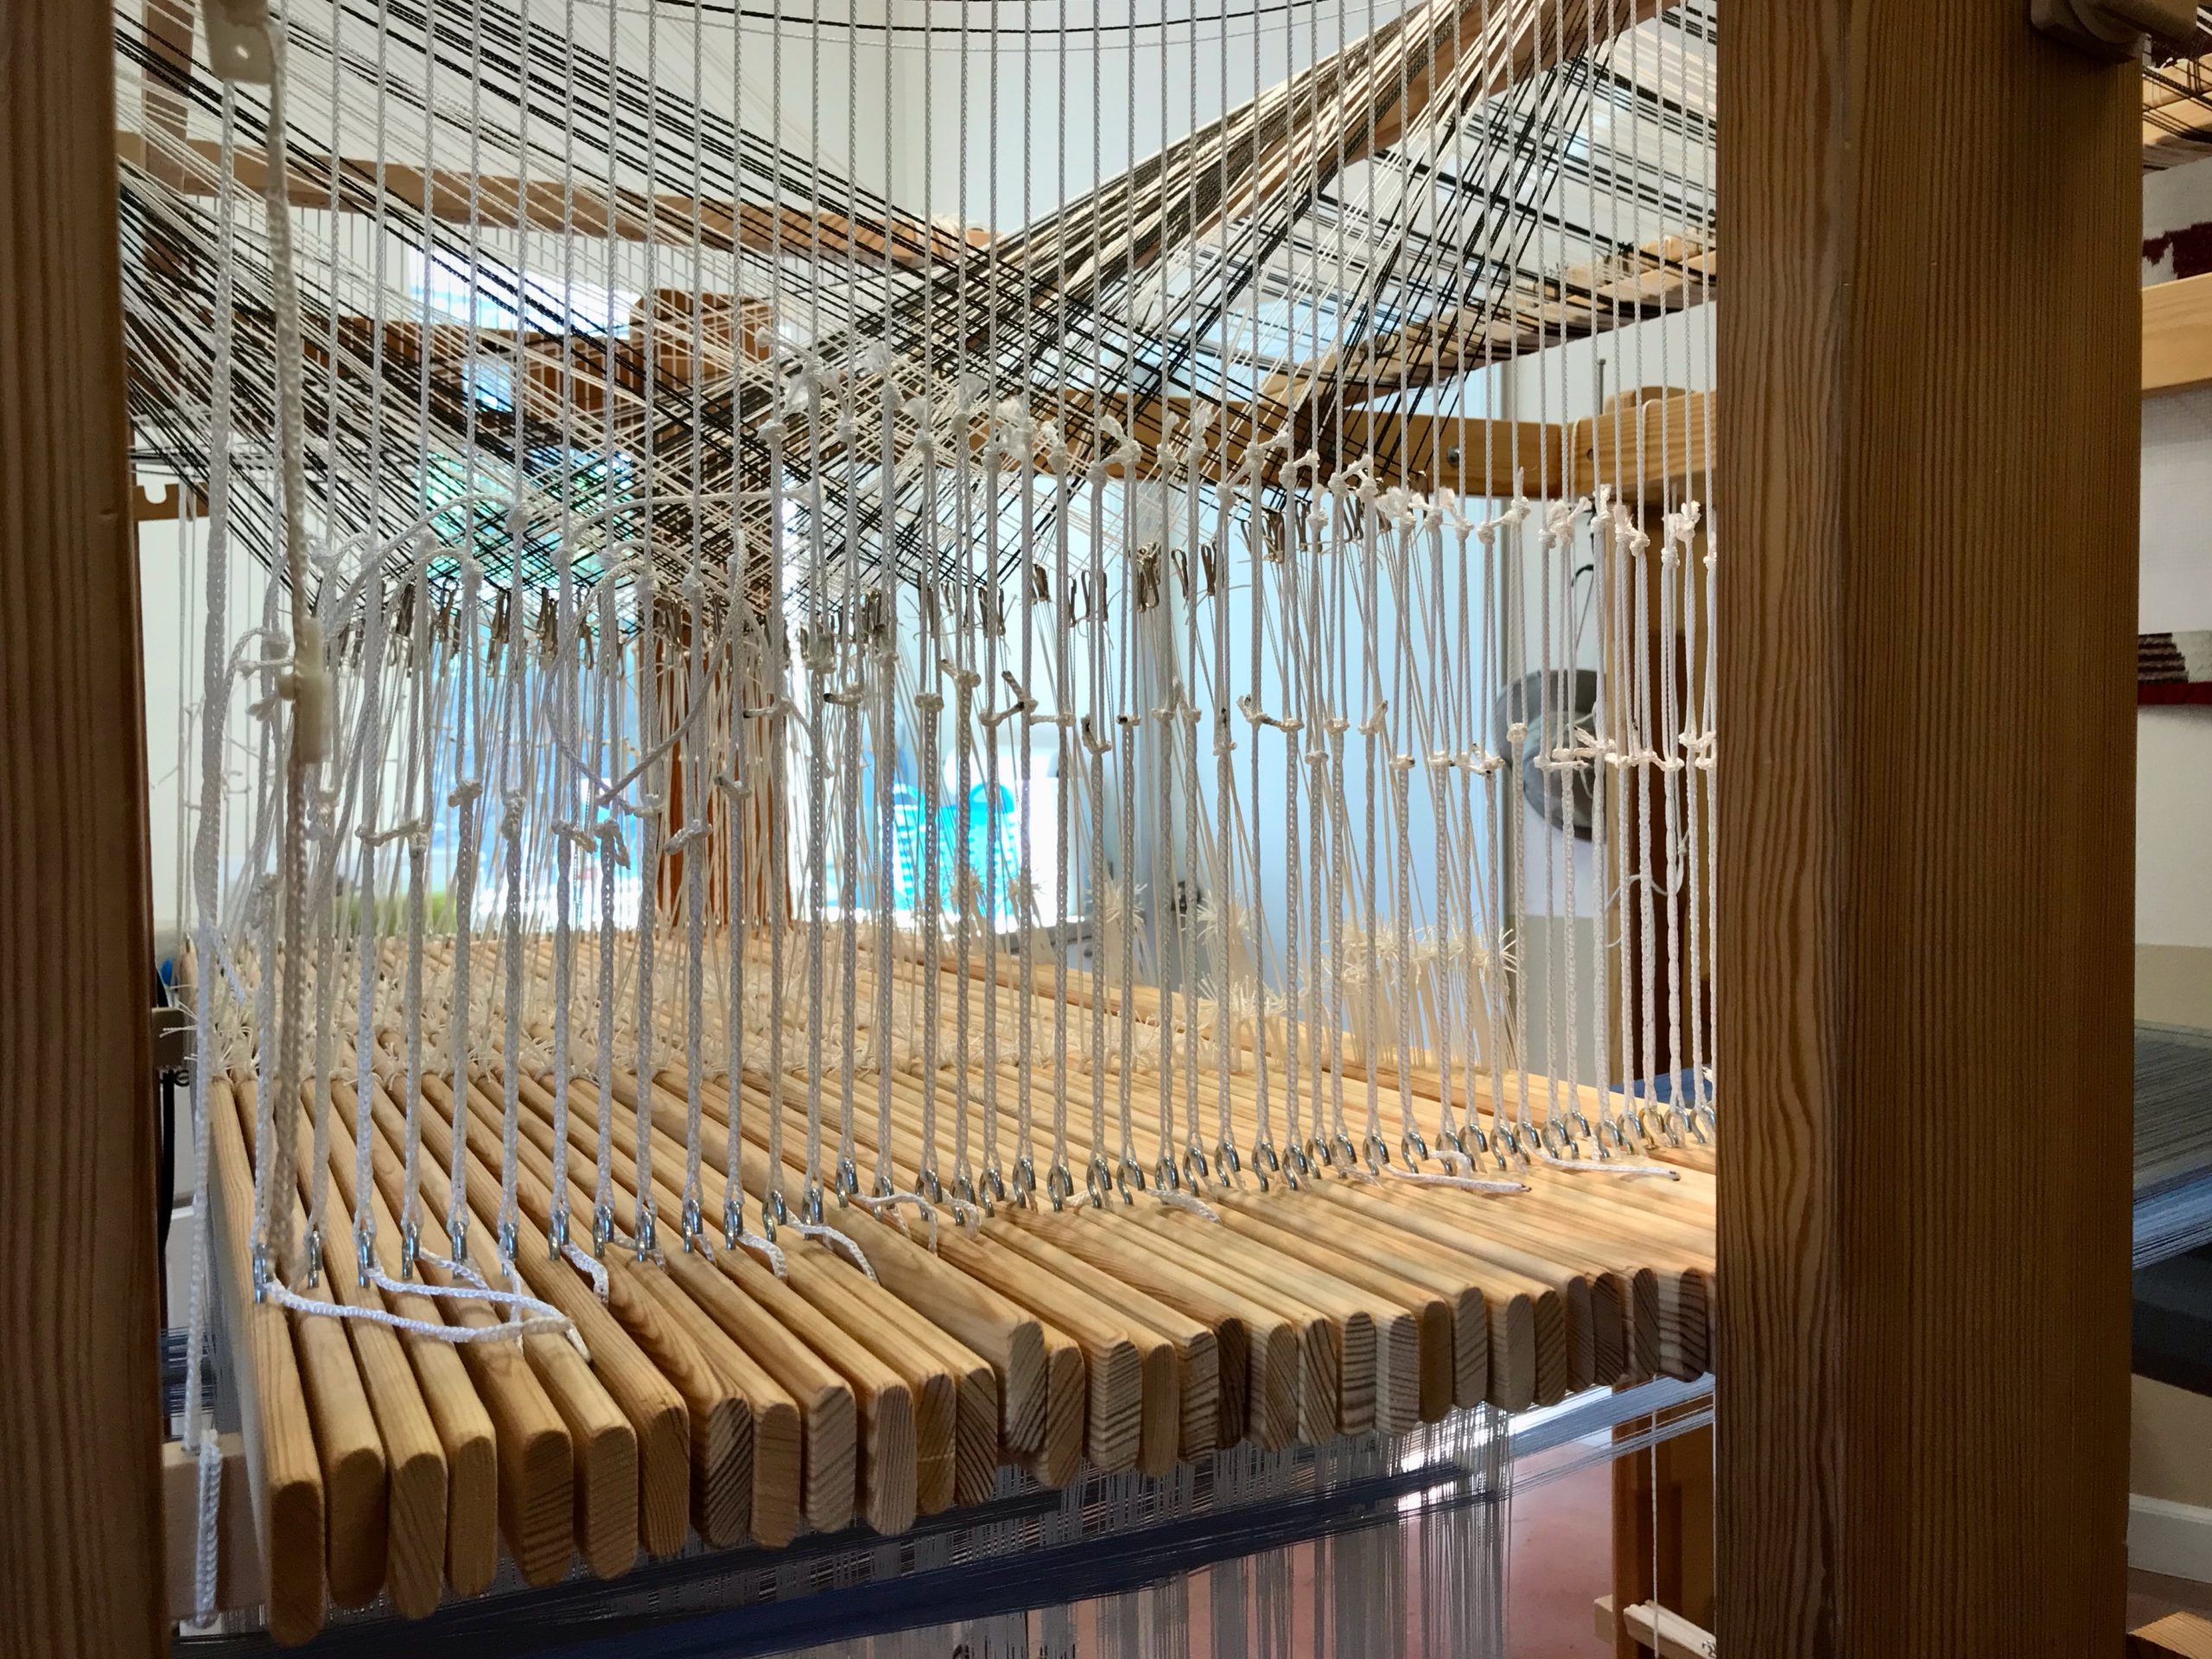
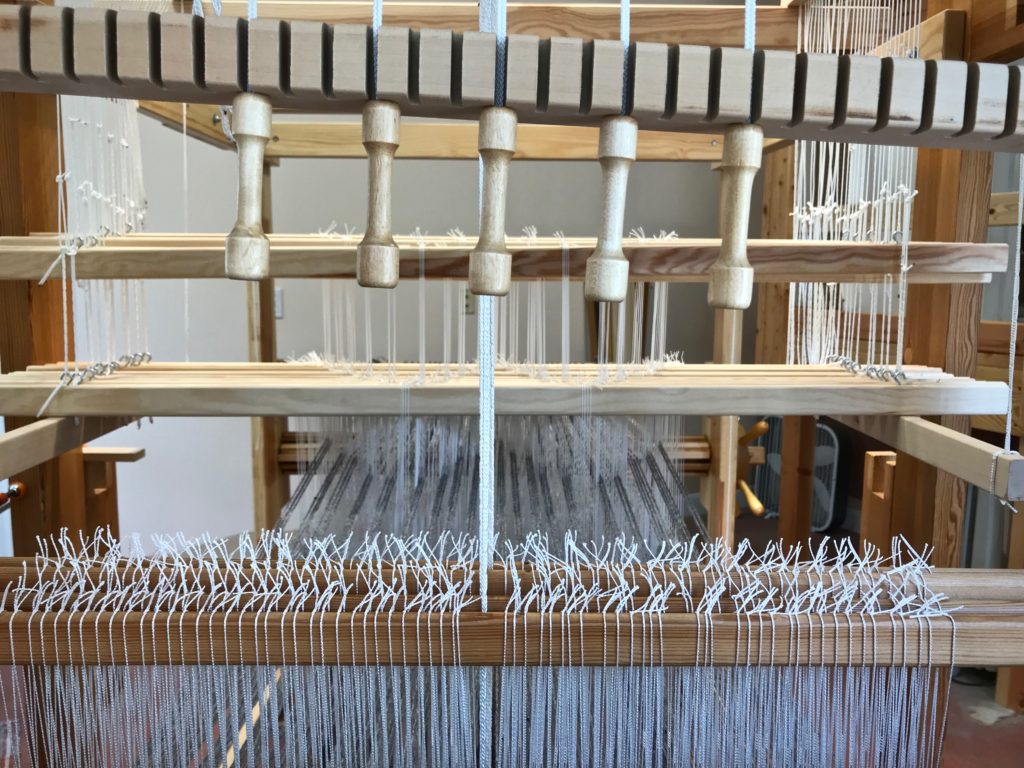
1 Follow each Texsolv cord, starting from the countermarch at top of the loom.
All the shafts are good to go, right? Not quite. Better see what’s happening at the top of those Texsolv cords.
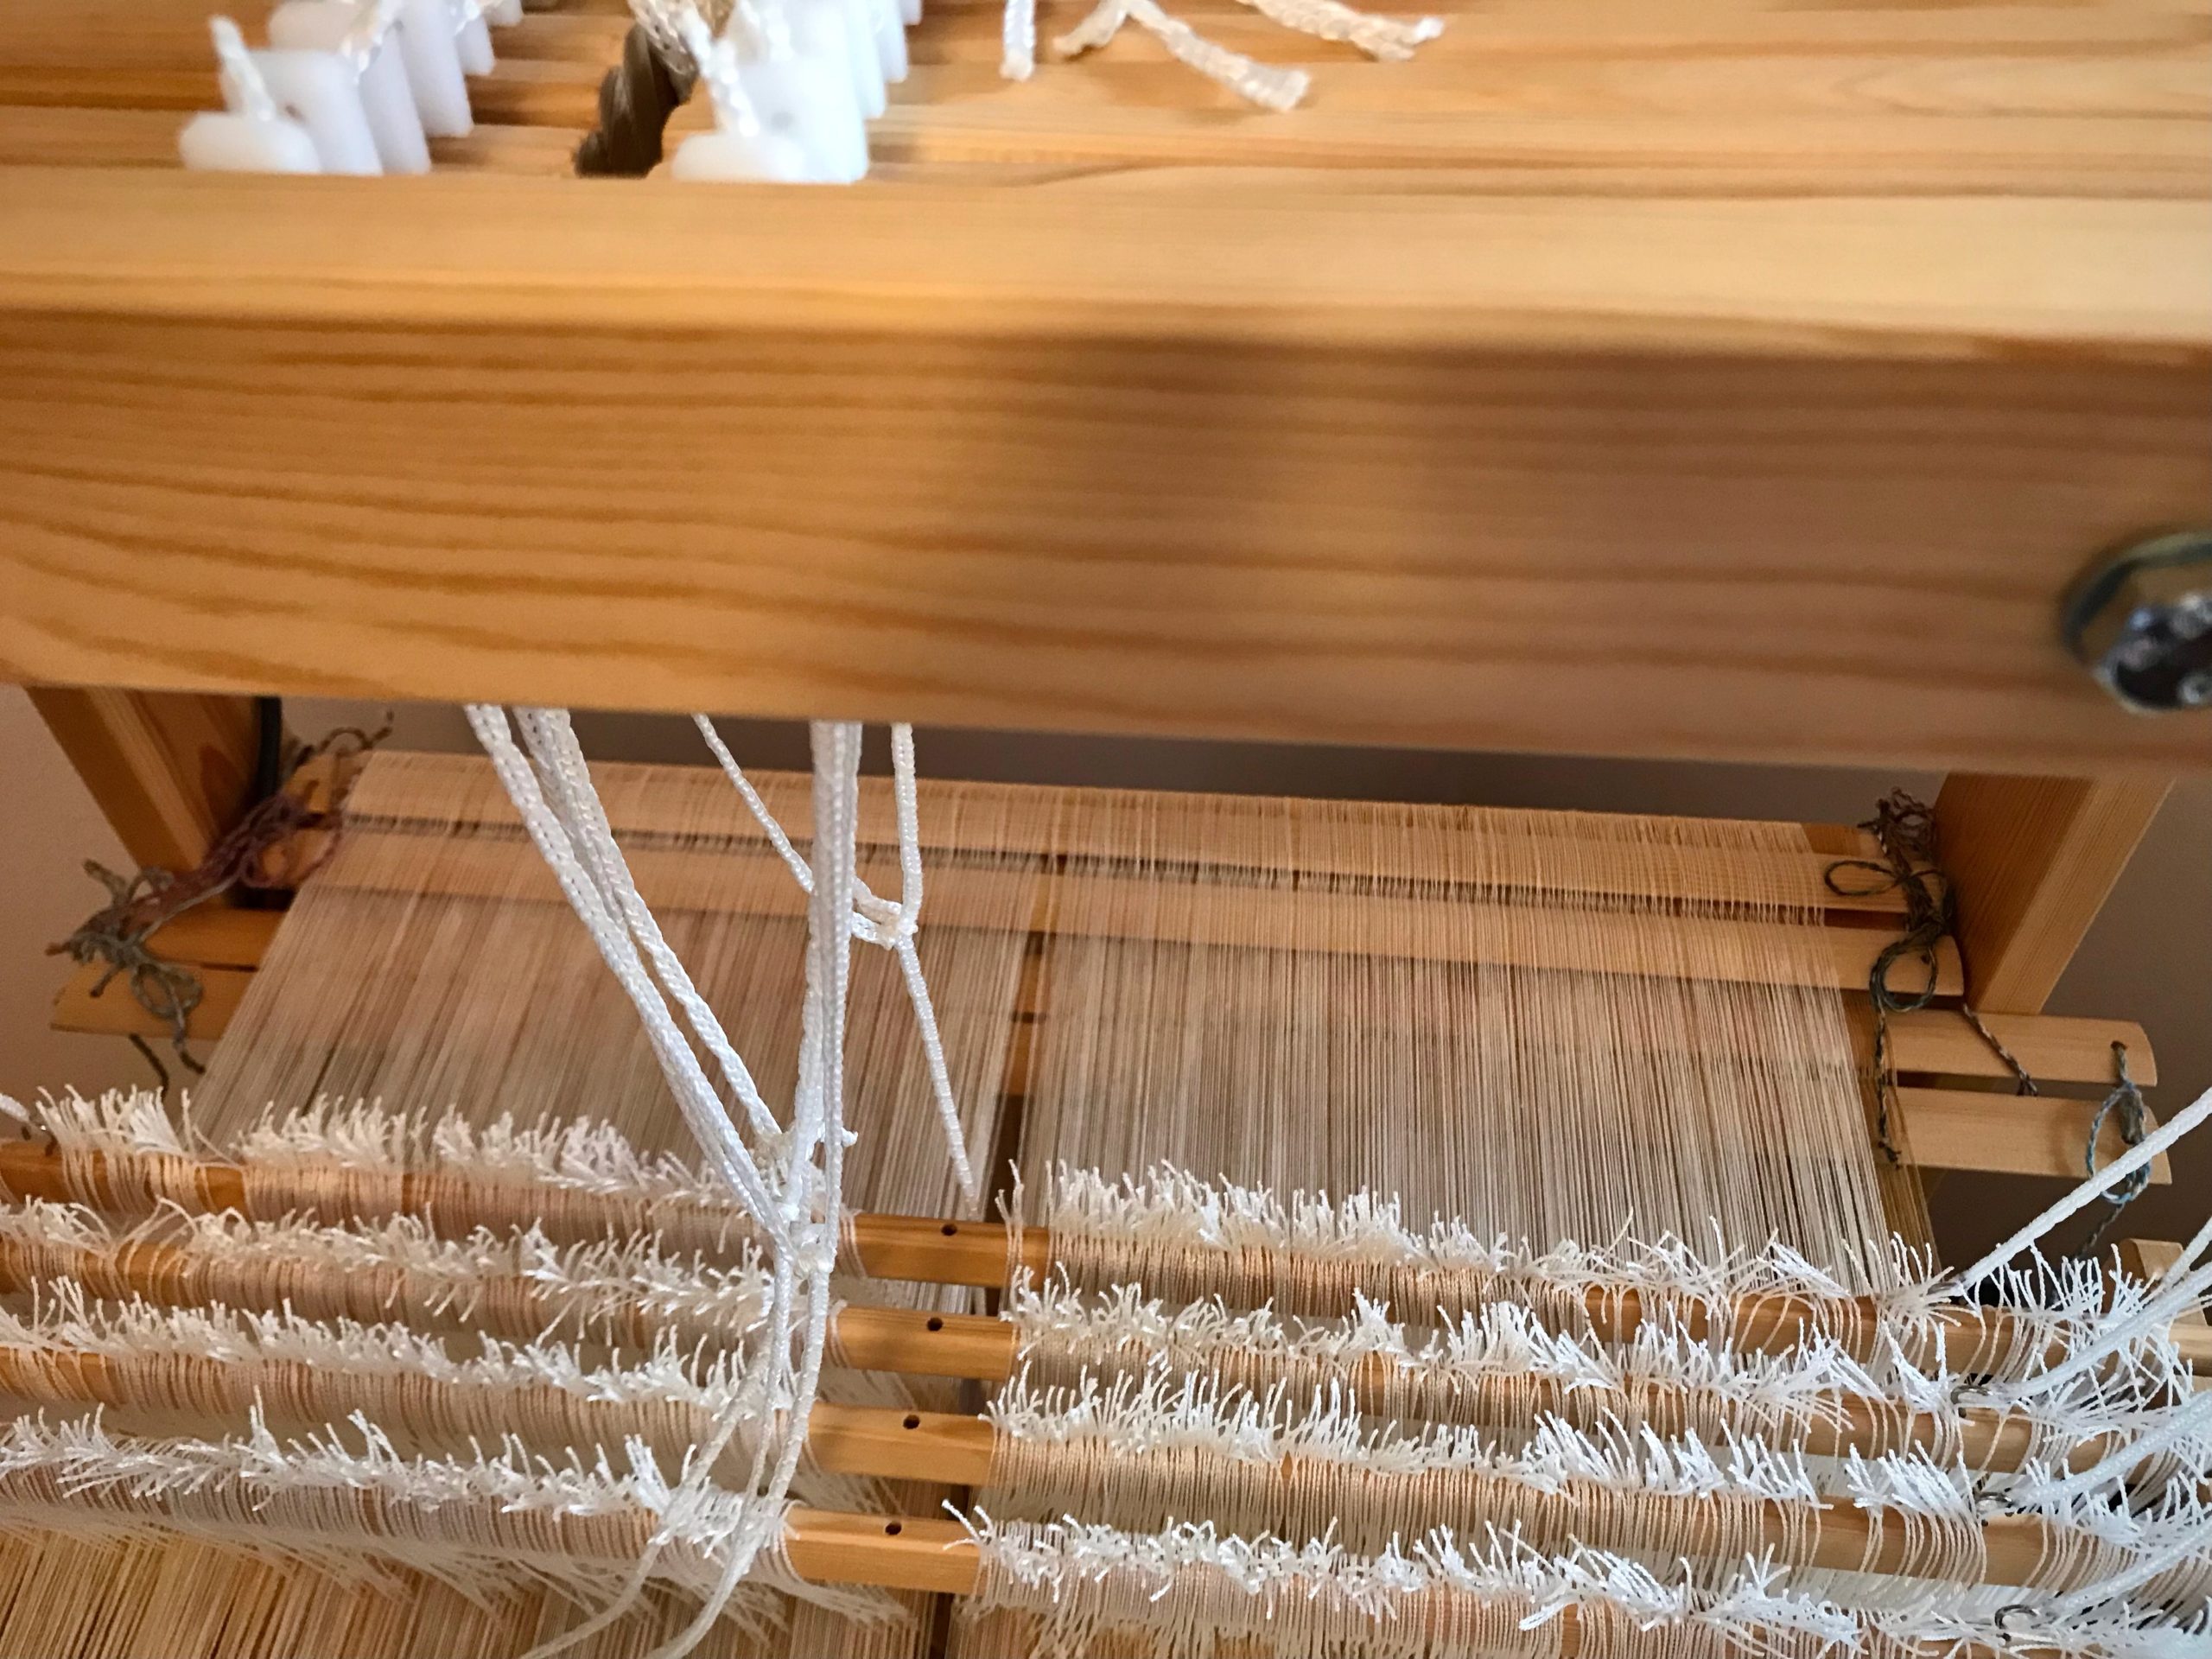
2 Make sure that each cord is connected in the right order at the right place.
Is the first countermarch jack connected to the first shaft, the second jack to the second shaft, and so on?
Misaligned cords as seen from the top of the loom.
Are the cords that go to the lower lamms strictly in order?
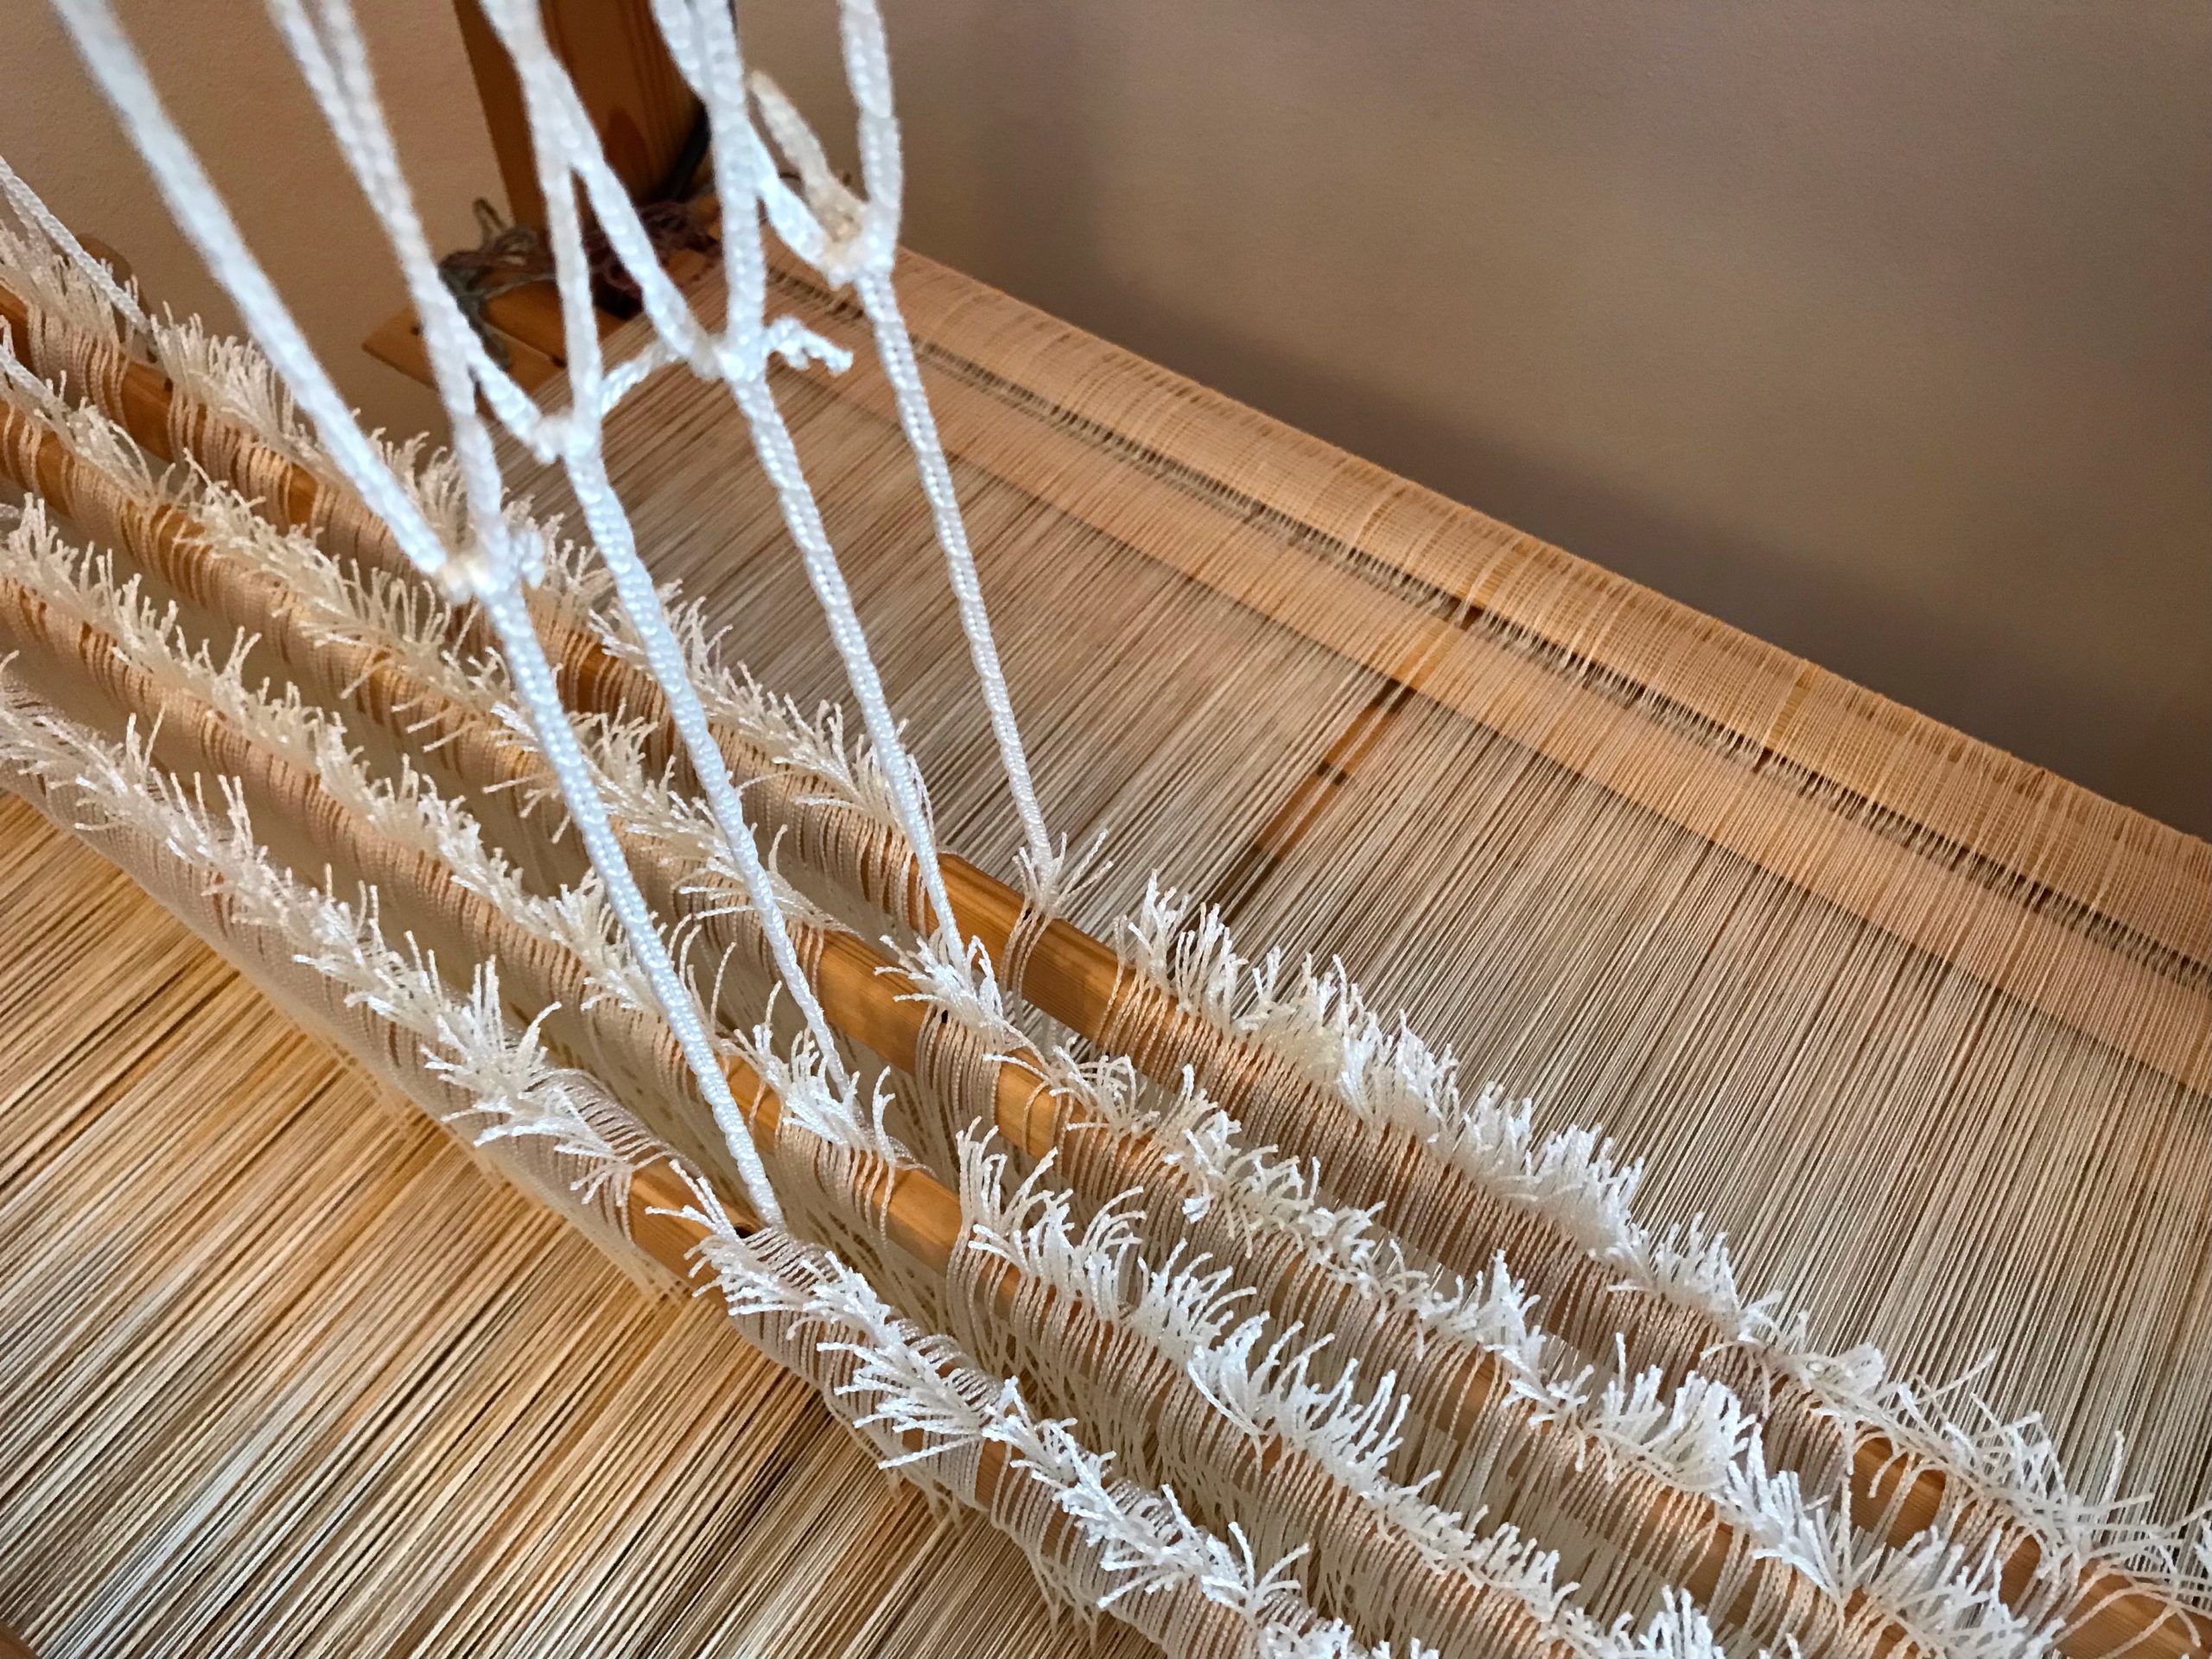
– With horizontal countermarch, does each cord fall behind the shafts in order?
Cords from the horizontal countermarch go through the center of the warp, to be attached to lower lamms below.Make sure each cord goes behind its corresponding shaft bars to the lamms below. When attaching the cords to the lamms, make sure the cords are attached in the correct order. If loom is already tied up, follow each cord to check that it is attached to its corresponding lamm.
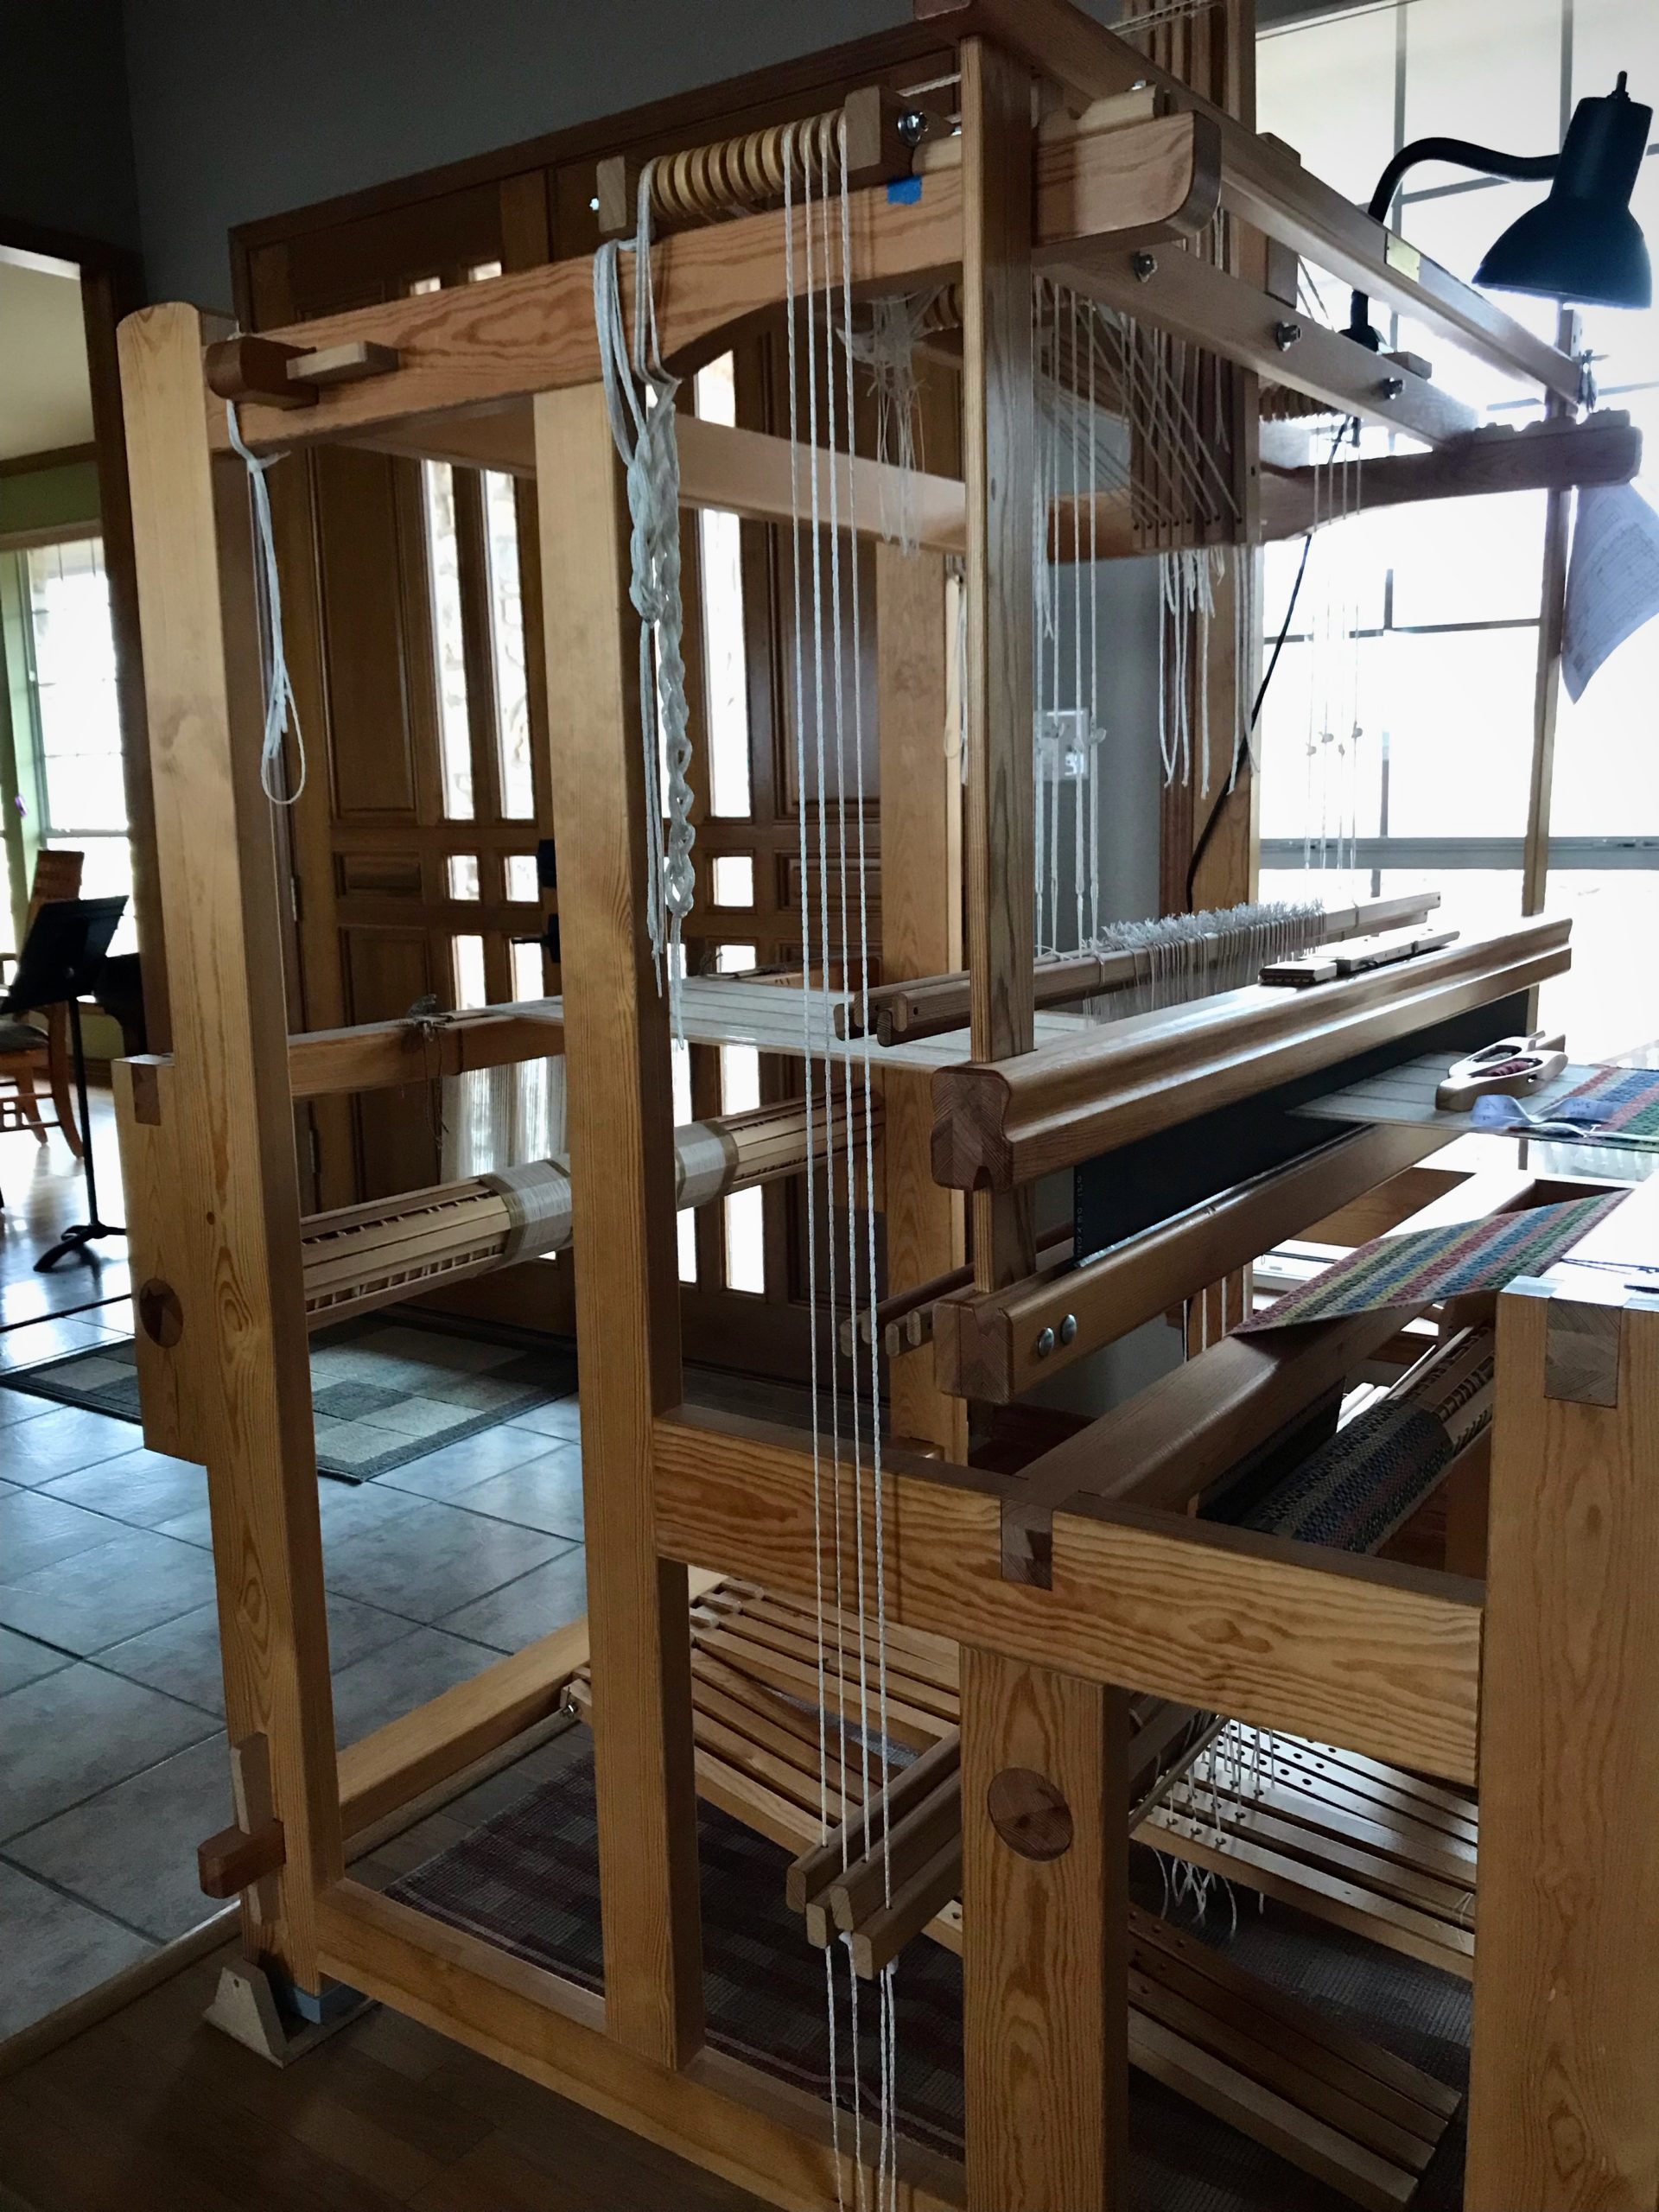
– With vertical countermarch, is each cord on its pulley, and connected to lamms in the right order?
Vertical countermarch has cords that go over pulleys on the side down to the lower lamms. I have to be extra careful to keep from attaching a cord to the wrong lamm.
3 Correct any misaligned cord.
Now, step on each treadle, one by one. Decent sheds that just need a little refining? Triumph!
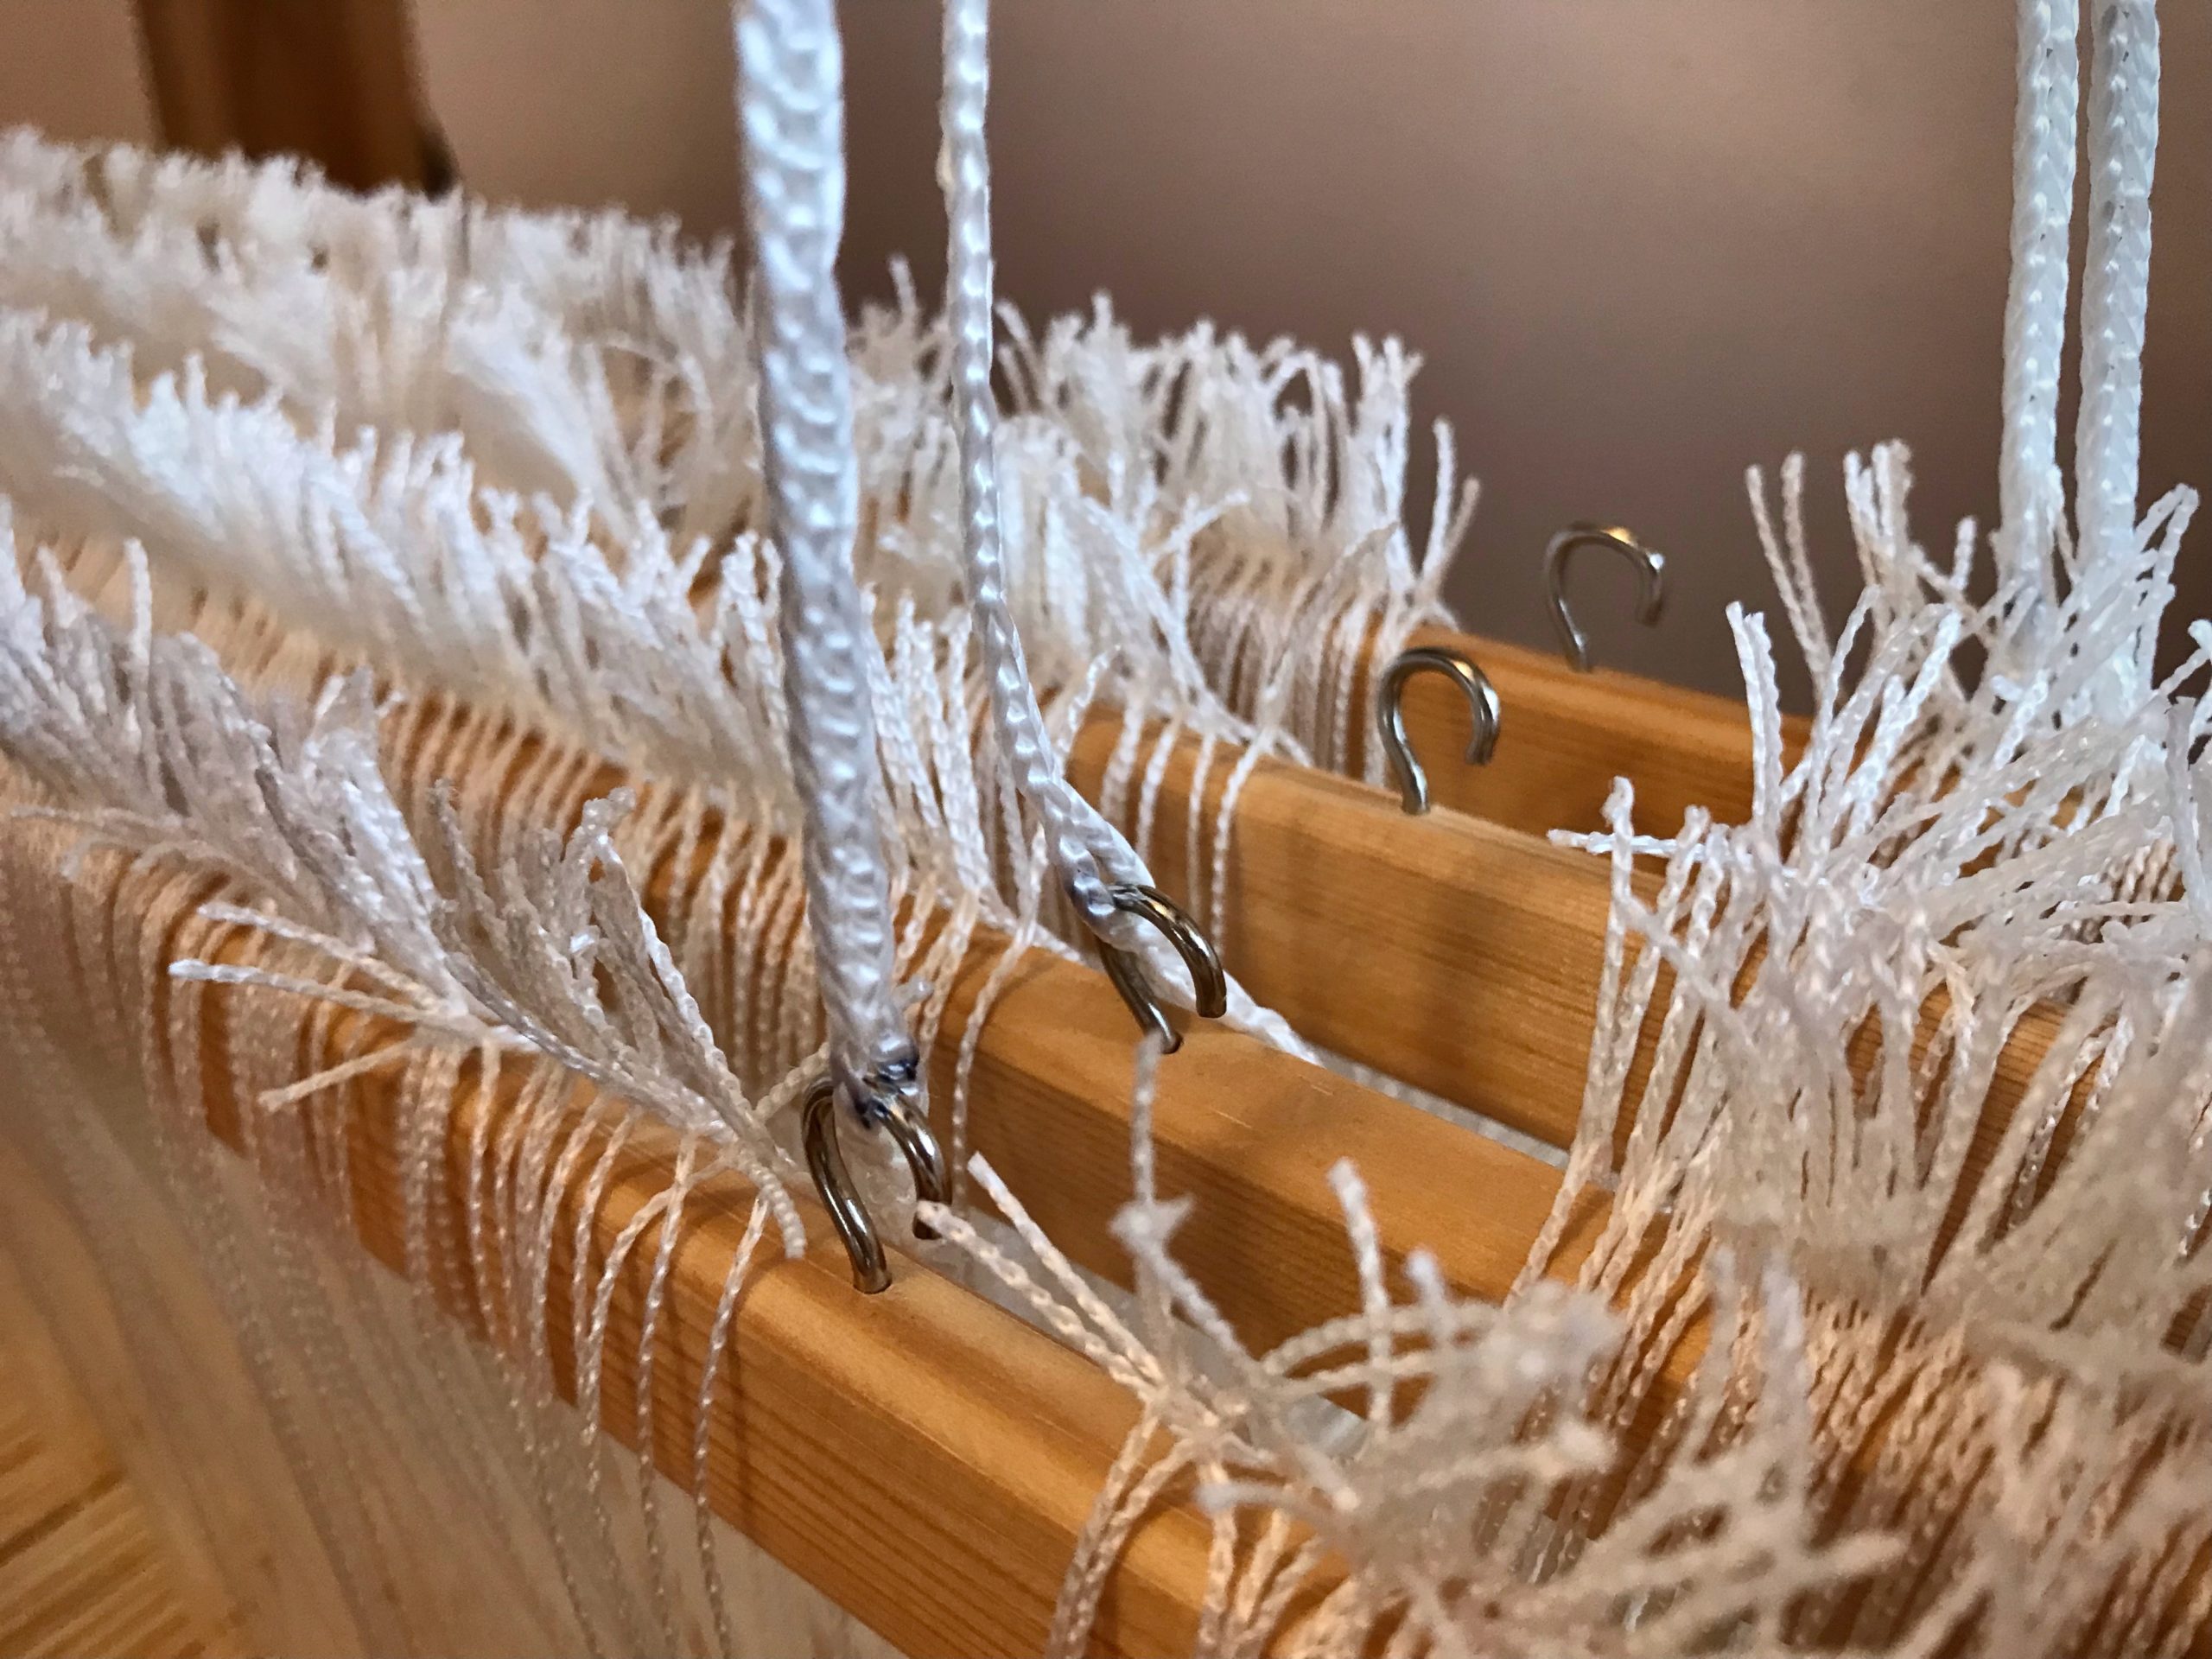
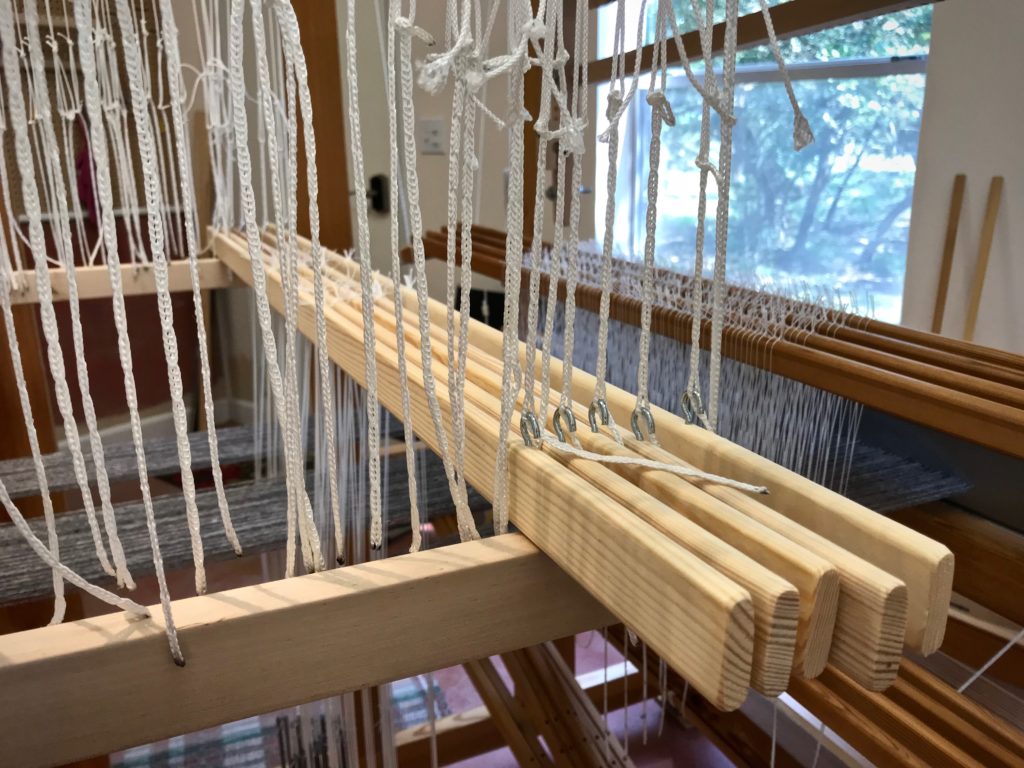
Helpful Habit
When attaching a cord while dressing the loom, start your hand at the top of the cord and slide it down to the point of connection. This helps you take hold of the correct cord.
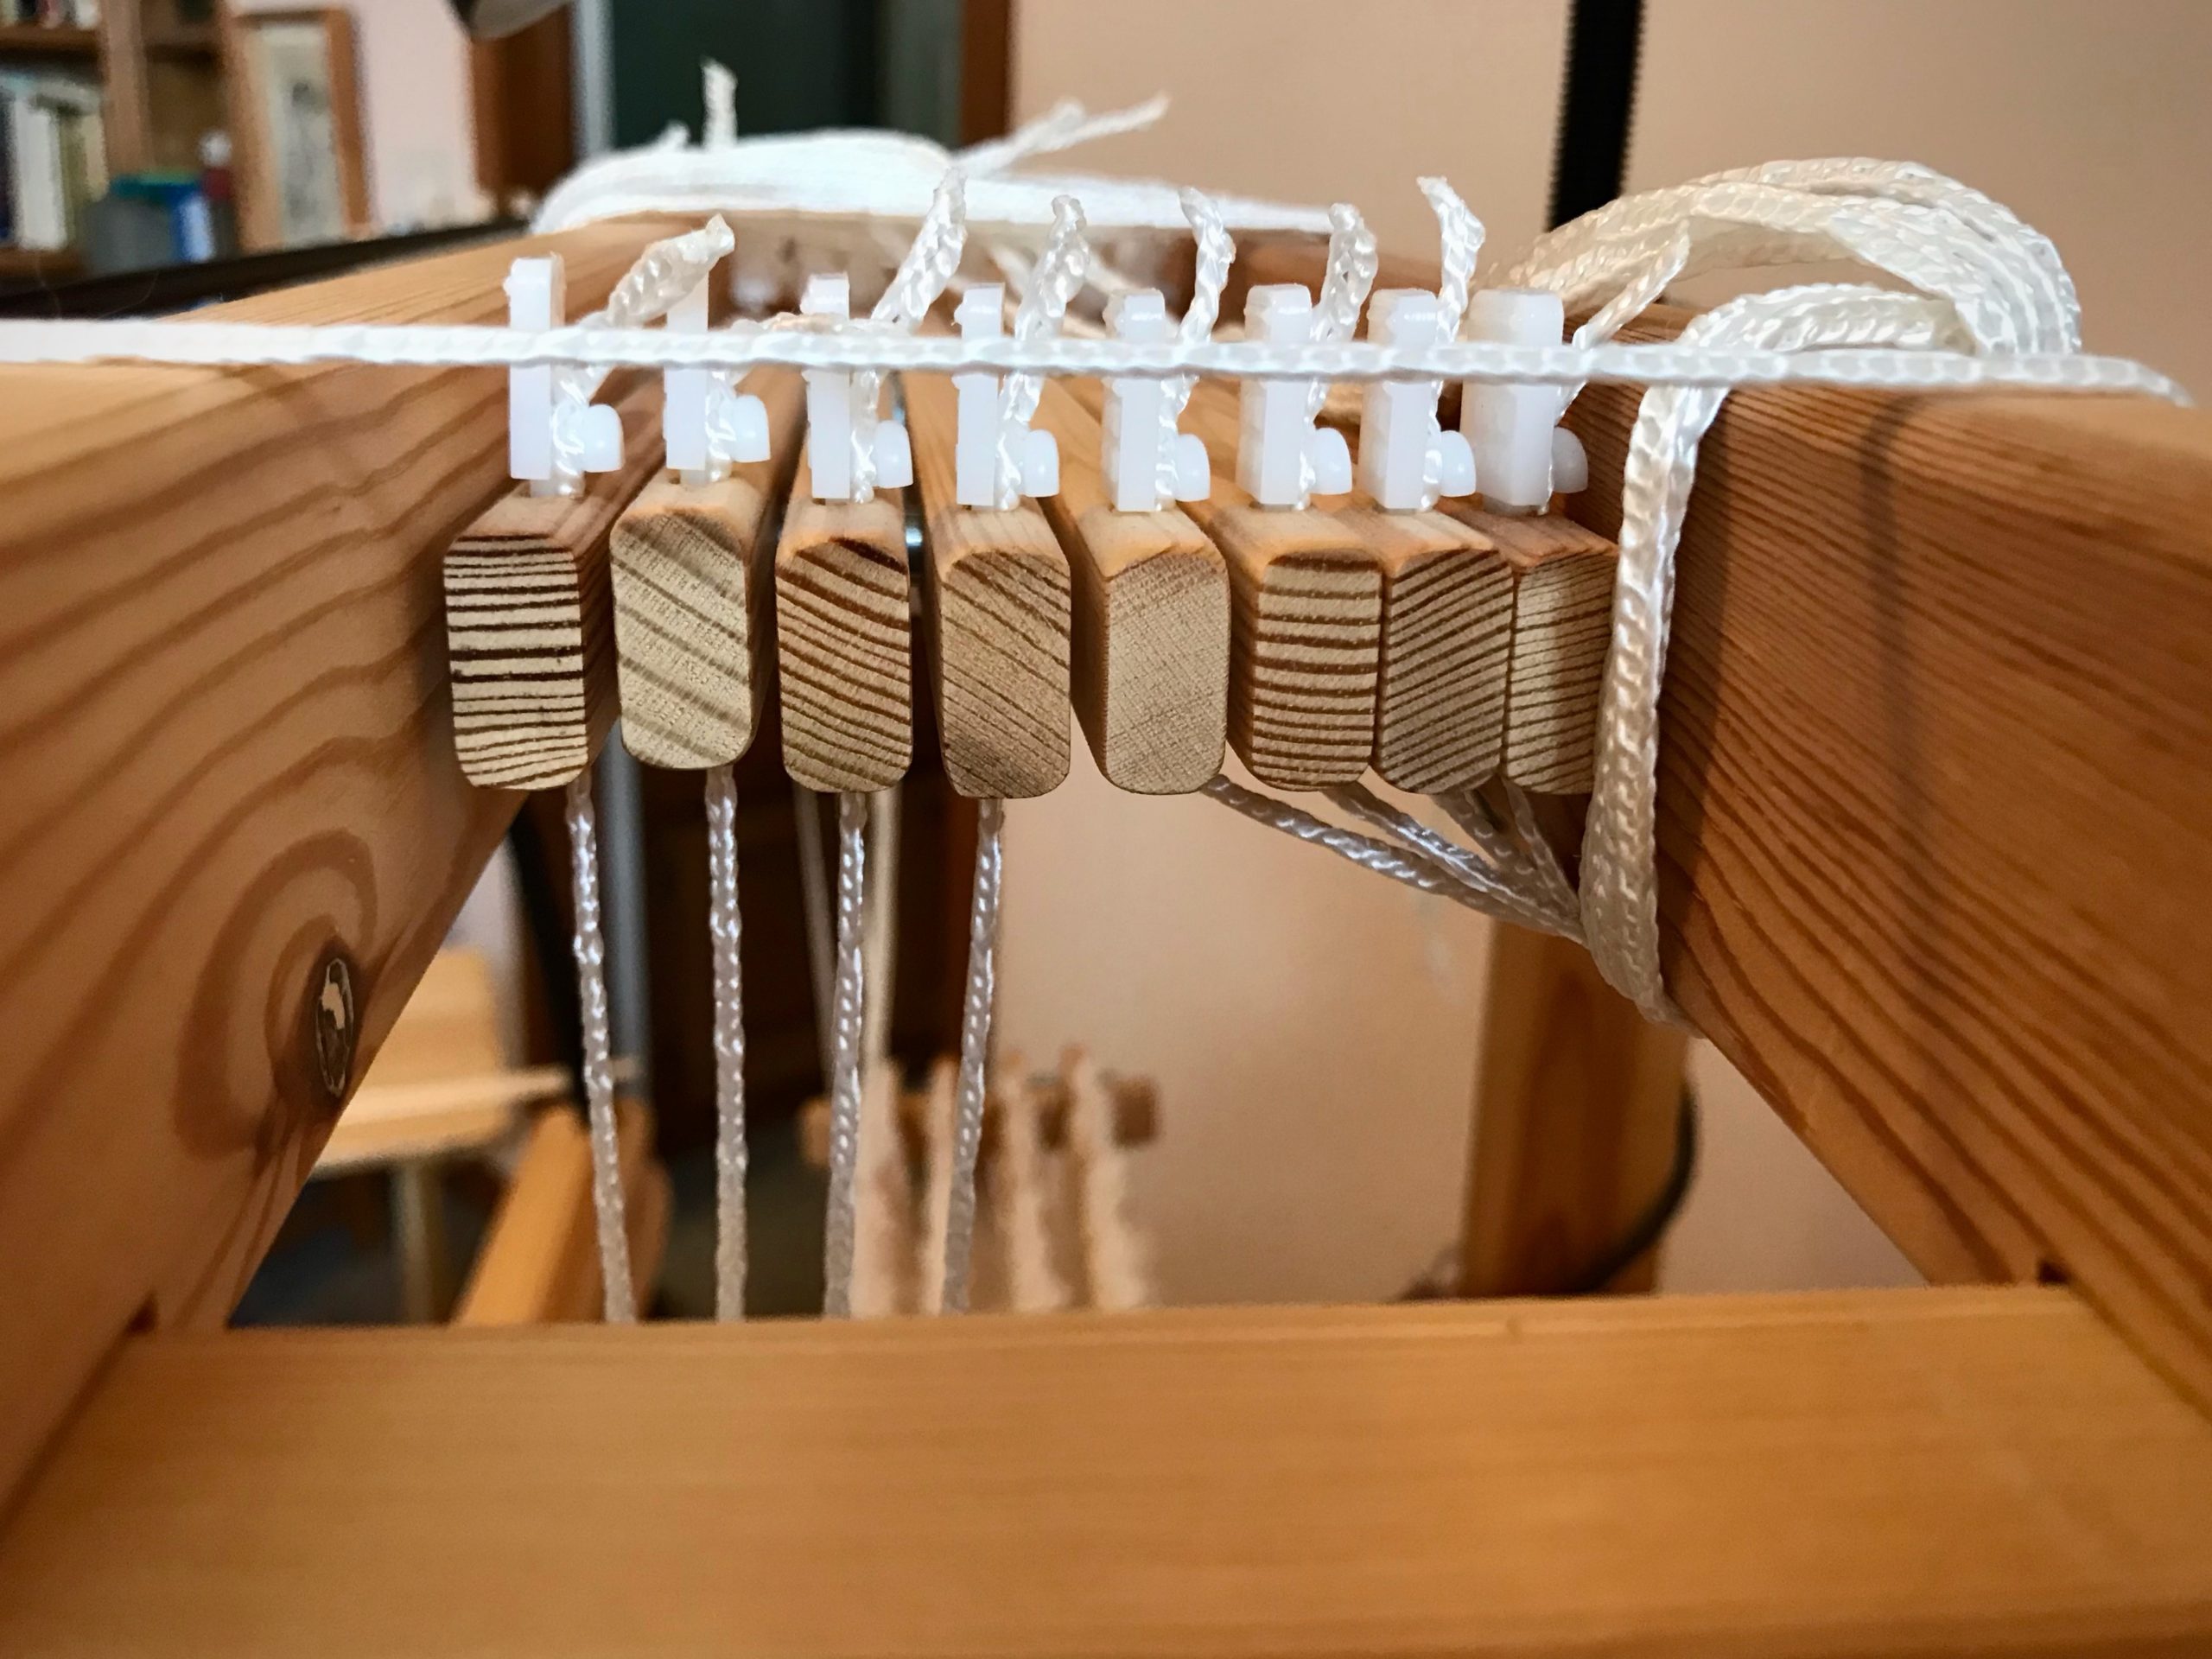
Ready to connect the shaft cords on the Glimåkra Julia, made easy by the small hooks on the shaft bars. Instead of expecting the cords to hang straight down in order, I reach my hand up to the top of the cord.Touching where the cord meets the wood, I know I have the correct cord for the shaft closest to the front of the loom. I do the same for the next cord.My hand slides down the cord and I connect the cord to the correct shaft. Now, all that’s left is tying up the treadles. Then, we weave!
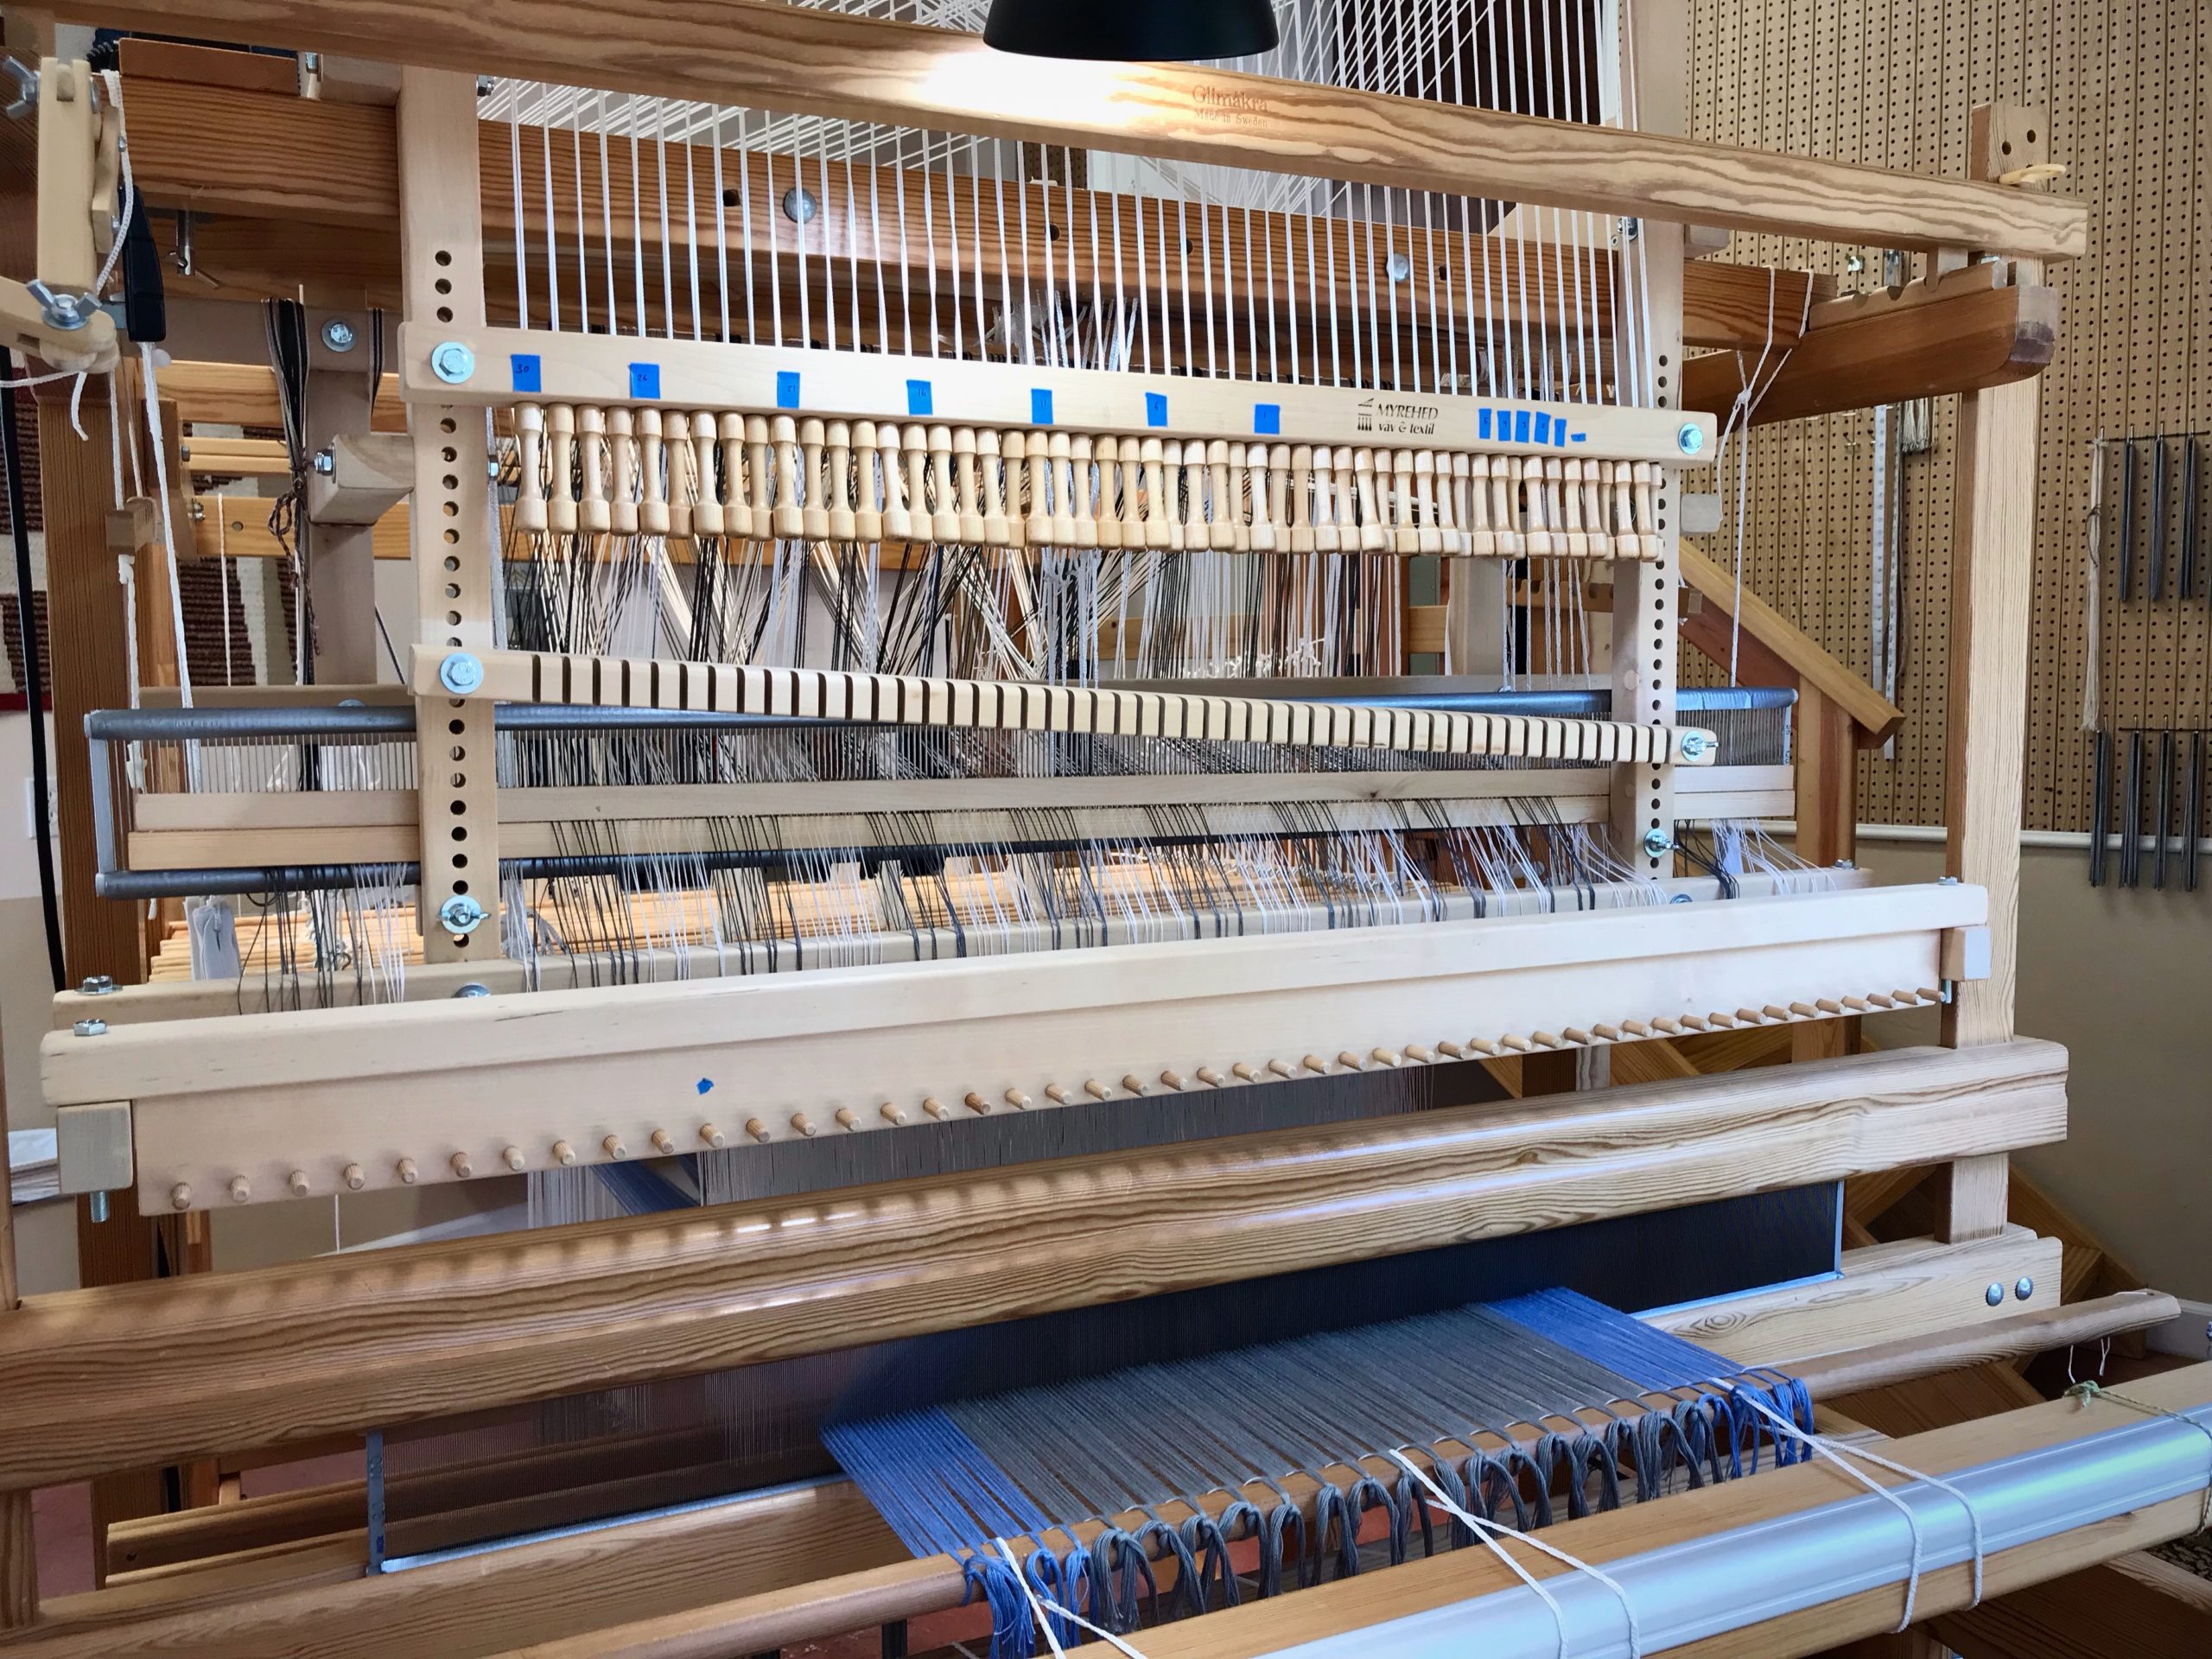
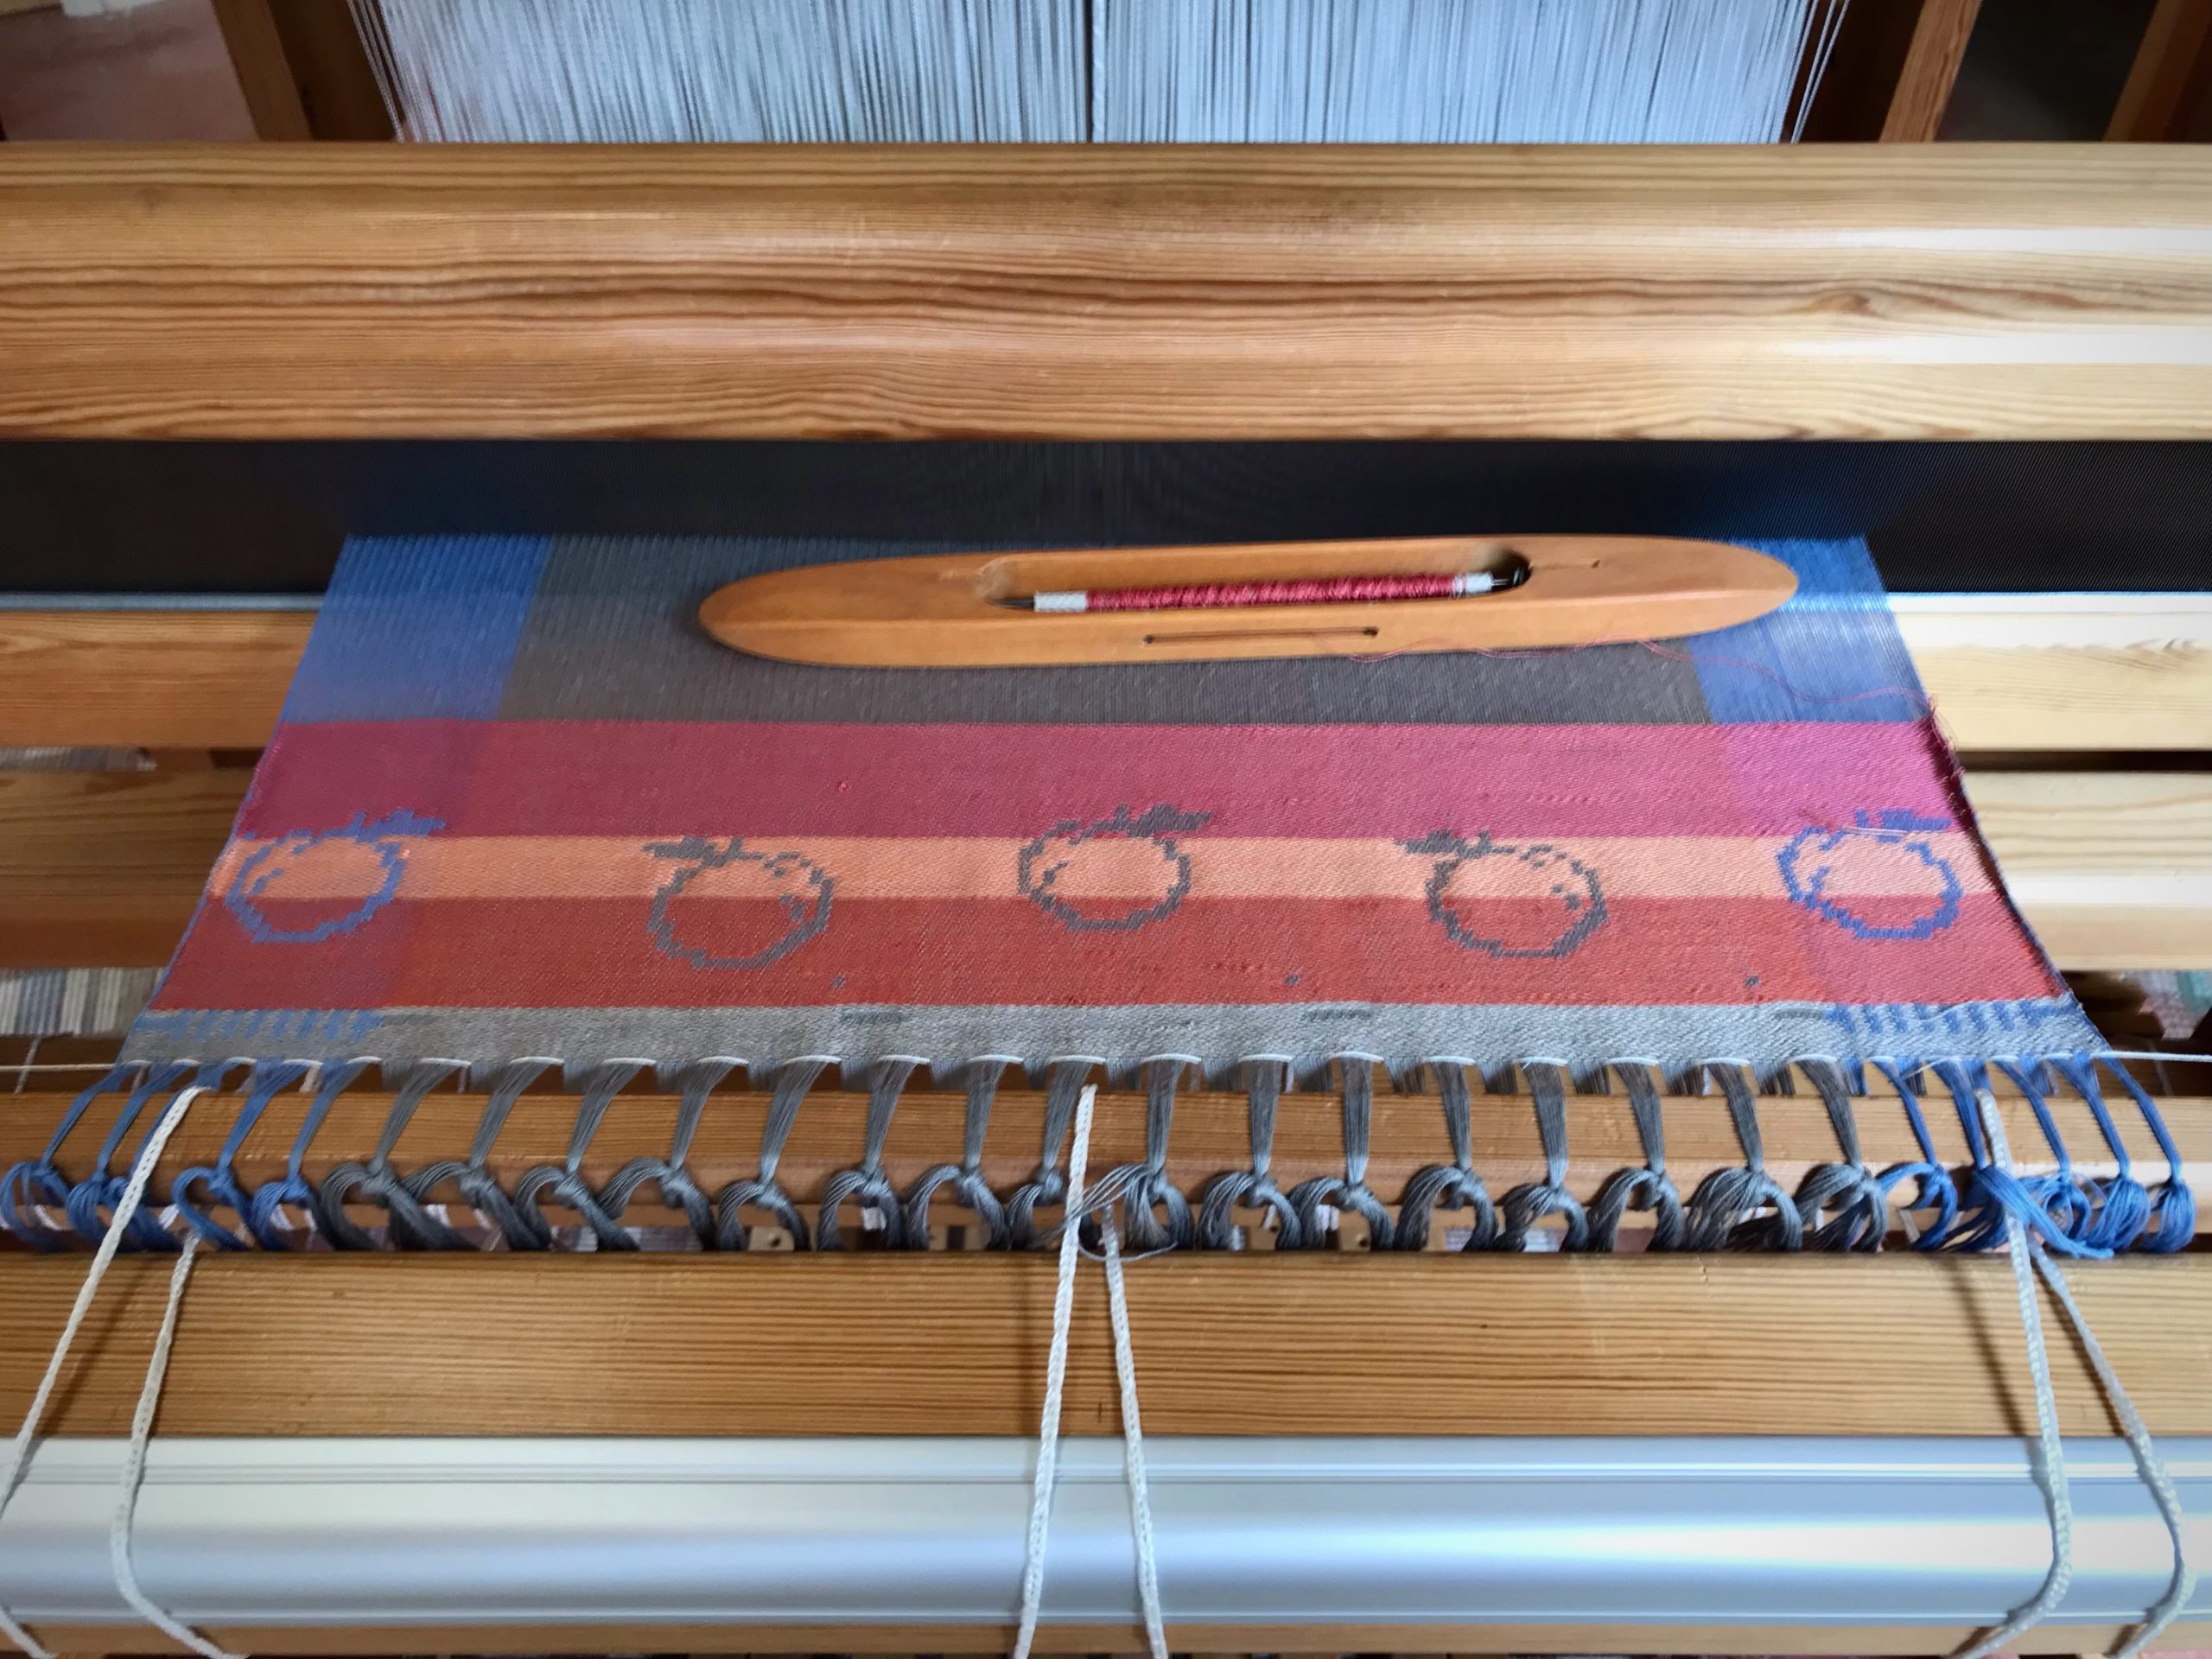
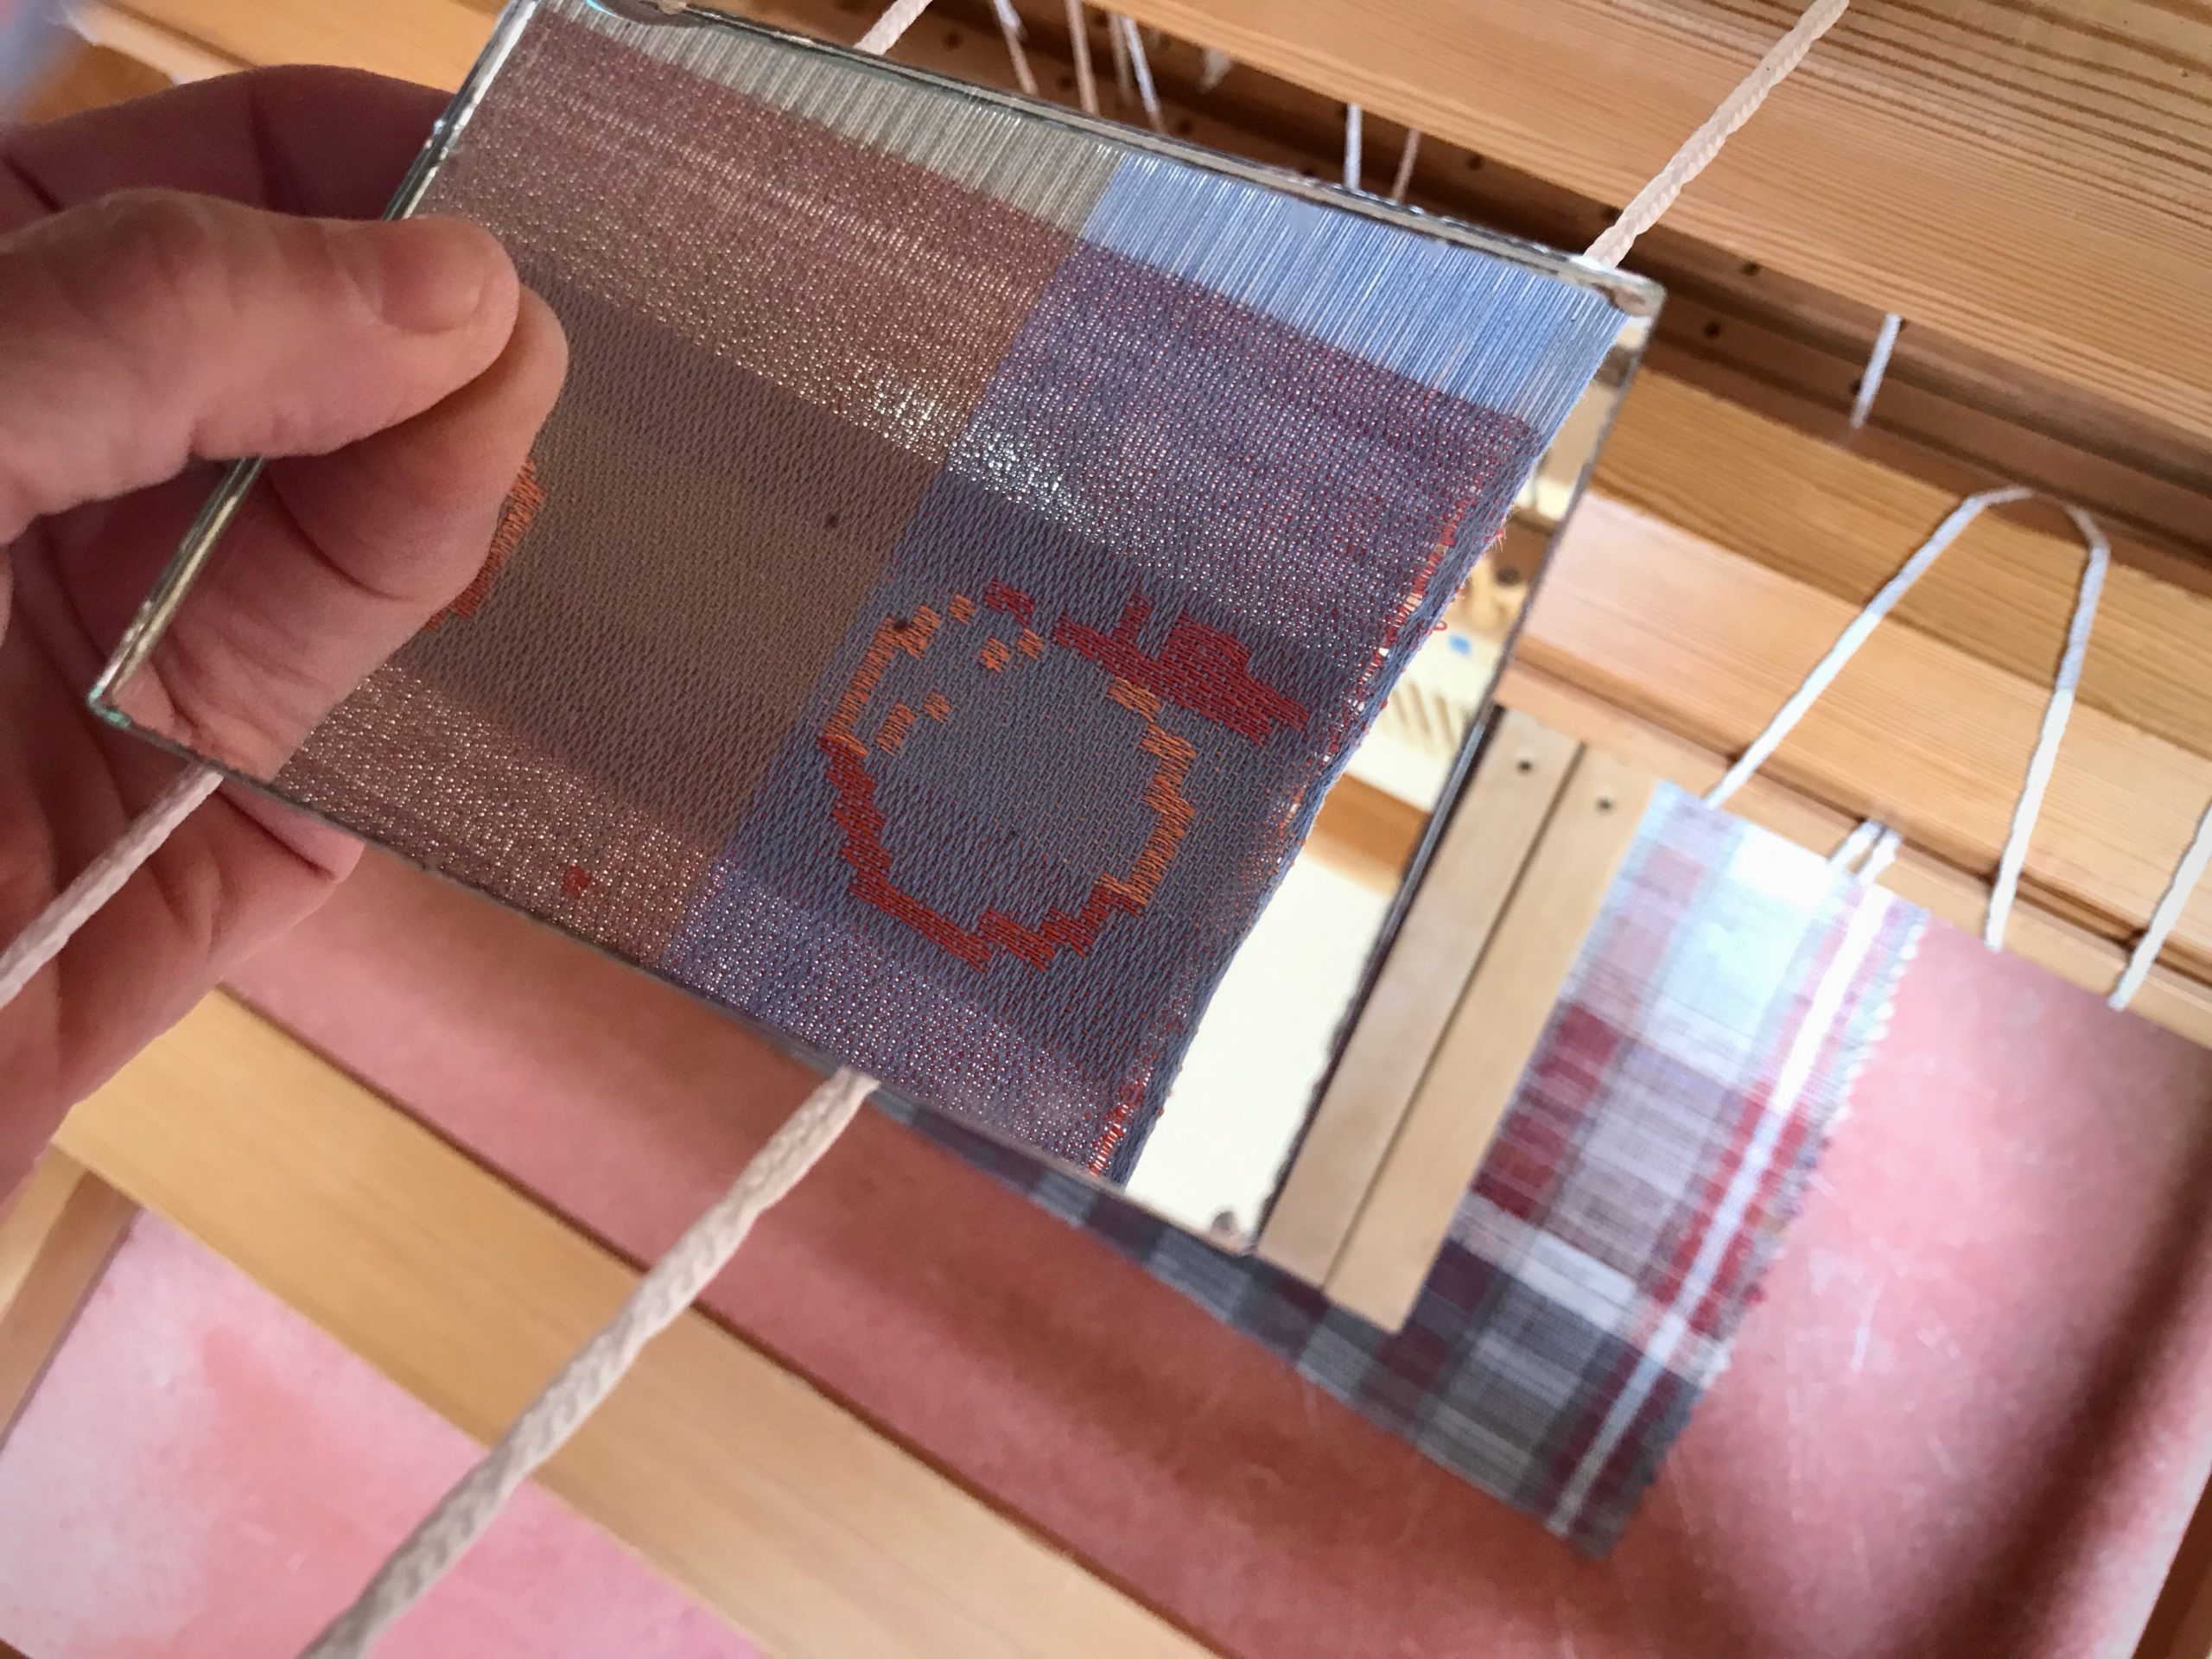
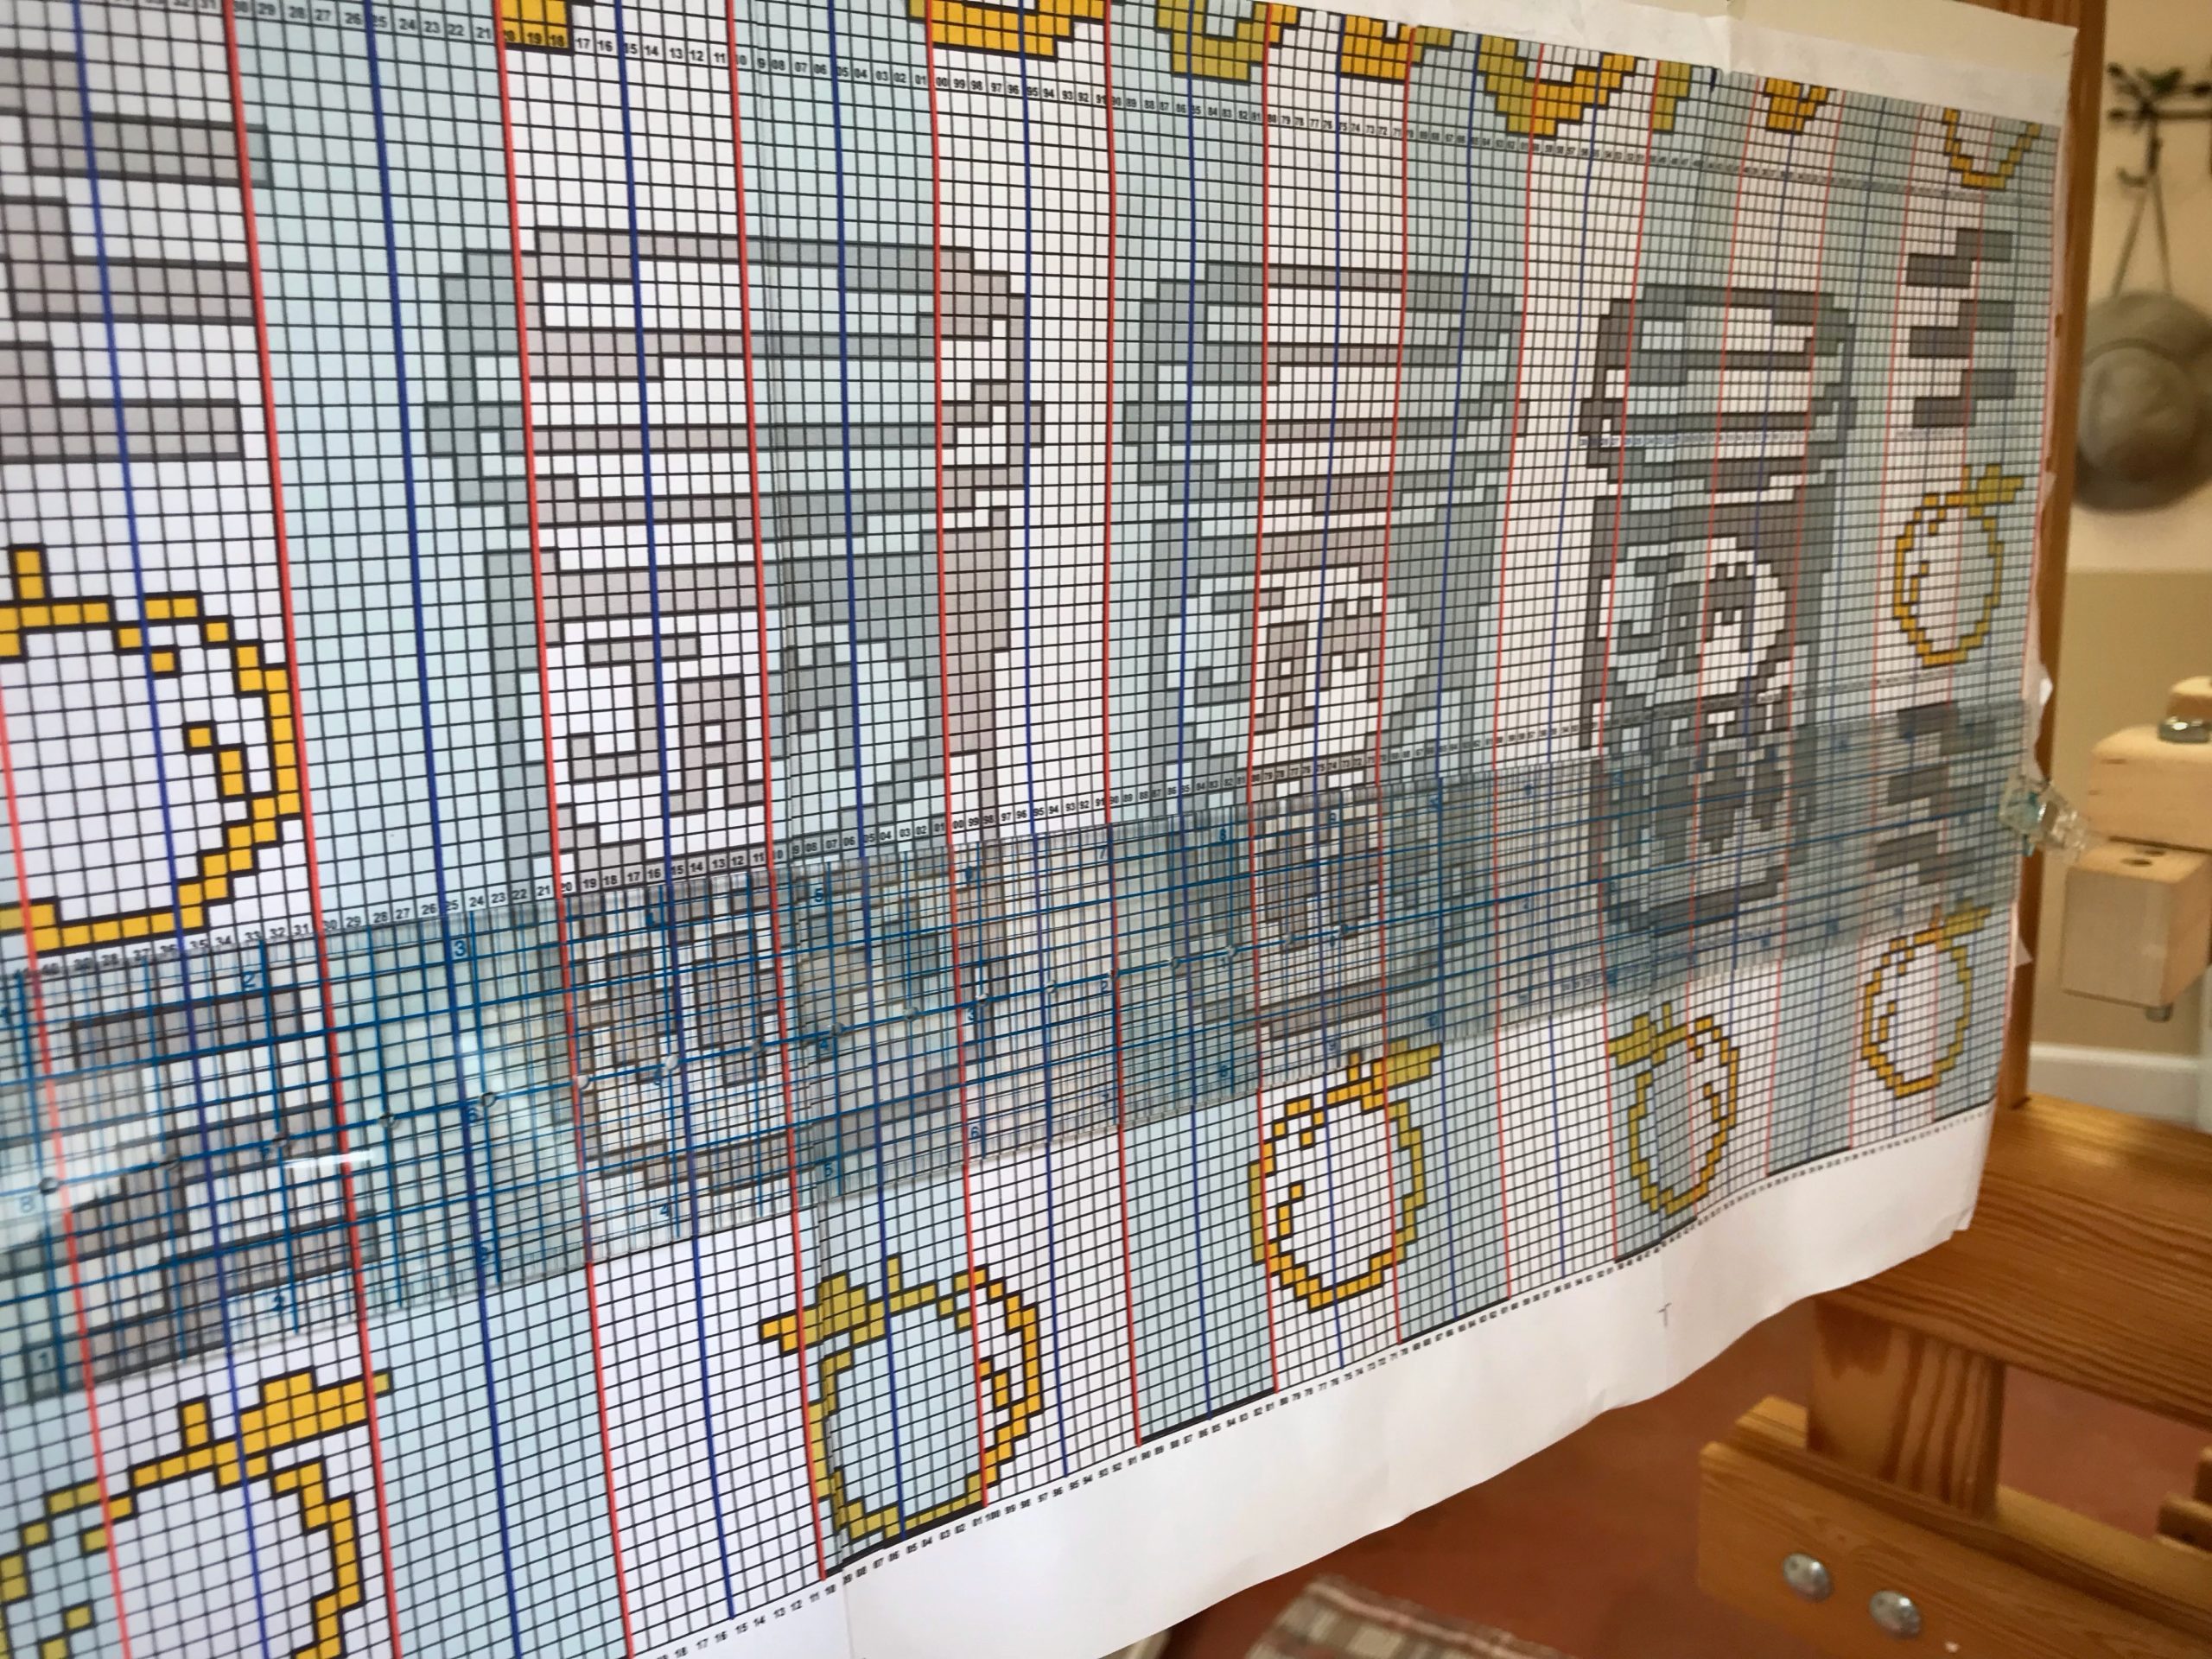
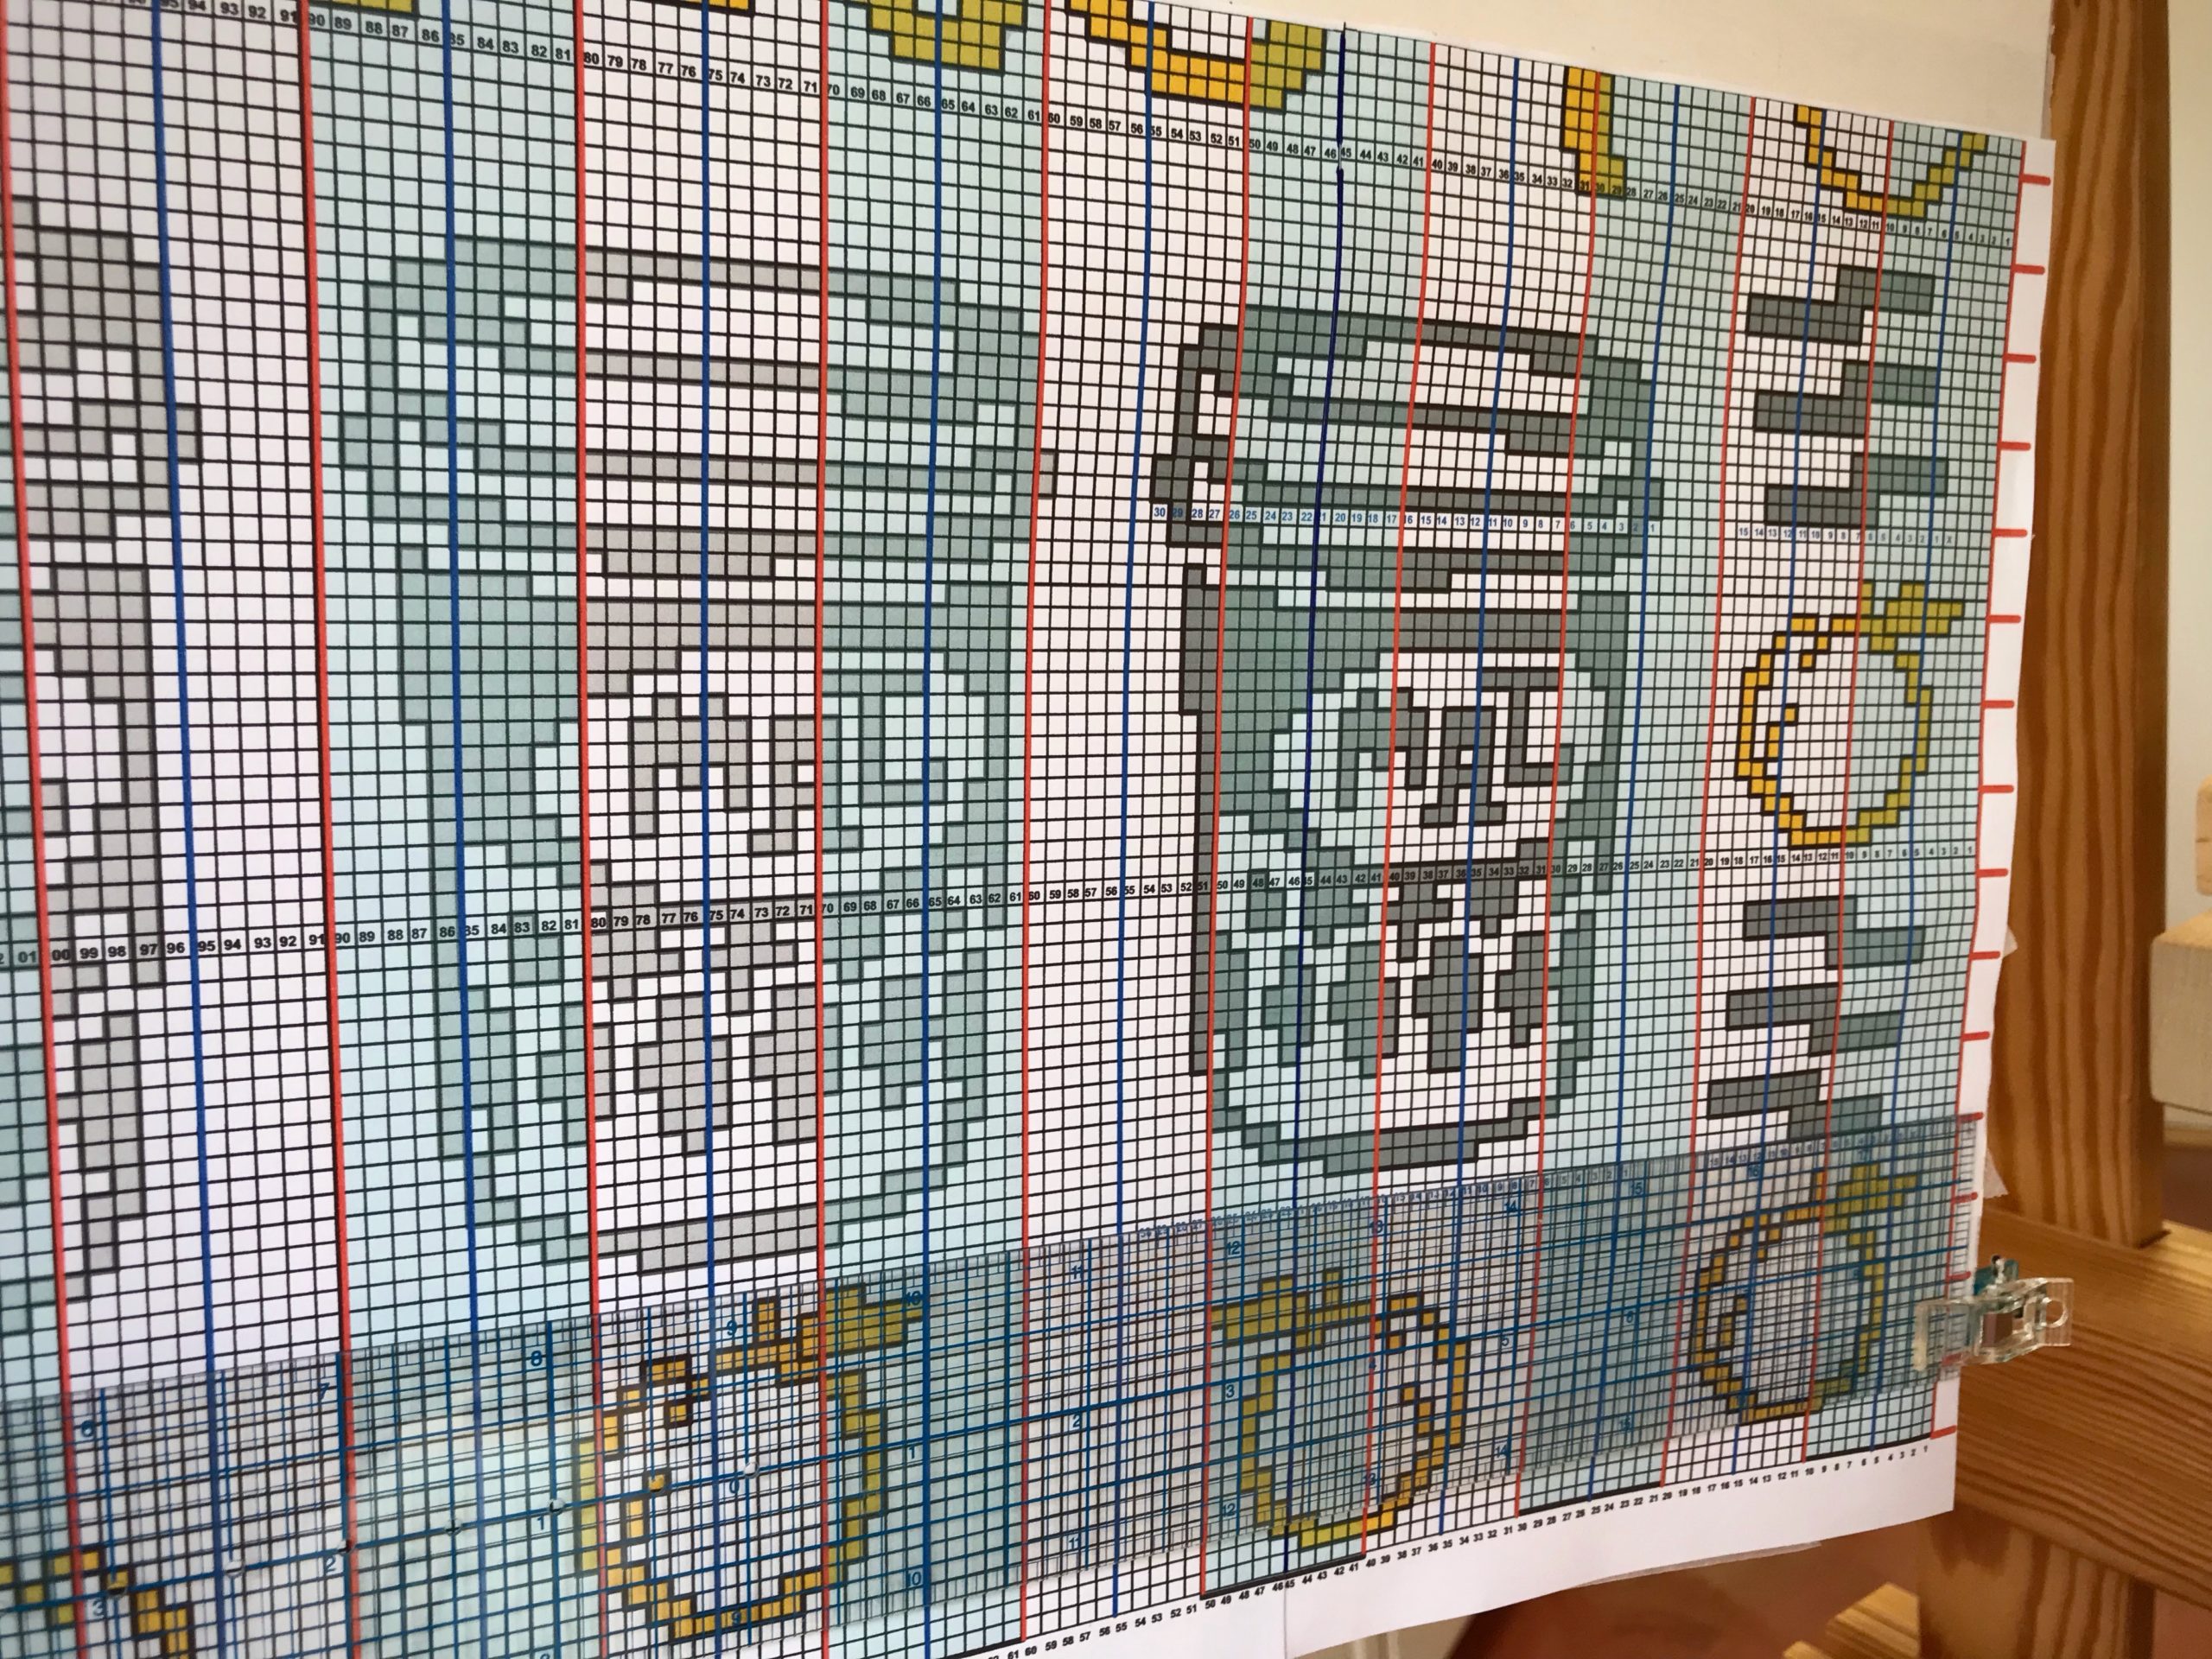
I have questions galore as I begin a new warp on the combination drawloom. Is this the best sett for these threads? How are my sheds? What will orange-ey weft colors do on this pewter and blue warp? Is the image of this first design better face up, or face down? How can I include a couple extra colors in the design? The loom is set up with 45 pattern shafts and 148 single units. I’m eager to begin!
Sampling at the beginning of the warp gives me answers. The sett is good—18 ends per centimeter, with 16/2 cotton in 6-shaftirregular satin. After some tweaking, the sheds are good—and all the treadles touch the floor when the optimum shed is reached. The weft colors look good—better than expected. And, definitely, the jam jars need to be face down—so, I reverse the image in Affinity Designer on the computer and print out a new chart. I can sneak in some extra colors with narrow weft stripes—beginning and ending borders. I’m ready to roll! New kitchen towels in various designs are moving forward! First up…Peach Jam Jars.
~It is a joy to have you visit with me every week! It is time for my annual pause for the month of July. I’ll see you back here on Tuesday, August 3, 2021.~
Until then, may the Lord bless you and protect you; may the Lord make his face shine on you and be gracious to you; may the Lord look with favor on you and give you peace.
Dressing the drawloom the second time is easier than the first time. No slip ups or confusion. Just smoothly moving from one step to the next. (Read to the end to see what to expect for July.)
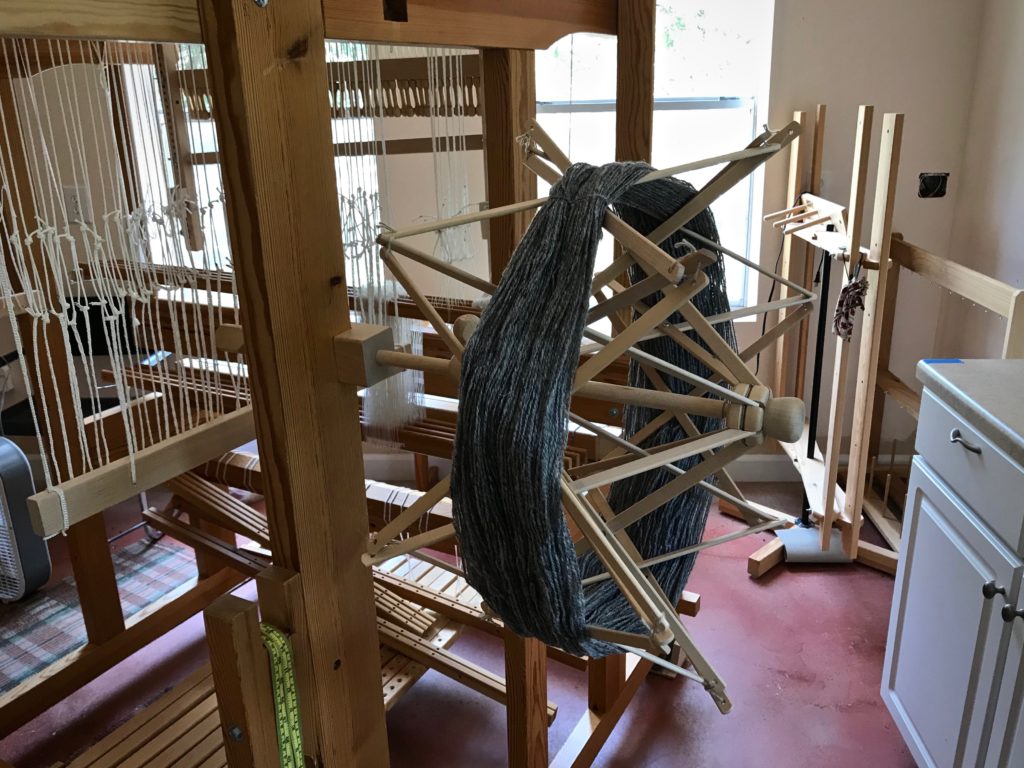
Winding skeins of wool yarn into balls.
With my first drawloom warp the most challenging part was distributing the pattern shafts. (See Q and A with Joanne Hall and Drawloom Dressing.) This time something clicked and the light bulb turned on. Instead of blindly following steps, I now understand what I am doing, and why. And I am having fun in the process!
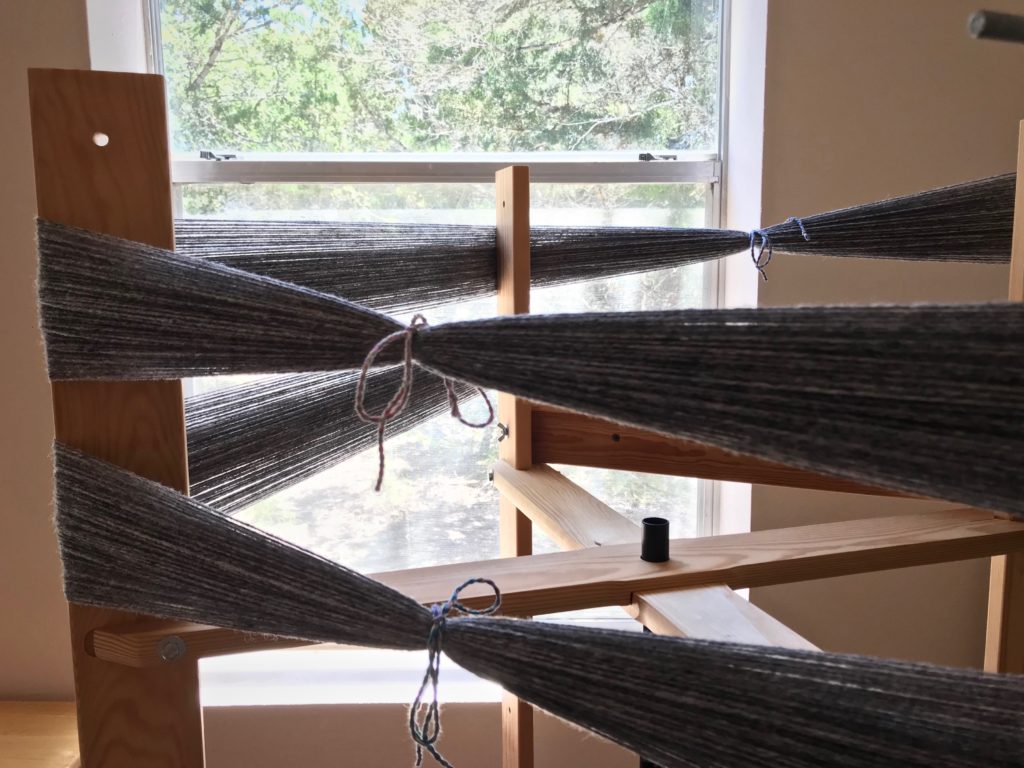
Winding the warp on the warping reel, making two bouts.Warp chains of 6/2 Tuna wool, ready to dress the loom.After beaming the warp, the loom bench is moved to the back of the loom for threadingheddles. Pattern heddles first, and then, ground heddles.With the reedsleyed, it’s time to return the ground shafts to the front of the loom and put the reed in the beater.Warp is tied on, and the leveling string is doing its job.Inkle band serves to separate pattern heddles as I distribute the pattern shafts.Pattern shafts are resting nicely on the pattern shaft holders. Their little hooks grab the Texsolv that connects them to the draw cords and handles.Pointed threading can be seen in the arrangement of the heddles on the pattern shafts.Drawloom setup is complete except for tying up the treadles. Treadle tie-ups on a drawloom are refreshingly simple.Testing pattern sheds by pulling some of the draw handles. After a few small adjustments, she’s ready to weave!First sample. 6/2 Tuna wool warp and weft, 4-shaft broken twill on the ground shafts, sett is 5.5 ends per cm, 16 pattern shafts with 1 extra shaft for the edges.
Friends, It’s that time again, when Warped for Good is put on pause for the month of July.
Thank you for sharing in this journey with me!
What’s on my looms: I am near the end of the blue double weave blanket on the Standard, and I am planning a new pictorial tapestry for that loom. The drawloom is dressed and in motion. And the Ideal loom is still sitting ready for rosepath rag rugs. Also, Steve and I have a Casita trip planned that will include some leisurely backstrap band weaving.
What’s on your loom right now? Share with us in the comments.
See you the first Tuesday of August! (In the meantime catch me over on Instagram @celloweaver.)
May your second times be better than your first times.
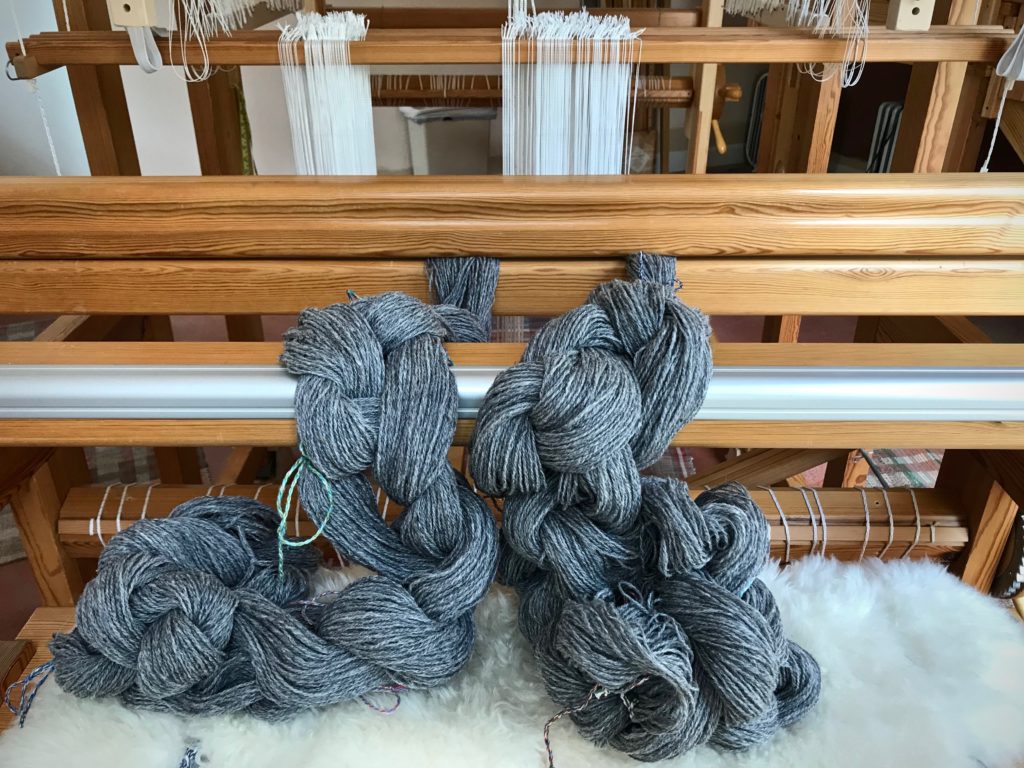
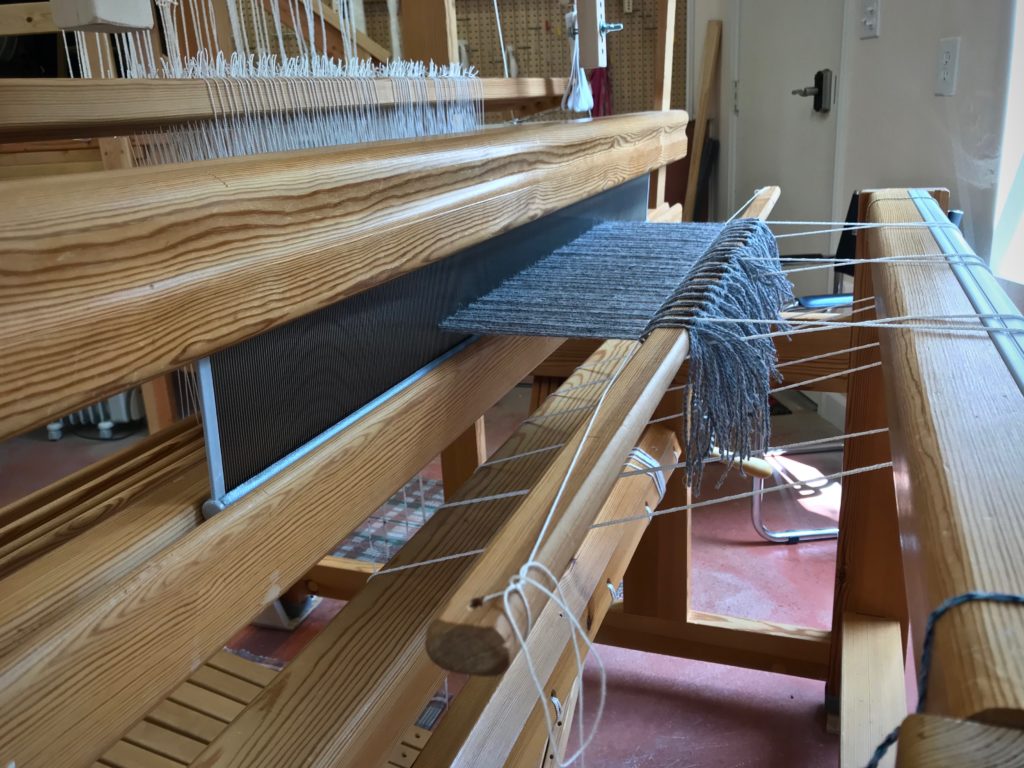
I made an embarrassing blunder. No wonder this Tuna wool resists all my efforts. It’s the wrong yarn! Tuna is 6/2 wool—twice as thick as the 6/1 wool I should be using. Cowboy Magic won’t solve this sticky problem. (I thought it would, as I expressed in this post: Tame the Wool.)
The yarn is gorgeous, but my frustration level is pushing me to throw in the towel. I tried hard to make this work. I was so convinced I had the right yarn that I missed it even when reader Joan left a gentle comment asking if 6/1 Fårö yarn would work (I’m sorry for not listening, Joan). There is nothing left but to cut off this failure.
Every shed is a struggle. It seems impossible to get a clean shed with this “sticky” yarn. (It’s not the yarn’s fault, though.)Failed piece is cut off. There are unwanted floats everywhere, and the fabric is like cardboard because of the tight sett.Bottom of the double weave has even more unwanted floats than the top layer.
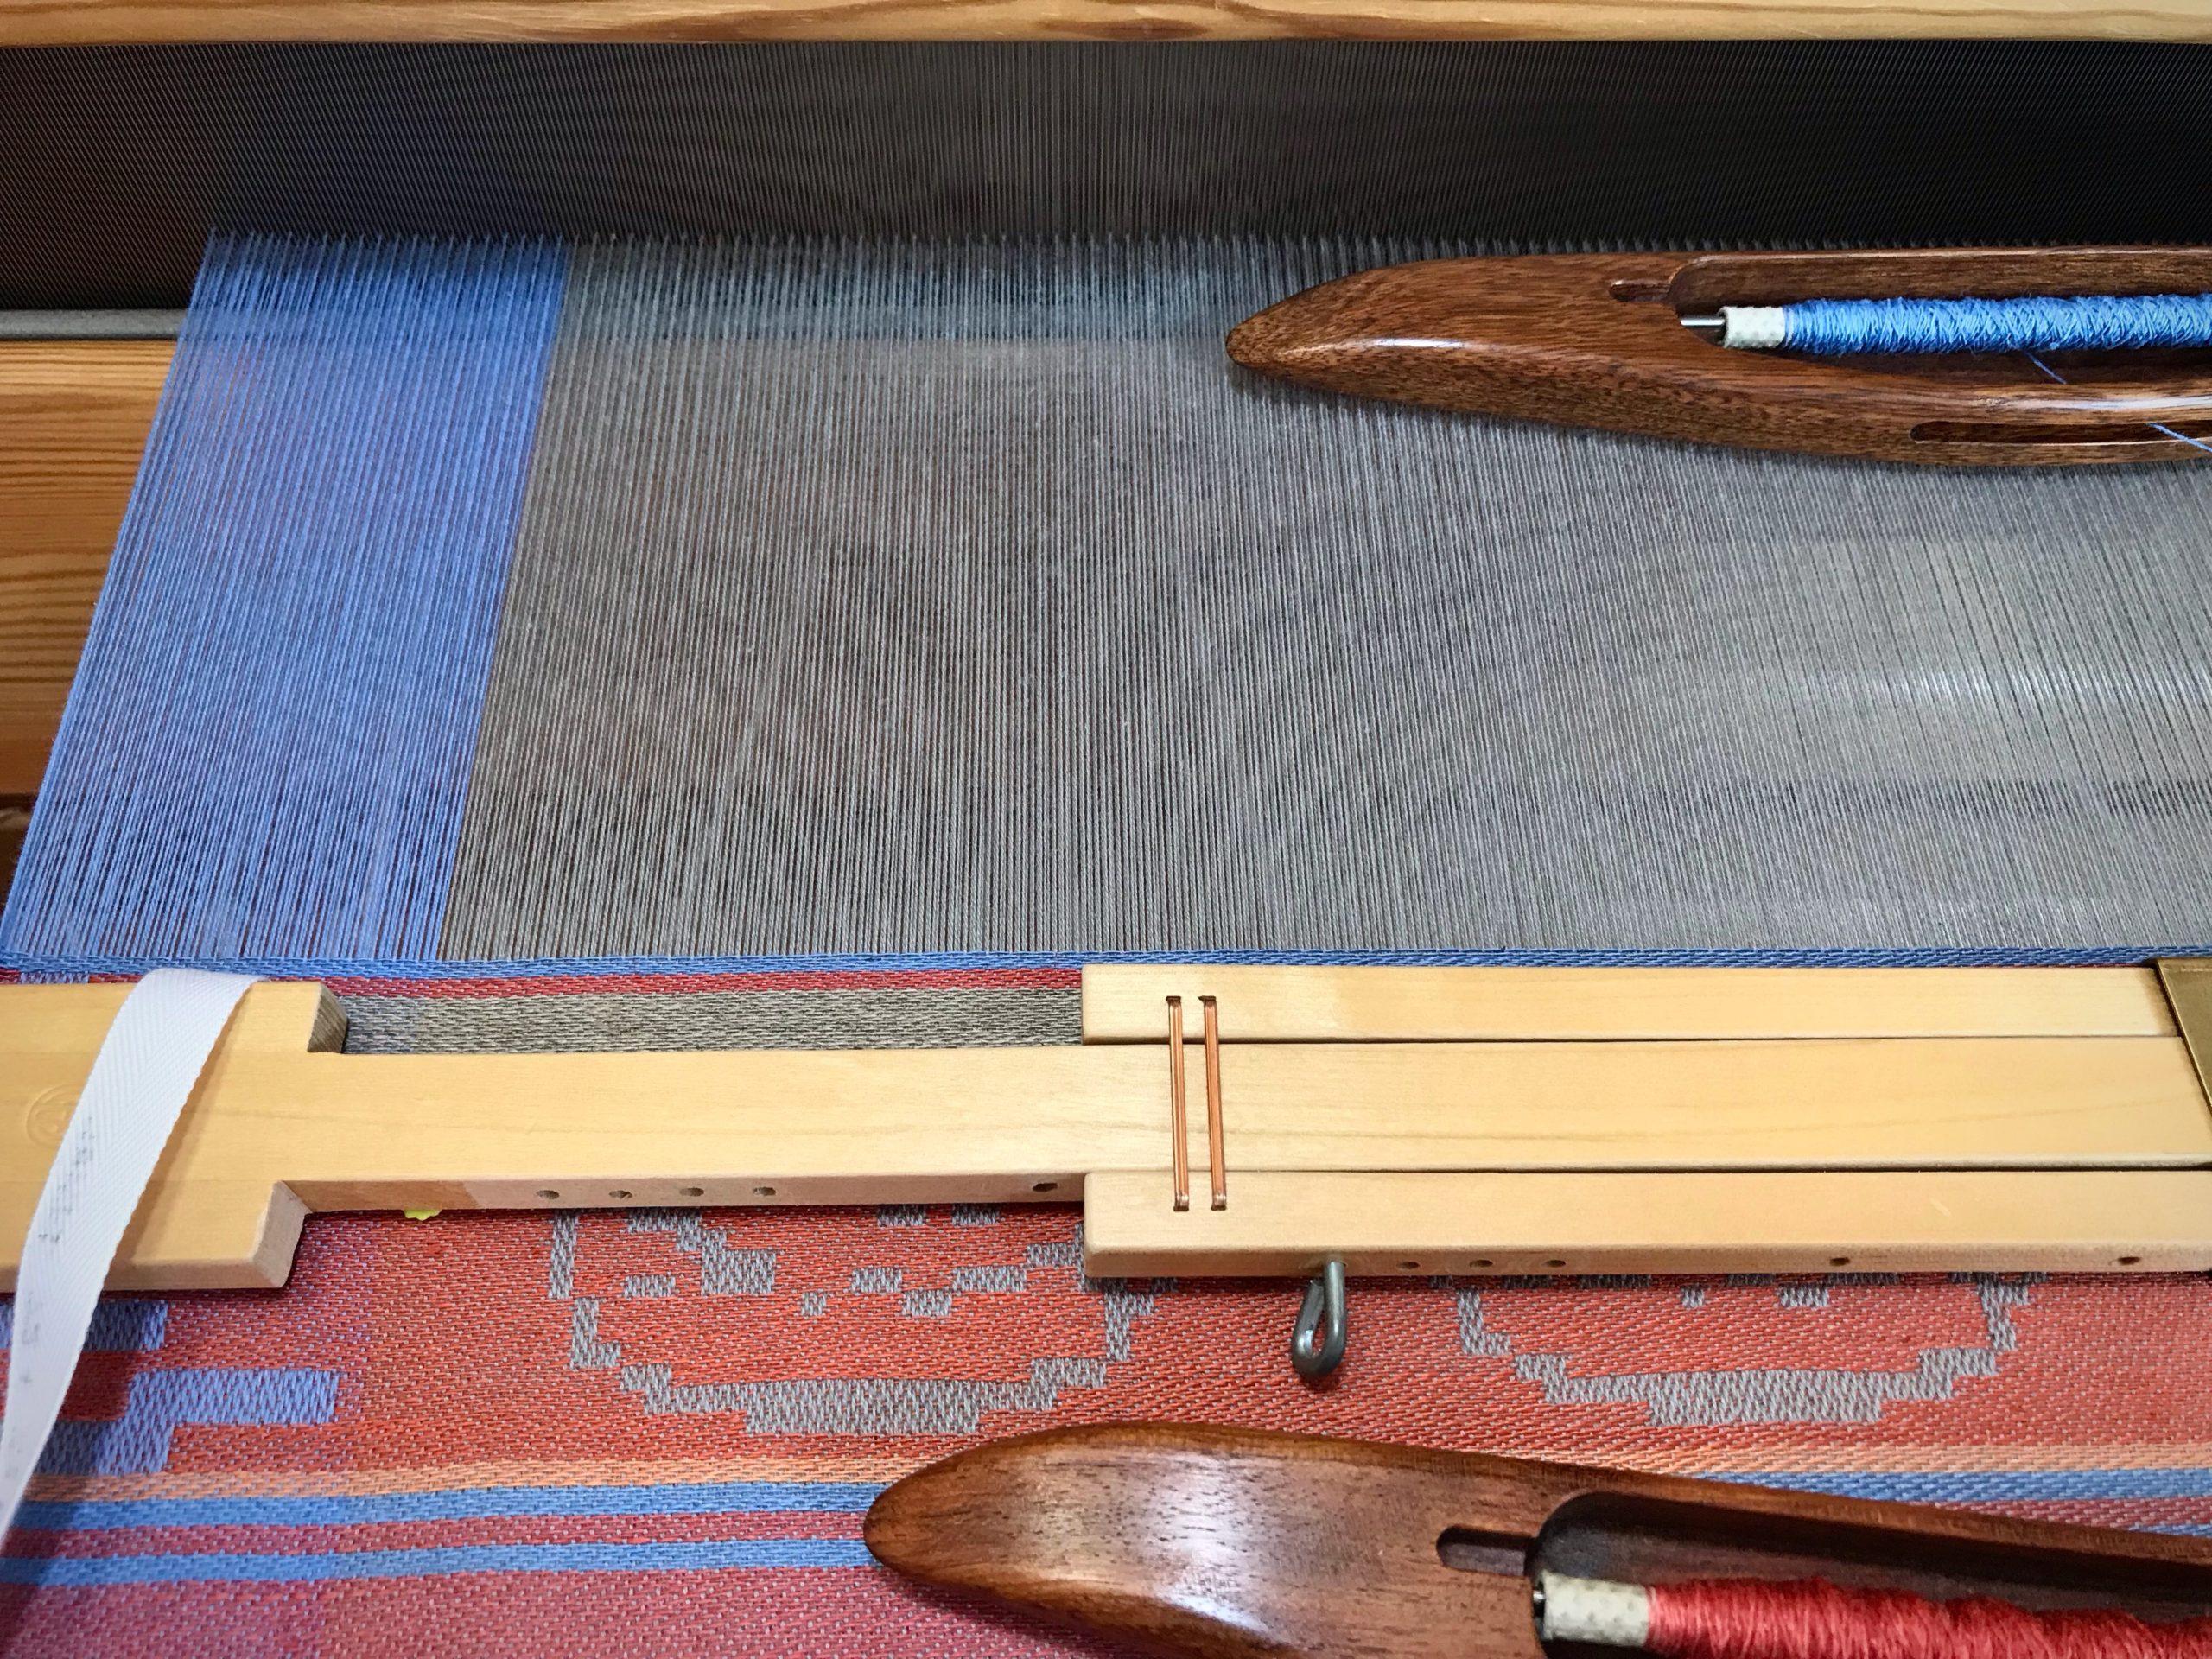
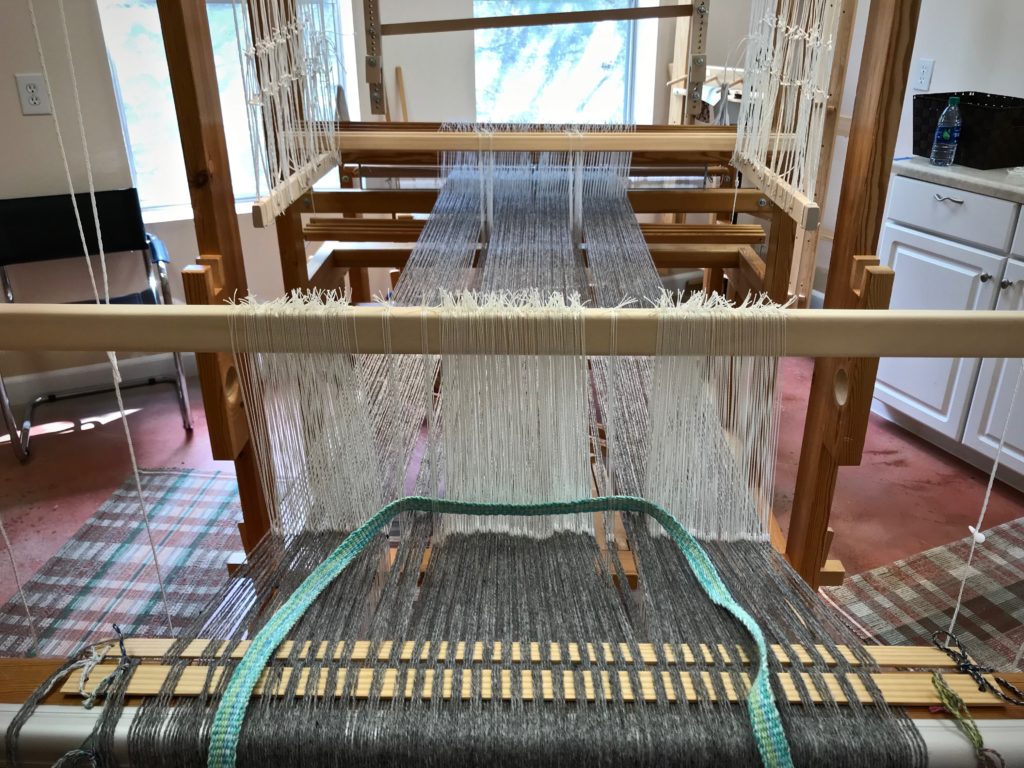
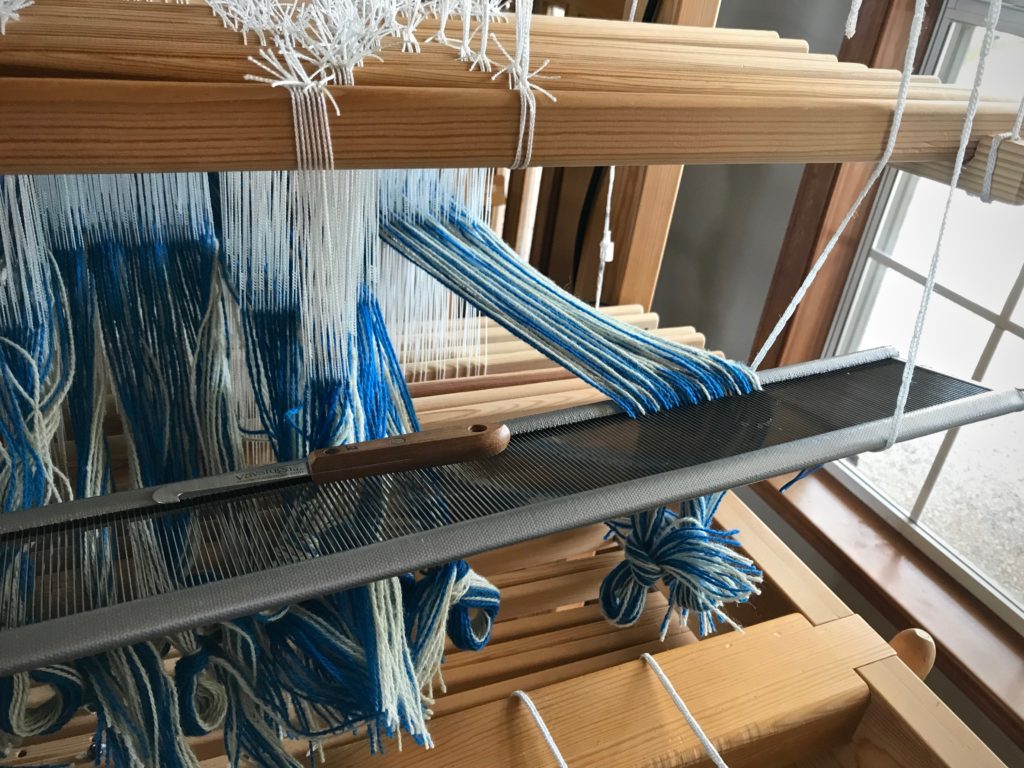
In this lowest moment a thought occurs to me. Re-sley the reed. An ounce of hope rises.
Reed is changed from 50/10 metric to 40/10 metric. This spreads the warp an additional 19.9 cm (7 3/4″).Sleying is complete and the new reed is placed in the beater. Warp is tied on and leveling string is tightened. On your mark, get ready, get set…
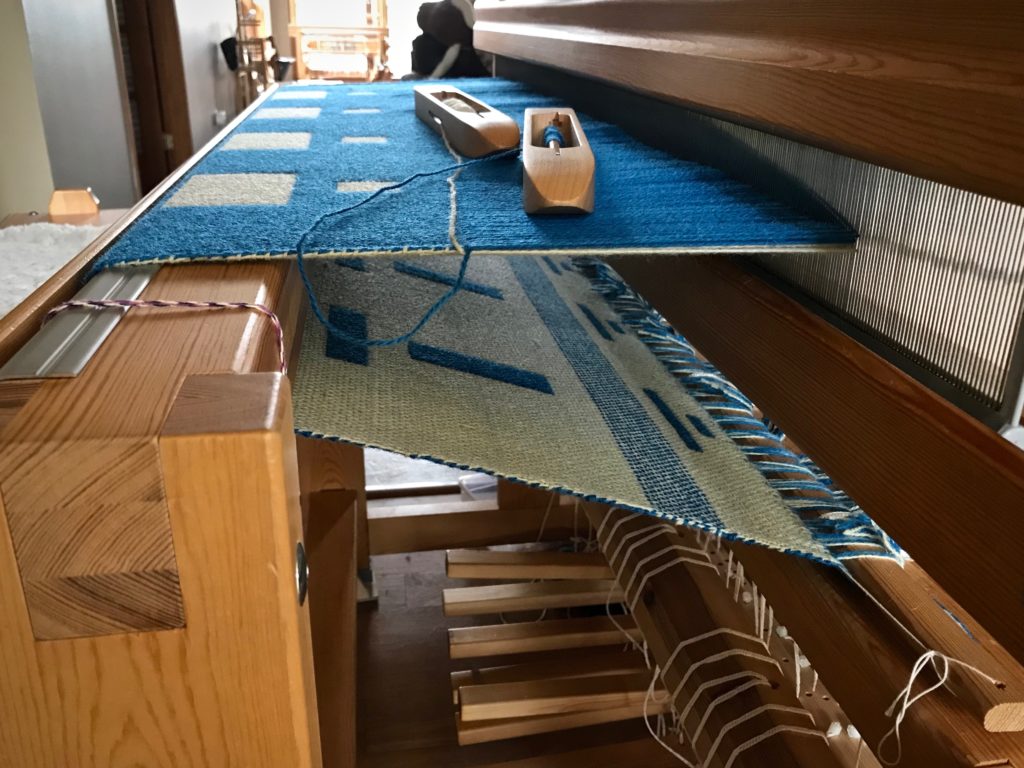
I re-sley to a coarser reed and tie back on. I hold my breath and step on the treadles. It works. And it’s gorgeous!
Go! Night and day difference in being able to clear each shed.Double weave at its finest.Weaving into the sunset.Clean lines of double weave, with a (very) few unwanted floats that will be easy to fix later.This is now a pleasure to weave!
Have you experienced great disappointment and loss of hope? Sometimes our own failure brings us to that point. The Lord makes things new. We come to Jesus with our failed attempts, and he exchanges our used rags of effort with his clean cloth of righteousness. In his forgiveness, the failure is cut off and removed. Our threads are re-sleyed and re-tied to make us gloriously new.