Tools Day: Measure Once

It occurs to me that I am unnecessarily doing something the hard way. Repeatedly. For every new project, I pull out my tape measure to find the right set of lease sticks. The tape measure also helps me select the temple needed for the current weaving width. No more! I do like my tape measure, but why am I measuring these things every time? Why not measure them once and label them?

Solution

  • Measure the lease sticks and write the length in centimeters and in inches on one stick of each pair, in pencil.
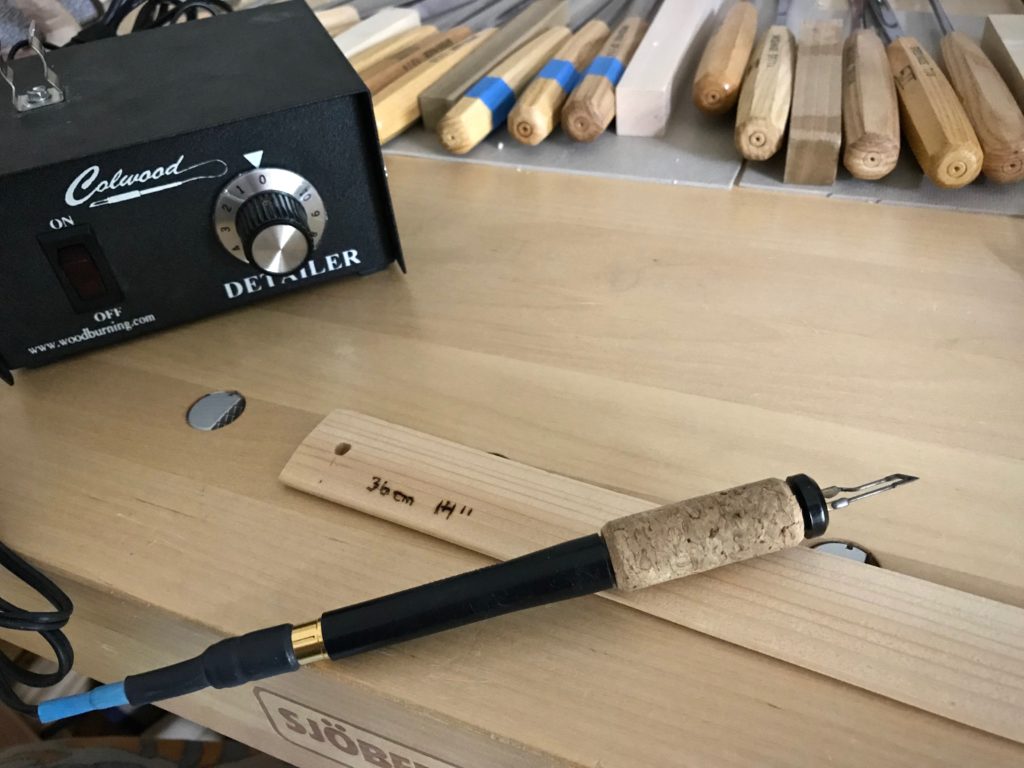
  • Use a wood burner to trace the pencil markings. (My husband Steve does this part for me.)
Weaving tip: Measurements on lease sticks.
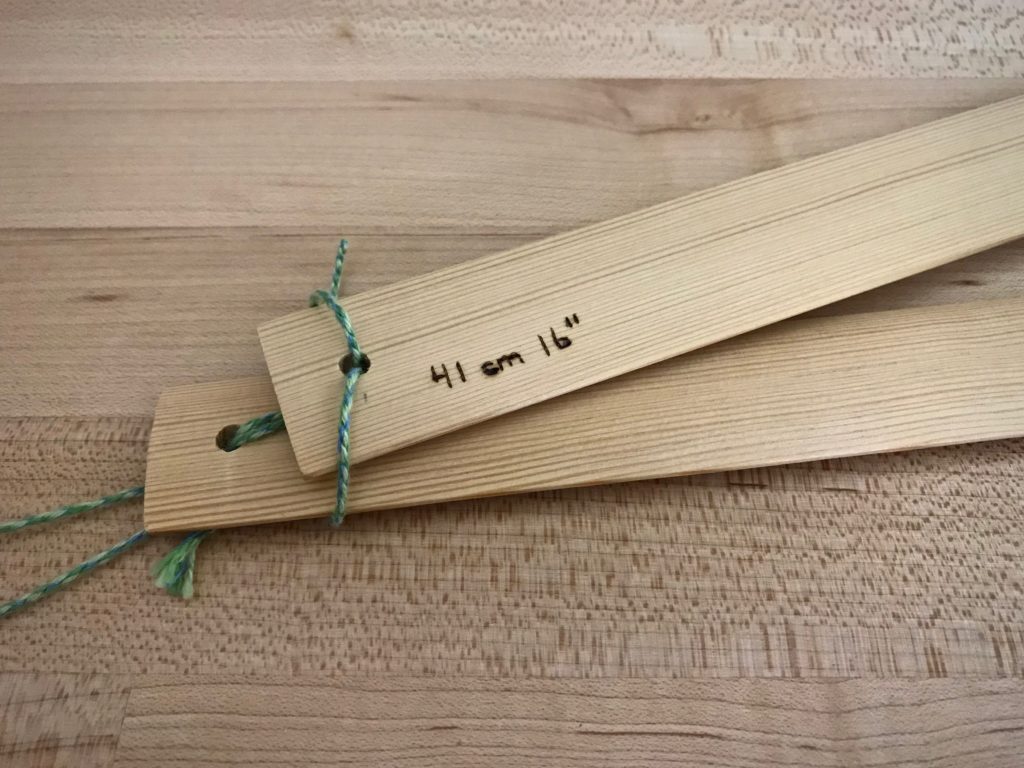
Wood burner is used to write the length measurement on the end of a lease stick. Centimeters and inches are indicated because I use metric or imperial units, depending on the project.
  • Thread a cord through one end of each pair of lease sticks, to keep pairs together. Hang the lease stick pairs with the measurements clearly visible.
Weaving tip: Measured lease sticks paired together for hanging.
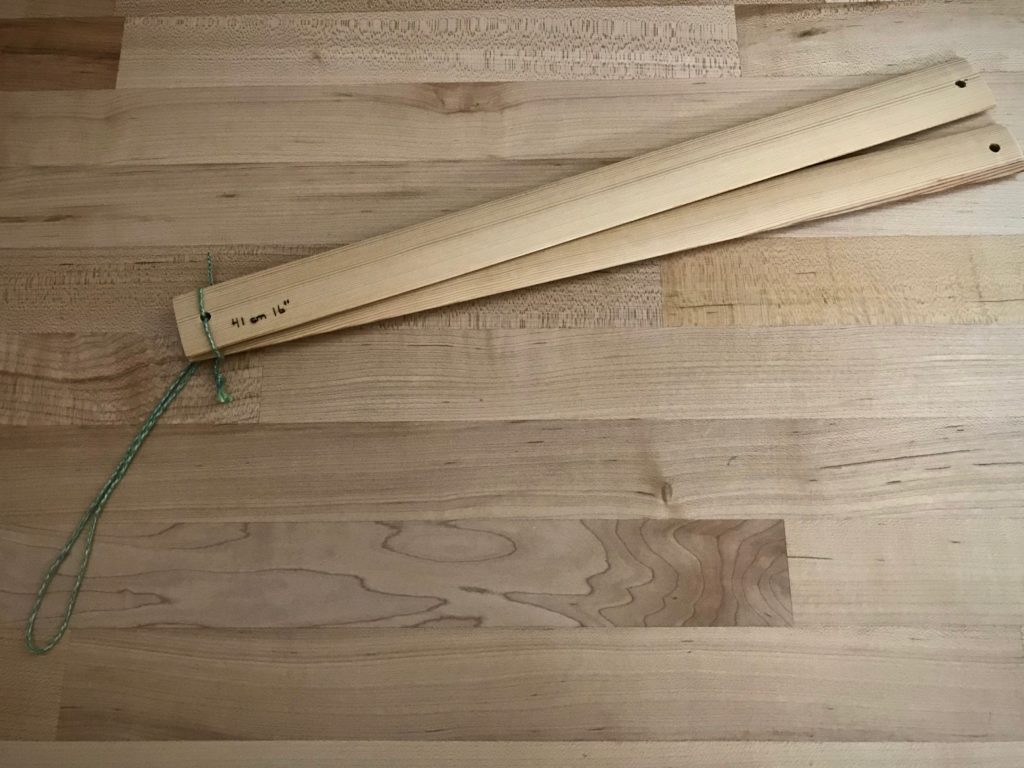
Looped cord is threaded through the lease stick holes to provide an easy way to hang pairs together.
Paired lease sticks, ready for hanging.
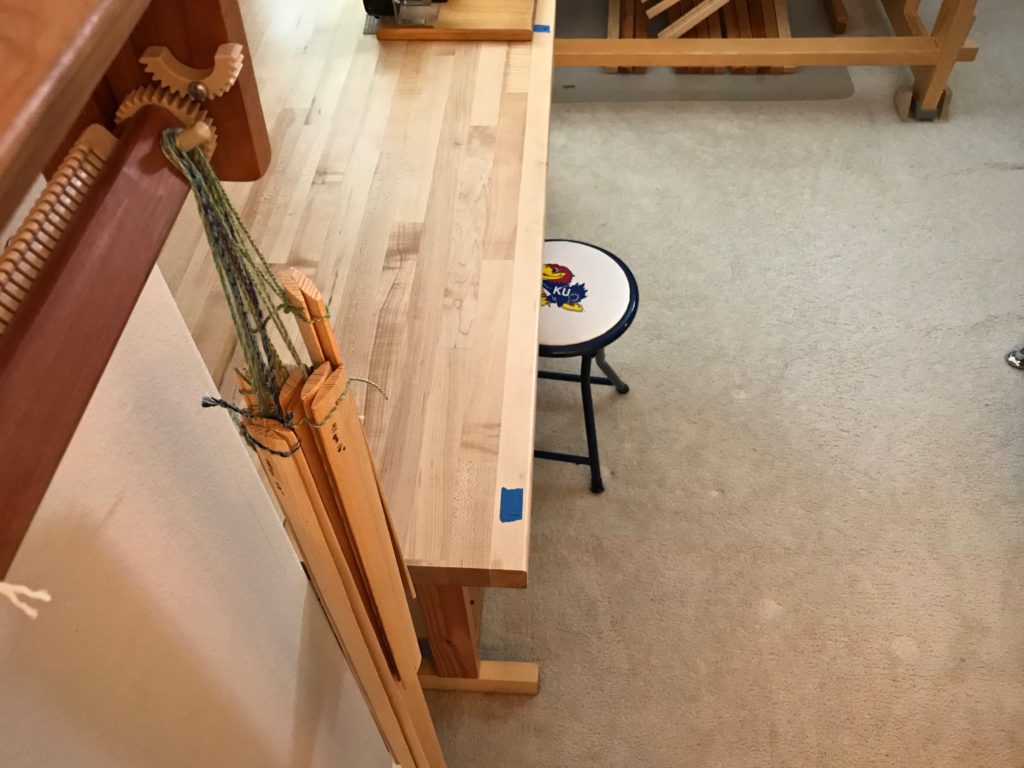
Lease sticks hanging in the weaving studio.
Pairs of lease sticks hang beside my worktable in my weaving room. My ol’ Beka rigid heddle loom on the wall happens to provide just the right little hanging post for the measured lease sticks.
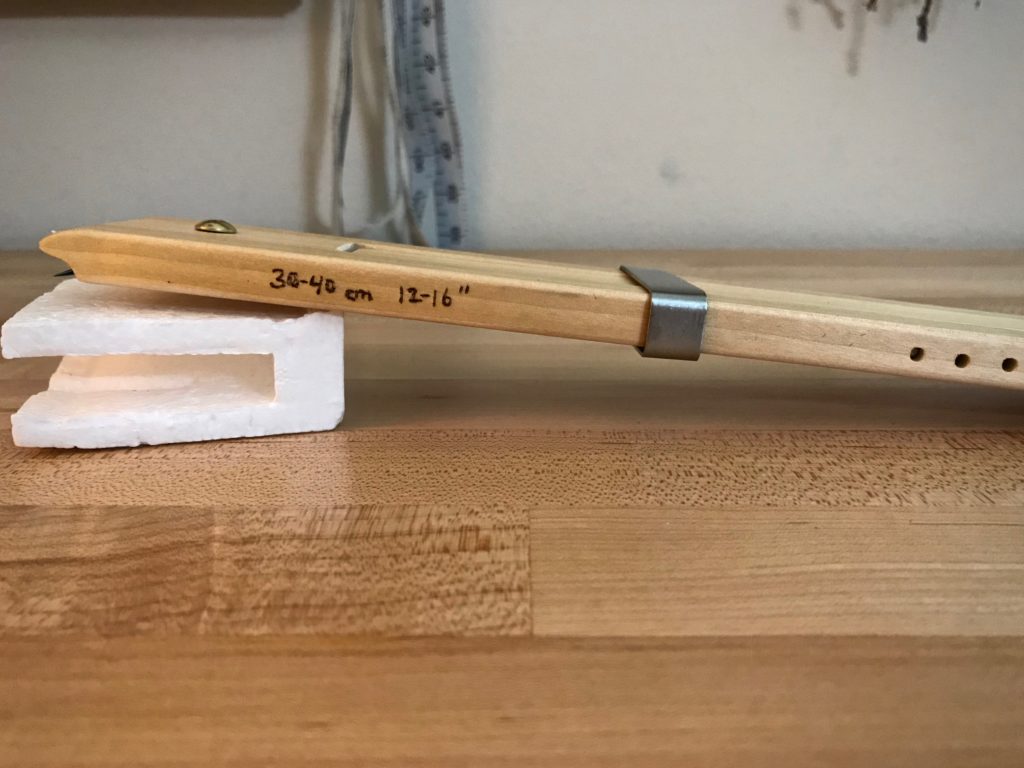
  • Look up the temple sizes on a website that sells them, and write the size range in centimeters and in inches on each temple, in pencil.
  • Use a wood burner to trace the pencil markings. (Steve, again.)
Weaving tip: Measure the temples.
Range of temple widths is important information when I’m choosing a temple. Weaving width of a project must fit in that range.
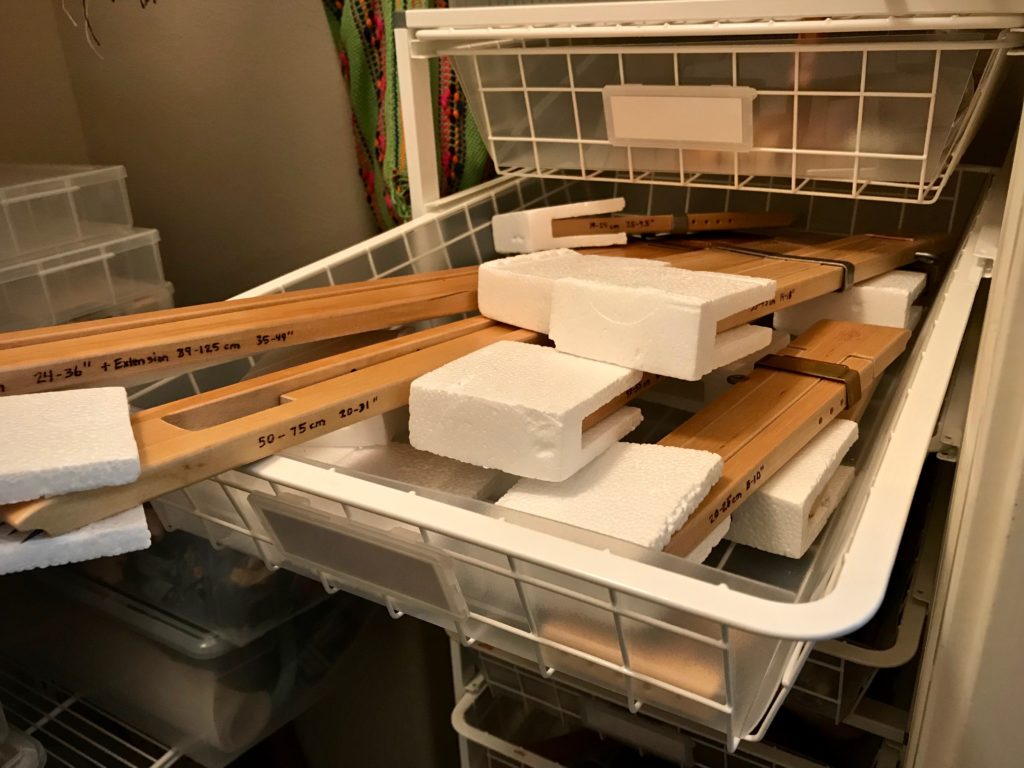
  • Store the temples in a manner in which the marked measurements are easily seen.
Weaving tip: Find the right temple size the first try!
No more trying different temples to find one that fits. Now I can look at the markings and select the correct temple the first time.

Now I have permanent at-a-glance measurements for each of these frequently-used tools!

May you find something to simplify.

Happy weaving,
Karen

Heddle Shortage

I am well into threading when I realize I neglected to take into account how many heddles I need for this project! I don’t have 2,064 even if I grab all of the heddles from the other loom. This double weave throw project is at a dead end until more heddles appear. I hurriedly place an order for more heddles…

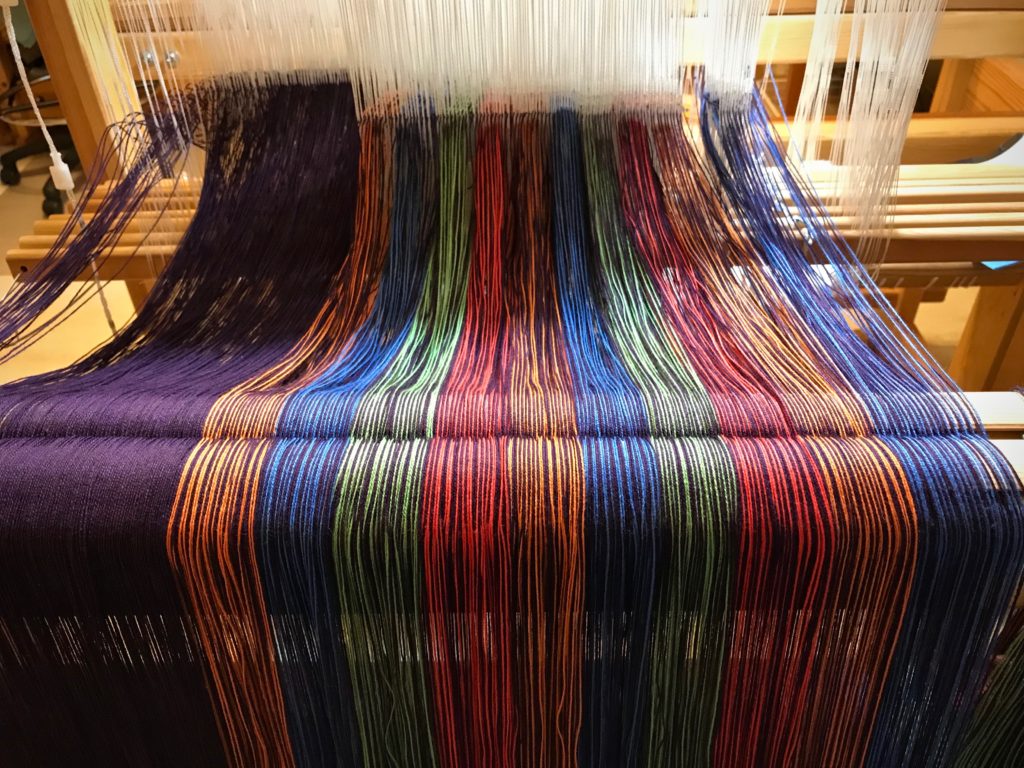
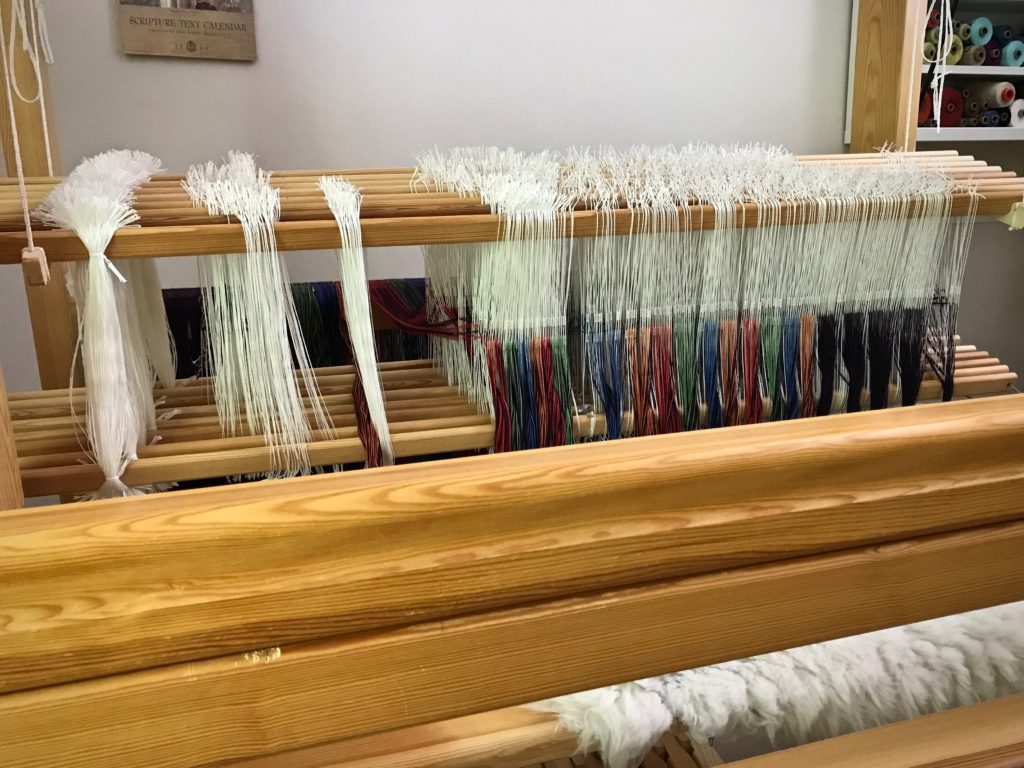
Threading heddles for double weave.
This Glimåkra Standard is one of three looms that share my supply of Texsolv heddles.

Thankfully, the new heddles arrive quickly and the project is alive again.

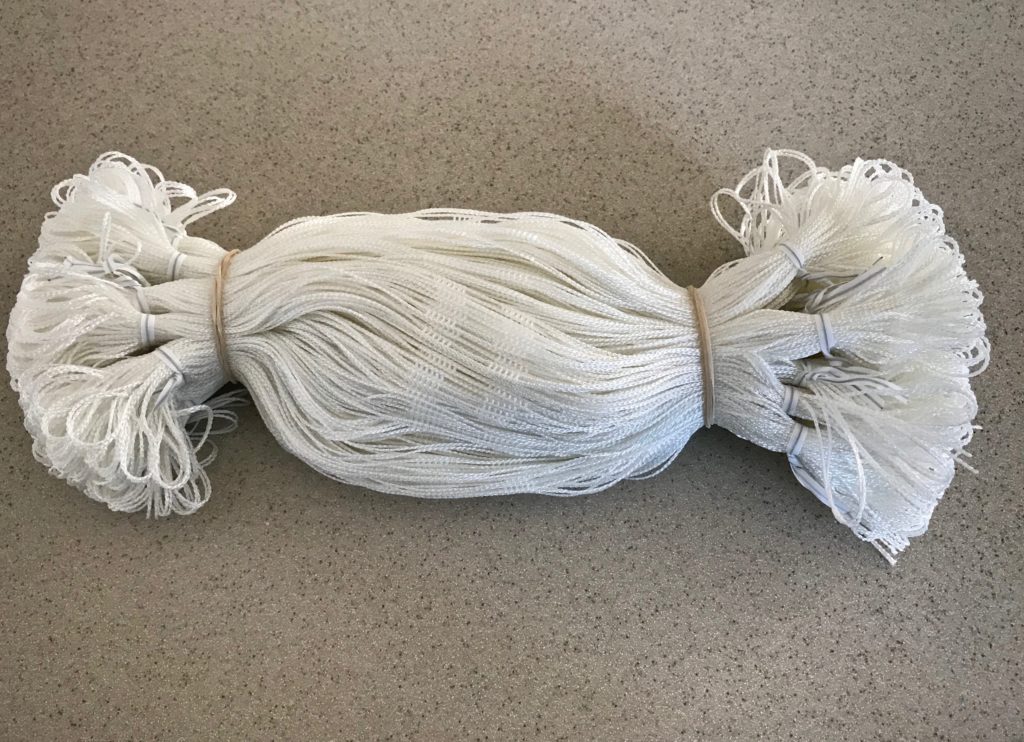
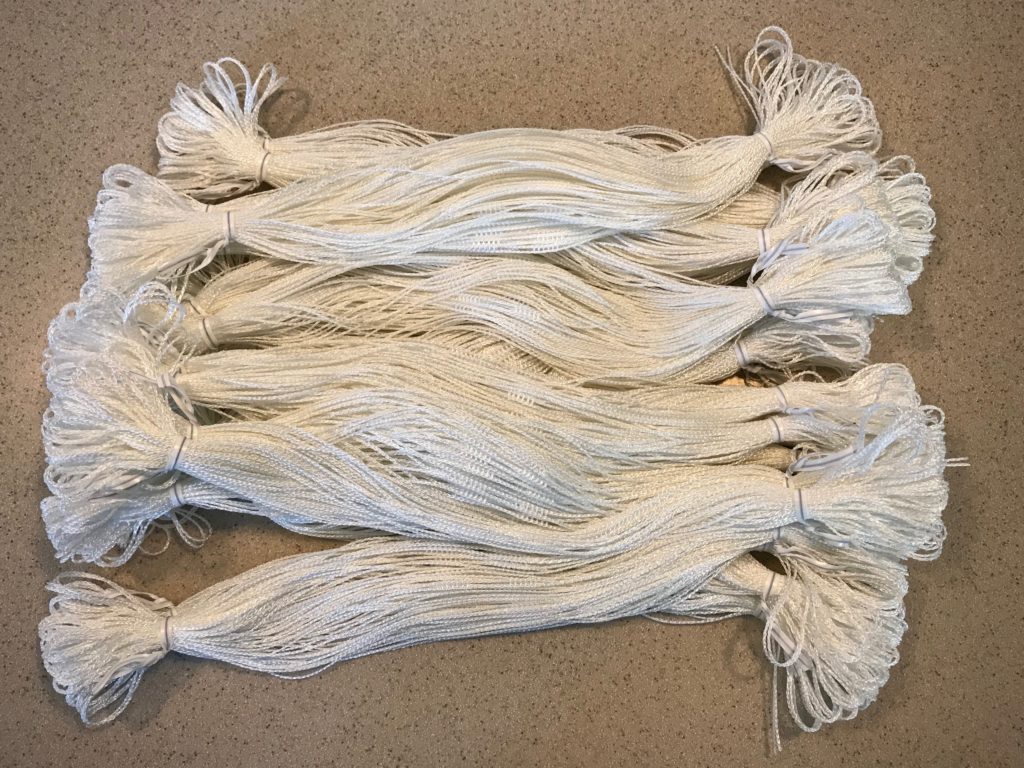
This is what 1,000 Texsolv heddles looks like!
This is what 1,000 Texsolv heddles looks like! I didn’t want to run out again any time soon.
New Texsolv heddles - 1,000 of them!
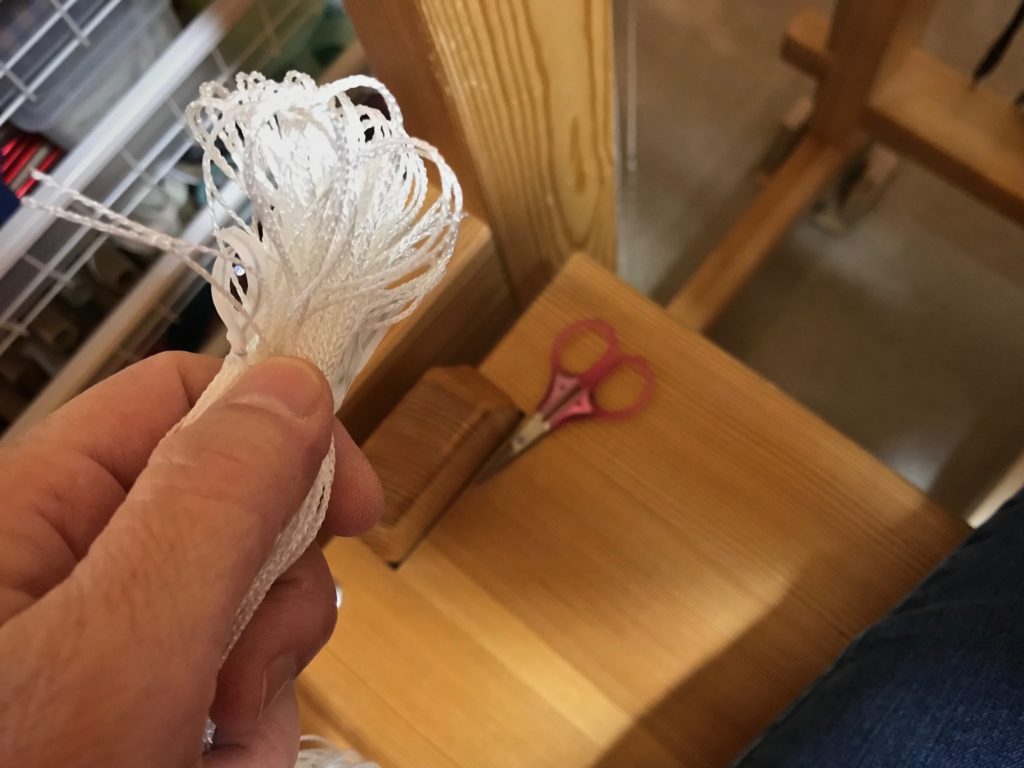
Heddles come in bundles of 100, held together with twist ties. WARNING: DO NOT undo the twist ties before you put the heddles on the shaft bars. You’ll be sorry…
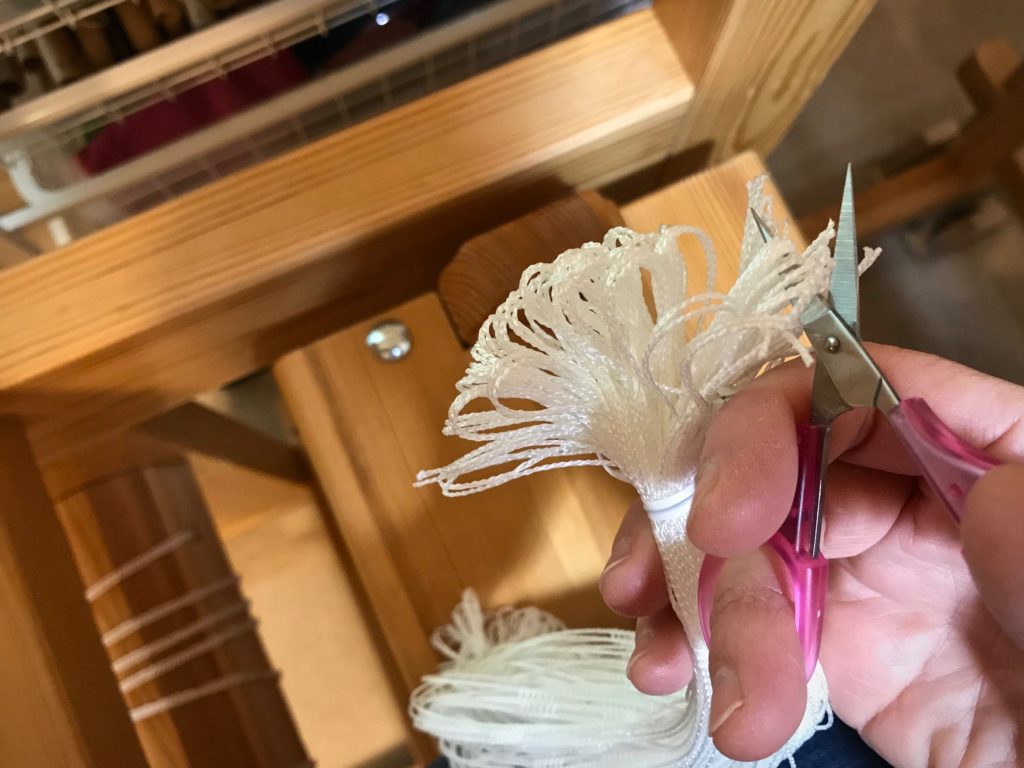
Clipping loops on new Texsolv heddles.
Before putting the heddles on the shaft bars, and while they are still tied into bundles, clip the loops at each end.
Clipping Texsolv heddle loops.
I clip the loops on both ends of the heddles. It is easy to move heddles wherever you want if the loops are cut, including repositioning individual heddles. (It is far easier to clip the loops while the heddles are still tied together.)
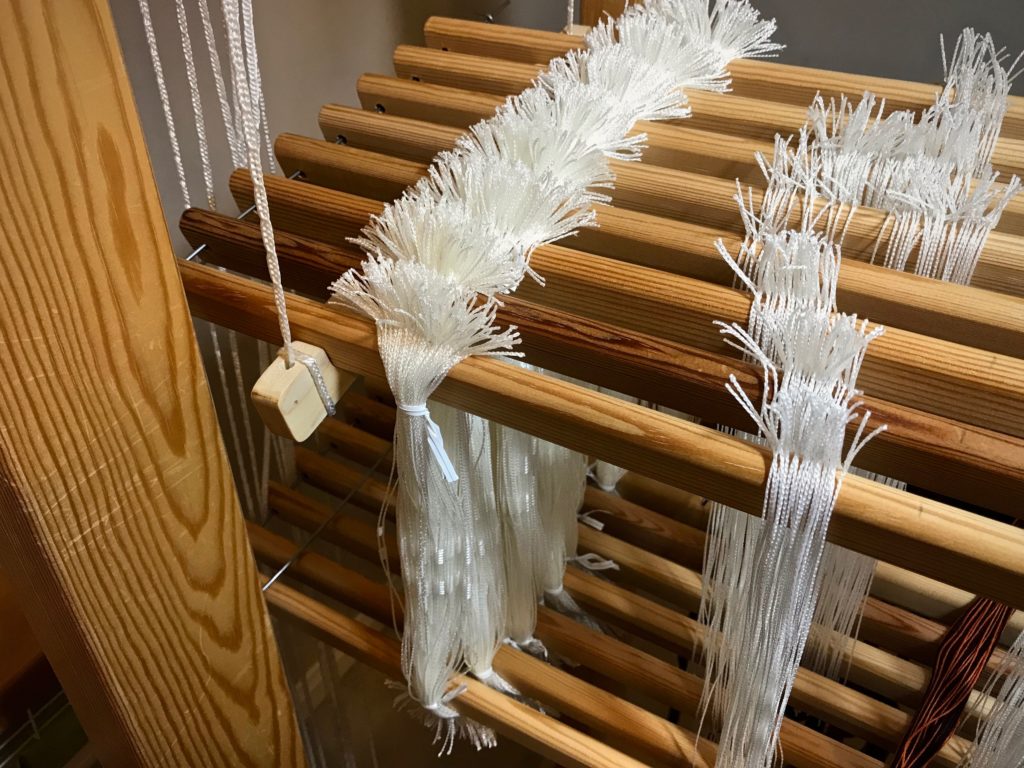
New heddles on the shaft bars.
There are 100 new heddles on each shaft. The heddles that are not used will be tied up and put away in my heddle box, ready for the next time I need more heddles.

Alive. This is the Easter season when we celebrate the resurrection of Jesus Christ. He died, and was made alive again! What makes it even more fantastic is what that means for us. We all have a goodness shortage. And without a source of true goodness, our lifetime self-improvement project is at a dead end. Yet, through faith in the powerful working of God, we are raised with Christ. We are made alive together with him. His true goodness becomes our living source.

New bundles of Texsolv heddles stand ready to be used!
Threading progresses. New bundles of heddles stand ready to be used!

May you be supplied with more than enough.

Happy Easter,
Karen

Tools Day: Swedish Bobbin Winder

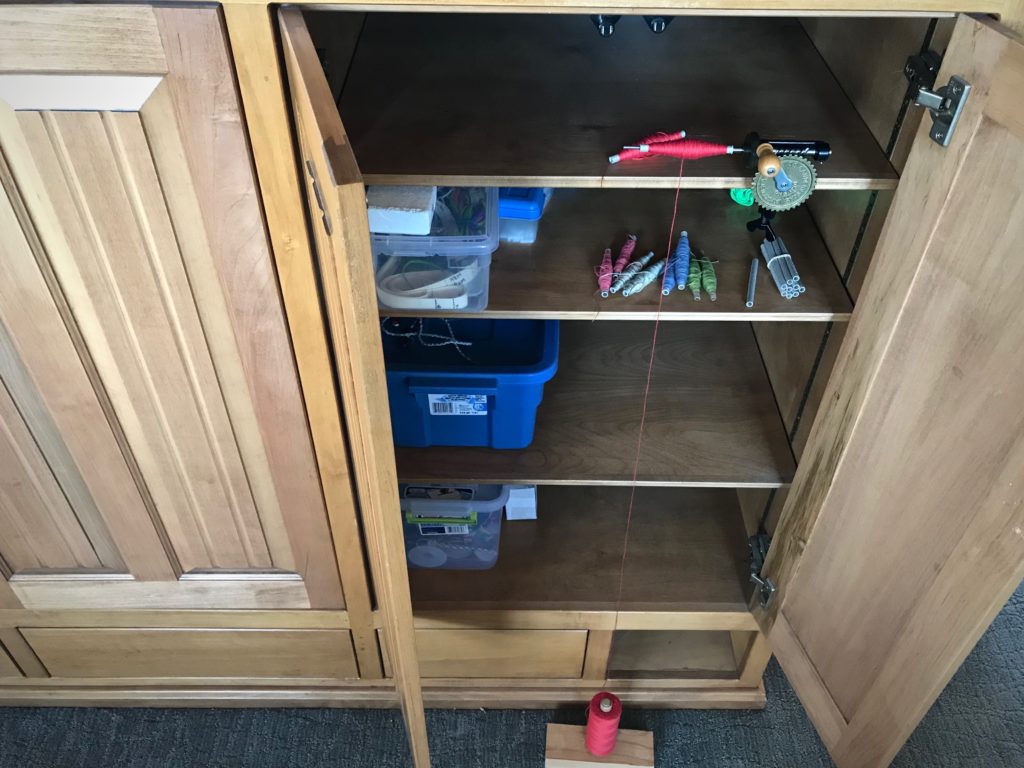
There’s nothing quite like the beauty and functionality of a well-designed tool. The Swedish hand bobbin winder is one of those tools. A bobbin winder is essential. Steve made a superb electric bobbin winder for me that I normally use. But at our Texas hill country home, my Swedish bobbin winder comes into play. And it is a pleasure to use. I clamp the bobbin winder on a shelf in the cabinet where I store my few weaving supplies for this location. The tube of thread sits directly below on a simple homemade spool holder.

Swedish hand bobbin winder for winding quills.
Swedish hand bobbin winder is set up in my supply cabinet. It is easy to remove and put away when I finish winding quills.
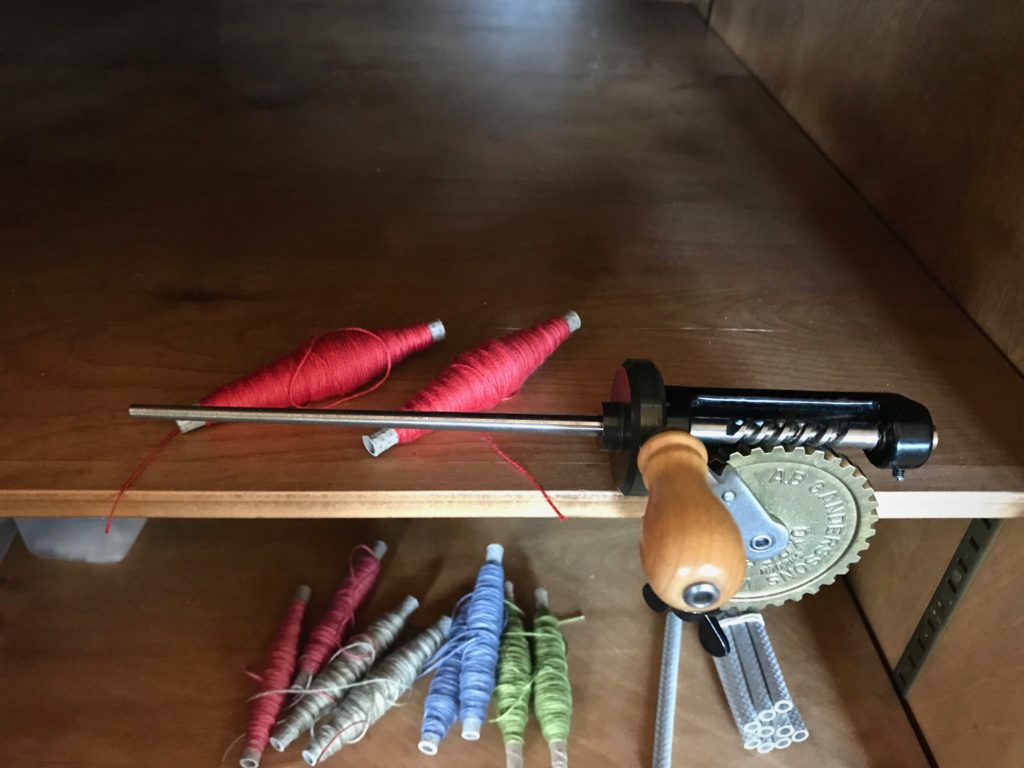
Swedish hand bobbin winder for winding quills.
Narrow spindle on the bobbin winder is the size that works for winding quills.

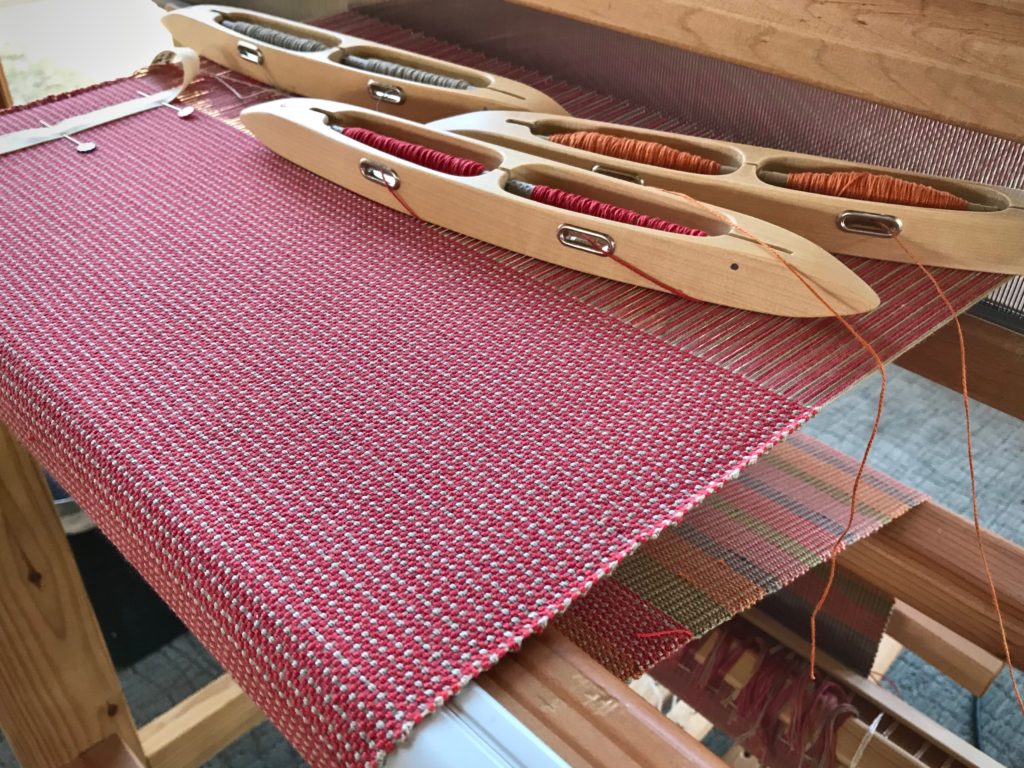
For these color-and-weave cotton placemats, I am using double-bobbin shuttles. So, with the impressively simple Swedish hand bobbin winder I am winding matching pairs of colorful 8/2 cotton quills.

Double-bobbin shuttles for weaving doubled weft.
Double bobbin shuttles are handy for weaving this doubled weft color-and-weave pattern.

May you have the pleasure of working with well-designed tools.

Happy weaving,
Karen

Tools Day: Tape Measures

A tape measure is a weaver’s best friend. Think about how many ways the tape measure serves you. I have one at each loom. Always. And I have a few others scattered around, hanging up, and in bags. Because you never know when you might need to measure something.

Tape Measure Uses

  • Take measurements to determine the desired size of the finished cloth, such as window measurements for curtains, floor space for area rugs, or length of skirt tiers for skirt fabric.
  • Measure the length of a guide string for winding the warp.
  • Find the starting point for the warp width in the pre-sley reed.
  • Double check the width of the warp after it is pre-sleyed.
  • Check the width of the warp on the back tie-on bar.
  • Center the reed in the beater for beaming the warp by measuring the distance from the warp in the reed to the outside edge of the beater on both sides.
  • Find the starting point to sley the reed by measuring half of the warp width outwards from the center of the reed.
  • Double check the width of the warp in the reed after it is sleyed.
  • Center the reed in the beater for weaving.
  • Adjust to the correct width of the warp on the front tie-on bar after the warp is tied on.
  • Mark the measured weaving length on twill tape or ribbon to use as a weaving length guide.
  • Measure how far one quill weaves.
  • Measure the distance between pieces that require unwoven warp, such as for fringe, or for tying knots between rag rugs.
  • Measure the distance from the first shaft (nearest the back of the loom) to the back tie-on bar (especially when you are hoping there is enough warp left to finish a symmetrical pattern).
  • Measure the width and length of fabric that is cut from the loom.
  • Measure the width and length of fabric that has been wet finished, dried, and pressed.
  • Measure your pleasure at the loom. Immeasurable!
Tape measure, in constant use at the loom. Let me count the ways...
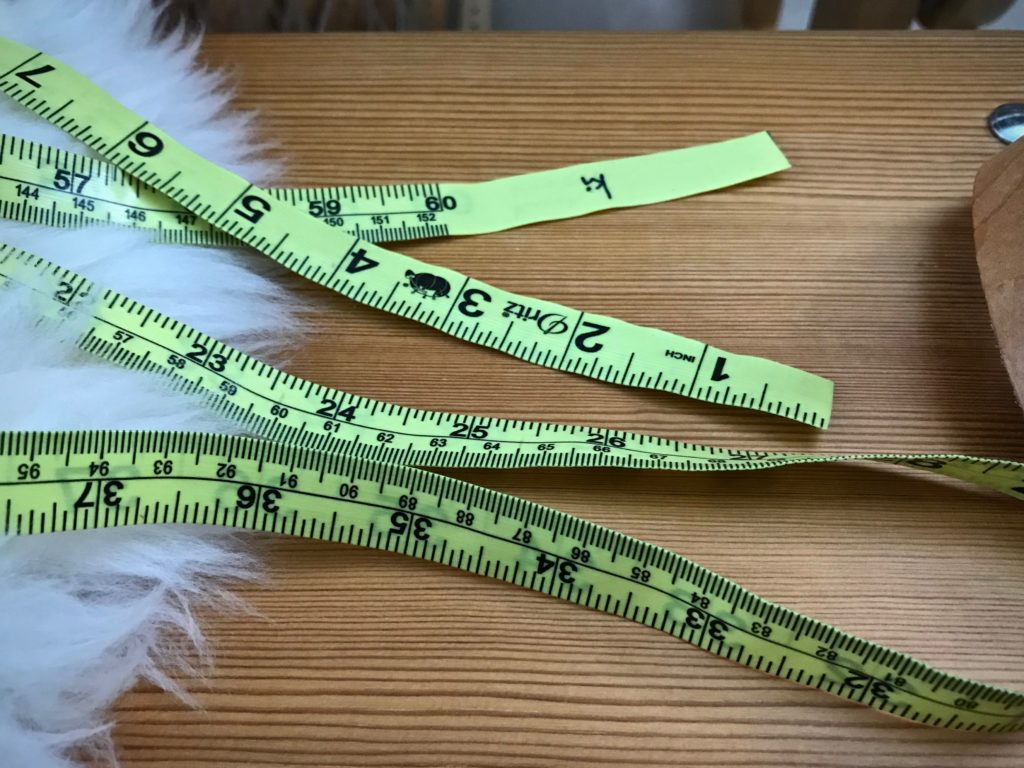
Tape measure with imperial and metric units, both of which I use regularly. Metal ends have been removed from the tape to clearly see the tape’s markings, and because I slip the tape into a dent of the reed when I am marking the spot to start sleying.
Tape measure at the loom. Various uses.
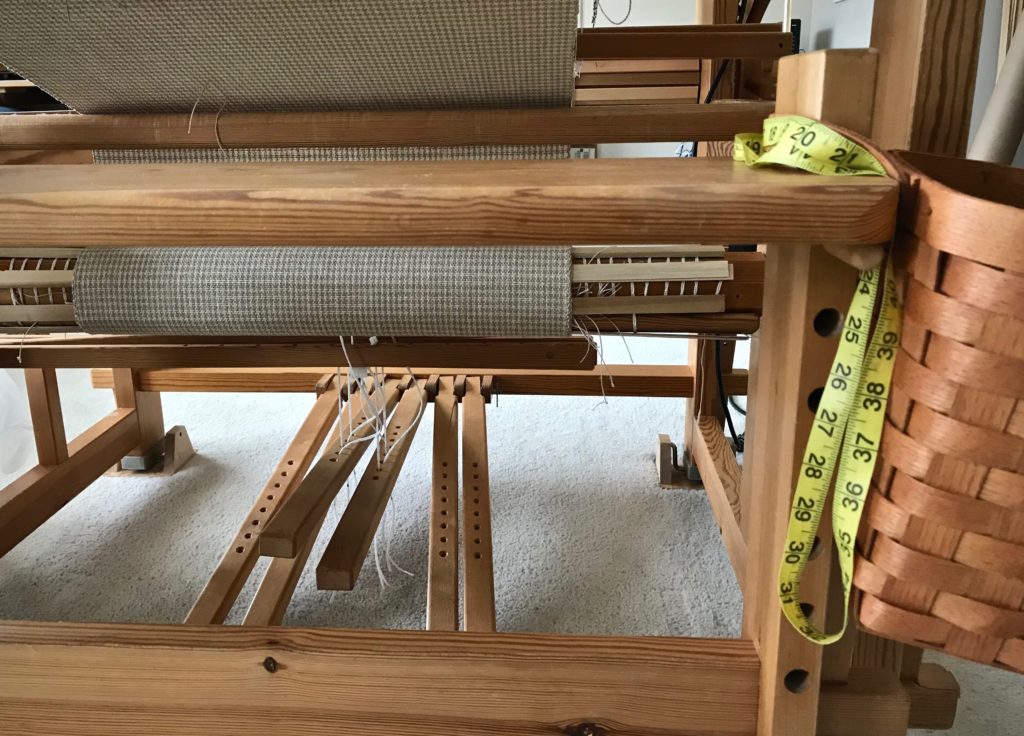
Glimåkra Ideal loom, with tape measure in its usual place hanging on the end of the loom bench.
Tape measure usage at the weaving loom.
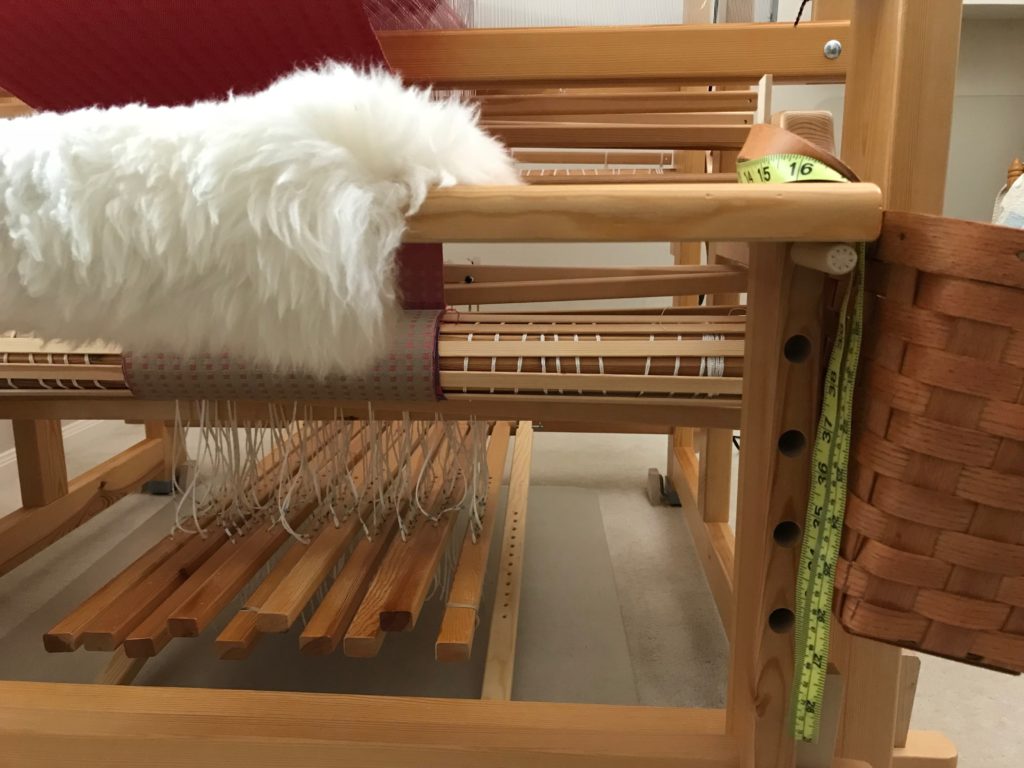
Glimåkra Standard loom, with tape measure ready for the next measuring task.
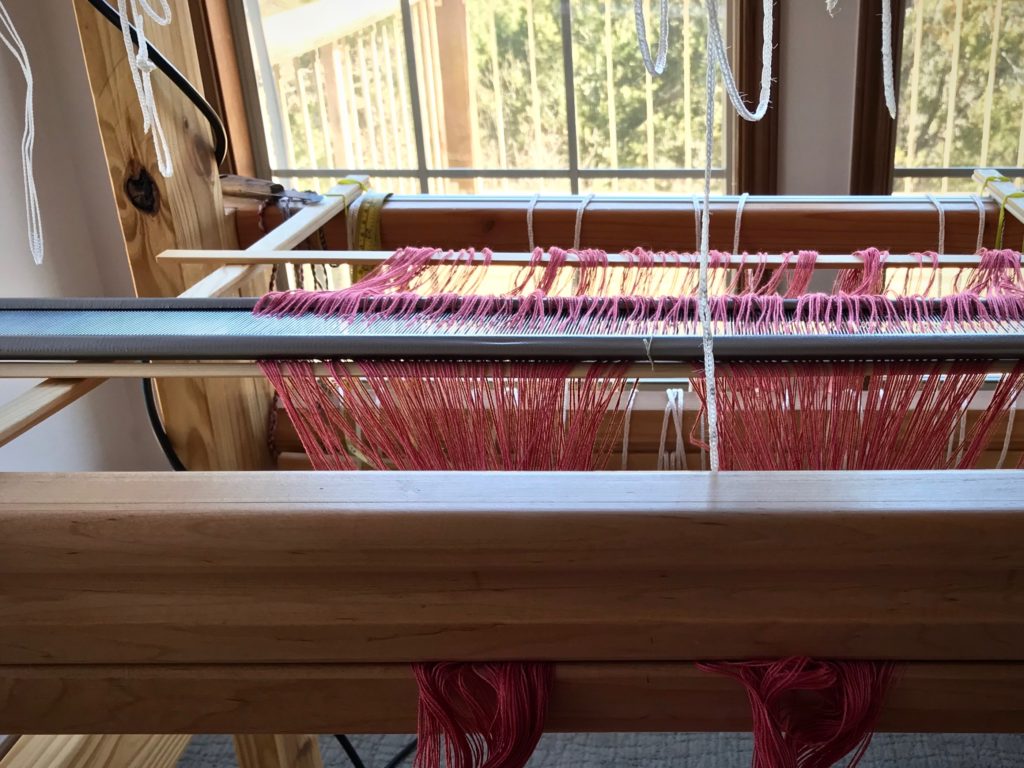
Preparing the loom for weaving.
Tape measure hanging over the back beam on the Texas hill country loom while pre-sleying the reed and positioning things to prepare for beaming the warp.
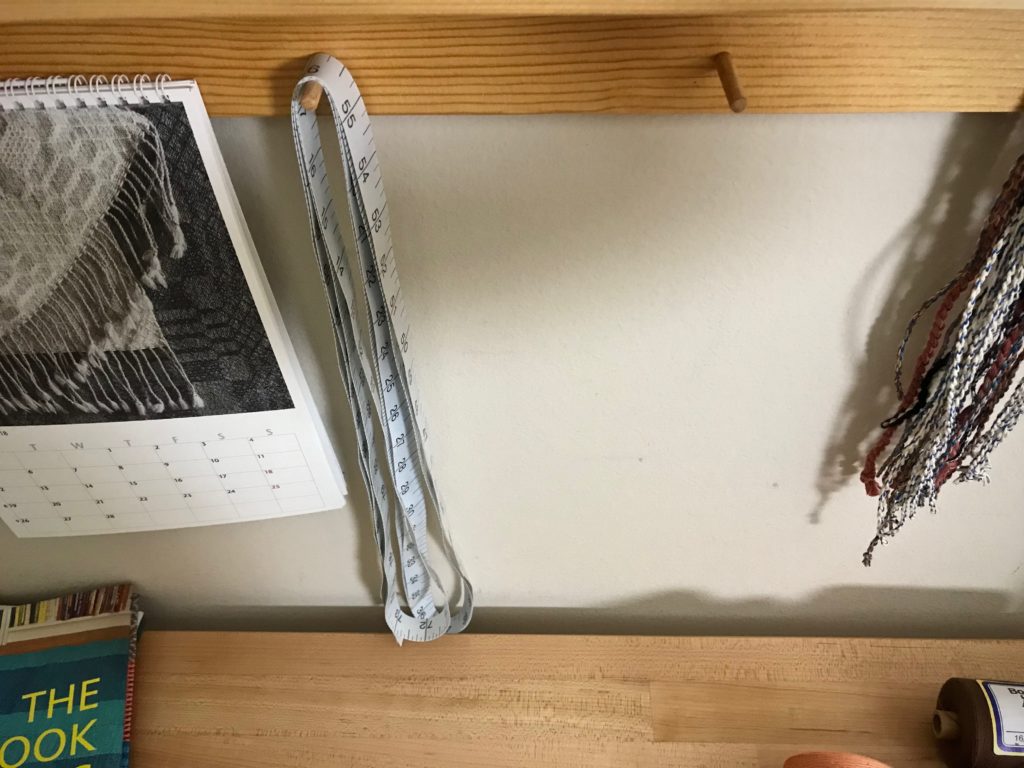
Tape measure hangs on peg strip above the work table.
Extra-long tape measure hangs on the peg strip above my work table.
Sometimes a long tape measure is needed!
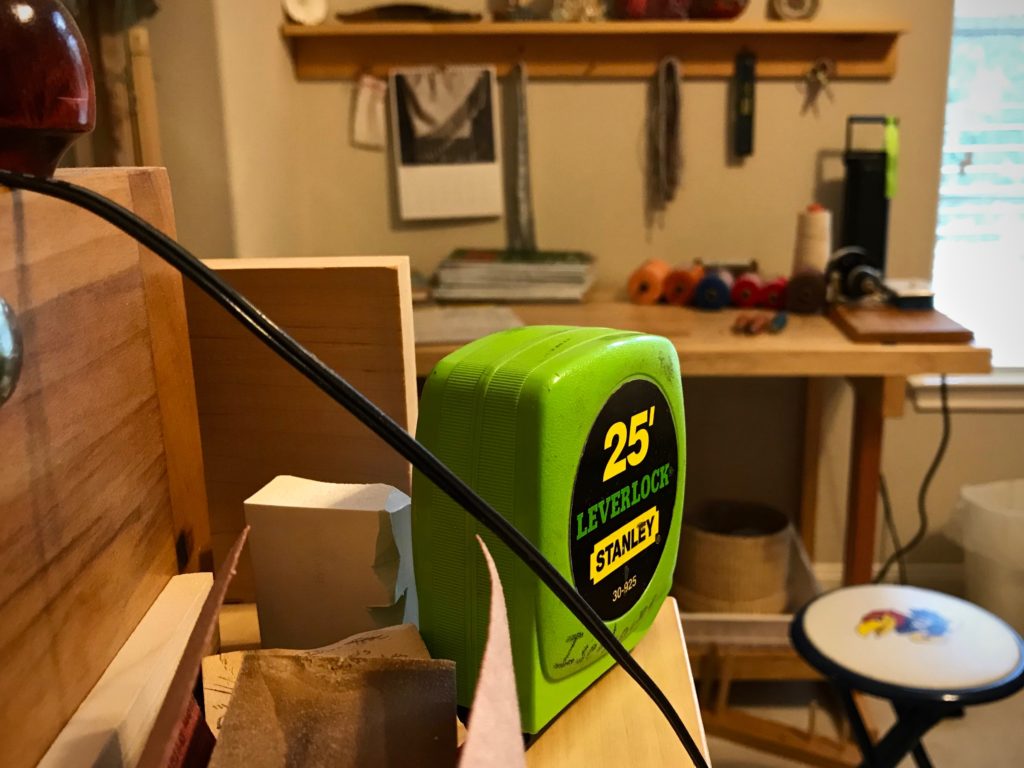
Occasionally, I borrow Steve’s metal carpenter’s tape measure from his wood carving bench.
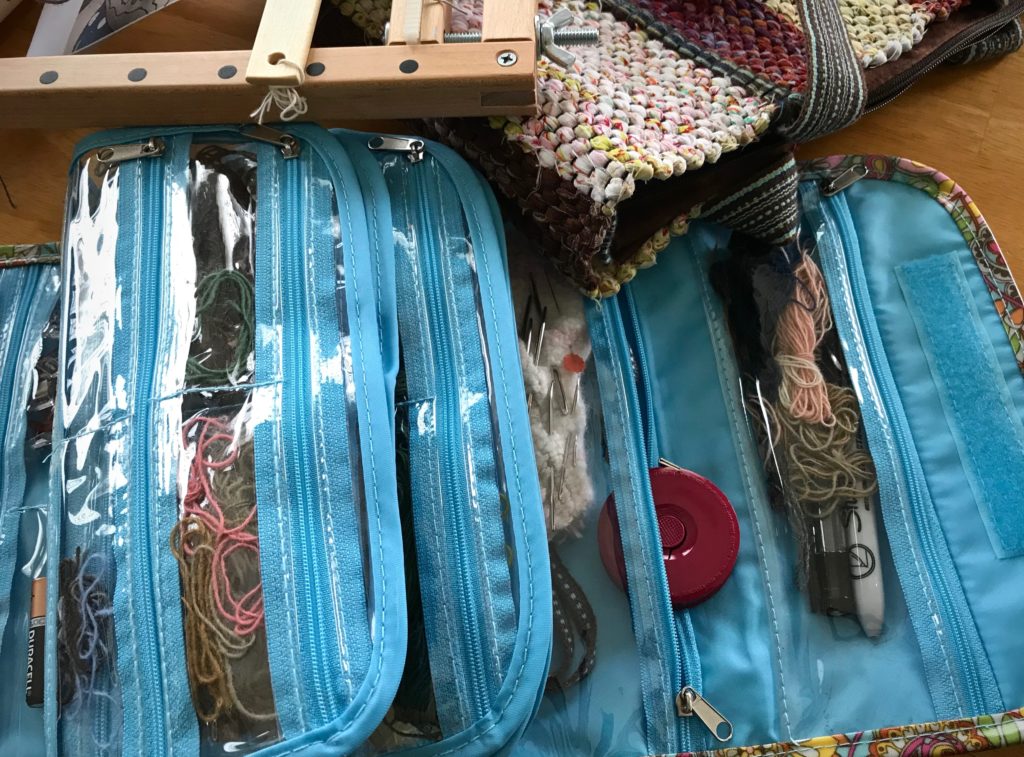
Travel tapestry supplies, including tape measure.
Compact retractible sewing tape measure rides in my travel tapestry bag. It has imperial and metric units.
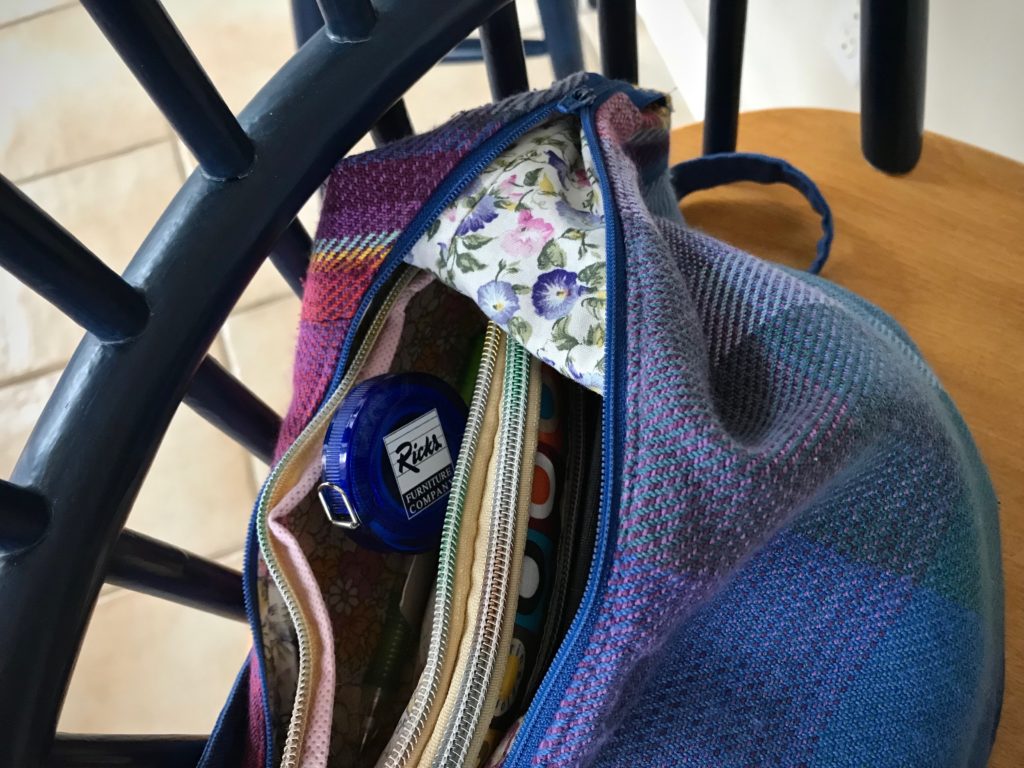
No purse is complete without a tape measure, right?
No purse is complete without a tape measure, right? (A tape measure can outlive the business it promotes.)

What have I missed? Can you think of other ways your tape measure comes in handy?

May you be blessed in full measure.

All the best,
Karen

What to Do about Weaving Errors

I’ve been waiting for a bright sunshiny day to thoroughly examine this tightly-woven linen satin dräll fabric. Today is perfect. Fixing errors must be done before the fabric is washed, when the weave will become even tighter. I am looking for unwanted floats where the shuttle skipped threads, and for loops at the selvedges.

In my examination I did find an errant float and a few small selvedge loops. Let’s get started.

Tools:

  • Blunt-tip needle. Sharp needle tip has been sanded to a rounded tip.
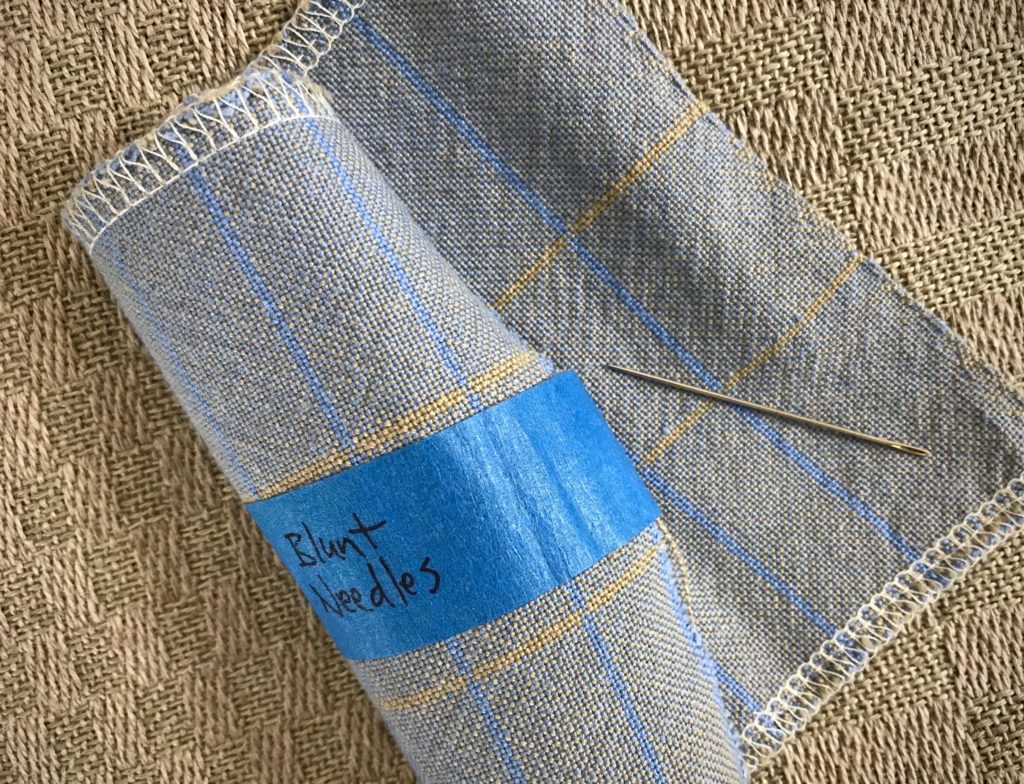
Blunt needle for fixing weaving errors.

  • Thread. Use the same weft or warp thread that is in the area needing repair.
  • Good lighting. If the fabric has a complex structure, good lighting is essential.
  • Magnification. I take a photo on my iPhone, and then zoom in to see the minute details.
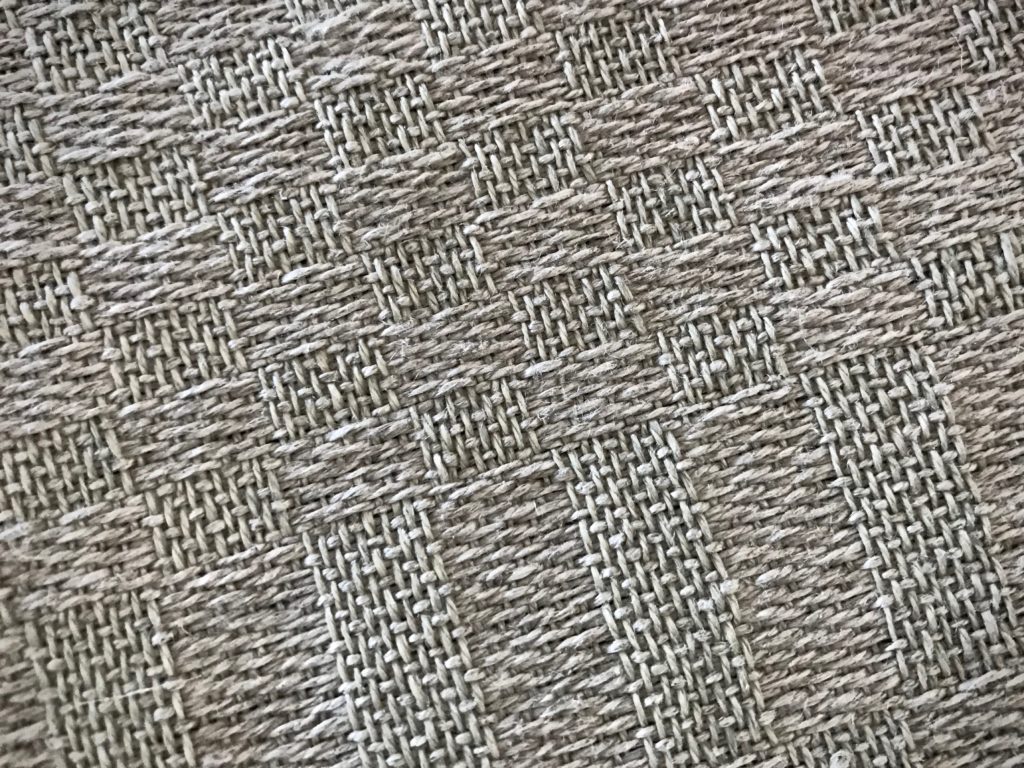
Zoom in on iPhone photo to magnify details.


How to Mend Skipped Threads:

1 Locate the error. Here is a long weft float.
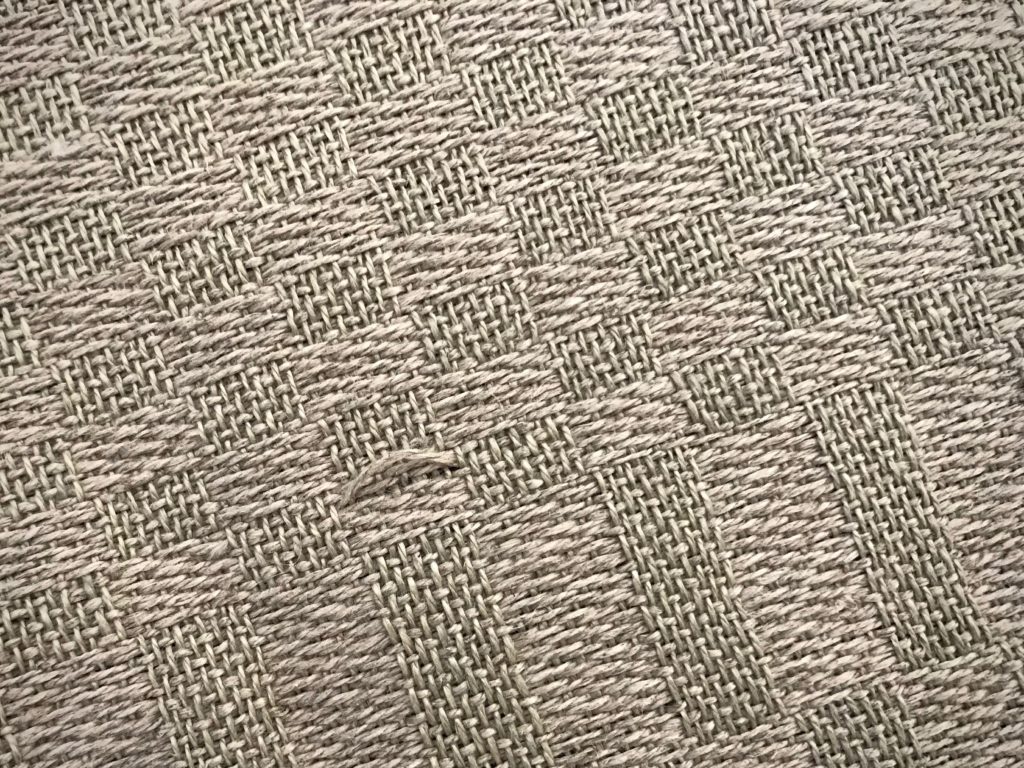
What to do with skipped threads. Tutorial.

2 Thread the blunt-tip needle with a length of the same thread as the float.
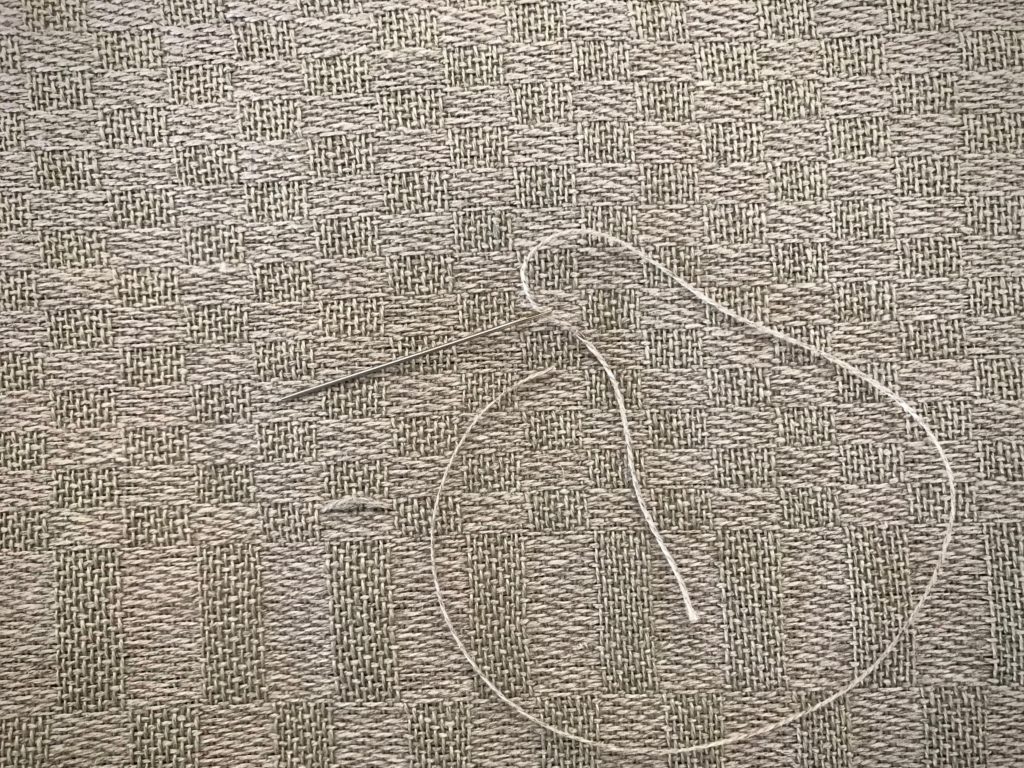
Tutorial on fixing weaving errors.

3 Following the exact under-over pattern of the weave, start one inch before the float and needle-weave toward the float. I lay my iPhone nearby, with the magnified iPhone photo clearly showing the weave pattern.
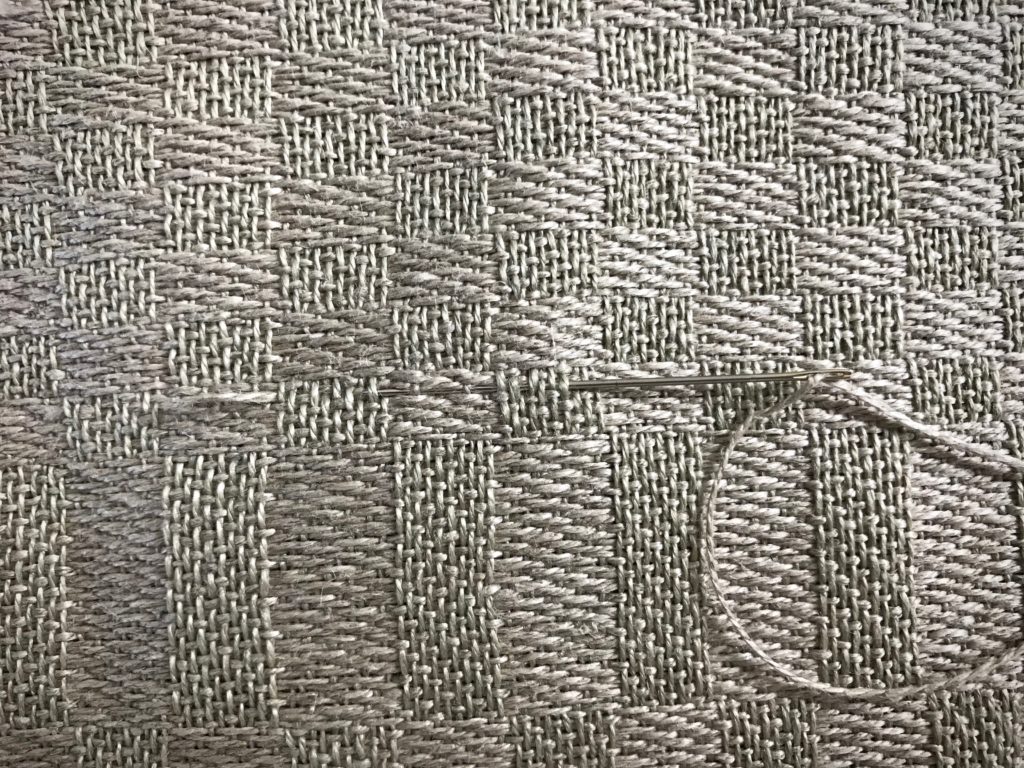
Needle weaving to mend a weaving error. How to.

4 Needle-weave the correct path of the thread through the float area. Continue needle-weaving along the same thread pathway, going one inch beyond the float.
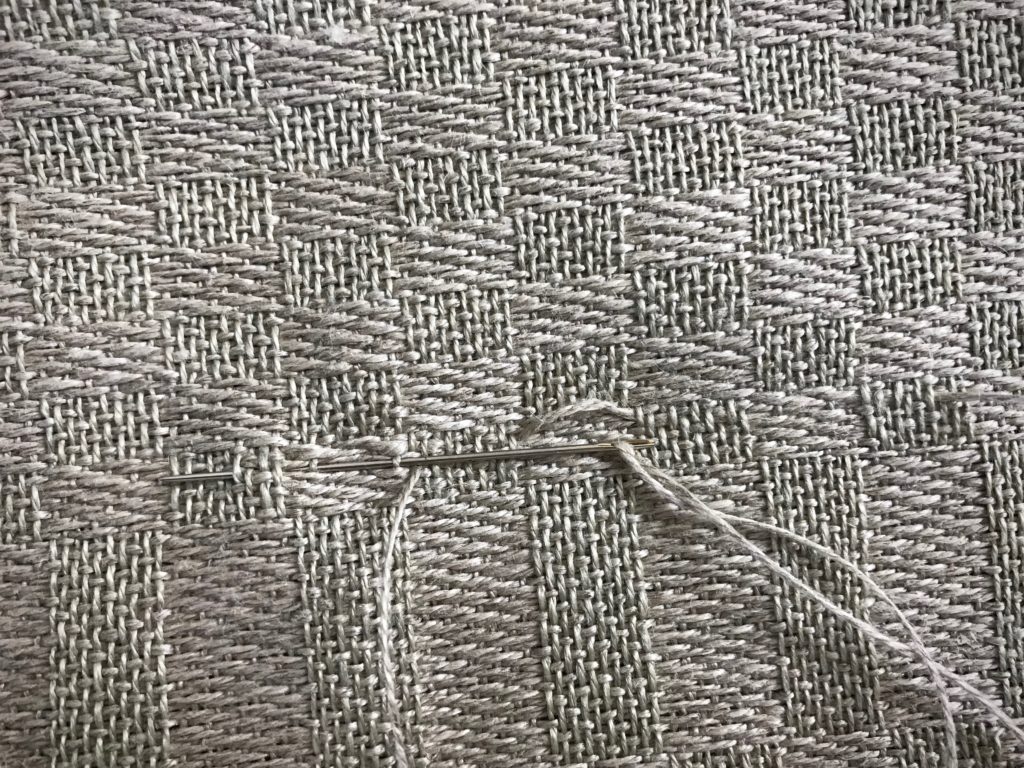
How to fix skipped threads in weaving.

5 Check the front and back of the fabric to see if your stitches match the correct pattern of the weave.
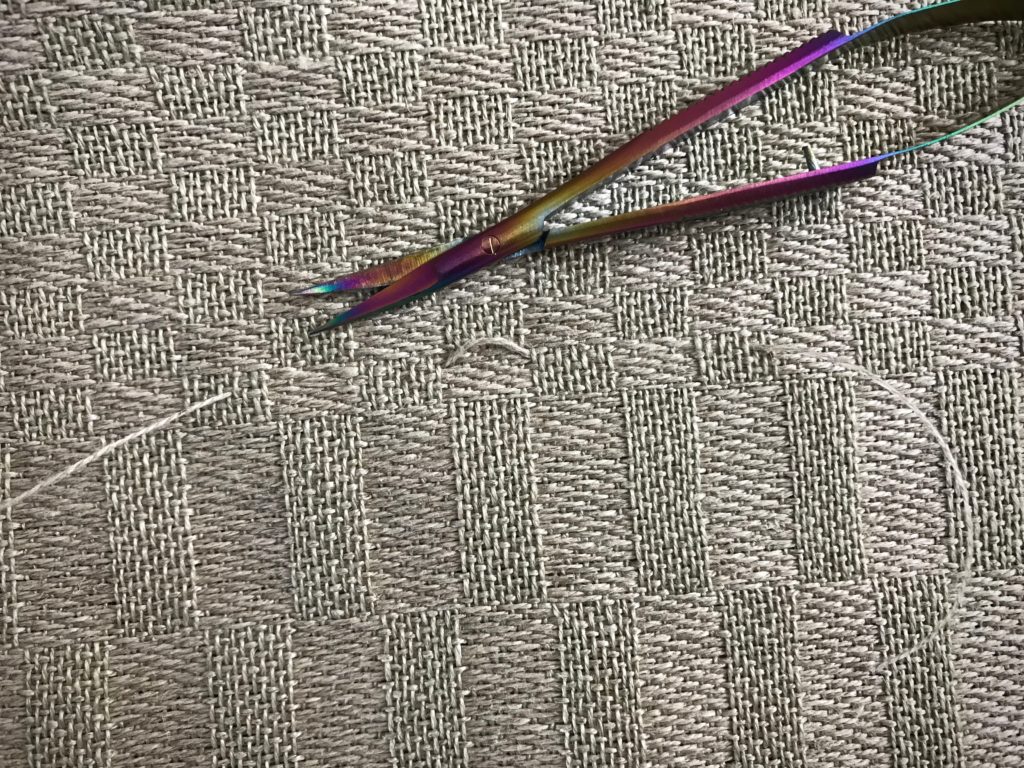
Skipped threads in weaving. Fixed!

6 When you are certain that the float thread has been accurately replaced, clip the float and remove it (or, leave it and trim it after washing). Leave two-inch tails on the replacement thread, and trim after wet finishing. (I leave the replacement tails so I can find and check the repair after it is washed. This also allows for shrinkage before trimming.)
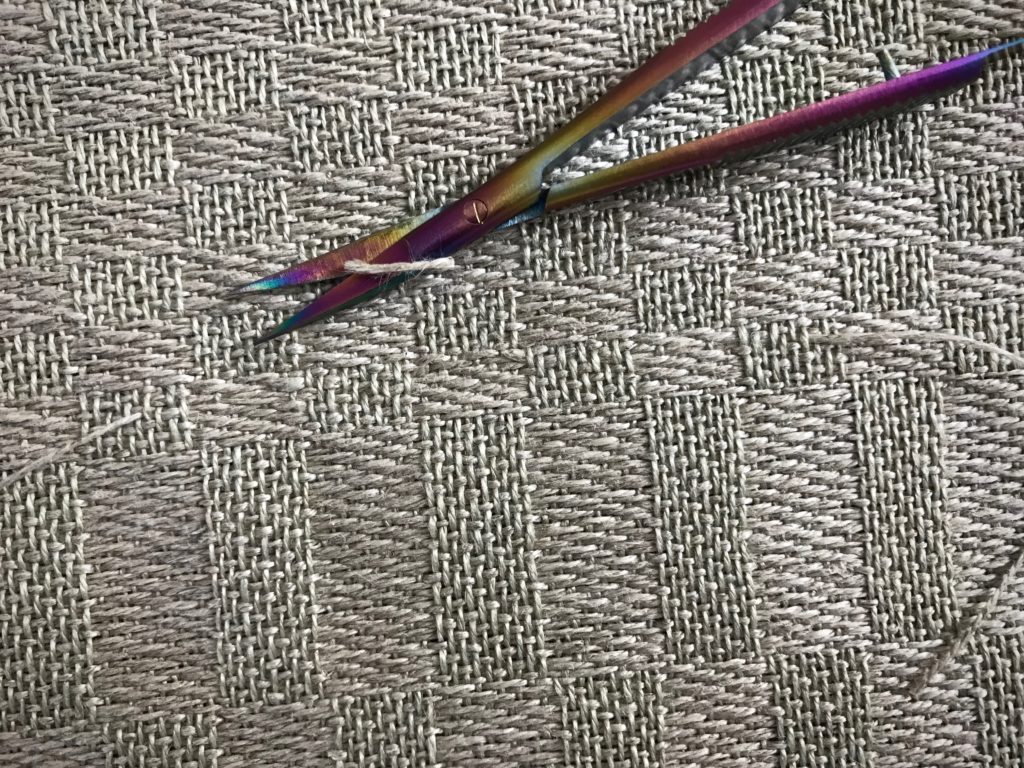
Clip off the float AFTER repair thread is in place.


How to Fix a Small Selvedge Loop

1 Locate the loop.
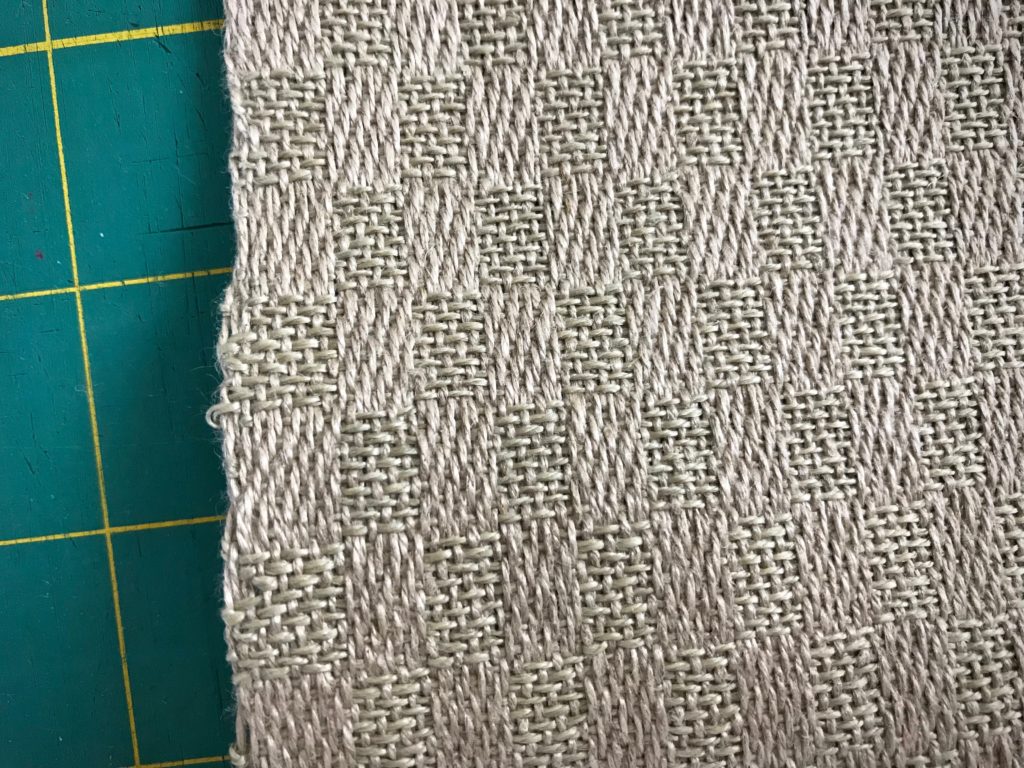
How to fix a loop in the selvedge.

2 Using the blunt-tip needle, gently ease the excess thread to spread over four or five stitches inside the selvedge.
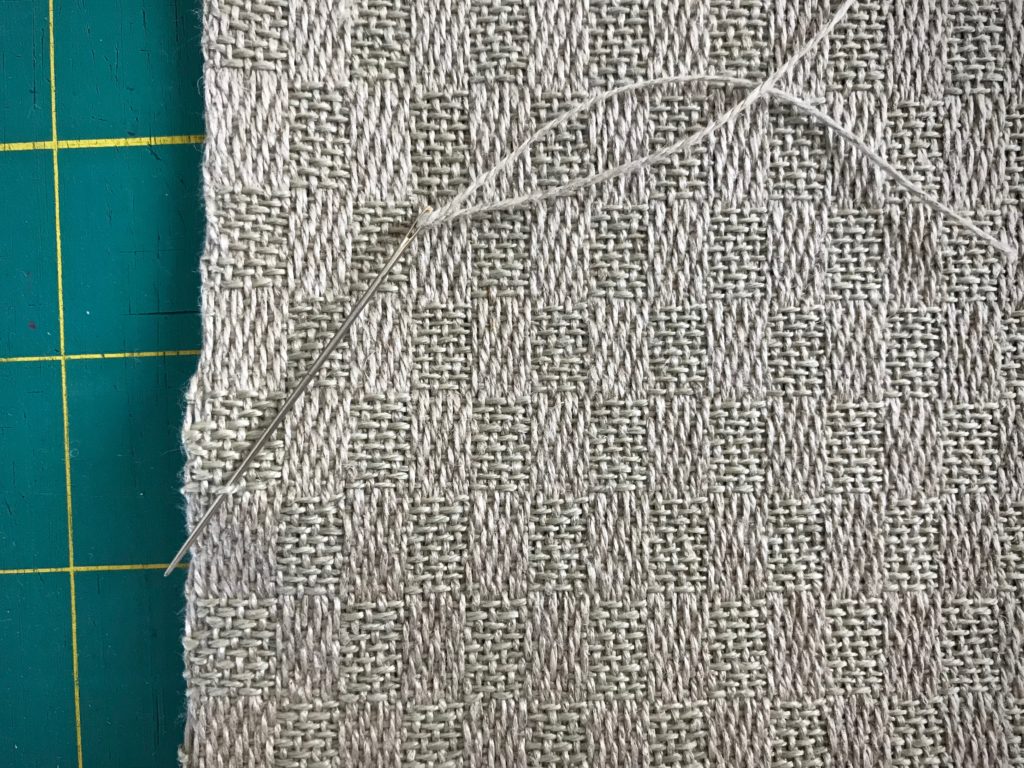
Easing in a loop at the selvedge. Short how-to.

3 The thread that has been eased in (just above the needle) will completely smooth out in wet finishing.
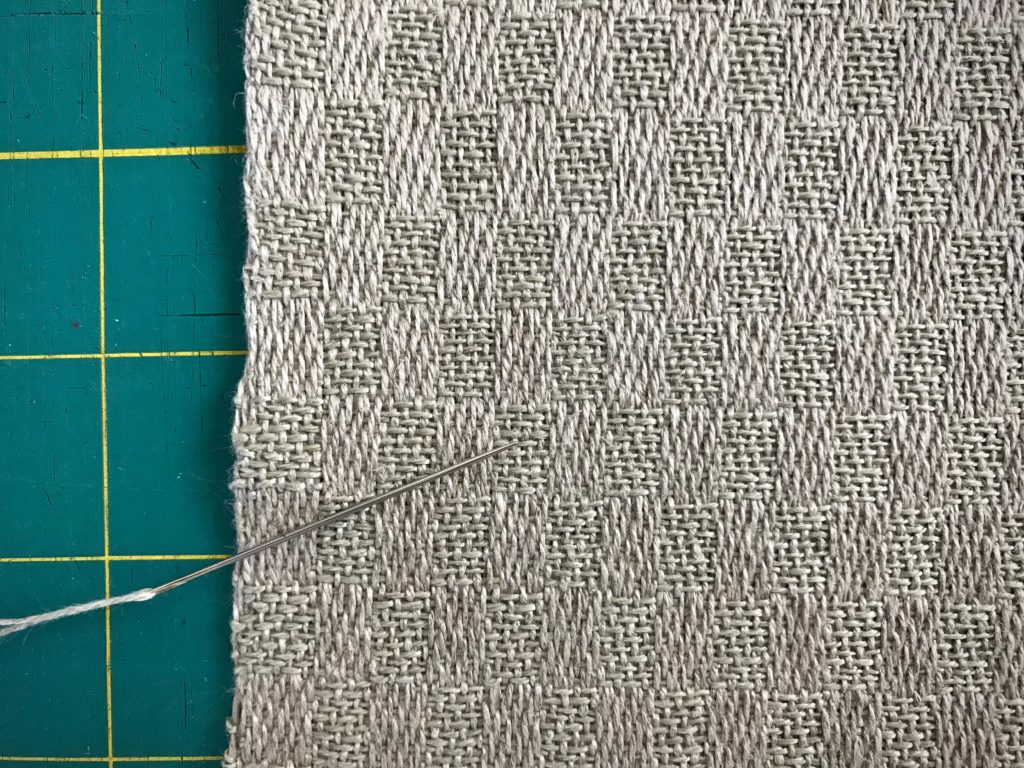
Eliminate an errant loop at the selvedge.

What skipped threads and loops would be found if I were examined this closely? Would I leave them and hope no one notices? Or, would I allow re-weaving and cutting away? A negative attitude is replaced with a thread of thankfulness. A loop of complaining is eased back in. The result is joy. A thankful heart knows joy. When the fabric is washed, the errant floats and loops are gone. What remains is the woven fabric with lustrous threads of joy.

May you have a bright sunshiny day.

With you,
Karen