Tried and True: Wool Skeins into Balls

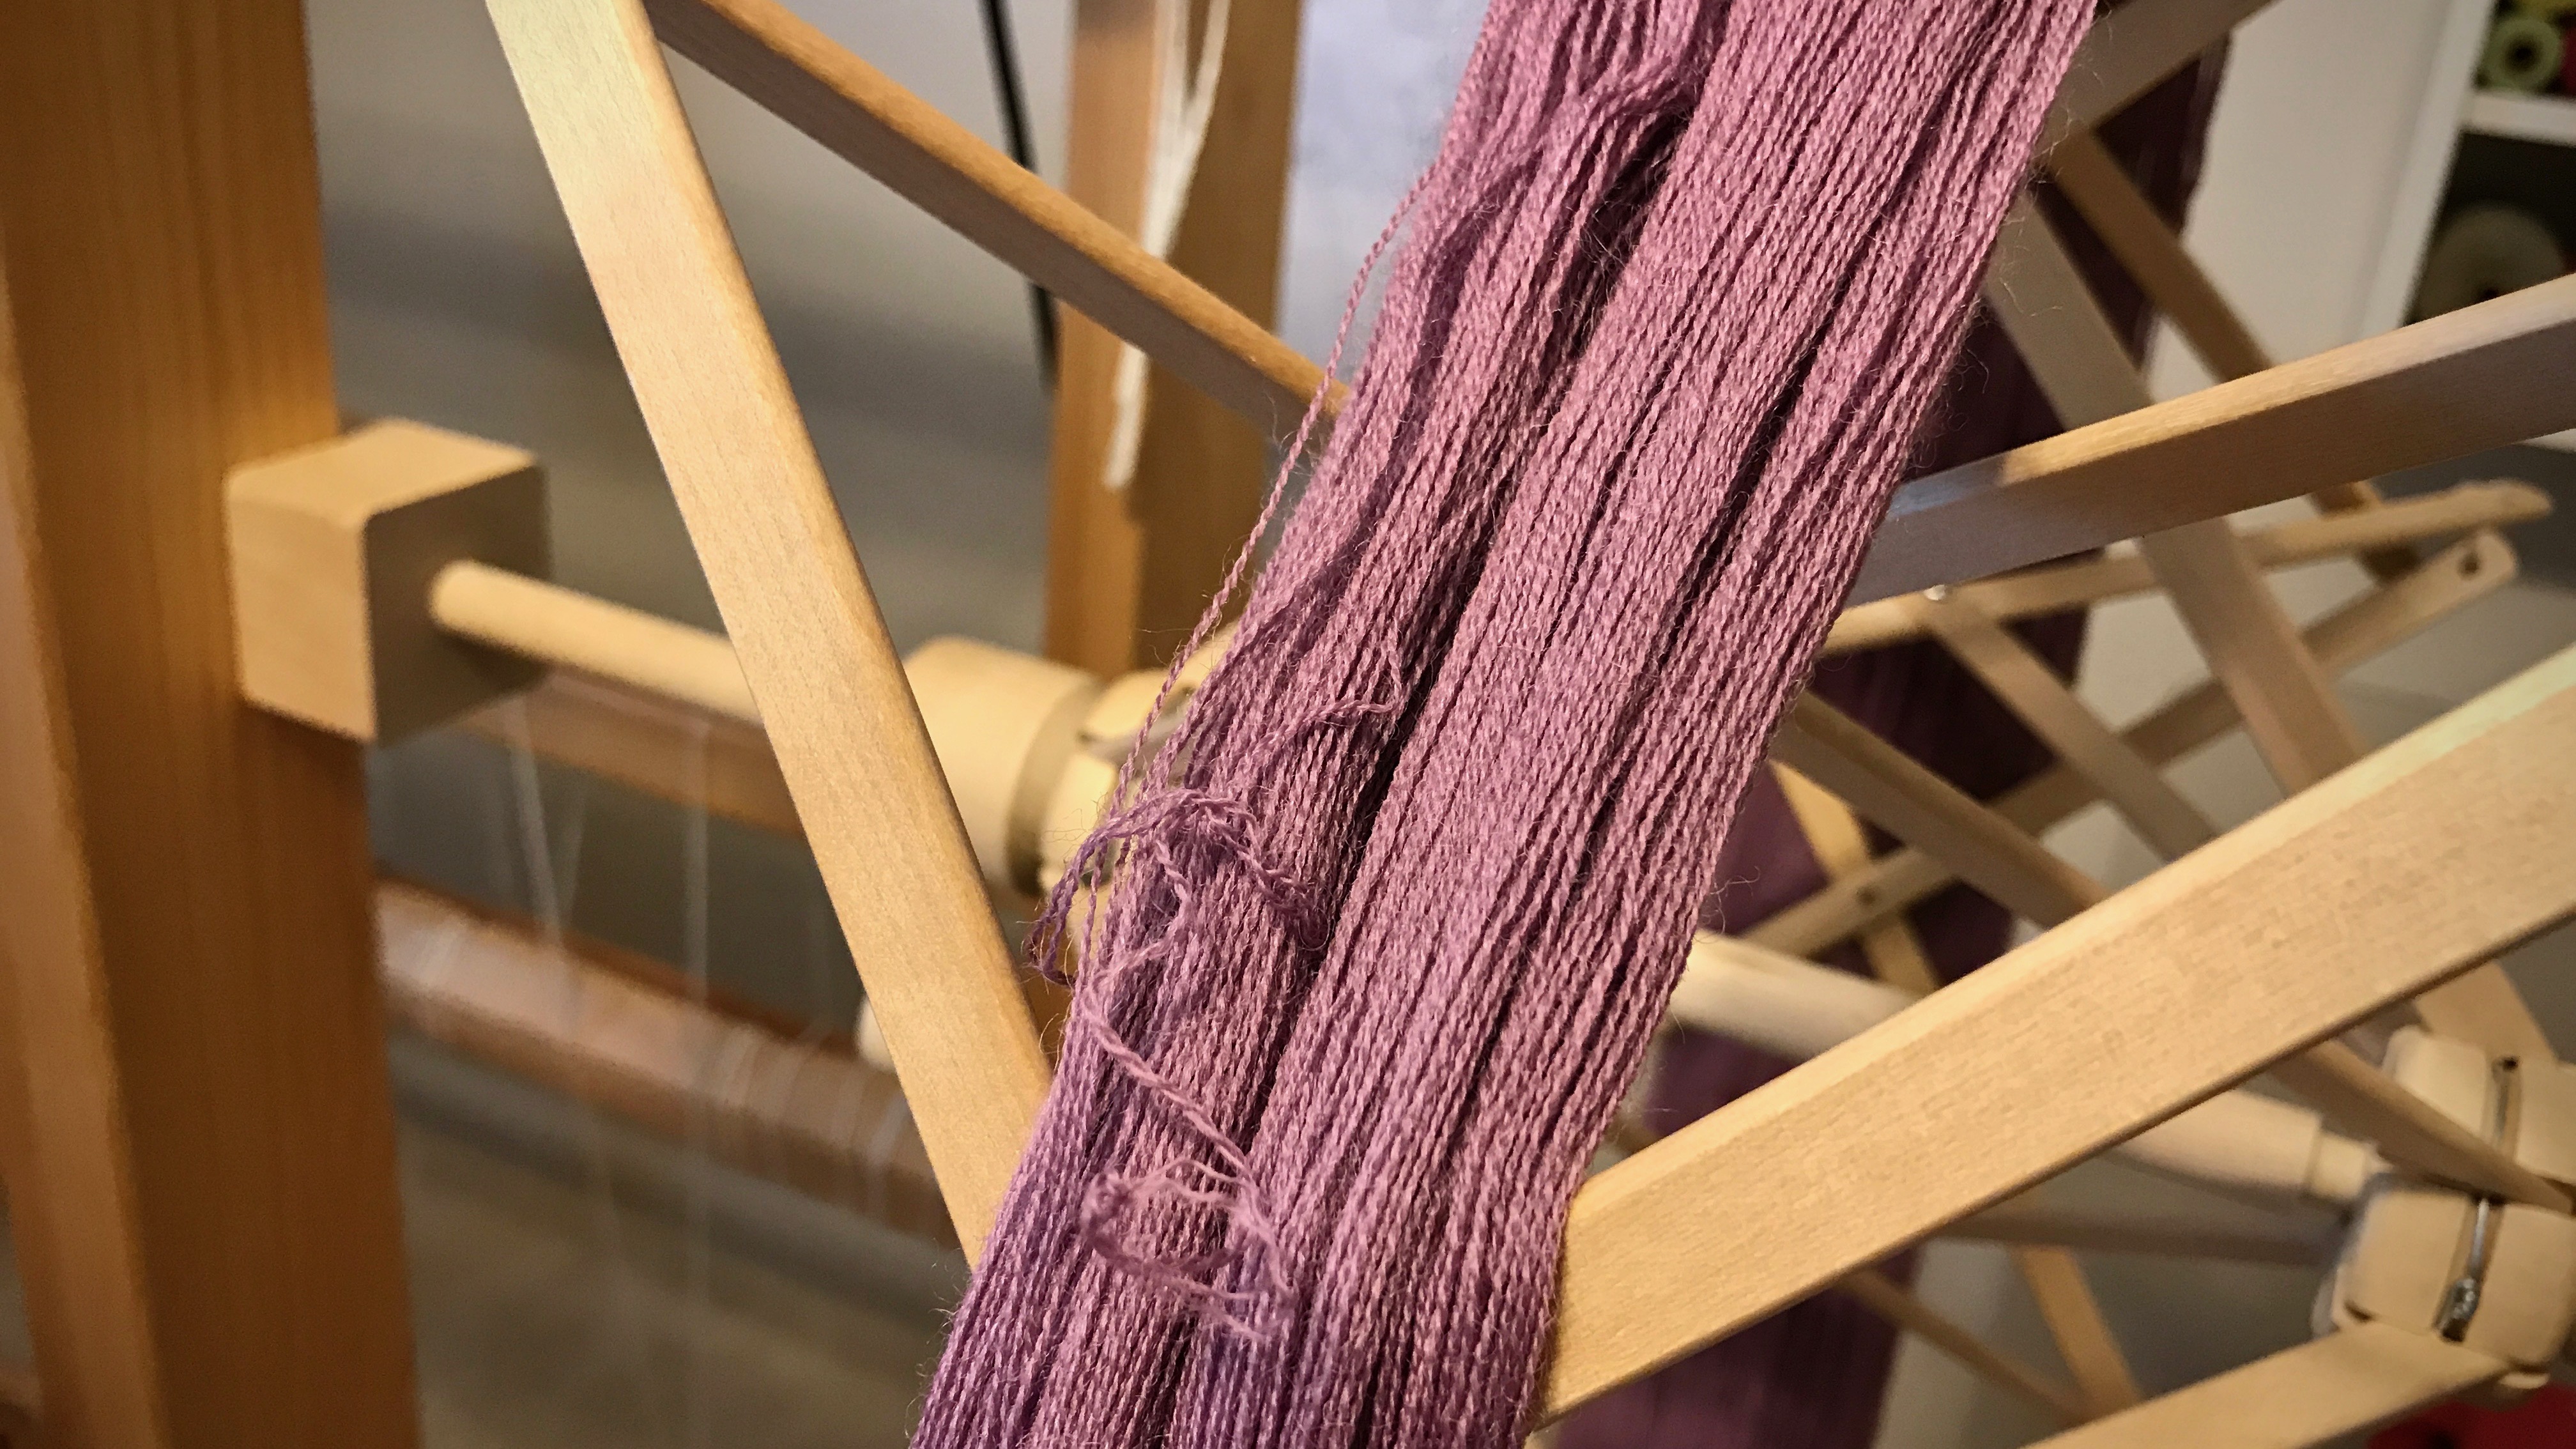
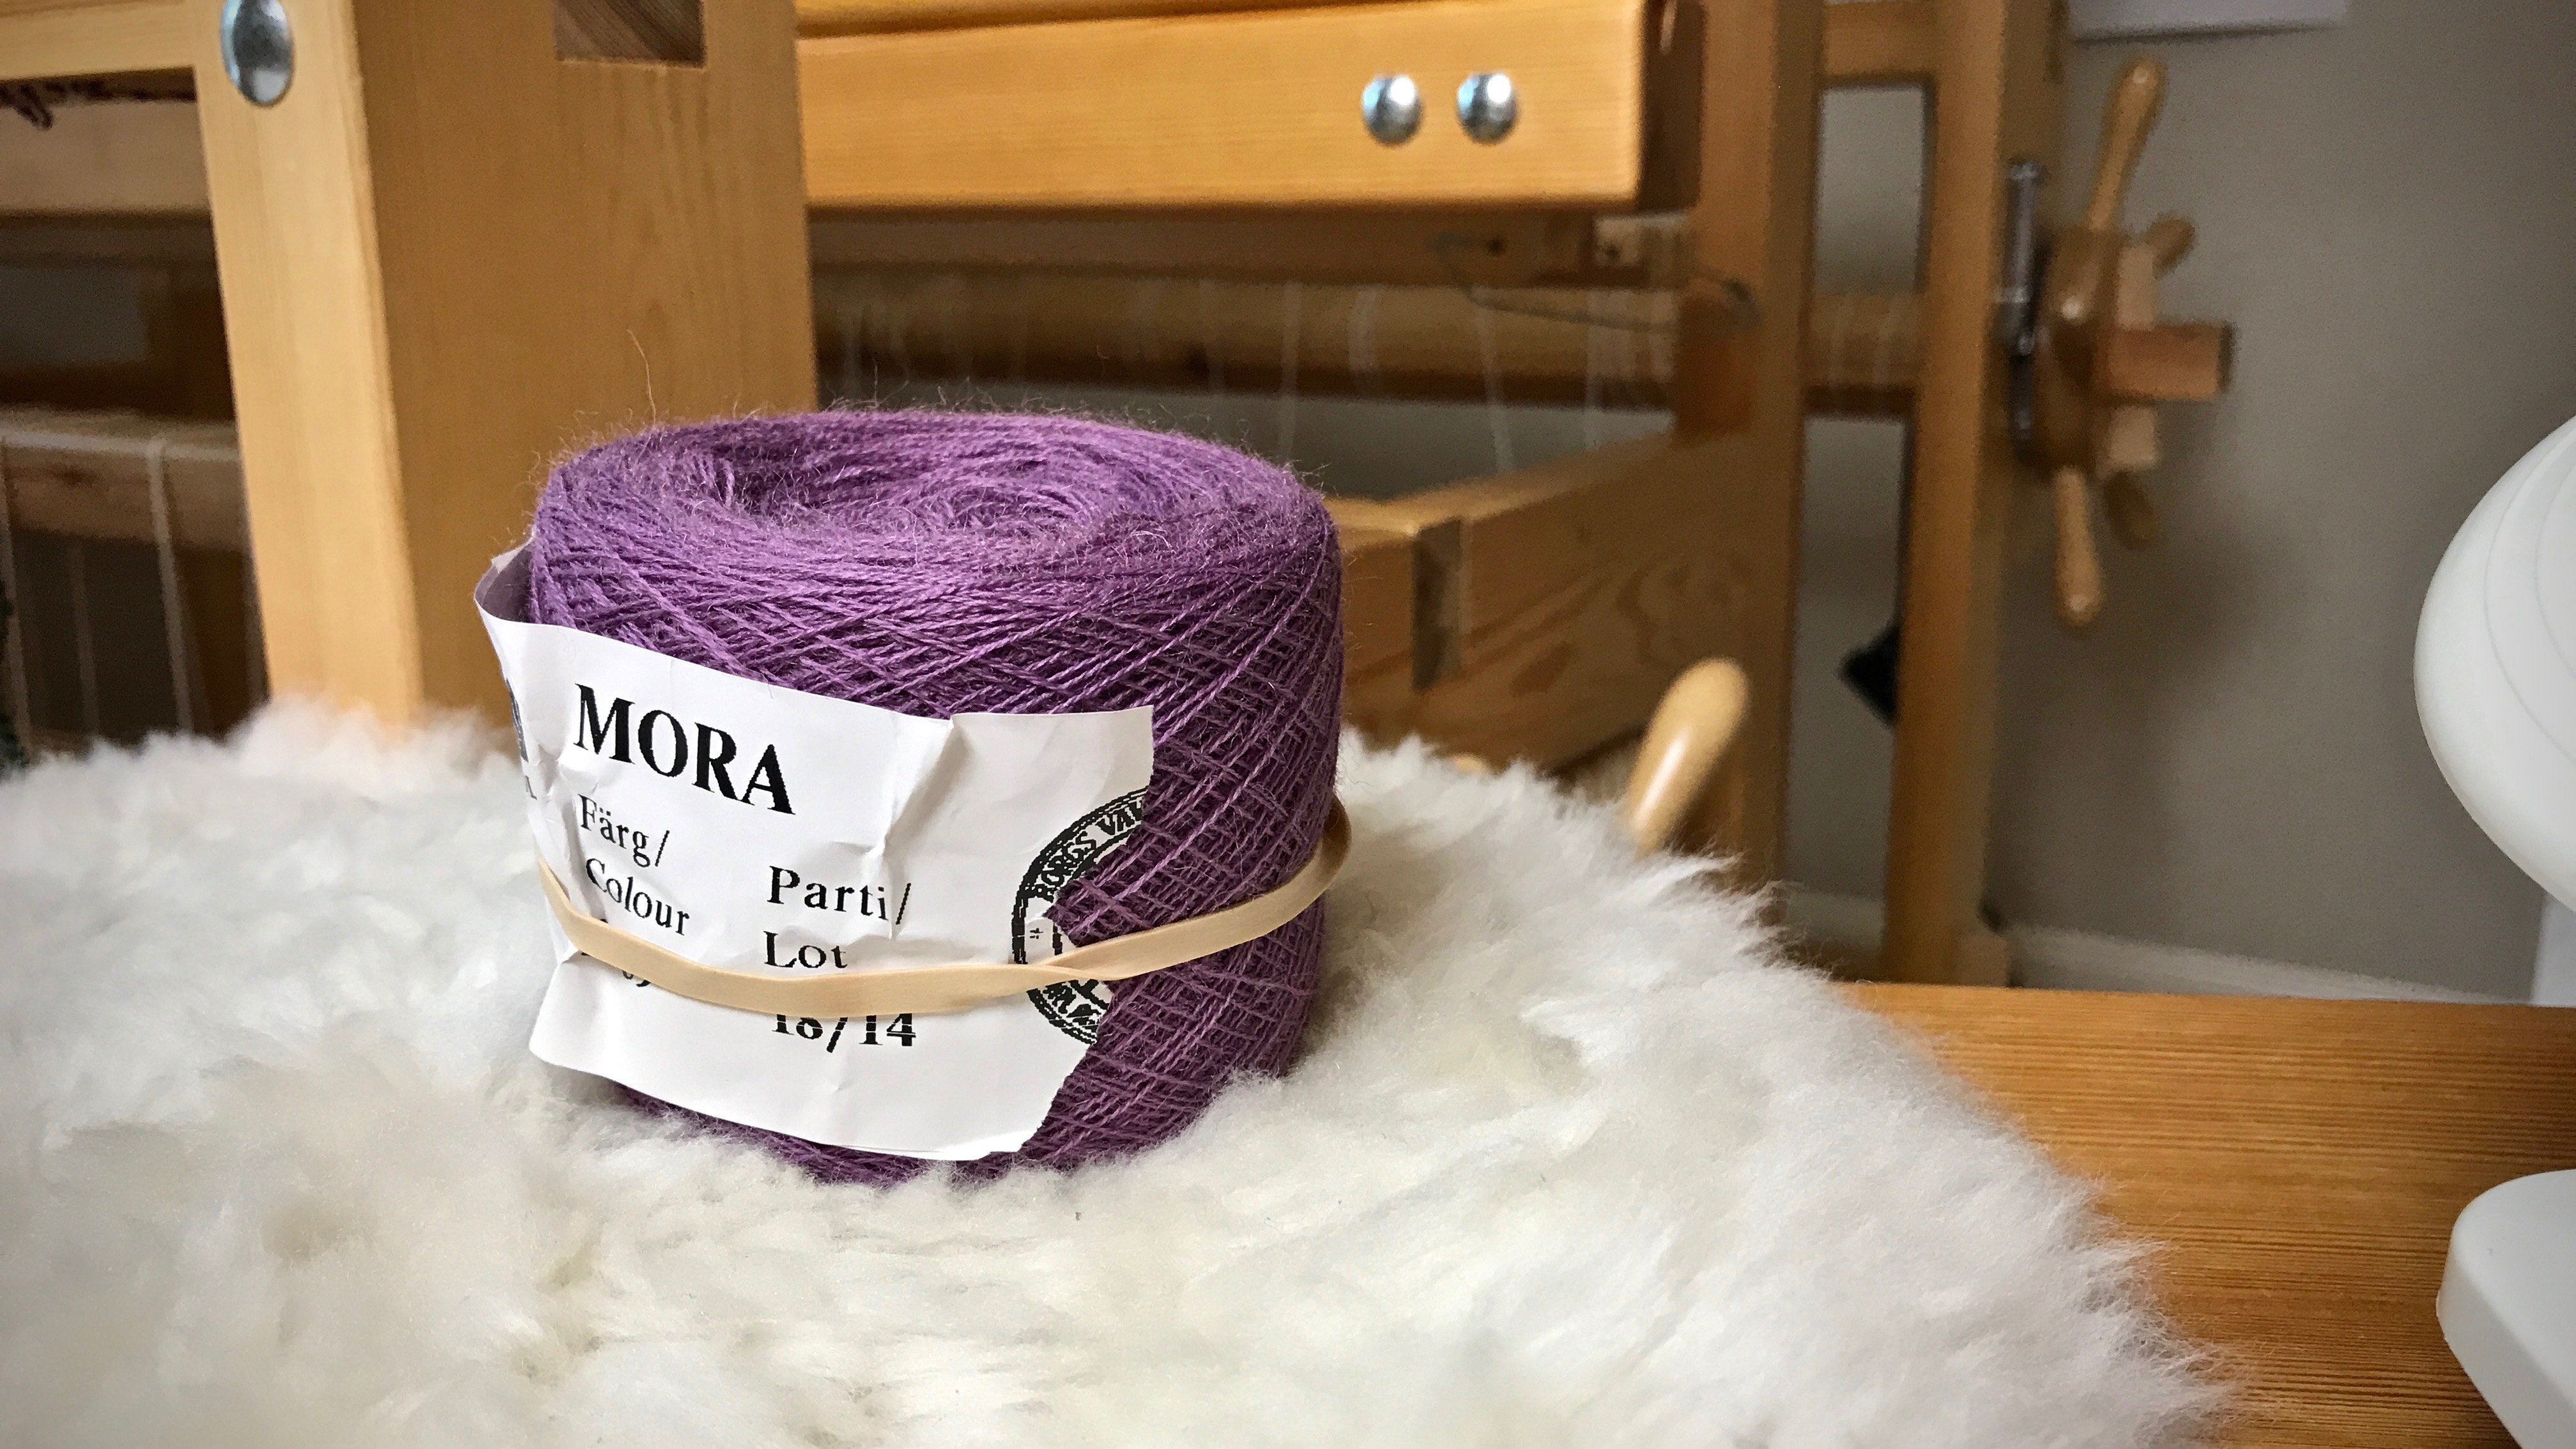
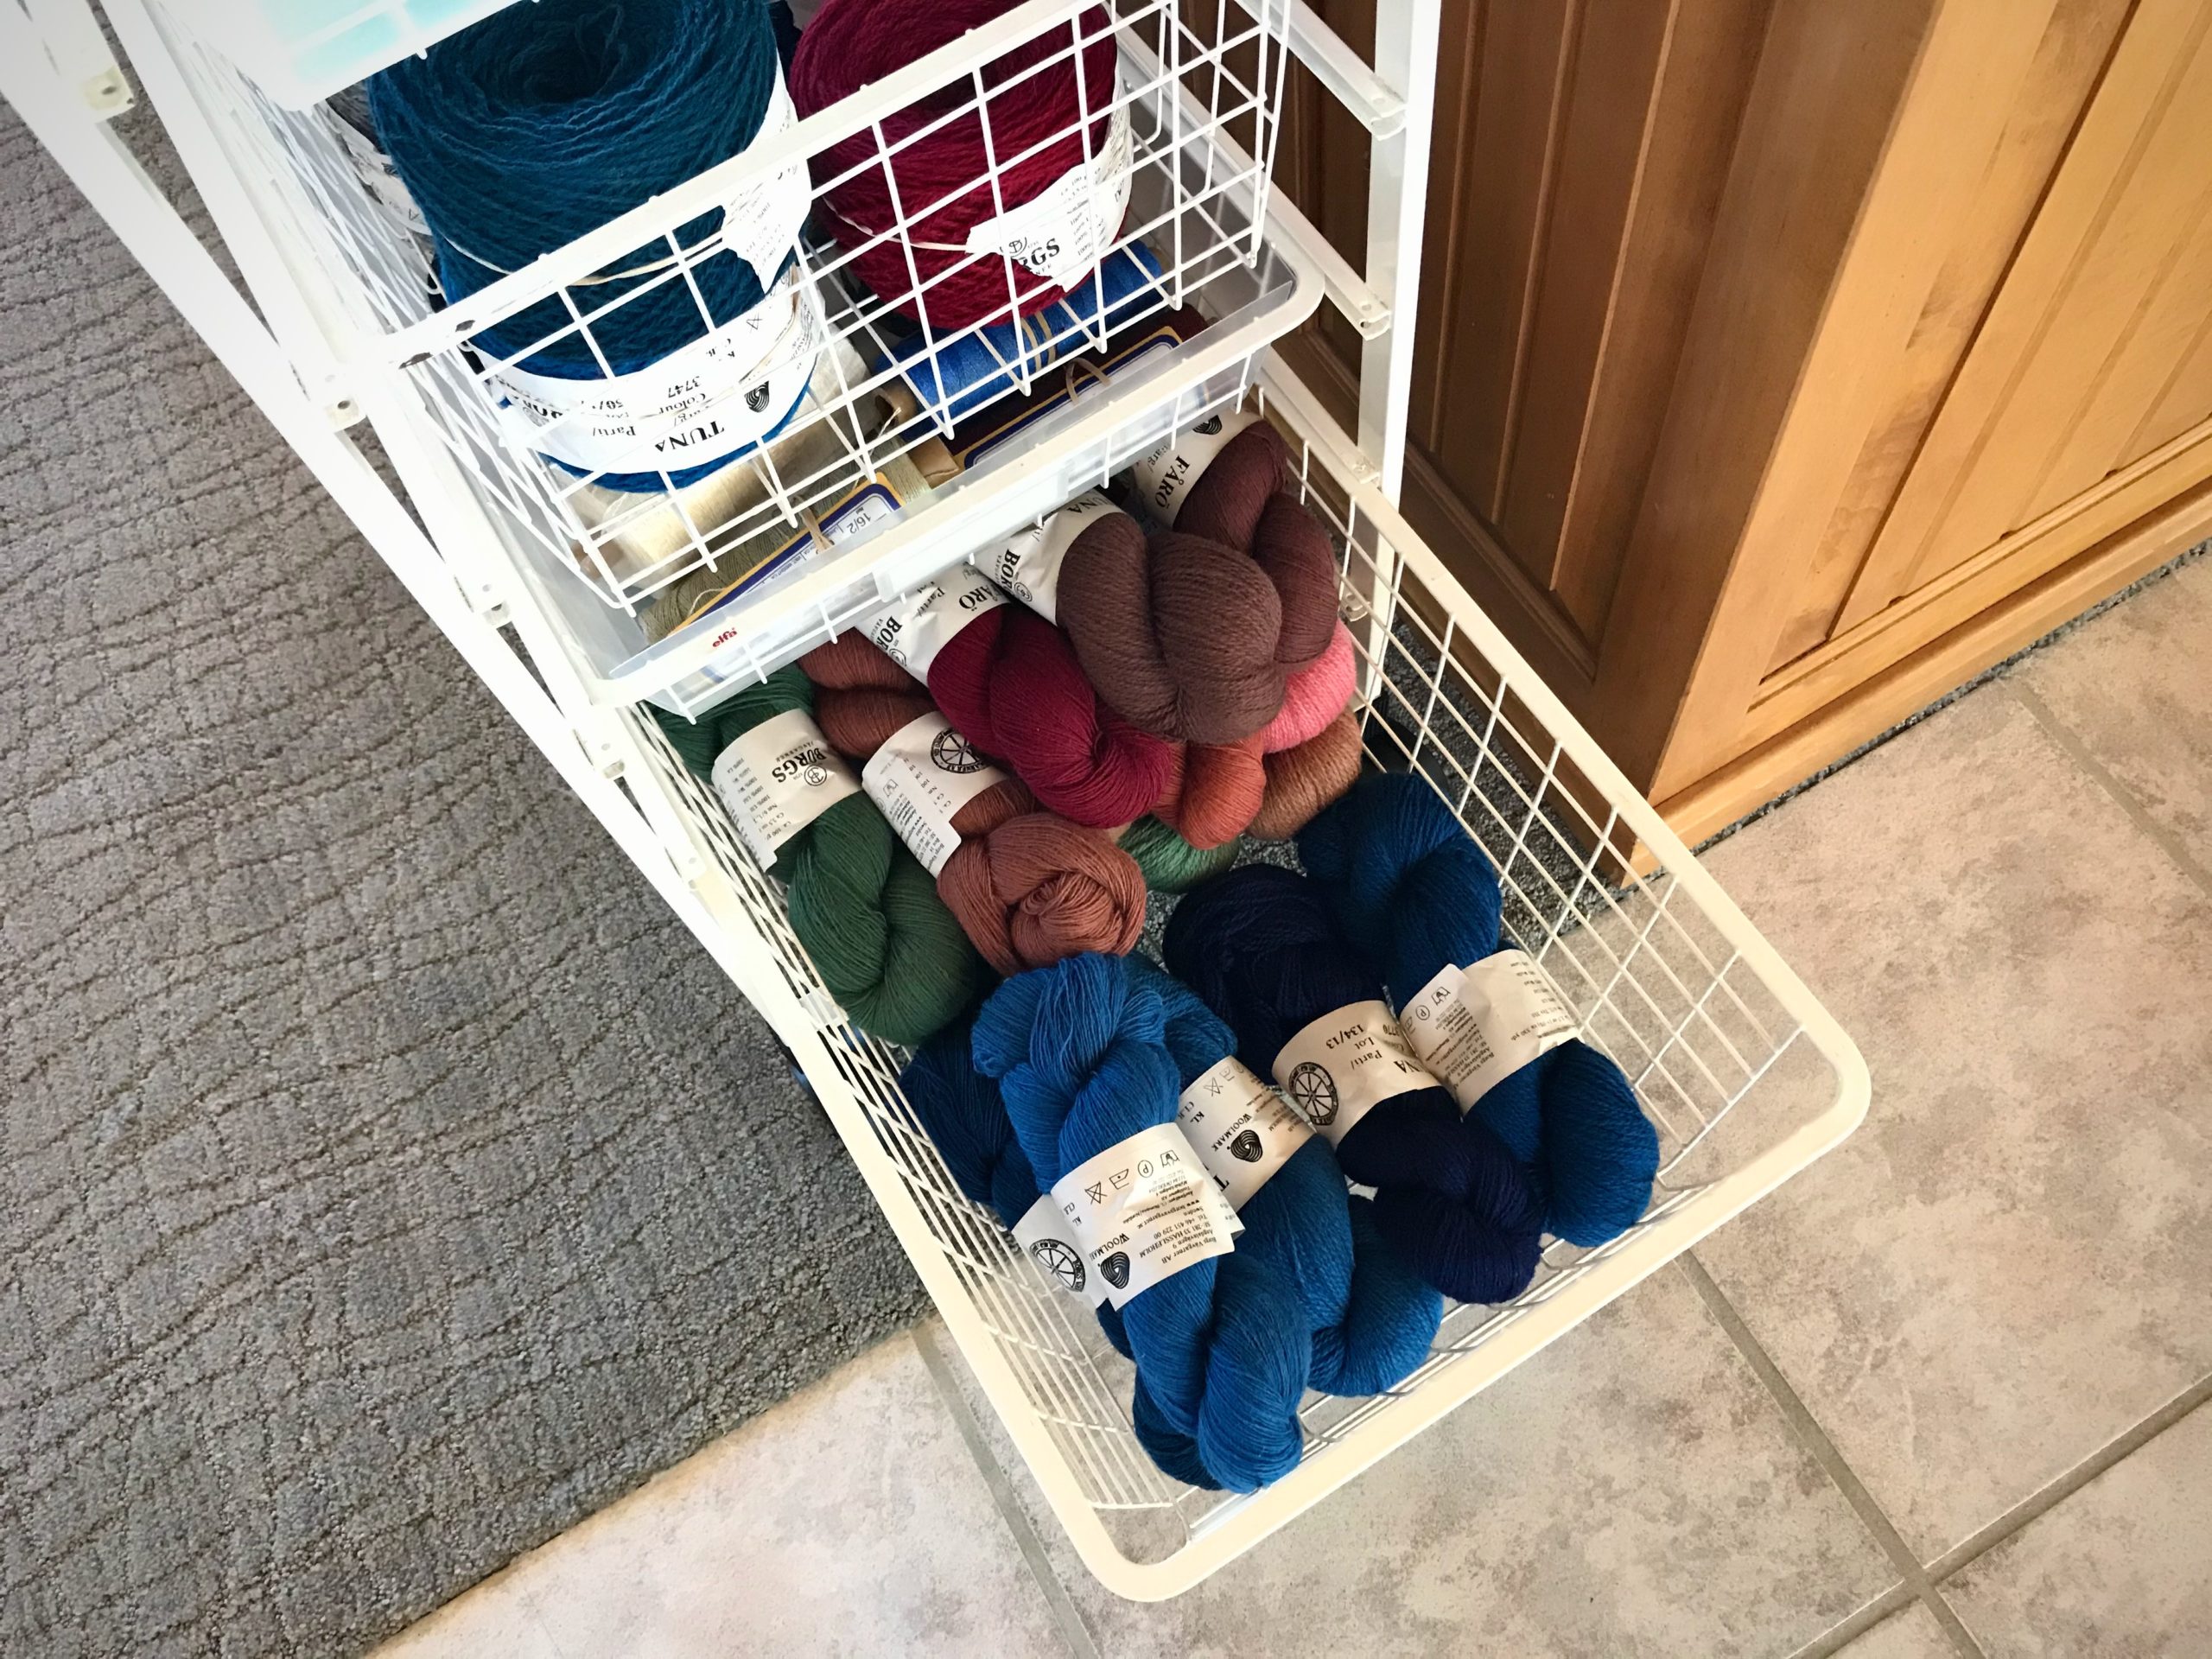
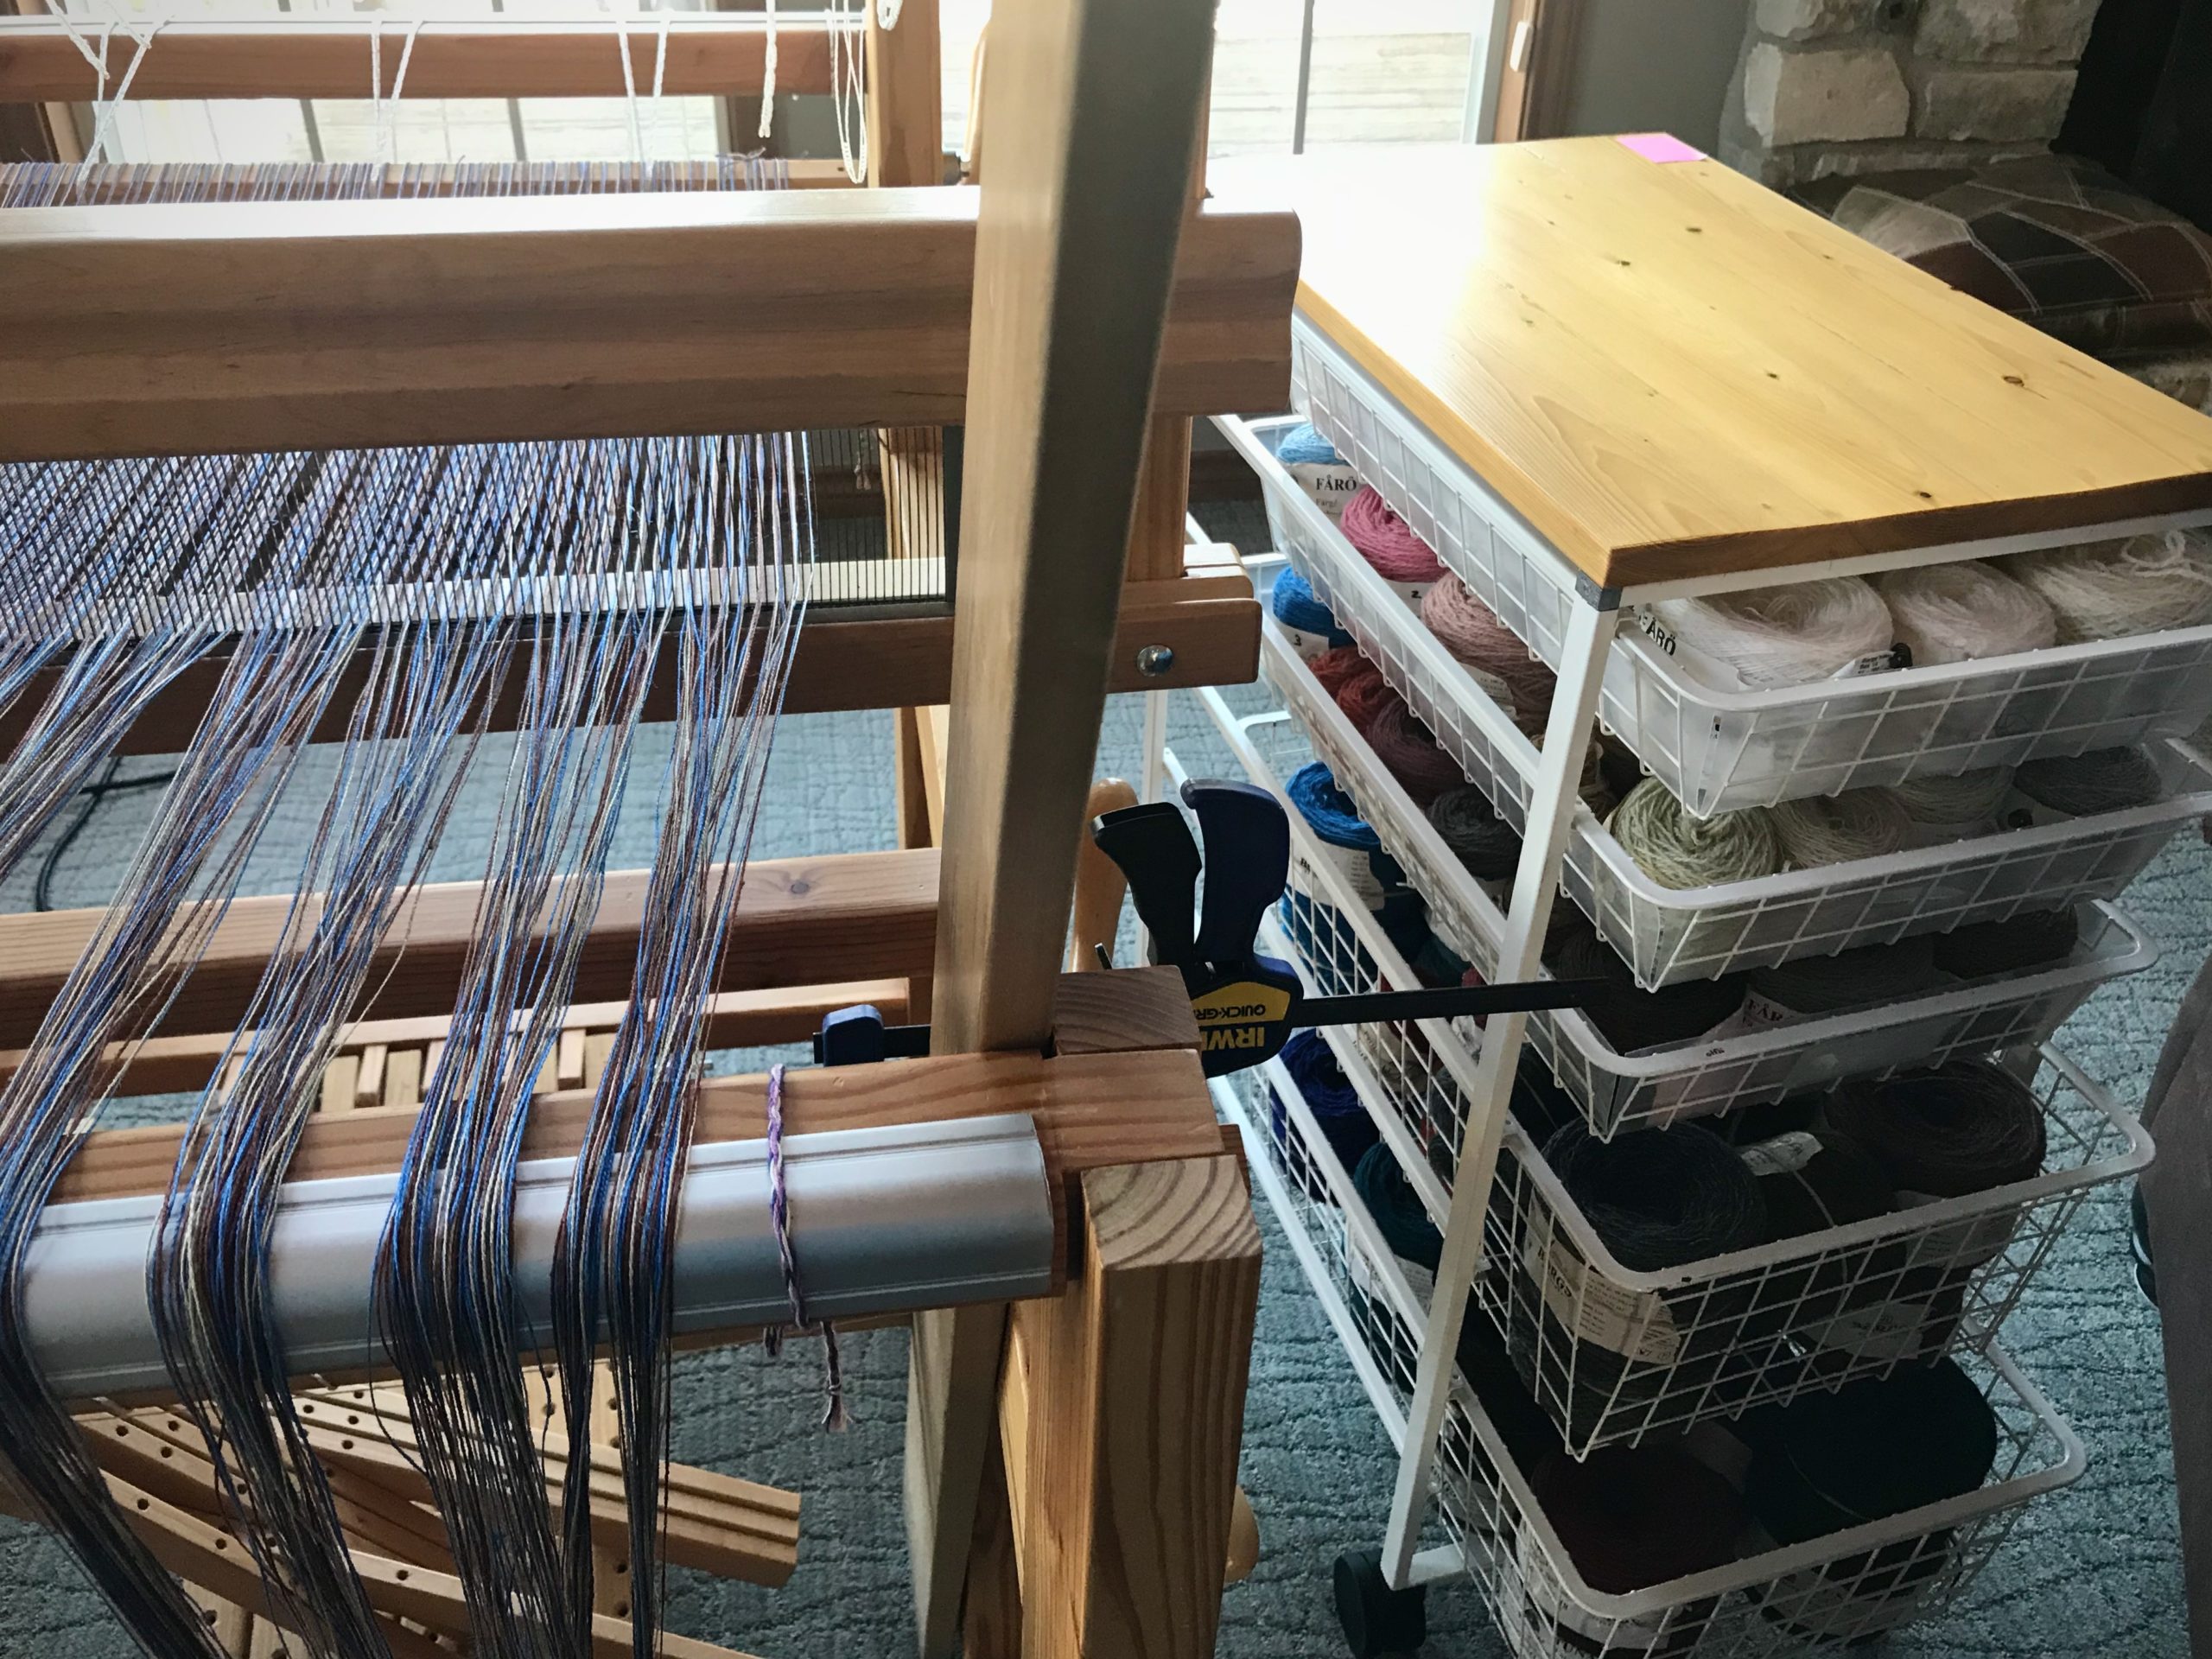
I am adding about thirty more skeins to my yarn supply to get the colors I need for a new tapestry. At this rate, maybe I will have every single color of Borgs 6/2 Tuna and 6/1 Fårö wool on my shelves some day. That’s wishful thinking… But I do have what I need for now to make the butterflies for this special pictorial tapestry.

Preparing to weave a new pictorial tapestry.
Beautiful colors of wool skeins of yarn.

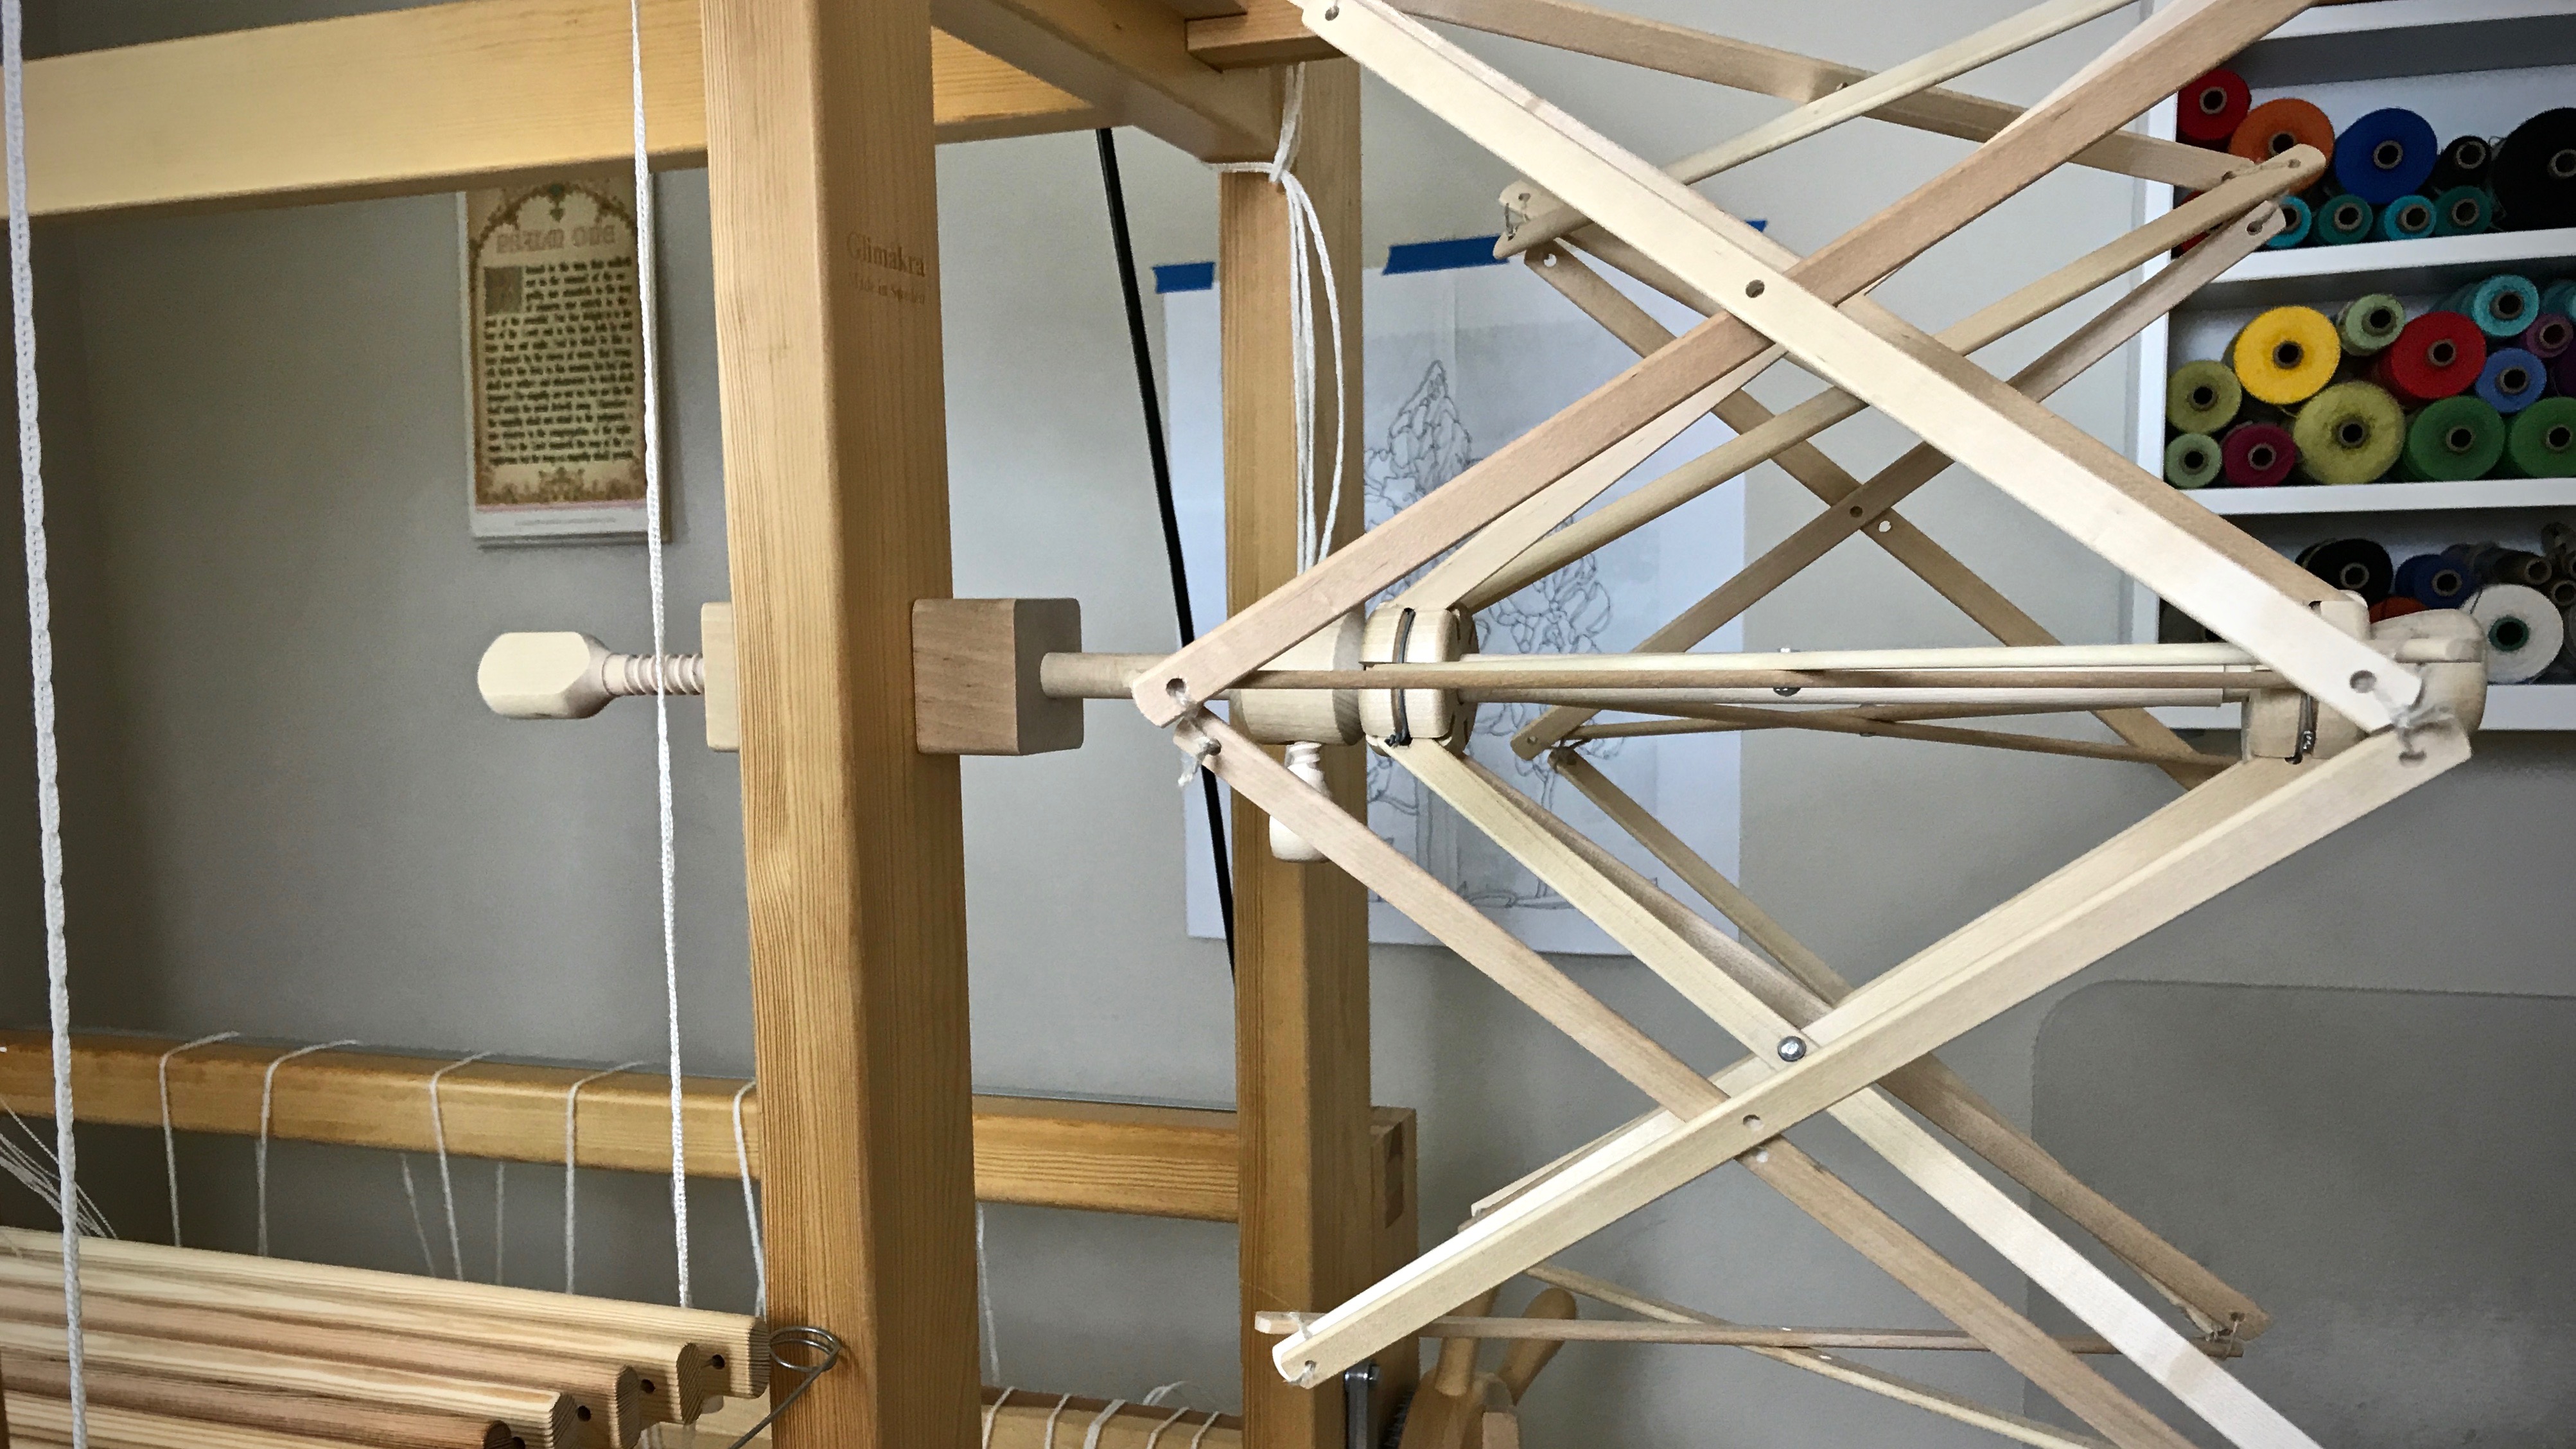
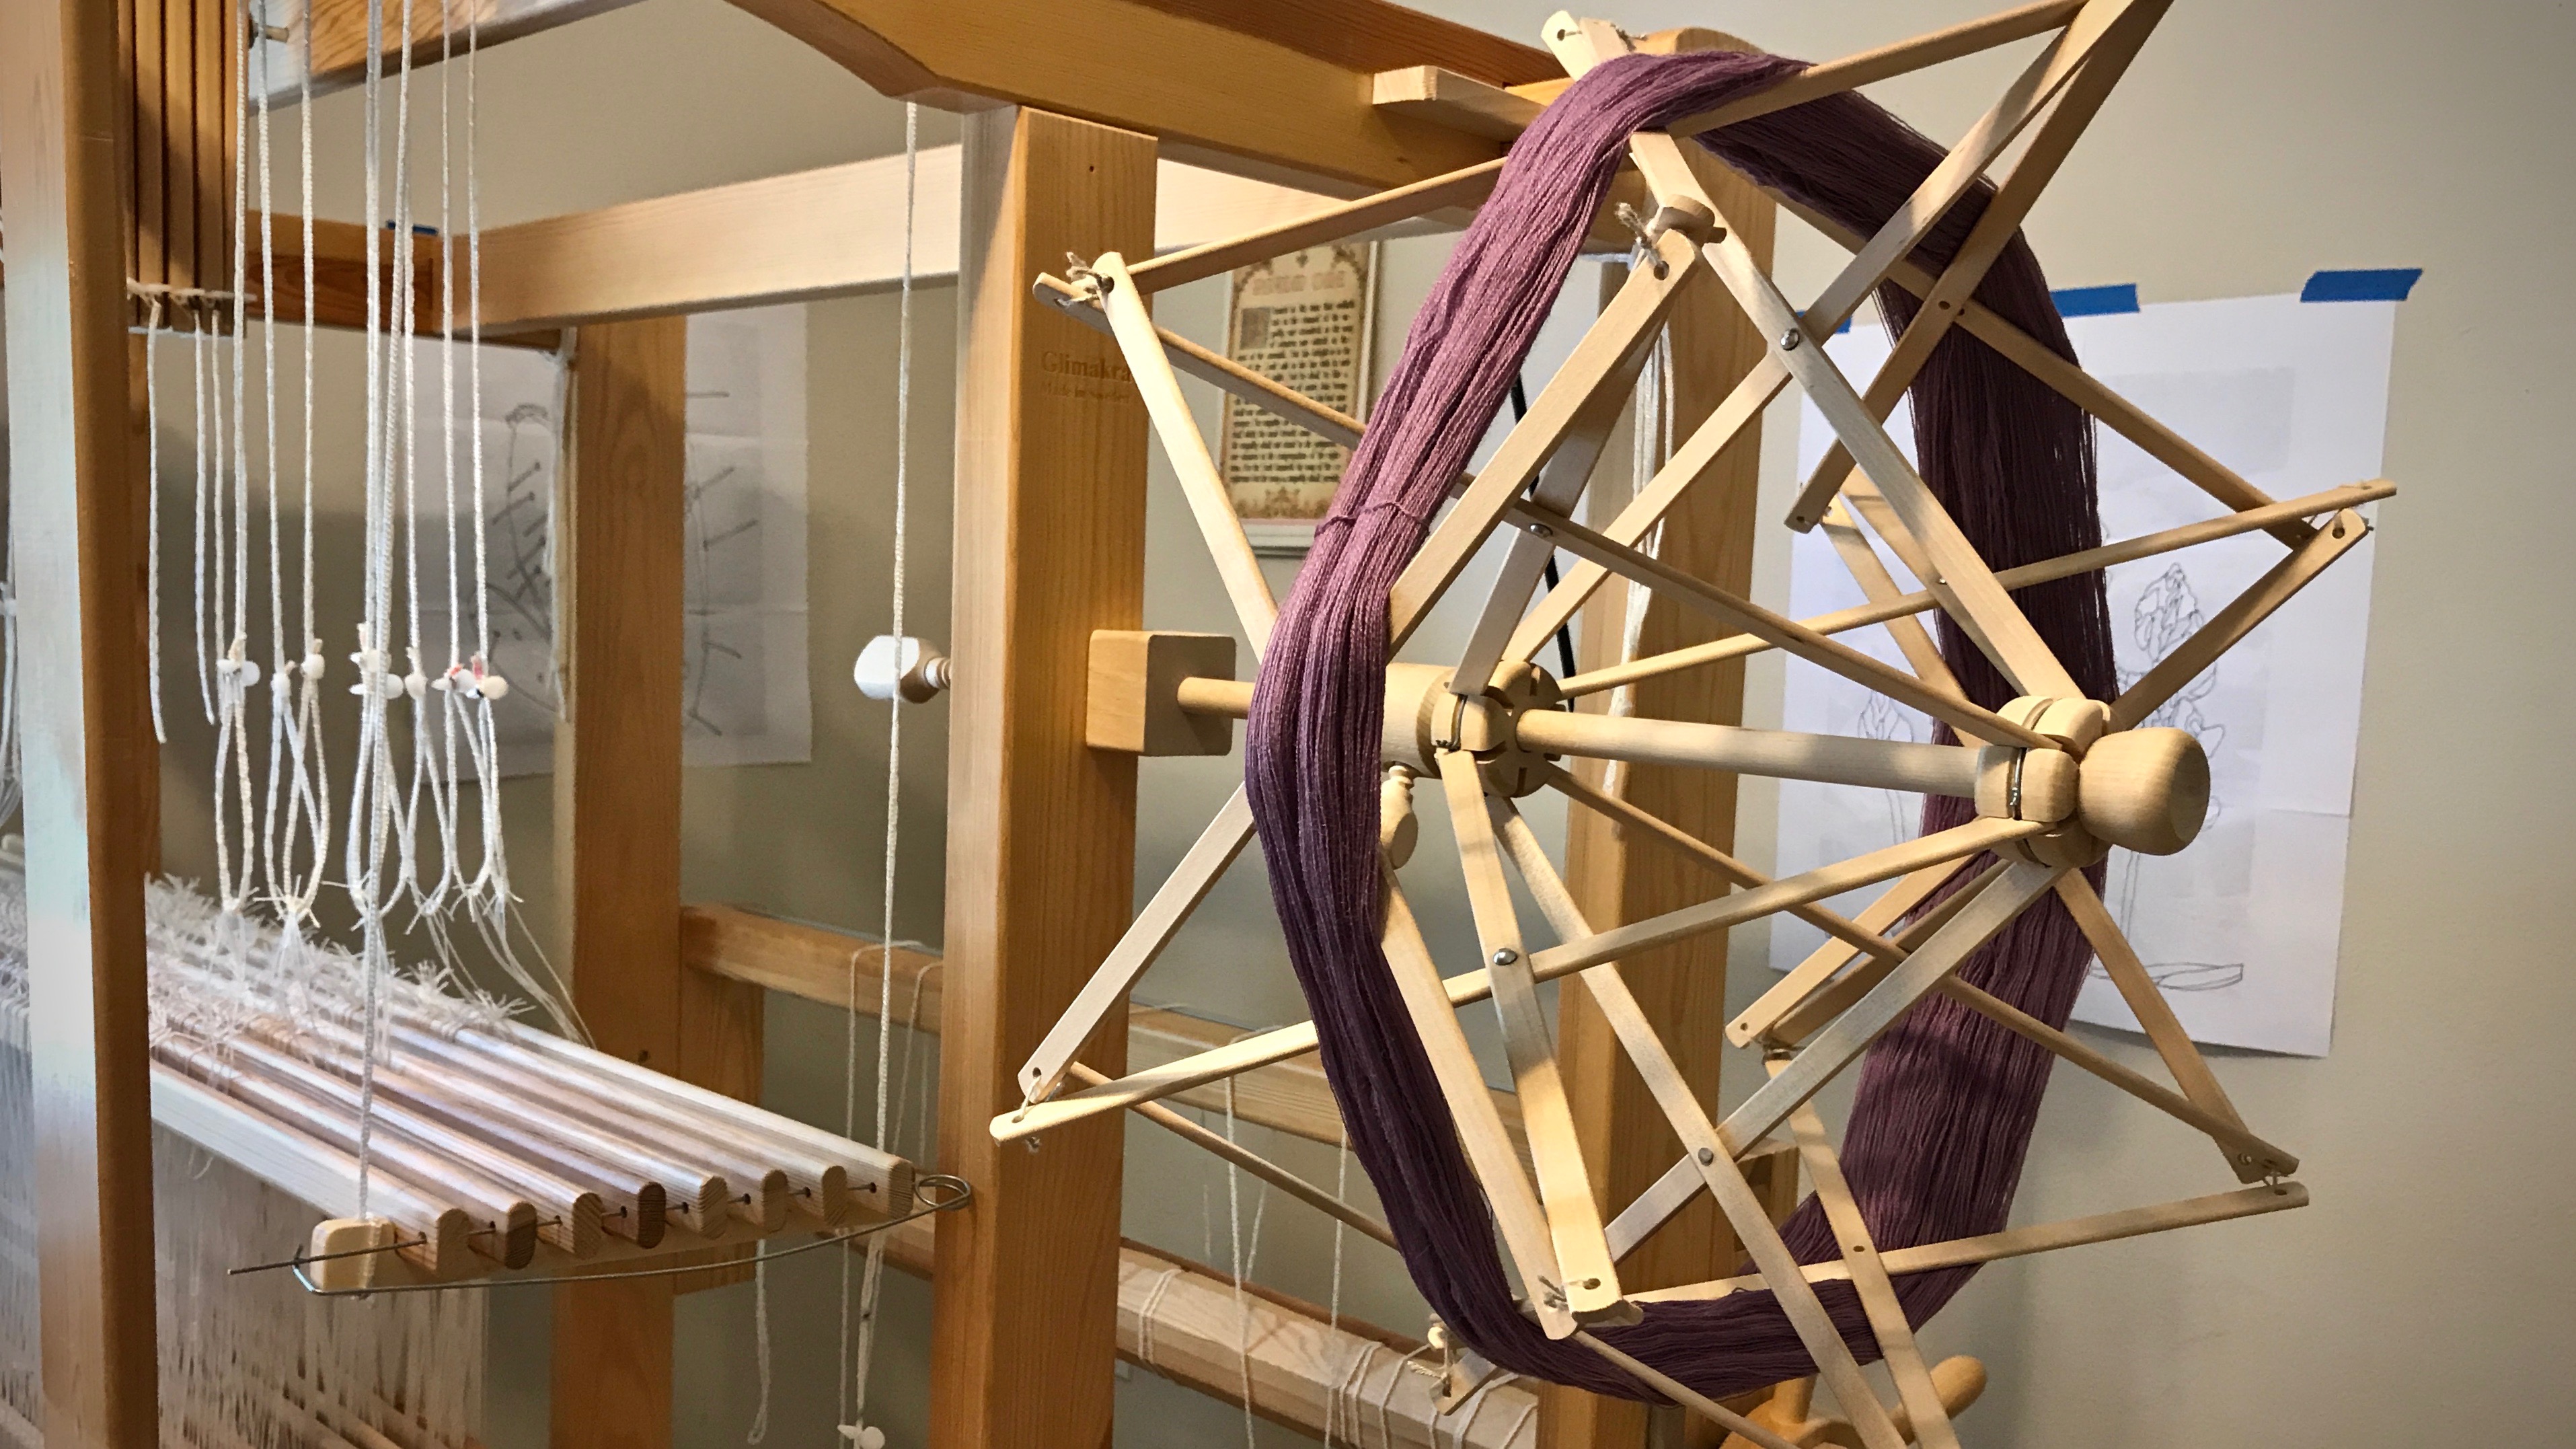
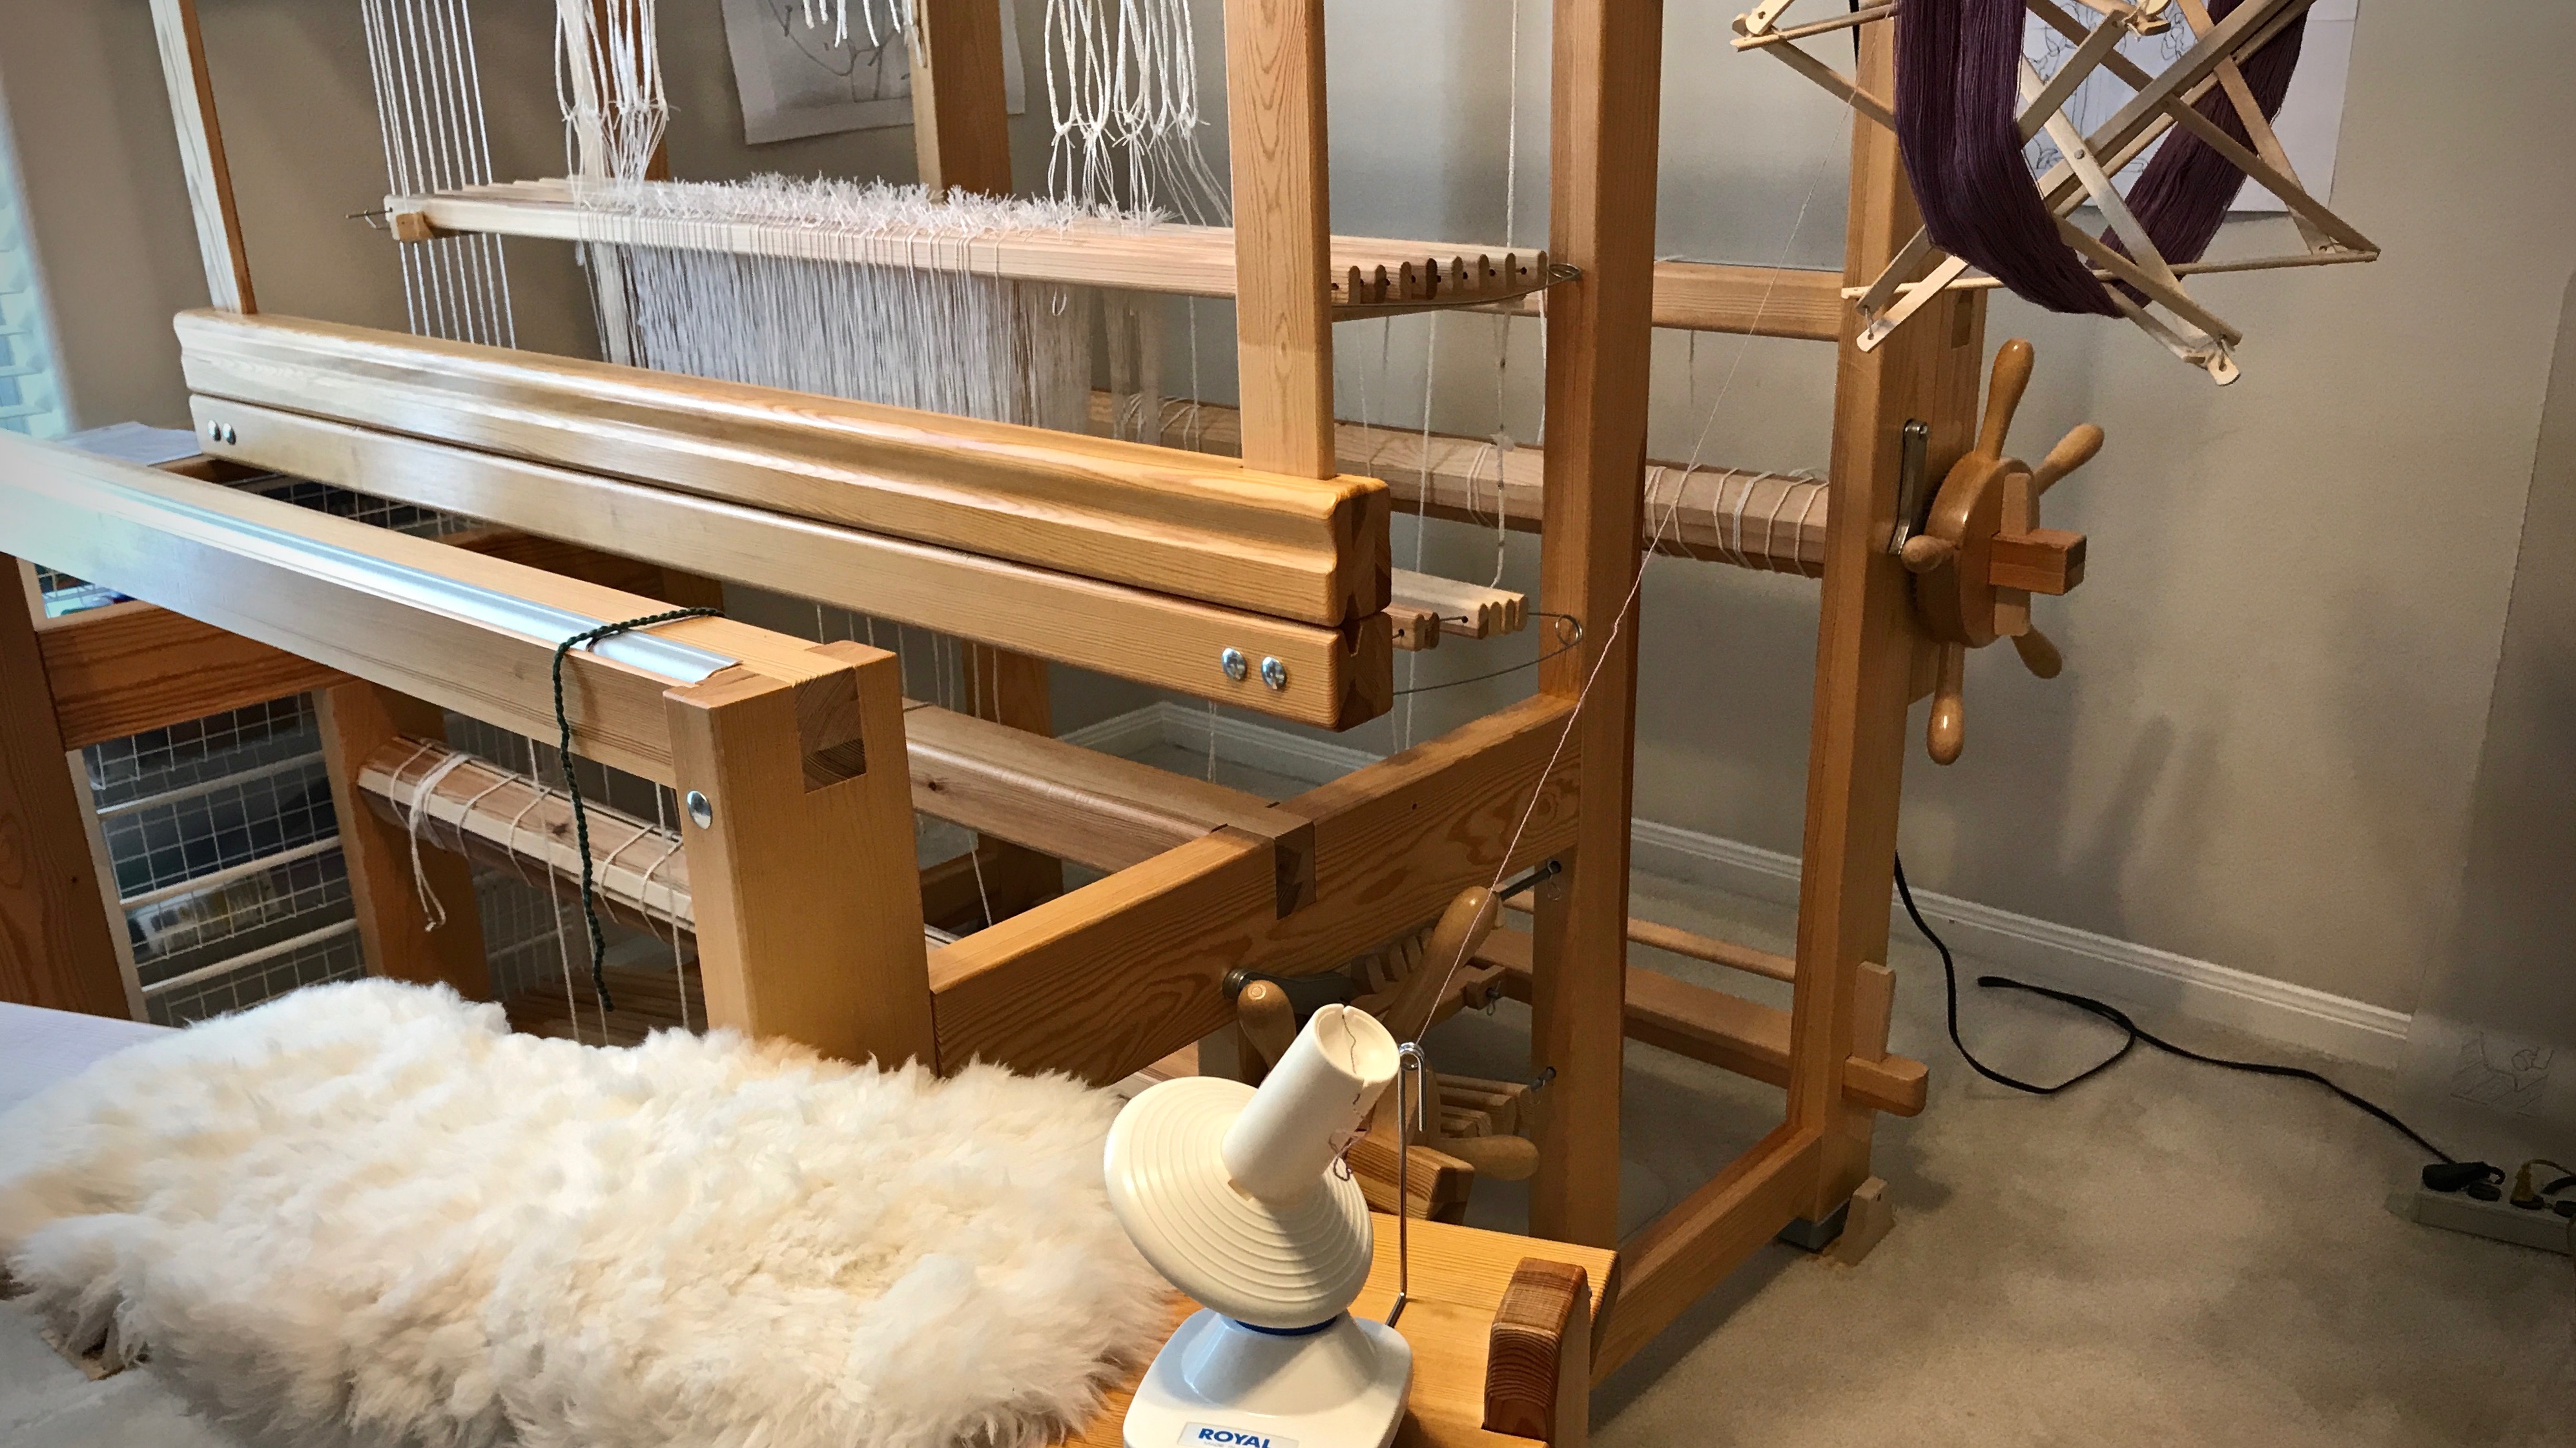
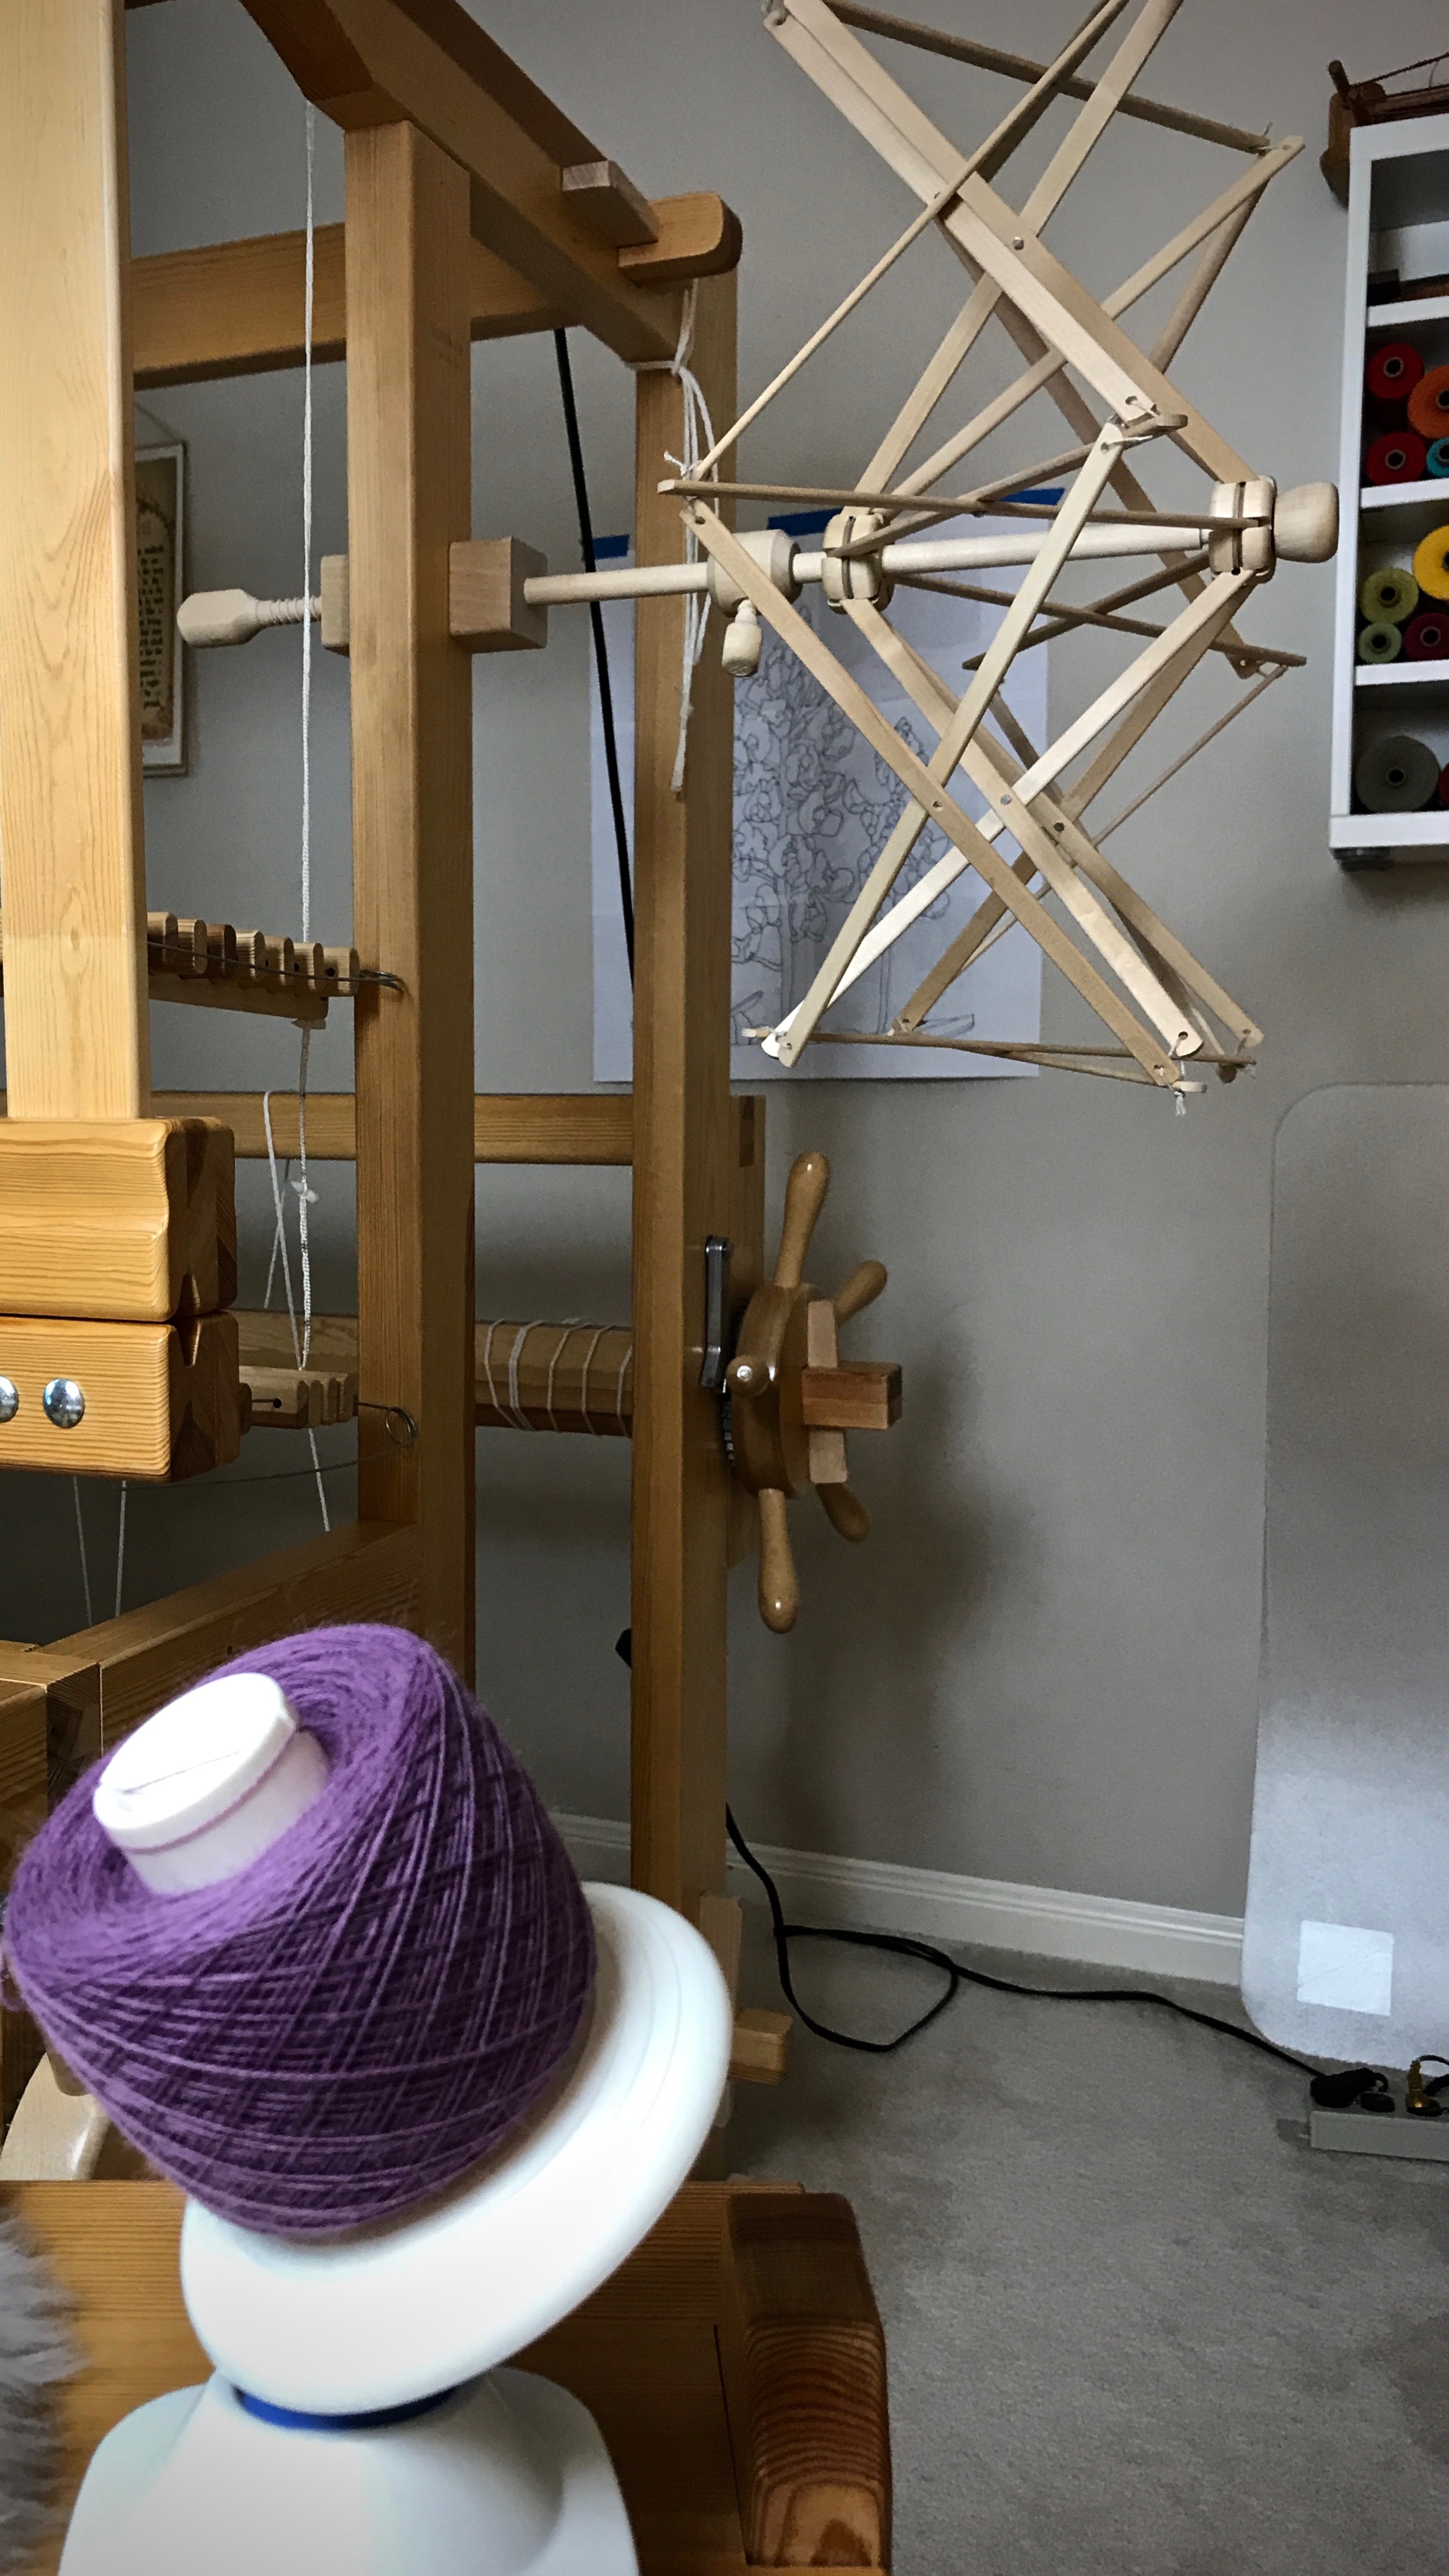
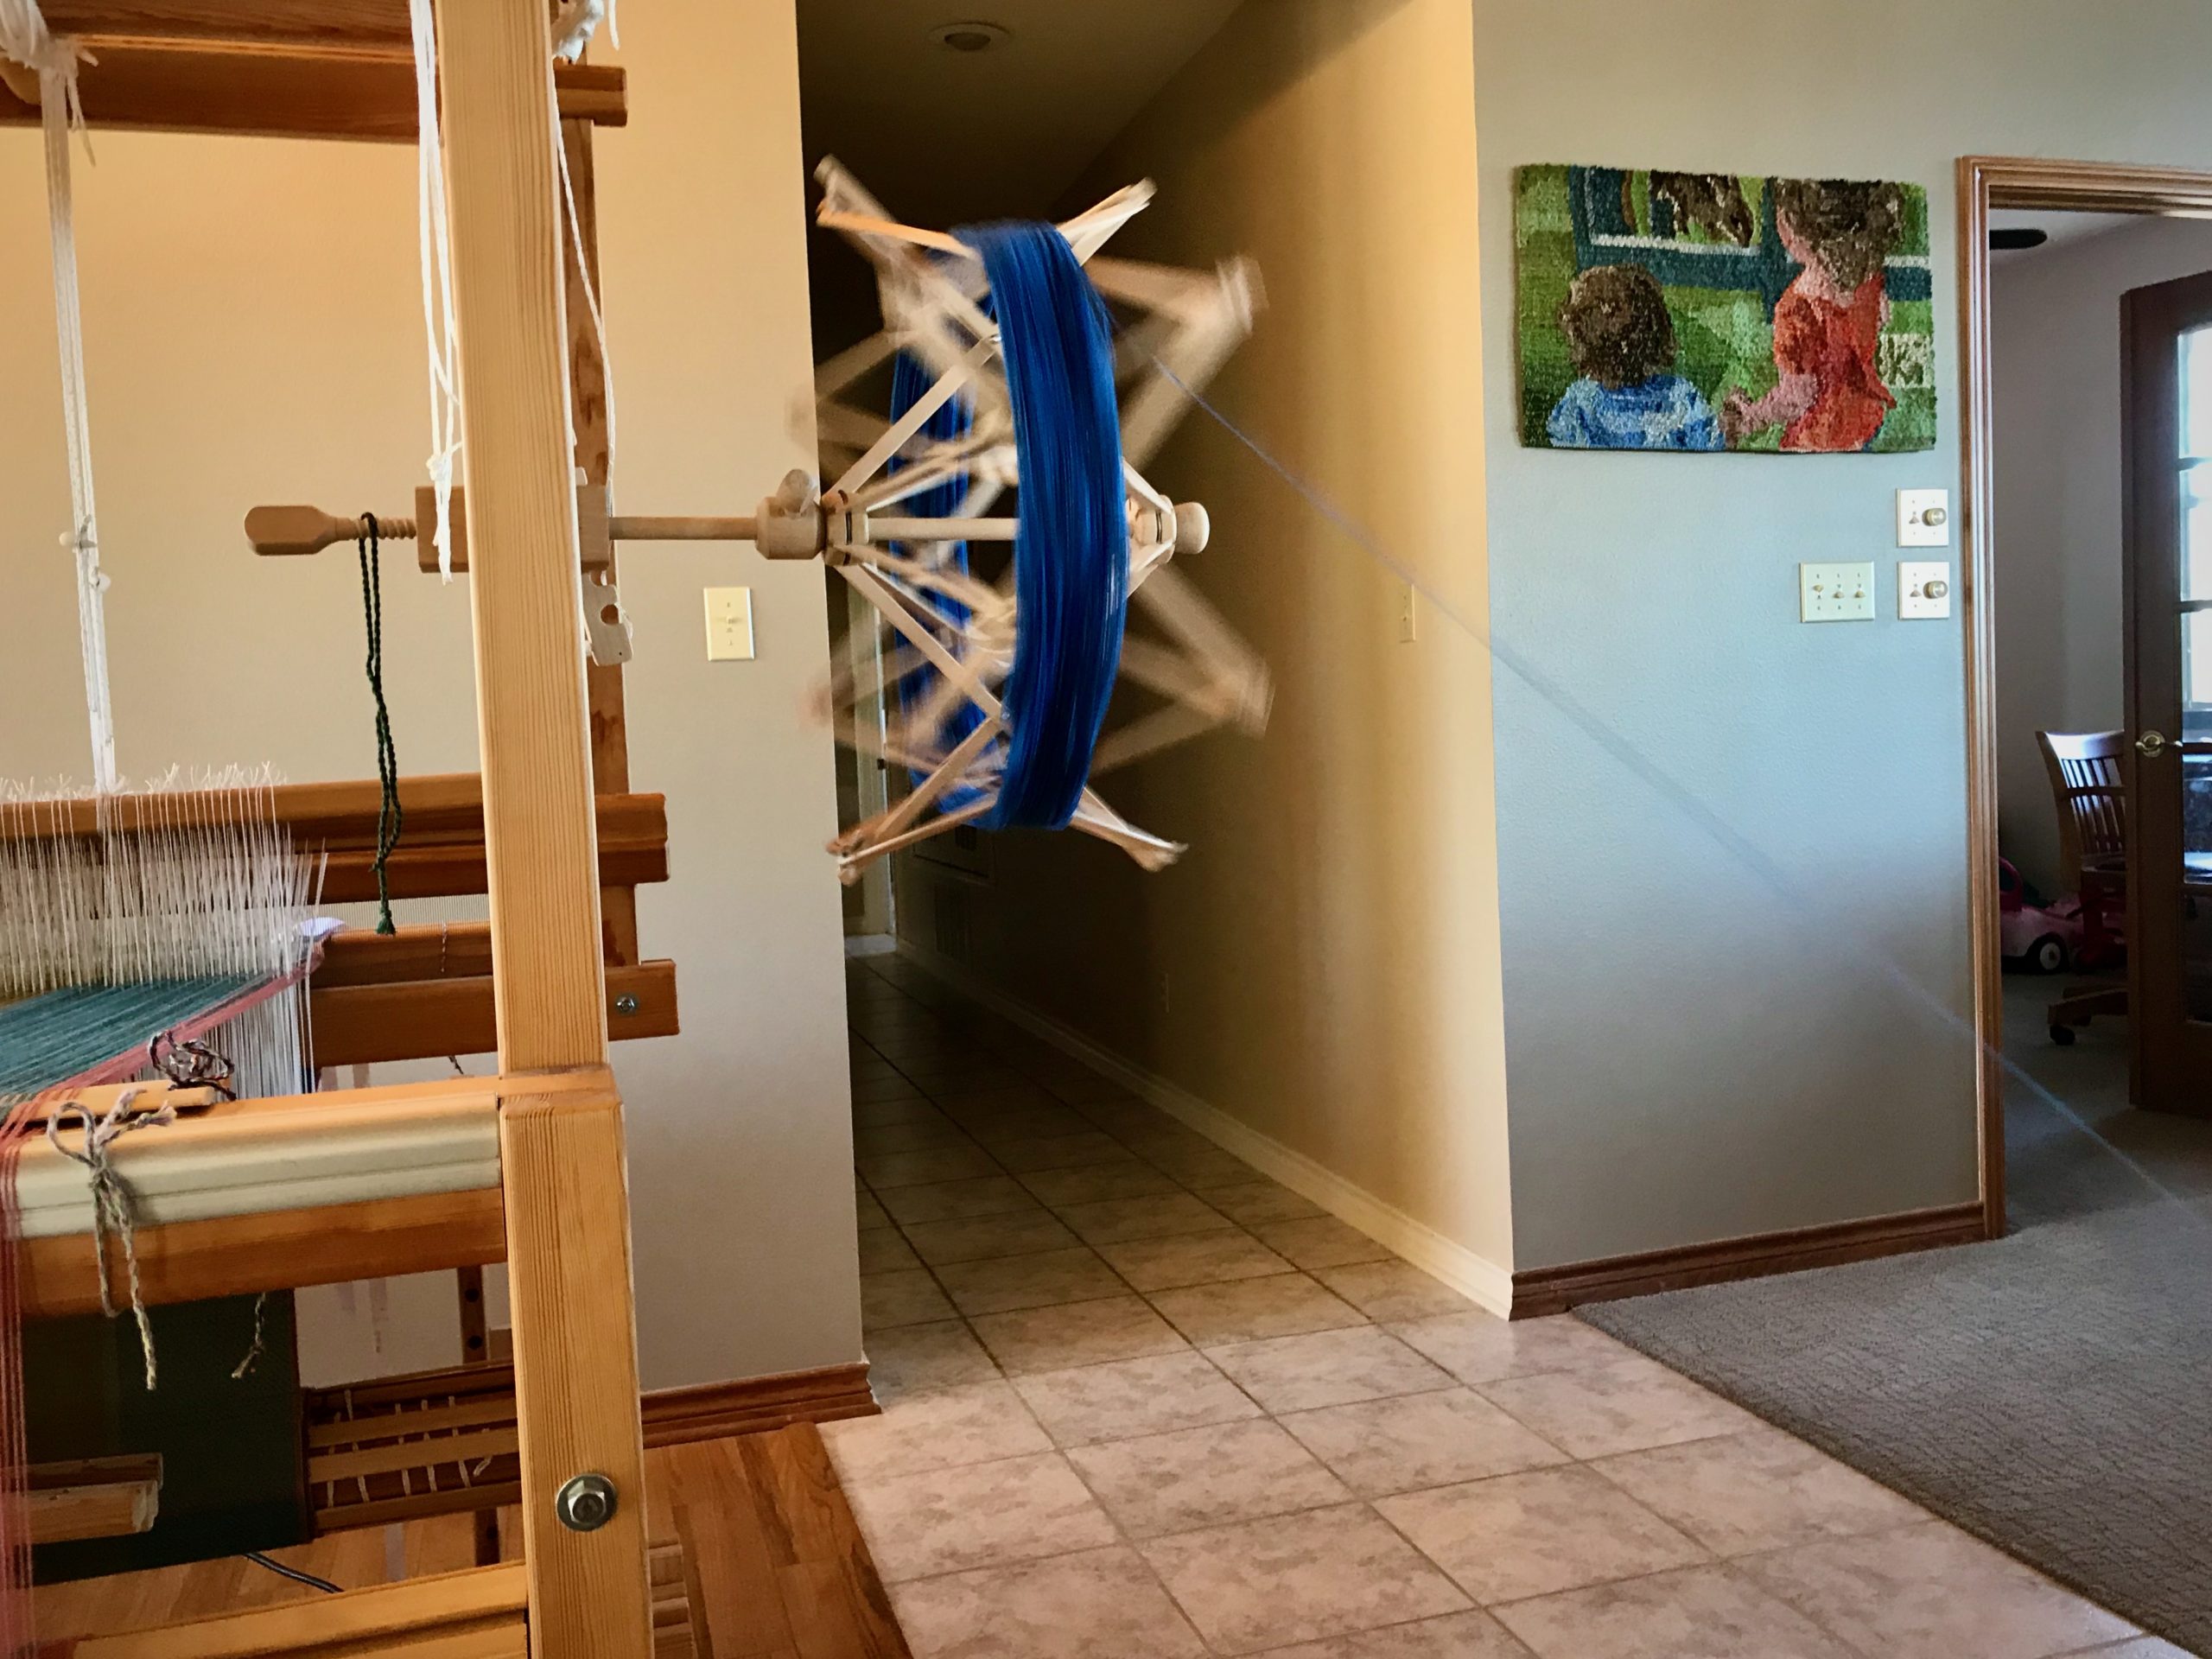
All these new skeins of yarn need to be wound into balls using my Swedish umbrella swift and a ball winder. In the past, I have used a manual ball winder. That means a lot of handle turning, but eventually all the yarn is wound into balls.

Swedish umbrella swift and an electric ball winder.
Skein of yarn is opened and placed on the umbrella swift.

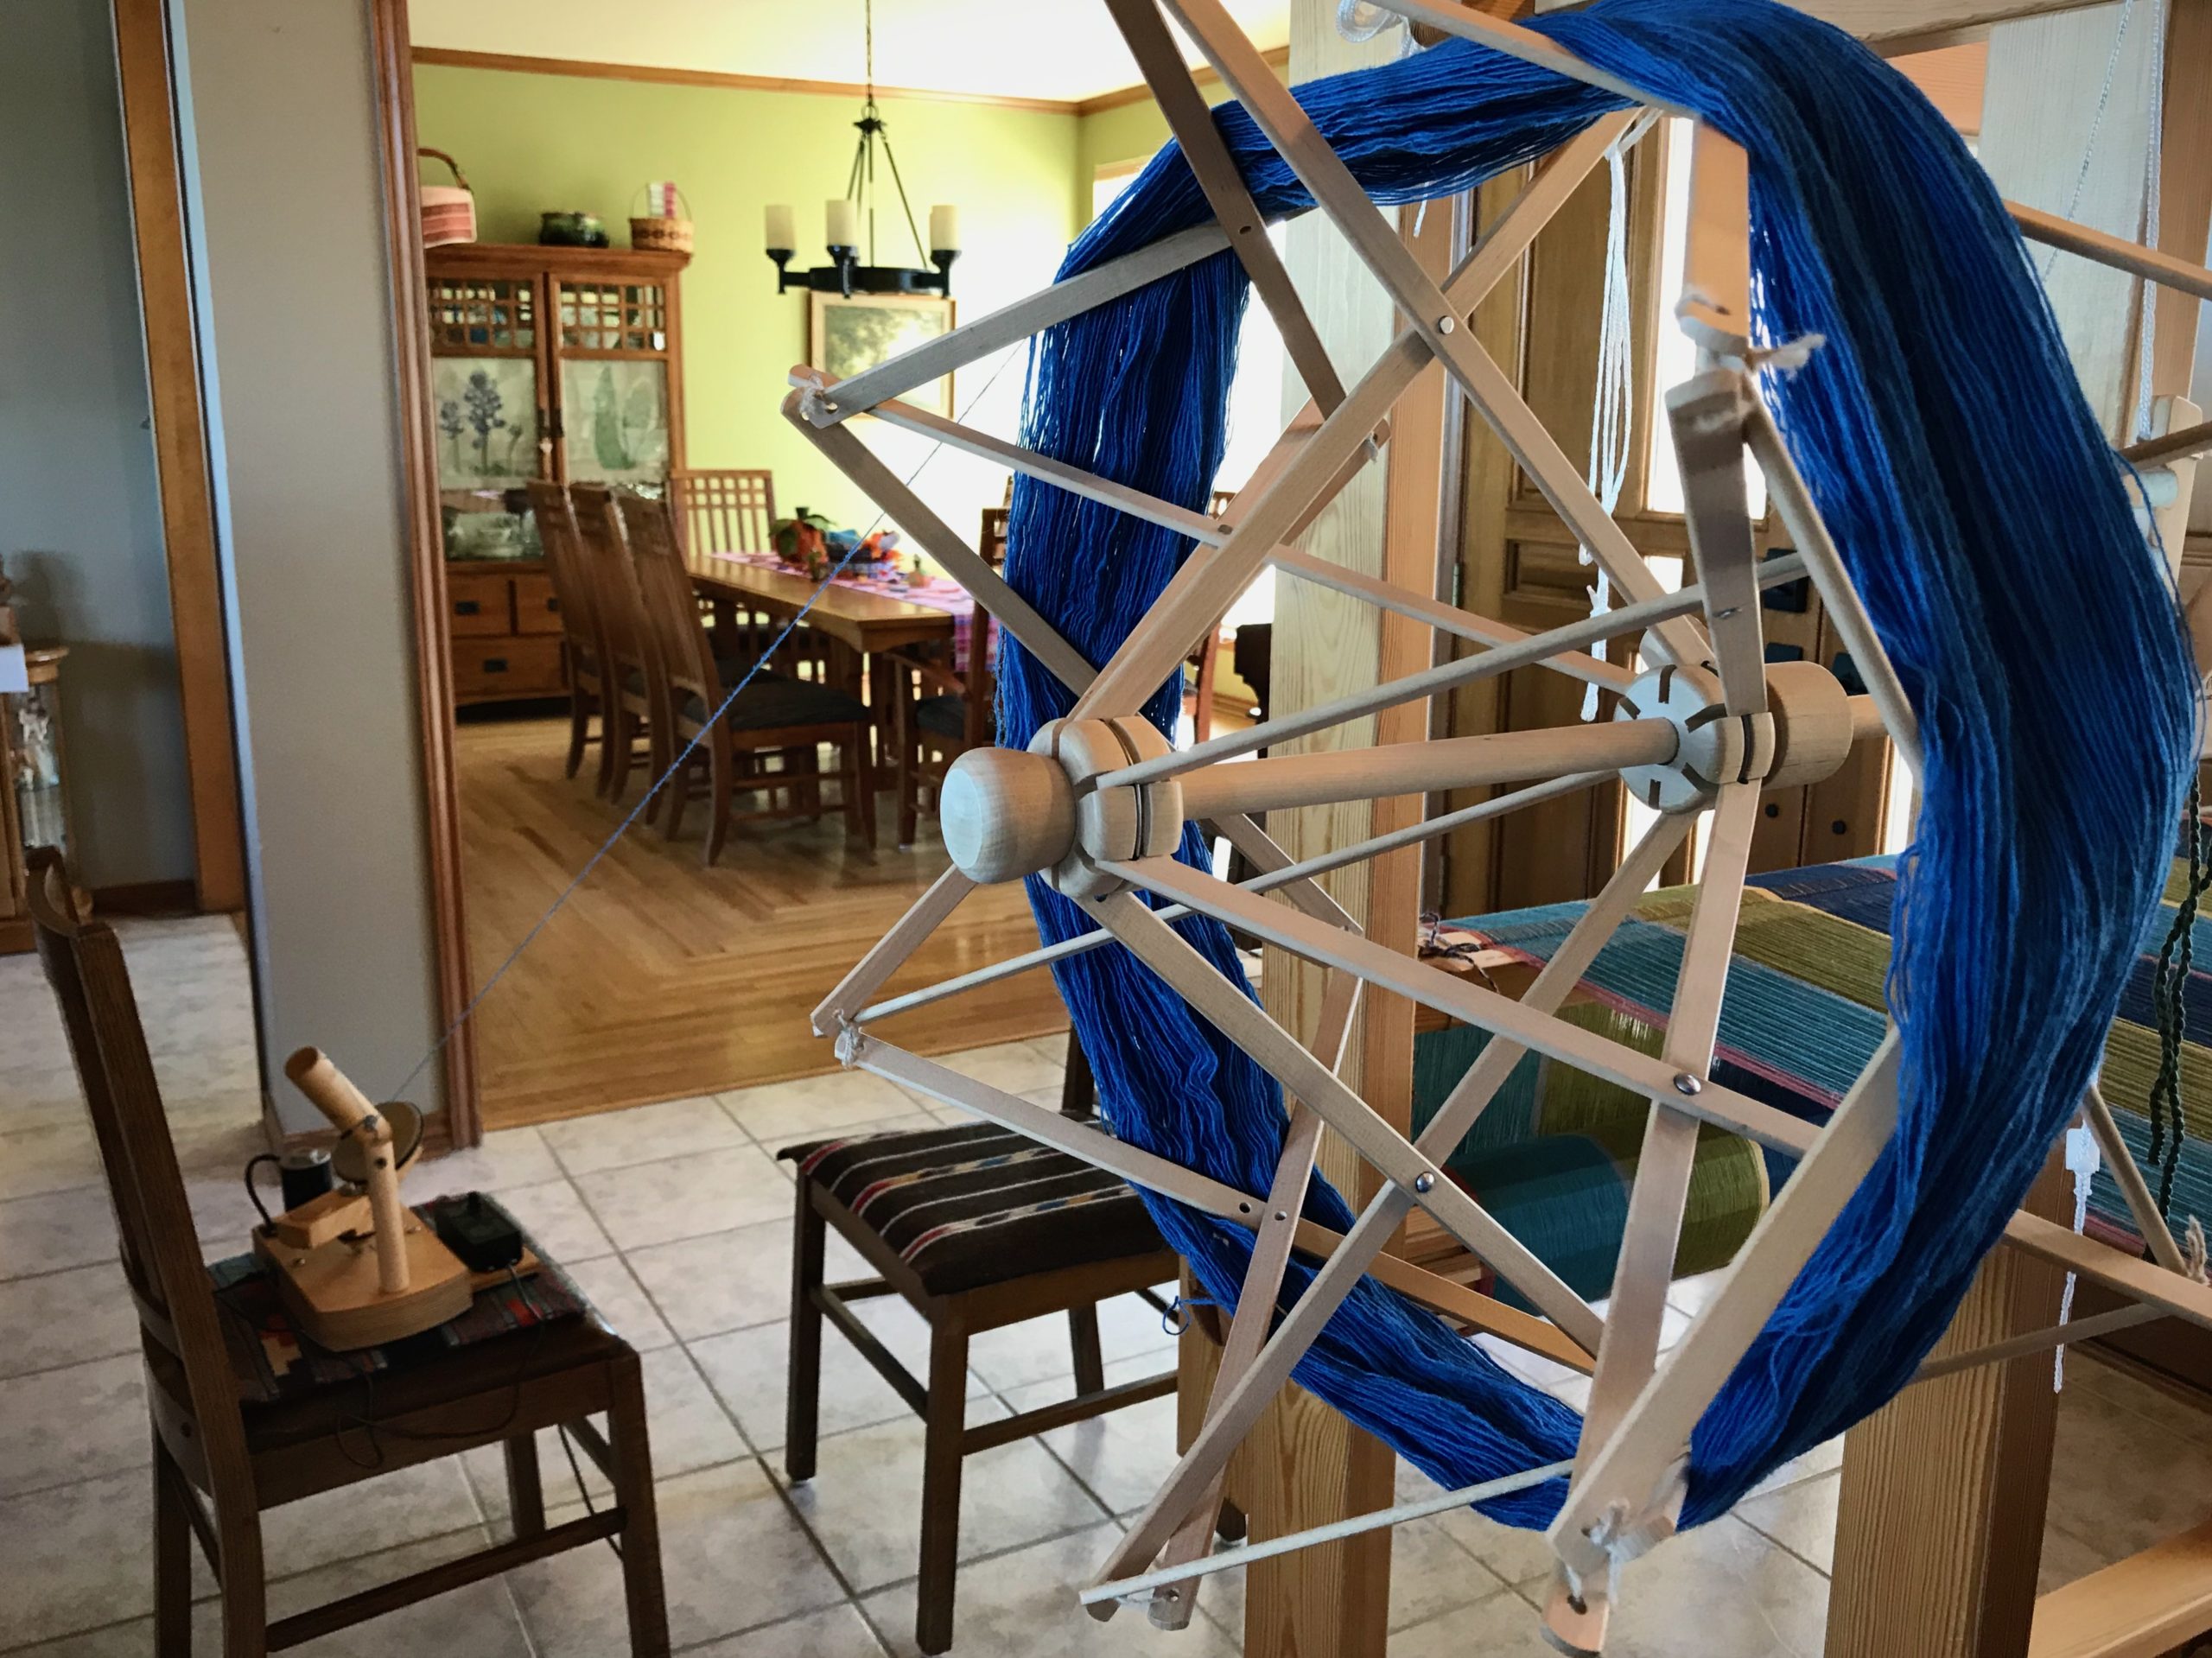
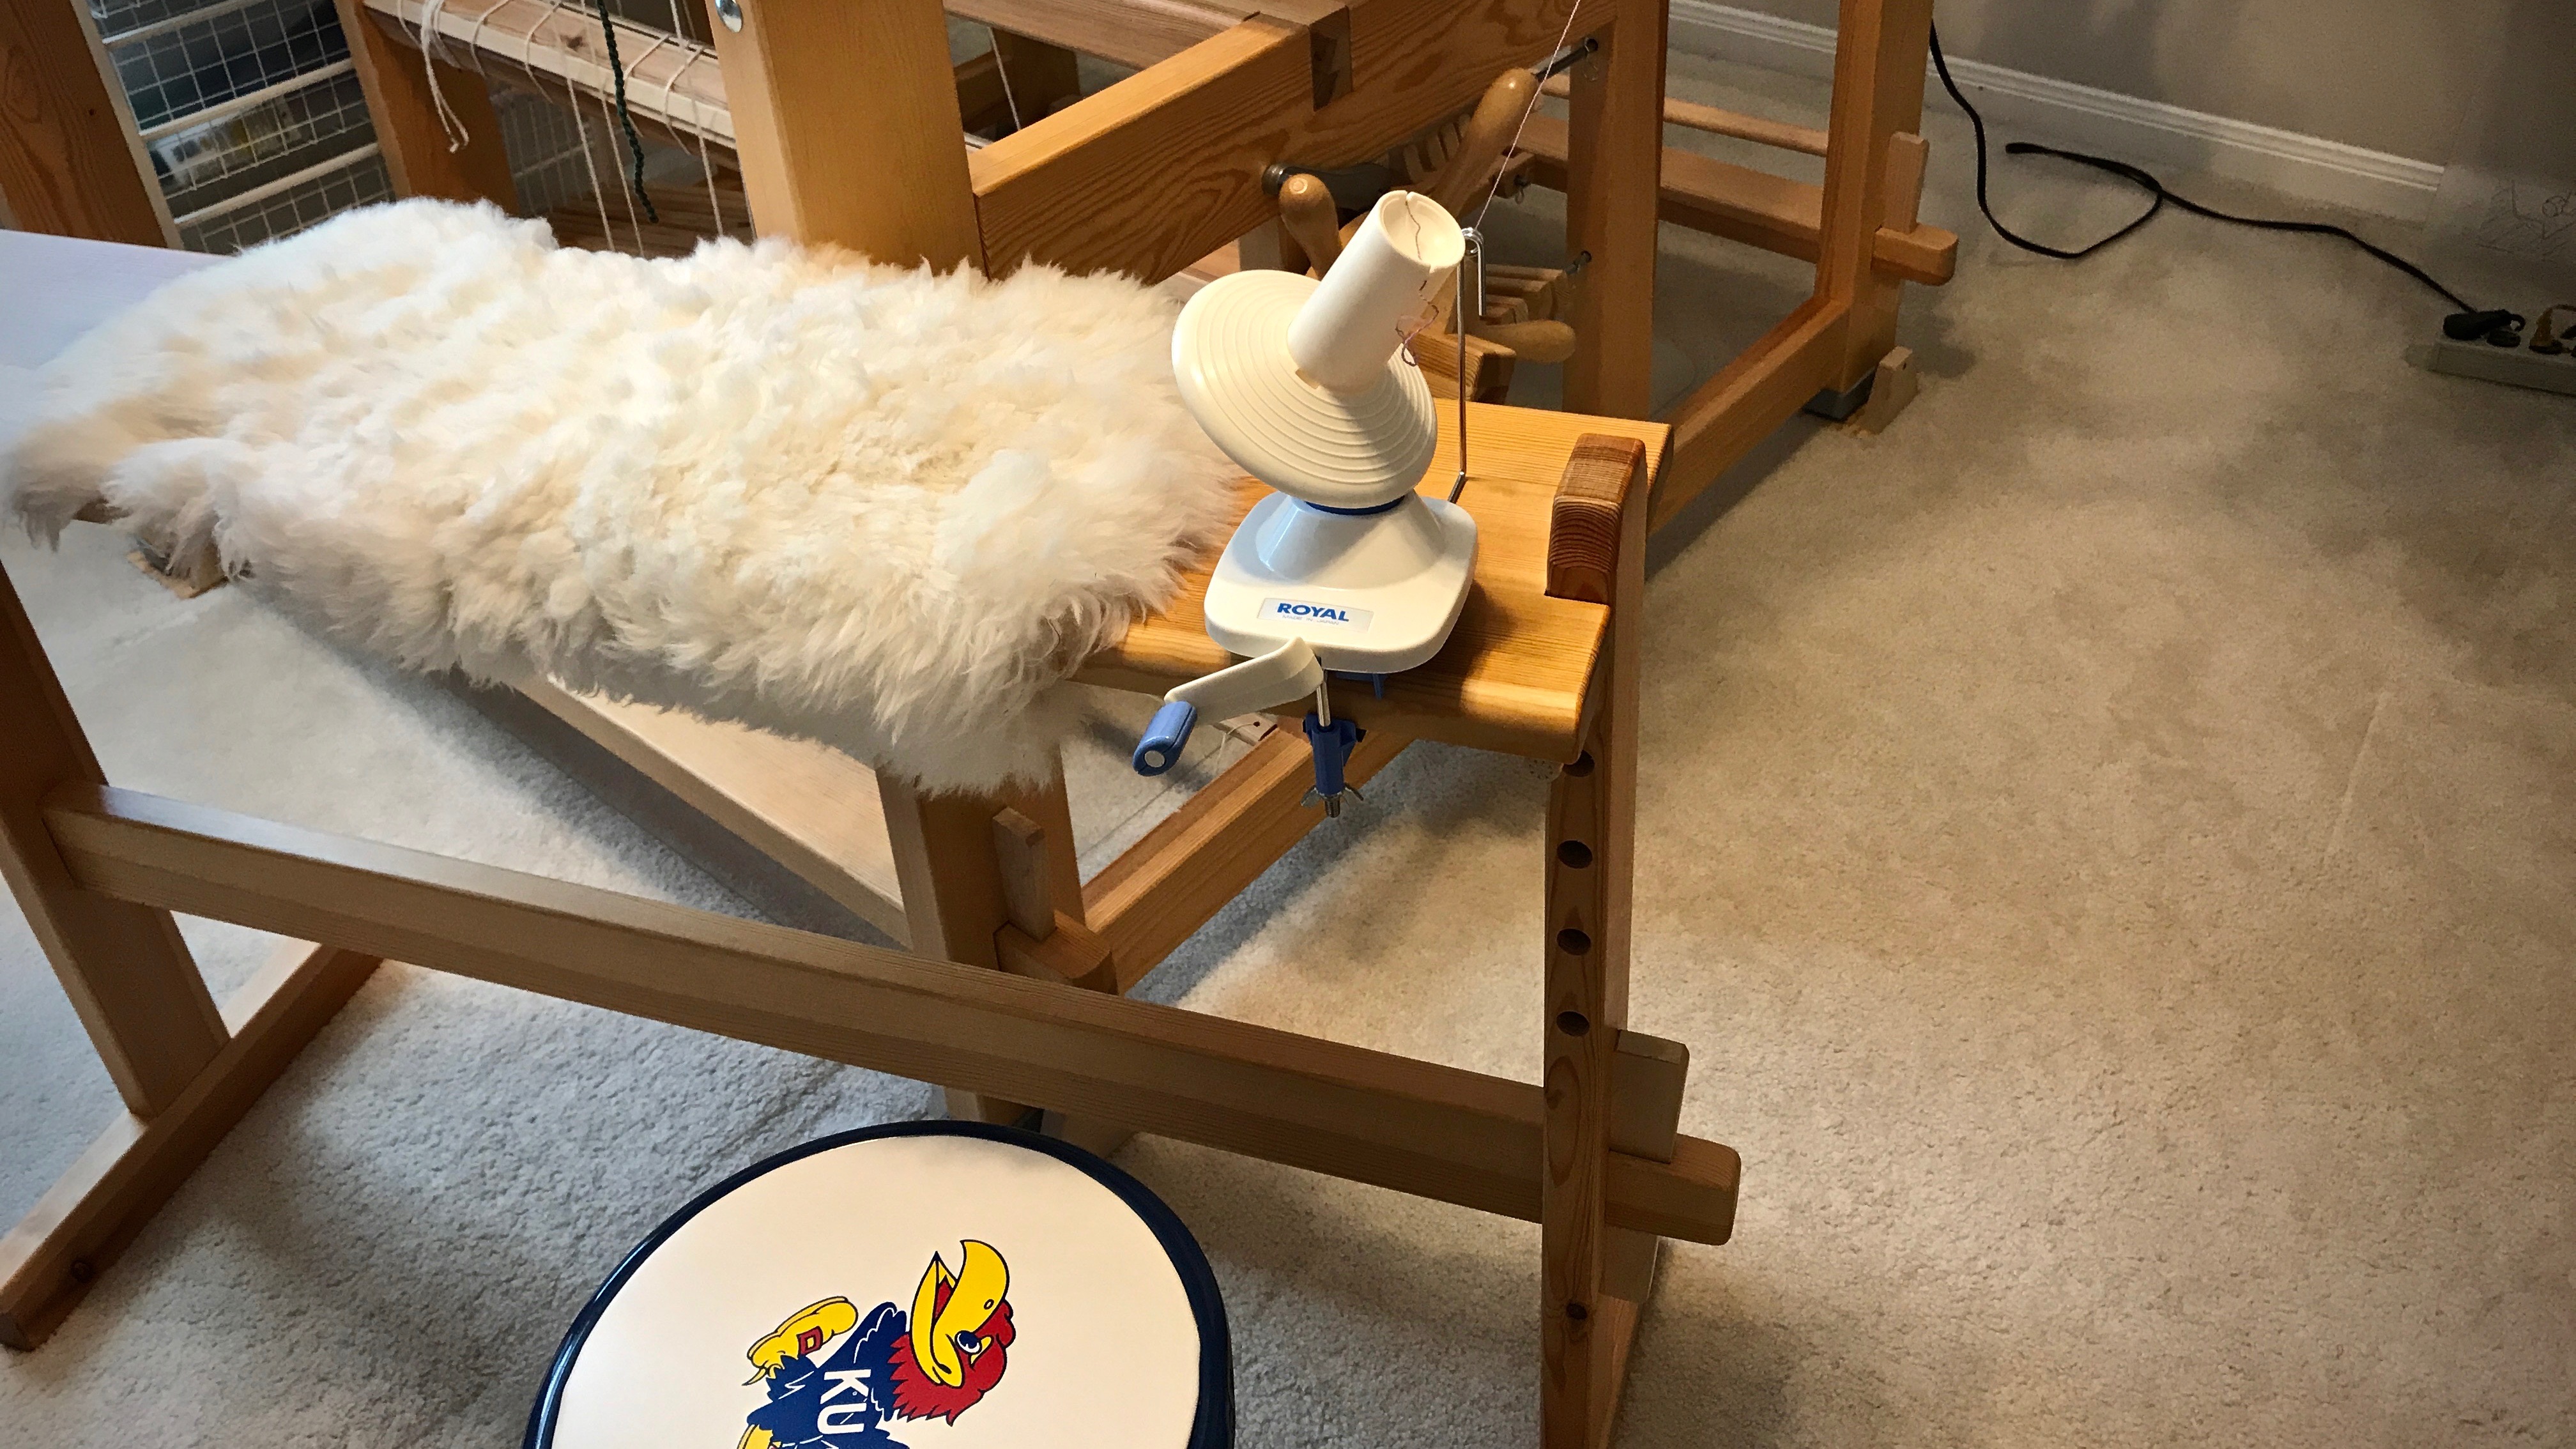
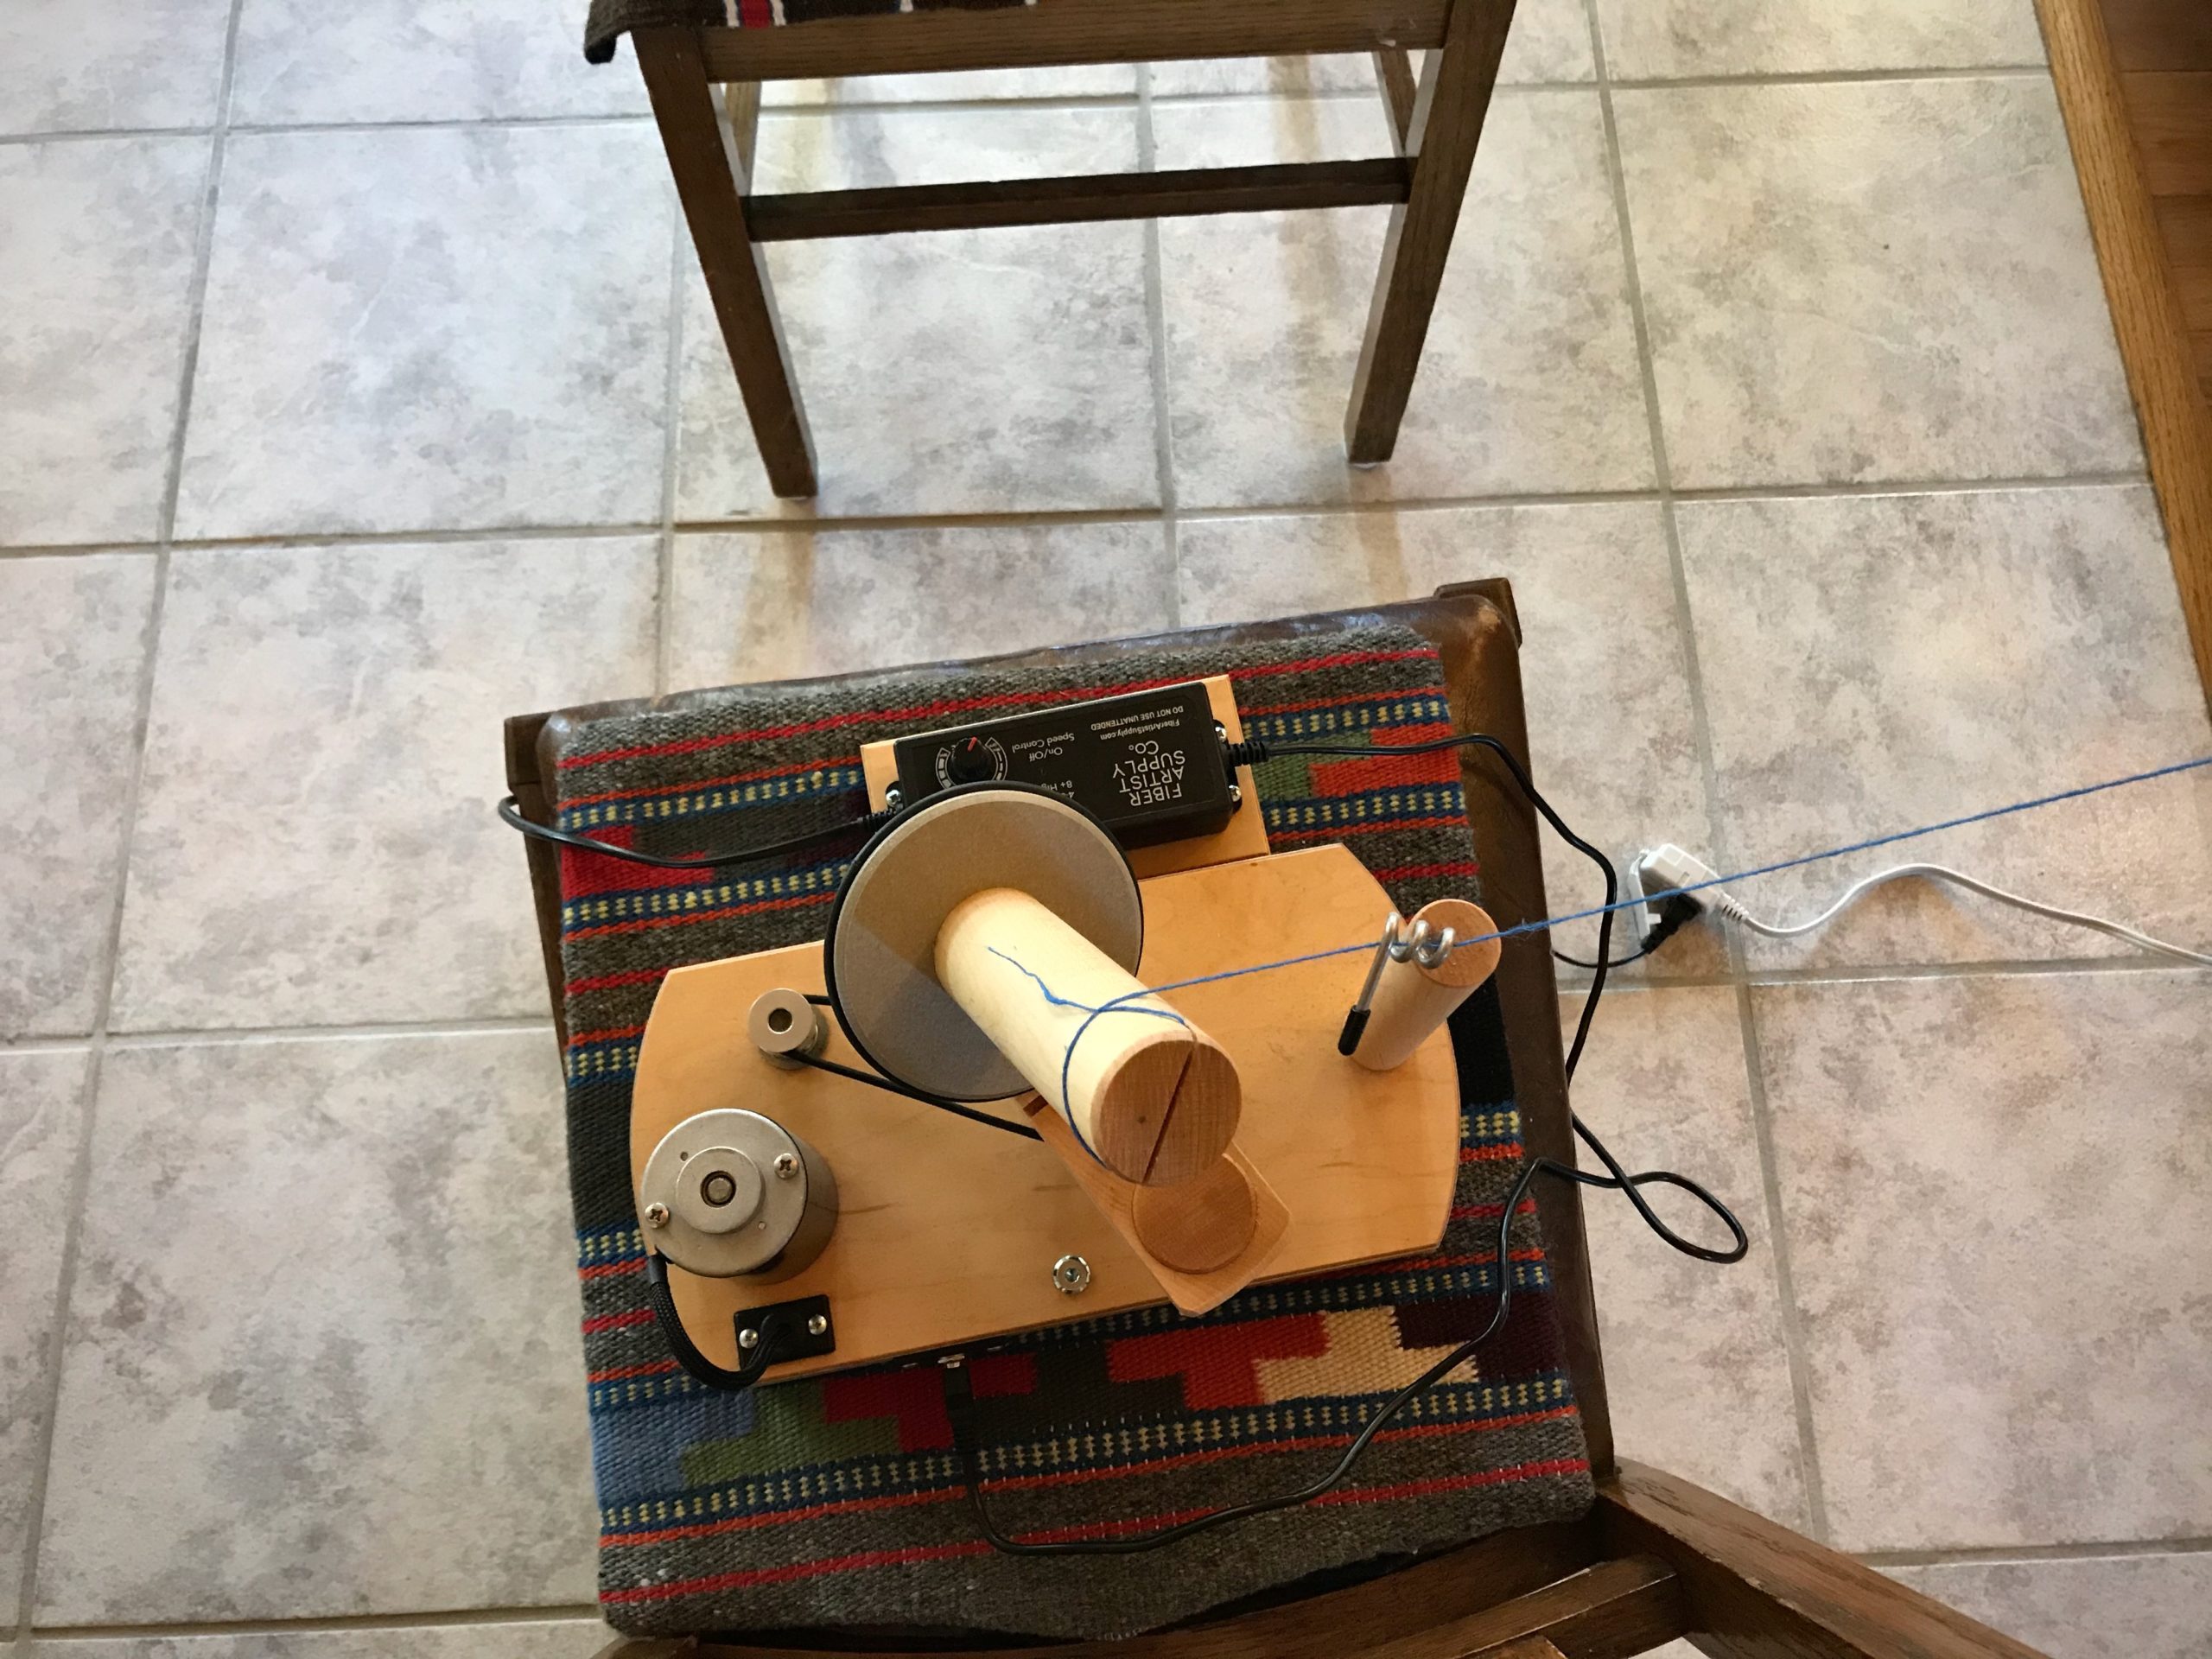
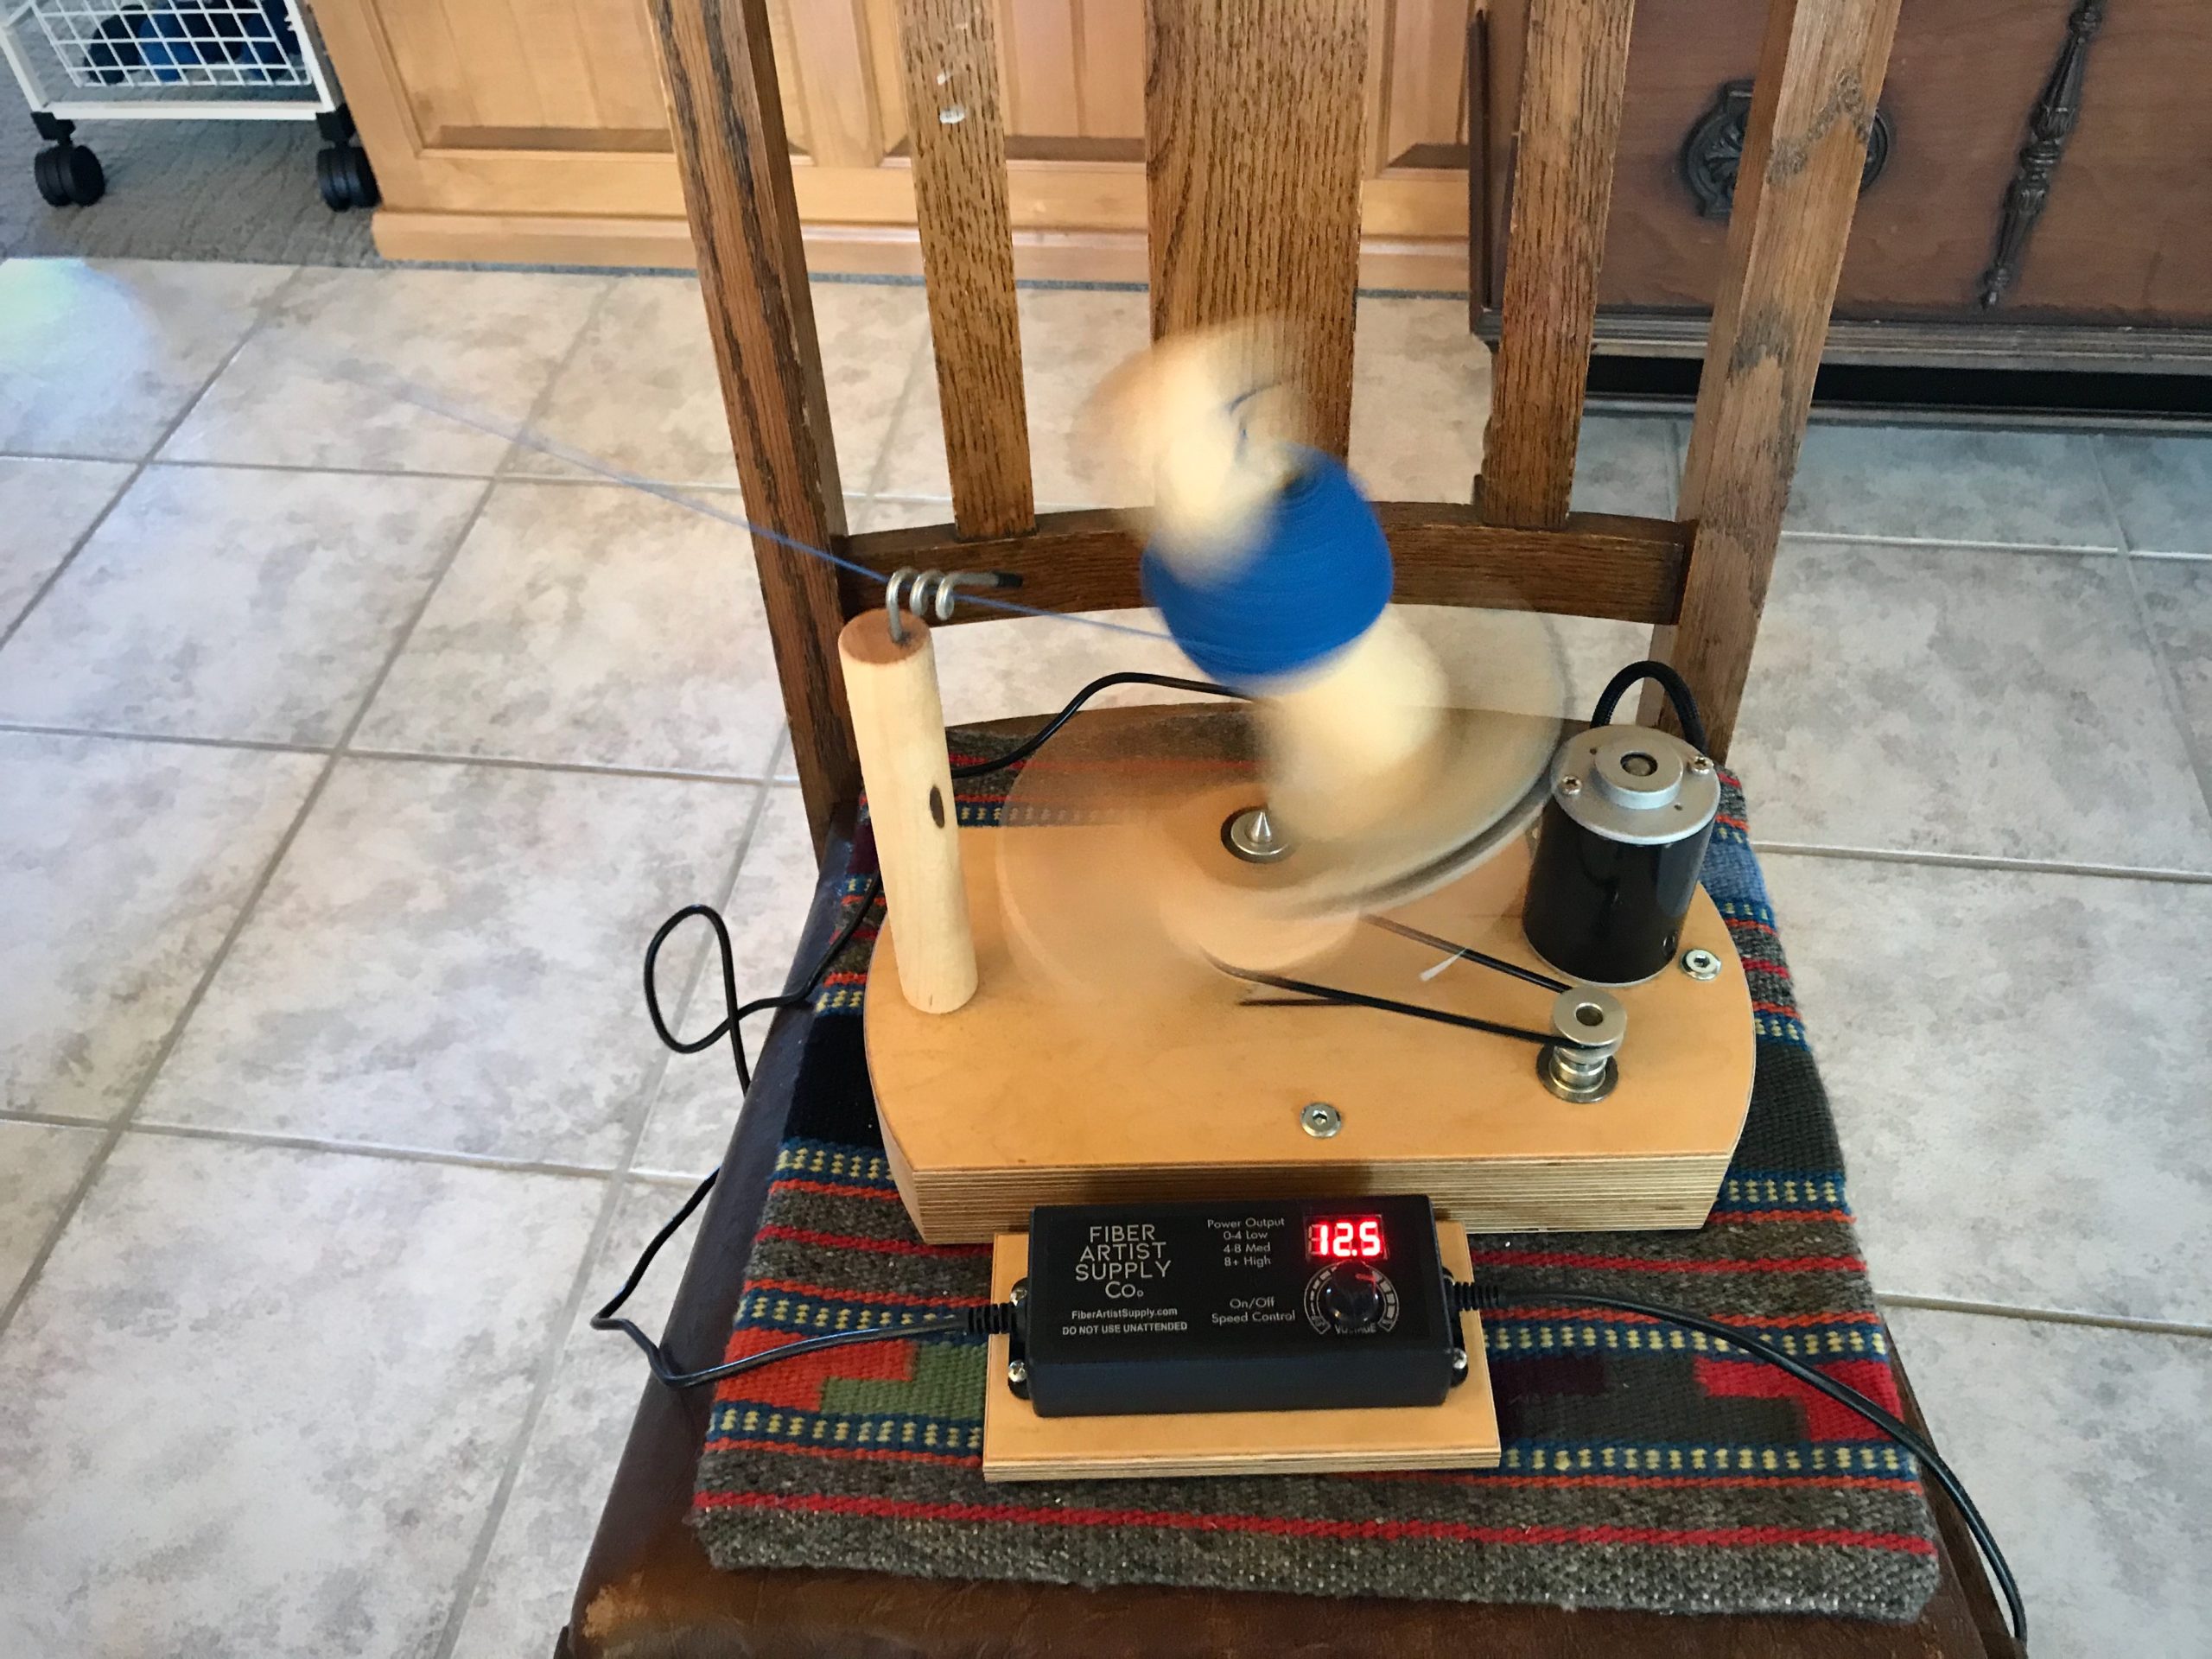
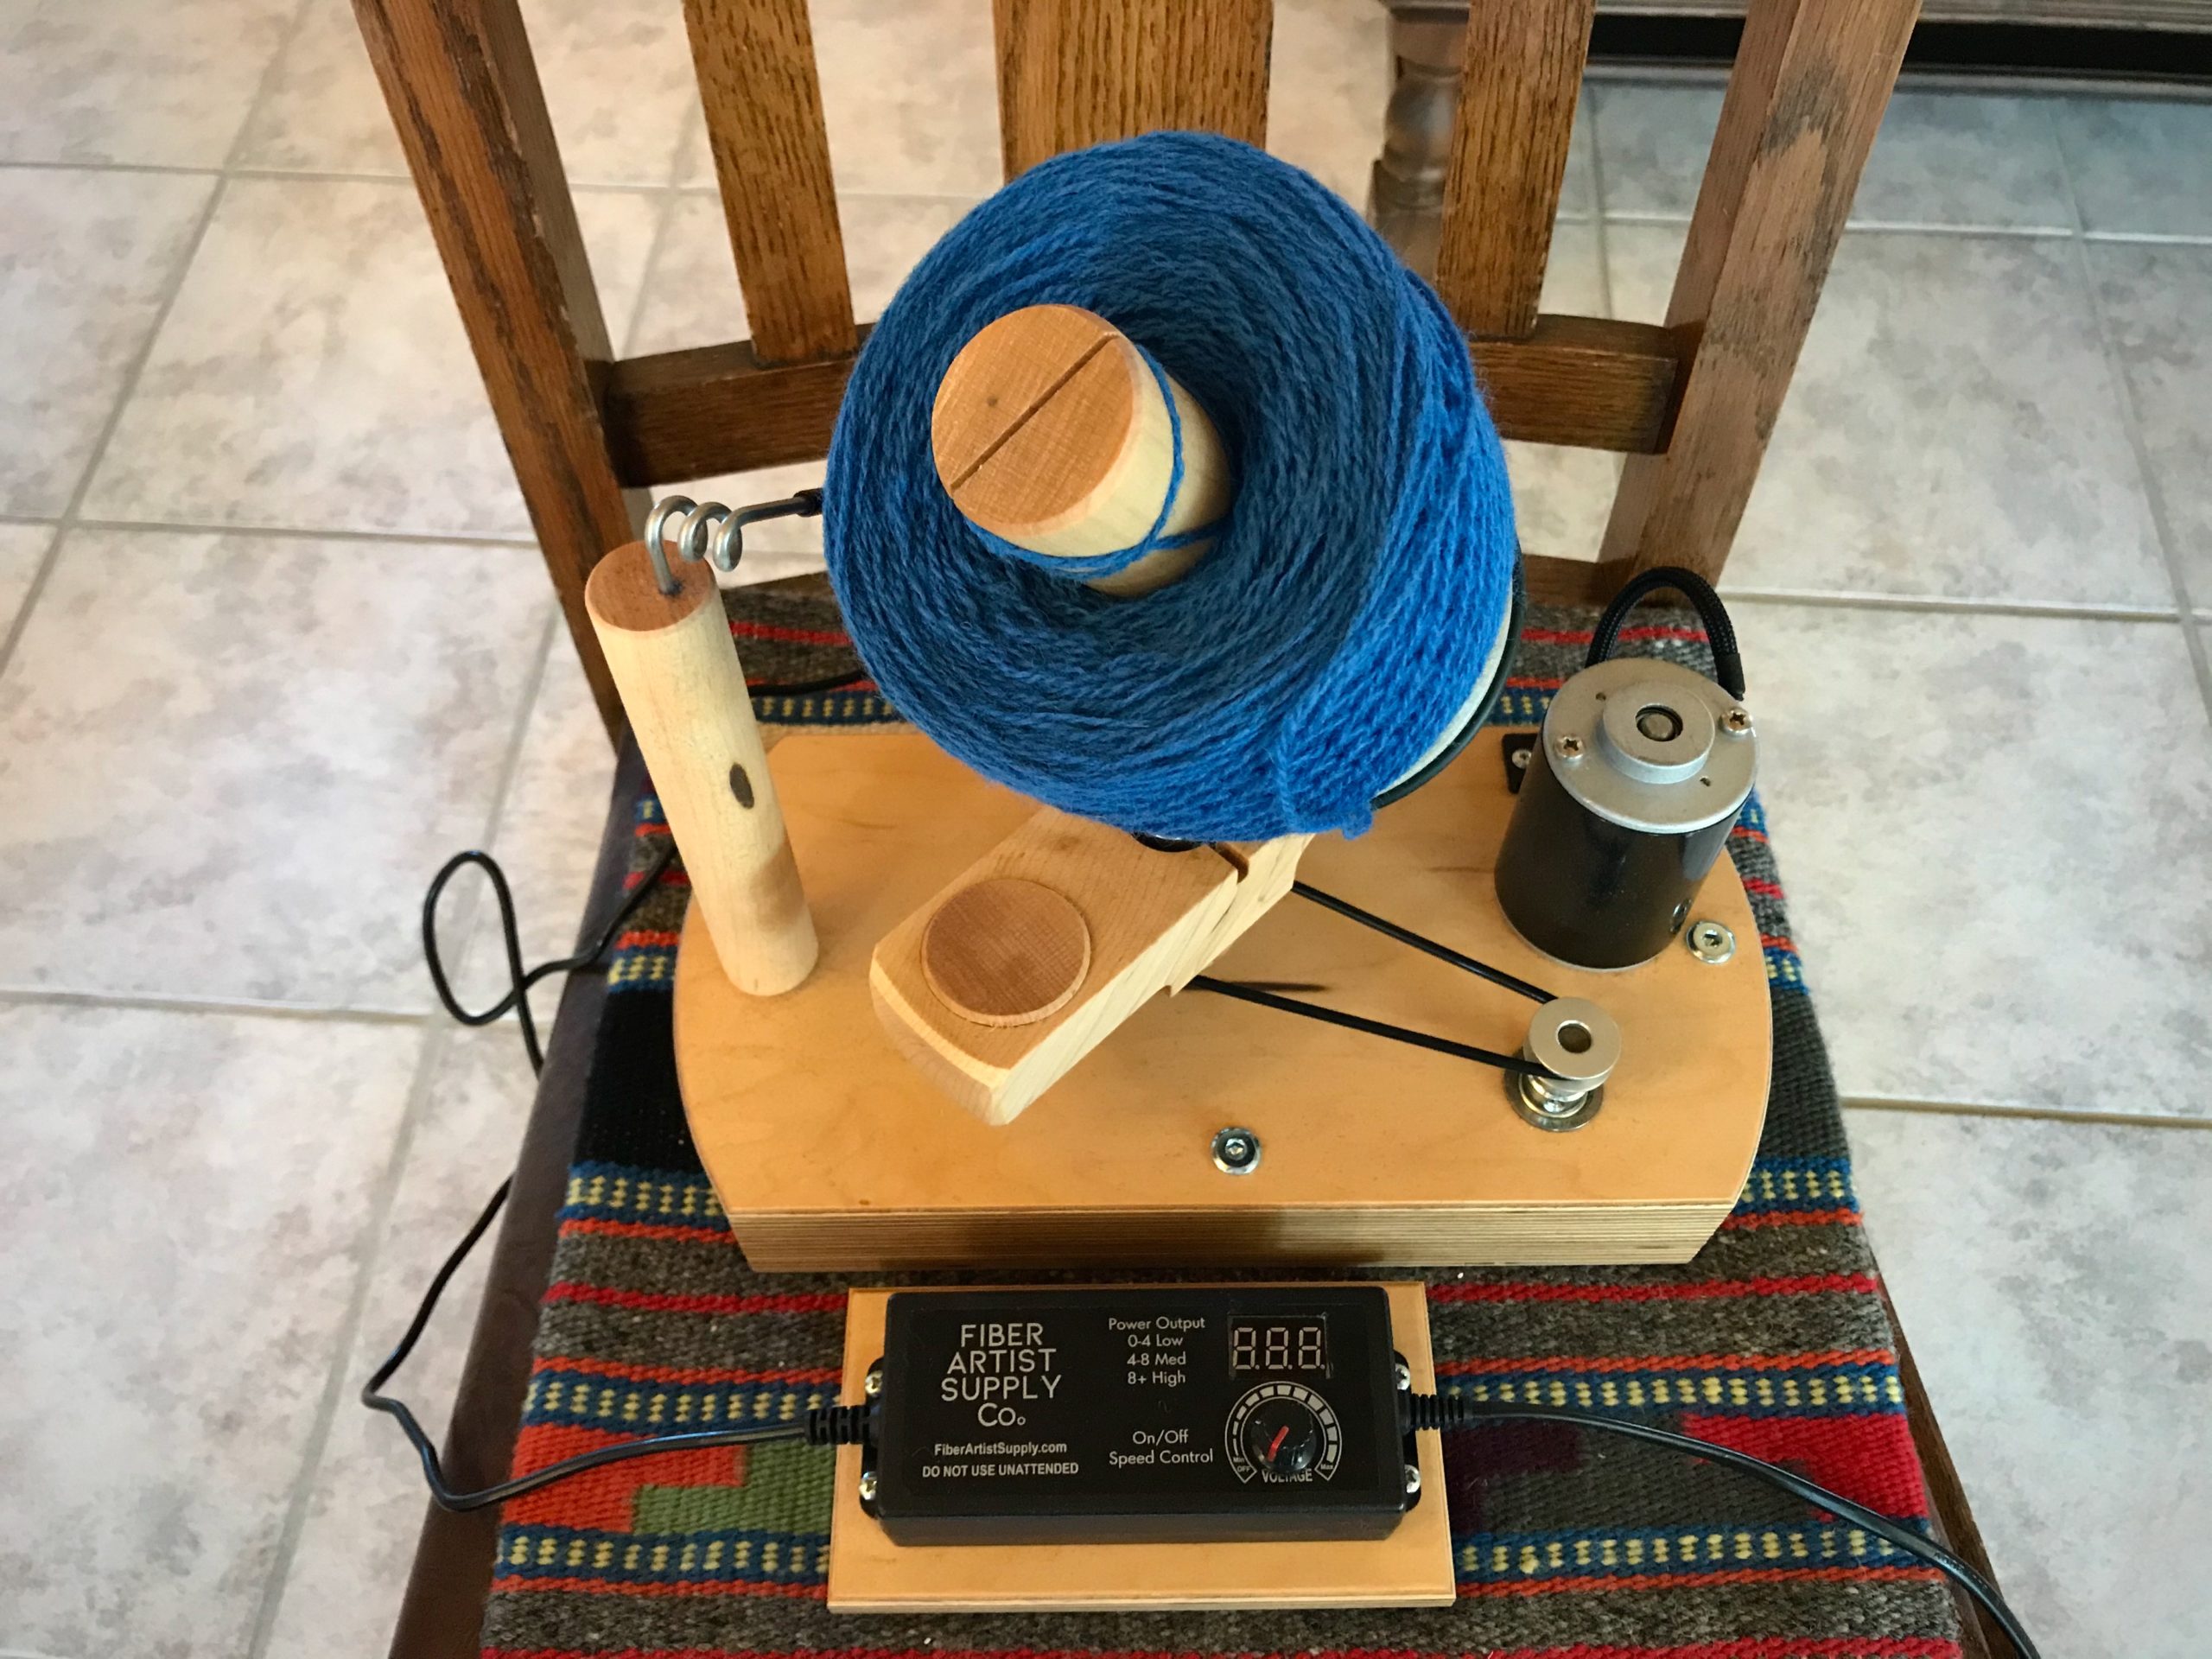
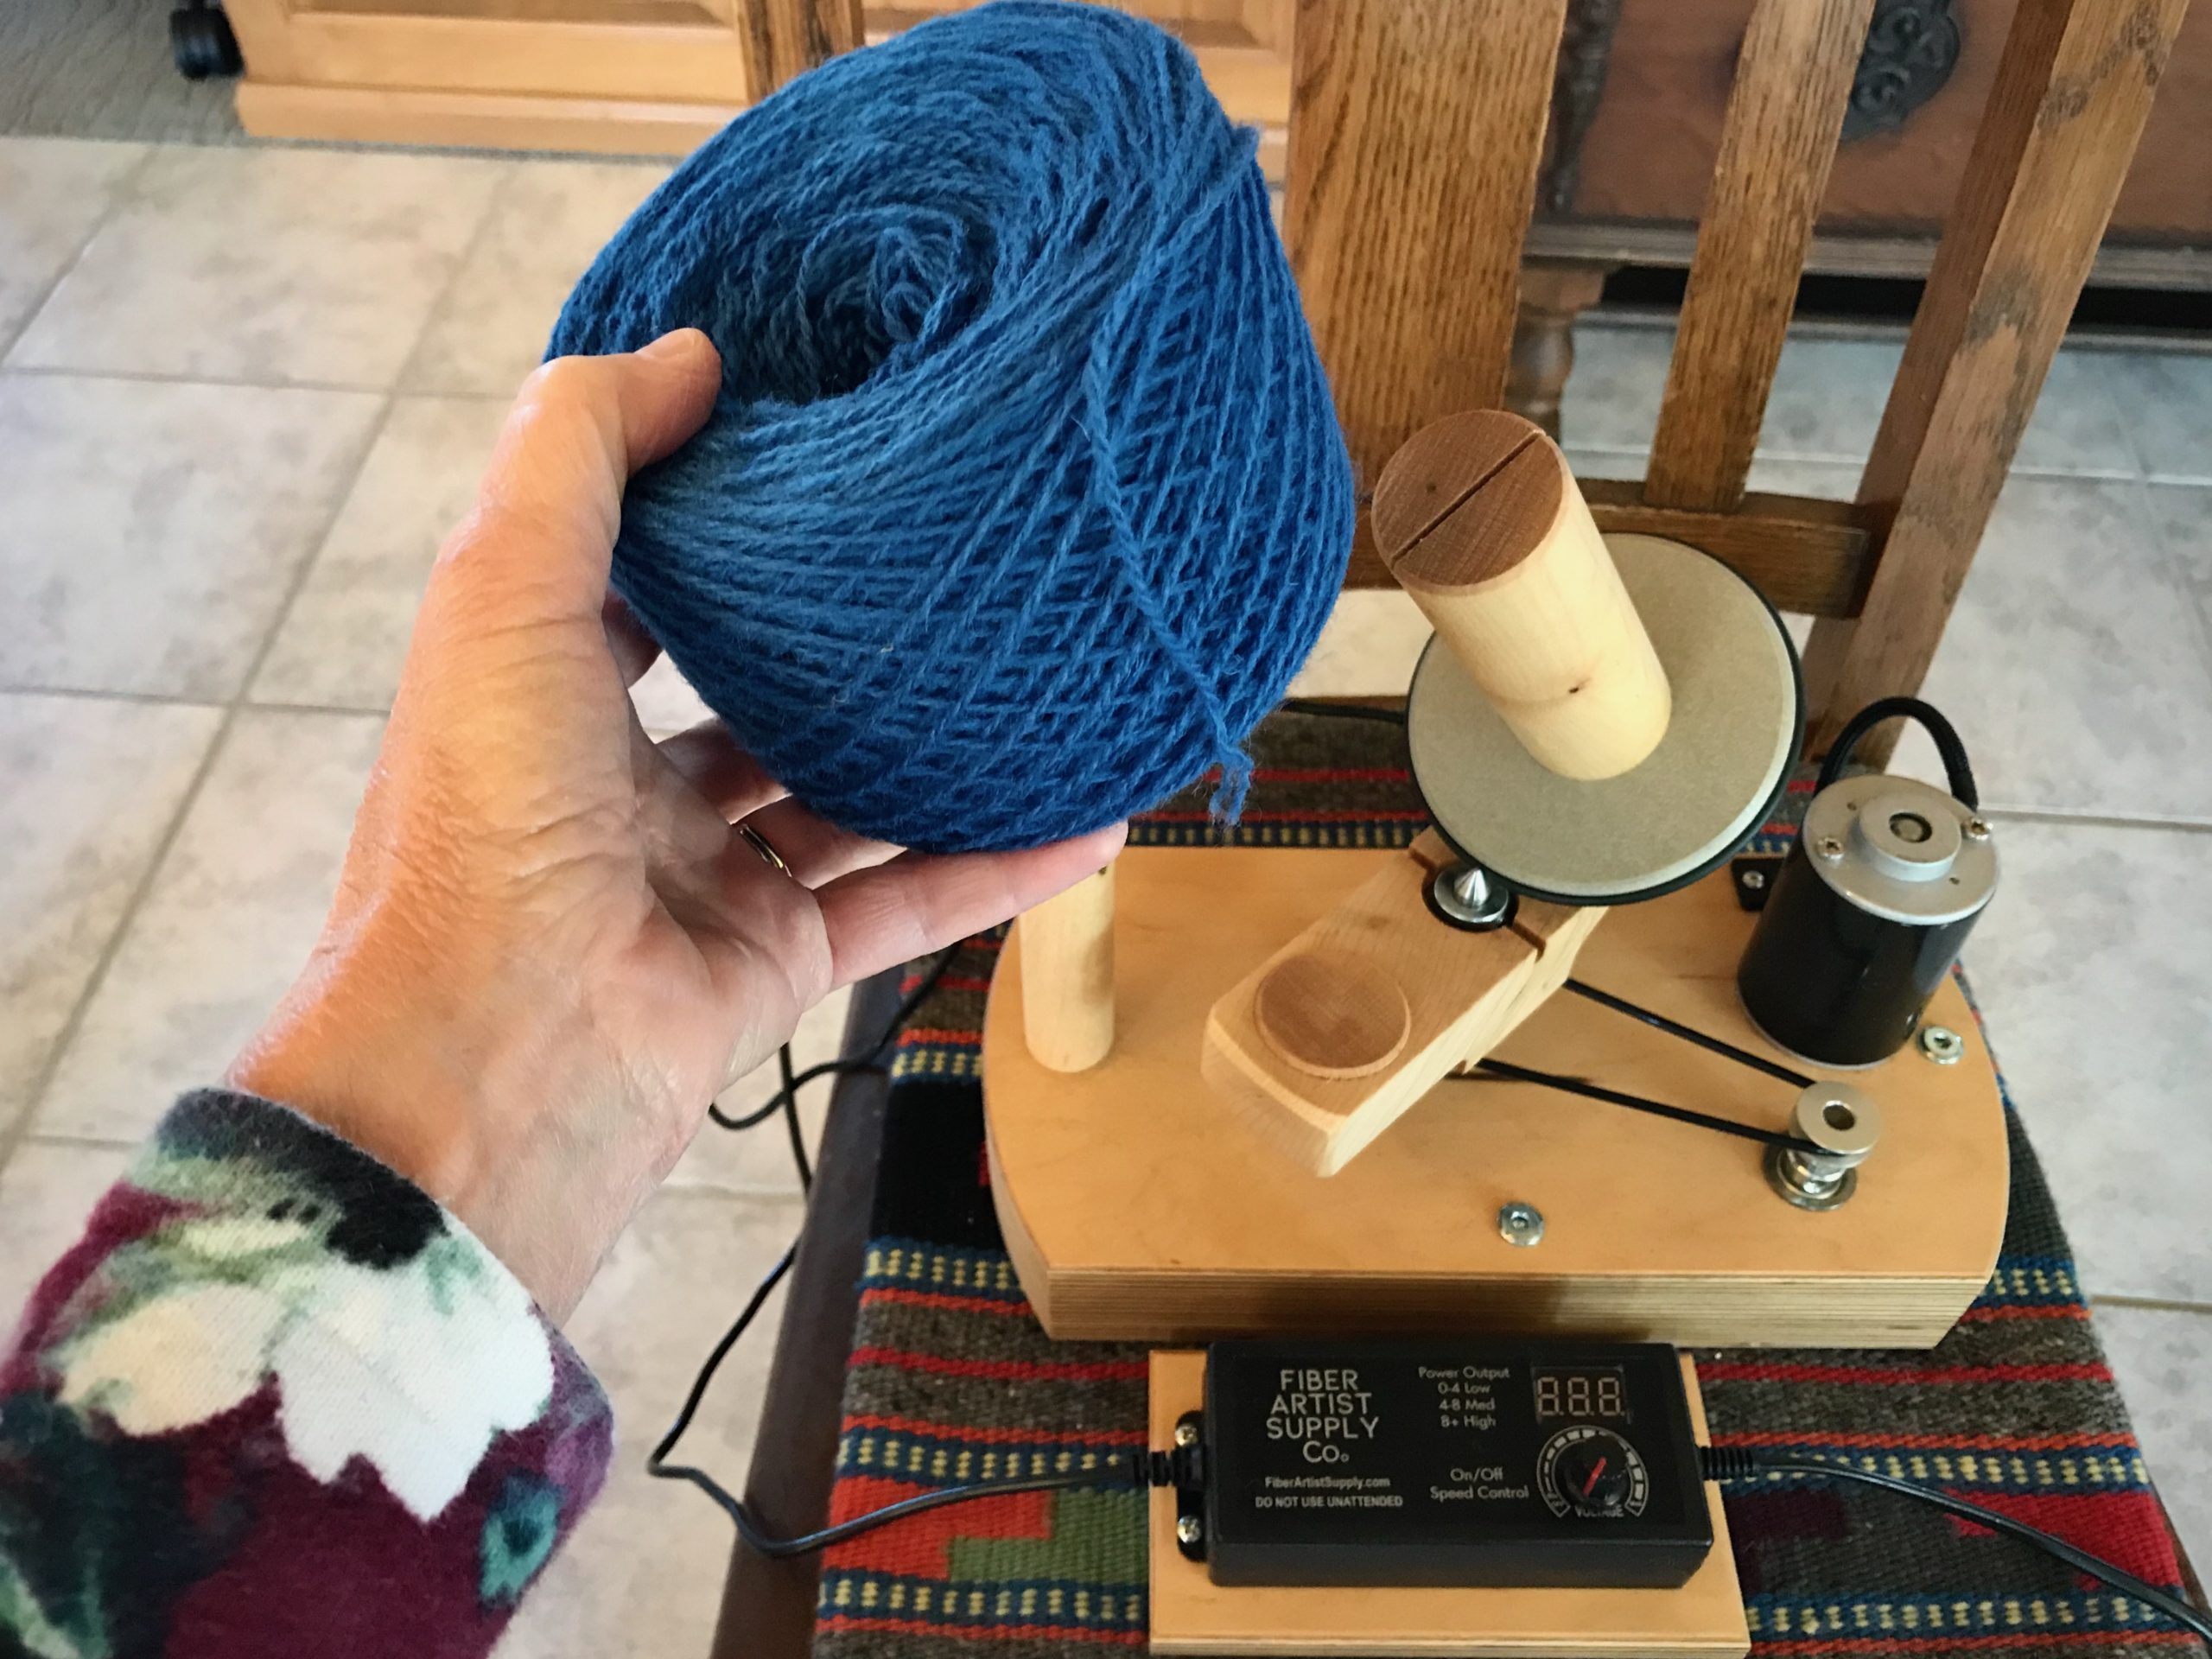
This time is different. I found a new time-saving and arm-saving tool. It’s an electric ball winder, made by Fiber Artist Supply Company. I put the skein on the swift, cut the ties, secure the loose end of yarn to the ball winder, and then turn it on, gradually increasing the speed. In less than two minutes, I have another beautiful ball of yarn to use for making tapestry butterflies.

My new electric ball winder.
End of yarn is secured on the post of the ball winder.
Electric ball winder. Time-saver and arm-saver!
Dial on the winder allows me to gradually increase the speed. When I see that the skein is unwinding properly, I turn the dial to full speed.
Yarn swift is turning swiftly!
Maybe this is why it’s called a yarn “swift.” Previous pictorial tapestry, Siblings, is seen on the wall.
Electric ball winder. Time-saver and arm-saver!
One minute, fifty-four seconds later, and we have a ball of yarn.
New ball of yarn from the electric ball winder.
I will wrap the label on this ball of yarn and it will join the yarn collection for this tapestry.
Getting ready to start a new pictorial tapestry!
Linen warp is ready for beaming. Wool weft yarn is being sorted and organized for making butterflies.

May your tools give you more time for weaving.

Making it easier,
Karen

Tools Day: Umbrella Swift

The umbrella swift earns the “Cool Tool” award! I have sixteen skeins of 20/2 Mora wool (as seen in Skeins of Colors). Before making them into little butterflies of color for a woven transparency, I am winding the skeins into balls. This means I get to use one of my favorite tools–the umbrella swift. My Glimåkra swift is simple to use and gives flawless results every time.

How to Use an Umbrella Swift

  • Attach the clamp of the umbrella swift to the side of the loom, or other secure structure, like a table. The swift functions vertically or horizontally. I prefer to position the swift horizontally so the yarn rolls off vertically. Also, I find it easier to hang the yarn on a horizontal swift than to place the yarn on a vertical swift, holding the yarn while expanding the umbrella.

How to use an umbrella swift. Tutorial.

  • Position the yarn ball winder so that it is in line with the umbrella swift, a short distance away. I clamp the yarn ball winder to my loom bench, and sit on a small stool behind the bench.

Yarn ball winder in use with umbrella swift.

  • Remove the yarn skein’s label and put it aside. Carefully unfold and untwist the skein of yarn and open it out to a big circle. Place both arms through the center of the circle of yarn and snap your arms outward. Repeat the snapping action one or two more times, with the yarn repositioned about a quarter turn each time. This helps straighten out the yarn for placing it on the swift.
  • Lower the “umbrella” of the swift by loosing the screw and pulling the bottom screw-piece toward the clamp. Place the opened and prepared skein of yarn around the swift.

Placing the skein on an umbrella swift. How to.

  • Push open the “umbrella.” Spread it open just far enough to hold the yarn taut. Tighten the screw to keep the swift in that position.

How to use an umbrella swift for weaving yarn.

  • Find the place(s) on the skein where the skein has been tied, and untie the knot(s). Identify the end of the yarn that is on the outer side of the skein and connect that end to the yarn ball winder. For consistency among multiple skeins of yarn, I have the umbrella swift turn in the same direction for each one, with the yarn unwinding from the top of the swift.

Putting skein of yarn on umbrella swift.

  • Turn the yarn ball winder until all the yarn has been unwound from the swift.

Set up for using umbrella swift. Tips.

Winding ball of yarn from umbrella swift.

Winding ball of yarn from umbrella swift.

  • Remove the yarn ball from the yarn ball winder and wrap the skein’s label on the new yarn ball.

New ball of yarn thanks to umbrella swift.

  • Collect the new balls of yarn and play with the colors in your imagination.

Mora wool. Getting ready for woven transparency!

May you take pleasure in your work of preparation.

All the best,
Karen