
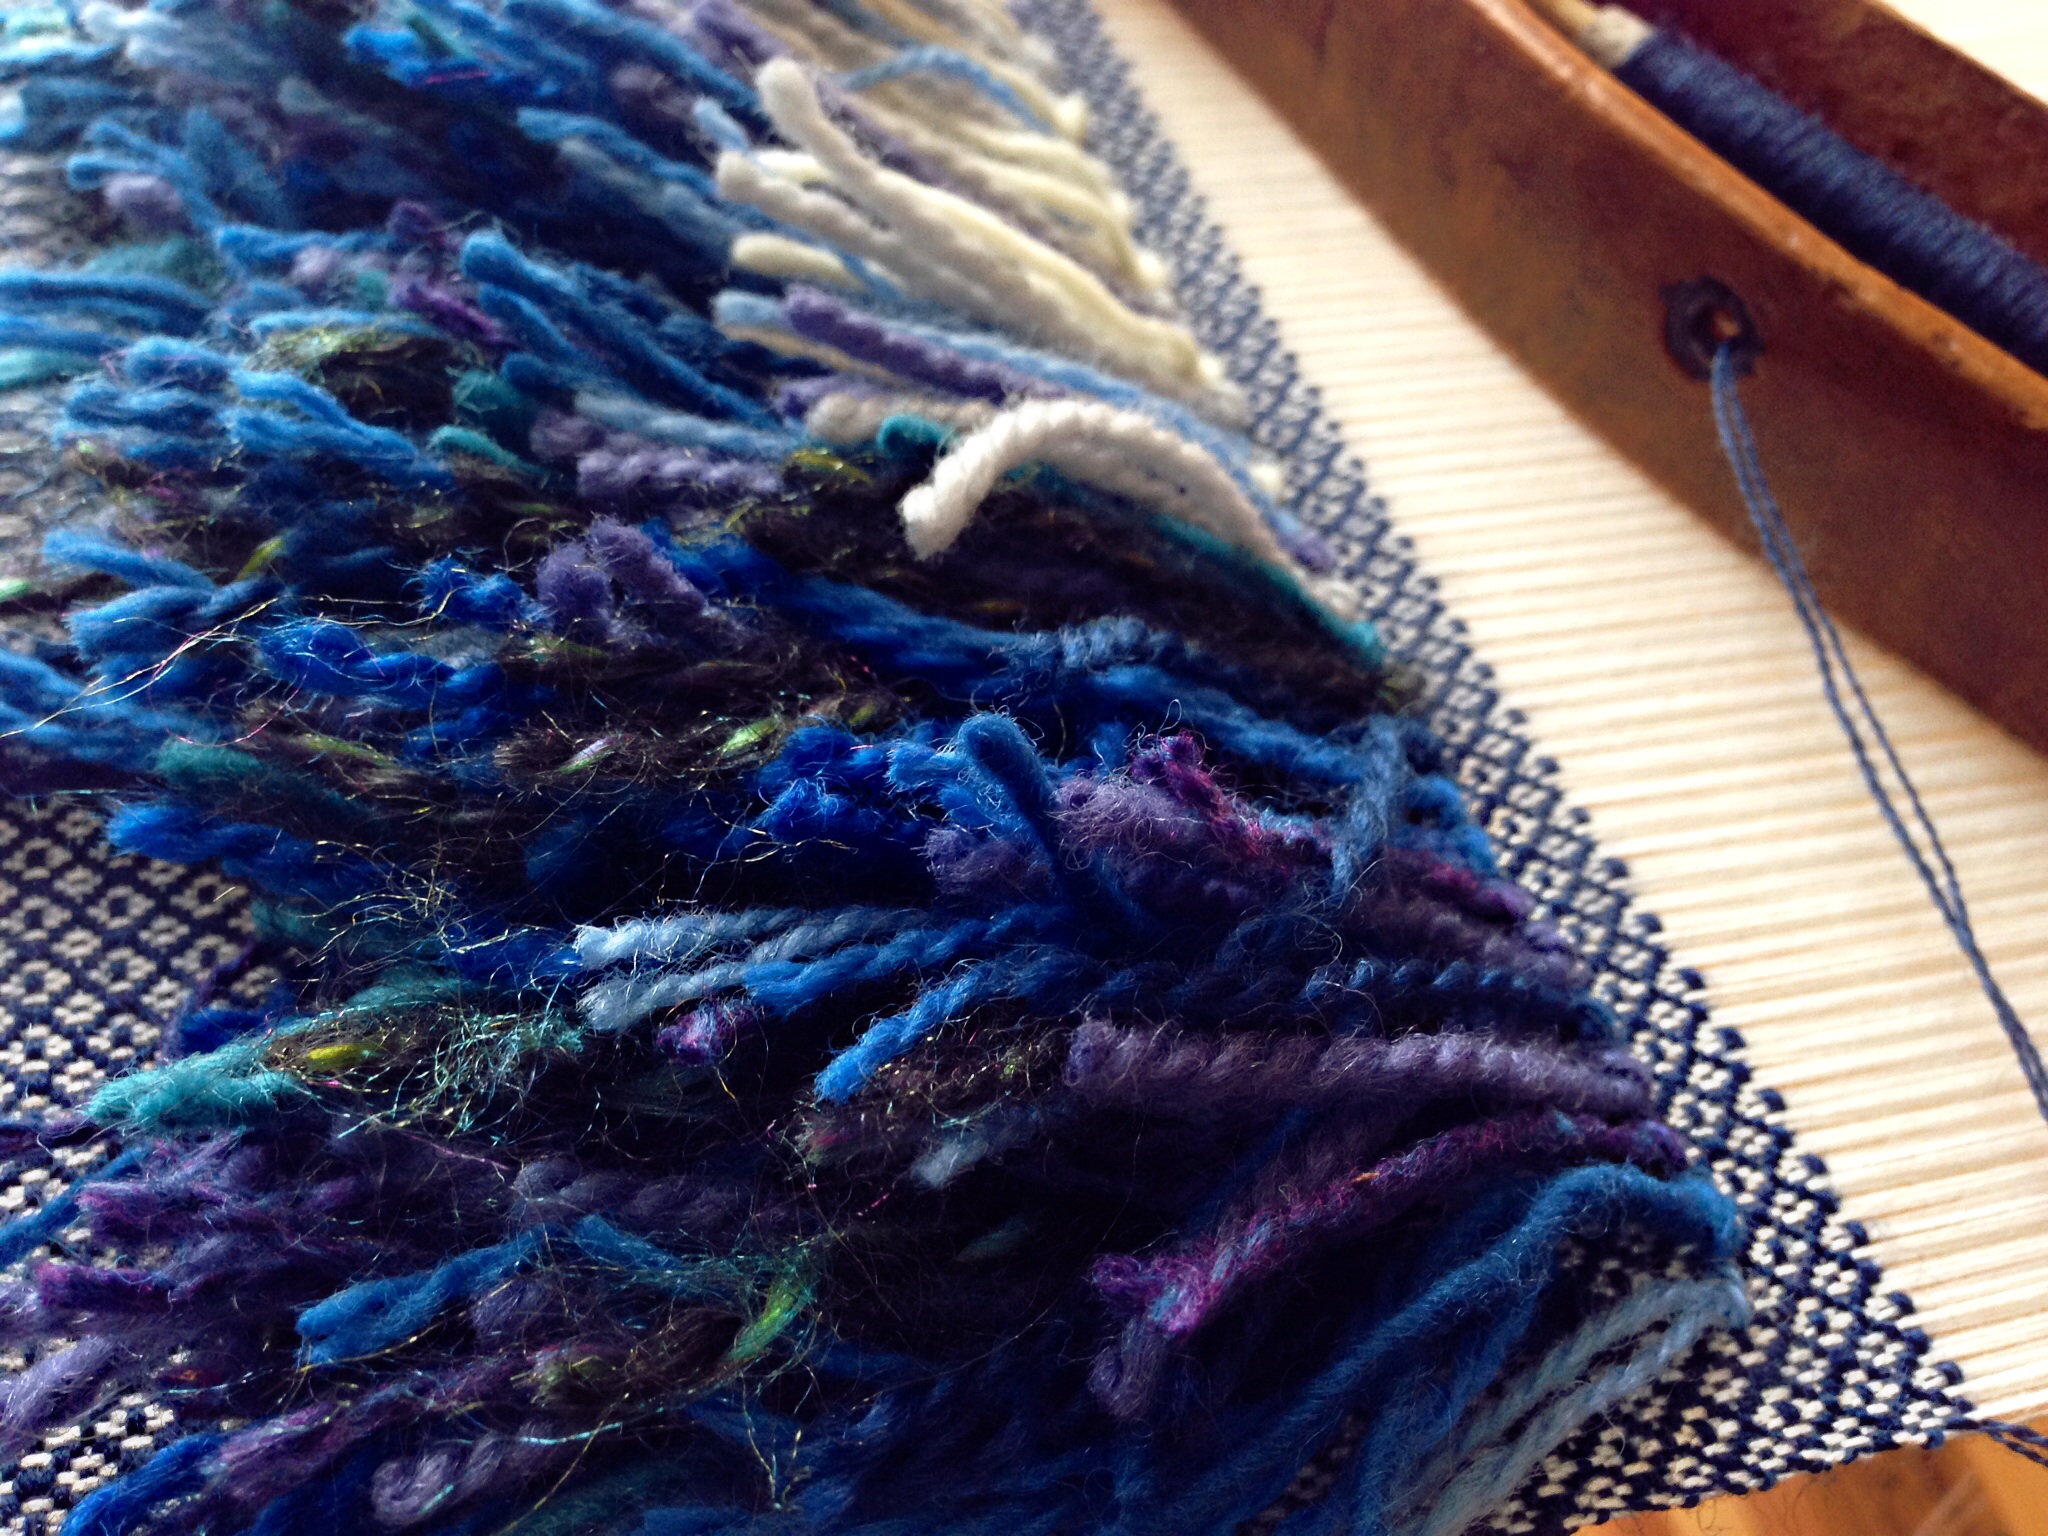
One at a time. Like anything else, you do get faster as you get the hang of it. I select and arrange the colors for the upcoming row, and then I settle into a rhythm. With my right foot pressing the treadle, I use both hands to manipulate both the raised warp ends and the loose wool strands. It is a relaxing and satisfying trek from the right-hand side of the warp to the left, one rya knot at a time.
I am letting the pictures speak for themselves. I forgot to take a picture of the completed rya knot pillow top square while it was still in view on top, so you get to crawl under the breast beam with me at the end to see it from underneath.


May you enjoy taking your sweet time.
Little by little,
Karen
Other popular Quiet Friday posts you may like:
Hi what a wonderful work! Pls can you help me to do a turkish knot? I cannot see exactly how it ends up . Thank you
Hi Mona, Thank you! I do not know how to do a turkish knot. That is something I’ve never tried.
Karen